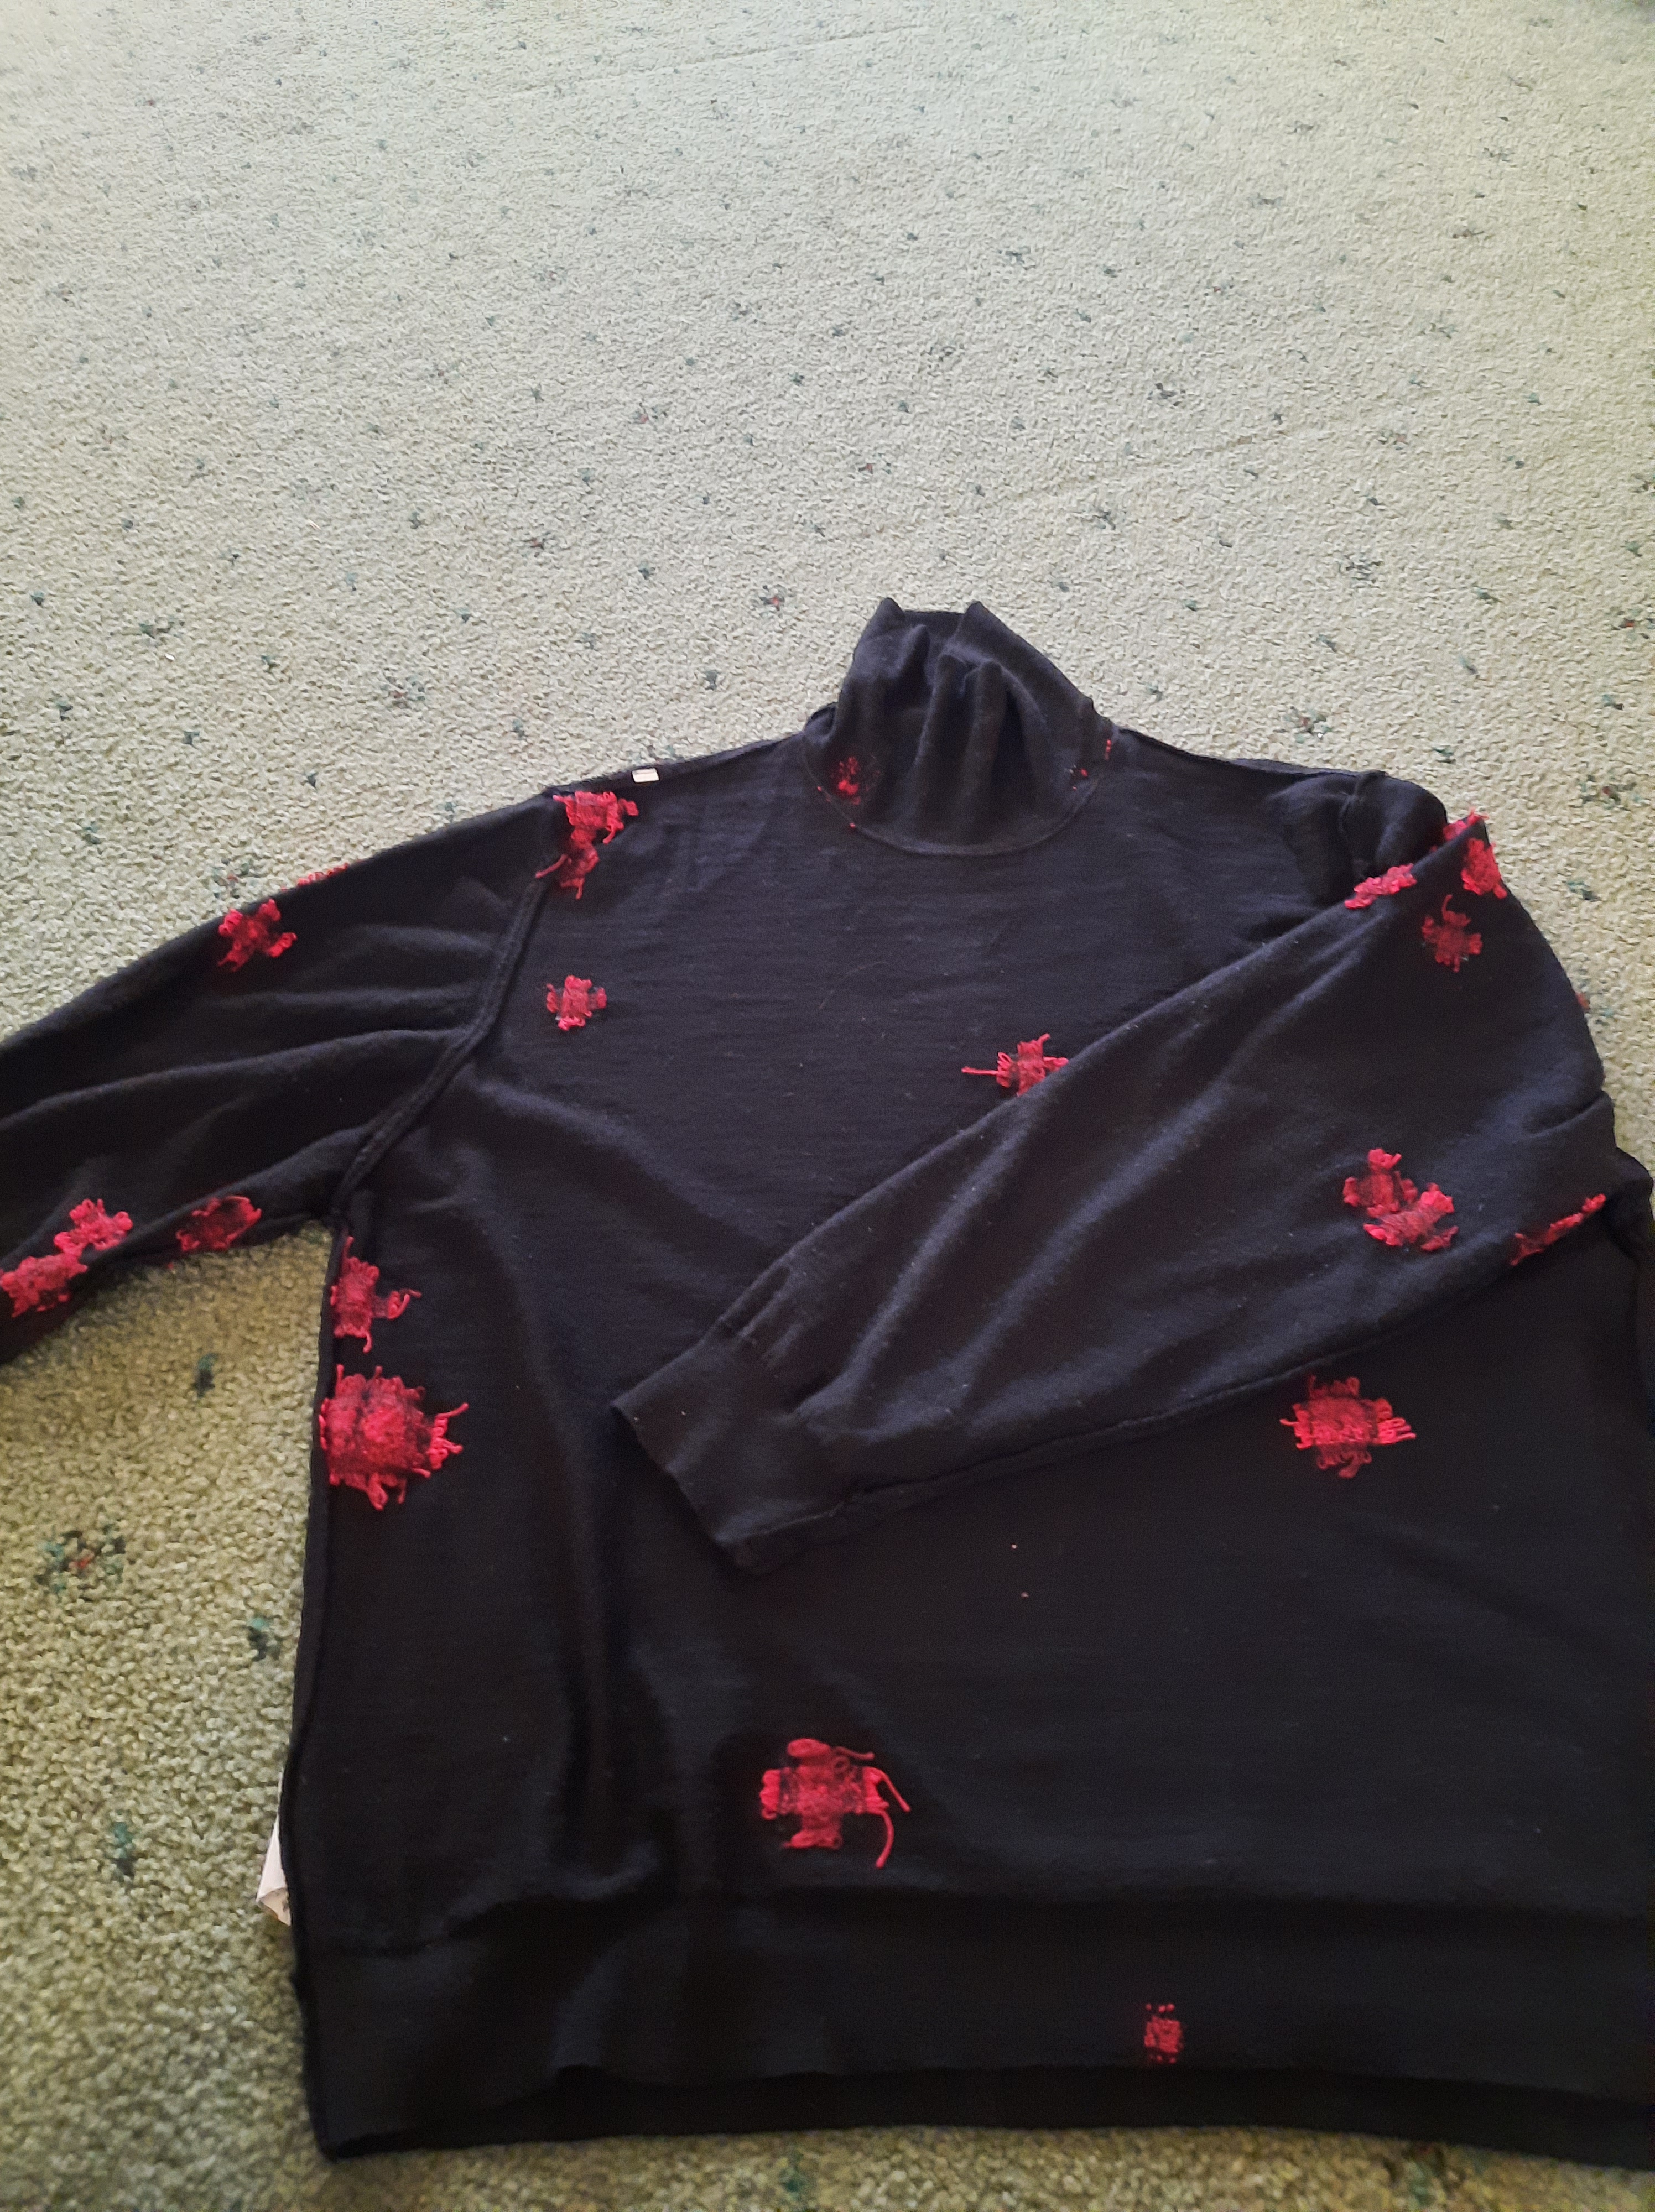
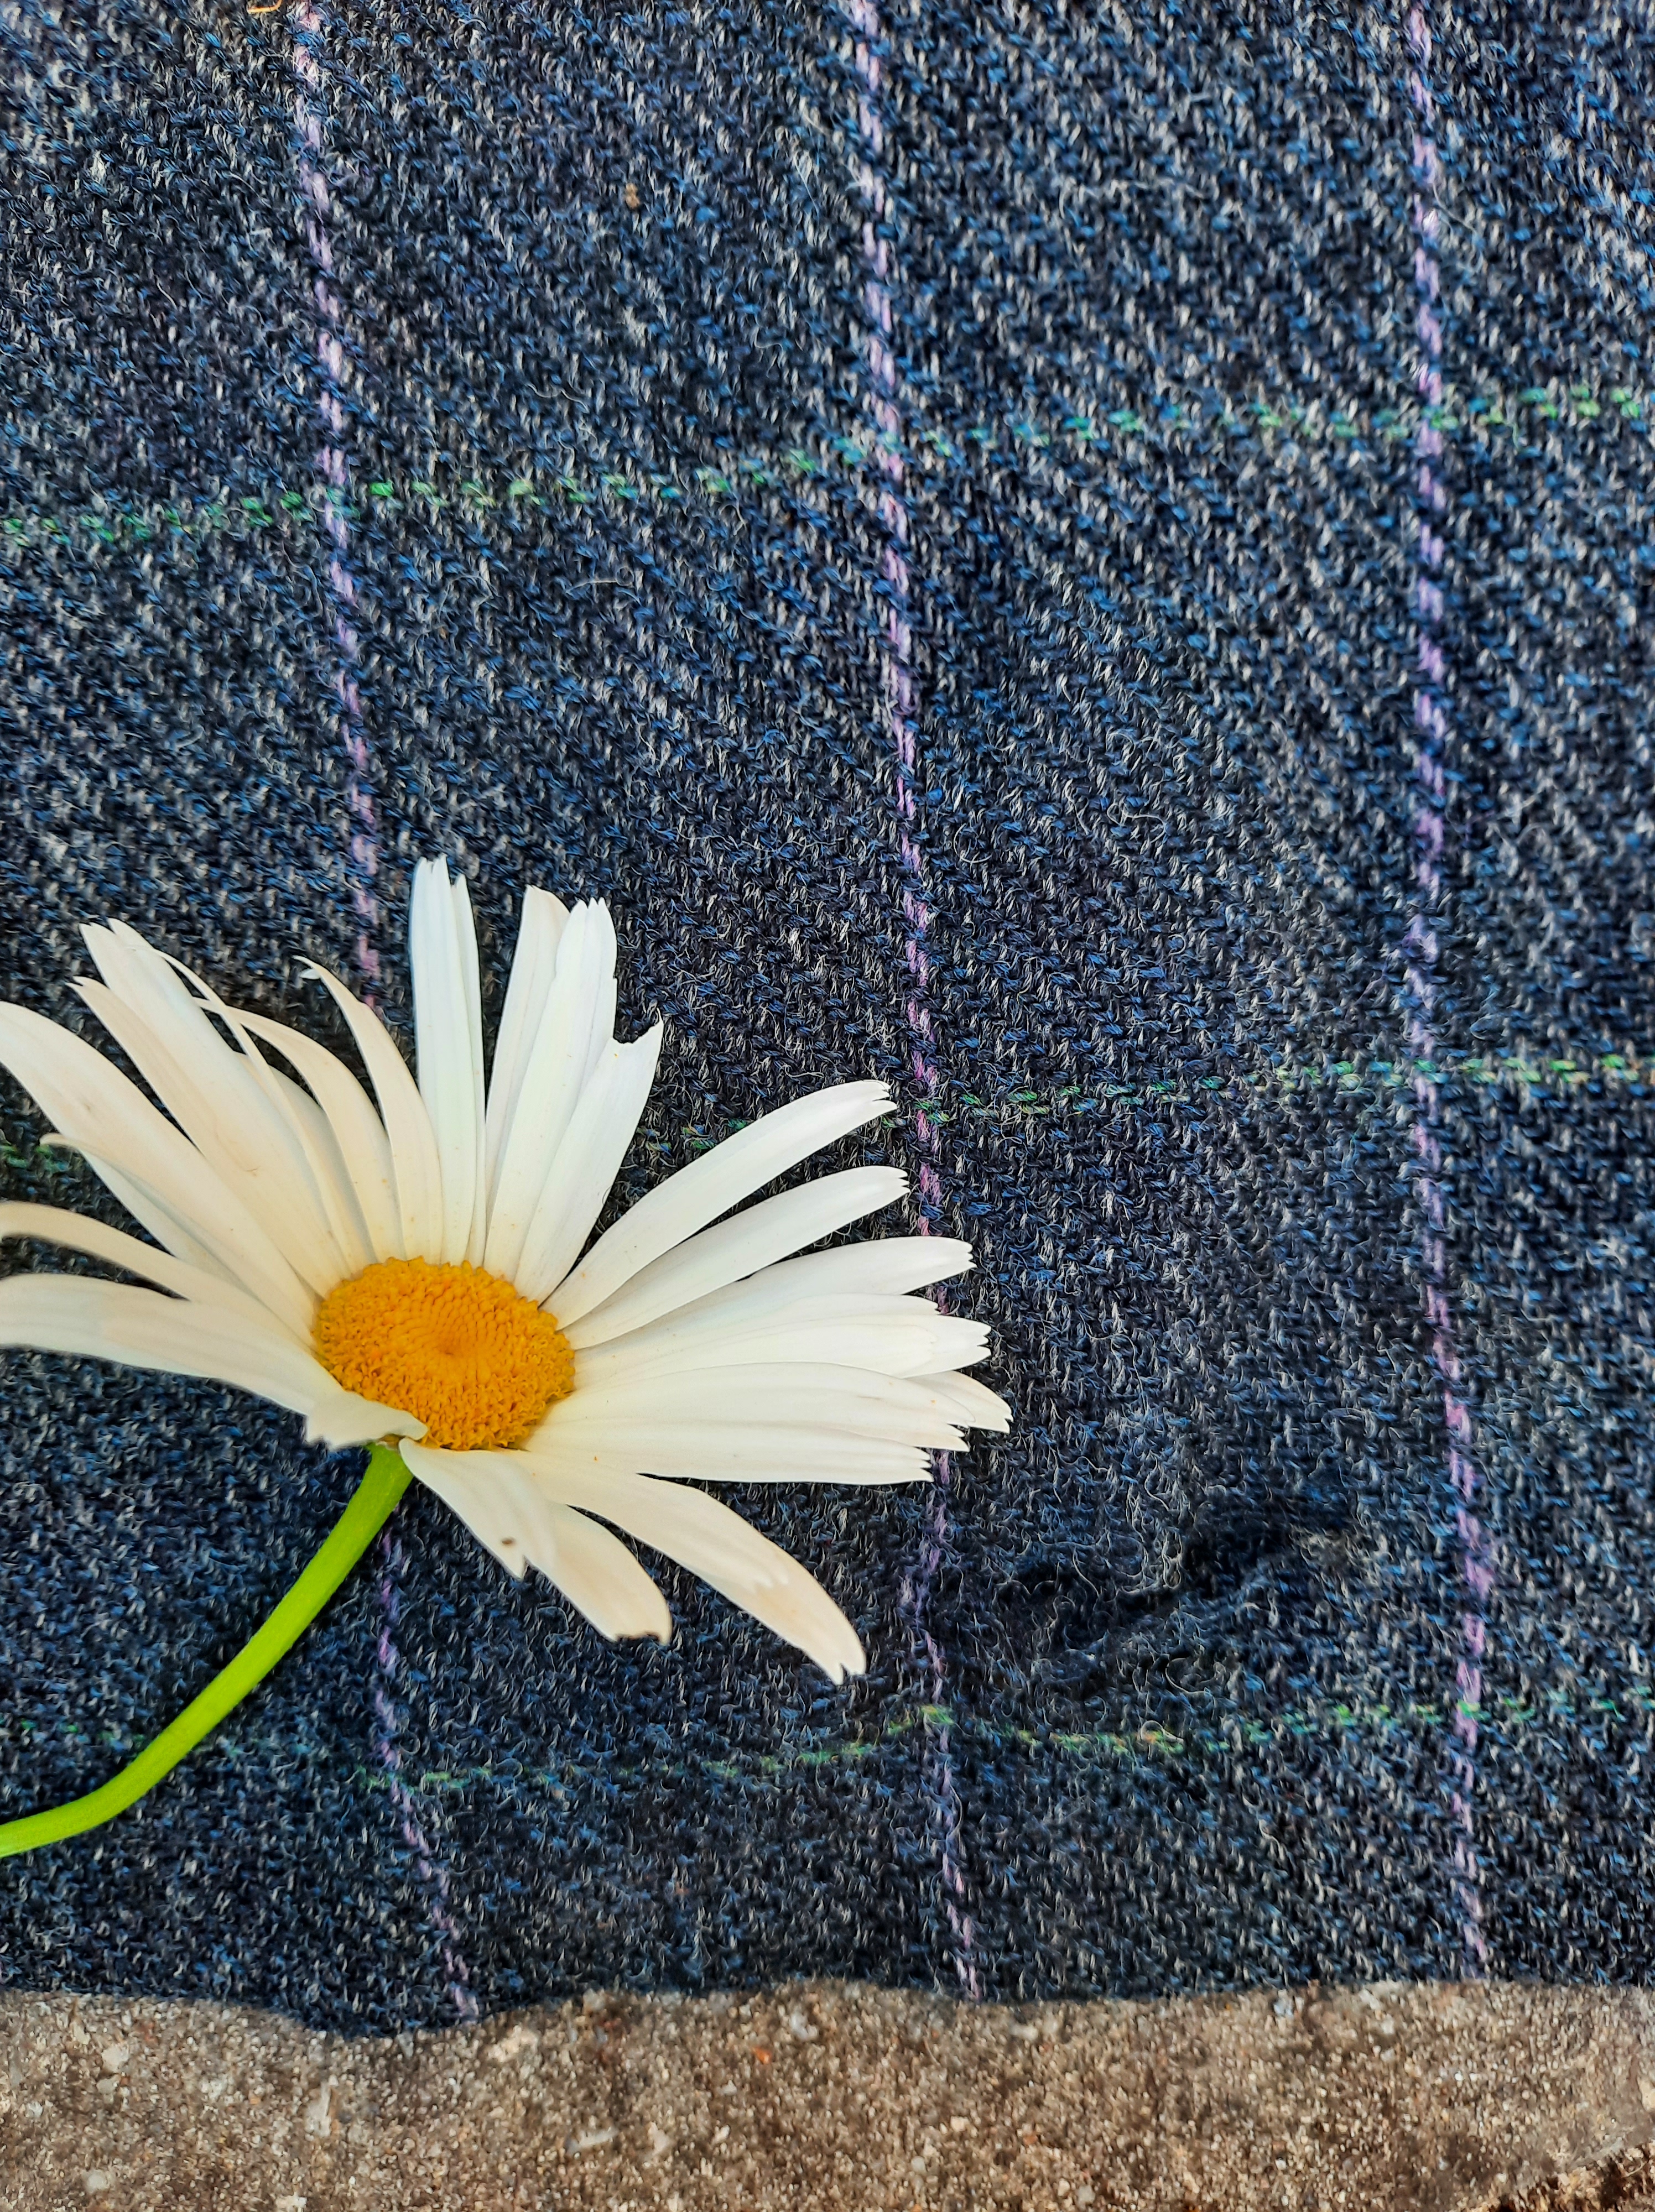
Some time ago, I bought this jumper in an op shop. I am not sure how I failed to notice the holes in it. The experience I had, was that it was fine until I washed it! But presumably I did not give it the close inspection I should have given it. Once I had washed it, I was in no doubt that moths had munched on it rather comprehensively.
Soon after this discovery, I had Covid. Sitting on the couch doing (relatively) mindless darning seemed perfect at the time. My judgment may have been impaired, of course! I do not believe I had made an accurate assessment of just how many holes there were.
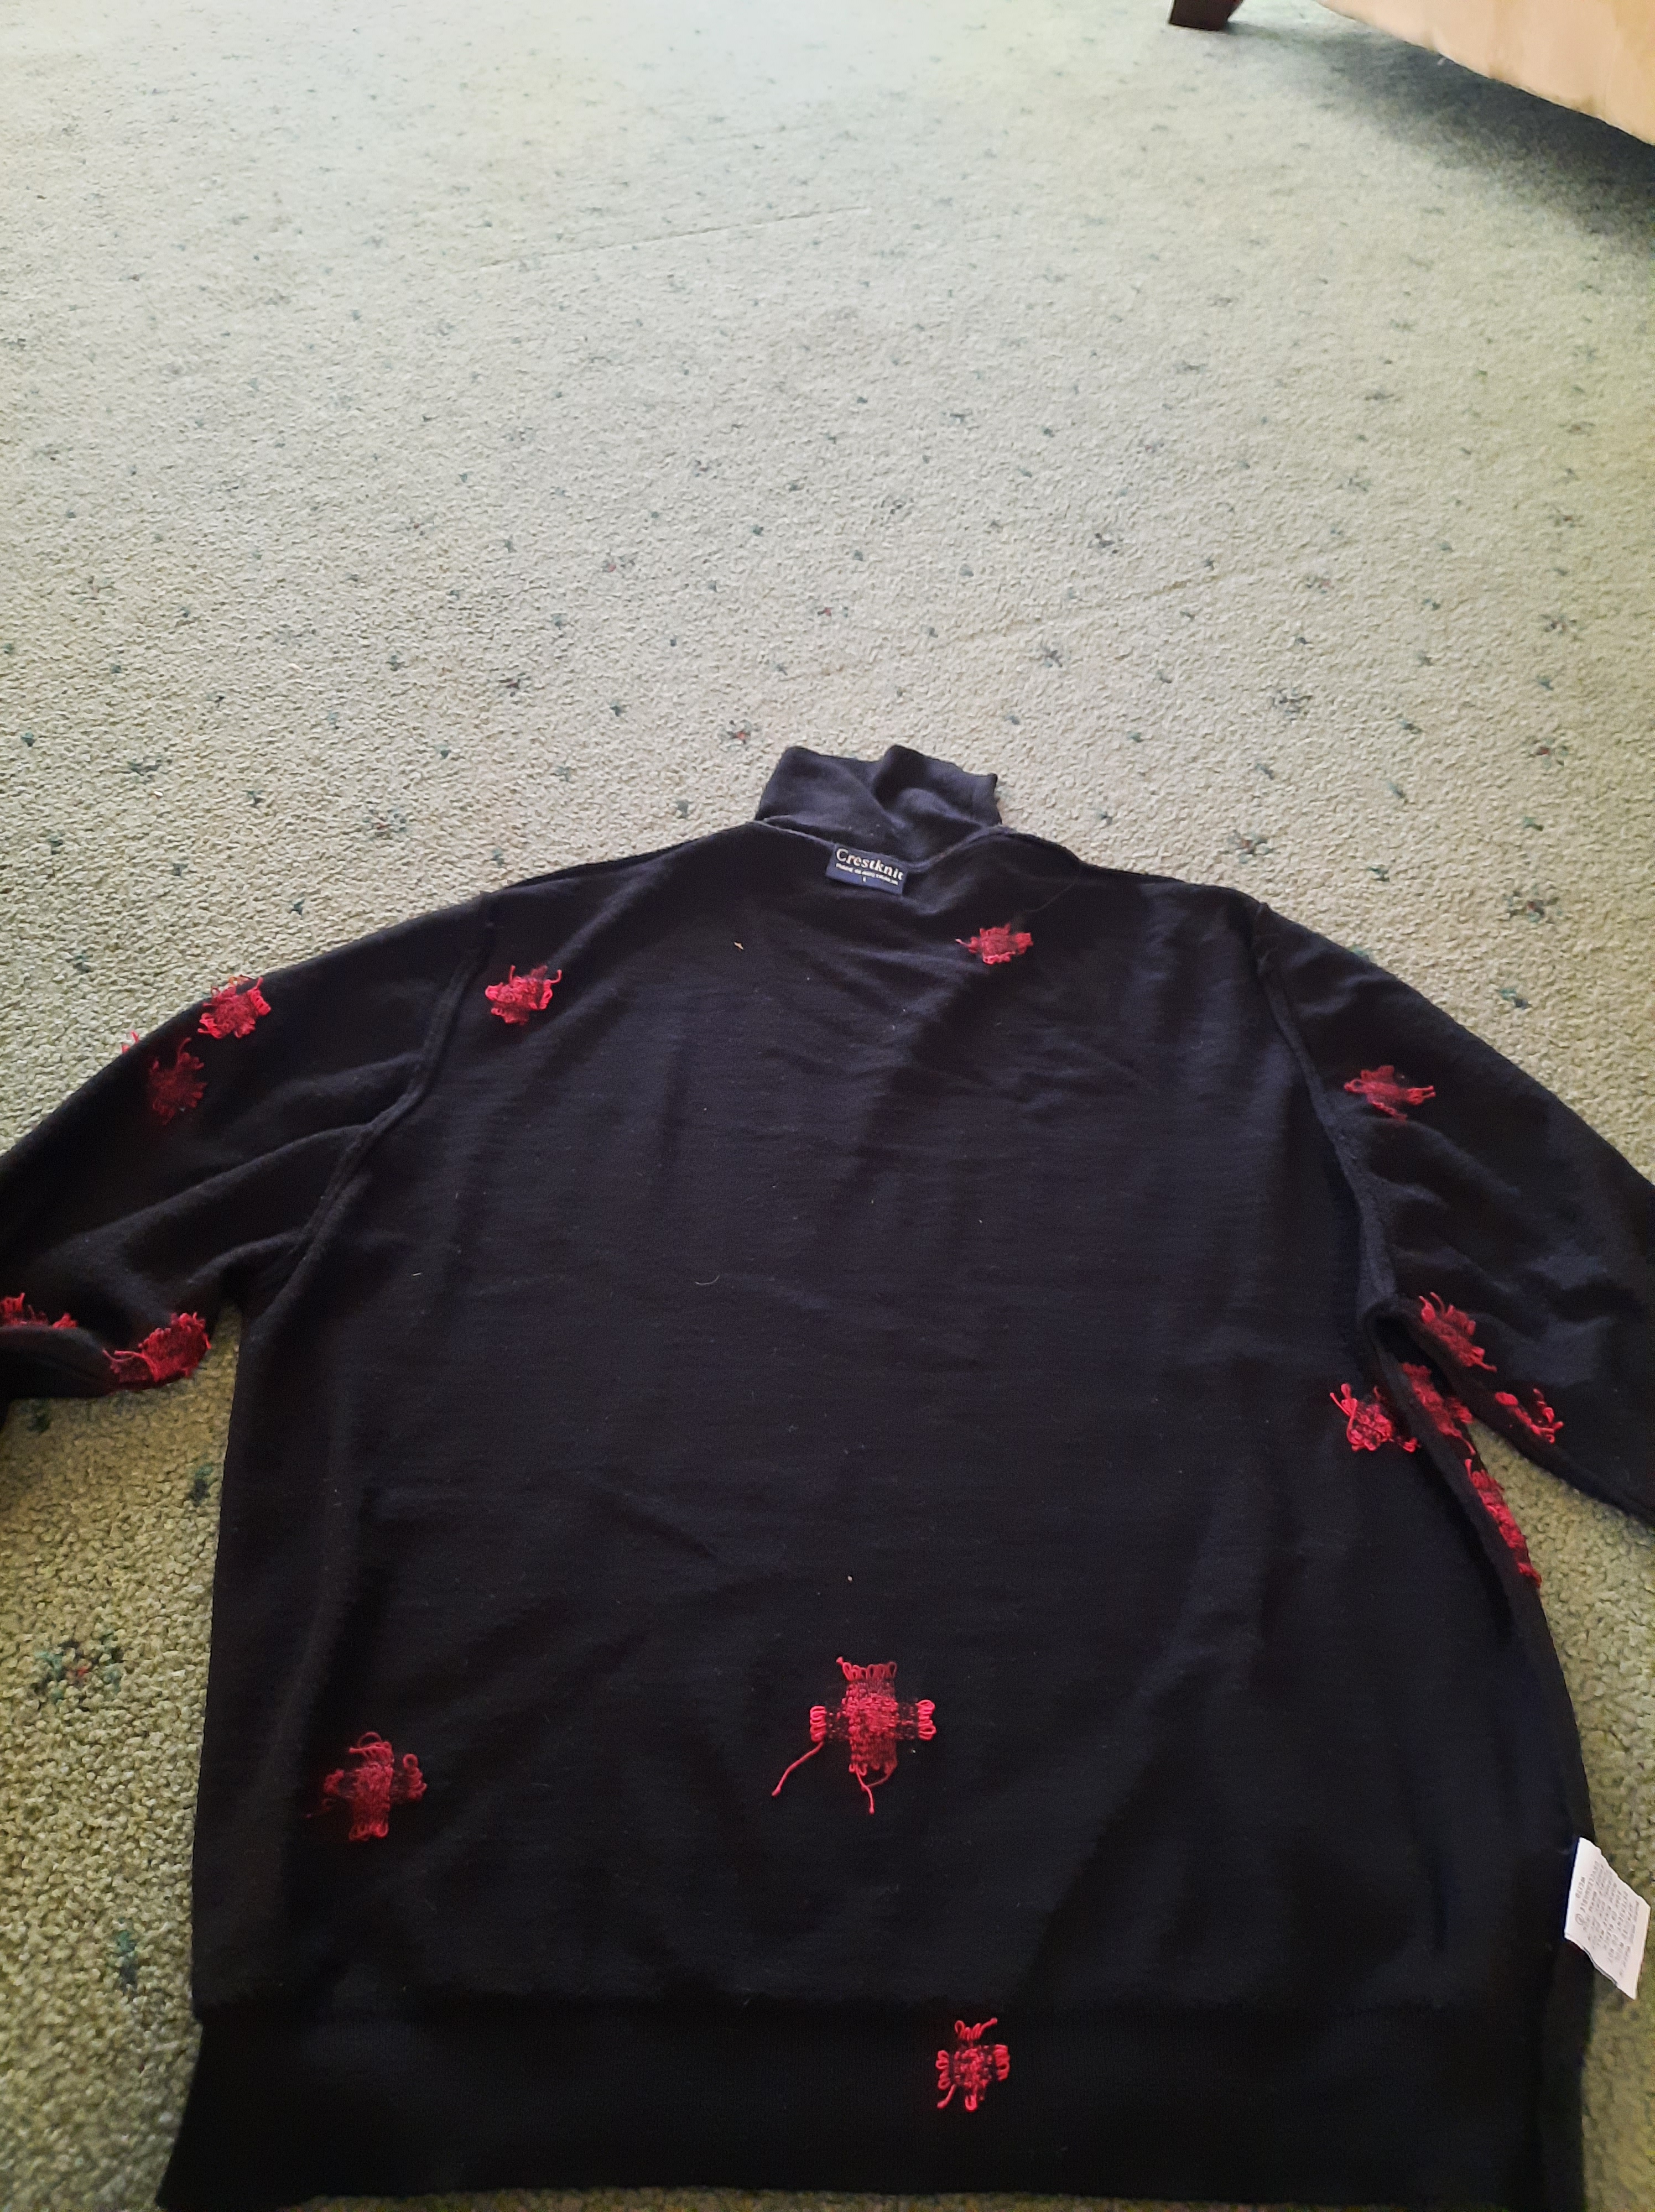
I have darned this all wool jumper with mercerised crochet cotton. These images make it look very red, but actually it’s an ombre colourway–ranging from almost black through burgundy to red. I found it in an op shop and I’ve been waiting for the right application.
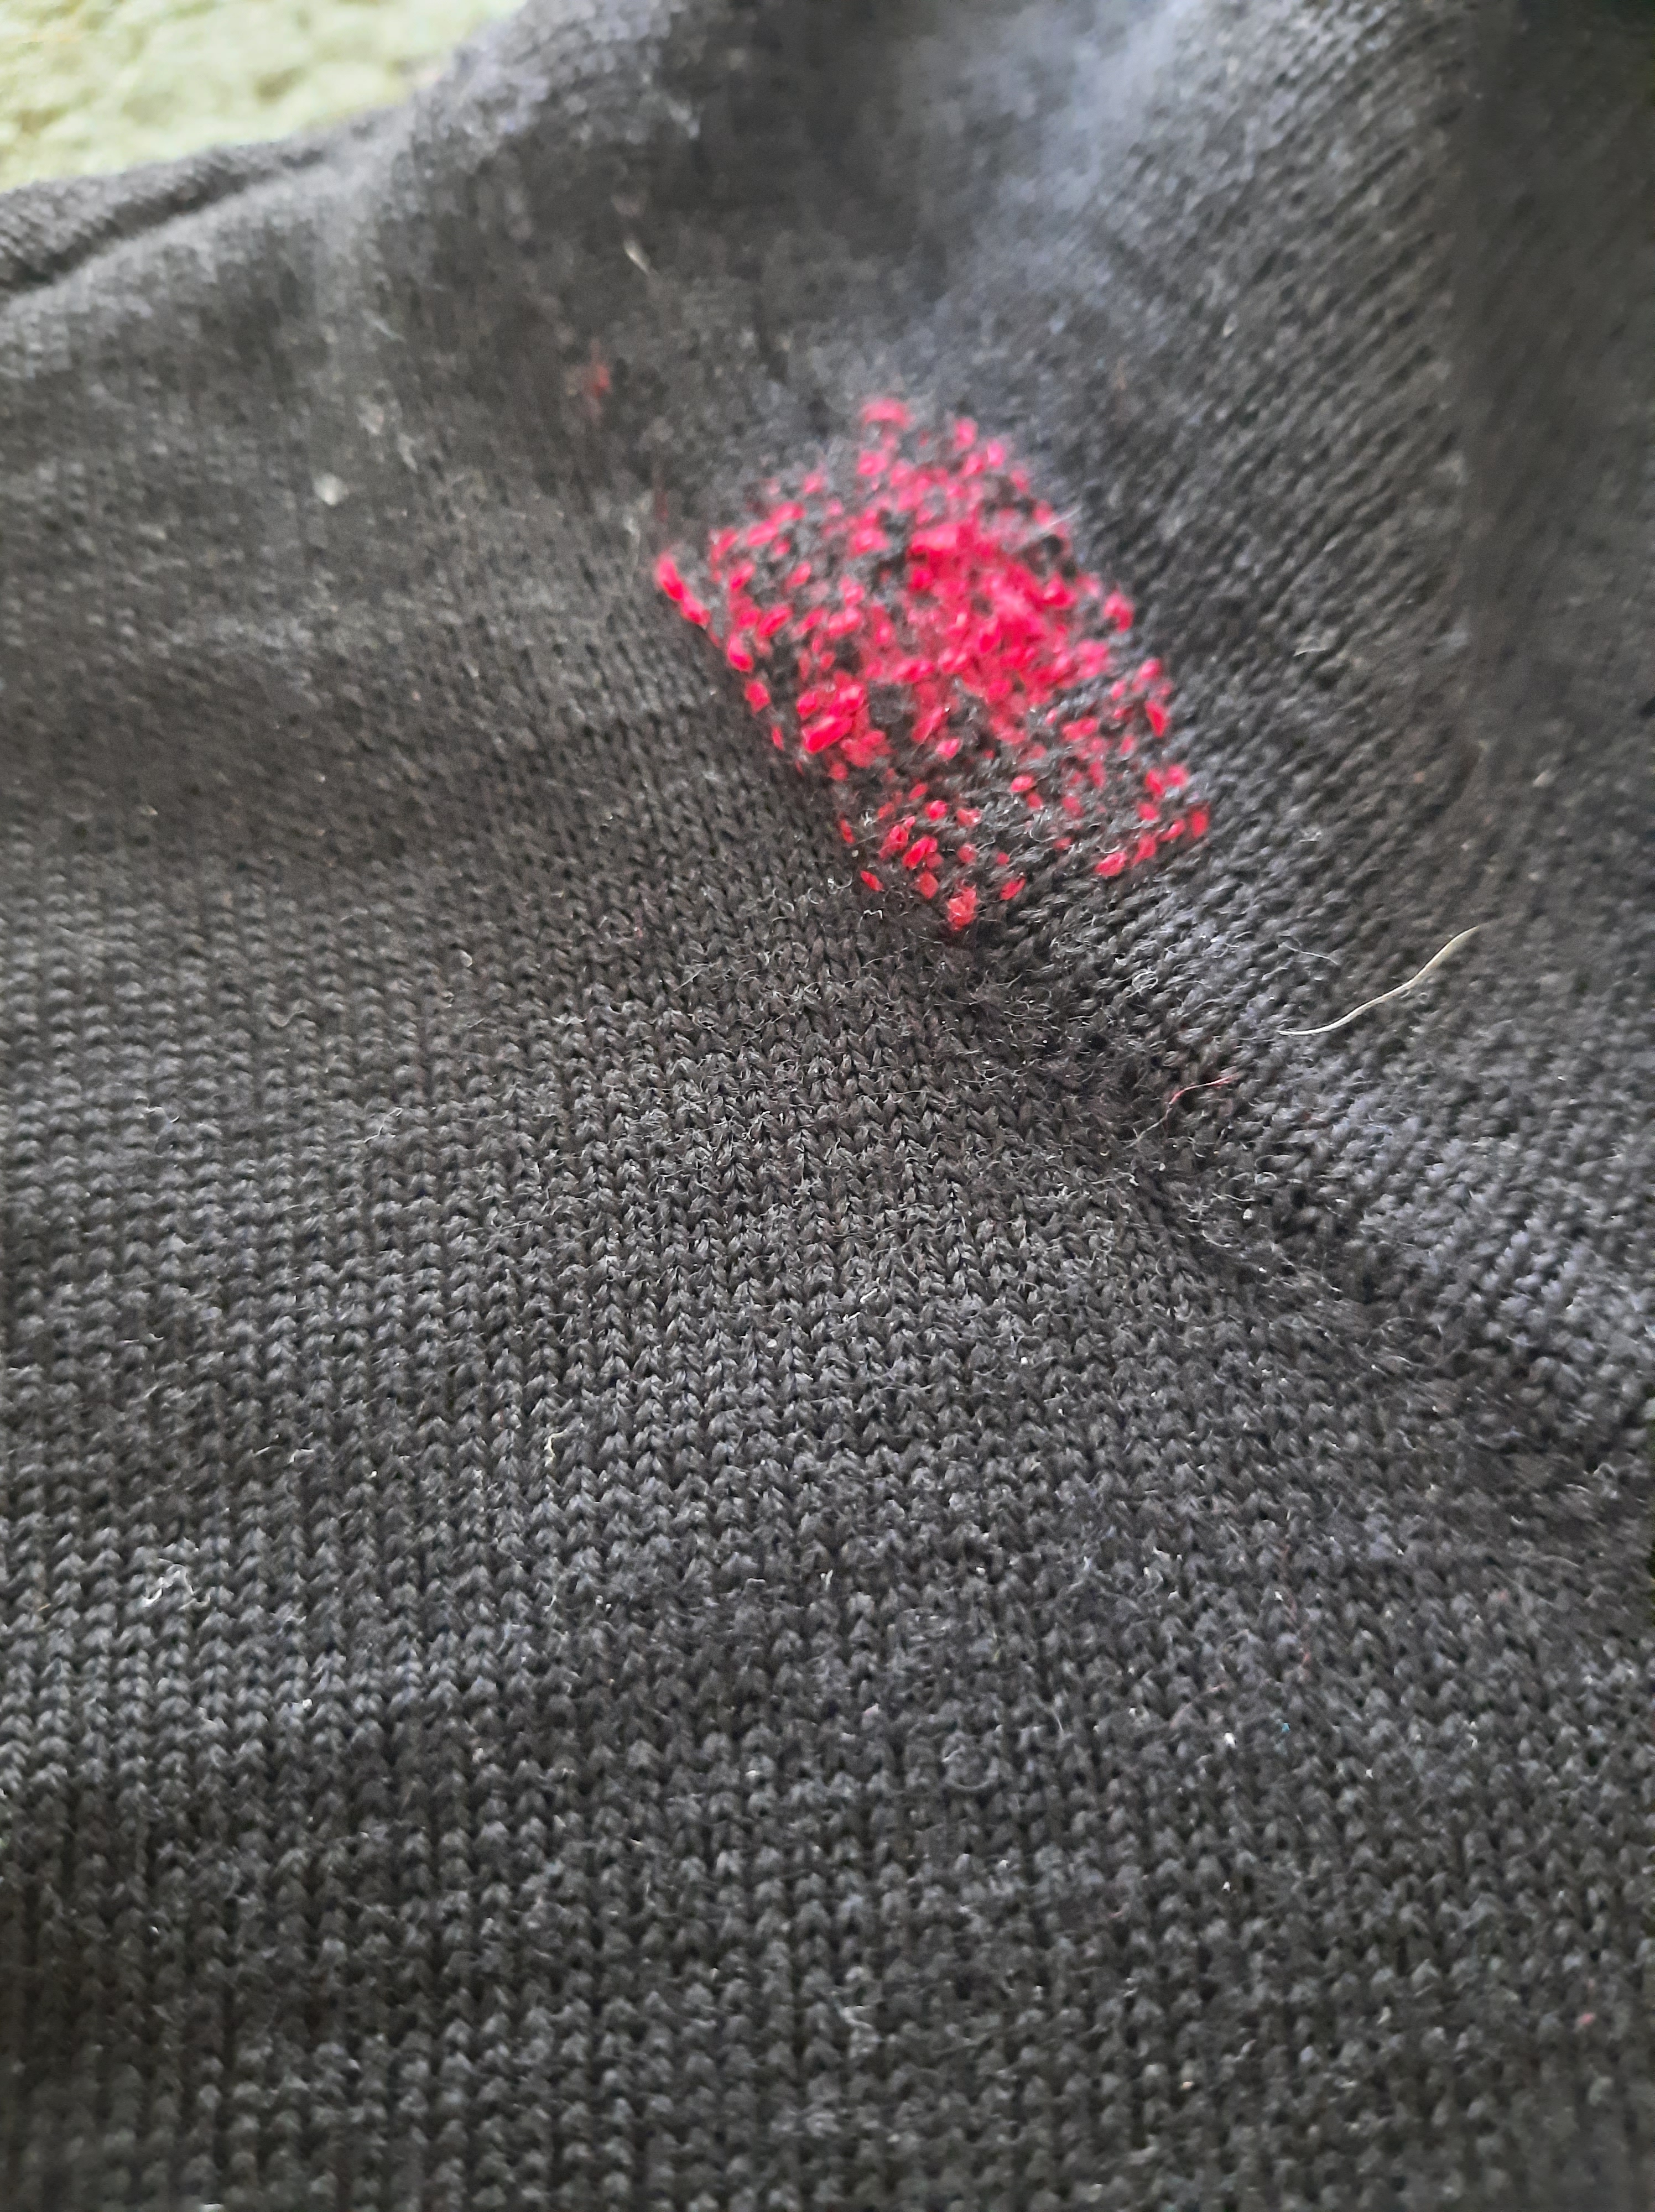
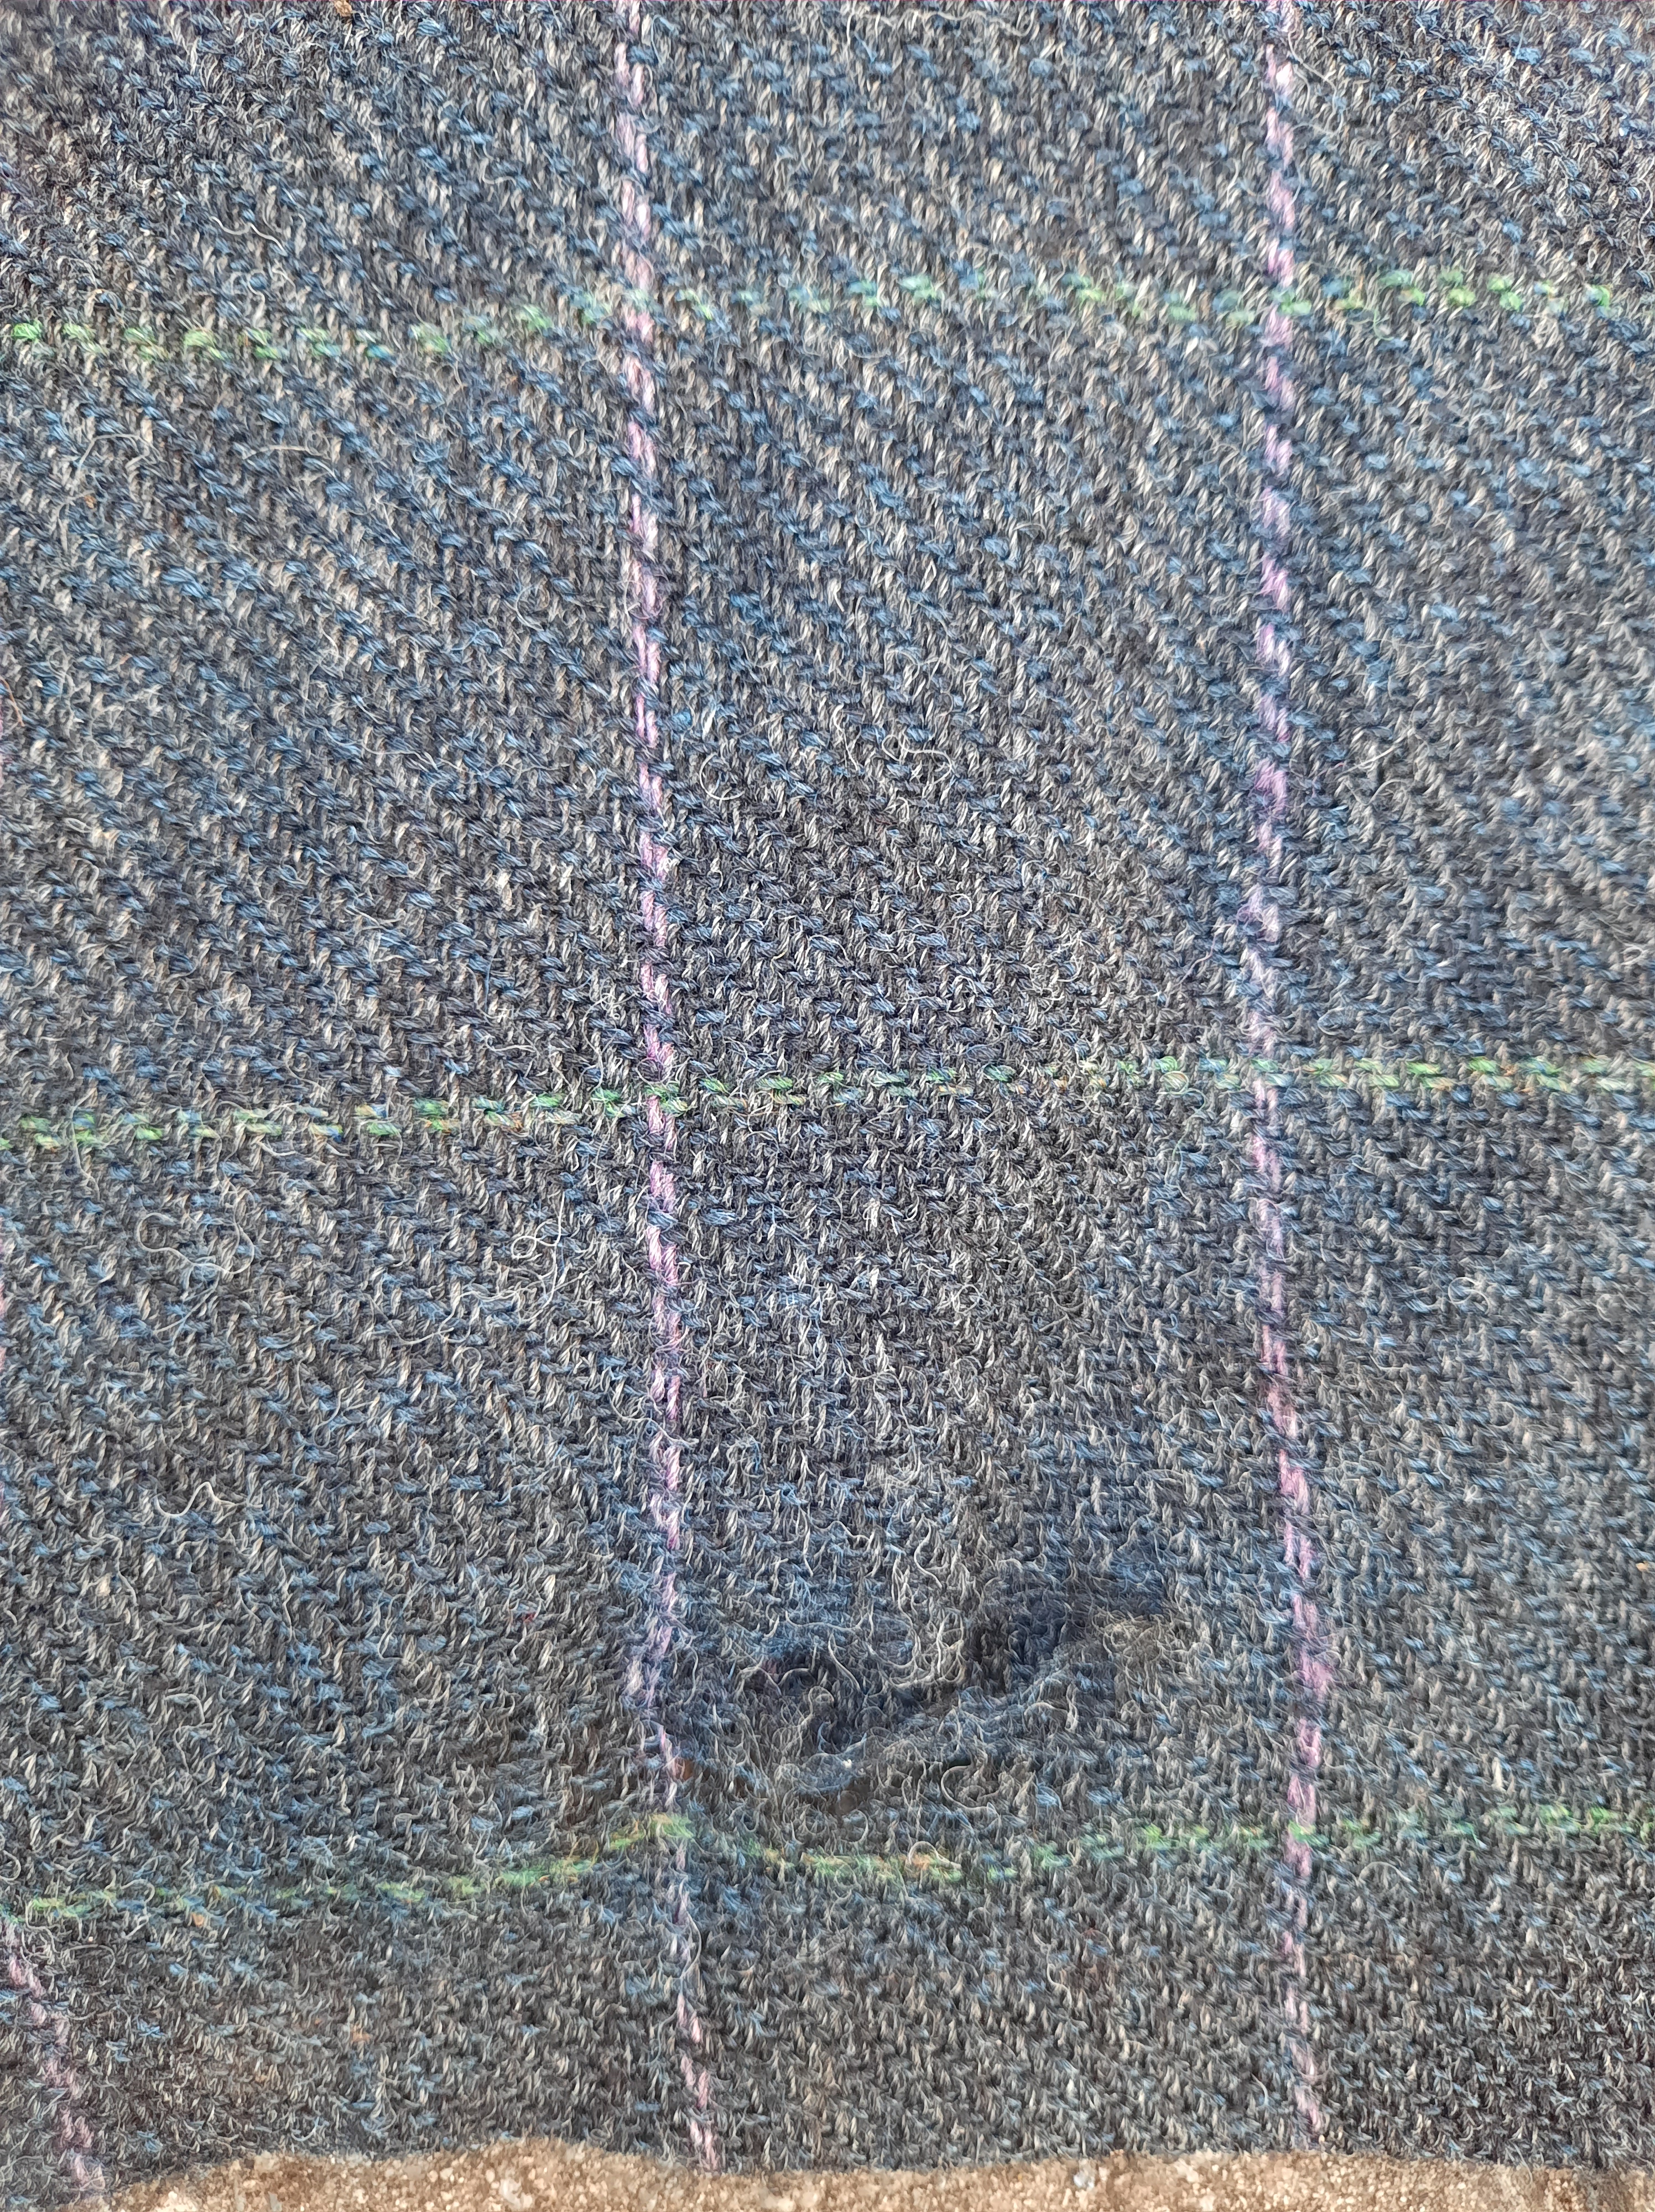
The mends are much less obvious on the outside.
I rather like them.
I must admit, I recovered from Covid without finishing the job. I had to keep going! I believe in the end, there are more than 30 darns. Doubtless, next time I wash it, I will find a few more!
Dear and patient readers, thank you, if you’re still here after such a long pause. My sweet companion in sewing was sewing her own creation alongside me today when I finished a thing. She said something like “this deserves a blog post, surely!” and I thought she was right. And so here it is.
I’ve had some very intense ideas about things I want to make in the last two years or so. Things that come into my mind again and again. The intensity of this experience has me in mind of a vivid fever dream, and hence, the title of this post. These are things my fingers want to get working on. Things that would not be especially useful, necessarily. There are a lot of things on my mind, in relation to this experience. I wonder if I really could break from a lifetime of making things primarily because they are useful. I wonder if I can even make the things that come into my mind. I see that I don’t fully know how some of them would work out. And yet, they keep coming to me, wanting to be made. I find that I want to make them. I have sweet friends who are encouraging me to make them. You know what is coming next, don’t you?
I’ve found that I need to hold some things in my mind very clearly, to pursue this direction. One if them is the idea that I will not let sewing be the place my perfectionism lives. I’m agnostic on whether perfectionism is such a big issue in my life that I’d bother with assigning it a home, rather than just bidding it begone when I feel it approaching me. But I certainly do not want it dragging down my sewing joy, or even just my preparedness to make weird, wild things. I notice that few people who end up with my creations care much about the things I felt could have been better about whatever I made and gifted them. So as I notice something is not ideal, not as I had hoped, I decide whether I need to rip it out (and try to embrace that process too–) or whether this is a situation in which I repeat to myself: “this is not the place my perfectionism gets to live”.
I also decide again and again that I know all kinds of things about sewing and I can learn more. That if I make something and decide it has to be turned into something else entirely (rather than thrown out or wasted), this is something I do often. That is not a problem, that is a skill set I possess. I decide that I am going to make these things, even if they are fugly when finished. How else will I know? How else will I learn? How else will I find my way through the things I am trying to figure out (in some cases) on the journey of making?
I also find myself needing to accept that these fever dream quilts are very, very specific. Maybe one of them could be made by someone else? But the others are very specifically about things that weigh on my mind, and the way they weigh on my mind. They are not about everyone’s experiences or thoughts. I’ve decided I need to embrace that for now and figure out how that sits with me.
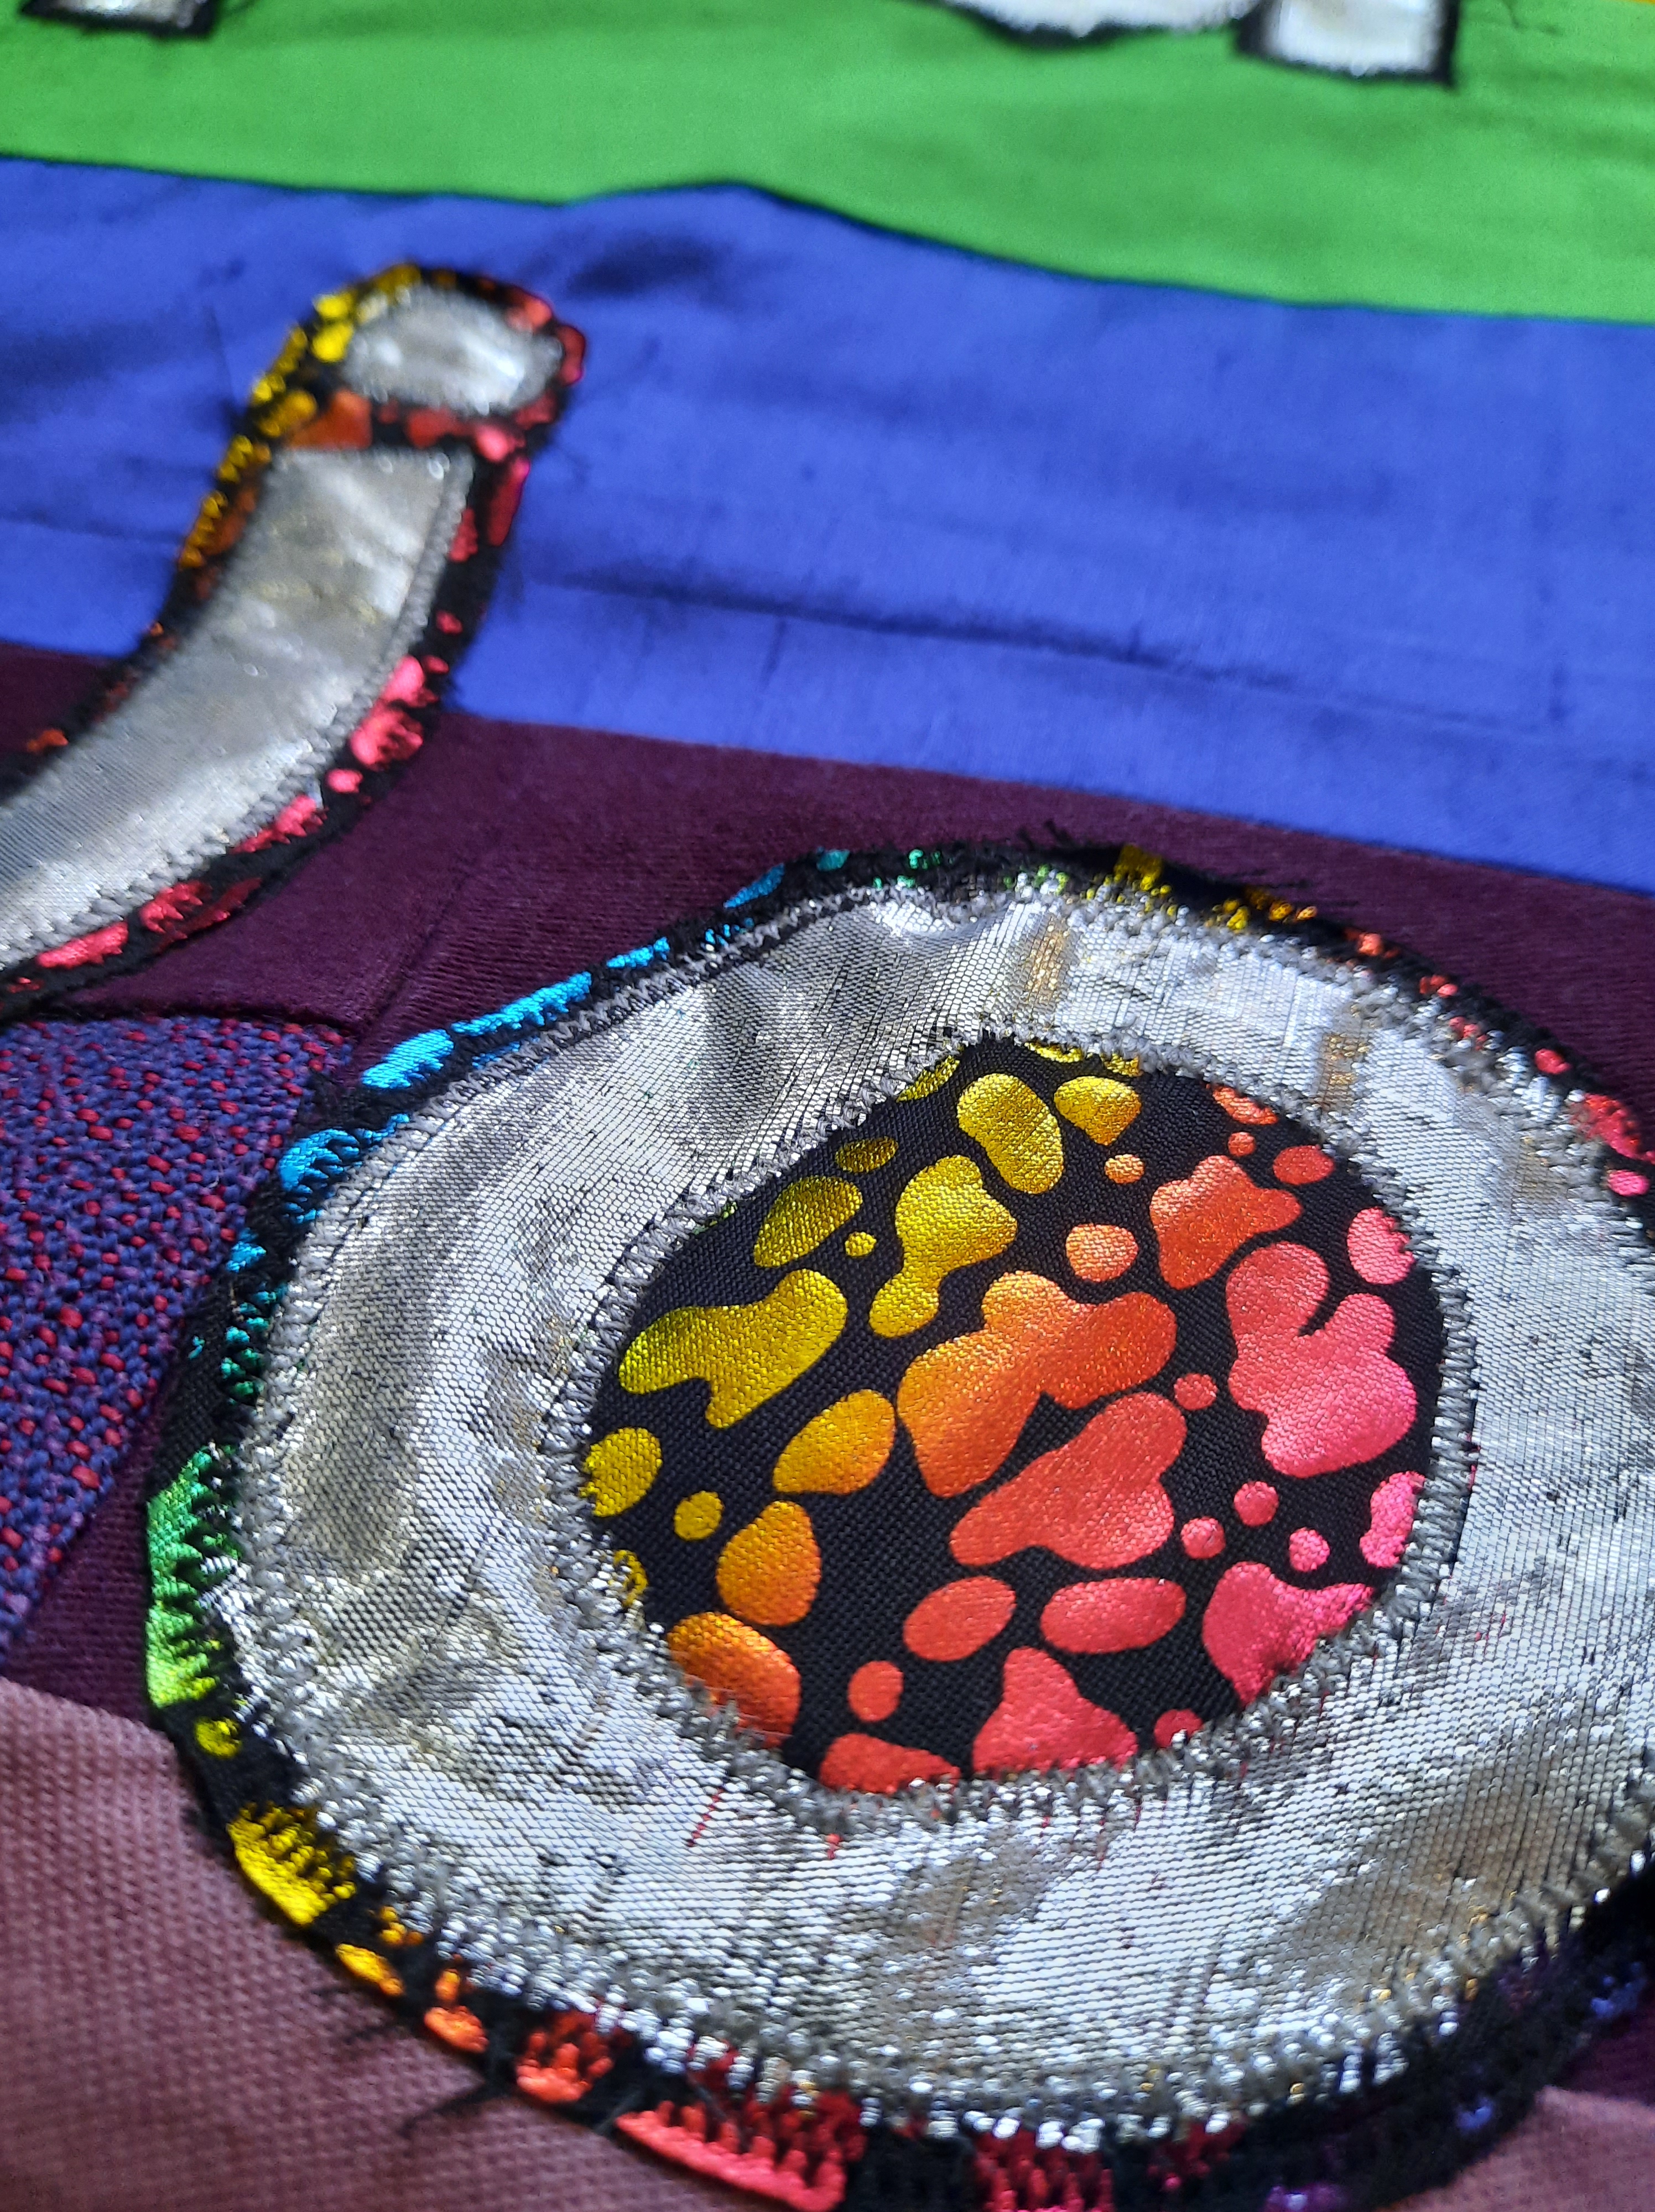
Today I finished the first fever dream. I have now begun three of them, so this is a series of at least three. It is made entirely of reclaimed fabrics. Bits of sheet, parts of garments, fabrics gifted to me from people who no longer want them, scraps left from other things I’ve made, and two small pieces of bling that came from an op shop in the Flinders Ranges, picked up once I had begun making this but not yet finished. They wanted to be part of it! The back has been foundation pieced onto a pieced backing made of calico, worn out sheet, even a scrap I found that had been a barrier cloth in some plant dyeing project and then been a test fabric for screen printing.
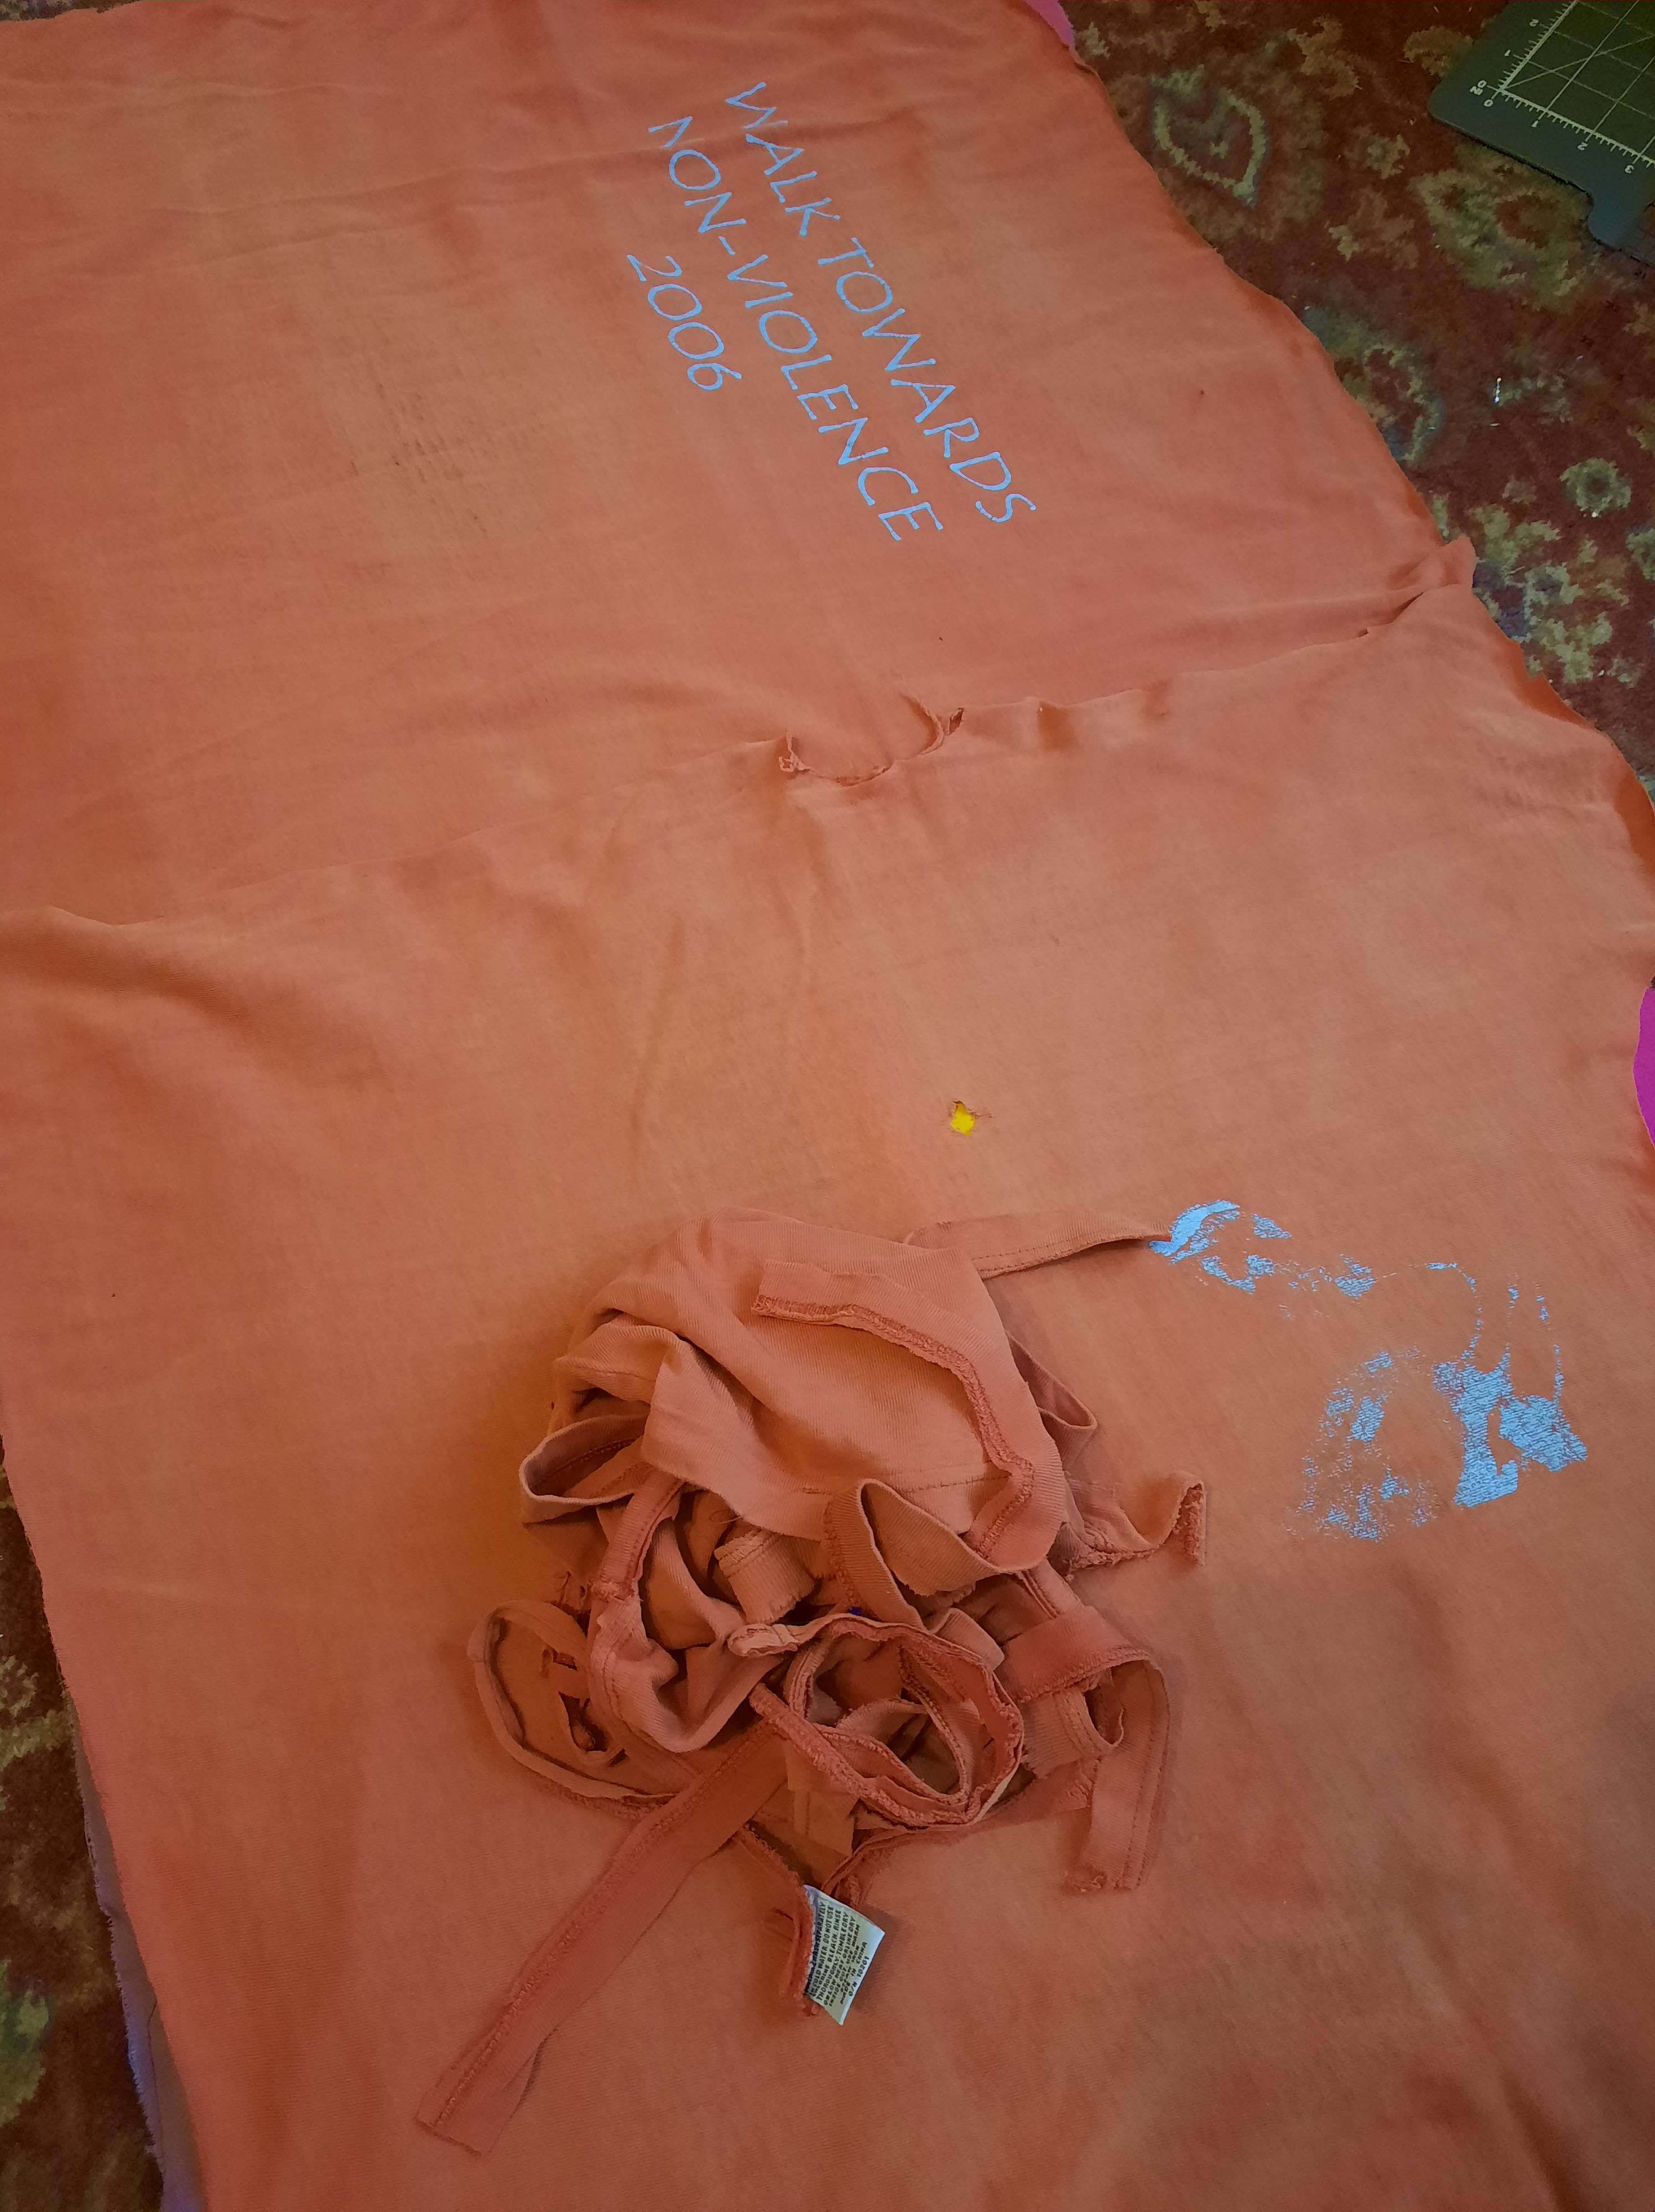
In all honesty, when I realised I was deeply committed to piecing this foundation rather than using a whole piece of cloth, I couldn’t quite believe myself. And yet, there it is. The top has velvet, cotton, upholstery fabric, even a little silk dupion from a special shirt I made my beloved for a graduation, you name it! The “batting” is a dead t shirt. I’m struggling to say where it came from, but it clearly is one of the garments that have come to their final home with me from some other household. So raggedy, I think this kind of concealed role is perfect for it. Mind you, a knit fabric is not my ideal batting fabric, but there it is. I have these firm ideas in sewing. If I’m so committed to making this piece and so committed to how it will be constructed? Well, I’m experimenting with going with these inclinations rather than fighting them.
I made some miscalculations early on in the life of the project and found myself making something big enough to lead Mardi Gras. So I now have a lot of deconstructed and reconstructed parts of that earlier iteration. There came a point when I had sewed some three metre seams when I called time on myself and decided to start again.
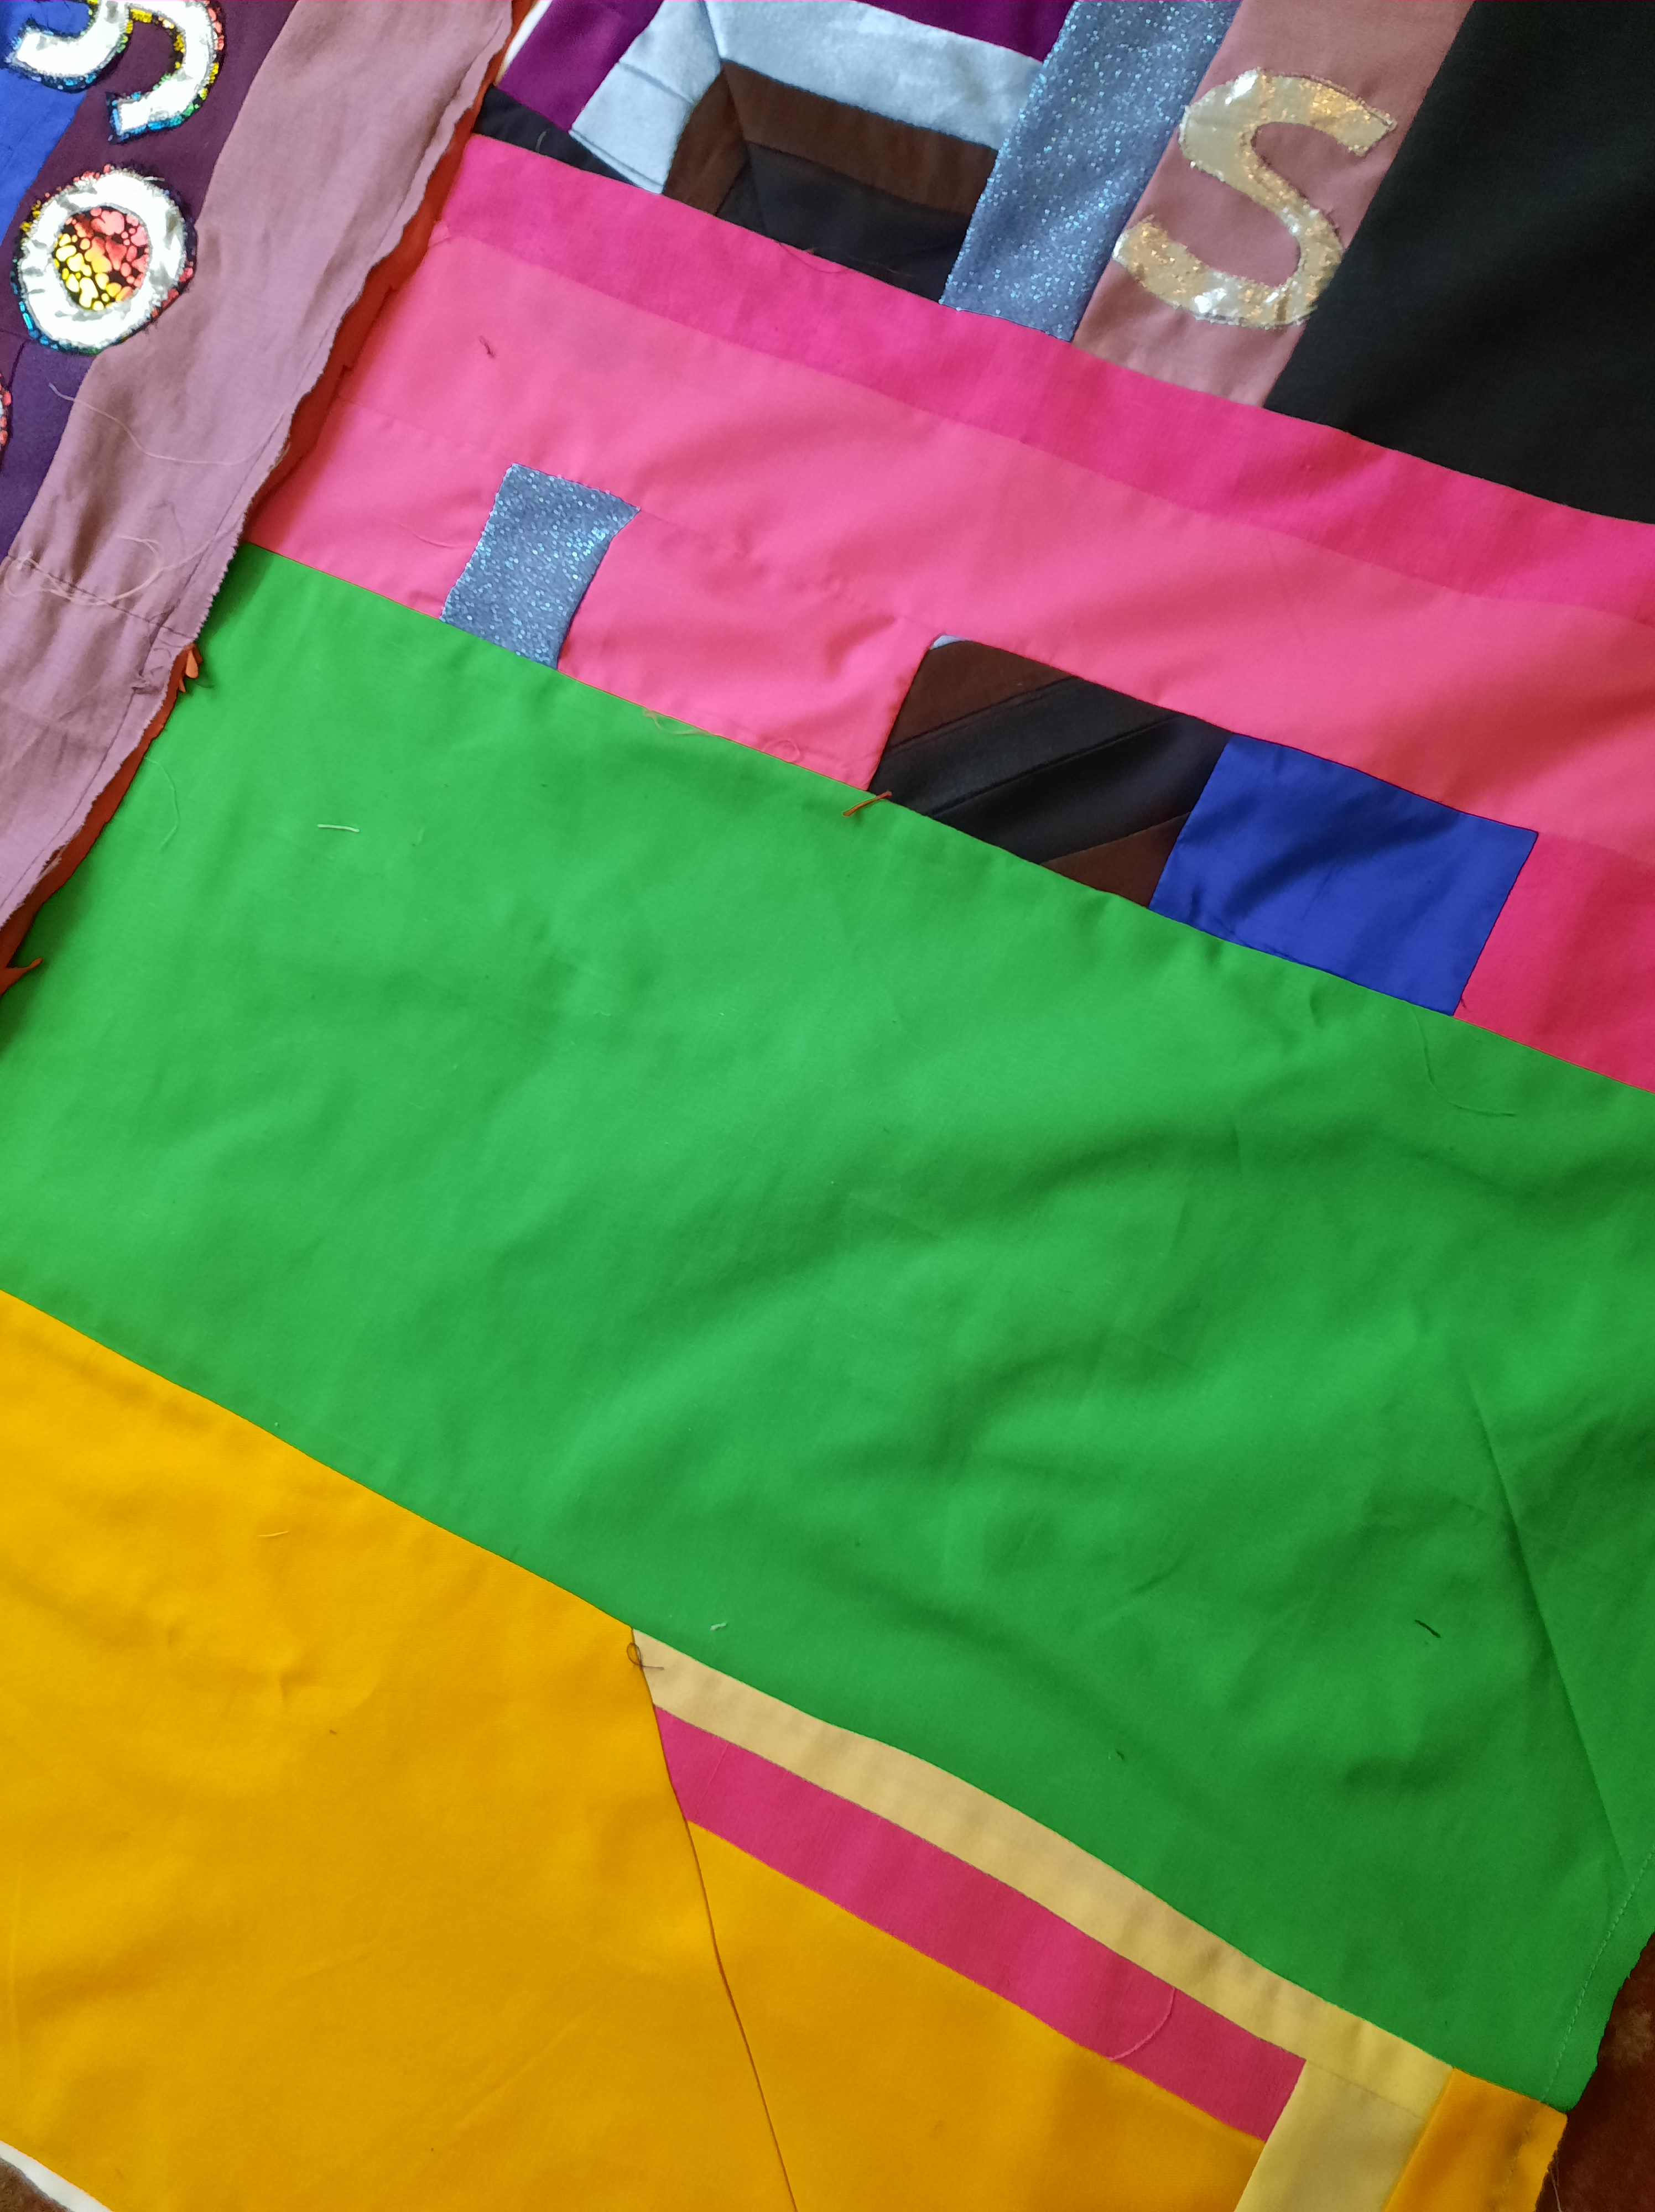
The back is made from all the bits and bobs, parts that were trimmed off, scraps discarded from the front, trial runs of lettering concepts. And here it is, out in the sunshine.
In one final, wild bit of this story–someone posted on the local Buy Nothing group that some bamboo had been dumped on a vacant lot. He was suggesting it might be good for garden stakes. Having finished this, I jumped on my bike and went over. The man who had taken the bamboo out of his yard was there, jumping up and down on a lot of bamboo in a skip. There was still very much bamboo on the ground. He was glad to share it or have any taken away. I introduced myself and set to work (with his loppers!). This is as much as I thought I could get home. I had to channel the friend most able to haul spectacular loads on his bike to get this home and there were a few hitches turning left.
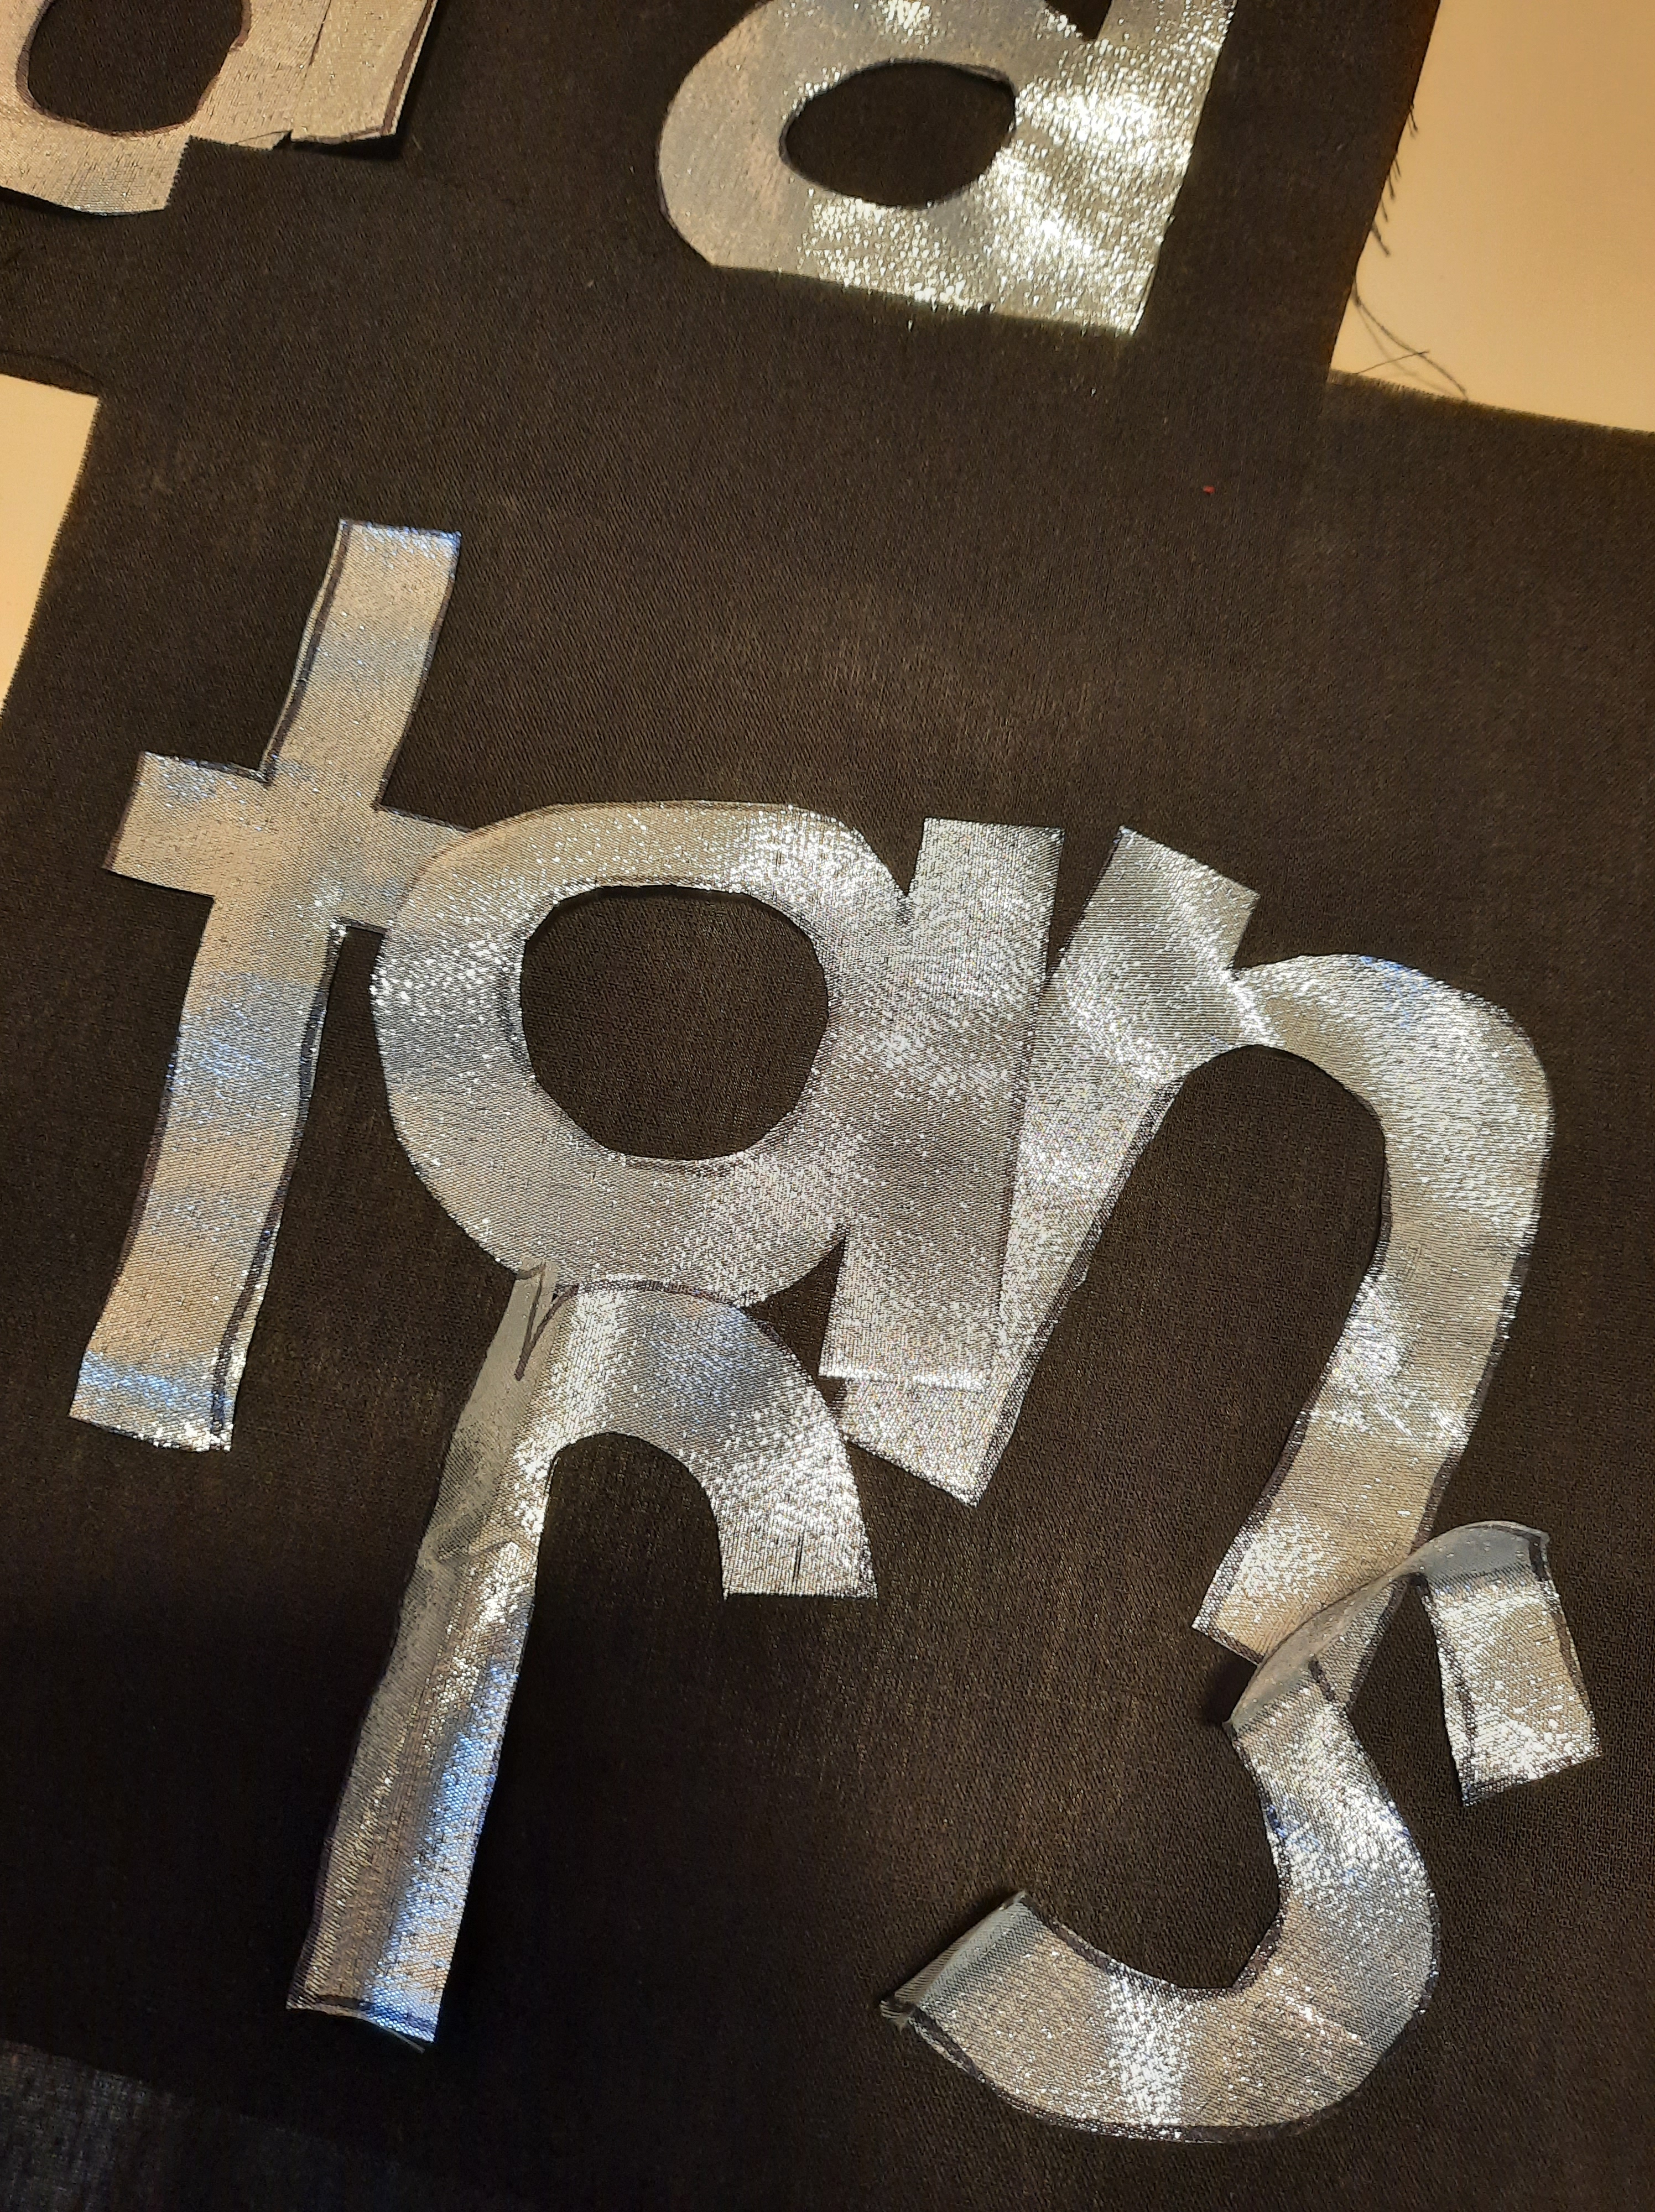
So I cut a nice fresh rod from bamboo. And here is the front of the quilt. Ah, yes, that is a passionfruit vine, as it happens!
My initial idea had exactly these words but a different arrangement of colour and pattern in the background. I have enough fabric to try again–wait and see.
I have friends who are trans. I have friends who hate on trans people, too. I’m not a fan of hating. I am especially not a fan of hating that places people’s lives and wellbeing in danger, as so much hating does. Today my fabulous friend, the one I sew with, was asking me if there was a trans day that this quilt could participate in, in some way. In my mind, the best known trans day of the year is Transgender Day of Remembrance. It is a day in remembrance of all those who have died as a result of transphobia. In particular, those who have been murdered. When I told her this, her face was a picture of sorrow and shock. I have made this quilt because I want so much more for my trans friends (and frankly, for total trans strangers). I want more for them than the rise and rise of transphobia and laws restricting the rights and freedoms of trans people. I want more for them than recognition that Trans Lives Matter (as they obviously do). I want joy for them. I want to share their joy and delight in it.
PS a beloved friend has let me know that Transgender day of Visibility is celebrated on March 31!
I mend so much that people ask me often enough: when is it time to stop? I’m currently trying to participate in #seasonofcareandrepair (which is #winterofcareandrepair in the other hemisphere). I’ve found that there are a lot of things in my wardrobe at almost every level, that are languishing in my wardrobe after, say, ten years. Or twenty. Most have already been repaired, sometimes many times. But really, it is time for me to let them go. So I am trying to work out the best possible way to responsibly deal with the end of their lives as garments.
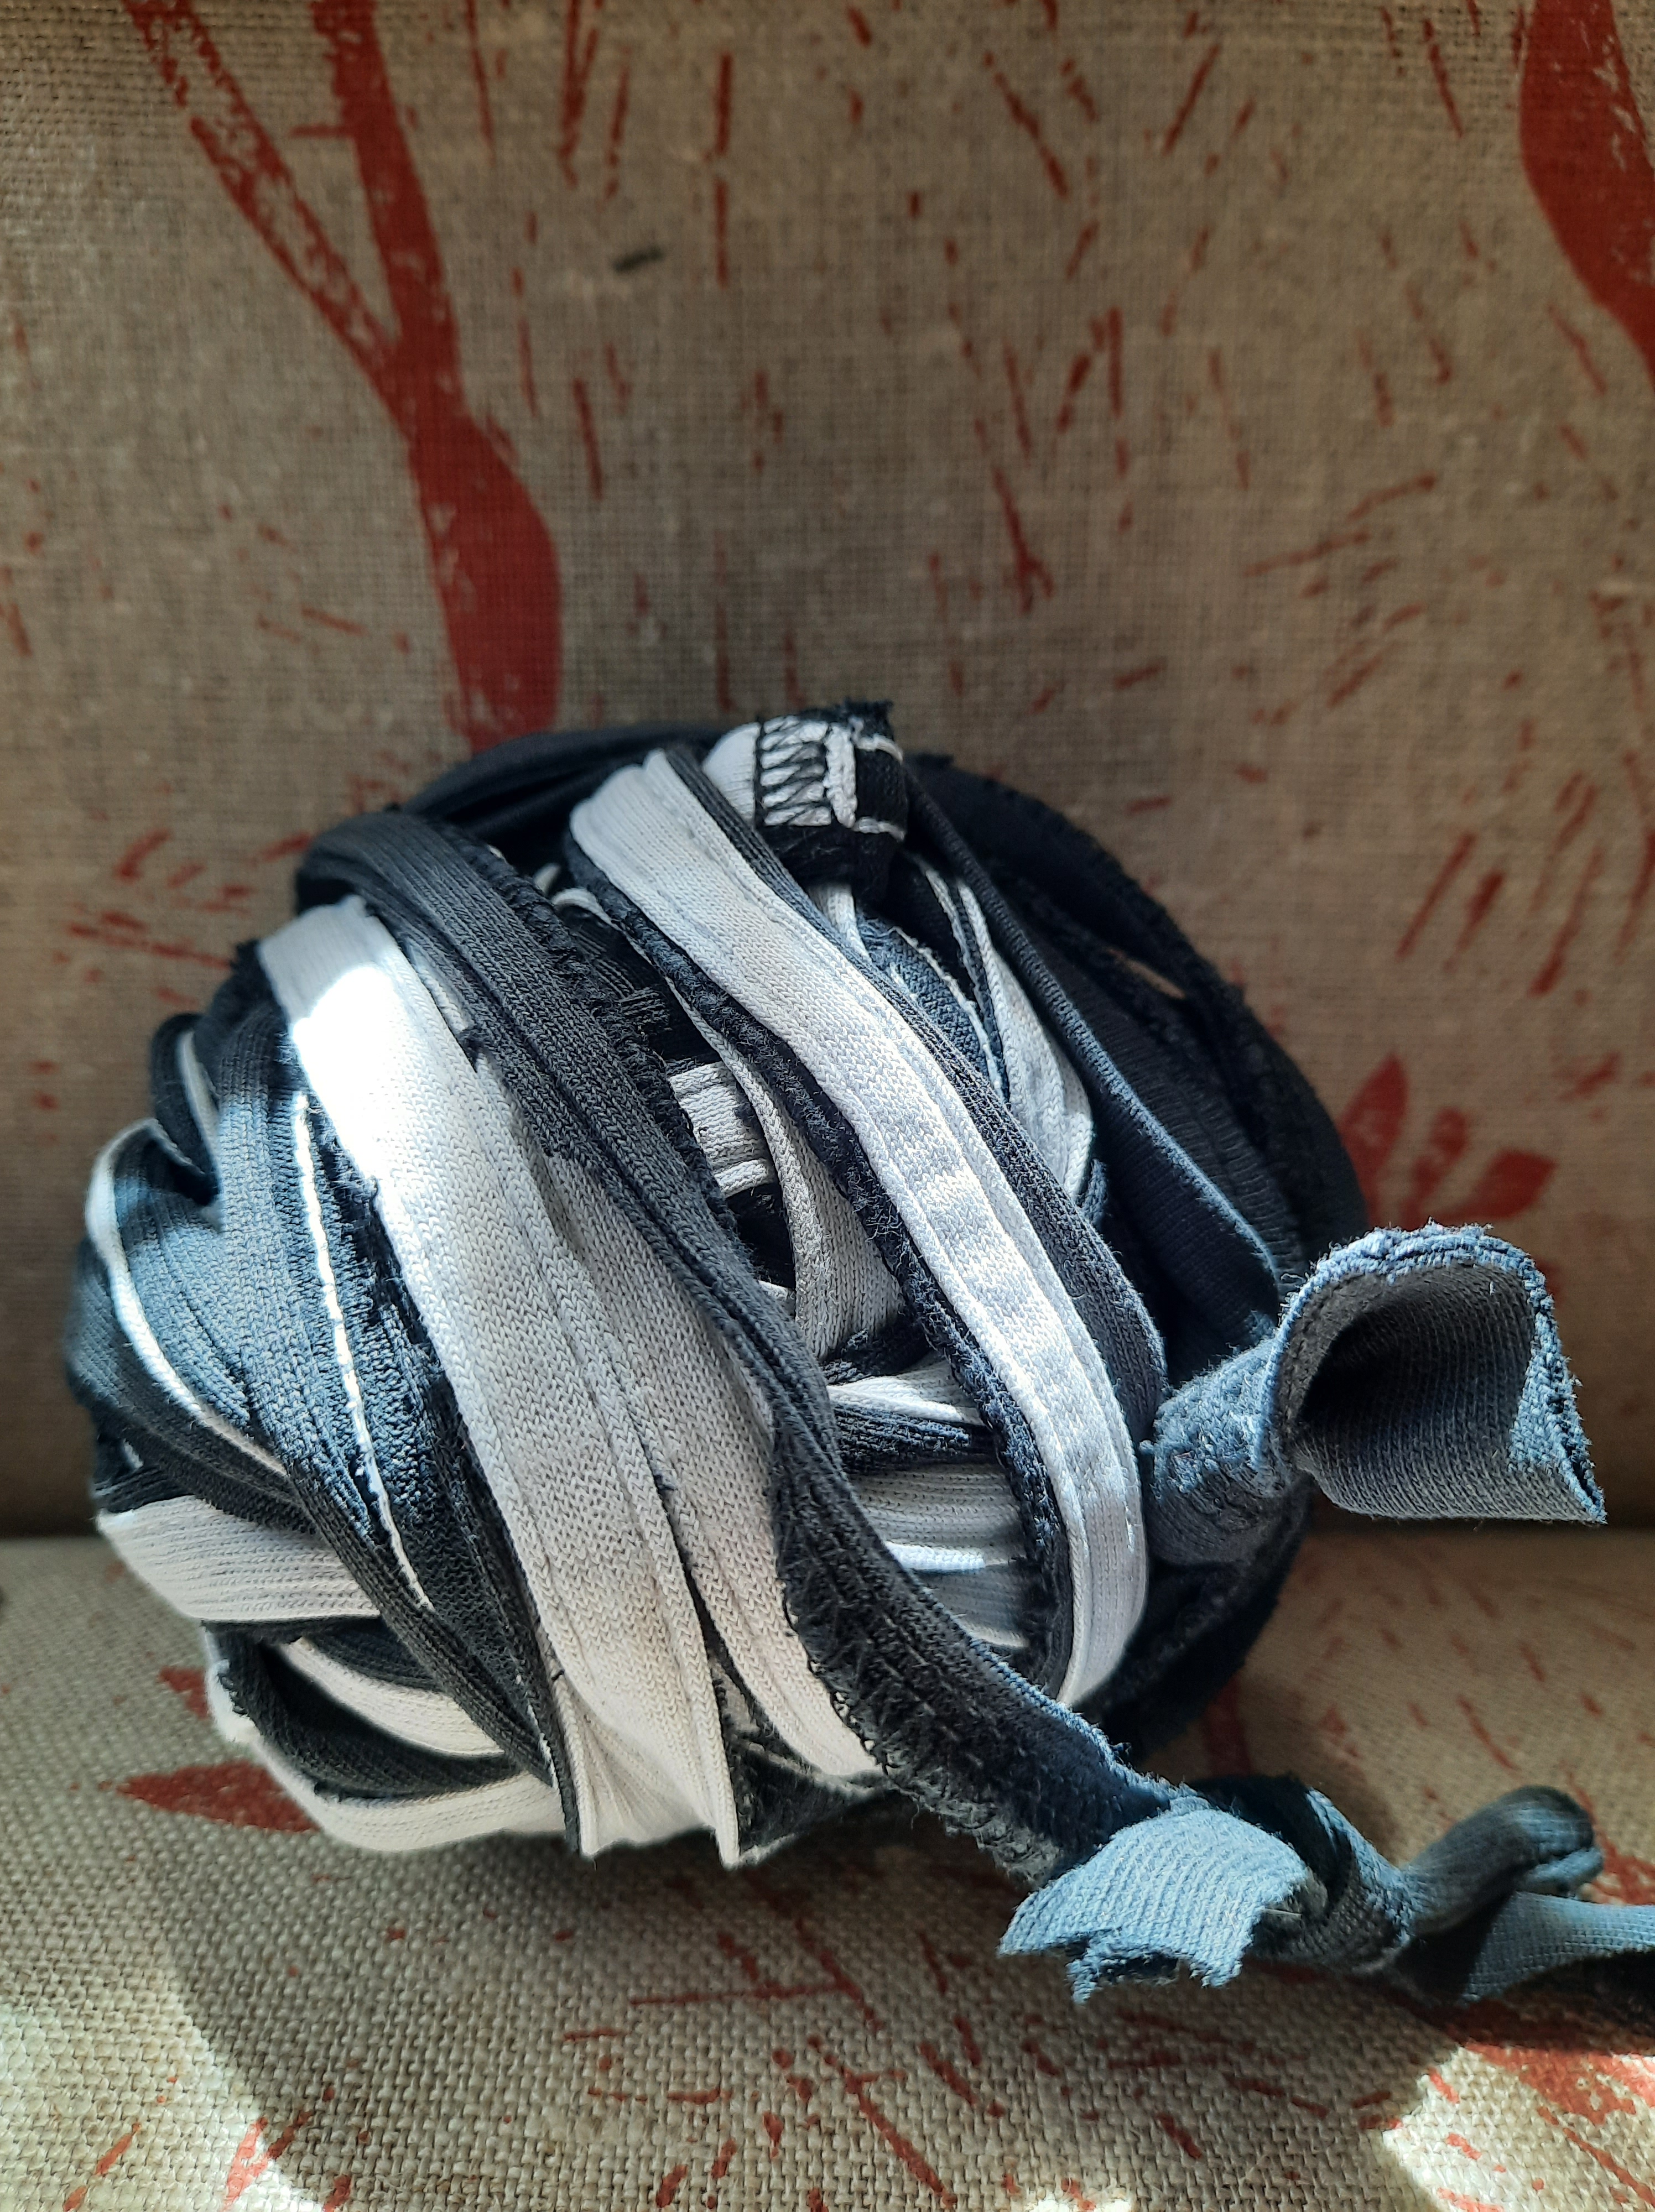
When I cut things up, the seams and hems usually end up in my ball of “string”. I use it to tie things up in the garden. Sometimes, I tie dye bundles with it (but it’s hard to pull tightly enough for that to be an ideal application). Sometimes I use it for bundles that don’t need special string. Here, I’ve tied bundles of a friend’s fabric that I gave away for her on Buy Nothing–with the recipient’s name written on a scrap of rag.
I have a bag in the room where I sew, which slowly fills up with small scraps (including small pieces of dead garment), that become stuffing for floor cushions when enough accumulates.
I salvage reusable parts of garments, like buttons and elastic, if in good enough condition for re-use.
With a 5 year old to sew for, quite a bit of quality elastic from garments that are tearing away from the waistband, has gone into little cotton pants she will wear. Buttons go from one garment to another. I stopped buying new buttons years ago, after reading about one place in China where most buttons in the world were made, and the way that dyes and such were poisoning the water there–and from the water, to people, land, fish and every other living thing. In my own country, I could see how many buttons were accumulating in op shops where they were clearly being cut from garments sent for rag. One place I used to go, volunteers would sew them onto pieces of card. What dedication! I give buttons away to new menders as I teach them how to sew on a button. And even so, I have an enormous collection as both sides of my family and my in laws have given their ancestral buttons to me. People in my family have too many clothes.
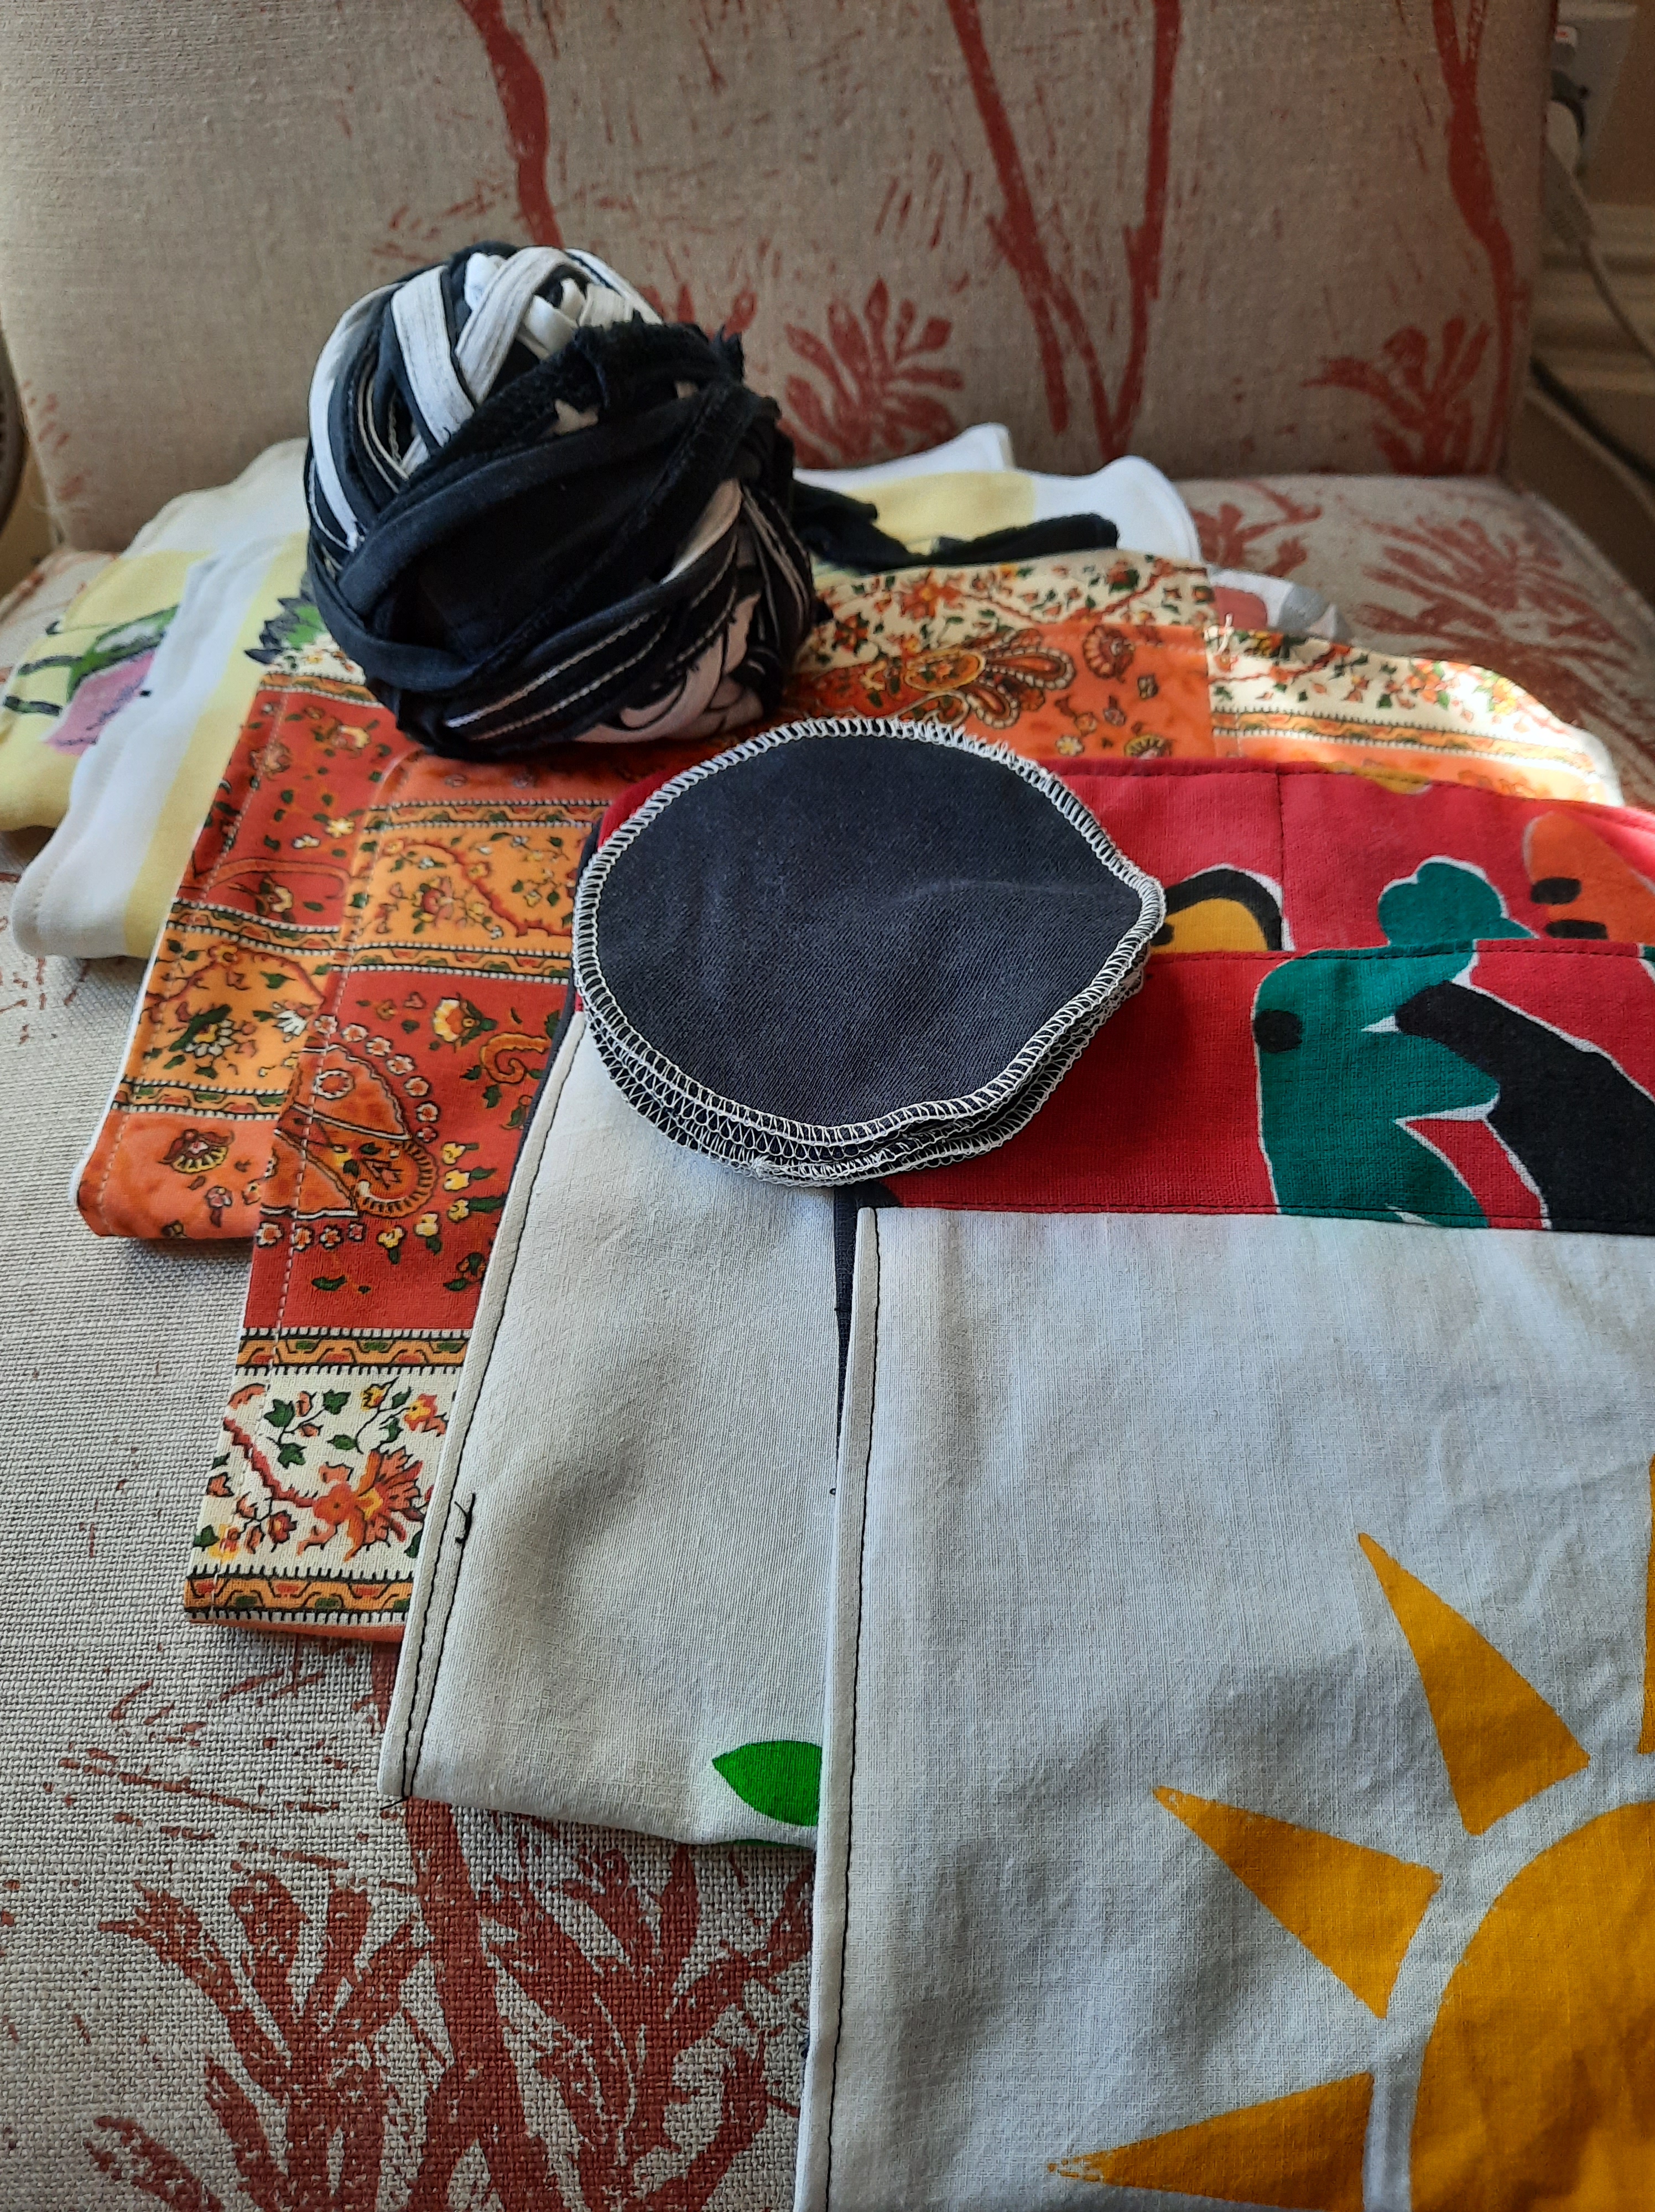
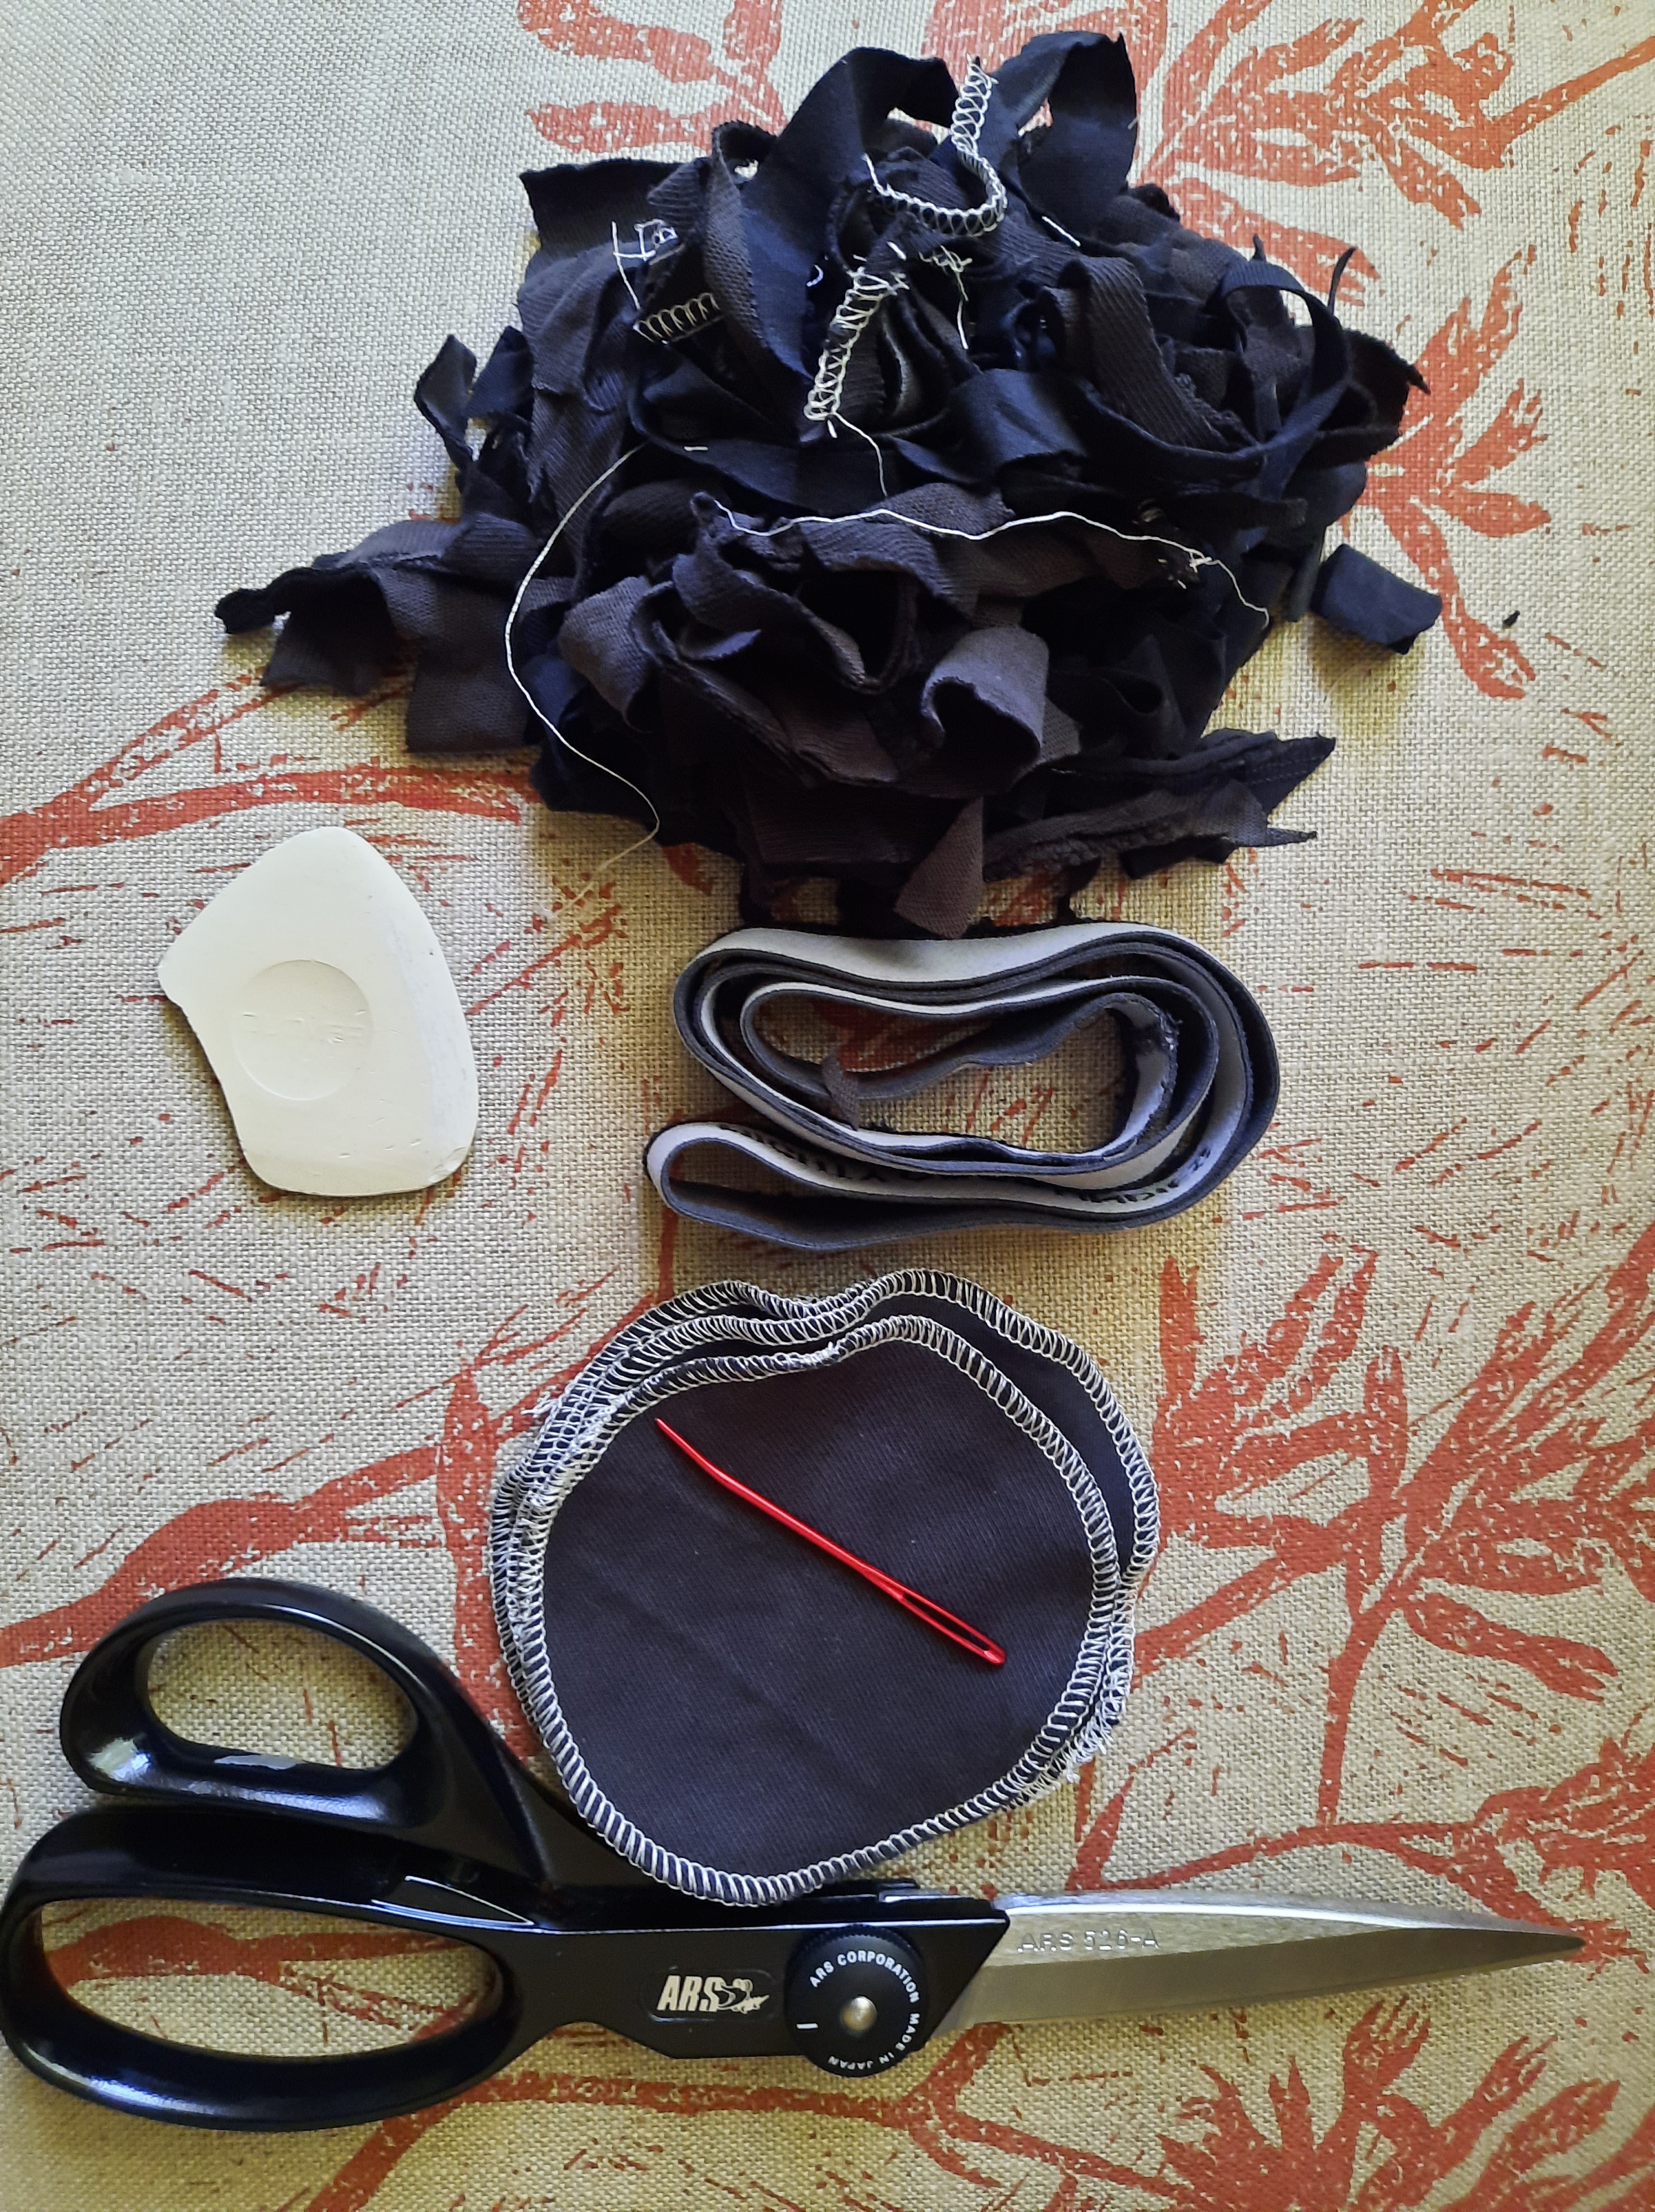
But these are applications only for parts of garments I can’t otherwise use. Here, I’ve teamed up dead t shirts (cotton knit) as one side of a cleaning cloth, with dead table cloth, or a patch made with old sheet on the other side. Smaller parts of t shirts and other dead knit garments become small round cleaning pads (double layer, overlocked together). These can be used in any place a person would use a folded tissue or a cotton pad–and washed and re used.
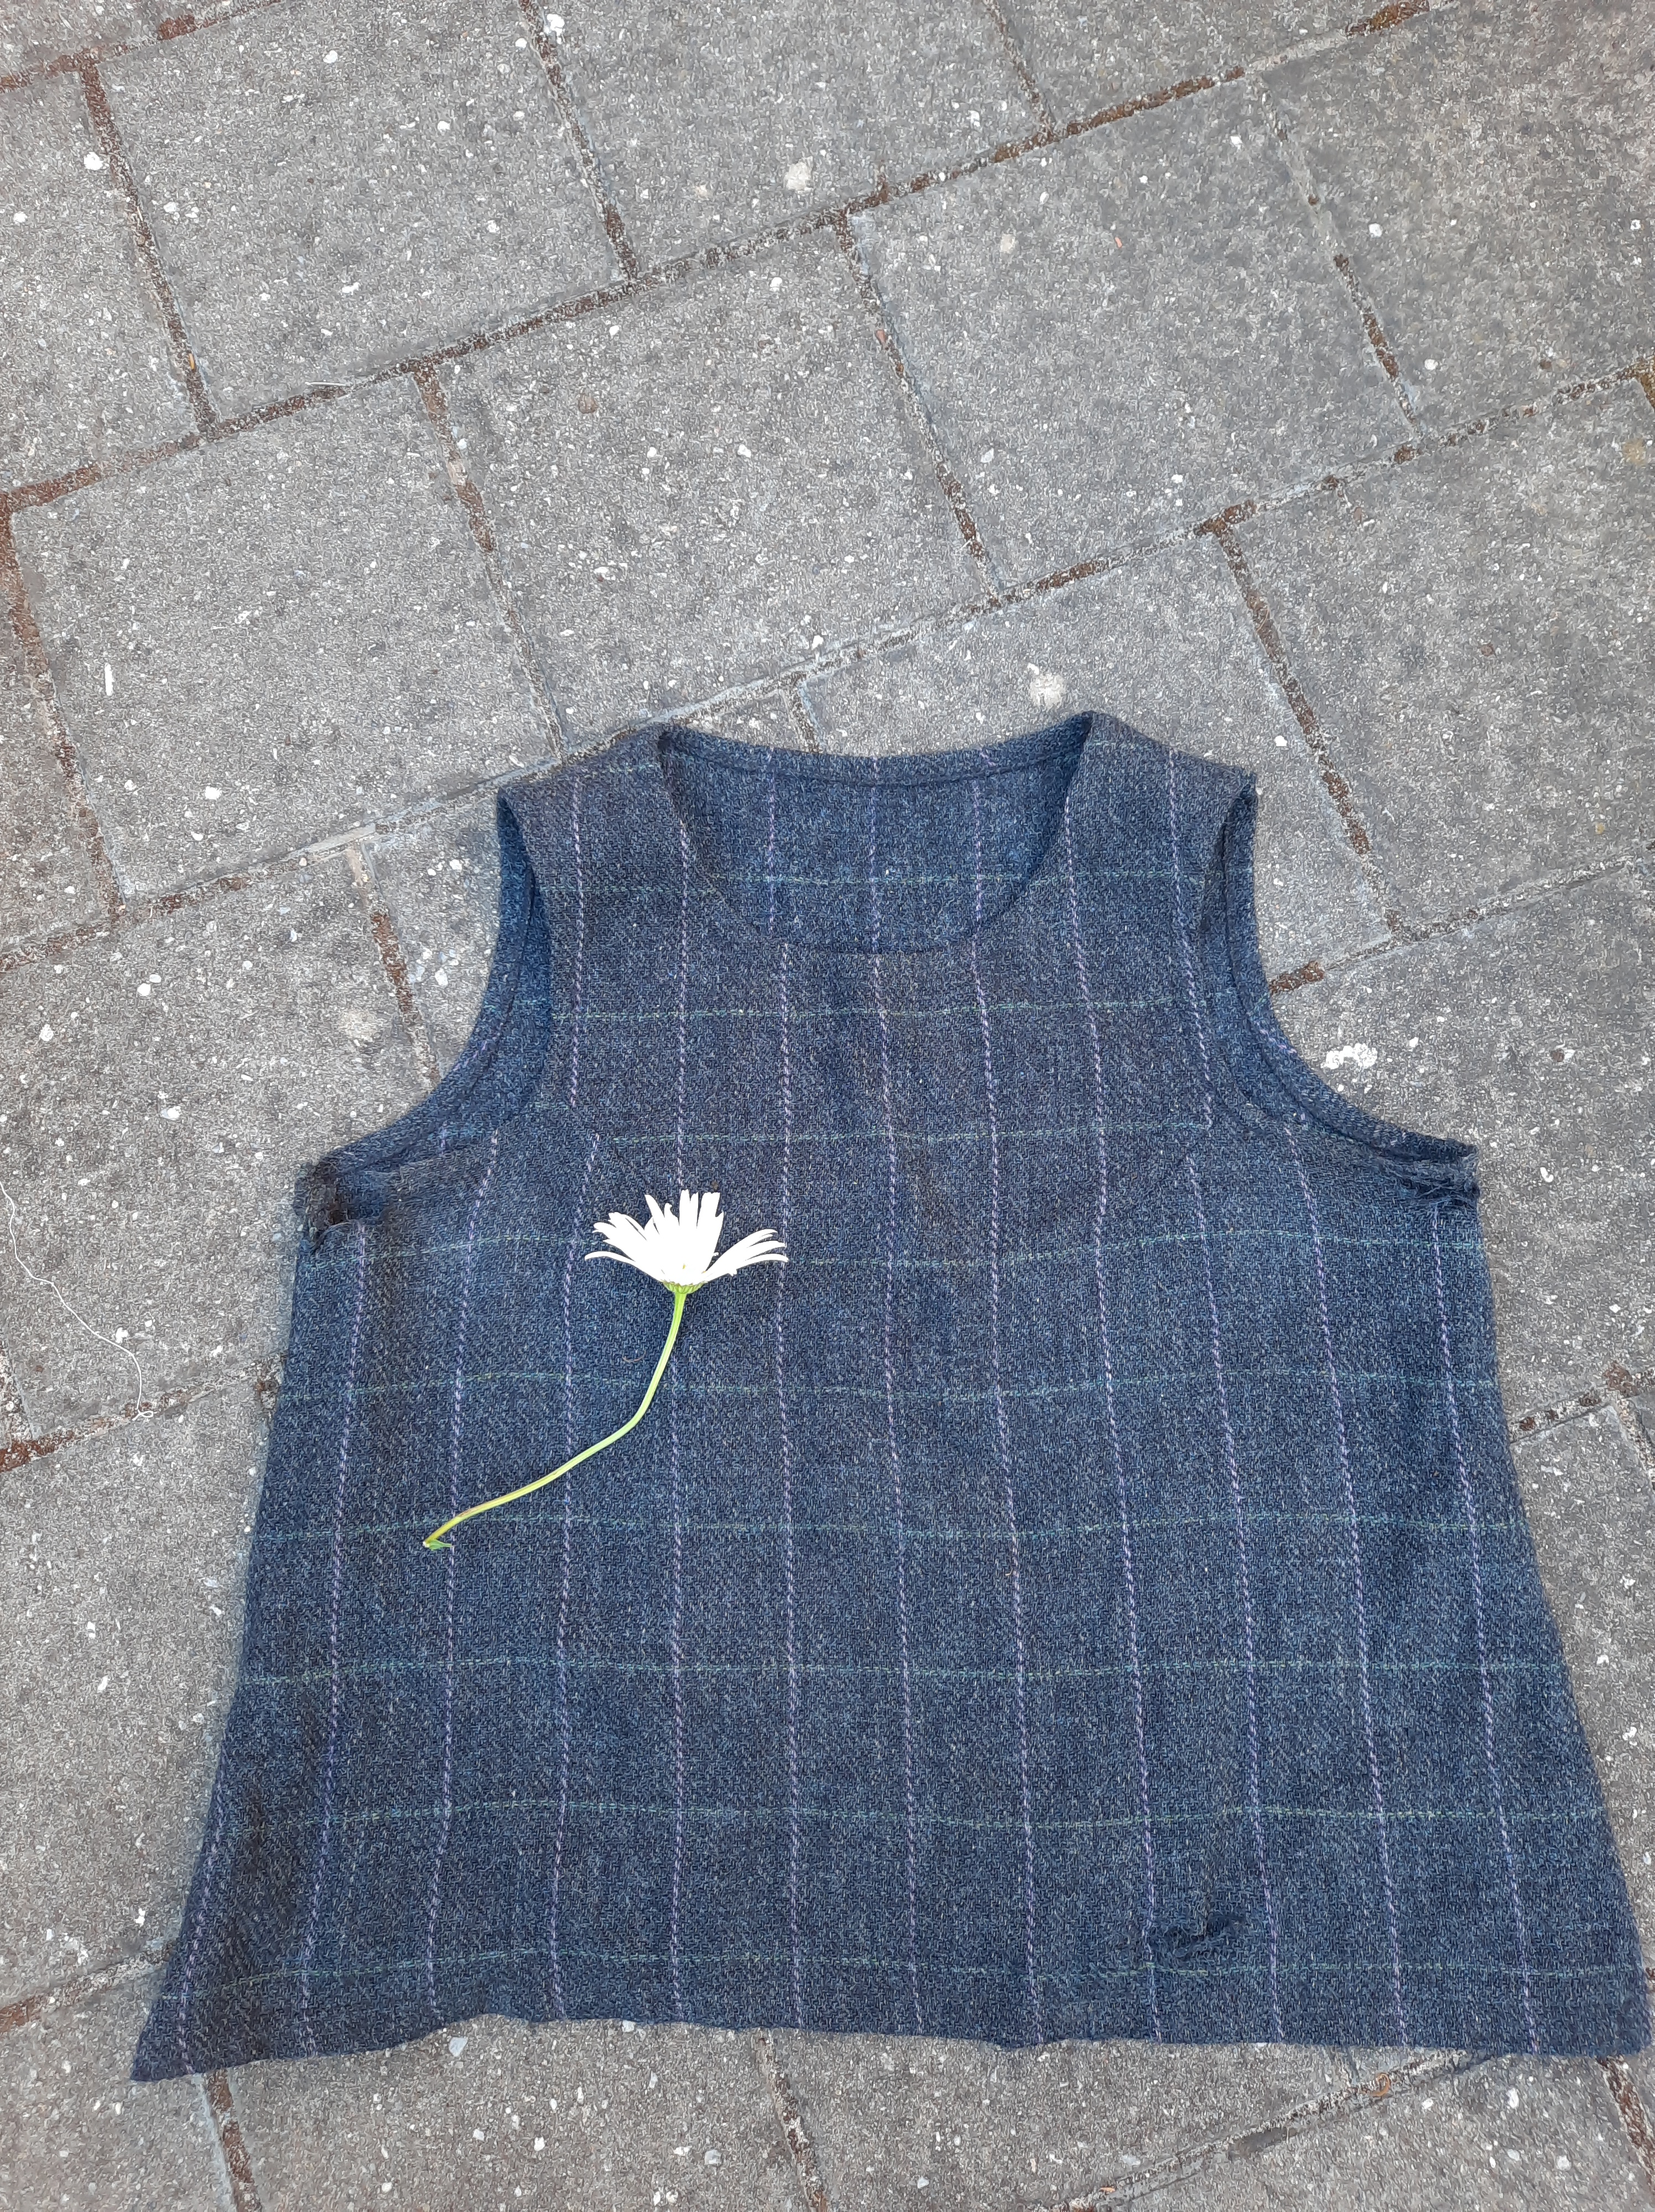
This is one of the garments I have set free. I made it years ago and have worn it most days through most winters, for many years. It is the kind of garment that drives your partner a bit nuts and causes friends and acquaintances to make jokes. Well, obviously it is my relationship with the garment and not the garment alone that is the butt of the joke! I made it from a piece of Harris Tweed I found in an op shop, complete with the cardboard with their logo on it, in the cellophane bag. It had apparently been purchased directly from Harris Tweed Shop and never sewn into anything. Moths had nibbled it, but it was so sturdy anyway, I didn’t ever repair those thinned places. It took years of washing and wear to become at all soft. Finally, it had become so threadbare… that I have soaked it in water and put it inside one of our worm farms so that it can rejoin the soil.
It looks to me as though I used polyester overlocking thread. In my experience worms and microbes will take the rest, and I will be able to pull the overlocking thread out and send it to landfill. Which is a reason not to use polyester overlocking thread, of course. But here we all are, still always learning and figuring out what not to do, and living with prior choices. Me included.
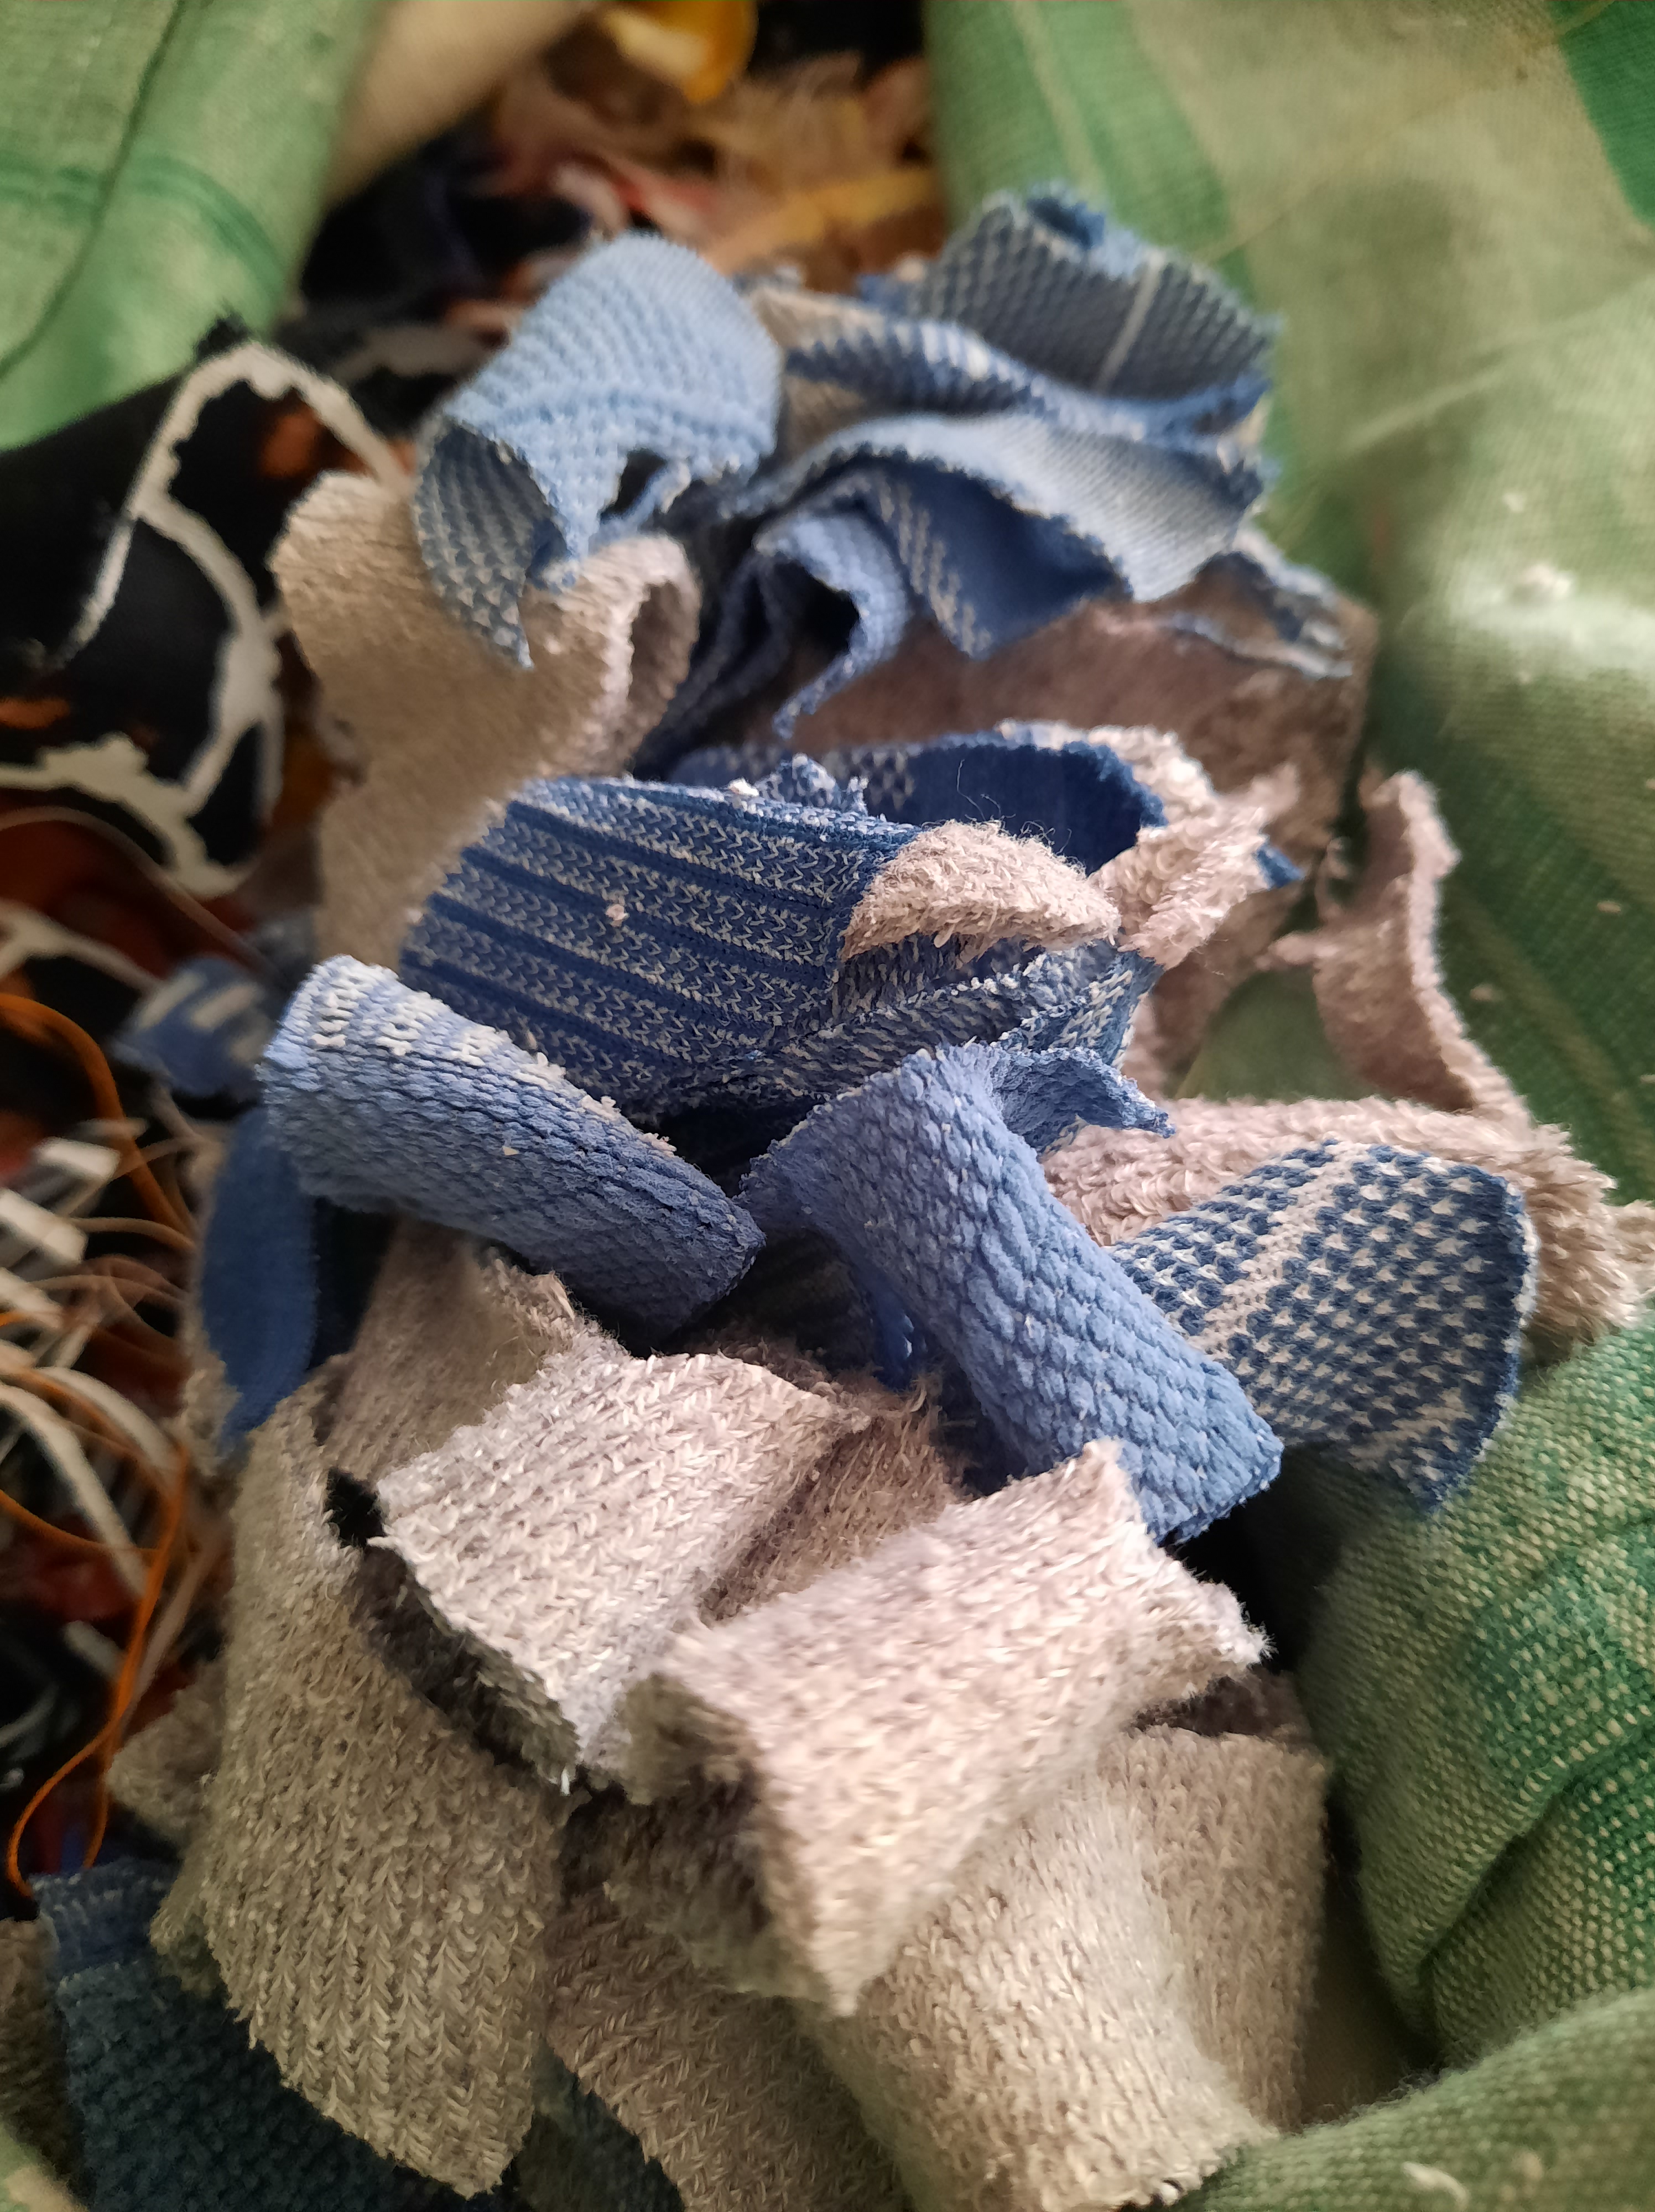
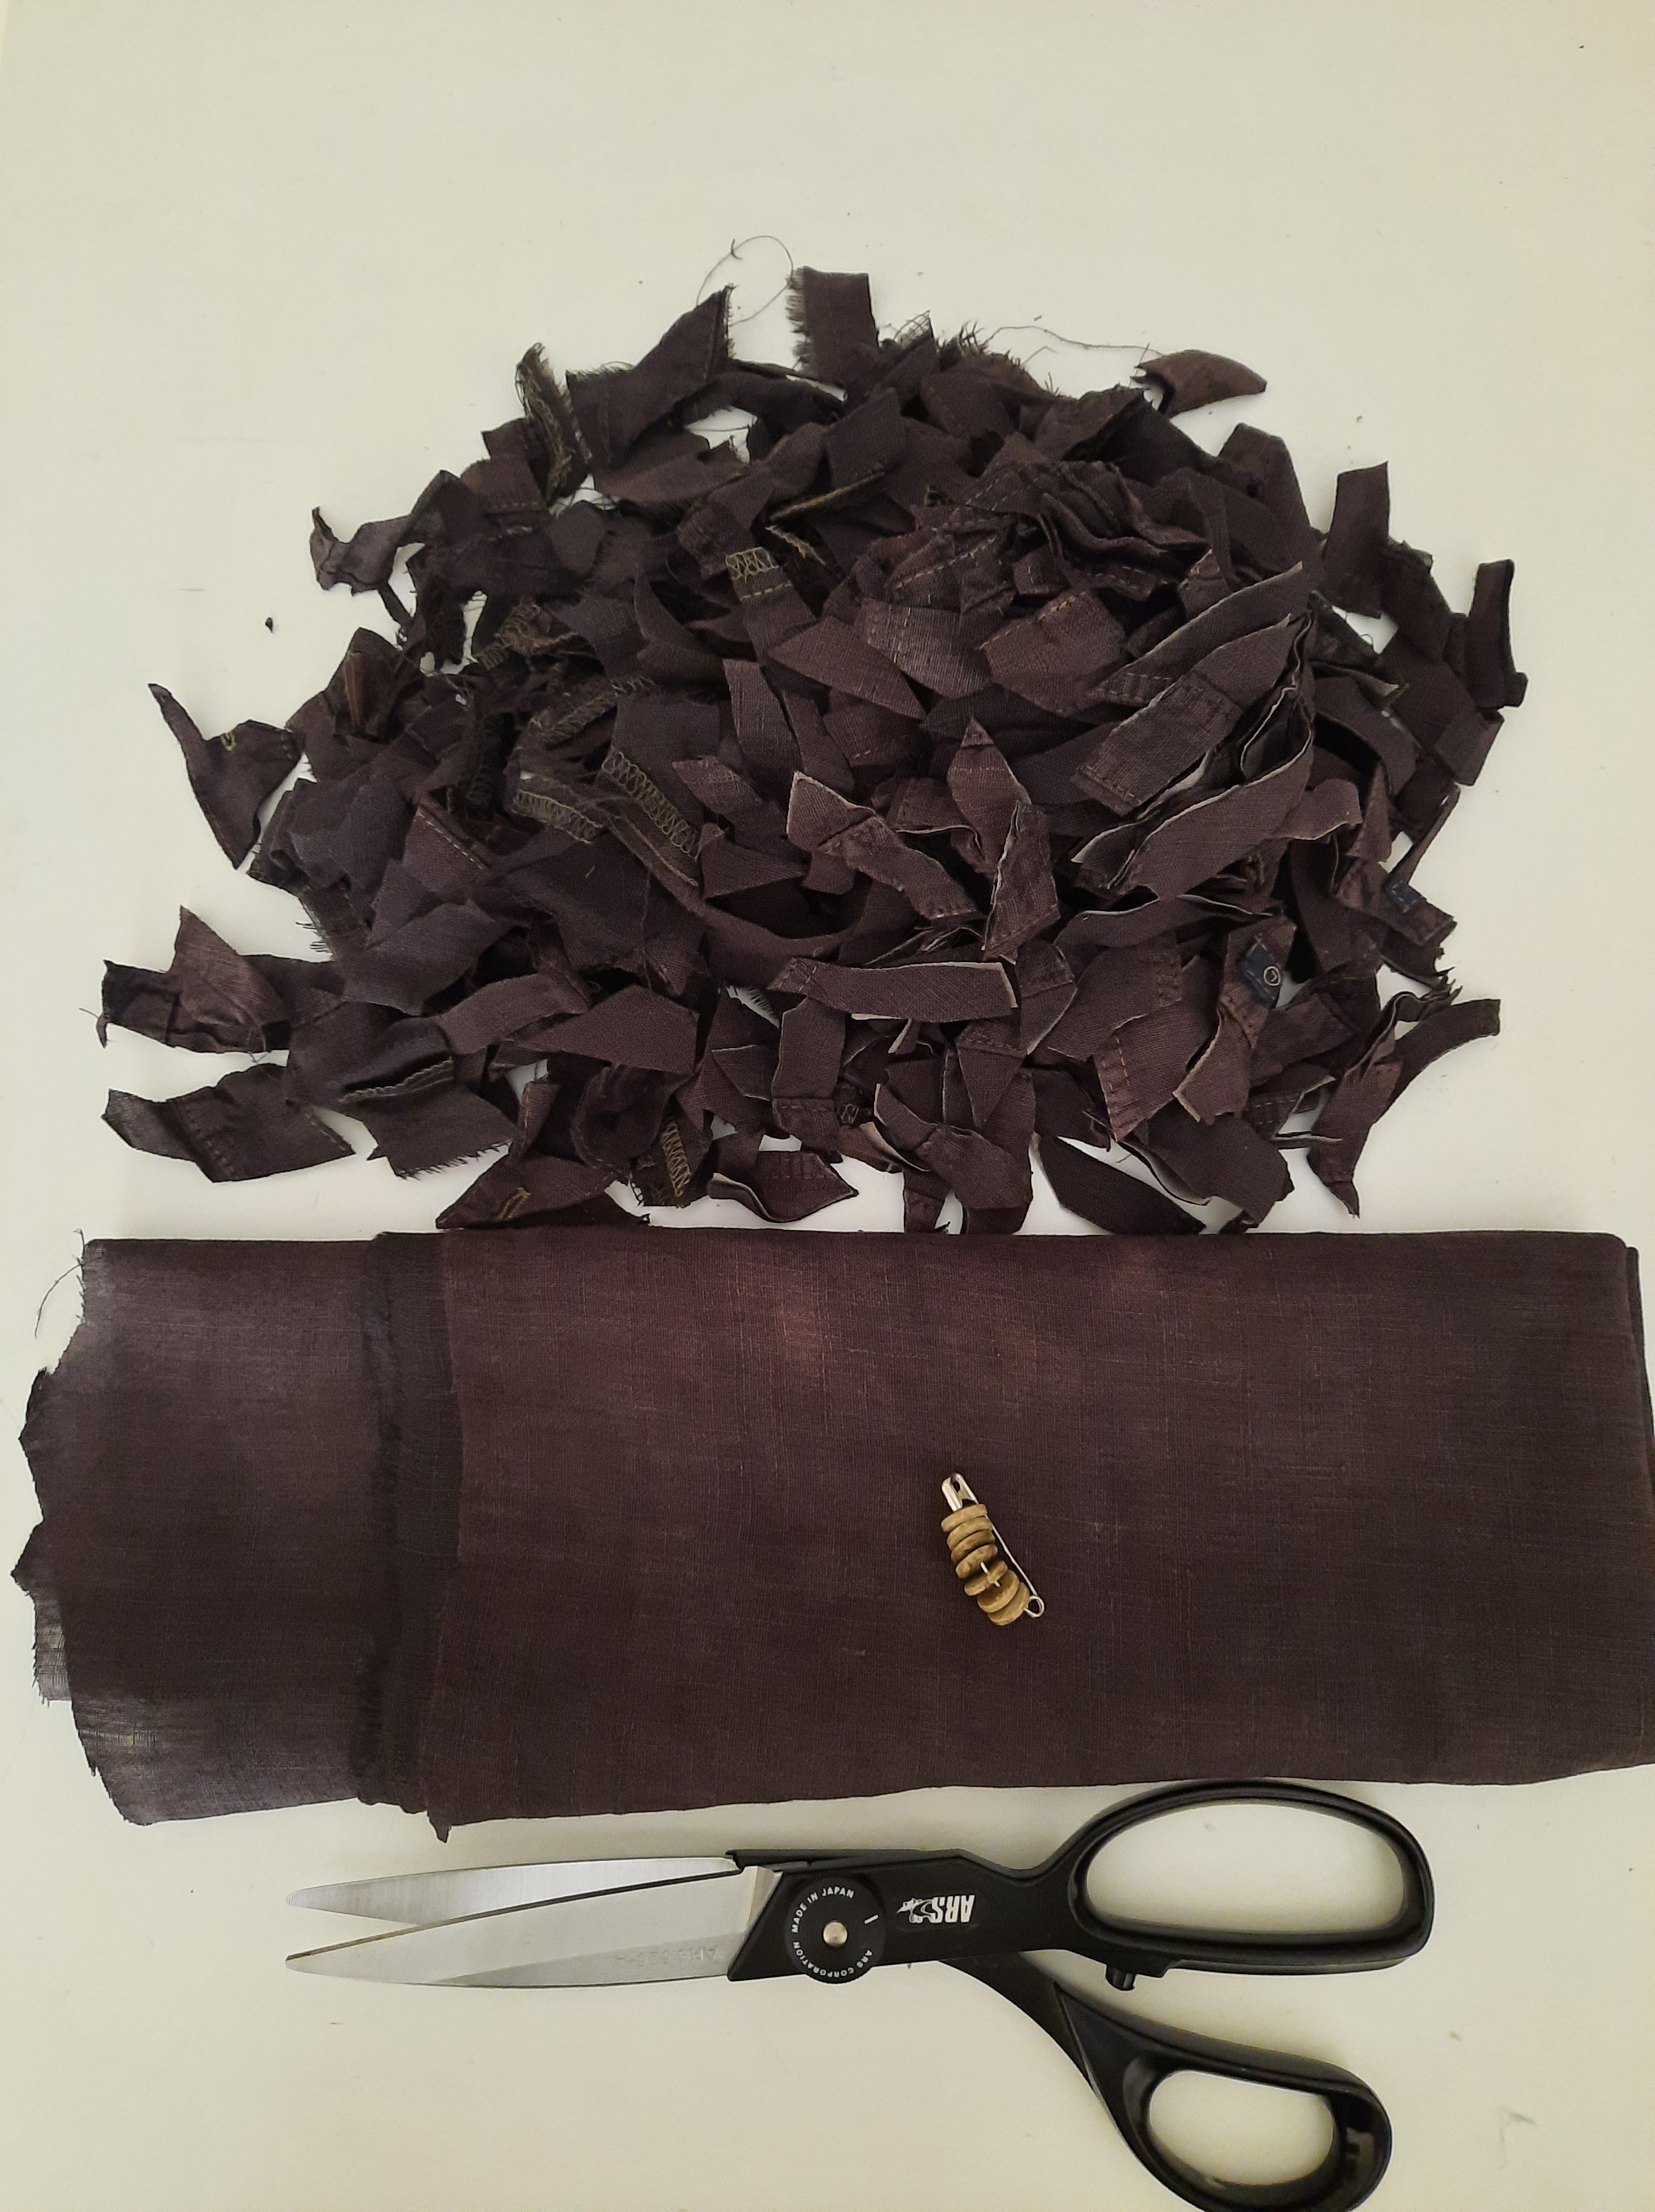
I have regretfully let this lovely hemp shirt go, too. I bought it in a country town in New South Wales many years ago, maybe twenty. It was green. I eventually overdyed it black, twice. Over time, it became clear there was a thinner place in the fabric at the upper back that might have been a flaw in the fabric when it was woven. Hemp is such tough stuff it never tore there. But it has now faded from dye job number 3; and worn through on all its edges and many seams. I cut it up, turned it into cleaning cloths where I could, saved the lovely buttons, and turned what remained into string or stuffing. As you can see, I turned a holey tea towel to cleaning cloths the same day.
As things disintegrate, I’m trying to rigorously cut them apart into reusable, salvageable and stuffing!
As I go, I’m also mending things that are really well past their years of looking decent. This shirt, for instance, I still love wearing to garden and for filthy jobs. But it must have encountered a caustic chemical (that created many holes in otherwise intact cloth) and has some brutal mends, and a lot of them, on it! I mended it more rather than give up on it because the fabric is still (mostly) sturdy and it still makes a great gardening shirt. And I still enjoy it. And I had three days of rubbish collection to do and wanted a comforting companion. I reckon I acquired this second hand at least 25 years ago.
But the feeling has been growing in me, that I have a lot of clothes that are made of linen, that need to go. Shirts that have rubbed right through in places that do not seem like obvious wear spots, like sleeves. Two so threadbare they are pretty much see through these days. Maybe I should try to take a pattern from one of them, and make another. Pants that have been patched and worn and patched and worn… and that I now feel worried about wearing out of the house because one day the seat will rip right through!!
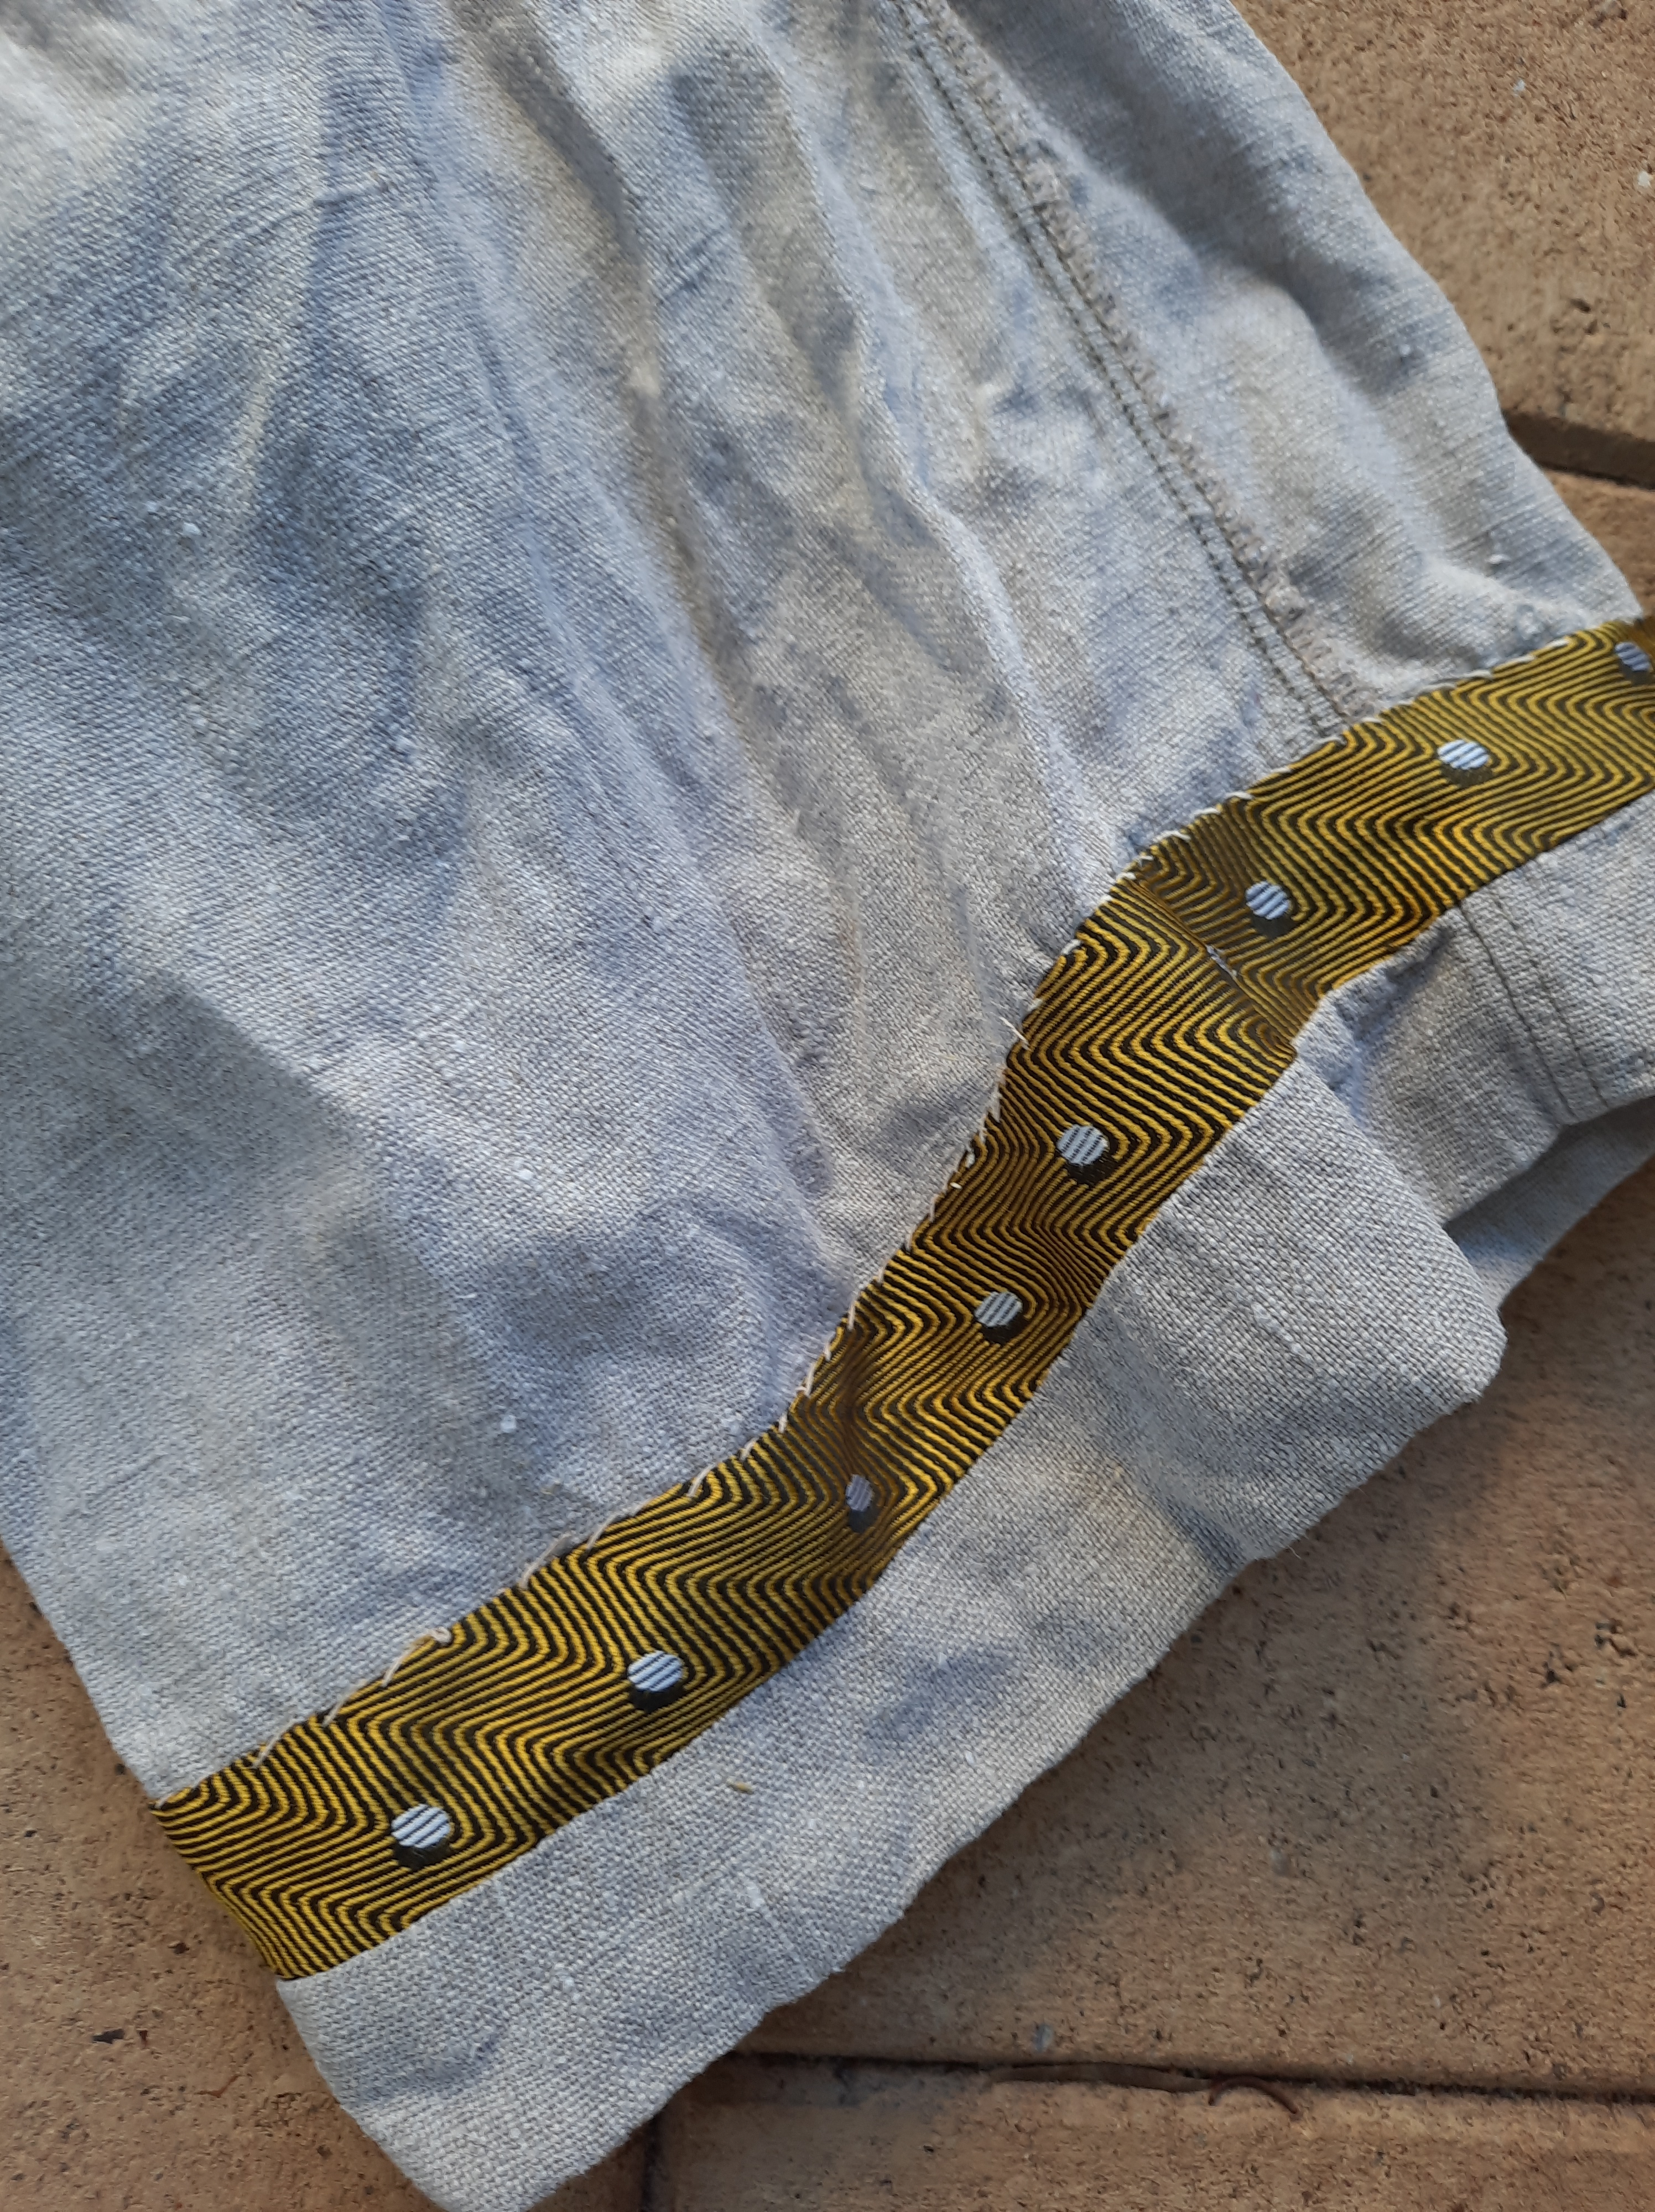
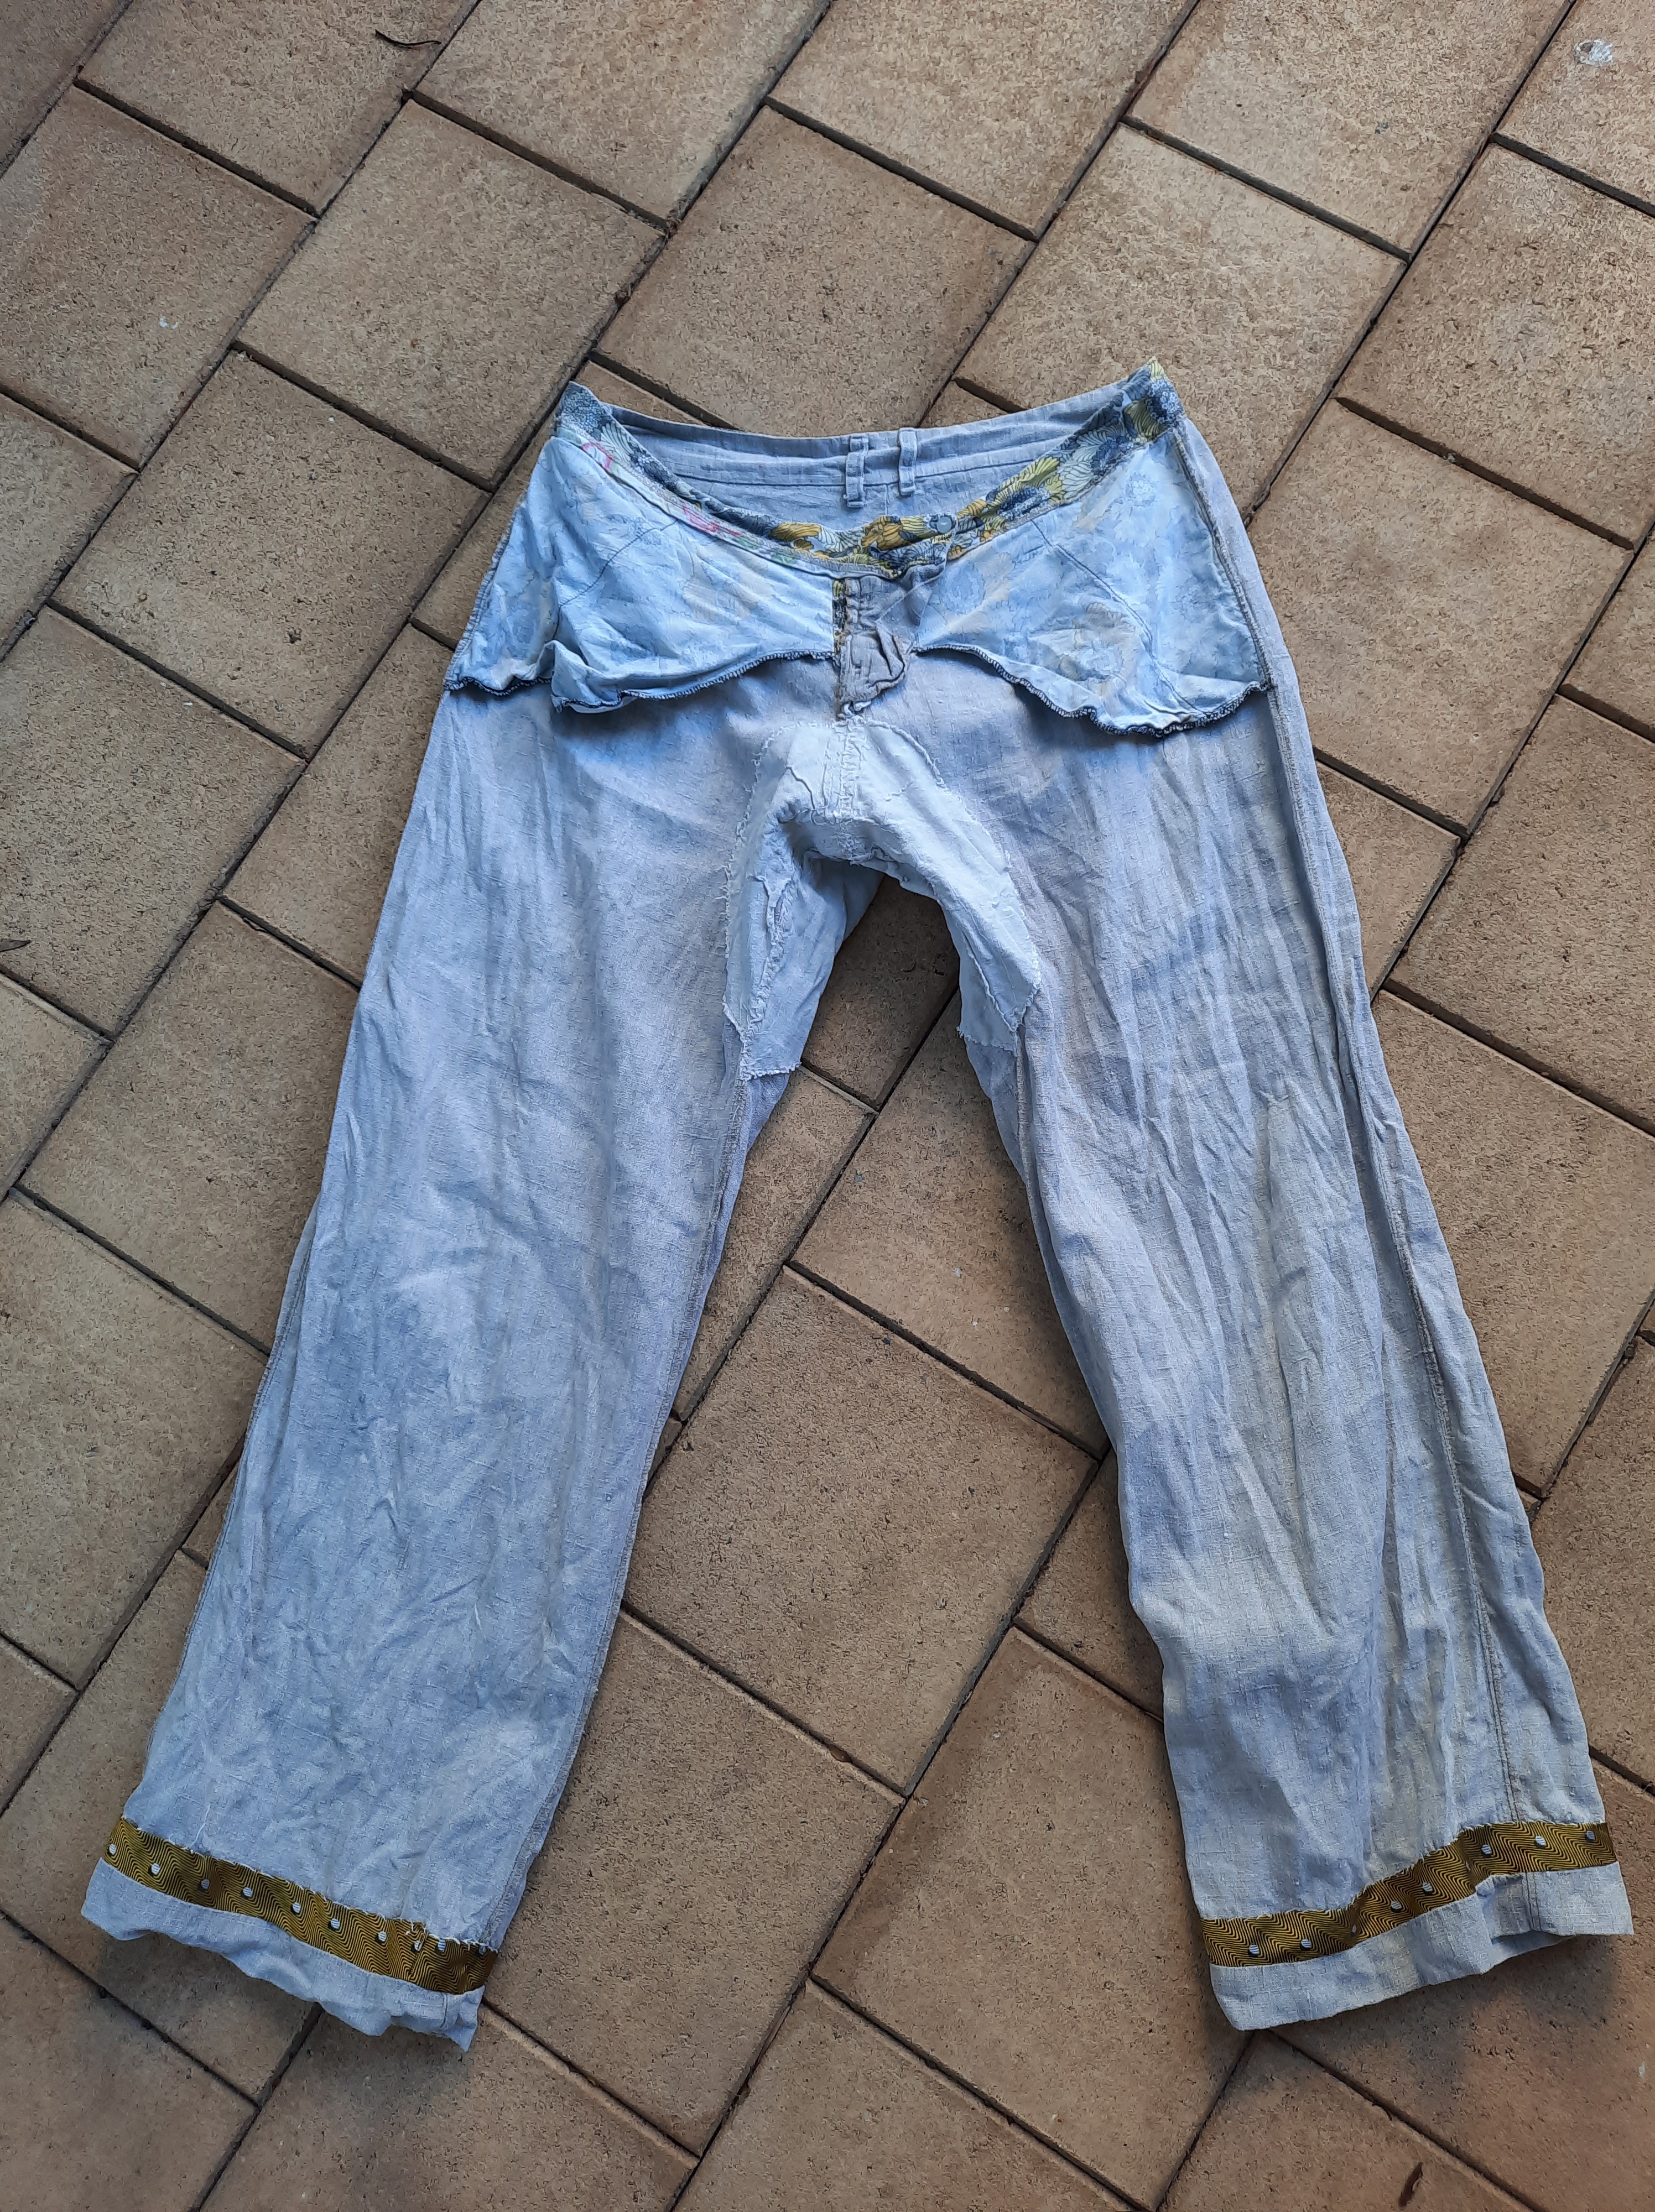
These, for instance. I wore them last week and realised that the reason they have been in the drawer and not on my body this summer is because I don’t trust them to hold up for the bike ride in and out of town. Their days of being best are far behind them. The patches on the inside are not keeping up with the wear on the inner thighs any more. So tonight, I’m going to cut them up with great sadness. This fabric was found, not bought. I loved facing that waistband with that fun floral print. The zipper was once yellow. Now only the plastic and metal parts are yellow, the rest is white. The fabric is a completely different shade than when I made them. I see I used an old favourite shirt I’d finally pensioned off for interfacing. And what fun to have that home made bias binding at the cuffs, made from an op shop tie! I have sewn up that hem more than once. Anyway. I think I have an idea for how these much worn, much laundered and much loved linen garments can live on in a different form in my life. So I’m going to admit that it is time, start the process of deconstruction, and move them to another stage. The final trigger was having a creative idea for re-use but also, wearing another pair to teach mending today. I took extra pants just in case. Which made clear to me that I can’t trust this other pair of trousers anymore! And after the workshop was over, I got into the car with my phone in my pocket, and there was an almighty RIP!!!
This is the view from the waistband, with the side seam ripped apart and my fingers poking through. I have laundered them and they are drying, ready for the big SNIP. It may be time to make more summer pants, or make better friends with the ones I’ve been wearing less. Thanks, dear reader, for keeping me company as I let go of these trousers. They have been my companions in settings where I tried very hard to put across an image of myself as a professional woman, no matter how scared or inadequate I felt at times. Someone who could be trusted to wear pale pants and not spill beetroot juice on them. Someone who was cool as a cucumber and trustworthy, in cream linen. This last pair, I bought out of necessity for an appropriate summer garment when I had just been “promoted” to the highest point in my life in day job. I thank them for their service. We have both moved on. Let’s see what comes next for us both!
And because metaphors … this is a ladybird larva. Nymph? Anyway. I hope by now this little creature that landed on my ear in the garden one day, has grown wings and emerged as a ladybird and has lived or is living their best ladybird life. Let’s see what becomes of my pants and the associated shirts!
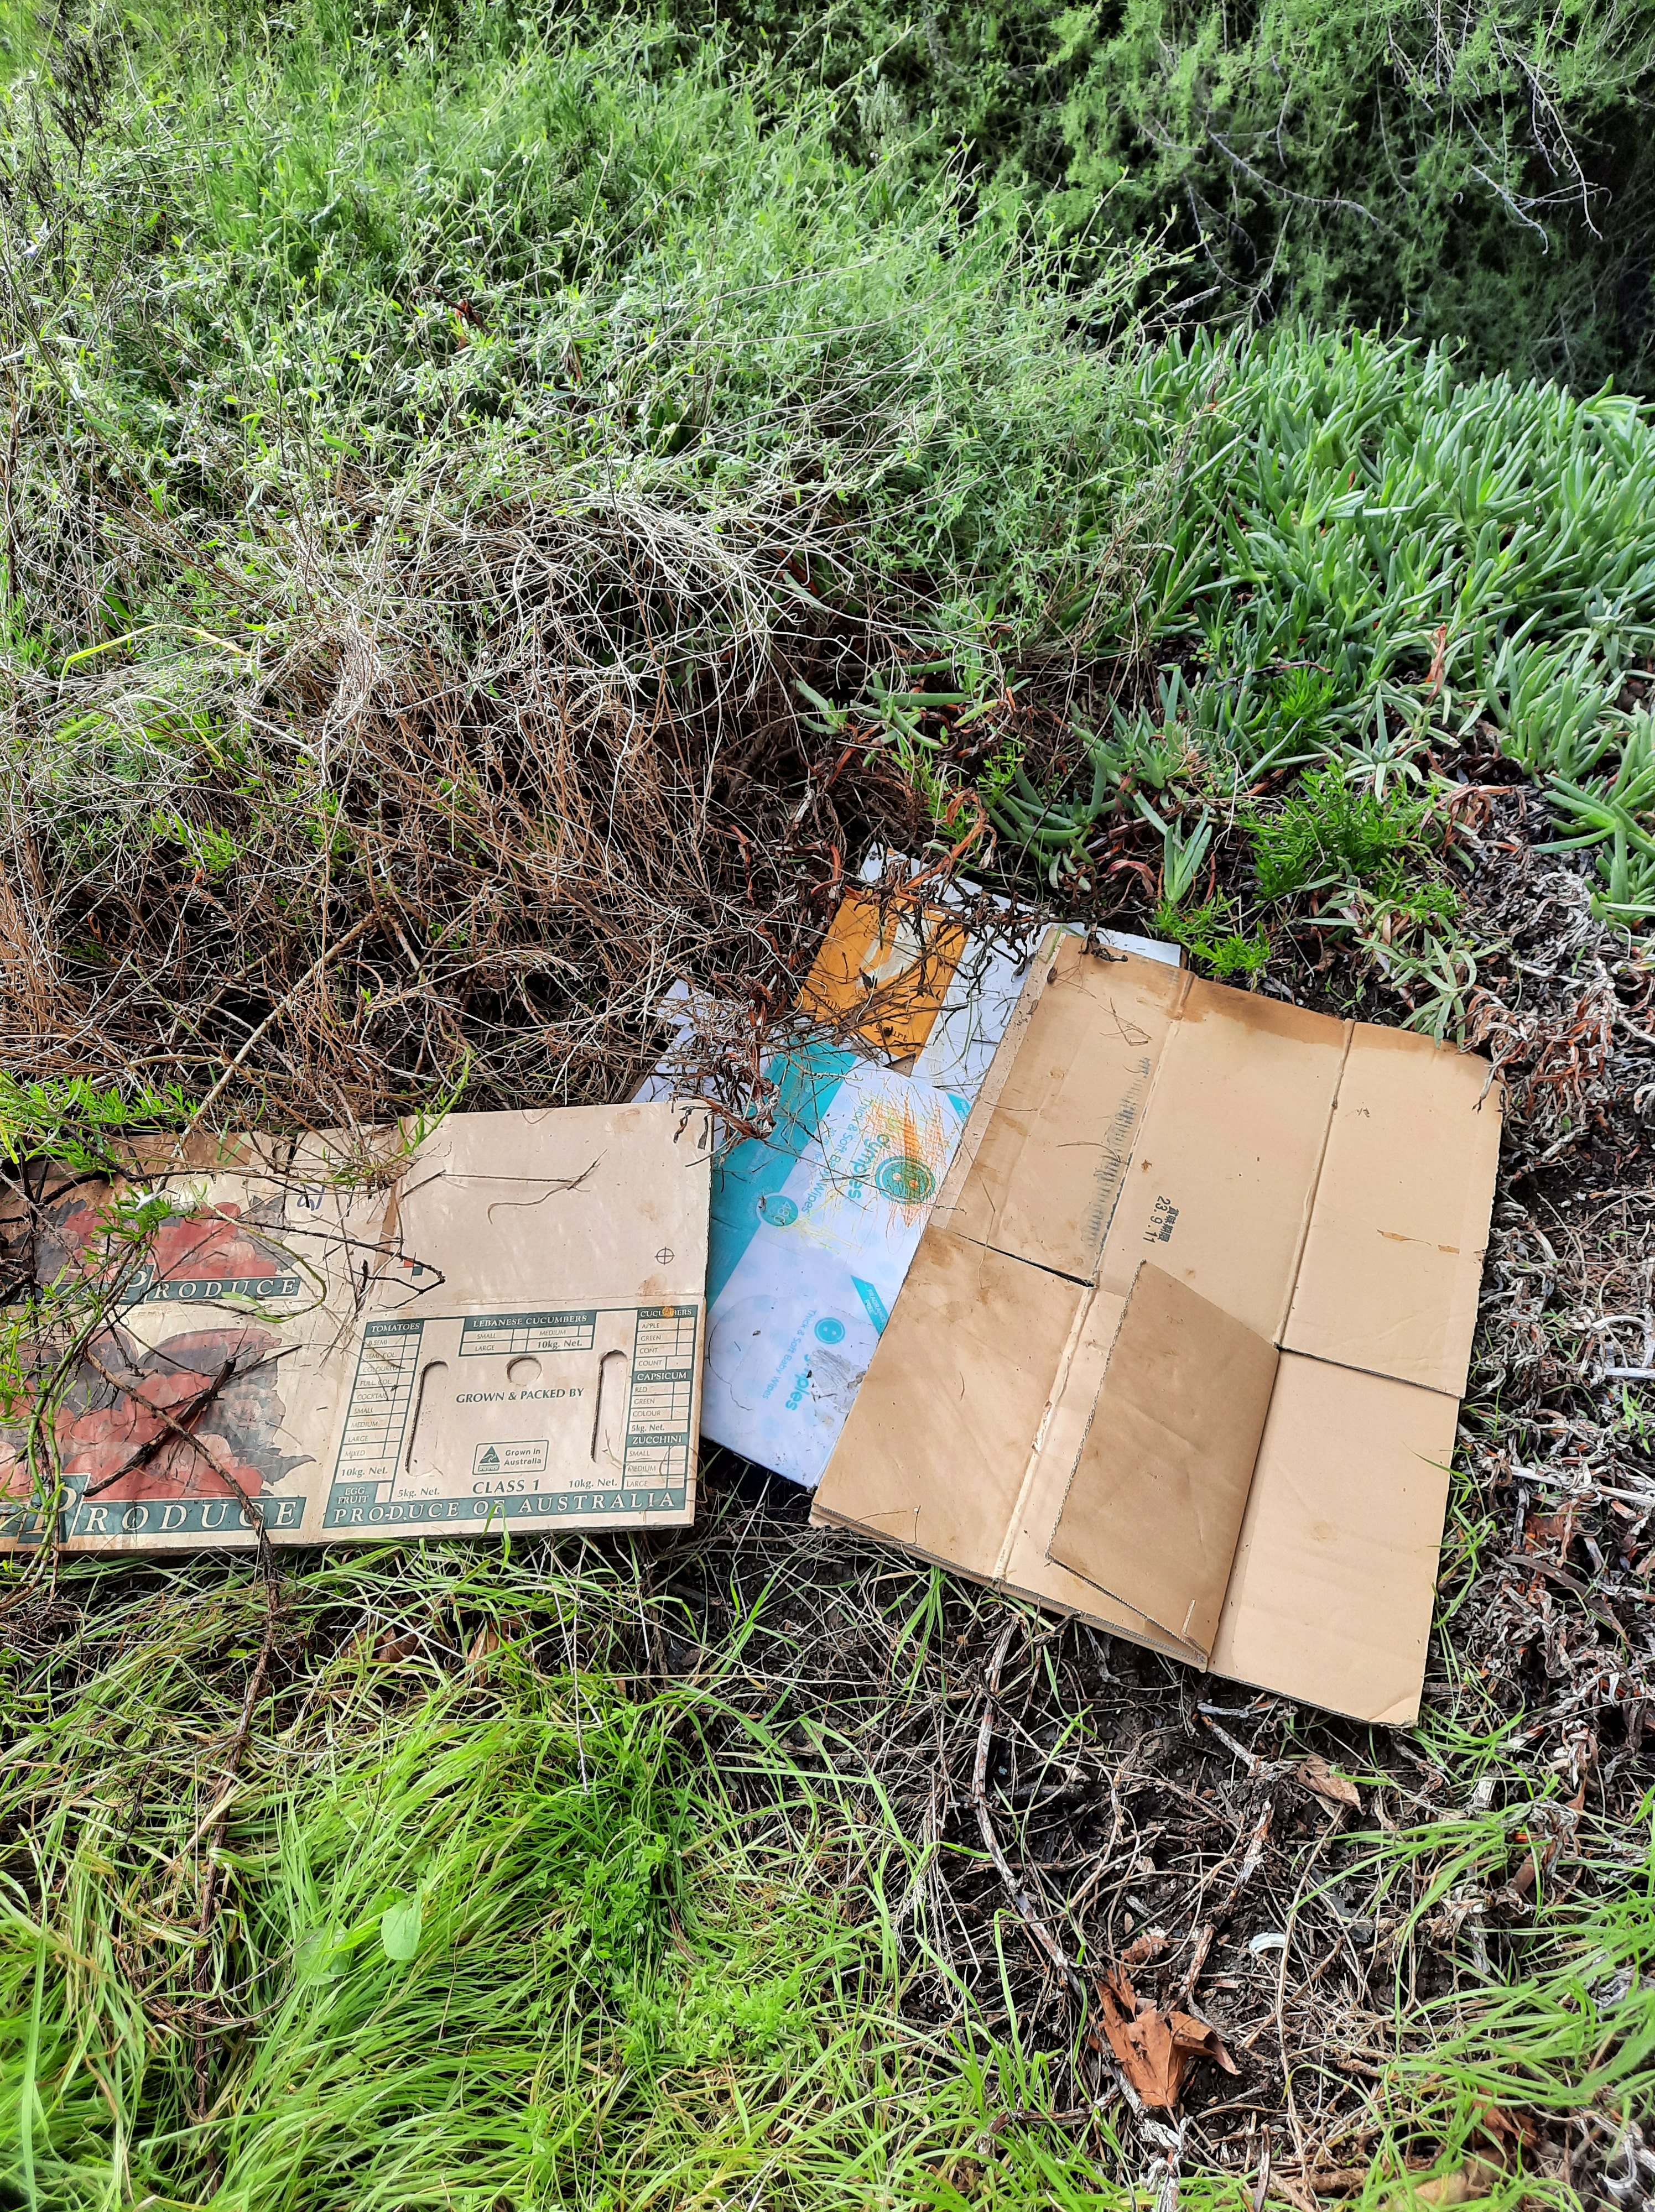
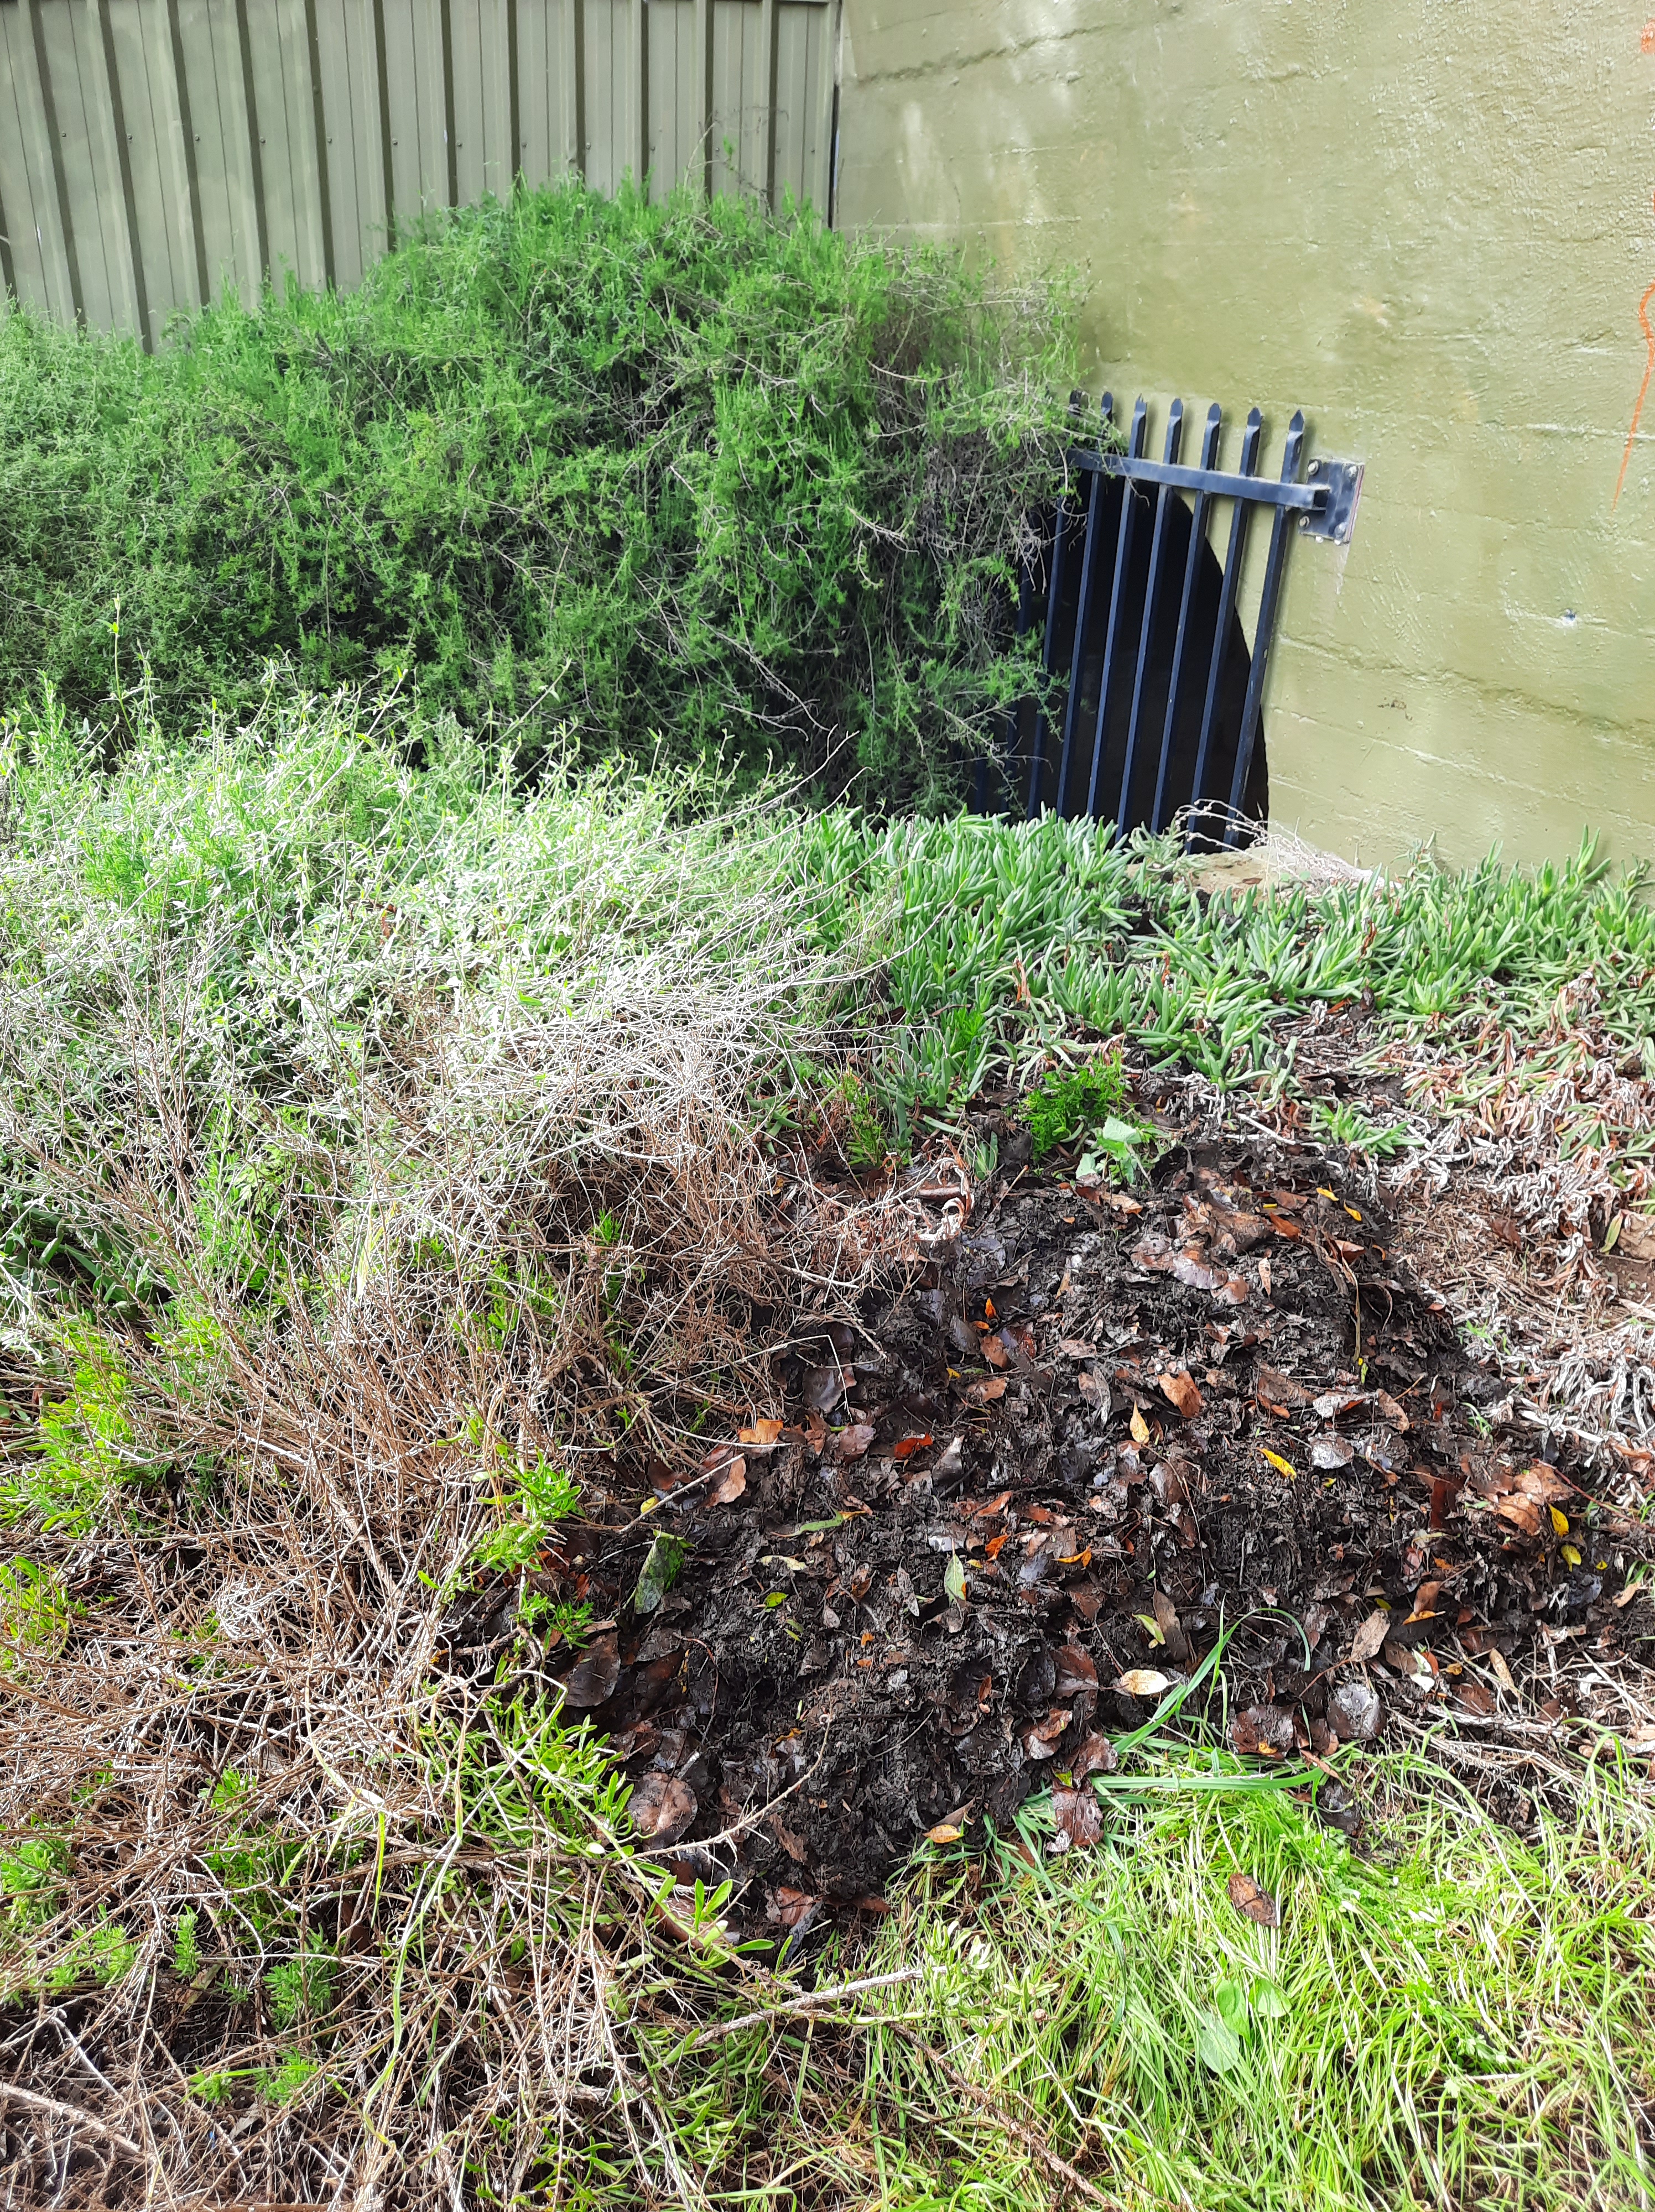
Dearest Reader, even though I have not been writing I do think of you! So here is a very partial update. Today has been a day of gardening, in which I’ve laid cardboard down to limit weeds on a path and laid street tree leaves over it; my beloved dug out a compost bin; I collected more scraps to begin filling it again (and more leaves for the carbon component); and I problem solved a friend’s “broken” sewing machine over the phone.
She had thread stuck in the machine! Broken! She had never heard the expression “bobbin casing” or “bobbin race” before, and was very grateful that I had suggested she read the manual for her machine. She has had it for decades and never known how to wind the bobbin. I found the manual online and we printed it out a few weeks back. Her machine is running better than ever! So should you be in her position–there are LOADS of sewing machine manuals on the internet, and cleaning, oiling and threading up your machine according to the manual, then replacing the needle? Almost miraculous. Also, getting stuck thread out of “the workings” is do-able at home, by YOU.
I also gave away seedlings to friends I came across on one of the bike trips of this day; finally gave away our stash of used bubble wrap and the sweet potatoes I dug yesterday, through Buy Nothing.
I wanted to love these purple tubers but we have tried them so many times and find them tasteless.
I’ve joined #winterofcareandrepair with @thepeoplesmending on instagram, but since I am in Australia, it is not winter, and for me it is #seasonofcareandrepair. I’ve been a bit fast and loose with what I include, but it’s all in what I hope is the right direction. Basically, I’ve reached the point where I have a lot of textiles that require responsible disposal. Upcycling cannot be a reality for everything. So there is some downcycling of raggedy textiles to rag or stuffing or compost.
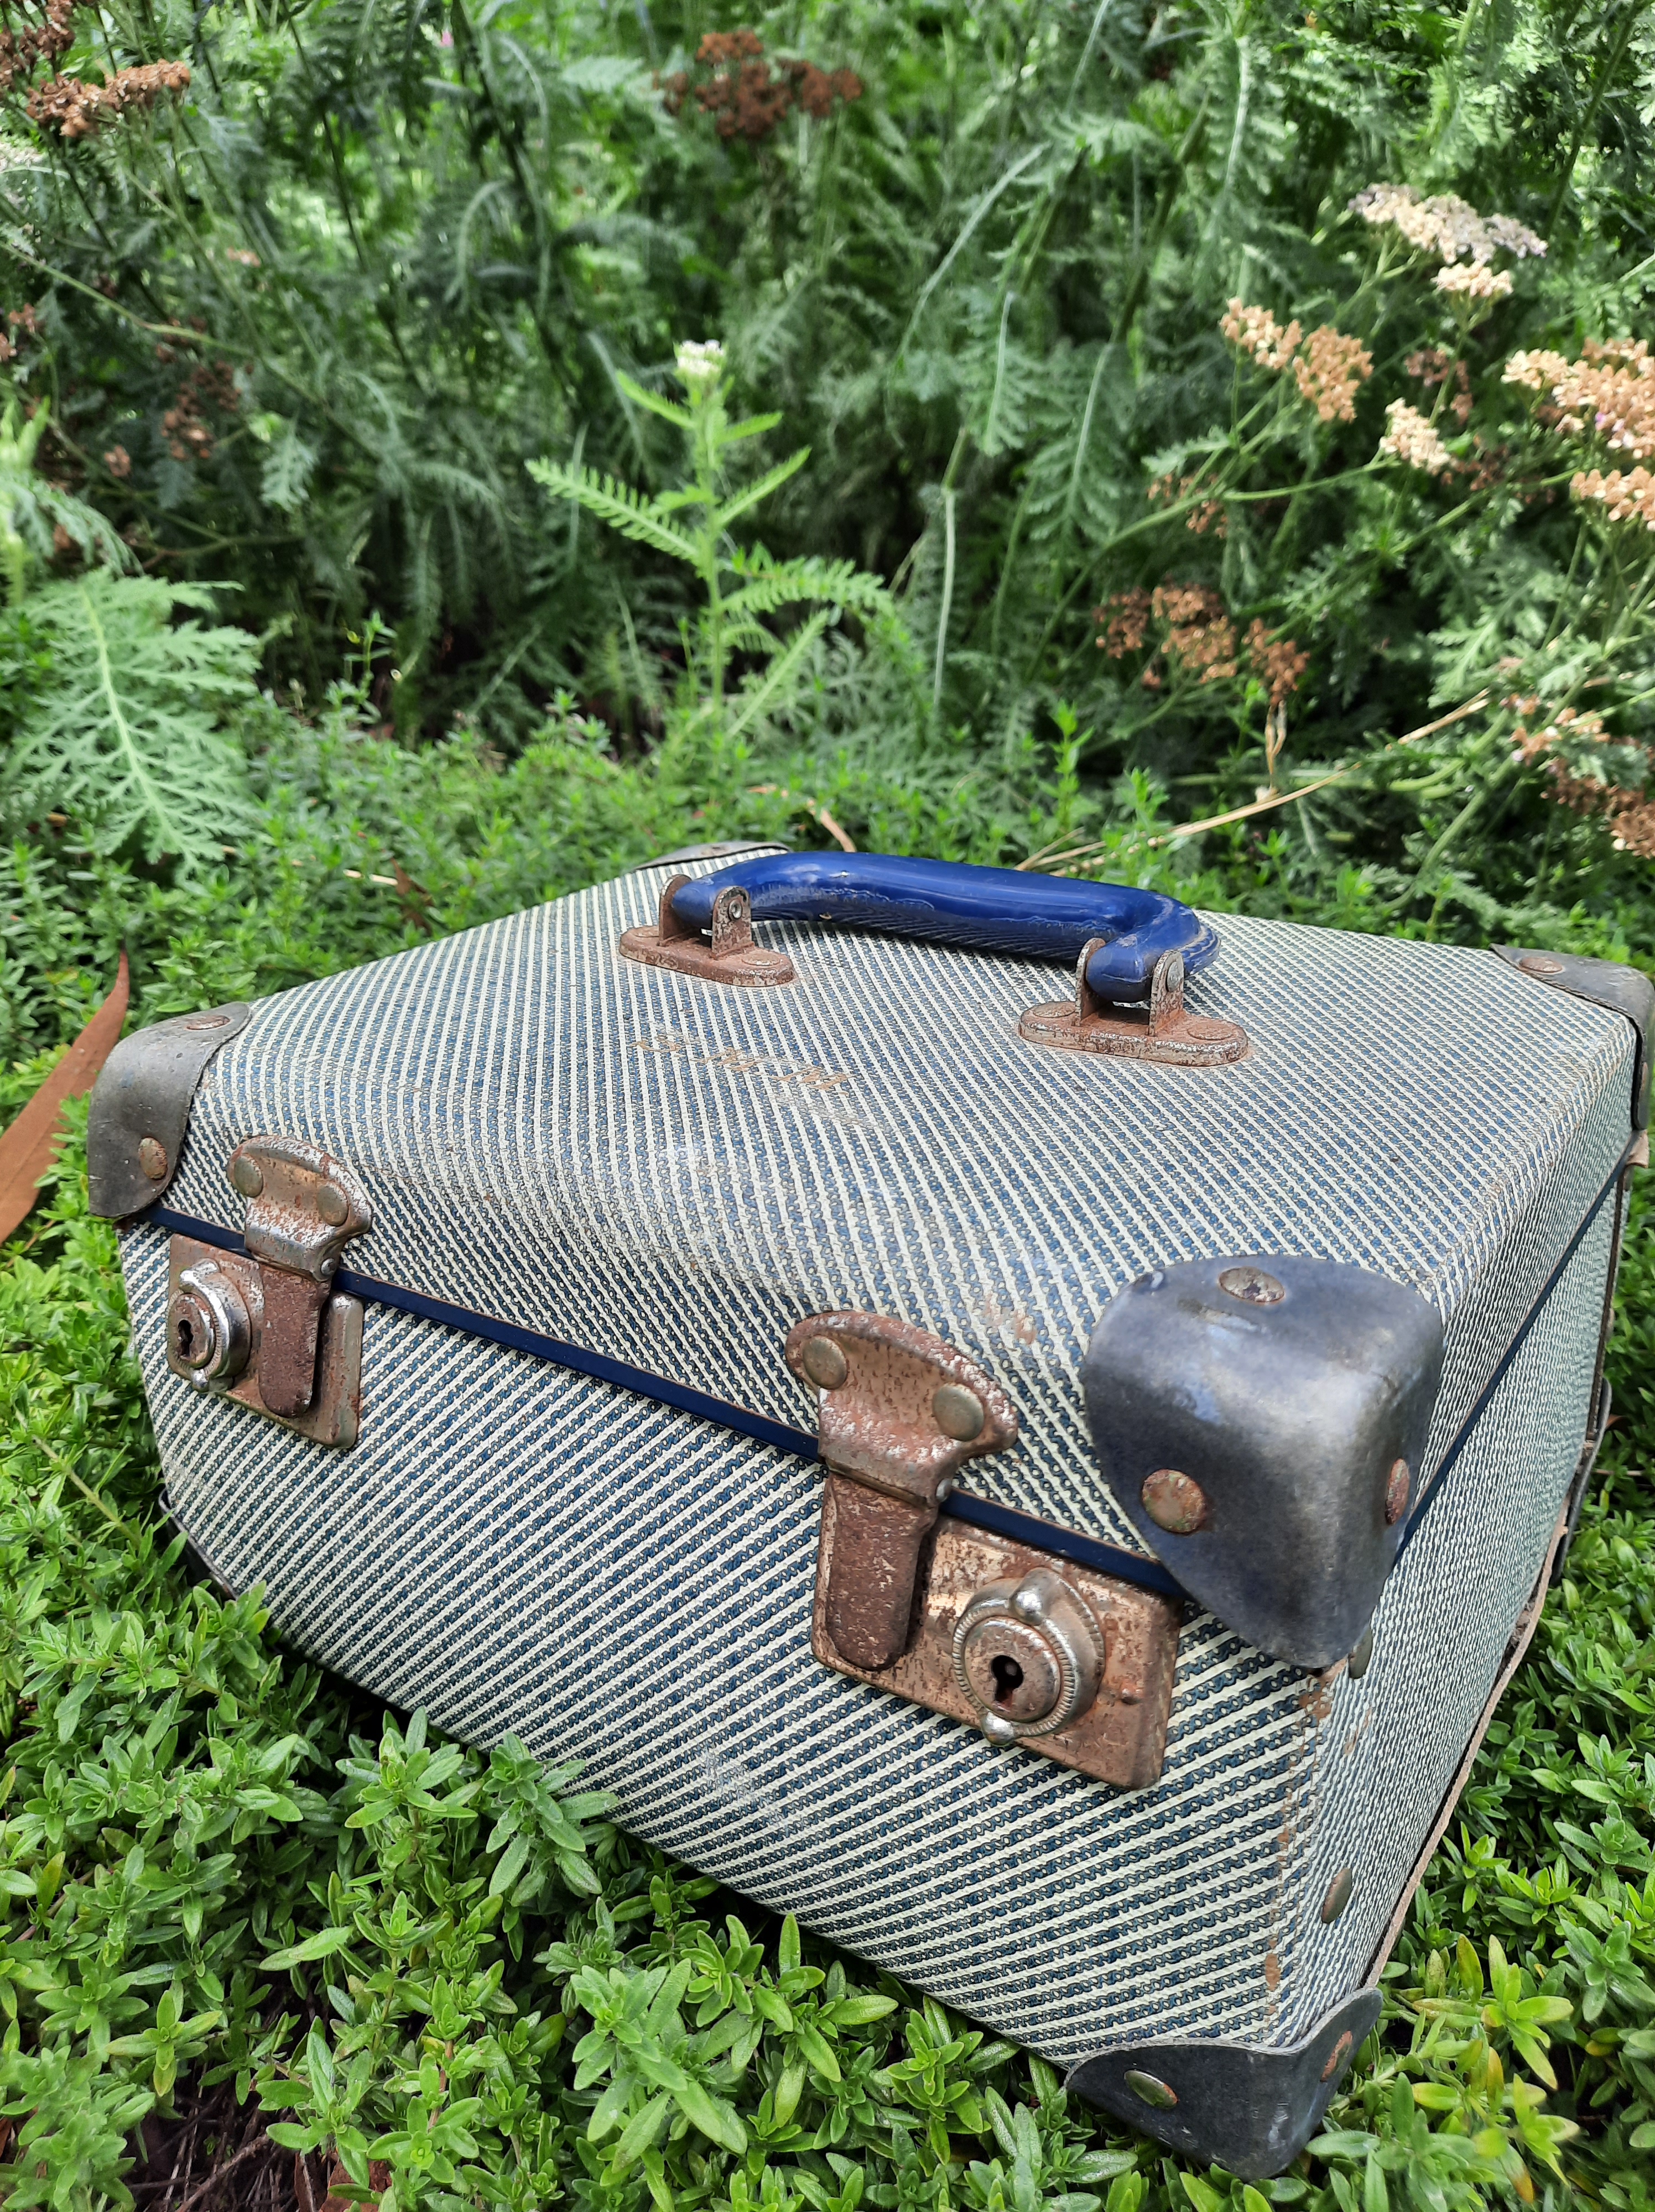
Here we have: worn out cotton knit to cleaning pads, elastic for reuse + stuffing; worn out hemp shirt to buttons for re-use; cleaning cloths + stuffing; and (sob) my thoroughly worn out Harris tweed top on its final trip to the worm farm where I am sure it is being devoured with satisfaction right now. The care and repair focus has had me trying to be a bit more thorough on a few things. I cleaned out the U-bend in the bathroom sink! And when I found this little case full of Fowlers Vacola bits and bobs at an op shop, I shared them with friends who also preserve fruit, and figured out how to fix the locks, hinges and re-attach the hinge that had pulled out. I did have to reacquaint myself with the pop riveter, but it is not rocket science and YouTube is an amazing resource! Plus, the life changing magic of lubrication rolls on and on.
Is that not cuteness? I know. It’s rusty, bashed up cuteness. But–I am glad to have rescued and repaired it and I will use it. I think I might use it for carrying essential mending kit when I teach mending. It is lined with a 1976 newspaper full of ads for shops that have long since closed. And it was MADE in South Australia. You don’t see too much of that any more. I’ve added a sticker on the inside where something else has been ripped off, leaving a messy patch.
I also picked up this tea tin from Buy Nothing. I will make a mending kit from it.
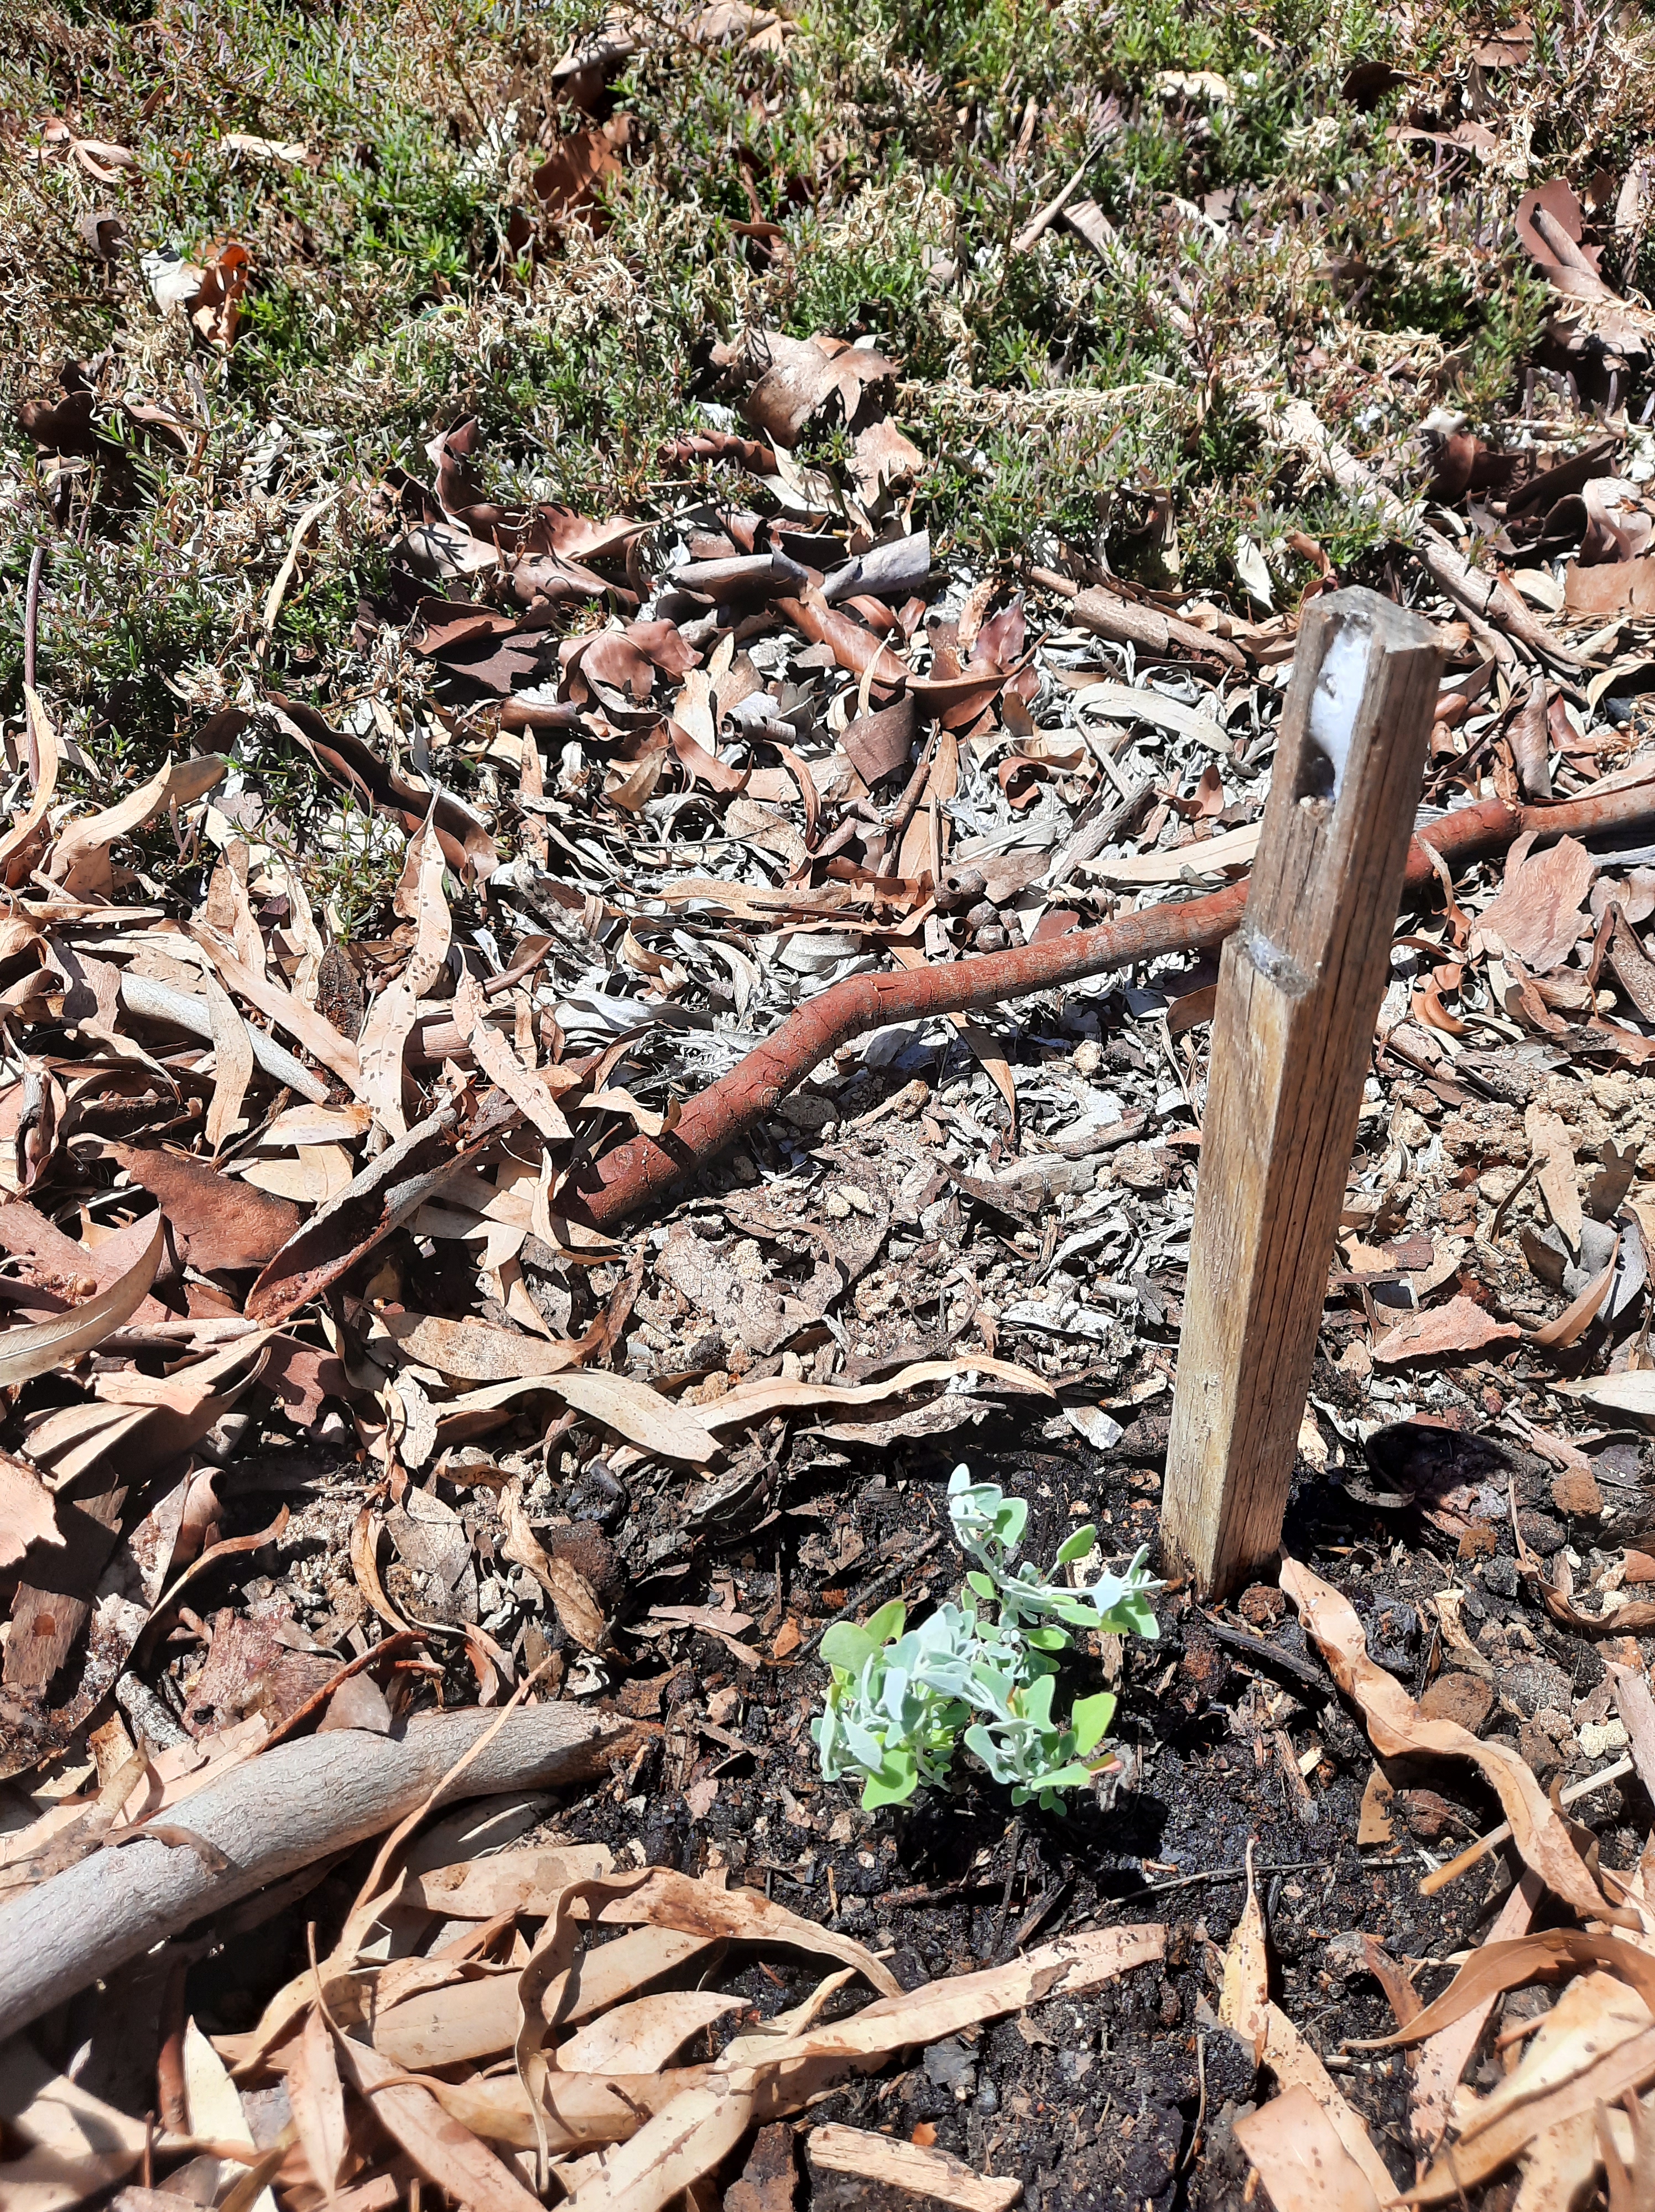
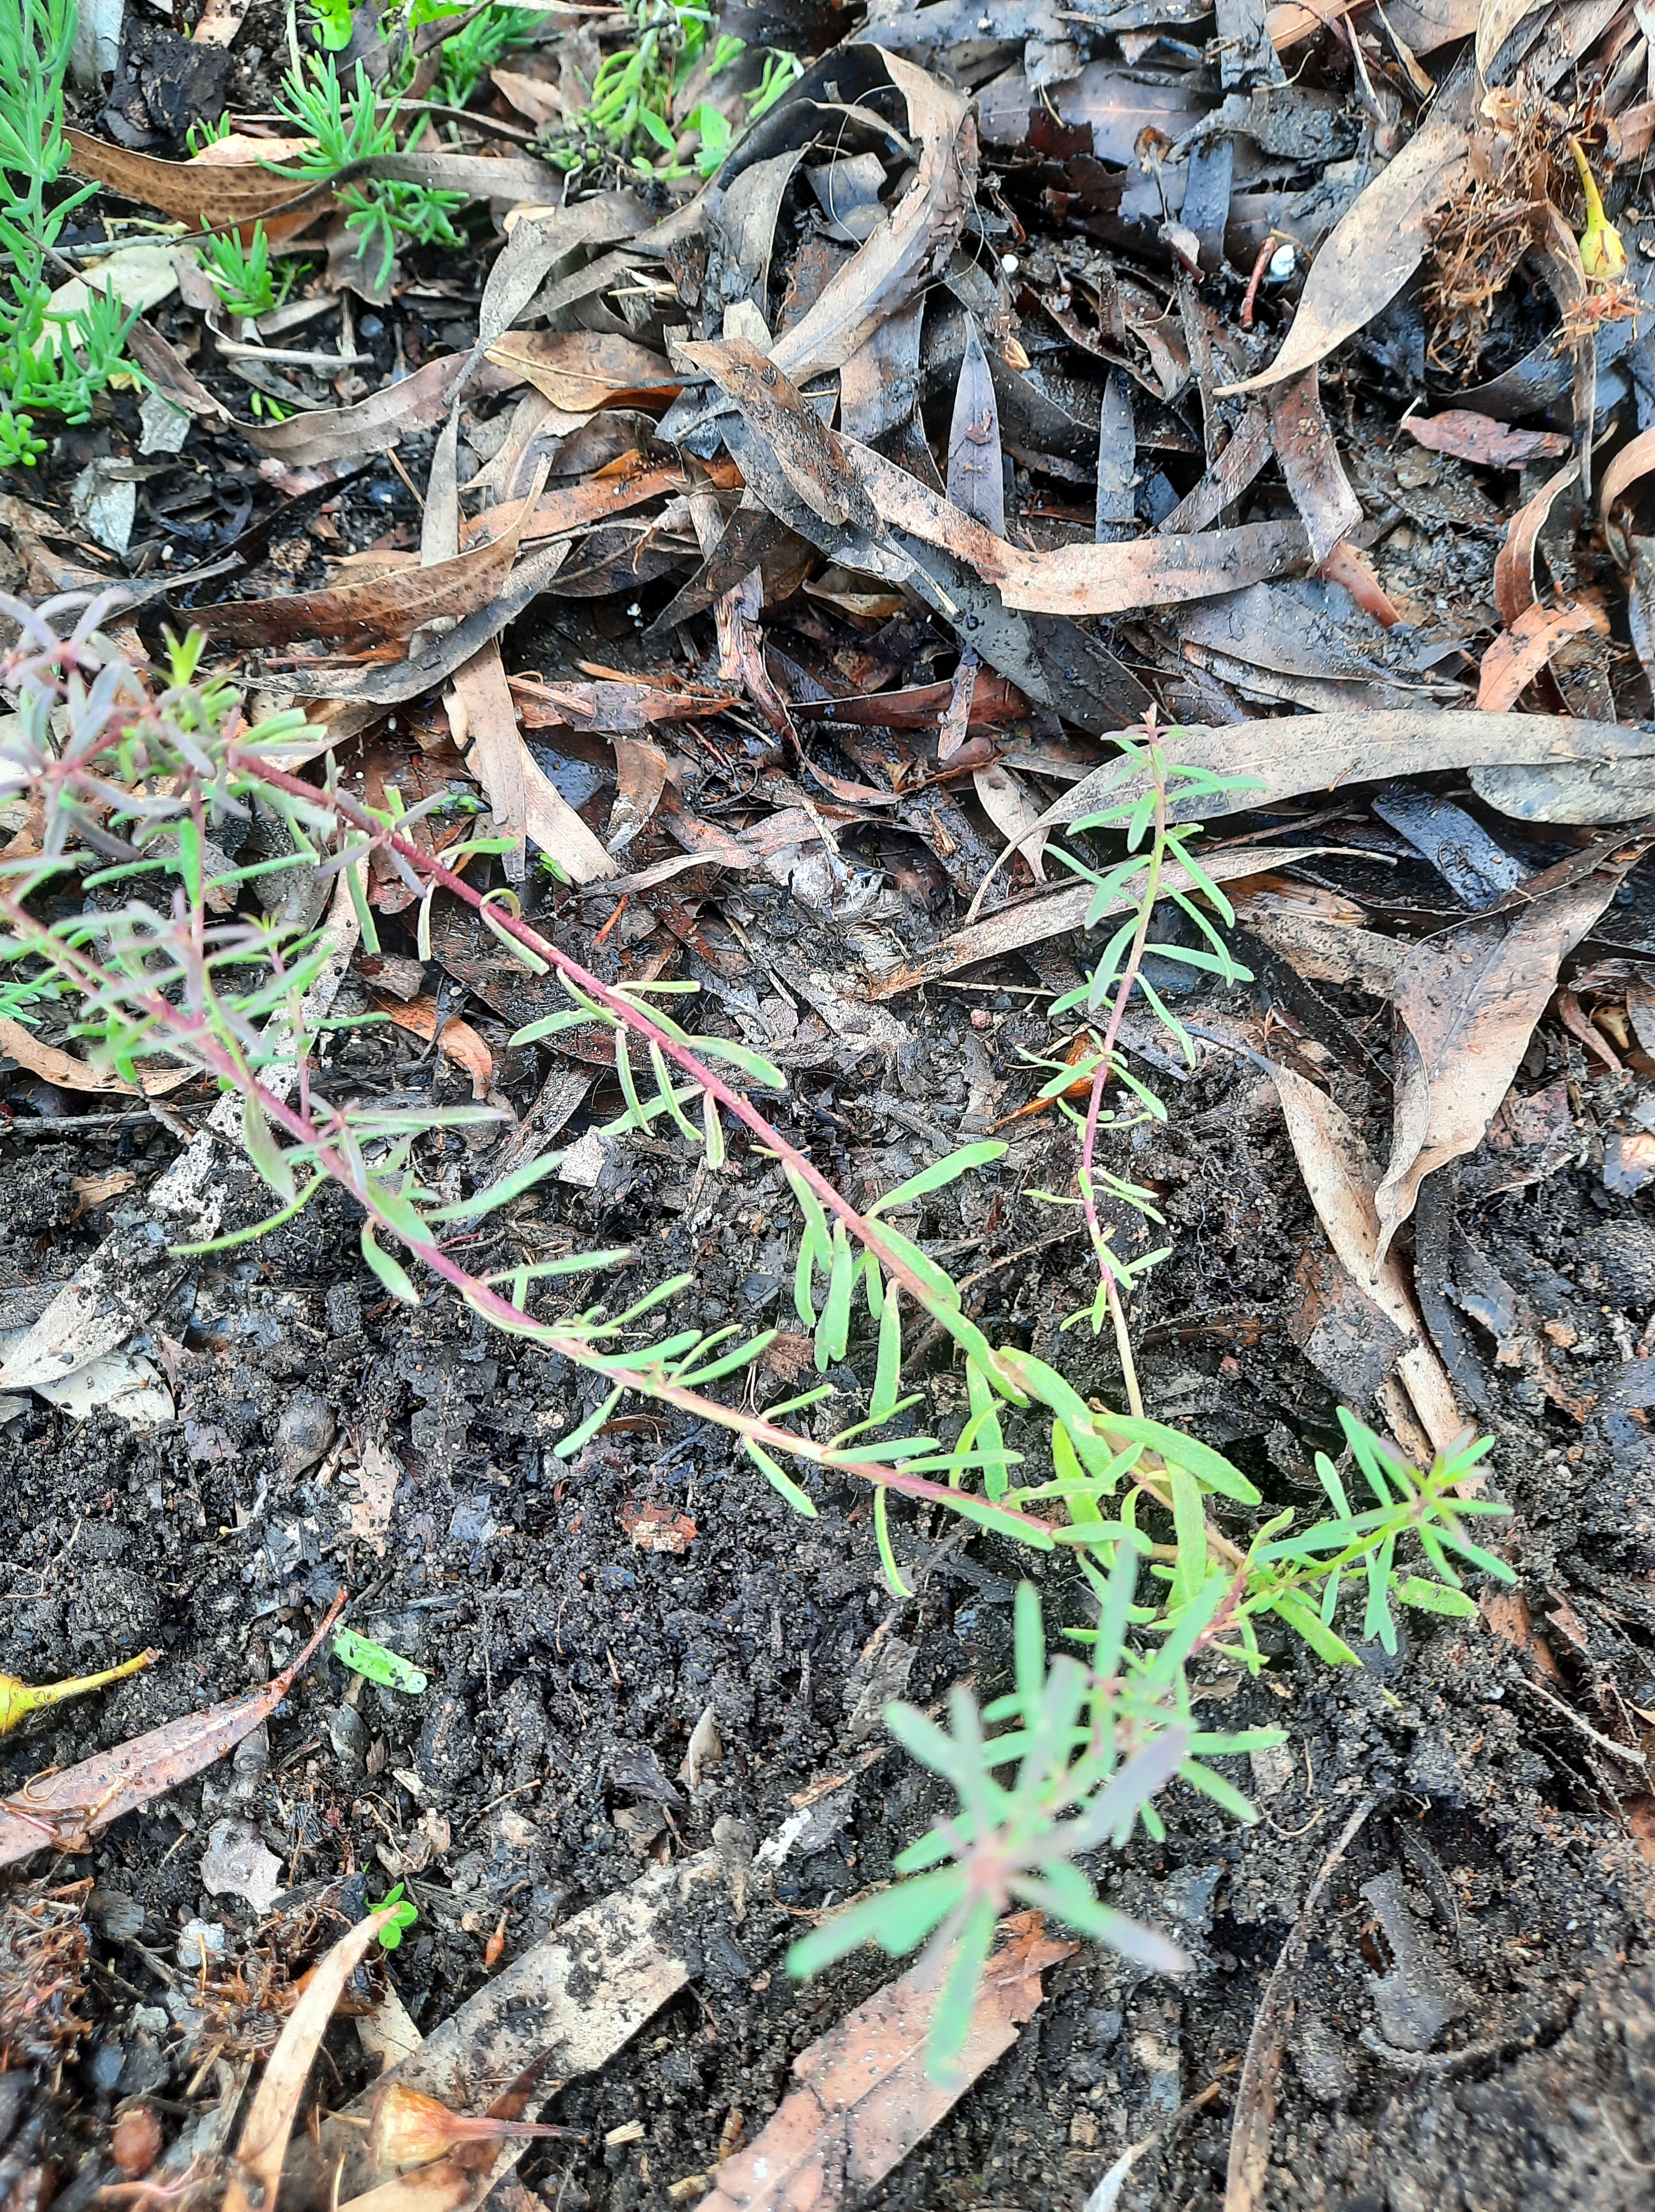
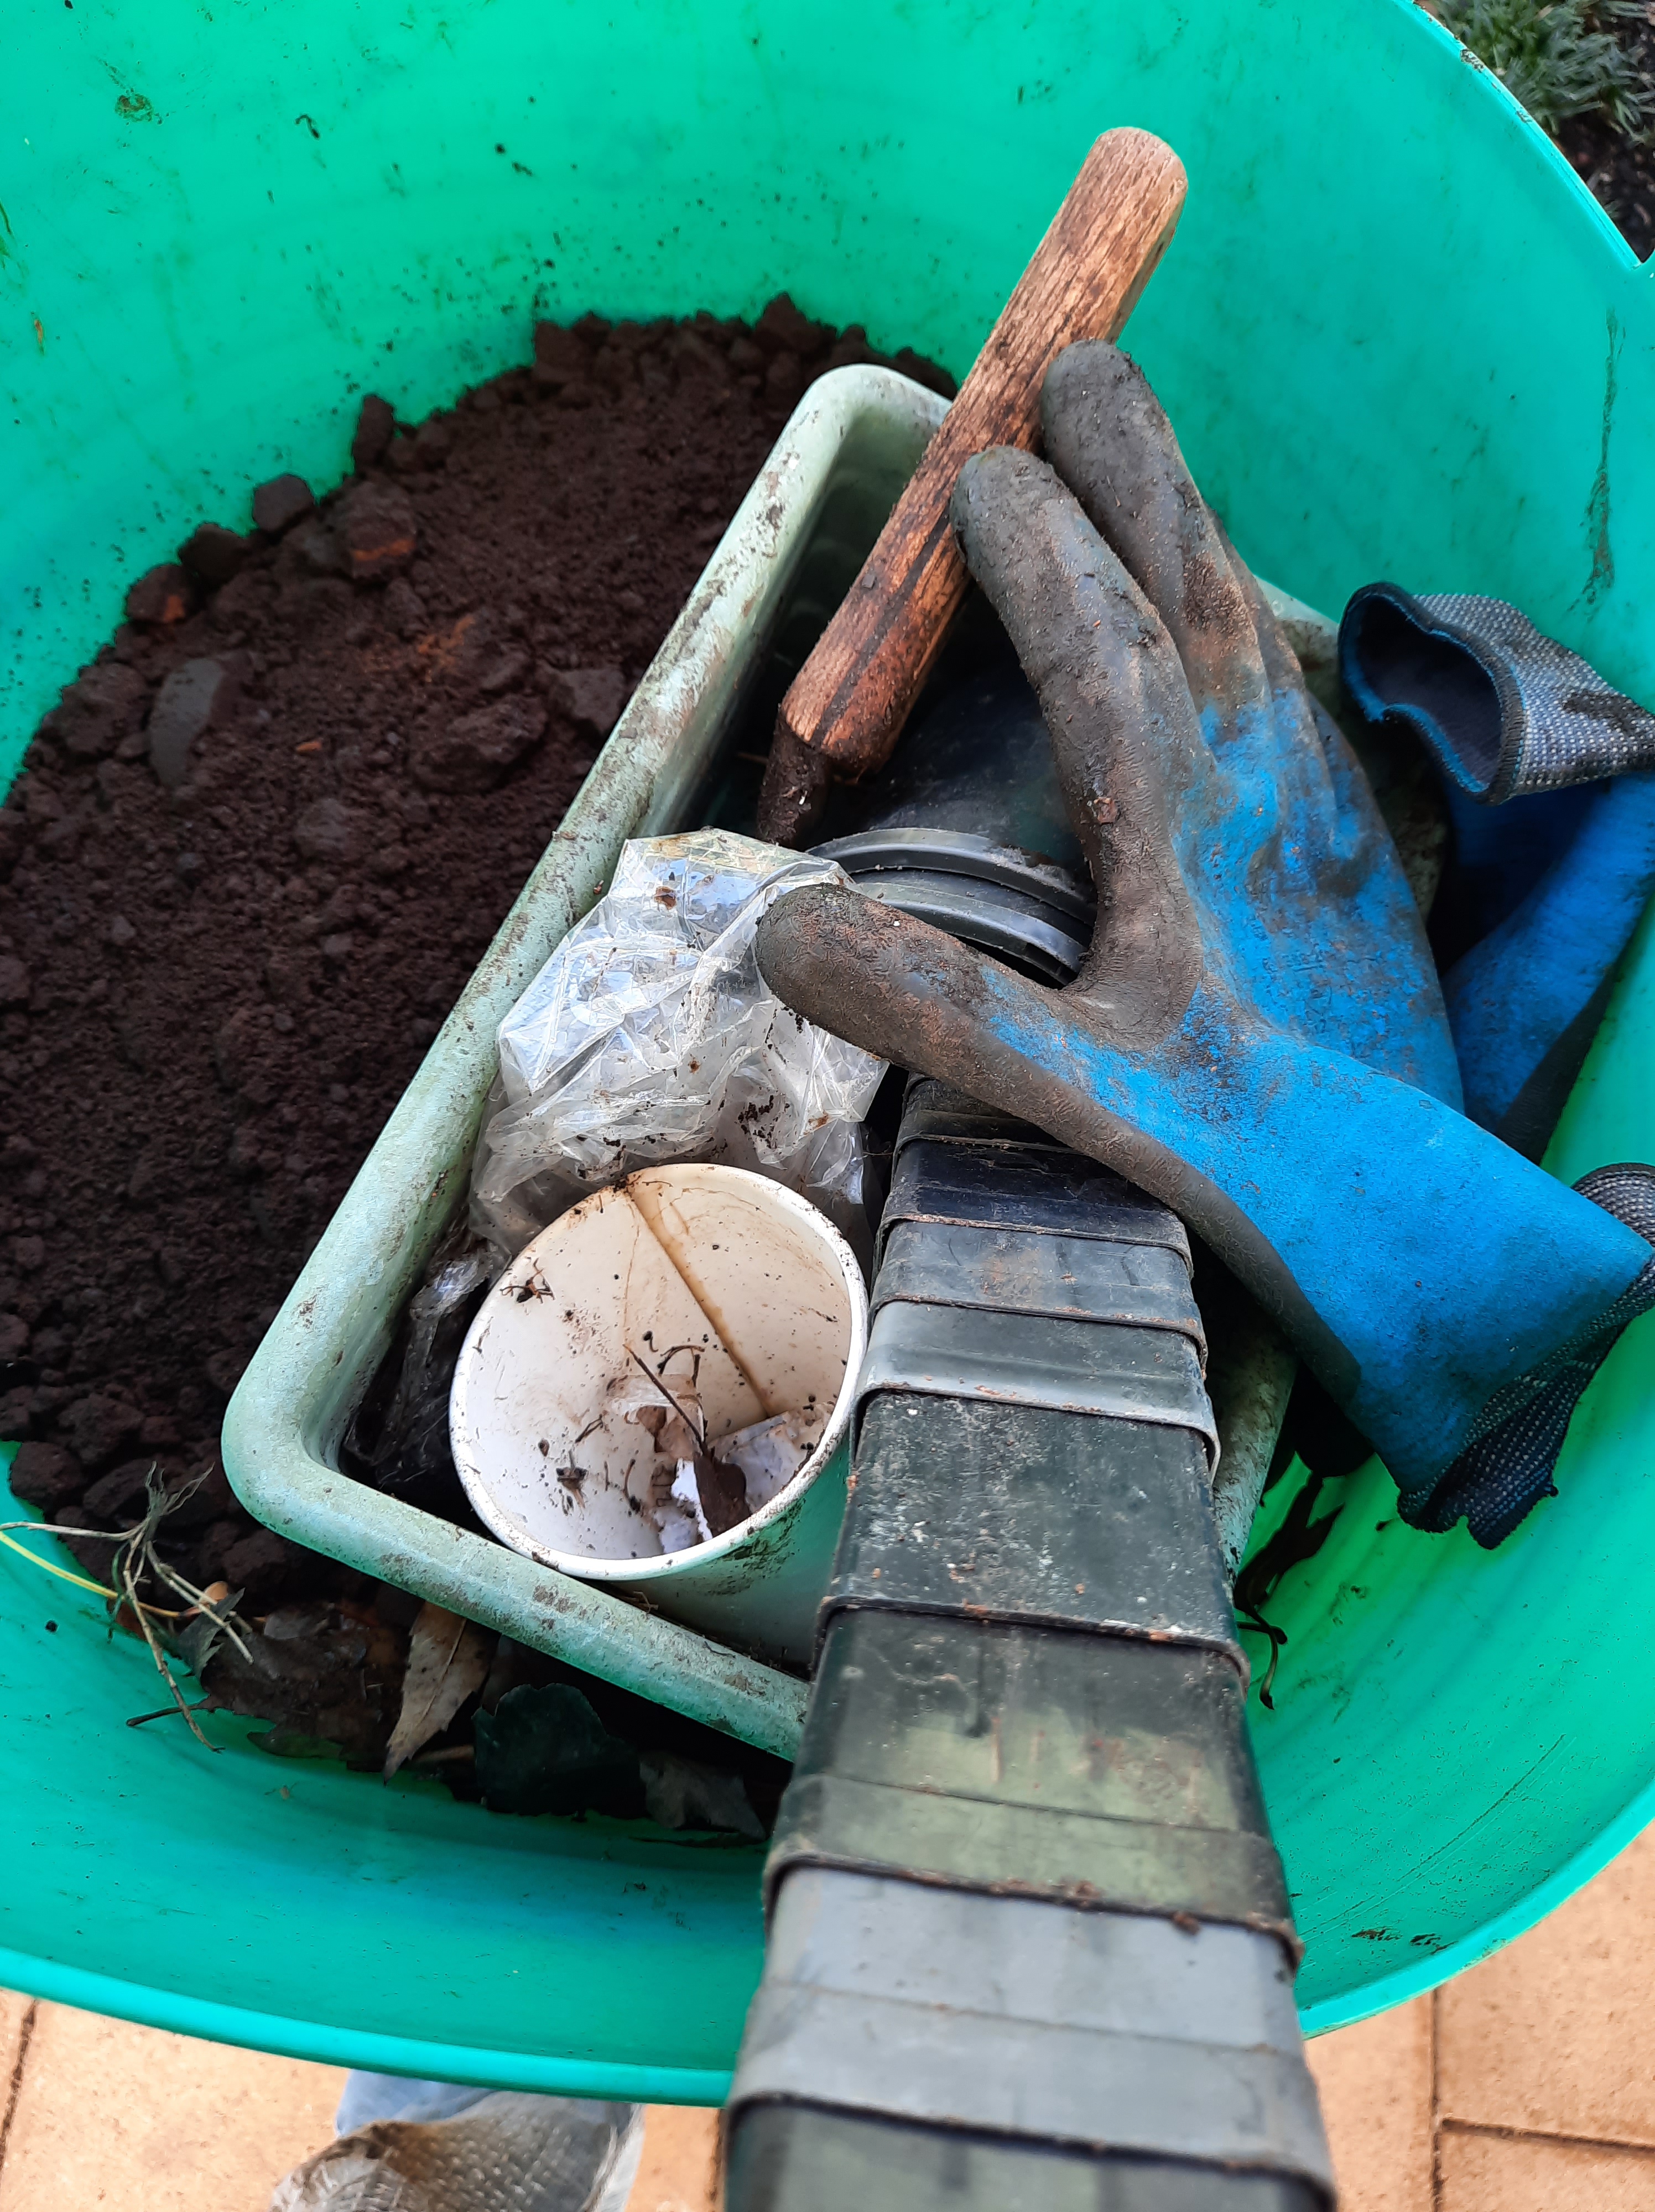
And so, to guerilla gardening. I’m back on one of my train line patches. I went out with ruby saltbush and bitter saltbush, water, stakes, tools and gloves.
I dug holes, added stakes, allocated seedlings, watered them and collected lots of leaves. There was so little soil I headed home to get compost and more water. Yes, as a matter of fact, I do live to haul filthy stuff around my neighbourhood on my bike!
There was track work going on, on the train line, and one of the workers set up his chair right beside where I was working. He said that poisoning from the track side should not go outside the rail corridor, but that drift might be causing the poisoning I see in this patch. Hmm. It’s an interesting thought and it may be a clue that someone else is involved in this patch, where there has recently been mowing of areas further along so only the larger specimens and plants with stakes remain; and this patch has had a haircut in line with the kerb. Anyway, I planted the saltbush into compost, gave almost all of them a stake since that seems to be a winning strategy at this stage; and watered them into their newly applied duvets of eucalyptus leaf mulch.
On the trip home, street tree leaves for our composting setup, empty pots and my stuff.
I hope you’re travelling well and your gardens are growing wherever they may be. And to conclude, I felt so good this morning when I was on the phone with my sewing machine owning, grateful friend, and there was a tickle on my ear. I brushed off the tickle, and it was a ladybird larva!! Now THAT is a blessing if ever there was one. Grow and thrive, little one!
Many months ago now, I wrote the post below, decided not to post it, and then didn’t post again for a long time! I have not made a habit of posting a whole lot about big picture politics. I have a lot of opinions and I care deeply about humanity and the natural world. As a result I have spent a lot of my life in various forms of activism or campaigning (call it what you will)–trying to change things for the better, and especially in the direction of peace, nonviolence, an end to abuse of all kinds, equality, and care for the environment. But often I feel there are better writers on these subjects and that I am already doing what I can figure out about the pain and suffering of humanity and the breakdown of the natural world. I do not feel equal to the task of writing something pithy and moving on these subjects. Today, I just sat down to write a different post and saw this one sitting in the drafts folder. I’ve decided to release it, with an update.
You have been warned. So if you wish to read this, read on and share my heartbreak in a moment prior to the (most recent) bombing of Gaza and prior to (yesterday’s) Invasion Day, and so much more.
Today, I rode my bike into the city to support someone in court. Yesterday, I did the same thing for someone charged with a crime for participating in civil disobedience intended to bring the climate emergency–and the actions of the fossil fuel industry in making it worse, and the government’s inaction on responding to it–to public attention.
On my way home, I rode past a camp of homeless folks. It has been there a couple of weeks now. At least five tents, in midwinter, with a shared campfire, in the parklands. Let me tell you for those who are not local, that there have been at least 4 extreme weather warnings in the last 48 hours, for extreme winds. It has been raining, torrentially at times. It is cold inside my very nice house, especially at night. Why are we having extreme weather with this regularity? Could it be in some way related to the rise of El Nino, and the fact that this week the all time record for the hottest day the Earth has ever known, has been broken twice? As it happens, I believe these things are connected.
I went for a walk with a friend who visited for lunch, and we went to some of the guerilla gardening sites where I have planted, and I saw the watering system in one of these sites maintained by the council has been busted. I planted it out after the watering system was cut and most of the plantings died in the previous El Nino (and council did not replant them). I went for a run in the afternoon. I passed the campsite on my way out. I passed it on my way home again. I passed the place where I have called in one leak in the water supply system but another has happened. This time, I called in the leak. Then I called in the broken watering system. Because water needs to be protected in this time and place and I have the capacity to do it. And there is a number I can call to report these things.
And yet, there is no number I can call because at least ten people are sleeping rough in the parklands. No number I can call that would get them food, or shelter, or medical care, or better–all three if they are all needed. Nowhere they have been able to call either, I assume, that they believe can help them. And doubtless, places they have tried and found wanting, because sleeping in a tent in this weather is not something most people would do by choice. Because a lot of people (in my country) have better choices.
No number I can call to report that the system is broken and as a result the lives of homeless folks are getting even worse. No number I can call that can fix growing inequality. No number I can call to report the climate emergency and those contributing to it through action and inaction. And the people I know sounding the alarm are in court needing to argue against the kind of bail conditions normally applied to people in outlaw gangs that use violence and deal drugs.
Update: after thinking these thoughts for some time, one day I asked myself what the Minister for Housing is doing about this issue. Each time I was troubled anew by what I saw (that would be every time I passed)–I rang the Minister for Housing. I rang and left several messages and eventually I spoke to a person and left a message with her. Then the next time I said I had called to advocate for the human rights of people sleeping rough in our city, and that I believed we ought to be able to do better. I got put through to a person who spent a lot of time on explaining the many actions of the state government on this question. He impressed me a good deal, but not once did he suggest that homeless people would be provided with actual housing. Since we spoke, this camp I regularly pass has continued to exist through 41C heat. It is not the only encampment in the park lands. Homelessness is at a level I have not seen before in my lifetime. It may be time to ring the Minister again.
We use pot holders (or “pot grabbers”) a lot in this household, which eventually means that they wear out or become impossible to clean (those stains are scorched in)! I usually make them with a few layers of old towel in the middle but these have a couple of layers of “dog blanket”; known to you and me as a woollen blanket that has been washed inappropriately and turned to felt.
I just found this post in my drafts folder–the pot holders have been in use a long while already! Two are made from a piece of wonderful 100% hemp fabric dyed with leaves. The binding is leftover from making a quilt. The yellow one is made from an op shop teatowel that had a stain I just could not remove and did not like. Binding cut from scrap after making my granddaughter a hat. And the red and white is a beautiful fabric bought from the designer at Bowerbird markets years ago. I intended it for a sleeveless shirt but it has been turned into many precious small projects instead. And there you have it! Pot holders. Now that I have hand sewed binding down on entire bed sized quilts, I don’t feel as intimidated by sewing binding to a pot holder, or trying very hard indeed to find another design solution!
I deal with waste. Quite a bit of it. I do litter pick, and because of where I live there is quite a bit of it to pick up.
I also pick up things that I think I could salvage. This is two folding chairs from someone’s hard rubbish. And here they are in parts rescued for re use or recycling.
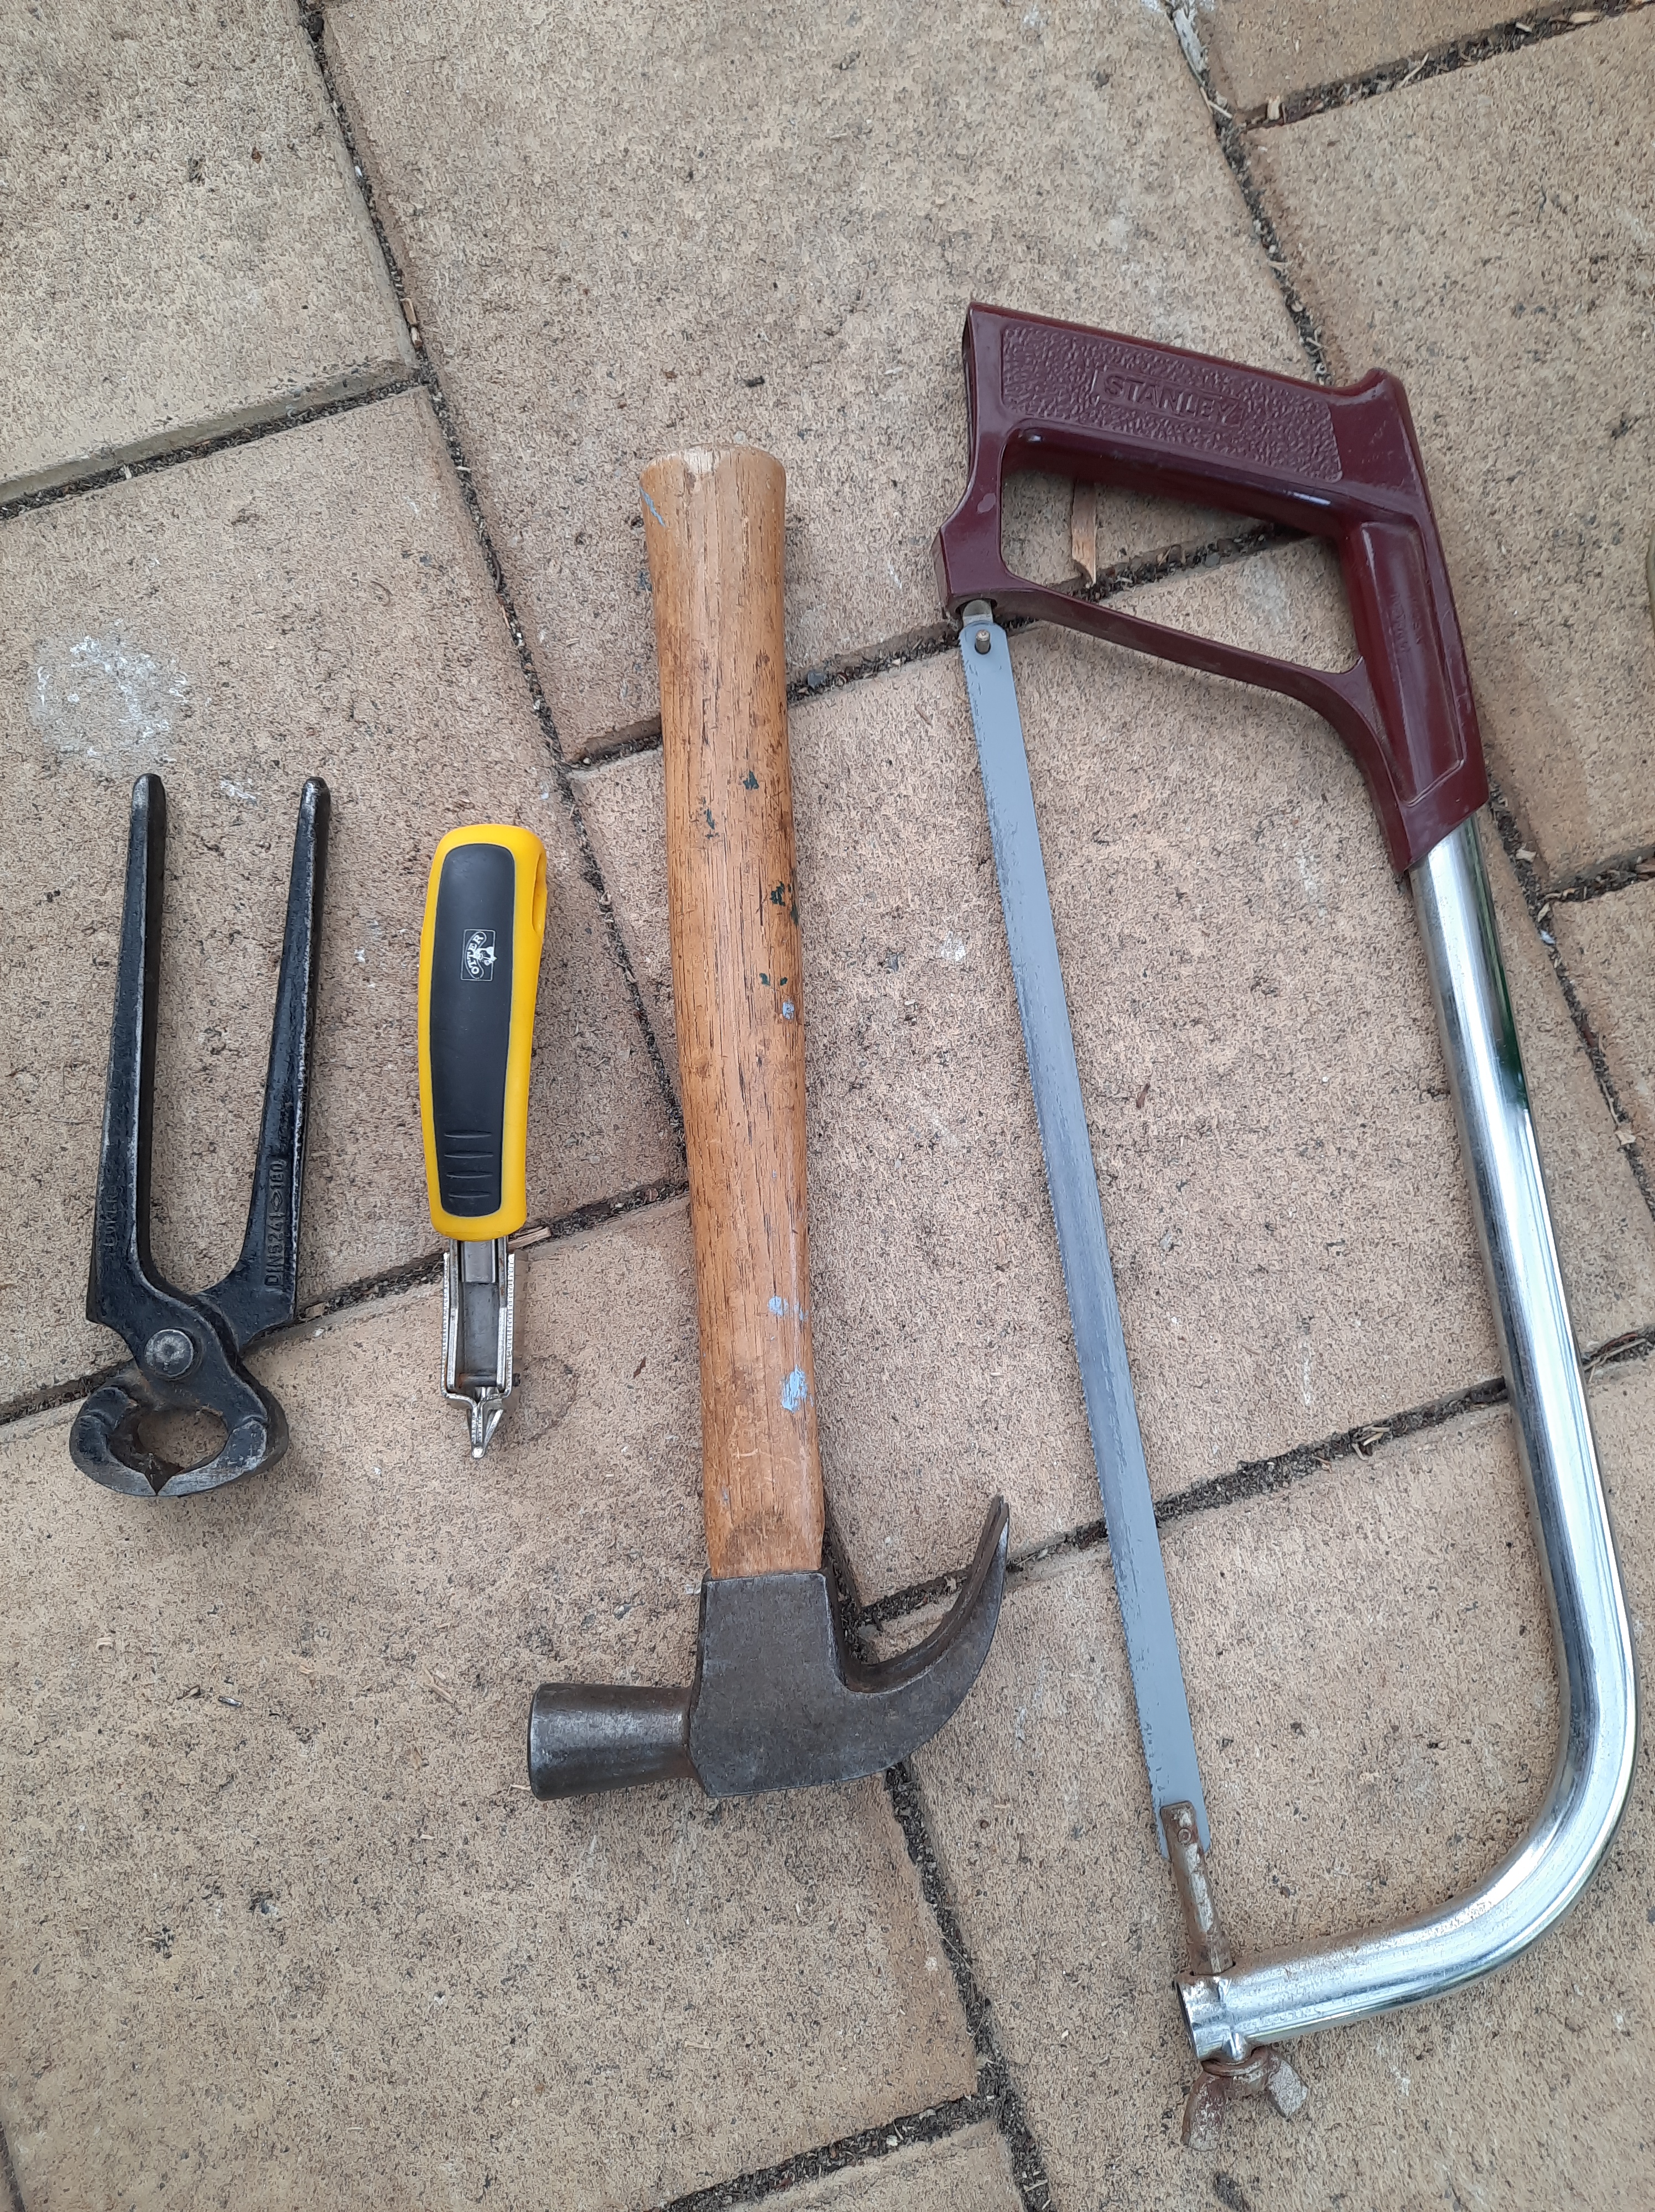
And these are the tools I used for the job! I will use that canvas (which was once black!!) and the wood will become stakes. The metal and hard plastic will be recycled. And finally, a small ode to my tools. I didn’t realise I’d need to use the hacksaw quite so much for this job!
This is a bag that appeared in a shopping trolley full of all kinds of things. Some were taken or thrown on the ground almost immediately. I sorted some into rubbish and recycling. This, I took apart.
The webbing and zippers and such (top right) can’t be saved, but a lot of the component canvas parts I can use. Next stop, the laundry.
I also look for specific kinds of waste I think I can use. I pulled this enormous billboard sized vinyl banner (it was a chemist advertising billboard) out of a dumpster because I thought I could use it for a climate action banner. Then I got a request for a game of Twister (do you remember Twister?) on a climate action theme. So here I am sewing screen printed patches onto it for its next life as a game. There is a LOT of it left for other uses.
Our household participated in some PhD research about waste reduction and the circular economy. The researcher conceptualised these kinds of activities as “waste work” and had a lot of very interesting questions about who does it and how it is shared. I have questions of my own about the fact that I feel drawn to bring home old folding chairs and deconstruct them! However–on a global level, most waste work is done by people in the global South, and by people of colour living in poverty. I don’t think I’m too special to shoulder some of what can be done in my corner of town.
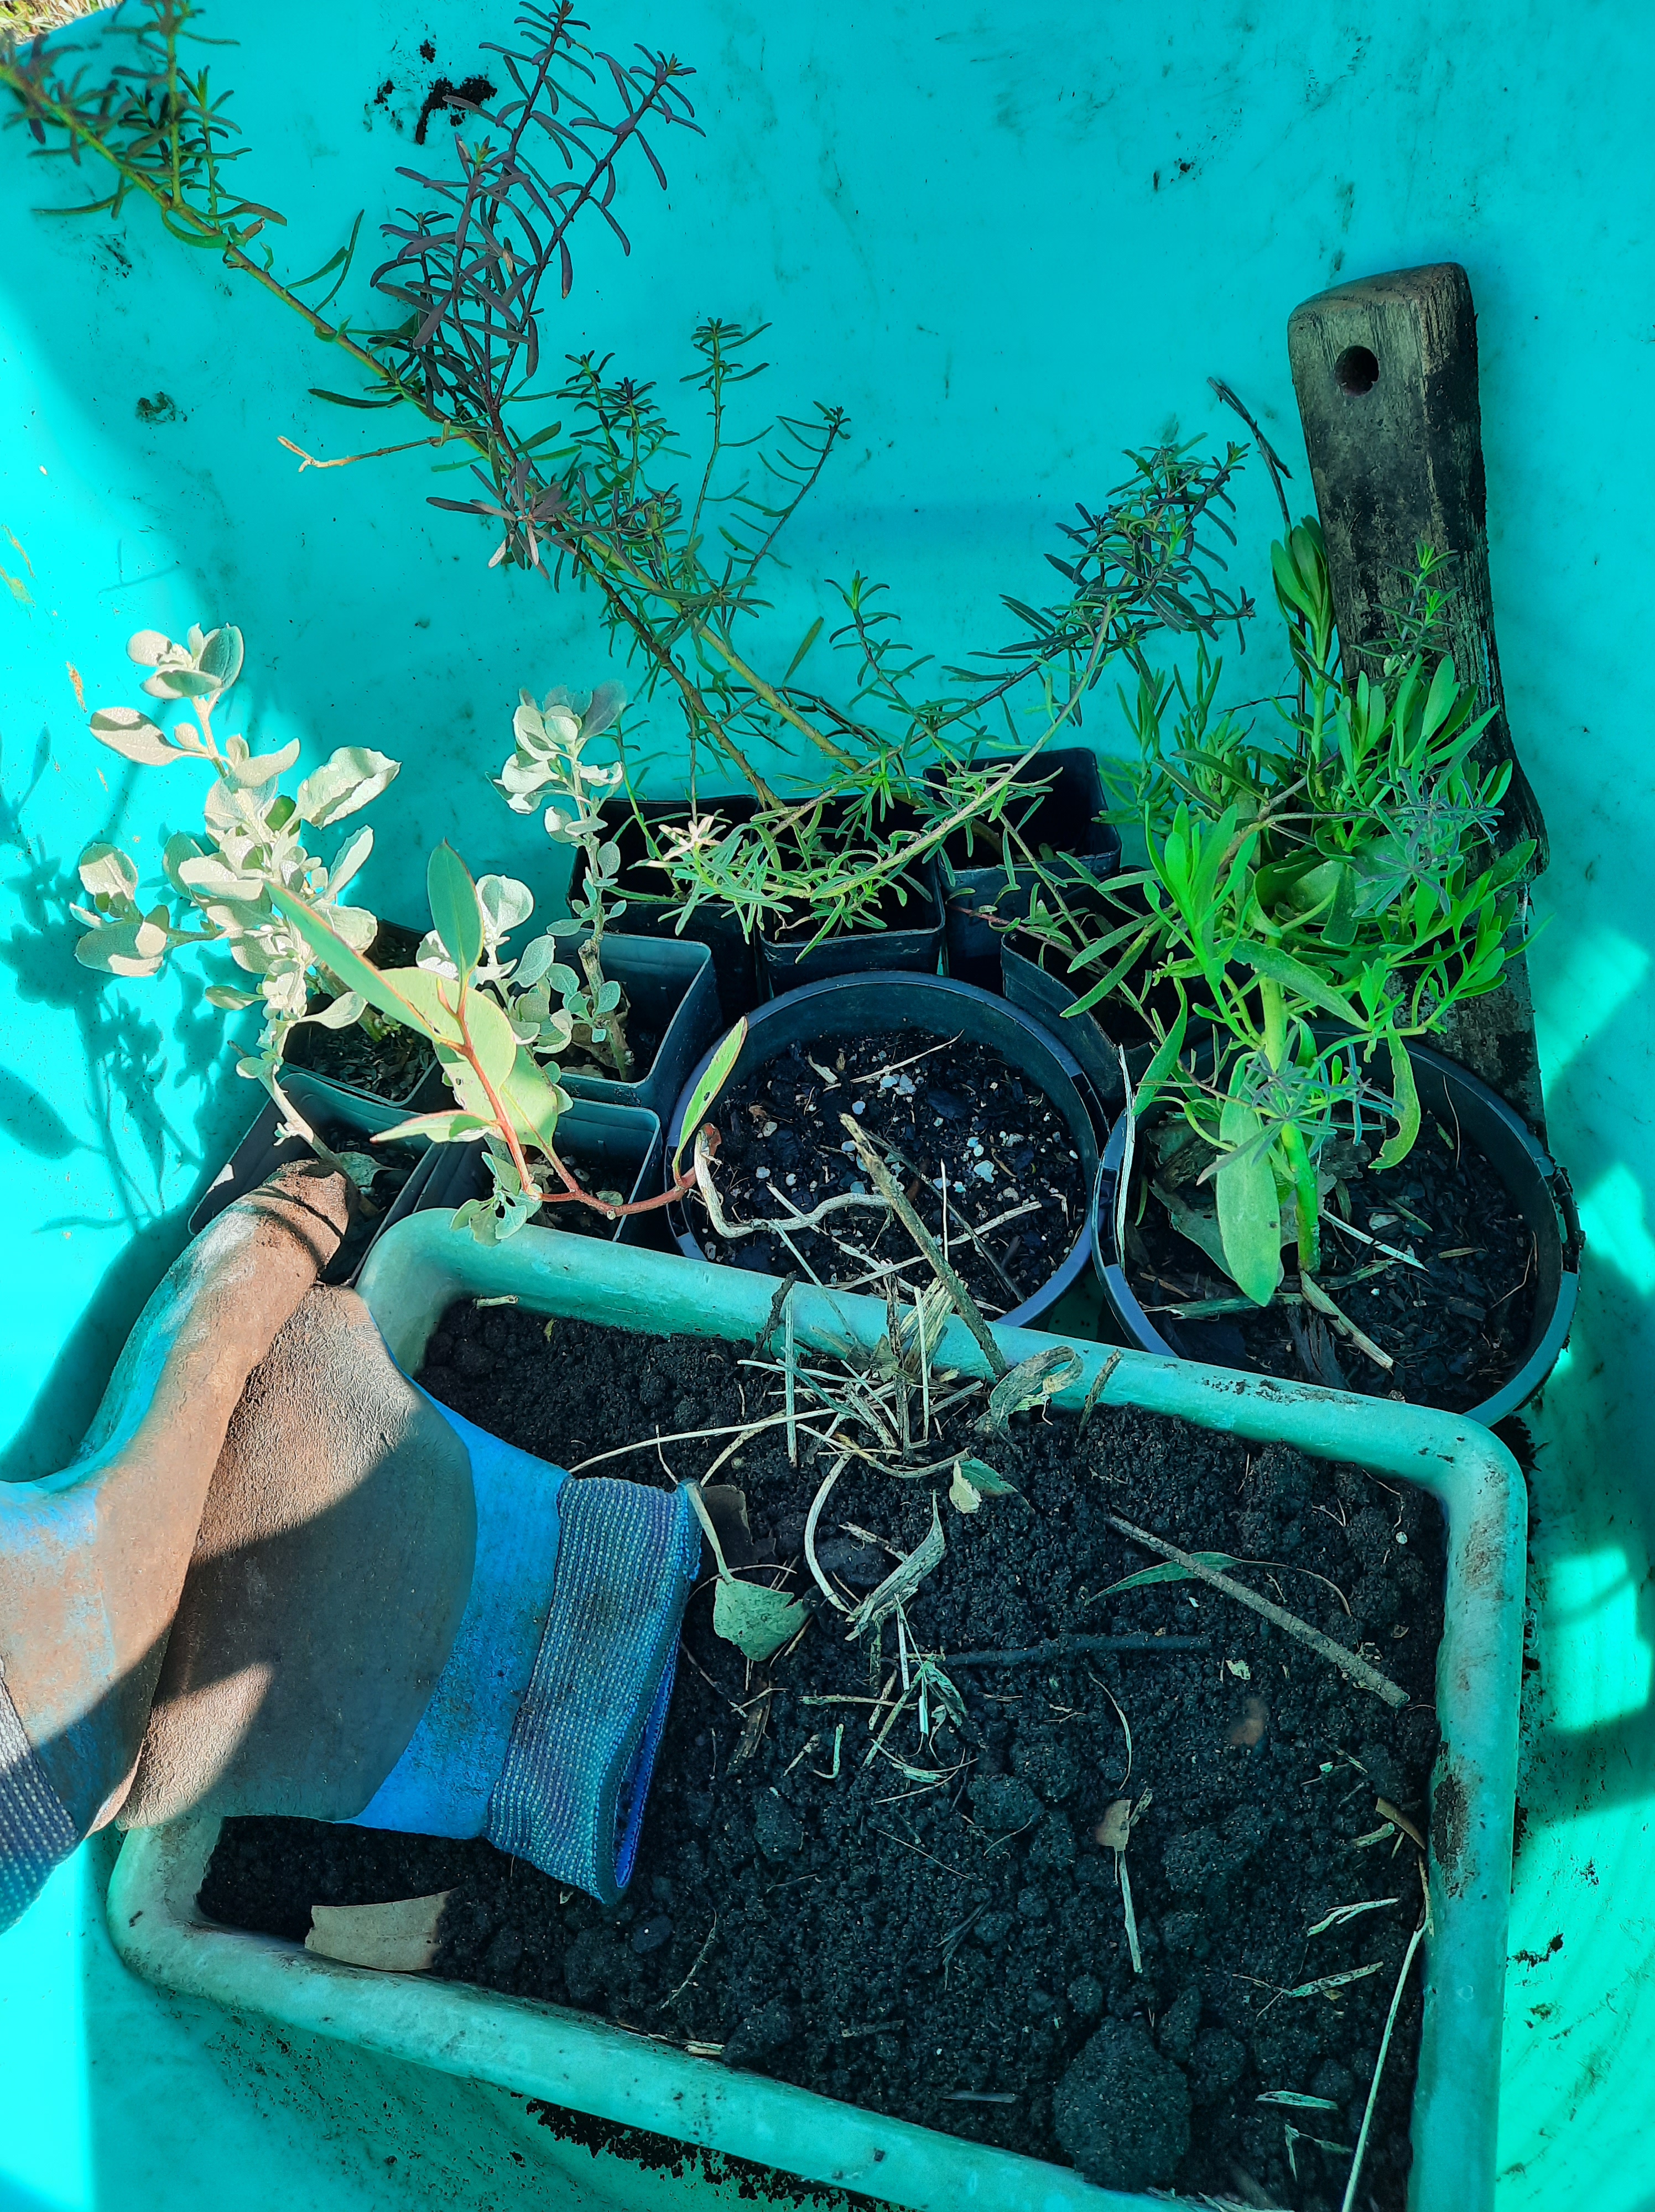
It’s a good time of year to be out planting still… Here I am setting out with some plants and some soil to help them in tough patches along the railway.
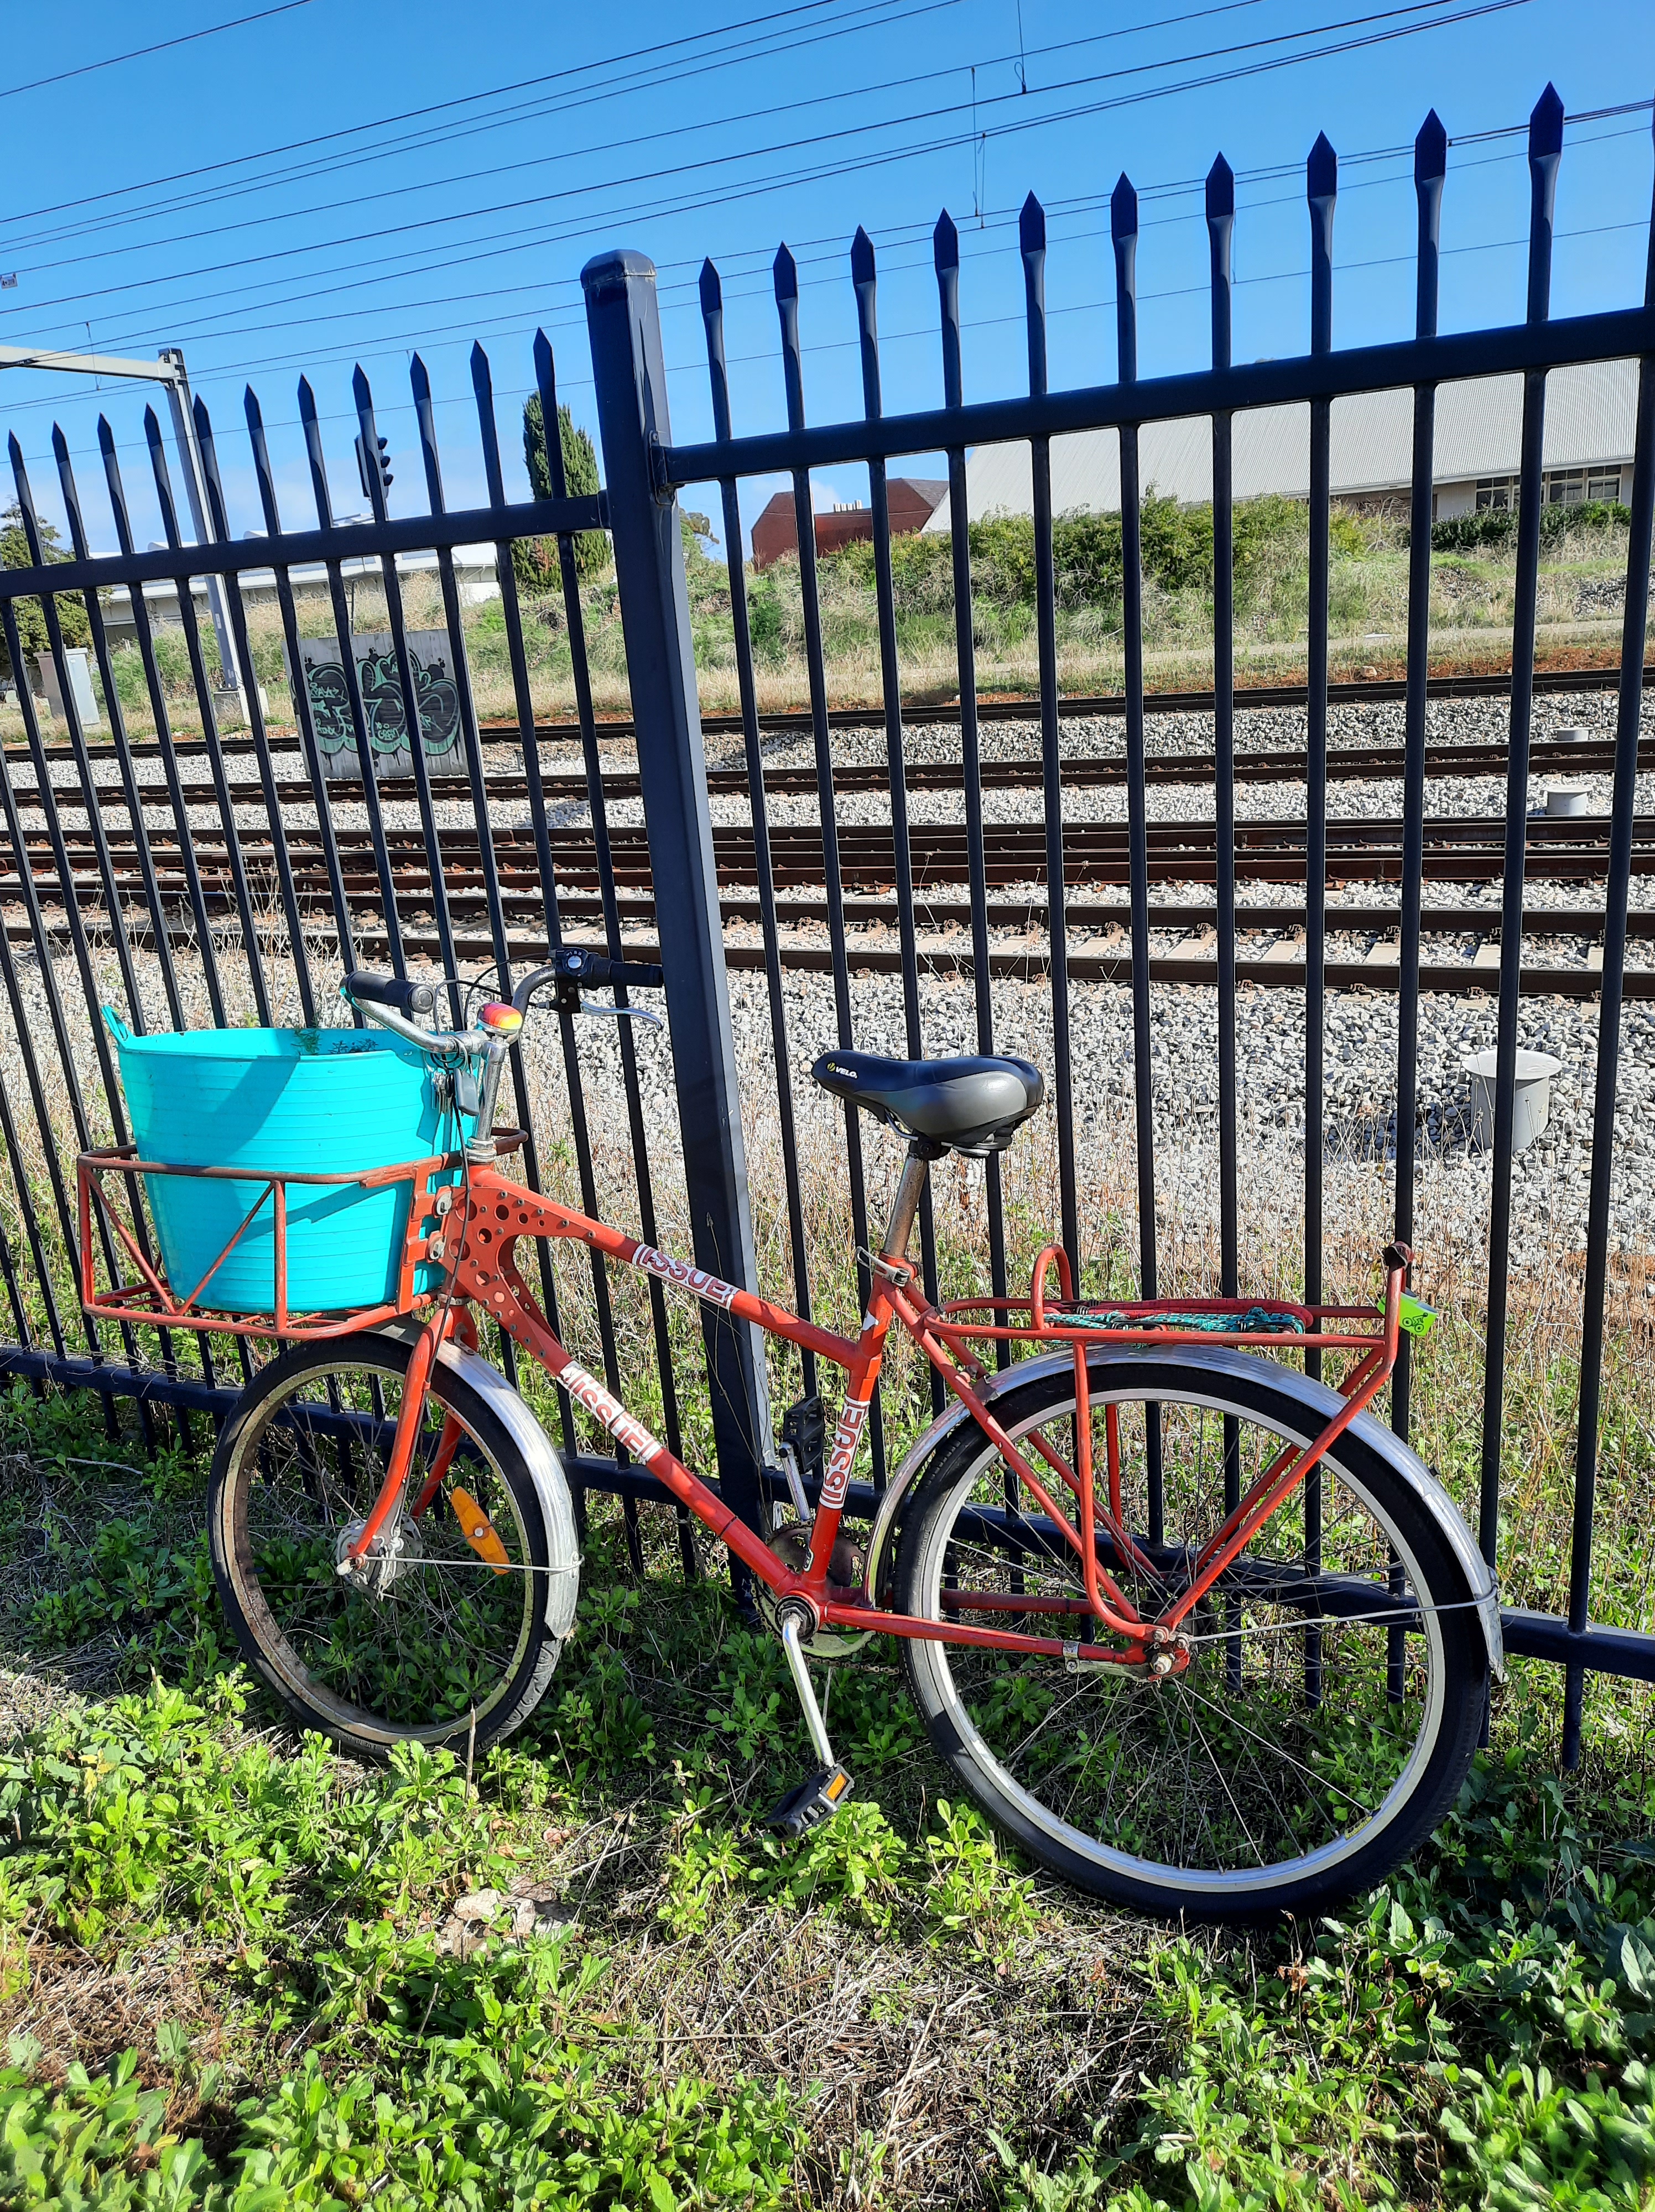
This is my trusty steed. I’ve grown to really appreciate what this retro cargo bike can do!
In with the plants, including these Old Man Saltbush (Atriplex Nummularia) I was generously given by a great propagator.
In with creeping boobialla (Myoporum Parvifolium)–this is the narrow- “red”- leafed form.
Then I stopped off at the local cafe for coffee grounds on my way home and just piled the rest in on top of them!
Then here is another trip–this time mulching an established spot I planted many years ago. It has become weedy lately. So I did a little sheet mulching and cleared leaves from the culvert to use as the mulch layer.
I did some hand weeding too. It’s a start!
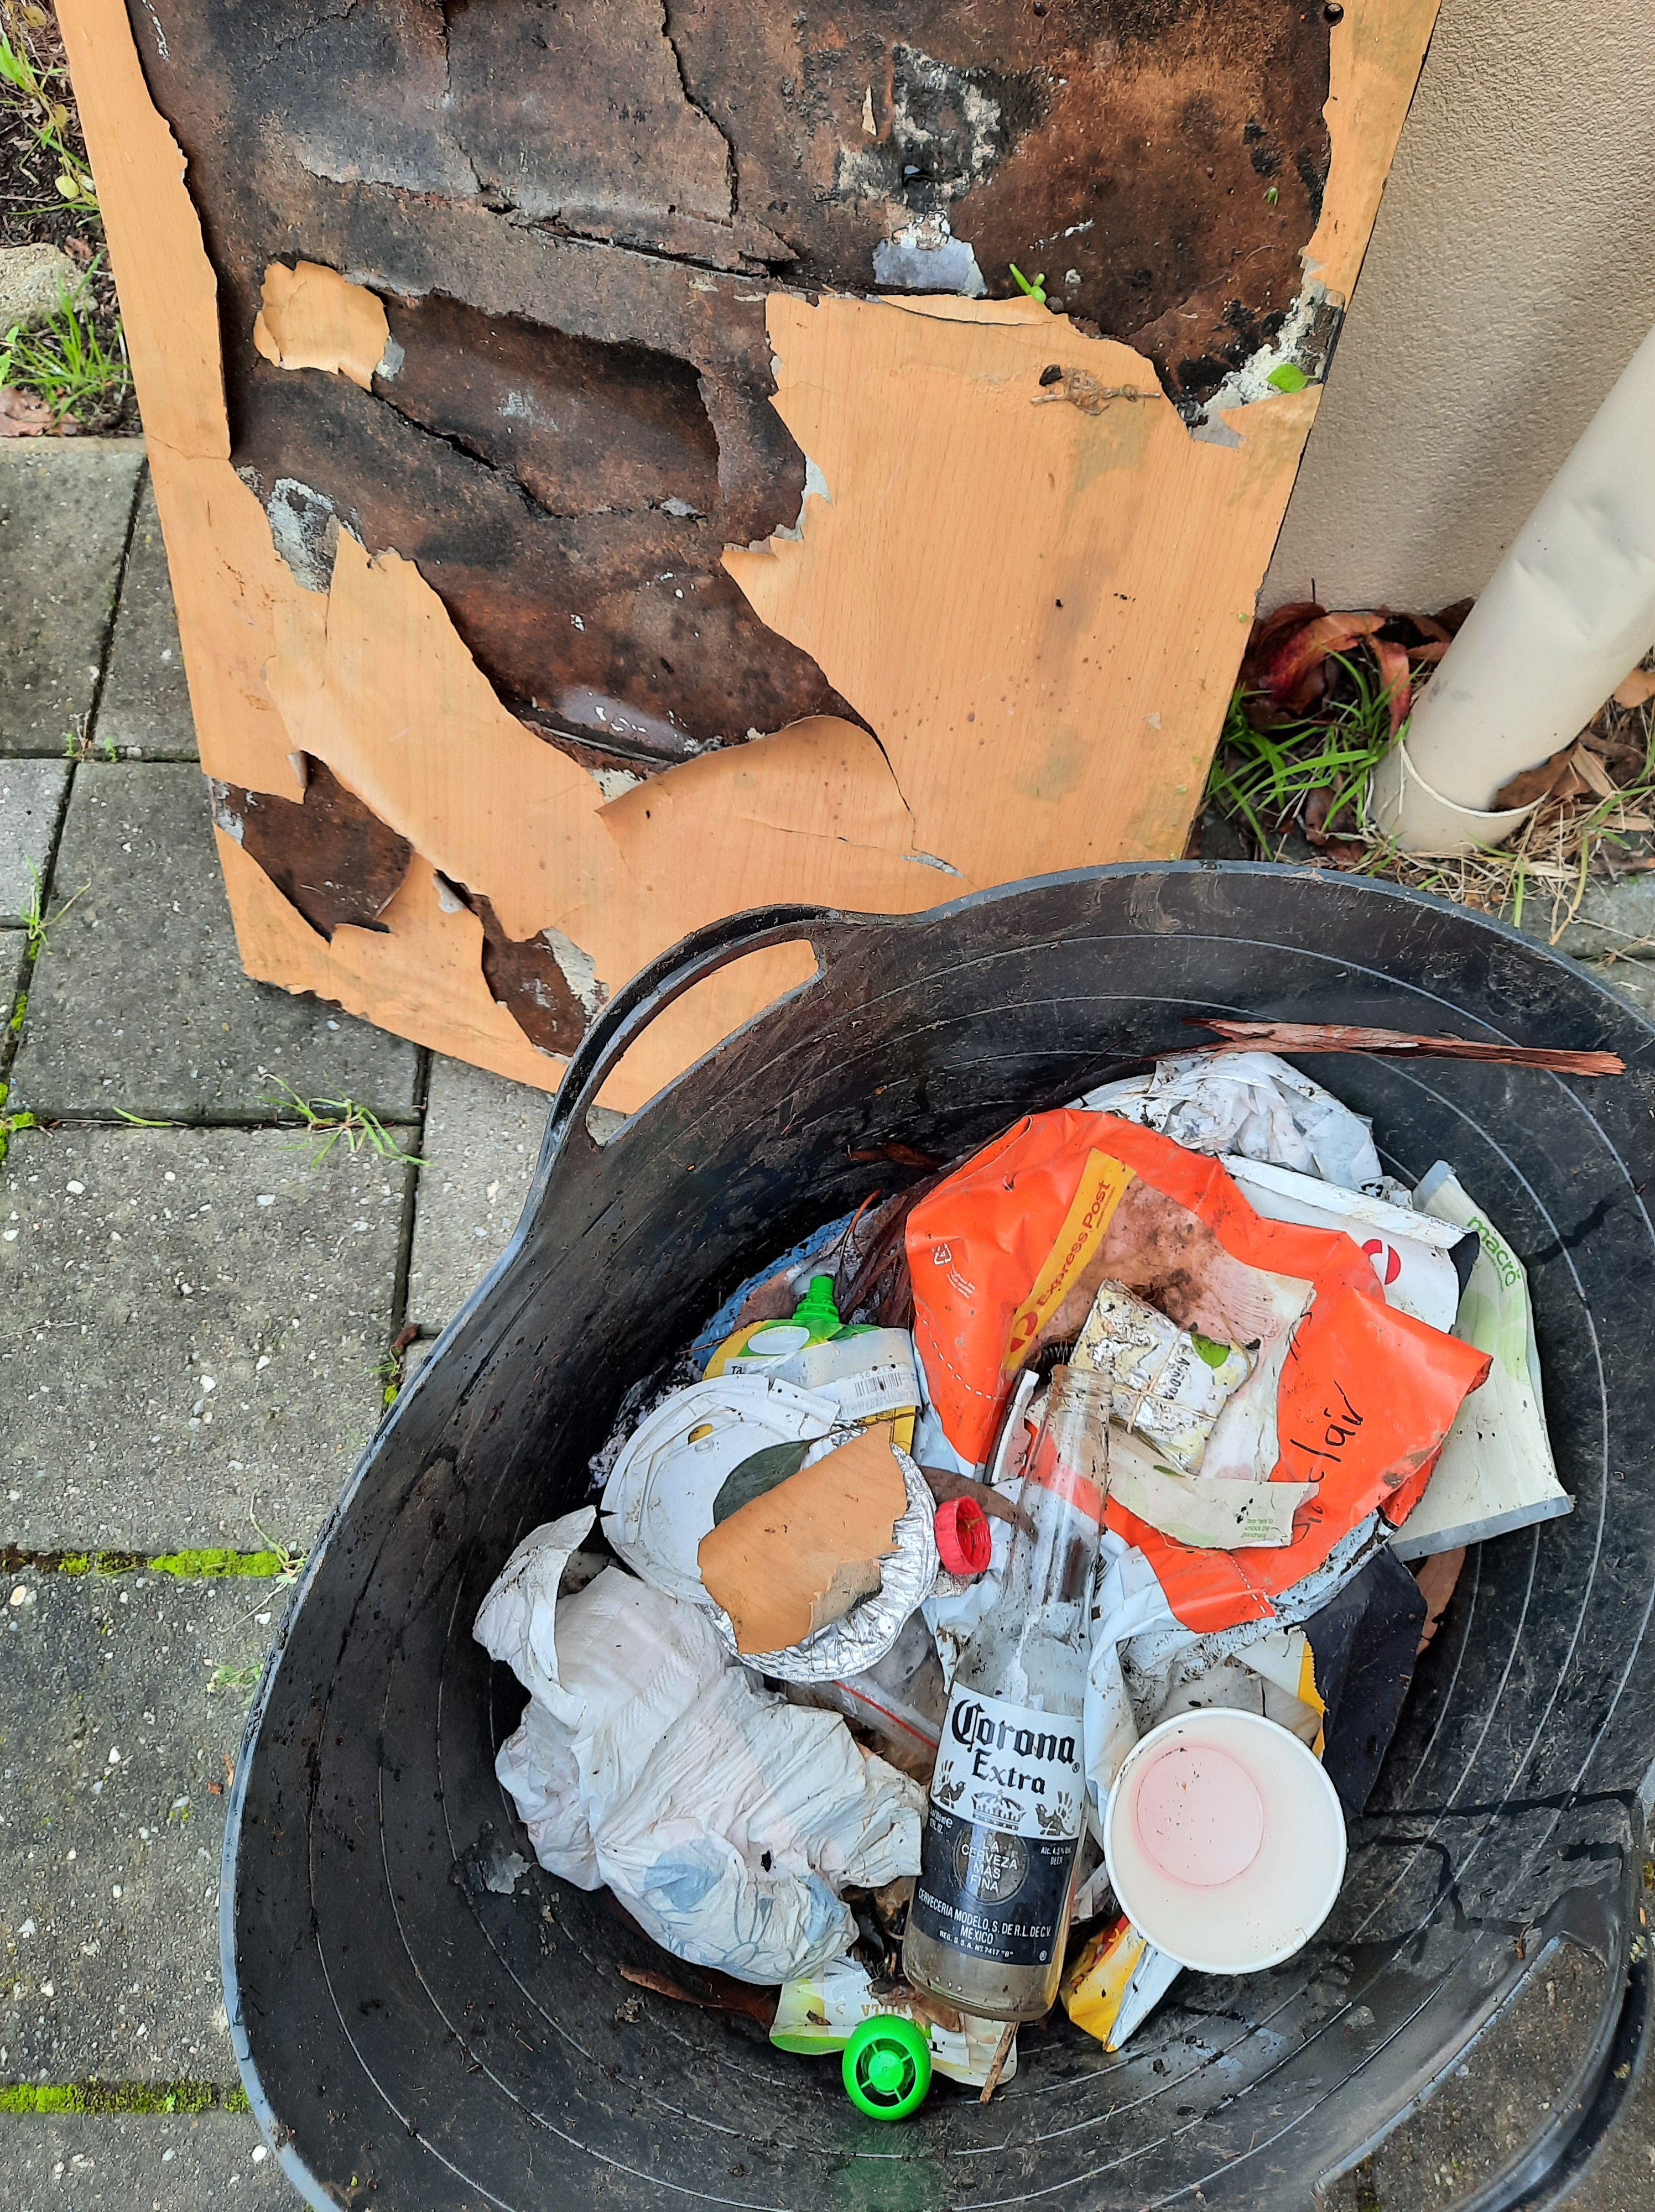
And on the way home, with that nice big bucket (and gardening gloves), I cleared up some rubbish someone in dire straits had left behind, and a cupboard door dumped nearby as well. I have realised that I always feel like I’m making a positive contribution doing these things. Sometimes people say things to me as they pass, most often “that’s not your job, the council should do that”. Maybe it should, but the council is collecting the recycling and the waste that will go to landfill. I would rather deal with the weeds I can without poison (as the council will poison every so often) and keep the area near where I love free of rubbish as much as I can… and not treat these things as always for someone else to do. Care for the land and living things around us is everyone’s business, I think.
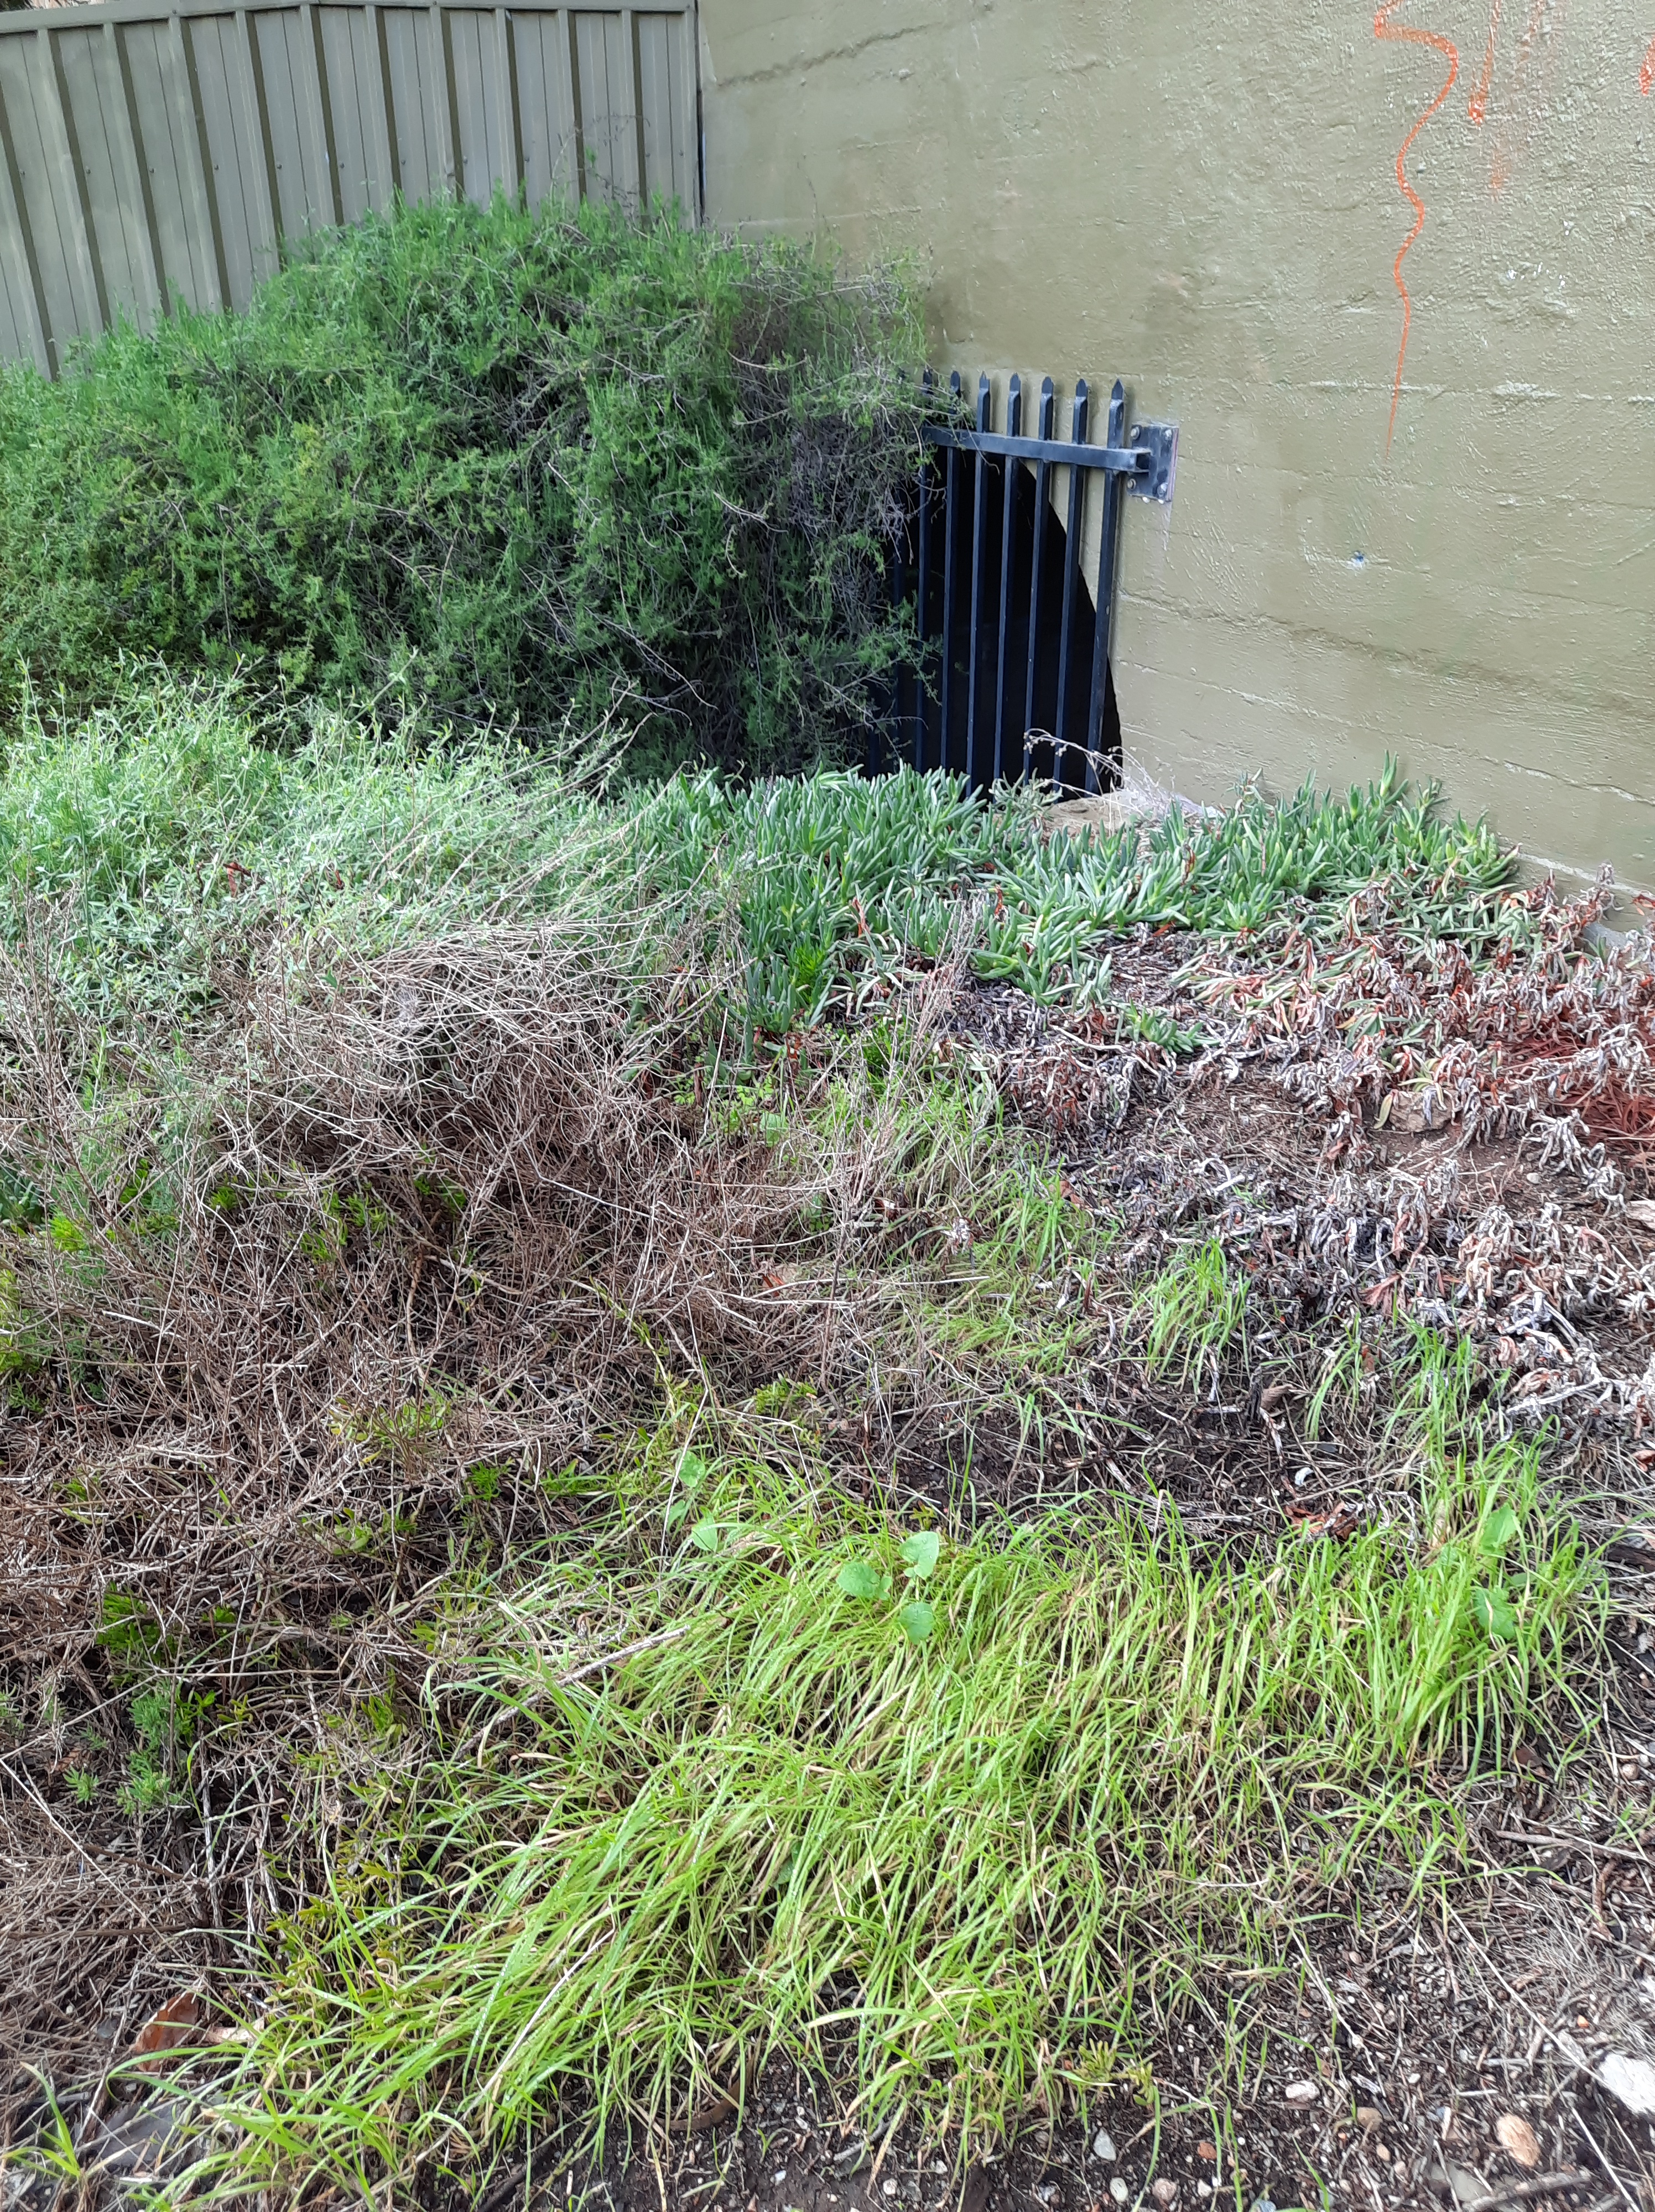
Just across the way from one patch that is thriving, is a patch that is under a completely different regime of care. I would guess this is because it is managed by the railways and not the showgrounds. It gets a lot of poisoning. A few things, including kangaroo apples (the shrubs in the distance) have made it. They die back when poisoned but they haven’t died so far, having been planted in, perhaps, 2021.
I have planted this area out twice, once with a bunch of friends and once by myself. It looks to me as though the poison comes from the railway corridor side (hence the survivors being over close to the kerb). The extent of the poisoning is such that my current strategy is to plant a few more hardy plants up close against the ones that are surviving. One of those is a grevillea winpara gem (I think) that has planted itself in an entirely unsuitable spot, close to the bike path. I’m leaving it there since it is alive and nowhere near its potential final size–and may just be a small relative of the 2 metre sized shrub/tree I have in mind, looking at those leaves.
Here is the same patch after some planting, mulching and cutting back of branches overhanging the path. The grevillea is in the foreground, its foliage a sad yellow, but growing anyway.
Here is the sophisticated mulch collecting system. I also chop up the material that I prune off, and add it to the mulch layer. This area looks so alkaline and has so little soil, every addition is worth having to help it build some soil. I’m hoping that the poisoner will start to see that this area is no longer weedy and actually populated with native plants, one day. I am still pondering whether a sign would help or hurt. Sometimes plant guards and stakes create trouble for little plants, and this area is a strong case, where I have had trees pulled out along with their stakes on several occasions, and a sign attached with cable ties removed. So hard to know!
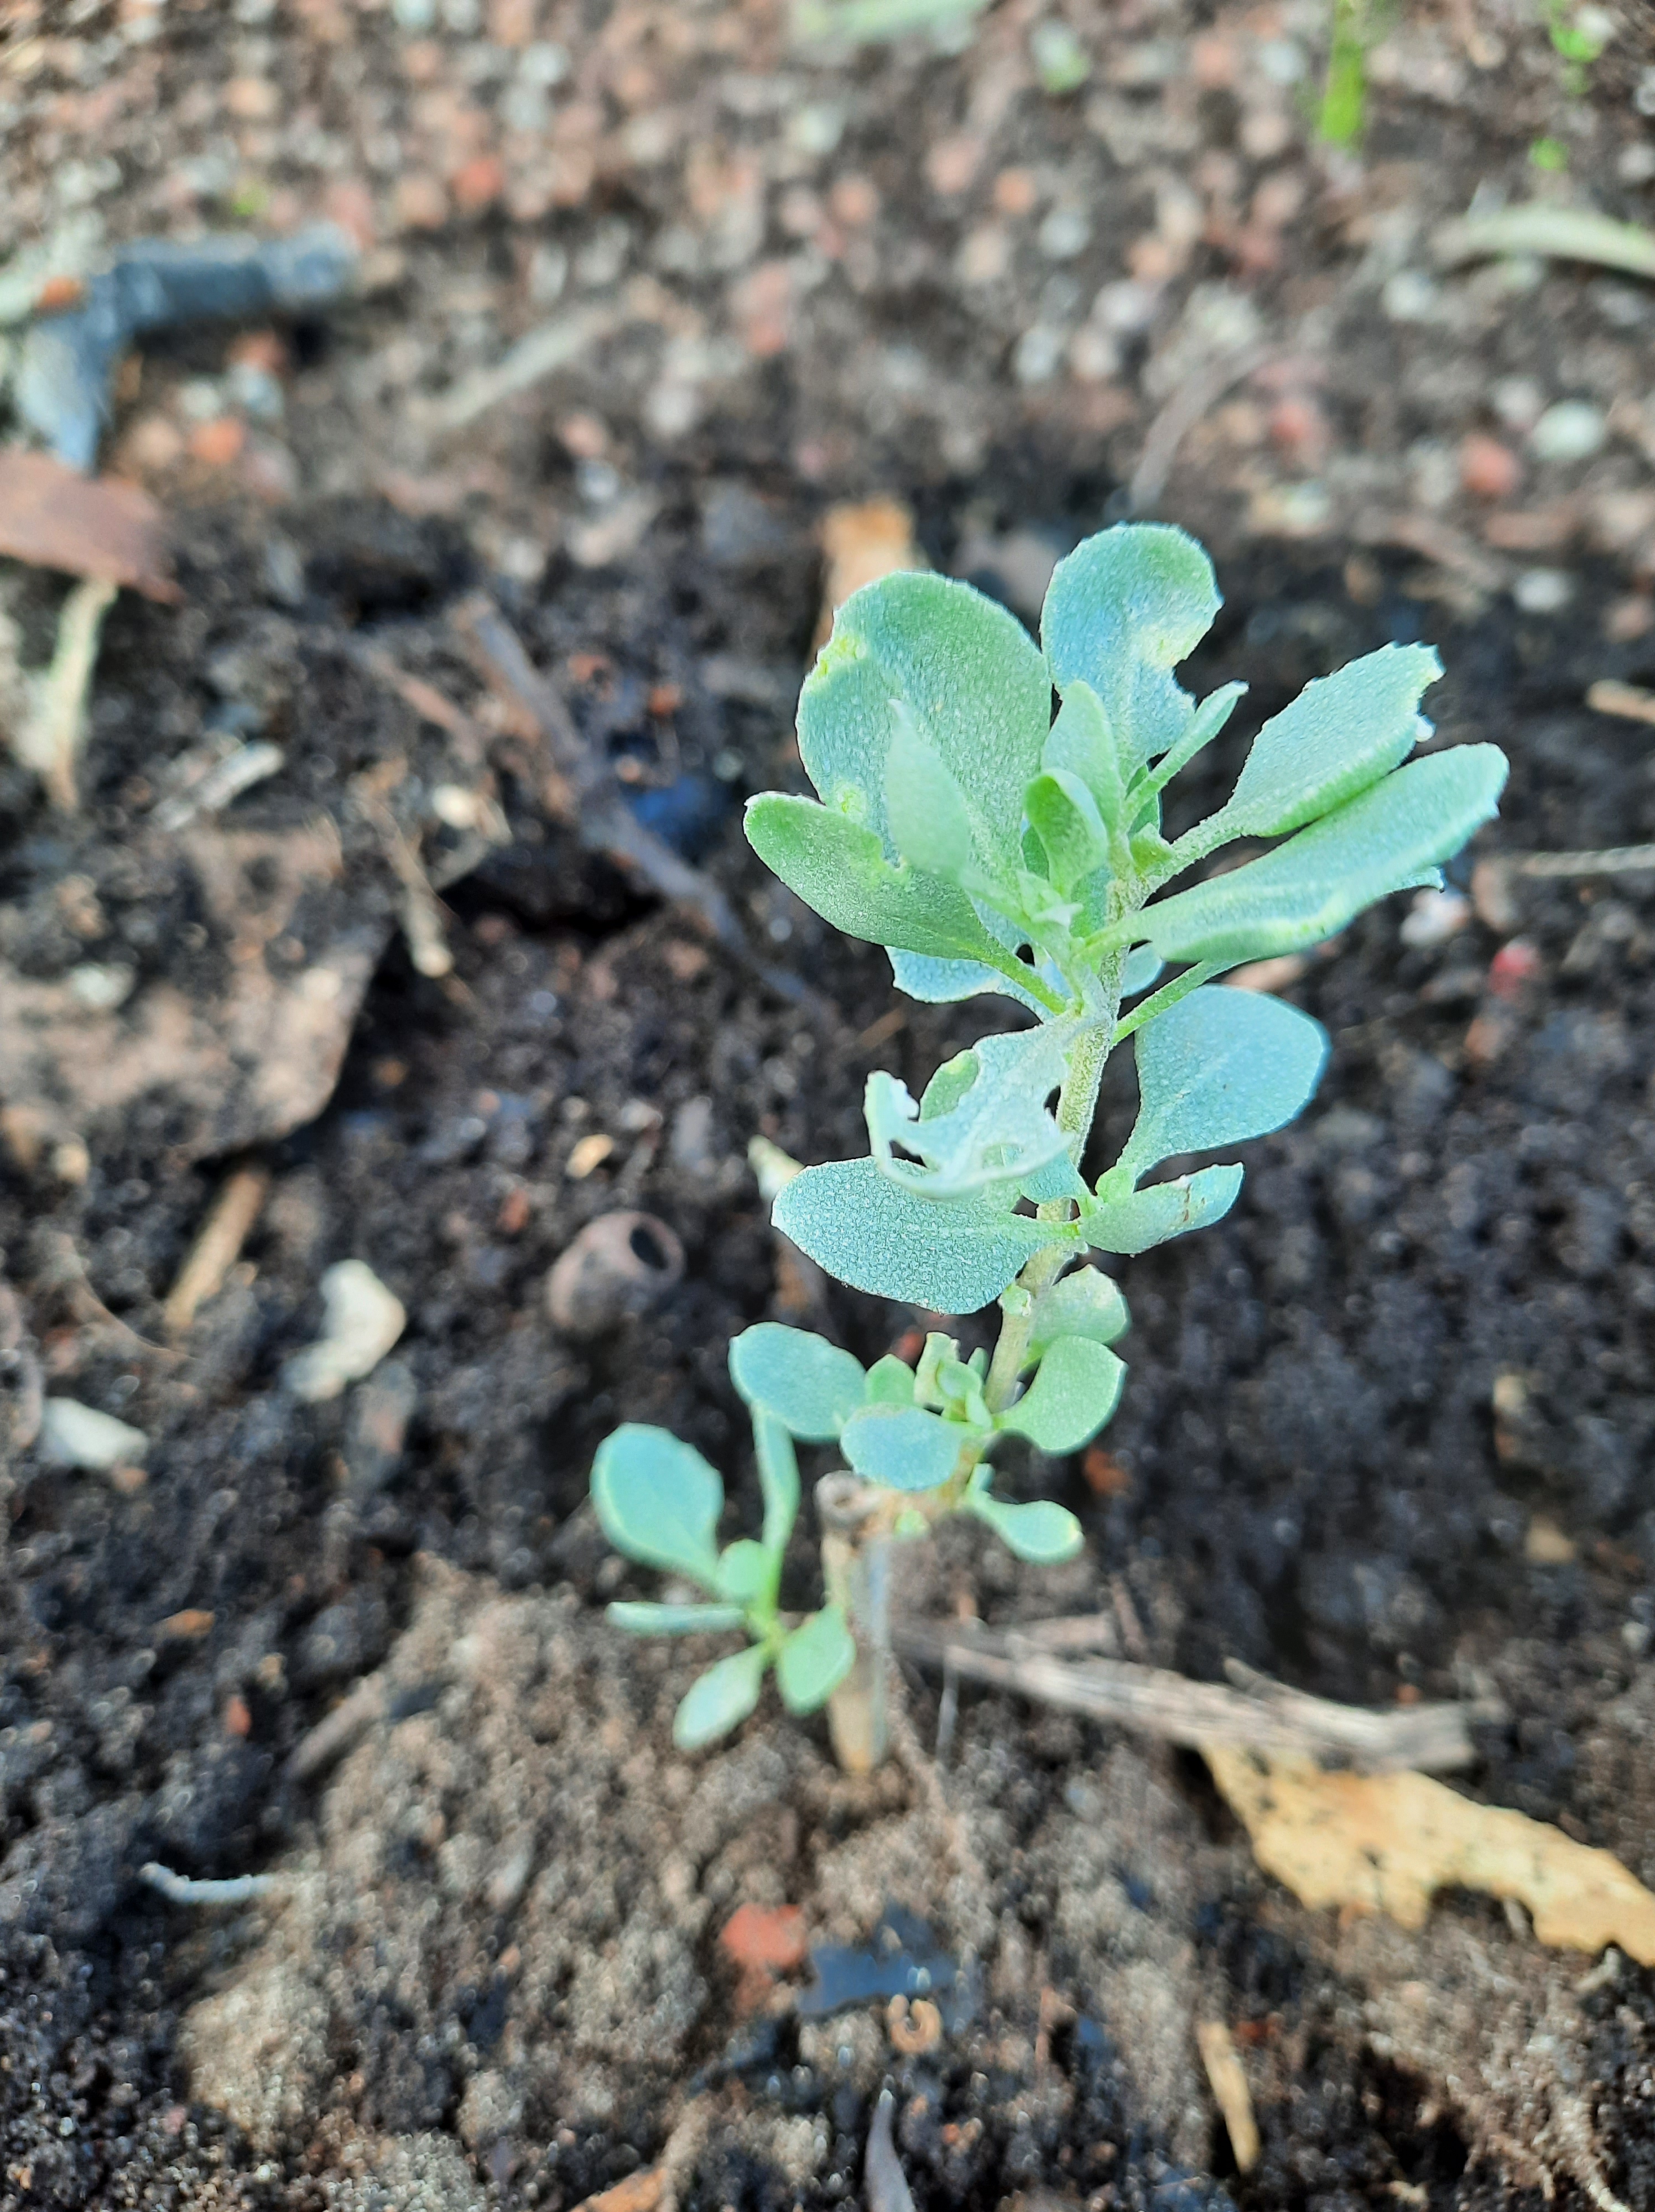
And here, I’ve added some ruby saltbush into another patch further along in an attempt to create an understorey.
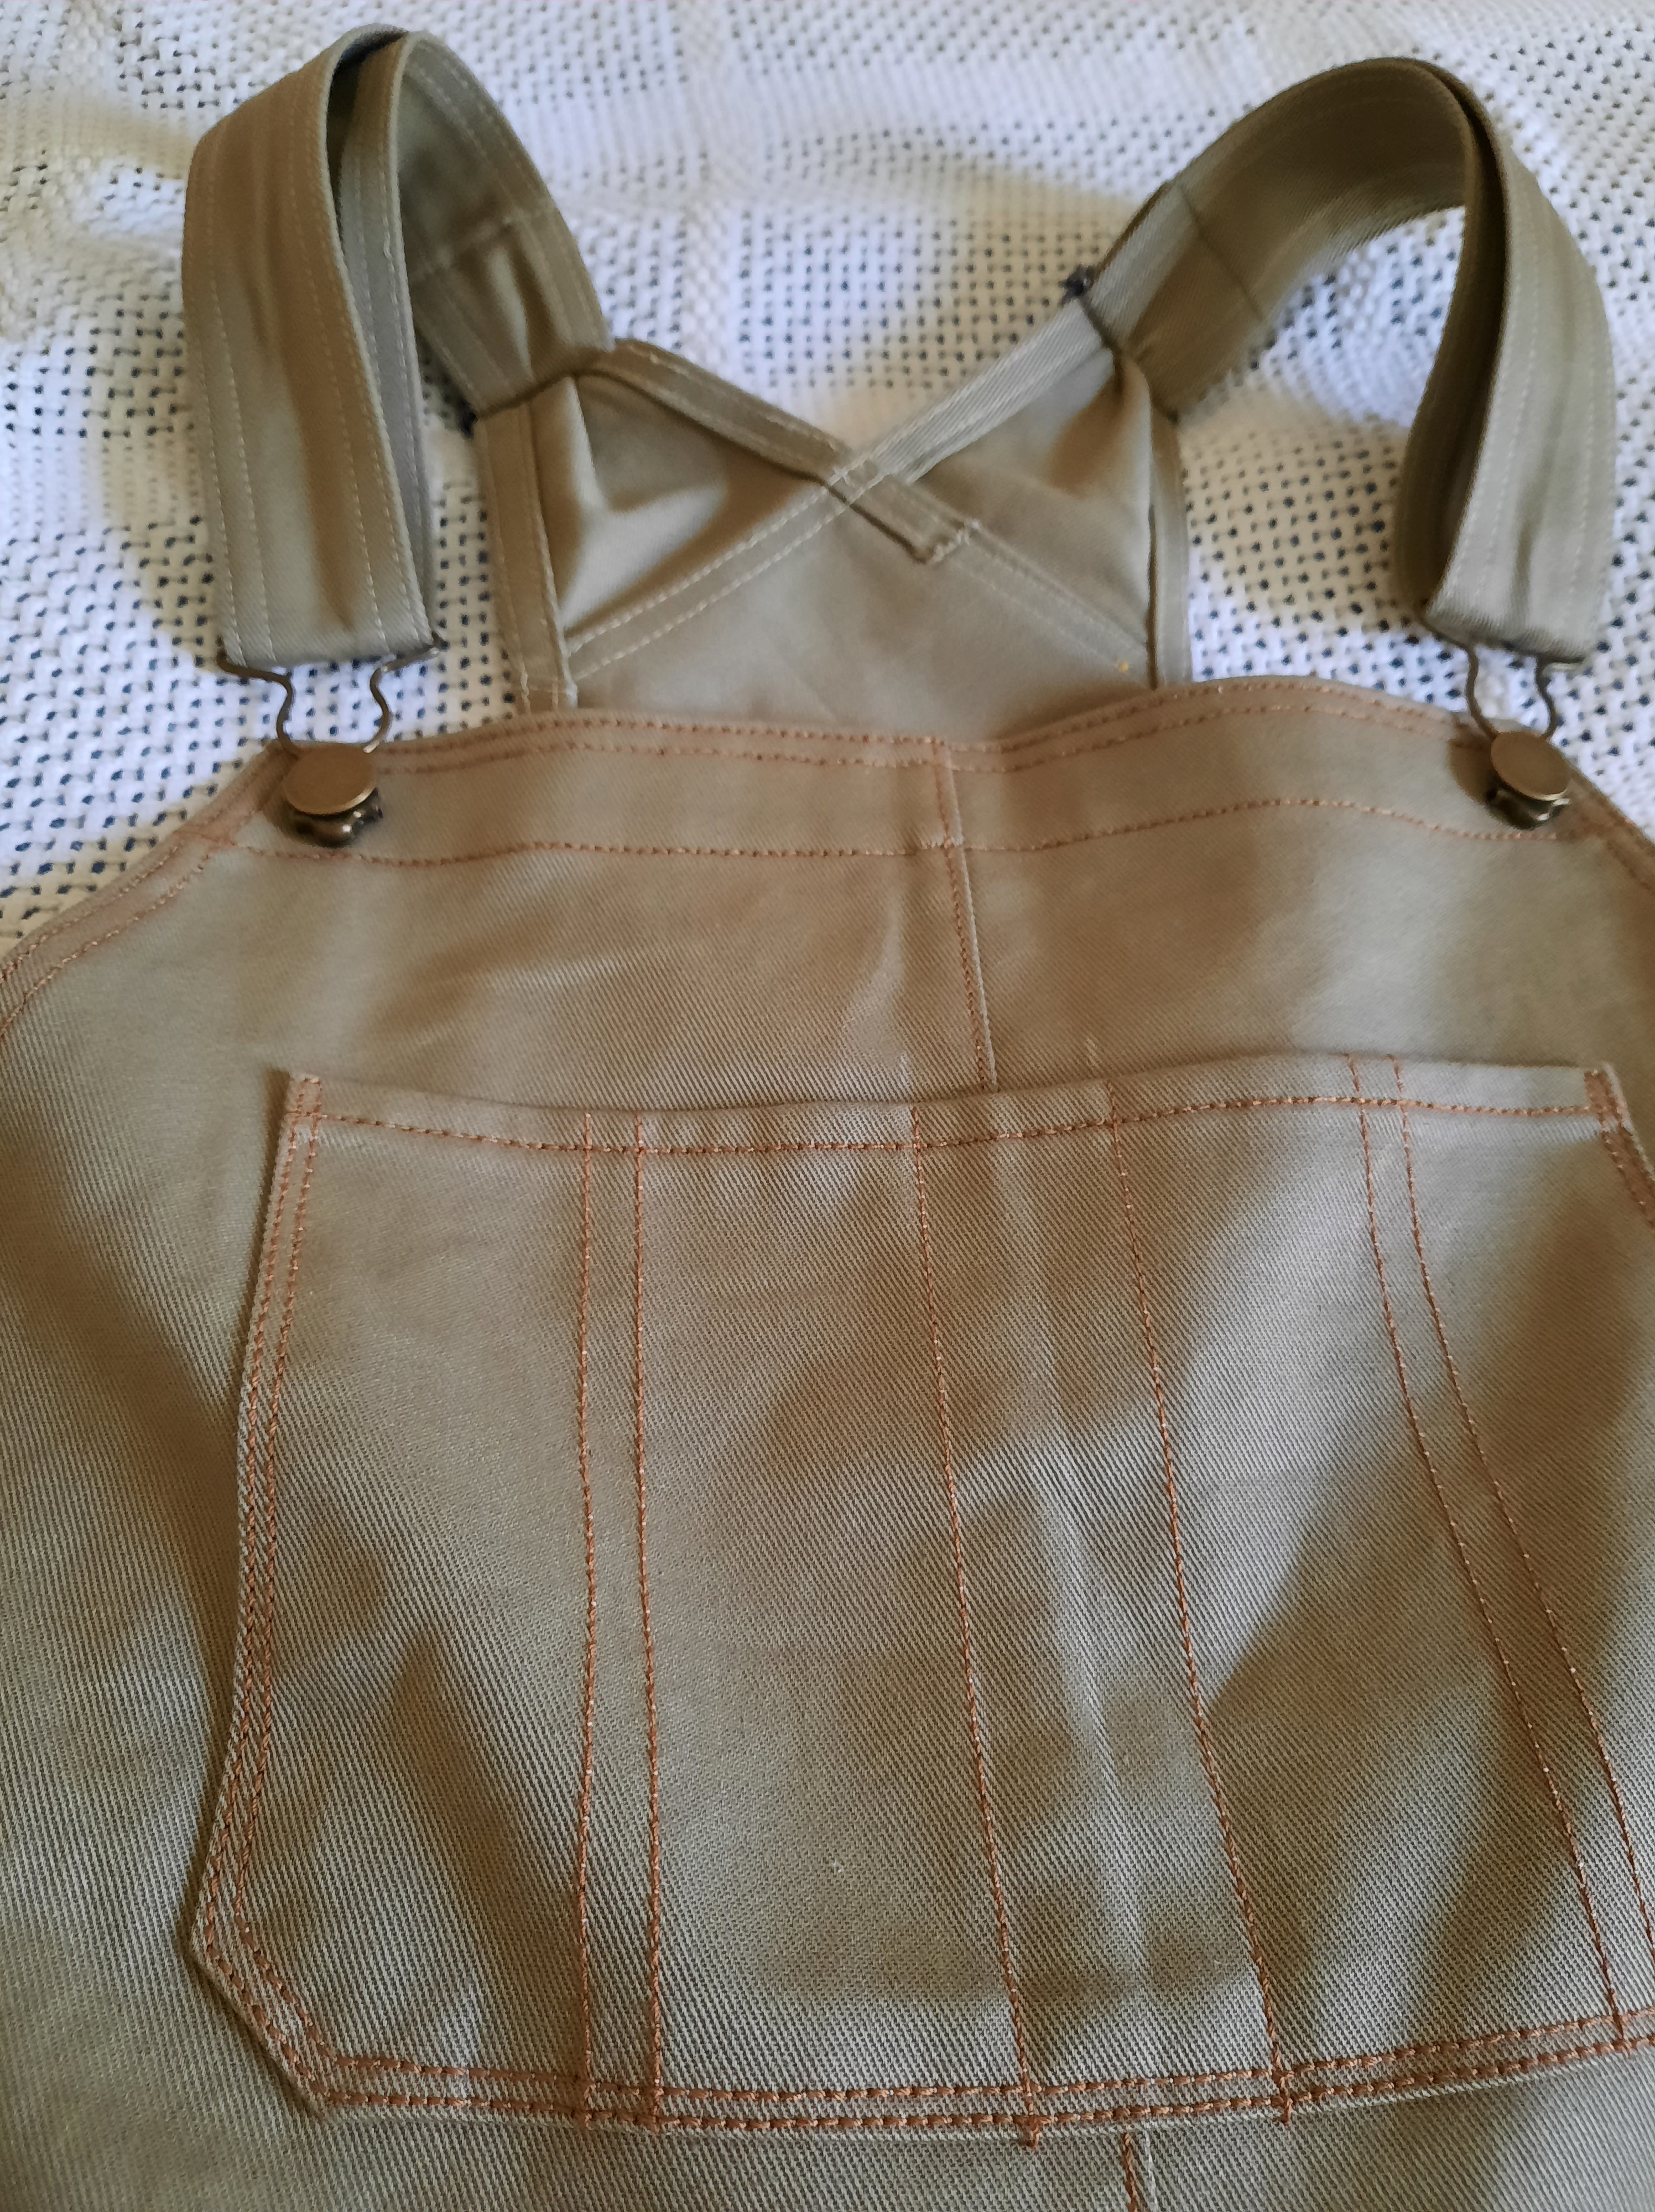
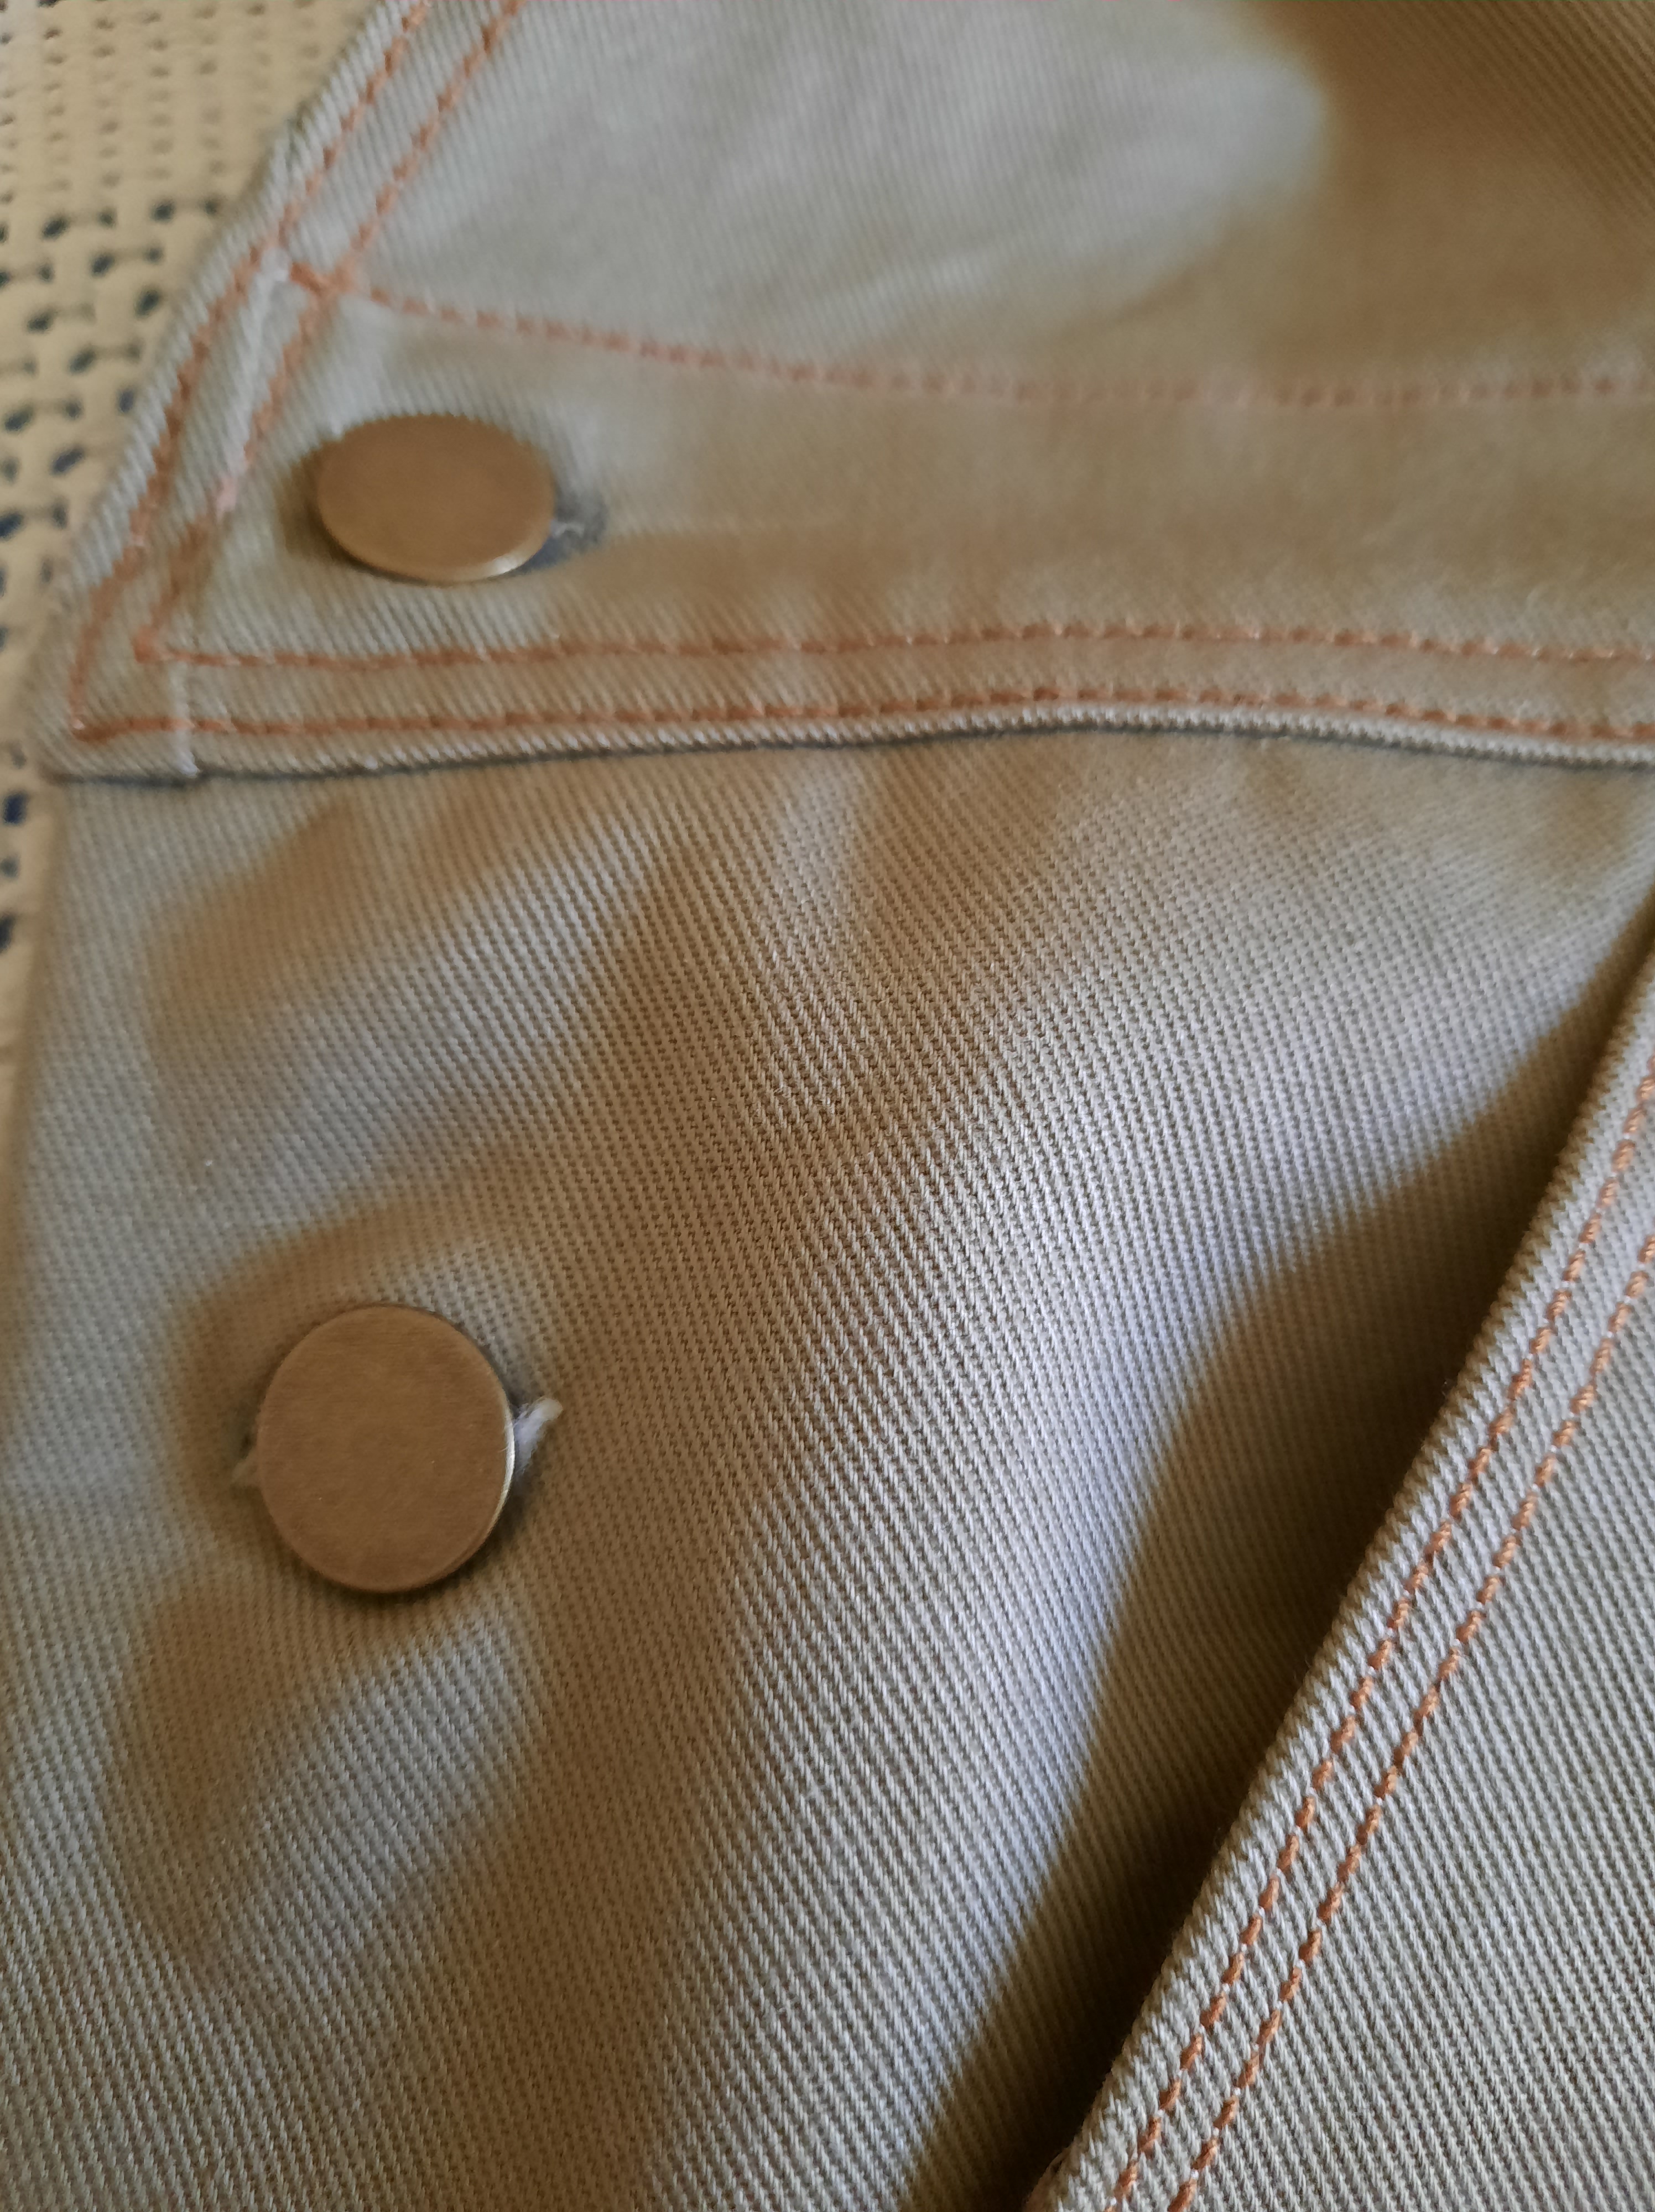
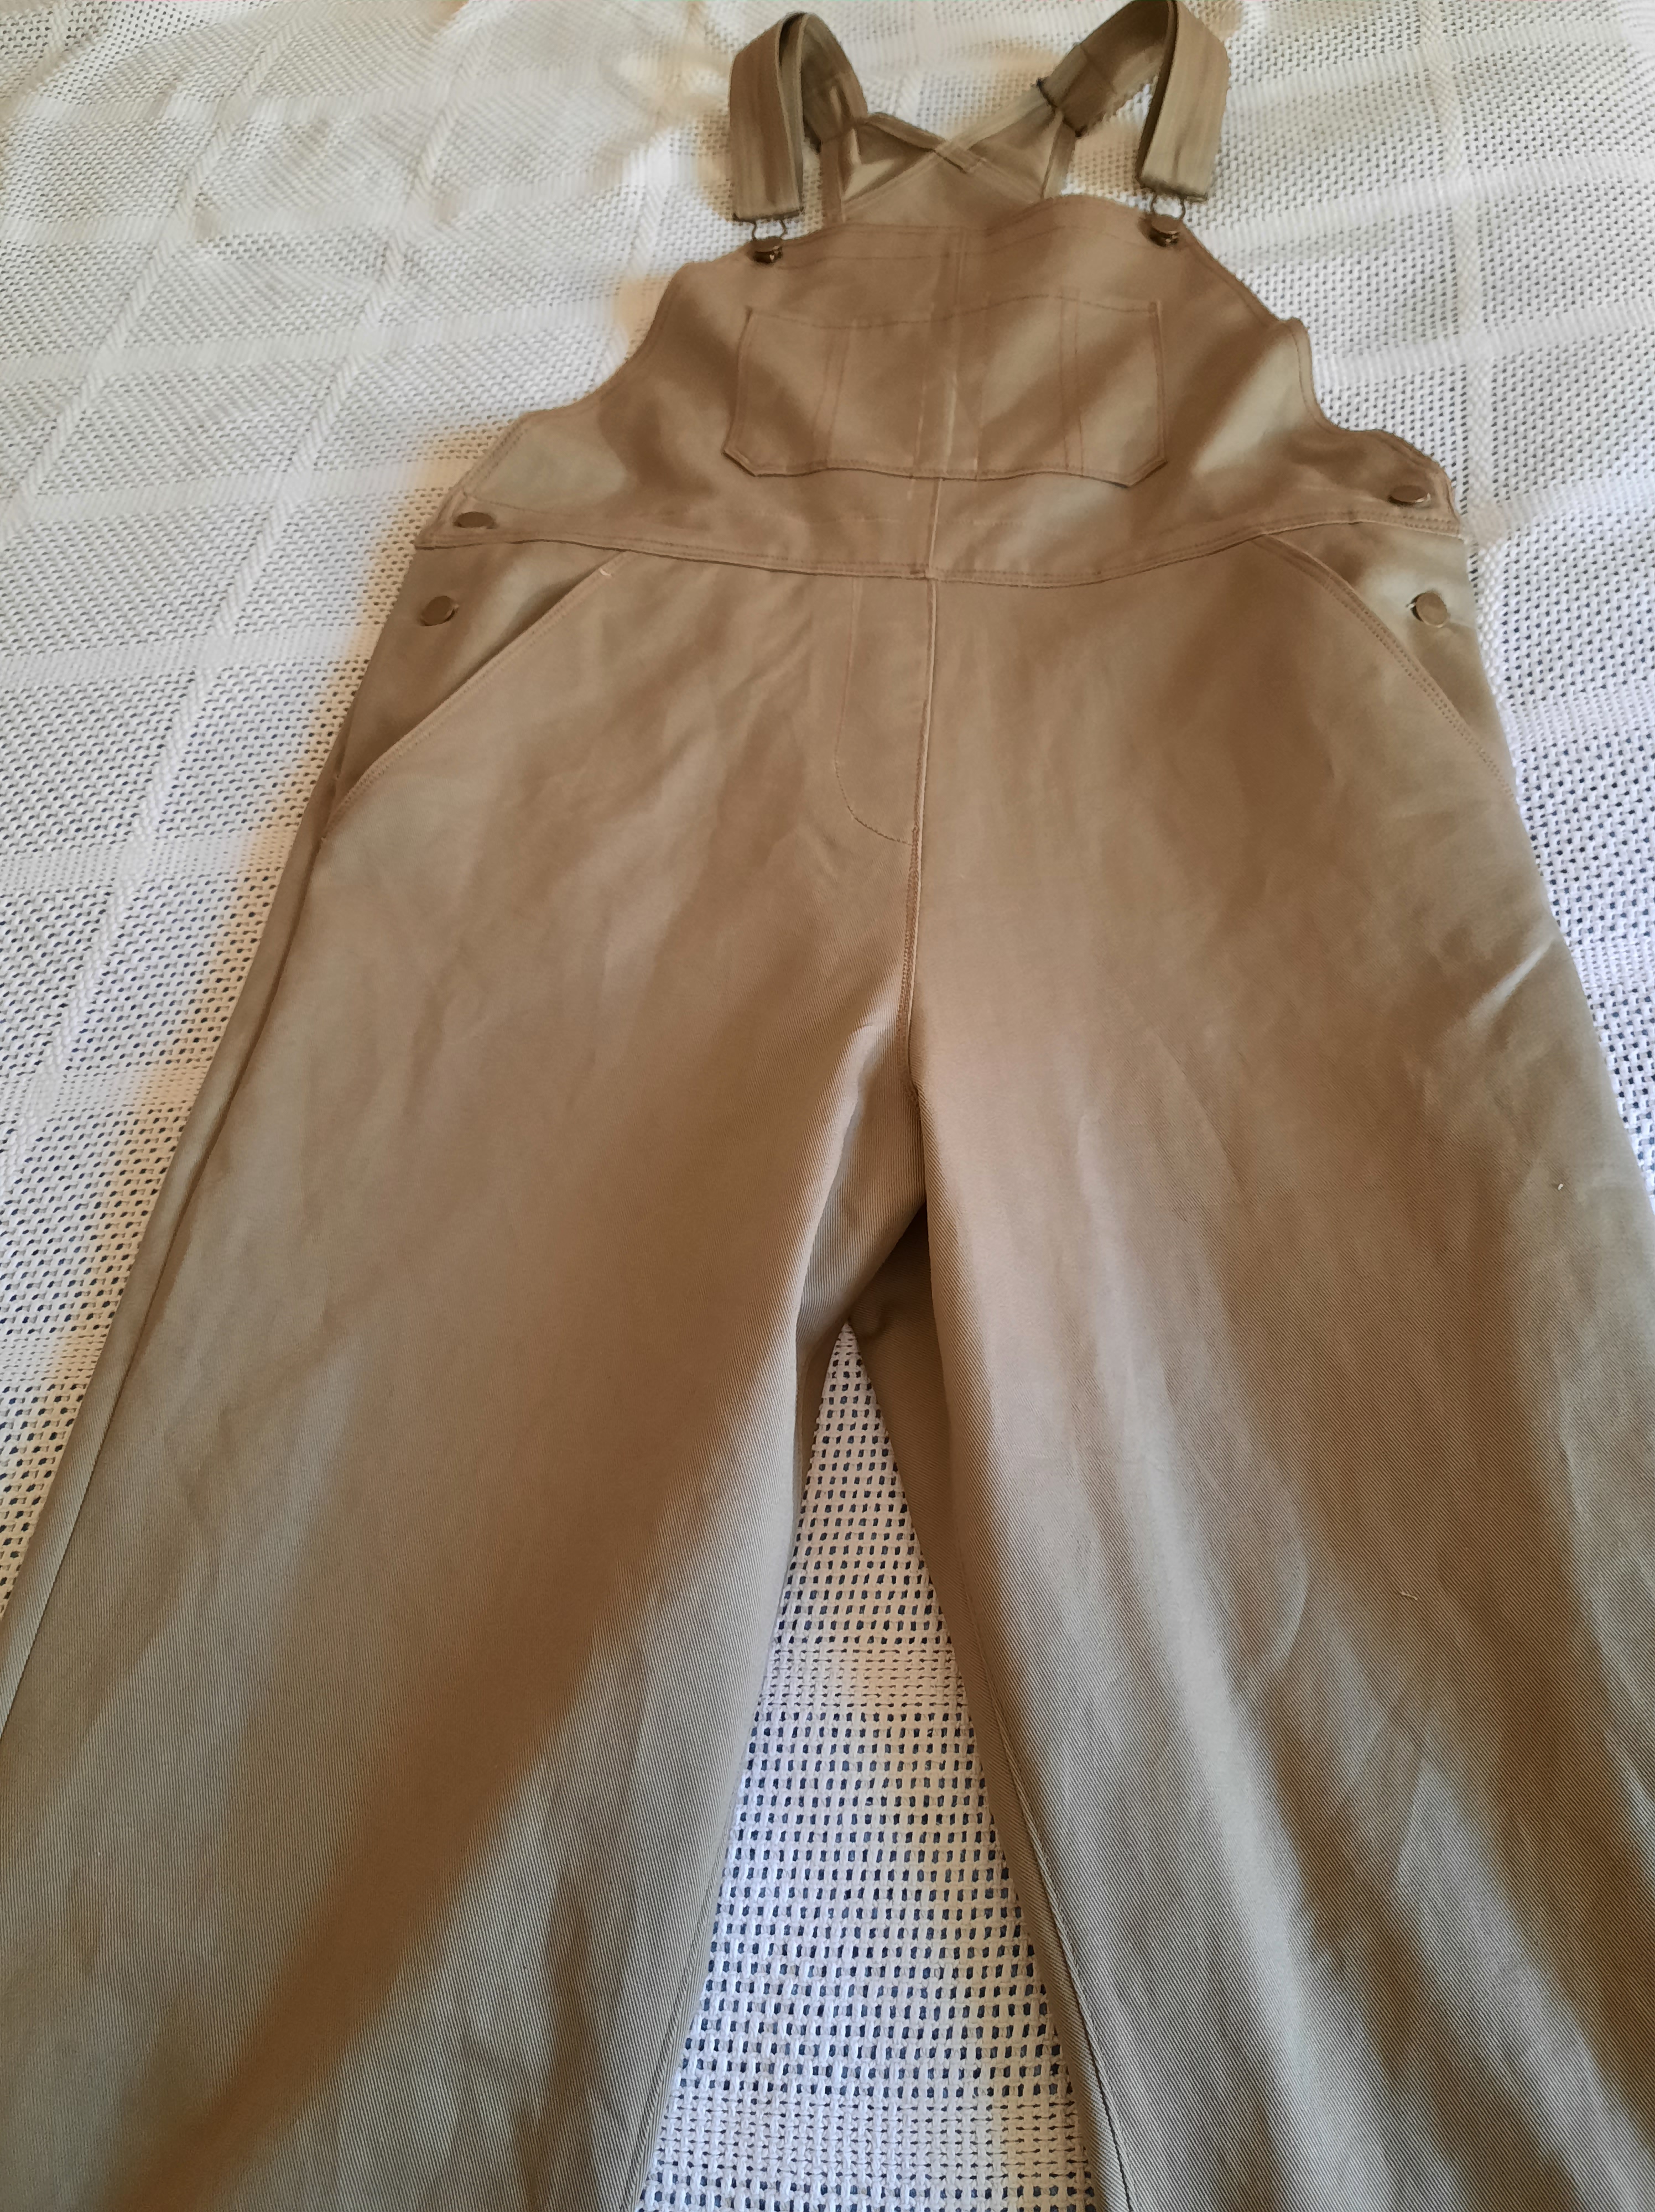
My sweetheart is the kind of human who loves to wear overalls, and loves to be in the shed. I made a lot of pairs of overalls for other people in recent years, but none for her. Eventually, she was keen for her own pair. These are The Harlene, from Merchant and Mills. I have to say that the pattern is beautifully written. I enjoyed the level of care in the instructions and the amount of care that they invited me to take in construction. I had some serious trouble with the top stitching and have since had my machine serviced! But the Harlenes have gone into the shed now and their deficits (from my point of view) are not a problem for the the recipient, as is so often the case!
I’m hoping that this very sturdy cotton drill will last a good, long time. And next time, I promise I will accept the reality that sliders (the hardware on the straps) do NOT come in a range of sizes, and modify the width of the straps to fit the sliders available! I did not go for fancy hardware on these, I sent my sweetheart to Adelaide Leather and Saddlery, where resources for mending and making all manner of things are to be found for reasonable prices and in an amazing assortment. They do not pay me to advertise for them, and they do not know that I am writing about them–but for local-to-me folks, this place is a fabulous resource I hope will stay in business.