
While I was at dye camp, I had access to plants I usually would not be able to use, and silk fabrics that I don’t usually have, and so of course, experiments occurred…
I thought you might enjoy seeing them!
While I was at dye camp, I had access to plants I usually would not be able to use, and silk fabrics that I don’t usually have, and so of course, experiments occurred…
I thought you might enjoy seeing them!
Filed under Natural dyeing

…the time of year when the calendars get turned into envelopes. I was a bit surprised to find that we had three calendars kicking around the house. Admittedly, one of them had been on the wall for two years with scant attention to the dates because the pictures are glorious but the seasons are for the other side of the planet. The seed saving envelopes are especially good looking this year…

And since I had the Trees for Life calendar, which I loved all year long, I now have seed-themed envelopes as well as envelopes for seed-saving. Somehow that’s a happy thing! If you are longing to make your own, there is a tutorial above under the How To tab. Enjoy!

Filed under Neighbourhood pleasures

Over the holiday, more local fleeces arrived. This is the view down into a chicken feed sack full of greasy fleece. I washed, I dried wet fleece in summer heat, I even managed to do some carding. I now have various wools dyed with woad or indigo exhausts as well as good old naturally brown or grey wool. I have taught a few beginners to dye at our evening spinning group at the Guild in the last while (or at least, I’ve been one of the people helping them to learn) and sometimes people are just so overcome at being given wool. In the future they will know that the real gift is time and effort. But I do try to let them know that I have a lot of wool and that I am happy to share.

People were generous to me as a beginner spinner, and I love to share spinning (as well as wool). I finally spun some llama fleece a friend at the Guild gave me in the spirit of adventure. It came out OK but it did have a lot of guard hair in it, so I’ll have to give thought to what it might become.

Here’s a another skein–woad on grey, I believe.

And here are indigo and indigo dyed over yellows. I realise it is better practise to dye blue first and yellow after, but, well, I didn’t like the yellows too much and just decided to dye and see! I love these colours. But my thoughts are beginning to turn toward eucalypts and their oranges and reds again…

Filed under Fibre preparation, Natural dyeing, Spinning
When I bought my sewing machine, it came with two free sewing lessons. They are the only machine sewing lessons I’ve had since half way through my first year in high school, when home economics and tech studies diverged and I was in the first cohort of girls allowed to do tech studies. At that point home economics had stretched to making a gingham pillowcase and learning how to van dyke an orange. It wasn’t looking promising to me. So I learned how to use a band saw, and how to solder and weld instead. And how to stare down a queue of boys who all want to see you fail on a big piece of machinery!
I remember some of the demonstrations in those sewing lessons. The teacher had extremely firm views and a level of competence and confidence my mother never had (I am sure she had a lot more training than my mother and she definitely had a much better sewing machine). I saw feet demonstrated and techniques shown that I had never imagined possible. Mostly because they were not possible on my previous and only other machine. Well, this one came with a roll hemming foot that I could not imagine having a use for.
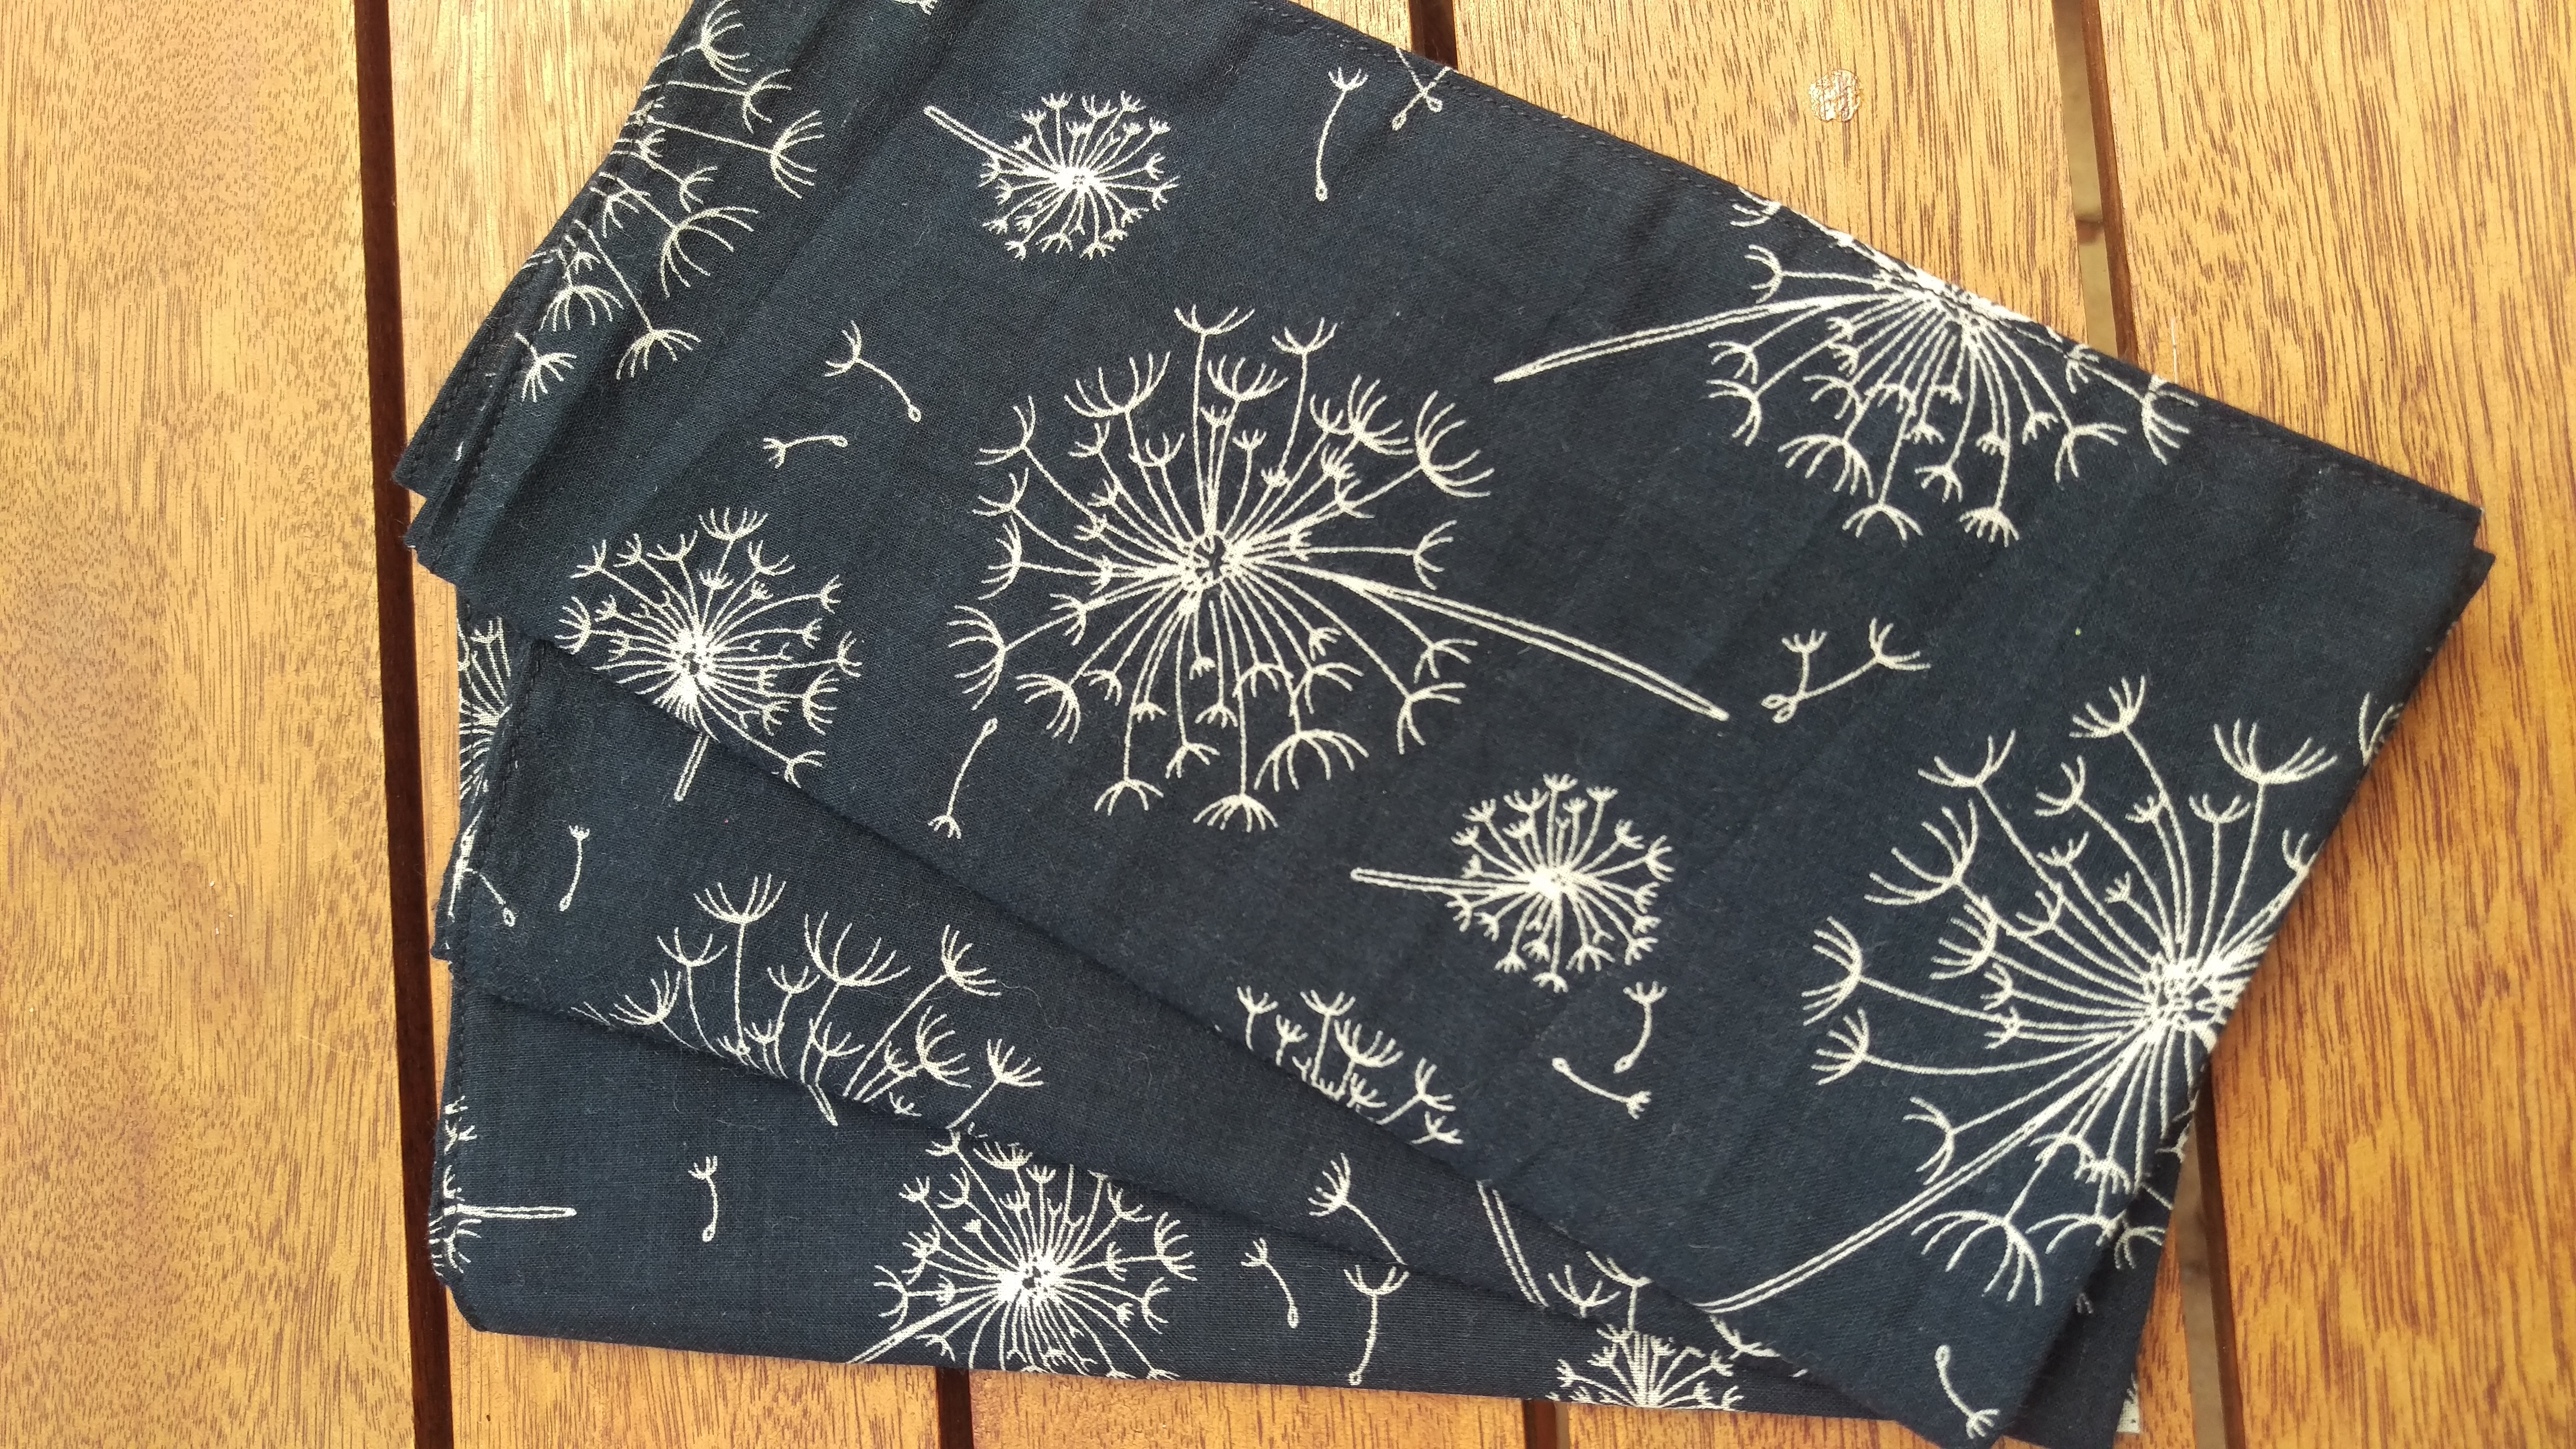
The use appeared a while back when I decided that making handkerchiefs and napkins might be a thing I could do, and when I was looking at an entire bed sheet as the fabric to be converted to handkerchiefs, I decided I wouldn’t be doing it by hand like my grandmother taught me. She must have been so delighted by the hours of silence when she gave me a square of fabric to hem nicely into a hanky! I don’t think my sisters were quite as excited by the task as I was. Well, since that bed sheet gave up the ghost as a sheet, it has been hemmed, dyed in woad and indigo and euc leaves, and shared widely. Over the holidays I went to a big chain fabric store and failed to leave without more fabric–two 40cm strips of fine cotton came home with me and you can see them above, now turned into hankies. It had me thinking that having a whole sheet to practise on had really built my confidence.
Now, another sheet has called it a day. You know when fabric parts company with itself so comprehensively that no amount of sewing edges together will sort it out, and the size of the patch needed to hold that fitted sheet together will be almost as big as the mattress top? Soft, delicious, well washed cotton. Ready for transformation. If you would like to make friends with a roll hemming foot (and you can sometimes buy they separately if your machine didn’t come equipped with one)… here are my tips.
Step 1. Read the manual. Maybe it’s just me, but on my machine the process is not intuitive and the instructions are a big help. I read them four times before finally following them correctly. I think I have mentioned the role of user error in my life a few times on this blog! If you don’t have a manual, it’s worth searching online, even for old machines.
Step 2. Prepare to be patient with yourself and the machine. Music? Silence? Stretch? Cup of tea?
Step 3. Make sure you have matching thread in the bobbin and in the upper thread. Or maybe you don’t commit such crimes against sewing. Clean and oil the bobbin race while you’re at it.

Step 4. Make sure you have an appropriate needle in place for fine fabric and that it is sharp. Don’t be using one that has already had a lot of use, or one made for stretch fabrics, because it will push your fabric into the down-below in a most frustrating manner when you try to take your first stitches.
Step 5. Find a scrap of fabric, preferably an offcut from your intended fabric, and fold it so that it has as many layers as your hem will have and is about the same thickness. Run a line of stitching across it until you get to the edge. Leave it in position. This will let you do two things: make sure the foot is level as you begin if you are stitching over a hemmed edge, and make sure you have something to hold on to if you need to maneuver your napkin fabric into position.
Step 6. Plan your sewing. It might just be me, but I find beginning the hem the hardest part. If I can hem a long piece of fabric all at once, I will always choose this strategy, and then cut it into napkins and have two shorter hems to manage, not four.

Step 7. Having prepared your fabric as the manual dictates, and ironed the edge you will be hemming nice and smooth, reduce your stitch length to very small (1.5mm works for me). Work a couple of stitches. If your fabric descends into the machine, raise the needle and the foot, and gently pull everything taut, with one hand on your napkin-in-construction and one on your scrap fabric. Check everything is in the position you want it in, lower the foot and begin to sew. If at first you turn out to be sewing in one spot, stop again. Raise needle and foot. Pull taut again, and move the fabric fractionally. Do not pull while you are stitching. If you don’t know what happens when you do this, I salute your good habits and patience. Take another stitch, until the feed dogs engage and the machine is moving the fabric. Then you can get your rolled hem going smoothly, and you’re off! Finish with some more tiny stitches, because back stitching is unlikely to work out.
Step 8. Once you have one napkin or length of fabric hemmed, leave it there and use to to maneuver the next piece you need to hem, much as you used the scrap fabric the first time.
Step 9. Once you begin to need to create a hem over a hemmed edge, clip the hemmed edge on the diagonal at the beginning and end of your hem ever so slightly. You will have less of a hump at the start (which will make getting your stitching started simpler) and it will reduce the chance that your fabric gets stuck in the roll hemmer at the end.

Step 10. Practice, practice, practice! And pretty soon, you will have a stack of napkins, a stack of hankies, some cotton string from torn off hems, and a few bits of rag/interfacing/foundation for patchwork!

Filed under Natural dyeing

Happy international women’s day, my friends! I am feeling grateful today for all the women who came before me and put in such hard work to see that future generations (me included) would have the benefit of the vote, the right to run for parliament, and something much closer to equal pay than they ever knew. And access to the professions, and to choices about marriage and family life. And education. And meaningful responses to violence in all its forms. And so much more!

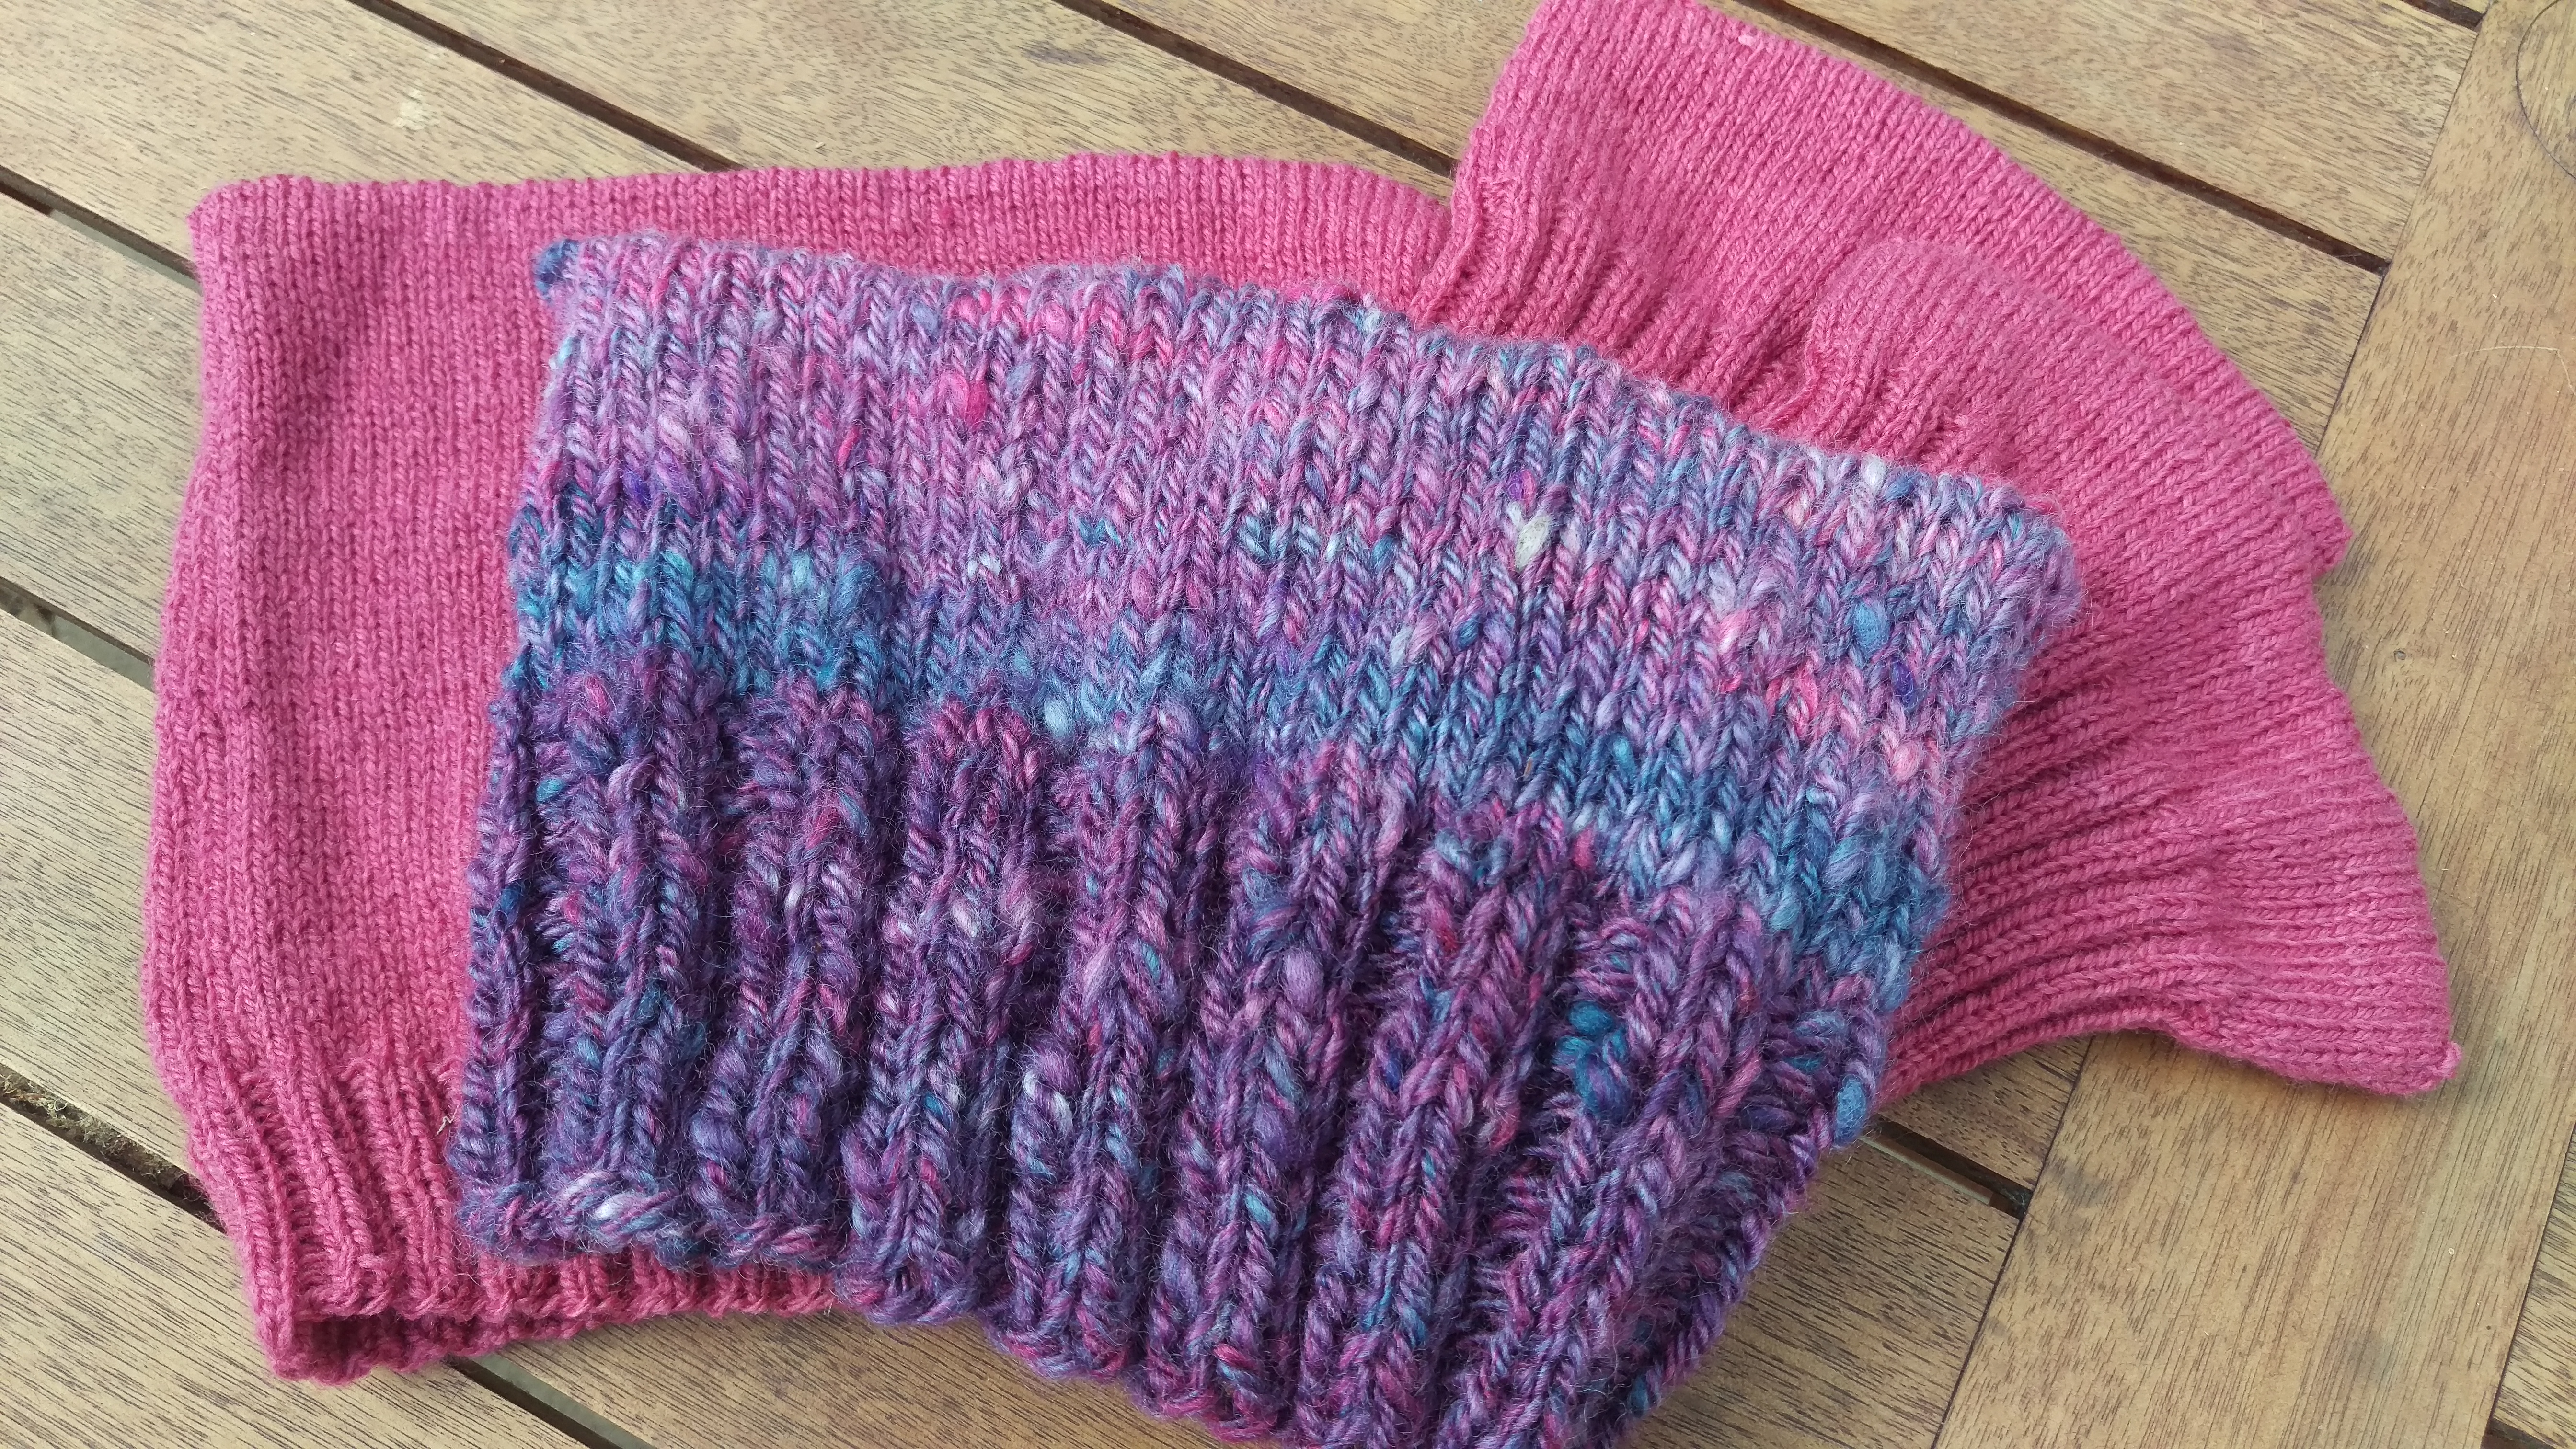
These images are of two of the champions of women;’s rights in my own little part of the world, Mary Lee and Dame Roma Mitchell. I am celebrating today by going to sing I Can’t Keep Quiet in the International Women’s Day March. We did a lovely flashmob a few weeks back with MILCK’s song, so some of us have practised up! And in preparation for today, I knit some pussy hats. I began with cochineal dyed wool. I had been wondering when I would ever use it, and recognised this as the time!

Soon, I was off!

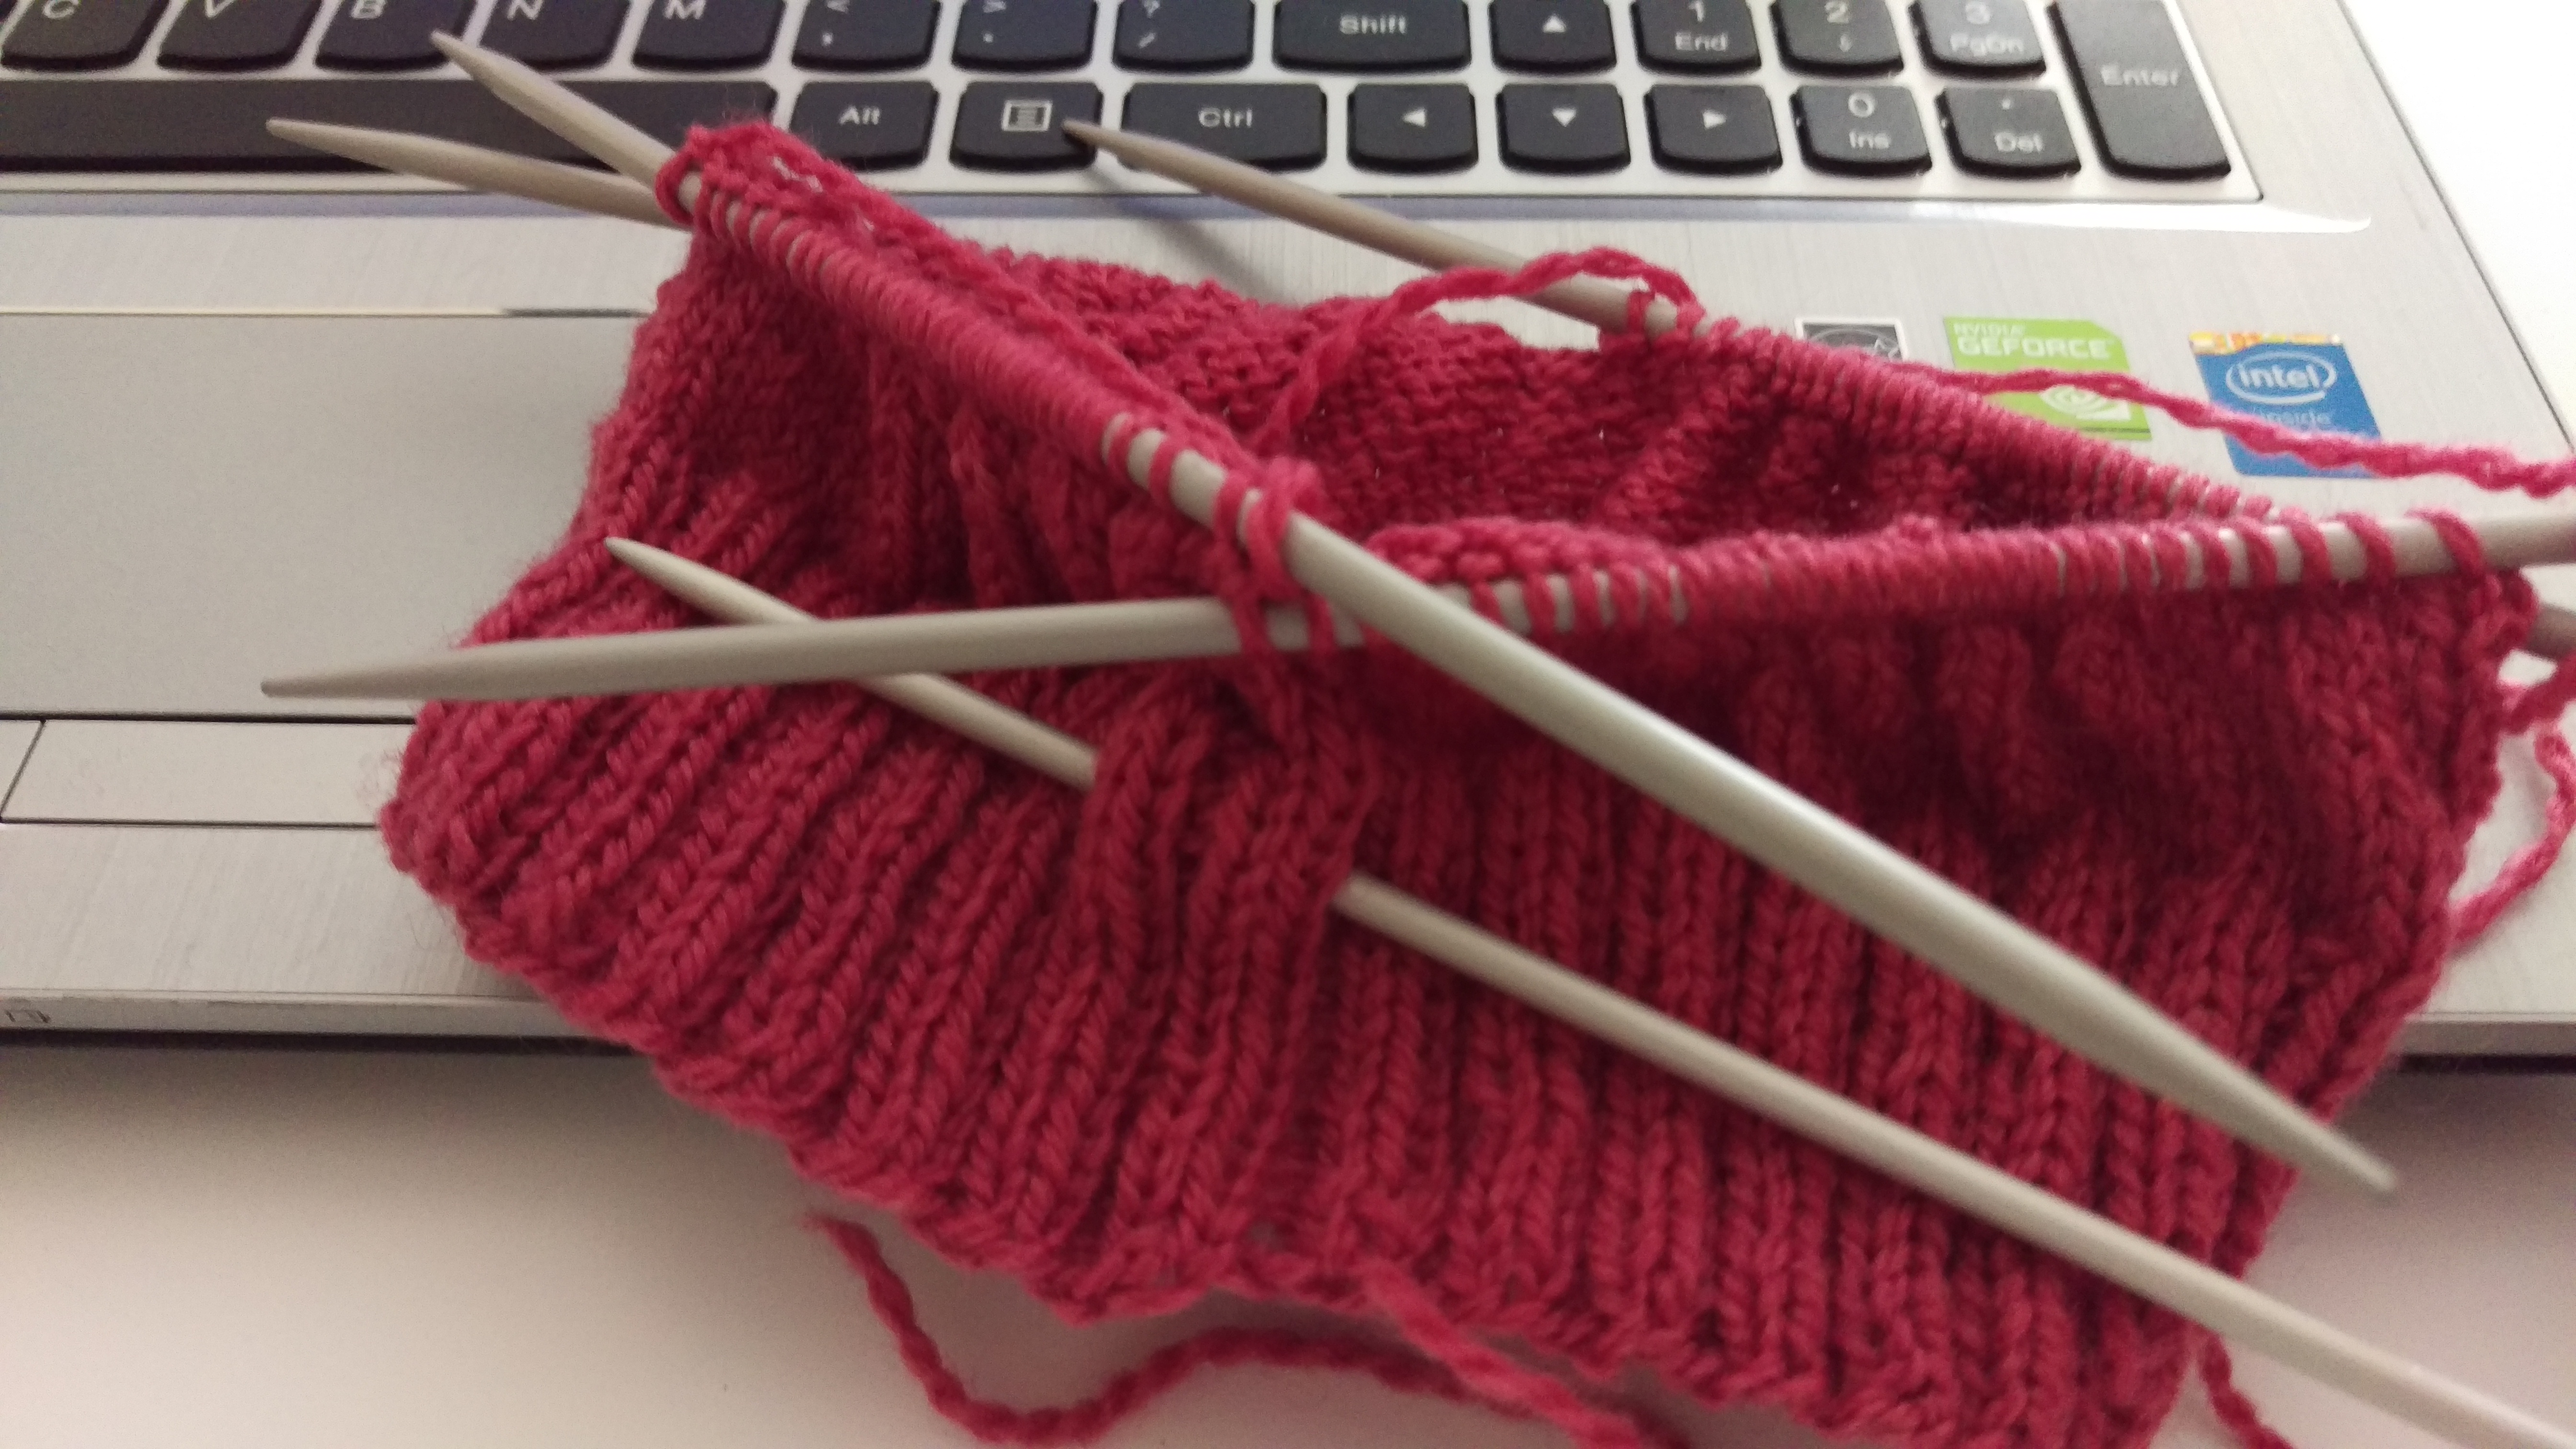
I decided to knit my pussy hats in the round, because, you know. That’s how I roll on anything that could be knit in the round, and I’m not afraid to graft (Kitchener stitch).
Knitting while blogging?

Knitting on the train, because I usually do. I just kept churning them out until I ran out of wool. Then I had some pinky purple-y handspun and it was a faster knit than the 8 ply (DK) commercial wool. Finally, I had 4 pussy hats and a lot of conversations with people about what I was knitting that led to raised eyebrows and then conversations about contemporary politics and the inappropriateness of bragging about sexual assault. I popped them in the mail to an Education Union in Victoria that was calling out for women to wear them in their IWD march. I’m a member of a different education union, so that seemed completely appropriate to me. I hope some women in Victoria will be stepping out in handmade pussy hats tonight and feeling fine!
Filed under Craftivism, Knitting, Natural dyeing
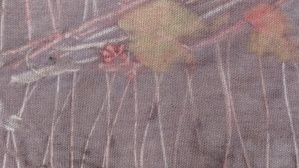
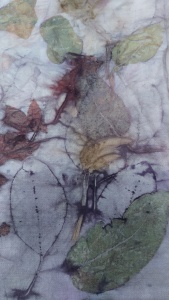
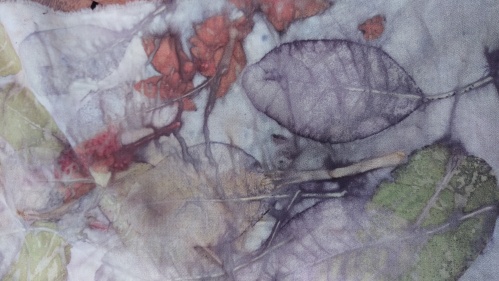
Now for something totally out of its logical place in the order of things. Before I went to Allansford, I decided to go all out in exploring the depths of my ignorance. It’s my observation of learners that many of us over estimate what we know. We haven’t grappled with our own ignorance sufficiently to realise what a teacher has to offer us. We haven’t applied what we think we know enough to realise where its outer edges are.

I decided on an all out attempt to use my stock of knowledge and supplies to find the limits of my own understanding. I’d been itching to dye and unable to find time, so holidays were a gift. I had multiple attempts to dye with woad and then turned over to dyeing with what indigo I still had. I used up my remaining fructose, and couldn’t find more. So I experimented with sad fruit from the bargain pile at the local shops. I also collected fallen fruit and such. I read all the books and instructions again. I had no joy with the woad no matter what I did and in the end composted two vats.
I tried a yeast vat. It was quite something watching it fizz! In the end, I weakened and bought another package of colour run remover and rescued some indigo with that. between all these vats, I overdyed leaf prints I hadn’t liked much. I dyed scraps and offcuts from old shirts that had been turned into drawstring bags. I even tore up a very worn, patched and mended damask table cloth from the stash and dyed that.

I achieved only soft blues, but soft blues are beautiful.

I went to Allansford convinced that I was struggling with achieving reduction, and maintaining temperature, and quite possibly other things besides. And it was really helpful to go, knowing this, and to be able to see that I had been aiming (mostly) at the right things, checking (mostly) the right things, and had some concepts right, but was applying them in wrong places. It gave me a really strong sense of the limits of my own judgment.

Some of the bits and pieces have already begun to re-form… a bit like my understanding of how to dye with indigo!
Filed under Natural dyeing
Over the holidays, there were some moments of mending triumph. I pulled a pair of shorts I made out of the cupboard, believing they might be quite past the point of mending because really, I made a poor fabric choice. I discovered that I now had a strategy for mending them and perhaps I had also acquired a bit more capacity to look at something I have made and see that while its imperfections are on show… I have commercially produced garments that have imperfections more profound than these, and at the same early stage in their lives. I mended the shorts, I have been loving wearing them, and they made me realise I had a great pattern. So I made two pairs of trousers from the same pattern. Black on black mending. Not worth a picture.

Then there were the zipper replacements. I warmed up on the bra bags. You know, those bags you throw delicate stuff into before you toss it into the washing machine? Ours are made of something that will never biodegrade, so as the zippers die they are being reused in the dyeing area or having a shotgun marriage with one of the many zippers in my stash, origins unknown, colours implausible. I needed practice, because I must have replaced 4 zippers on actual garments. Each one applied differently. It’s intriguing, retrofitting a zipper. But it isn’t always simple.

The tiny zippers of contemporary clothing are a bit tricky–this one from my beloved’s favourite shorts. I practised stitching my own zipper stops (nylon teeth zipper–a great trick I learned from a pattern at some point–just create a zipper stop with a bar tack where you want one, and then cut off the unwanted teeth!) This time I also applied pliers to metal toothed zippers. Nothing awful happened and all are functional.

I mended awful shopping bags. They come and go at our house but essentially, I would prefer them to be used rather than be in landfill and I am prepared to keep them going as they pass through. The loose plastic rectangles in the bottom sometimes benefit from a bit of zig zag stitch too, pulling together their cracks.

It did all cause me to reflect on how judgmental I am about my own sewing. I have shirts I made a decade ago that hold up fine. Trousers, too. And shop bought clothes that died after 3 or 4 washes. Like these. That button hole has frayed out and the zip died when they had only been in my possession for a week or two. Now returned to functionality after a few years in the naughty corner.

But the biggest mending binge was during the visitation of the out-laws. My mother out-law asked me to convert an elastic waisted pair of pants to a flat front panel (in the end, she got a piece of table cloth across the front of her pants–it was the best white match!) Then could I take up some shorts (simple). Then, could I split the side seams on a short and finish them. Finally, could I take her nightie and make the armholes larger. It was made of unbelievably fine cotton, with cotton lace details and bound armholes. I’m just going to admit that I touched this pretty thing and thought EXPENSIVE! in big letters, just like that, and was afraid. Never mind. Off came the binding. I cut the armholes larger. Turned some of the fabric salvaged into extra binding, stitched it on. Retrofitted the new binding by hand in several steps, and finally, stitched all into place with the machine. Whew!!! Mend it May was big but mend in December and January was bigger still.
Filed under Natural dyeing
