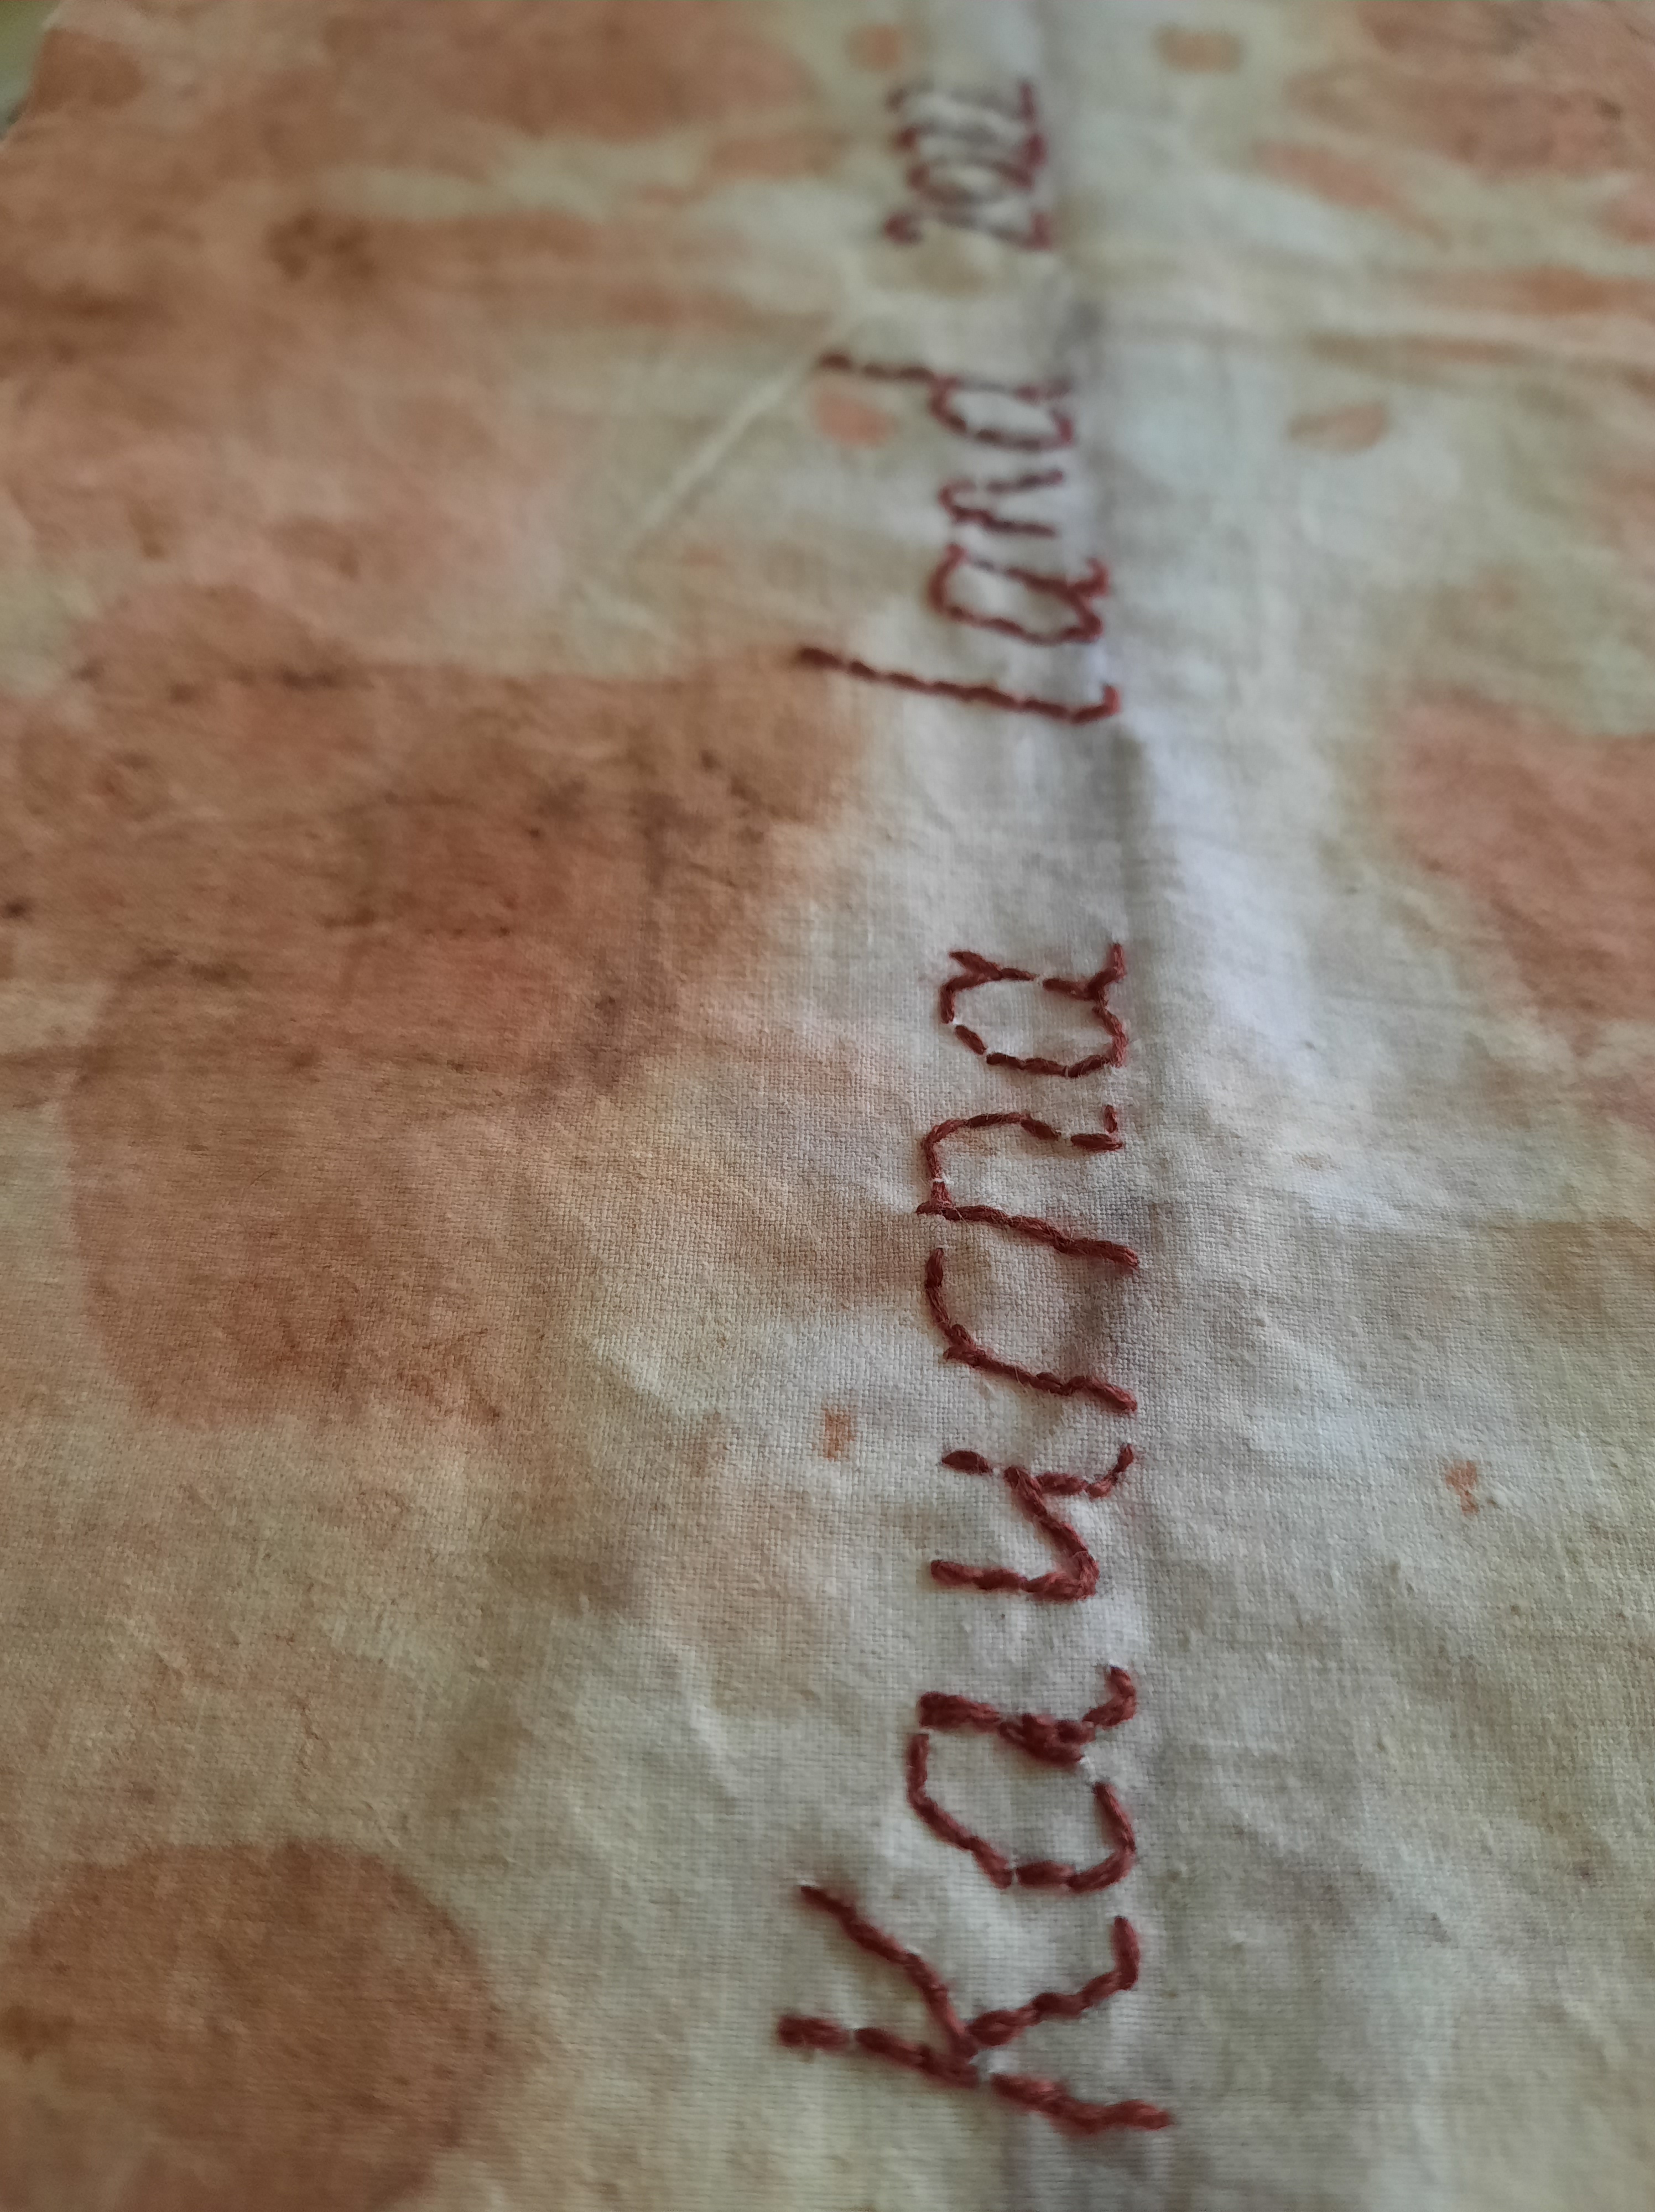
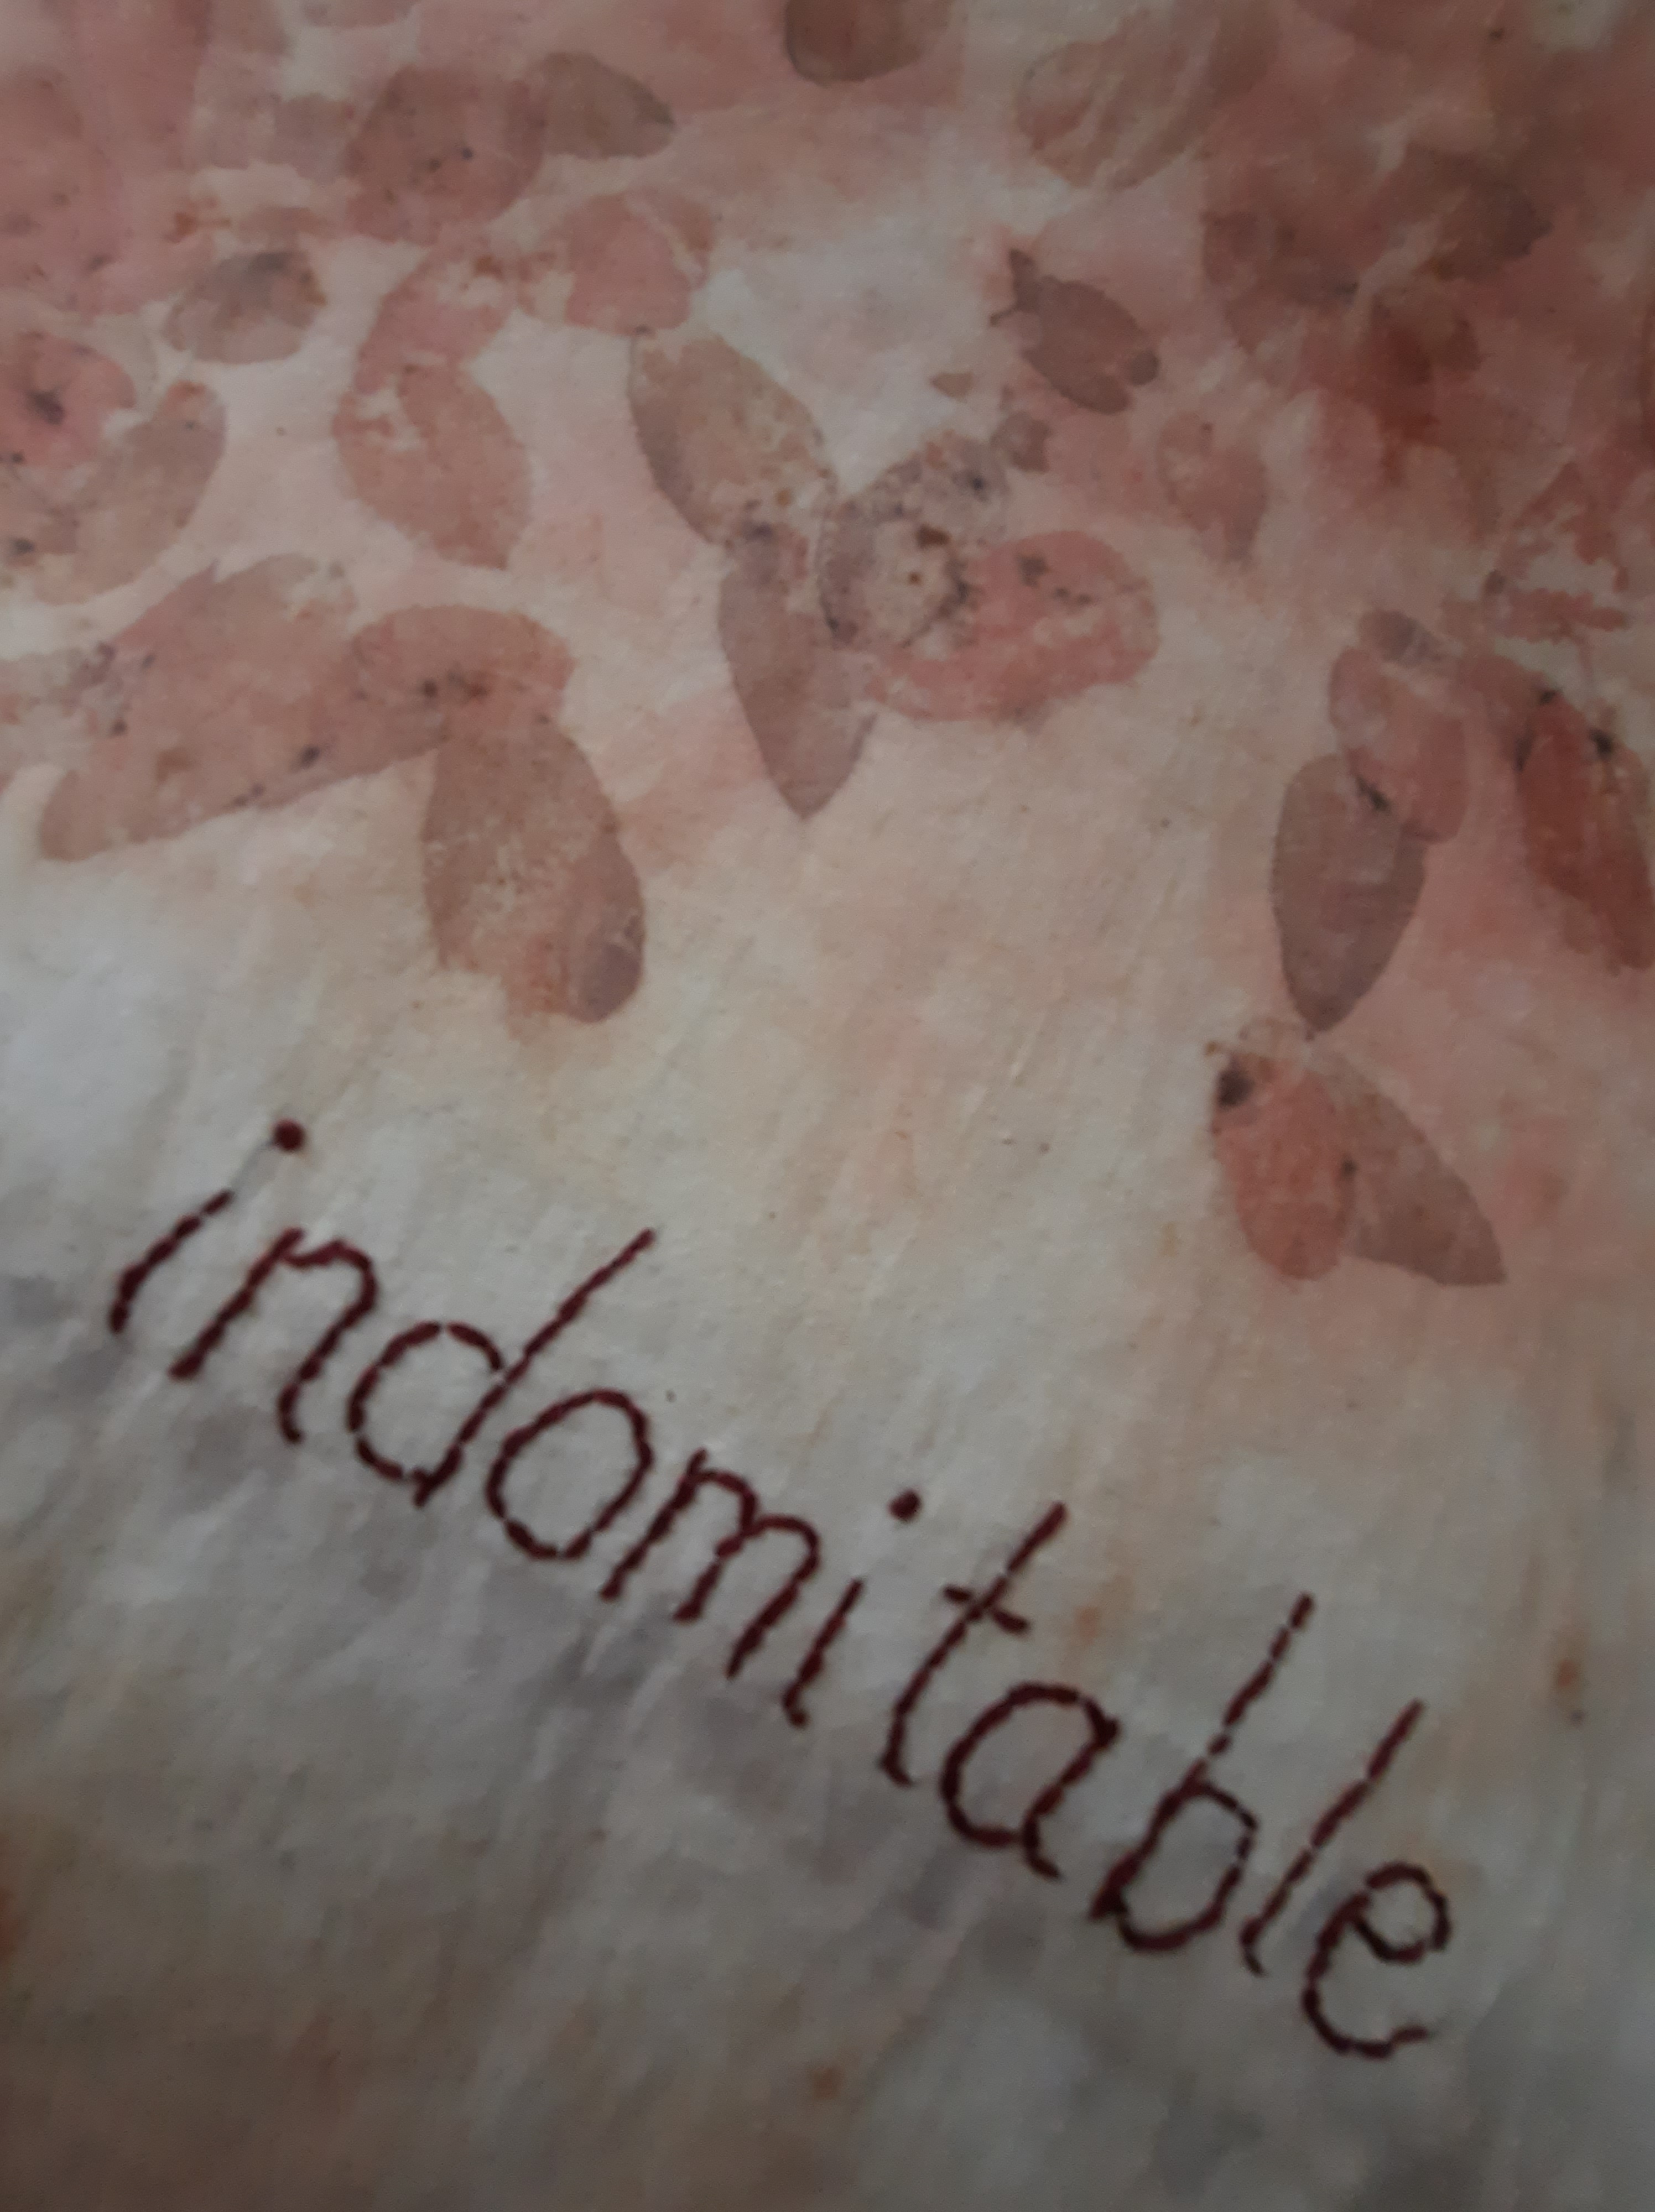
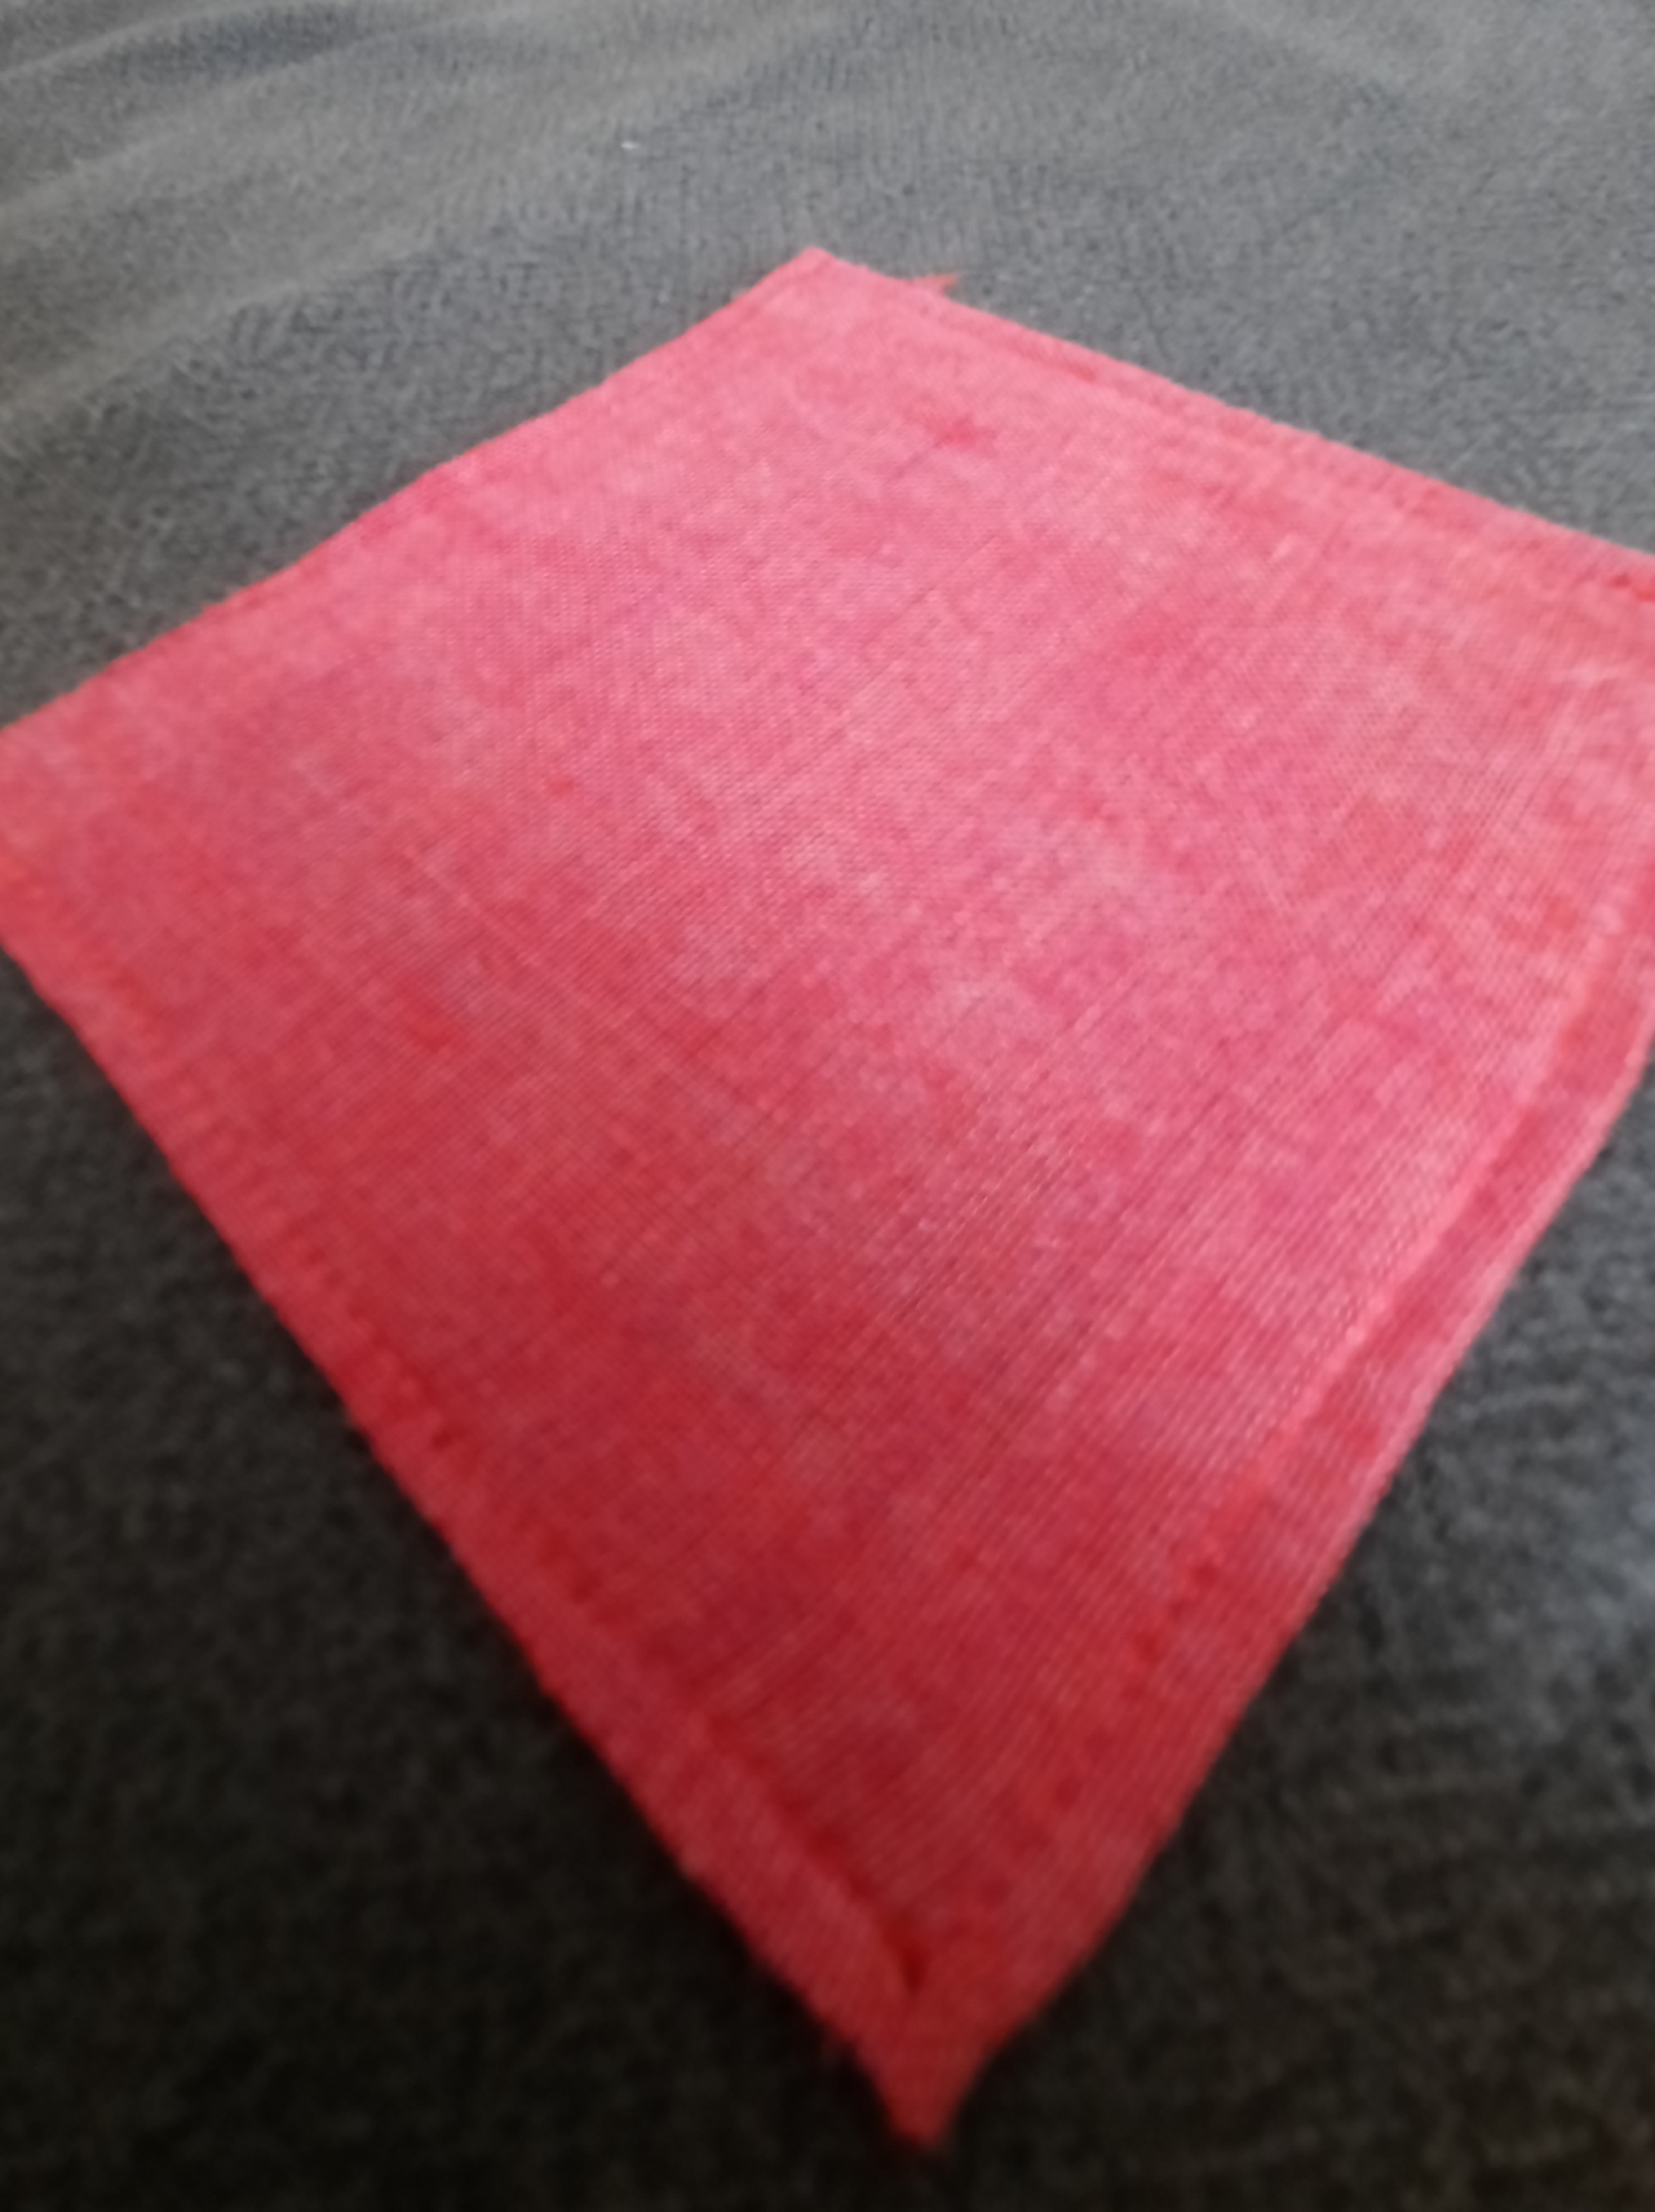
Last year, I participated in the online Craft Sessions. So interesting. There was a project as part of the event, and just recently I finished mine. I was committed to using what I had to make this, and eventually I settled on this piece of cotton dyed with Euclayptus crenulata.
While I was making this, a lovely friend paid me one of the best compliments ever. You know that feeling when someone else says something about you that you would like to be true?
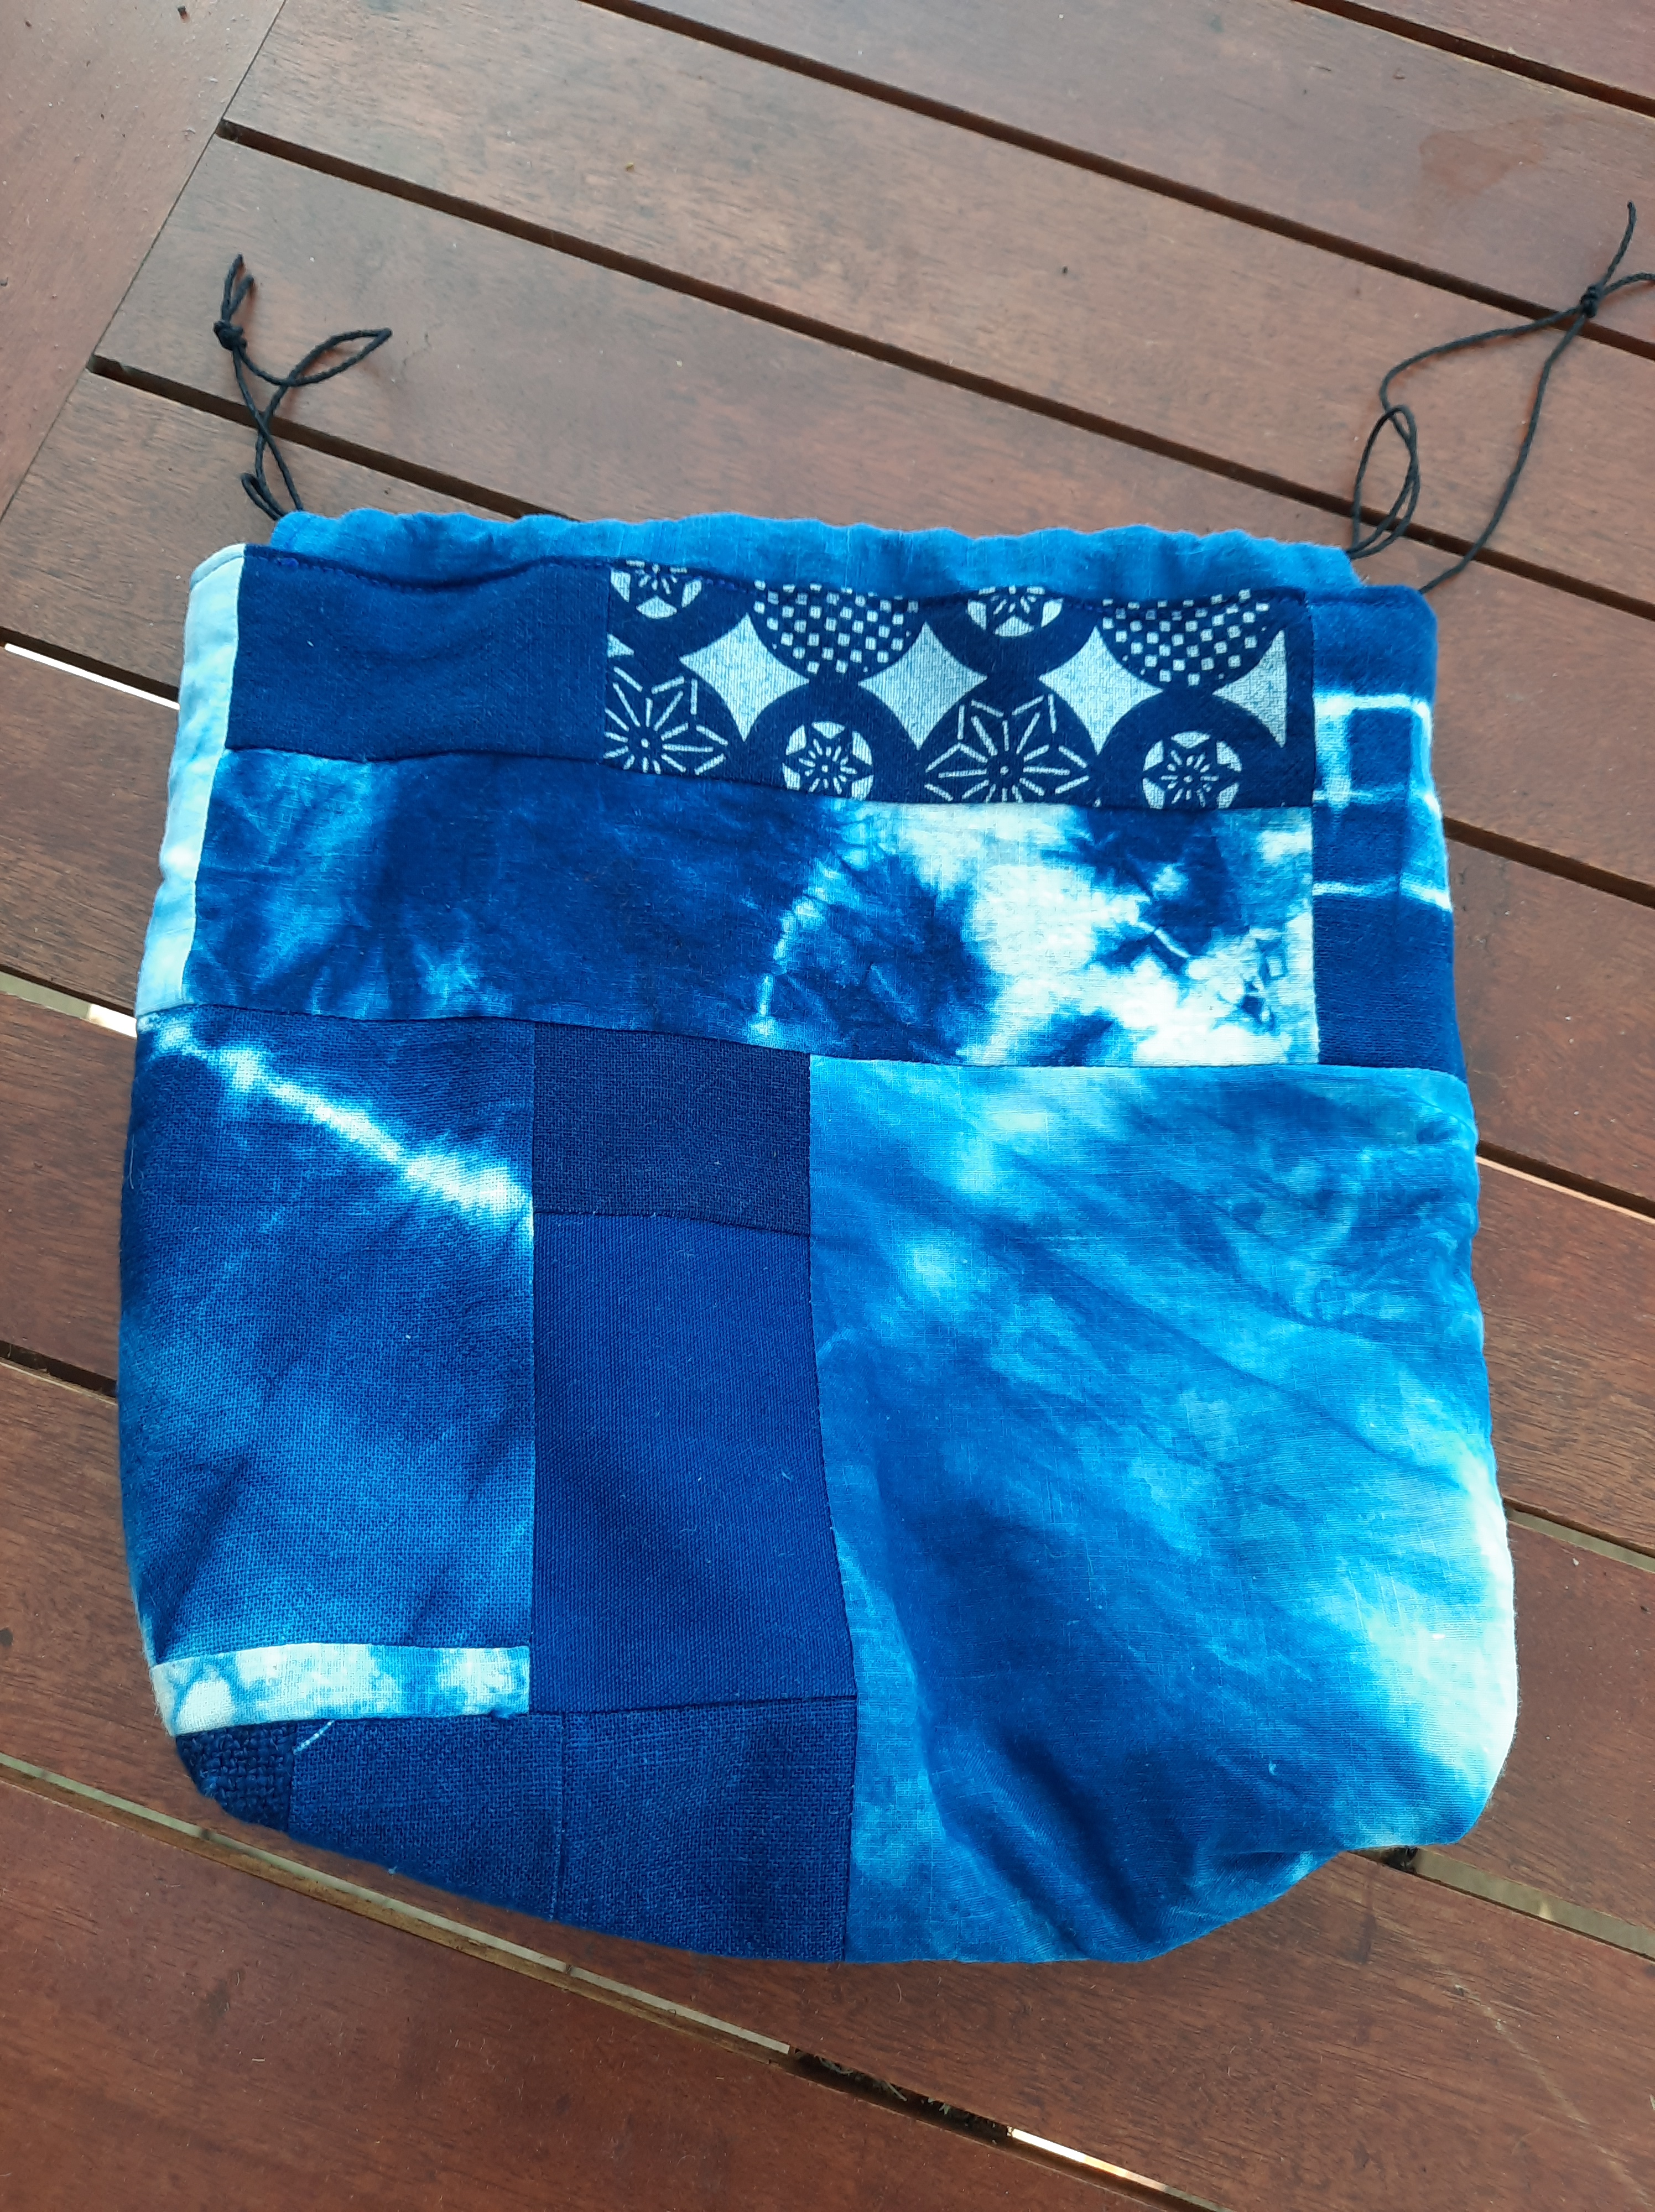
So I’ve tucked it inside this bag to remind me in times of doubt. The outside is patched together from a package of indigo dyed scraps a friend brought home from a trip to Japan. I had been waiting for exactly the right thing for it!
So, a little bag with lots of loveliness to carry with me. Not quite what the author of the project envisioned–but I reckon she saw improvisation coming!
I’ve had a lovely query about how to propagate plants for guerilla gardening. I don’t think I’m much of an expert. Maybe check here for expert advice! But here’s what I’m doing at this time of the year–the Australian autumn. I took pictures while I walked the neighbourhood, so come along for the walk with me.
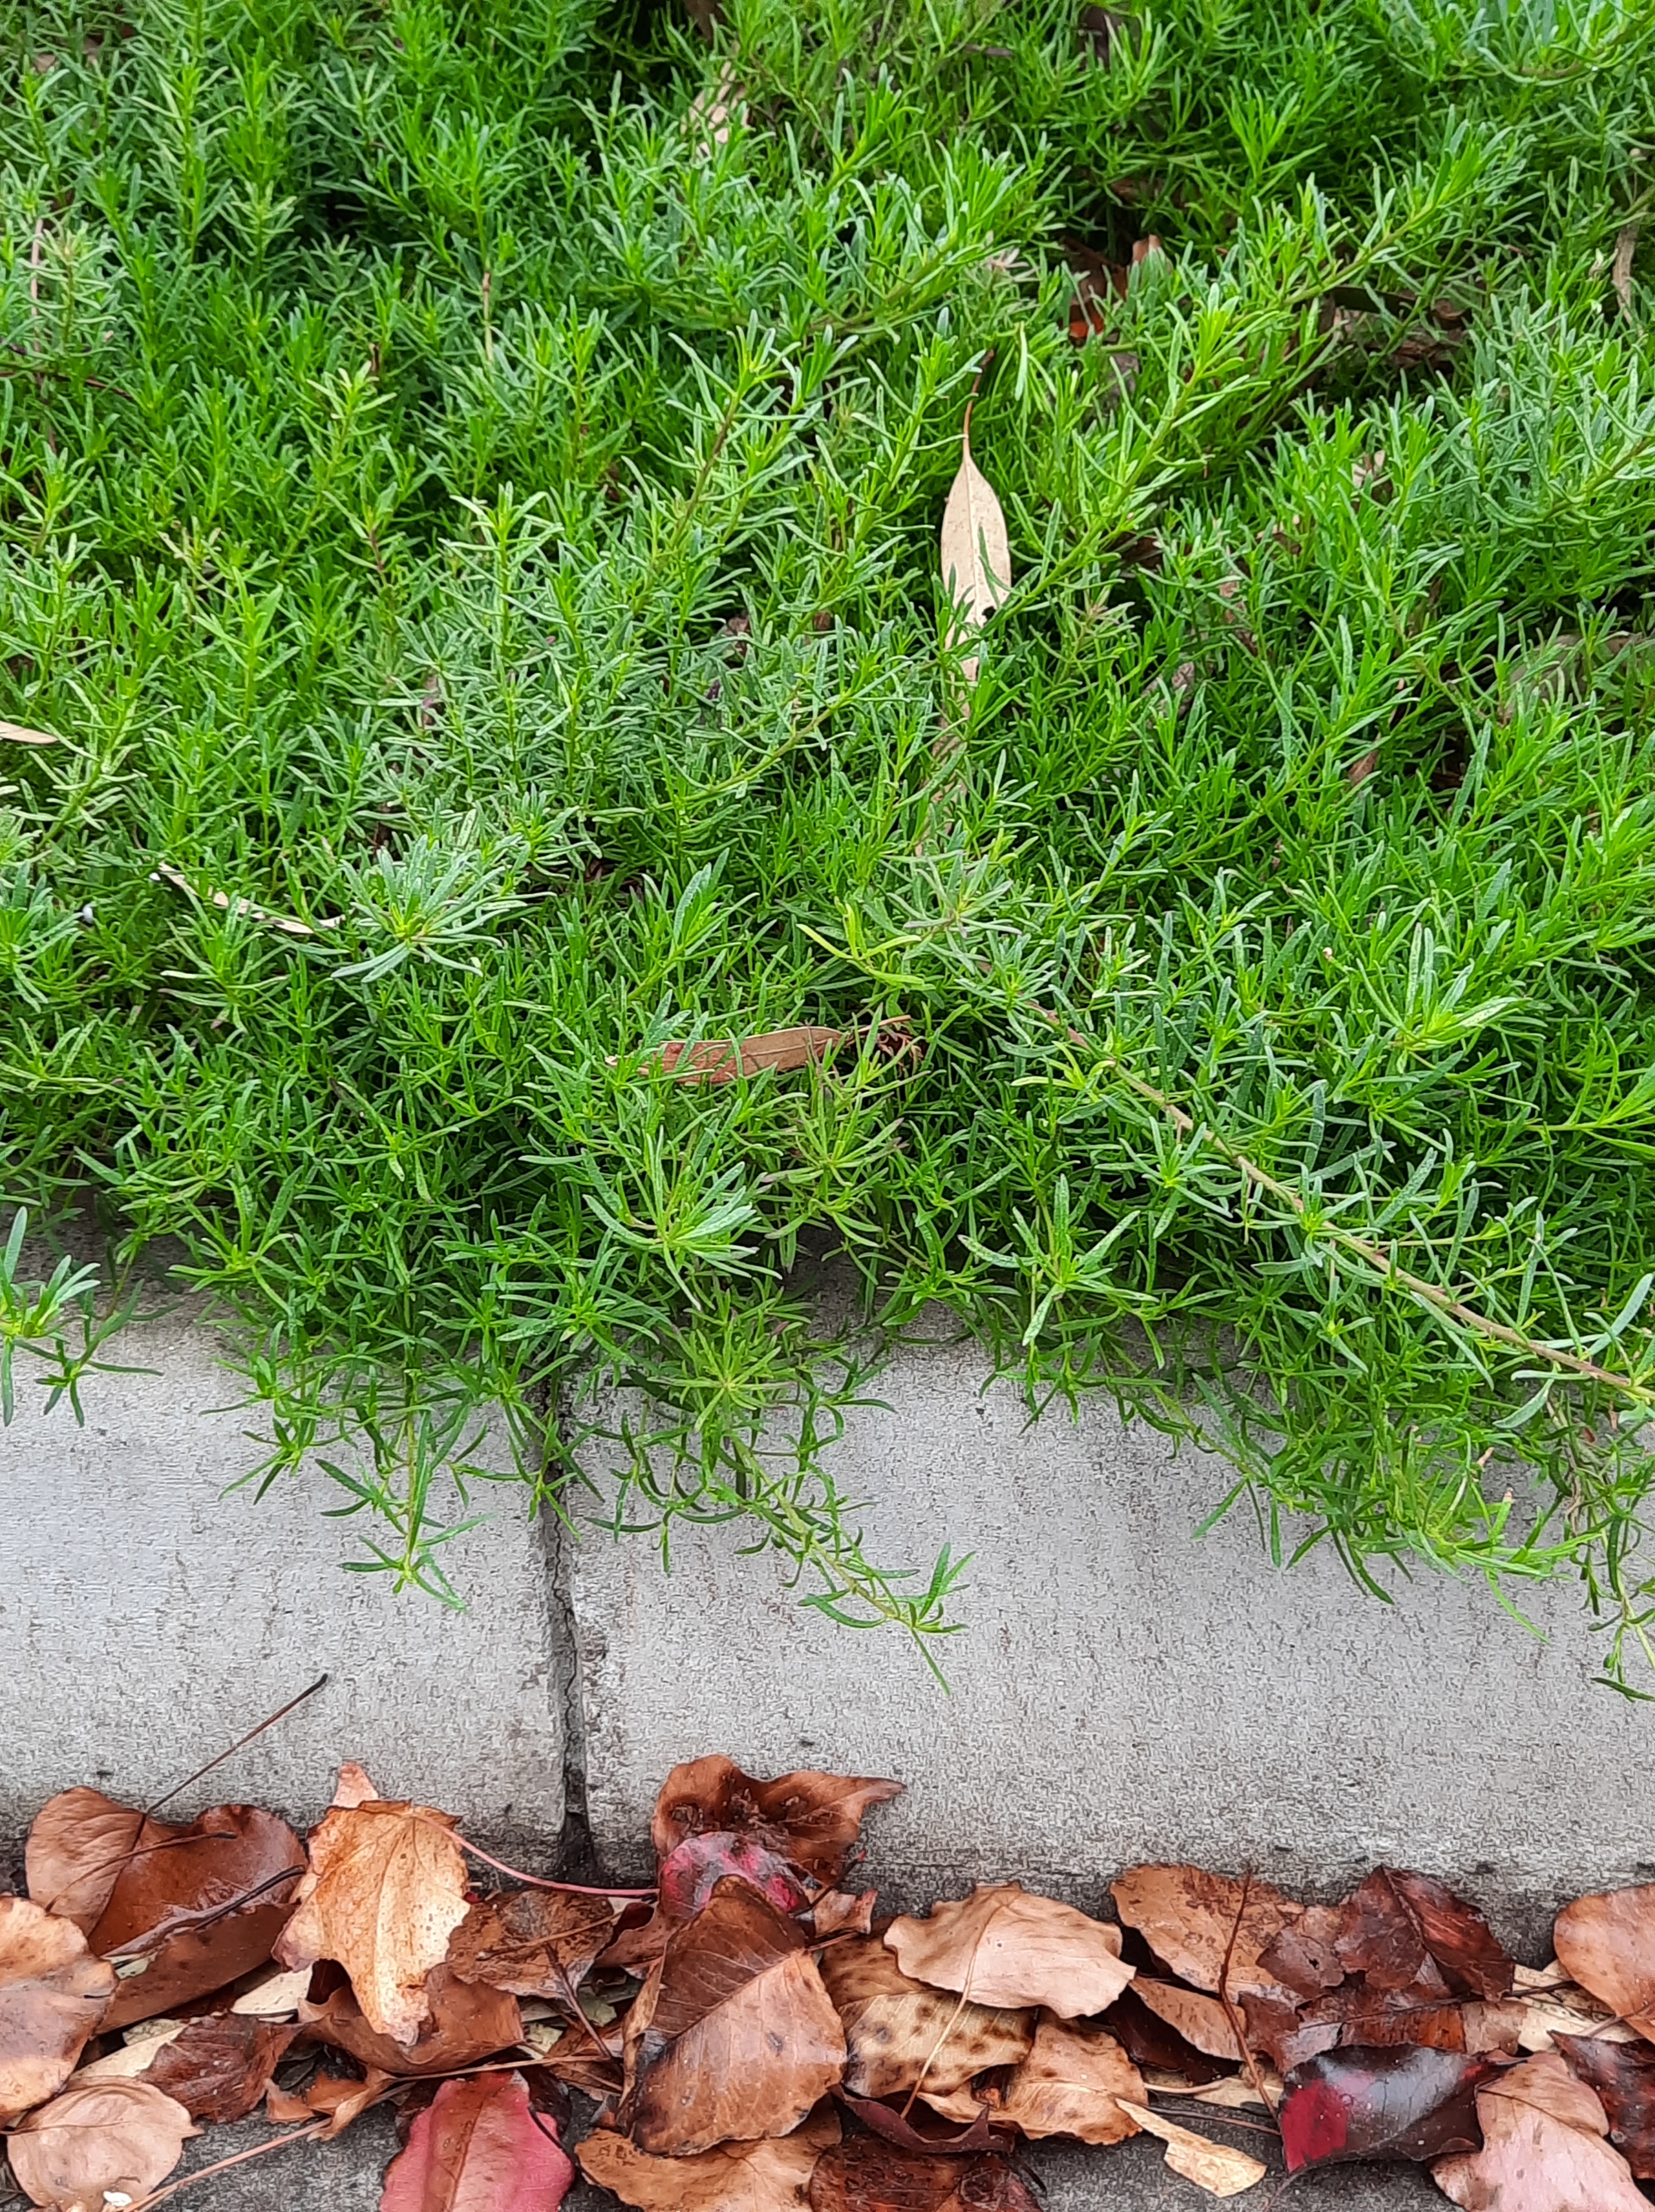
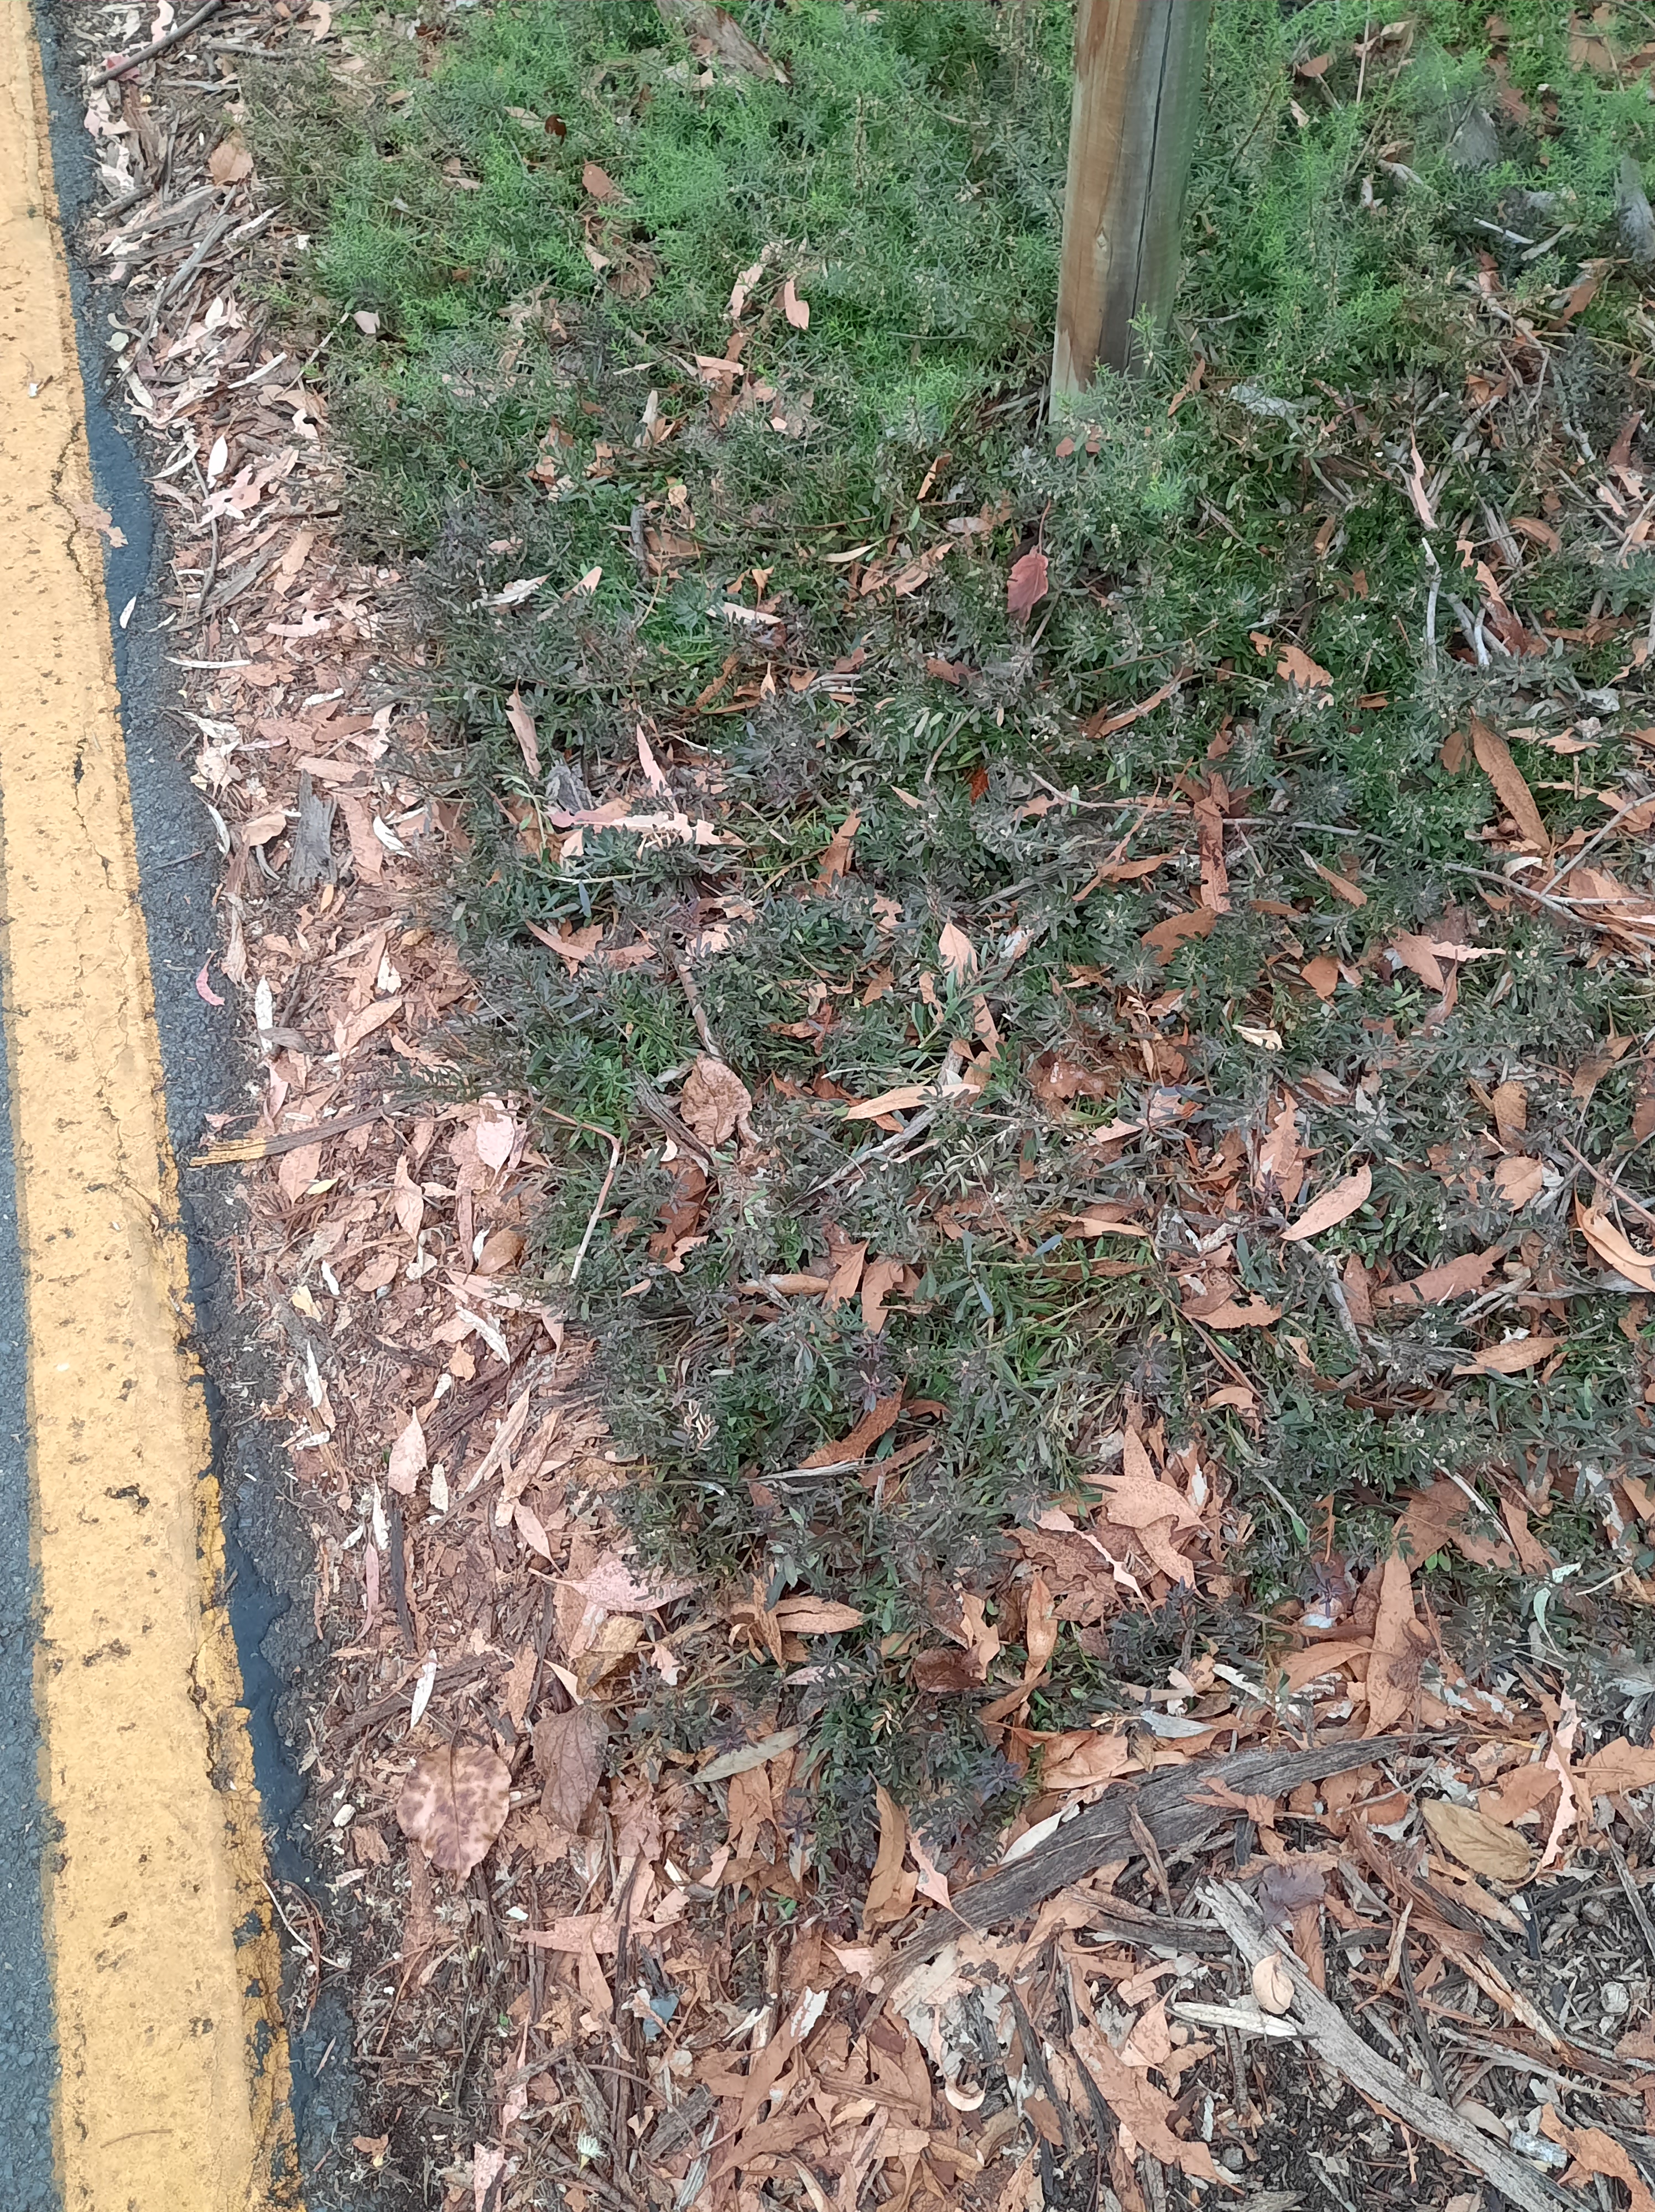
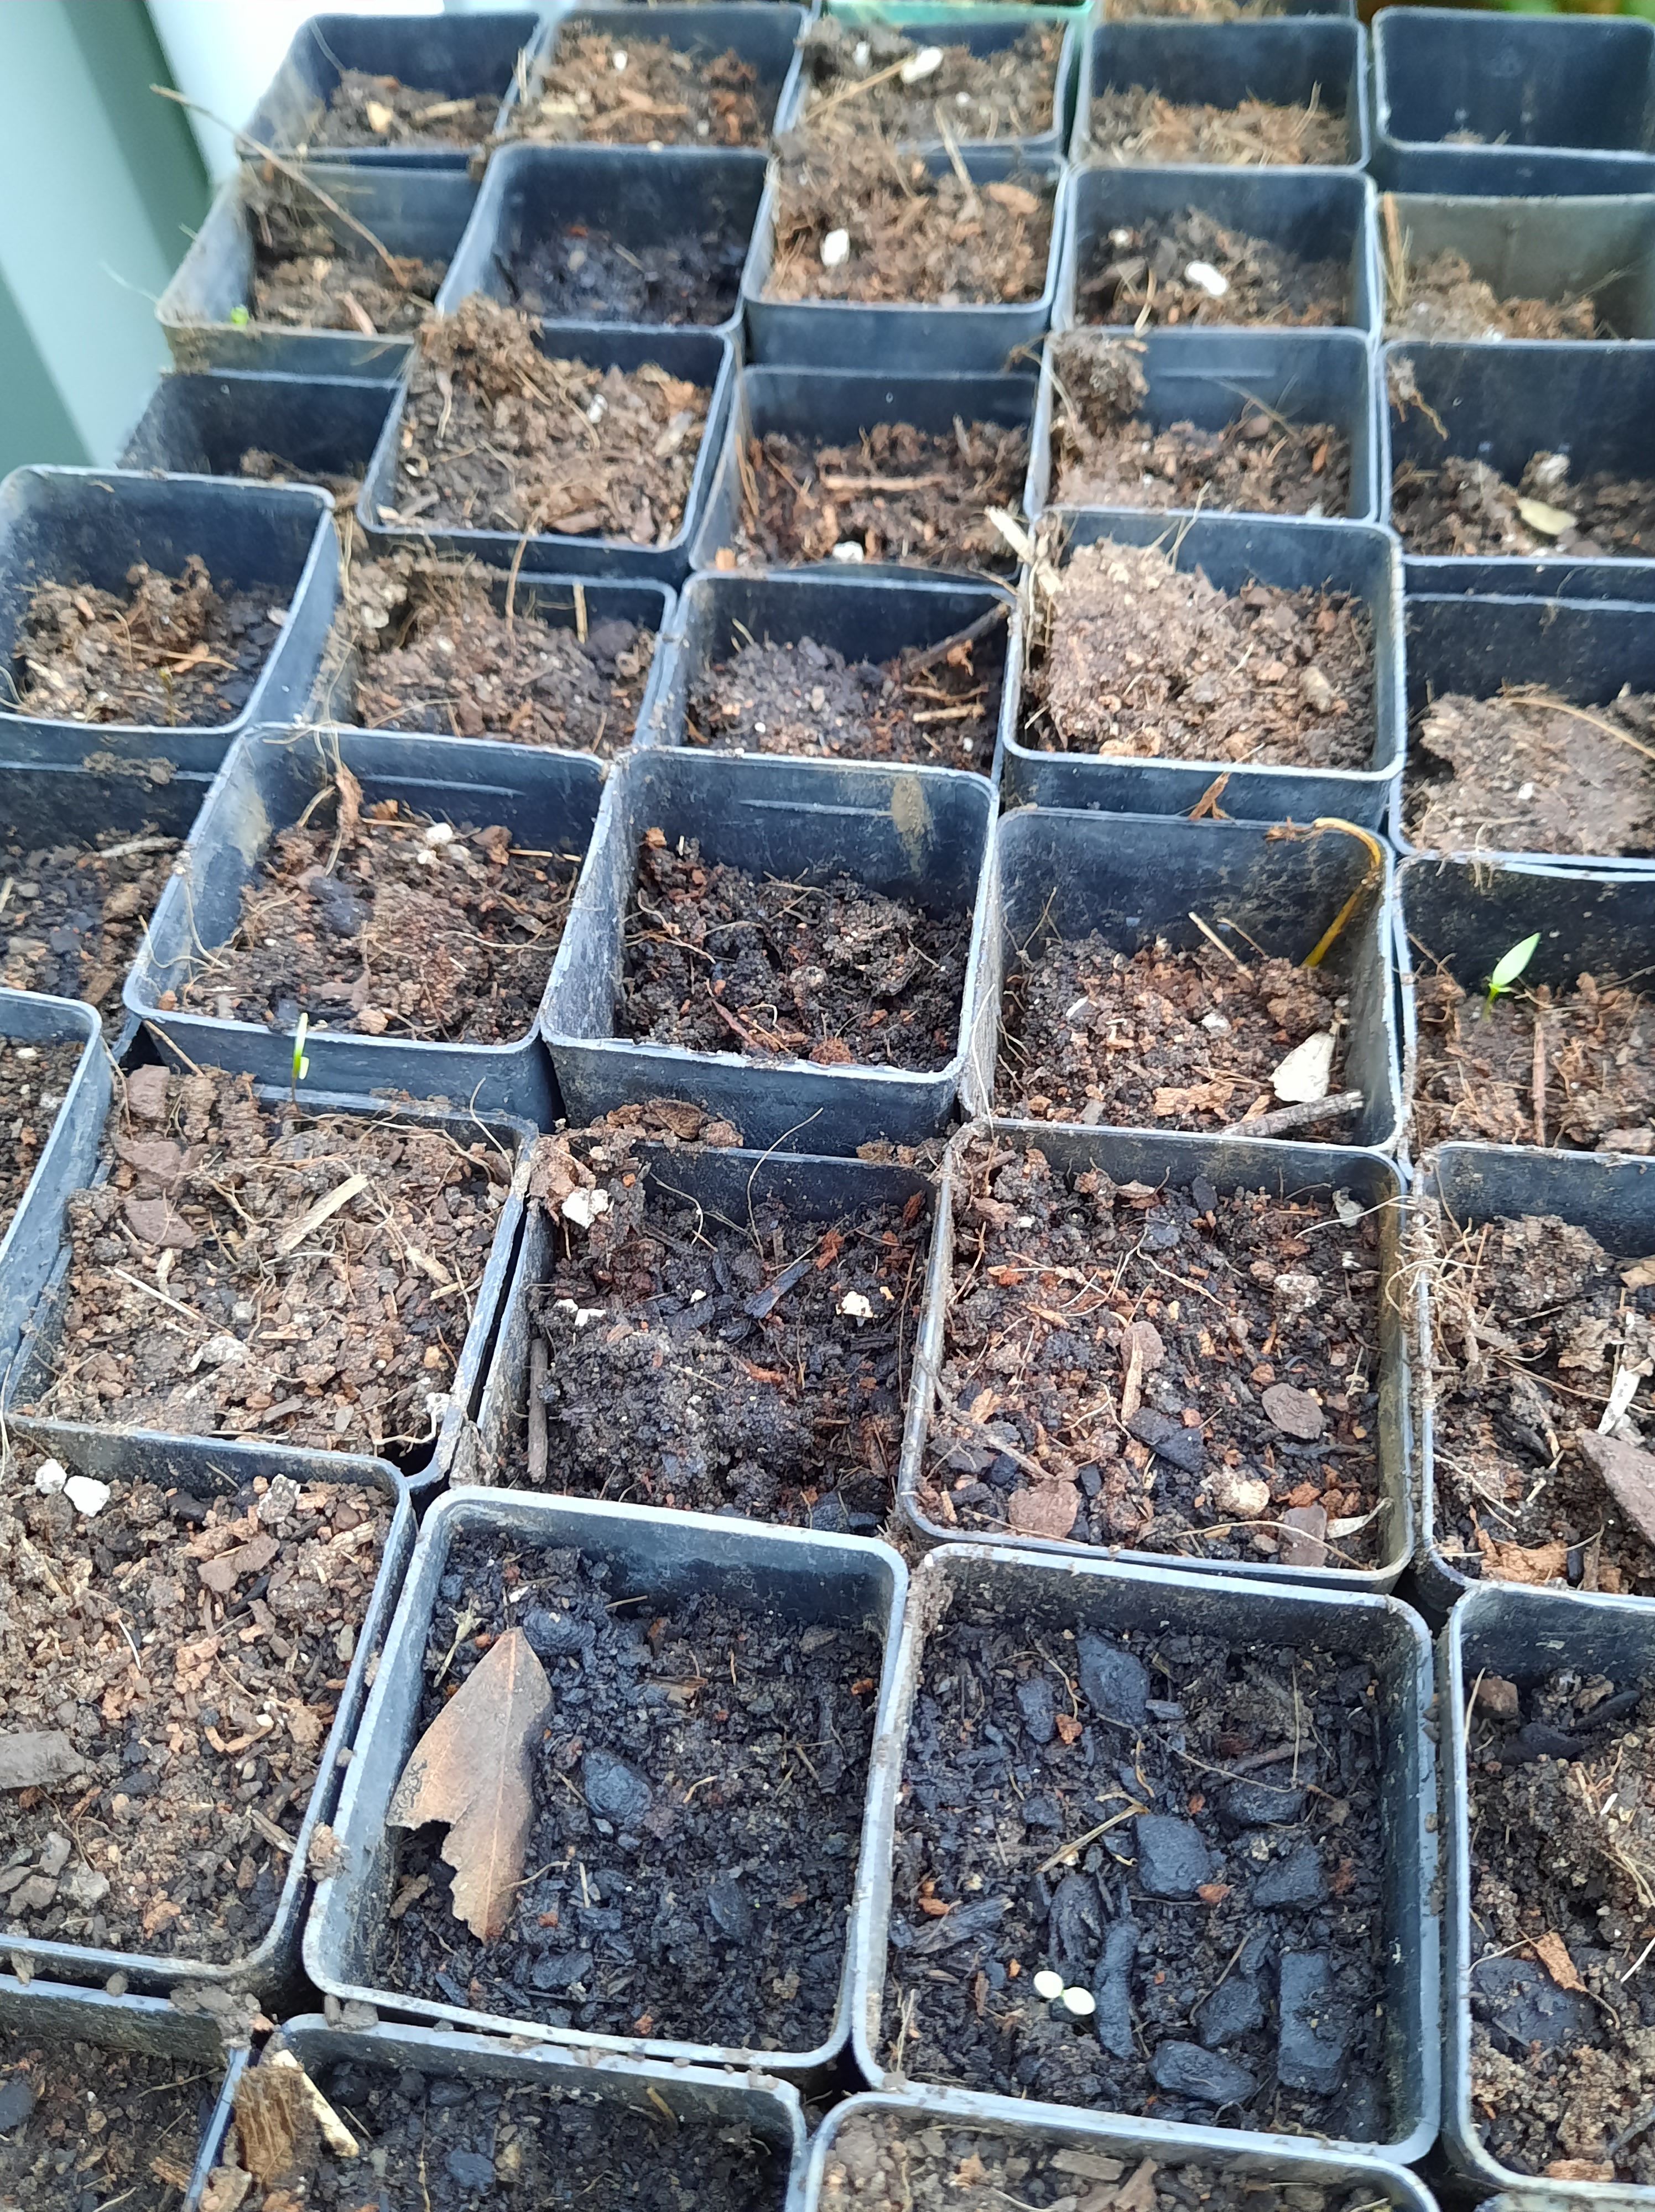
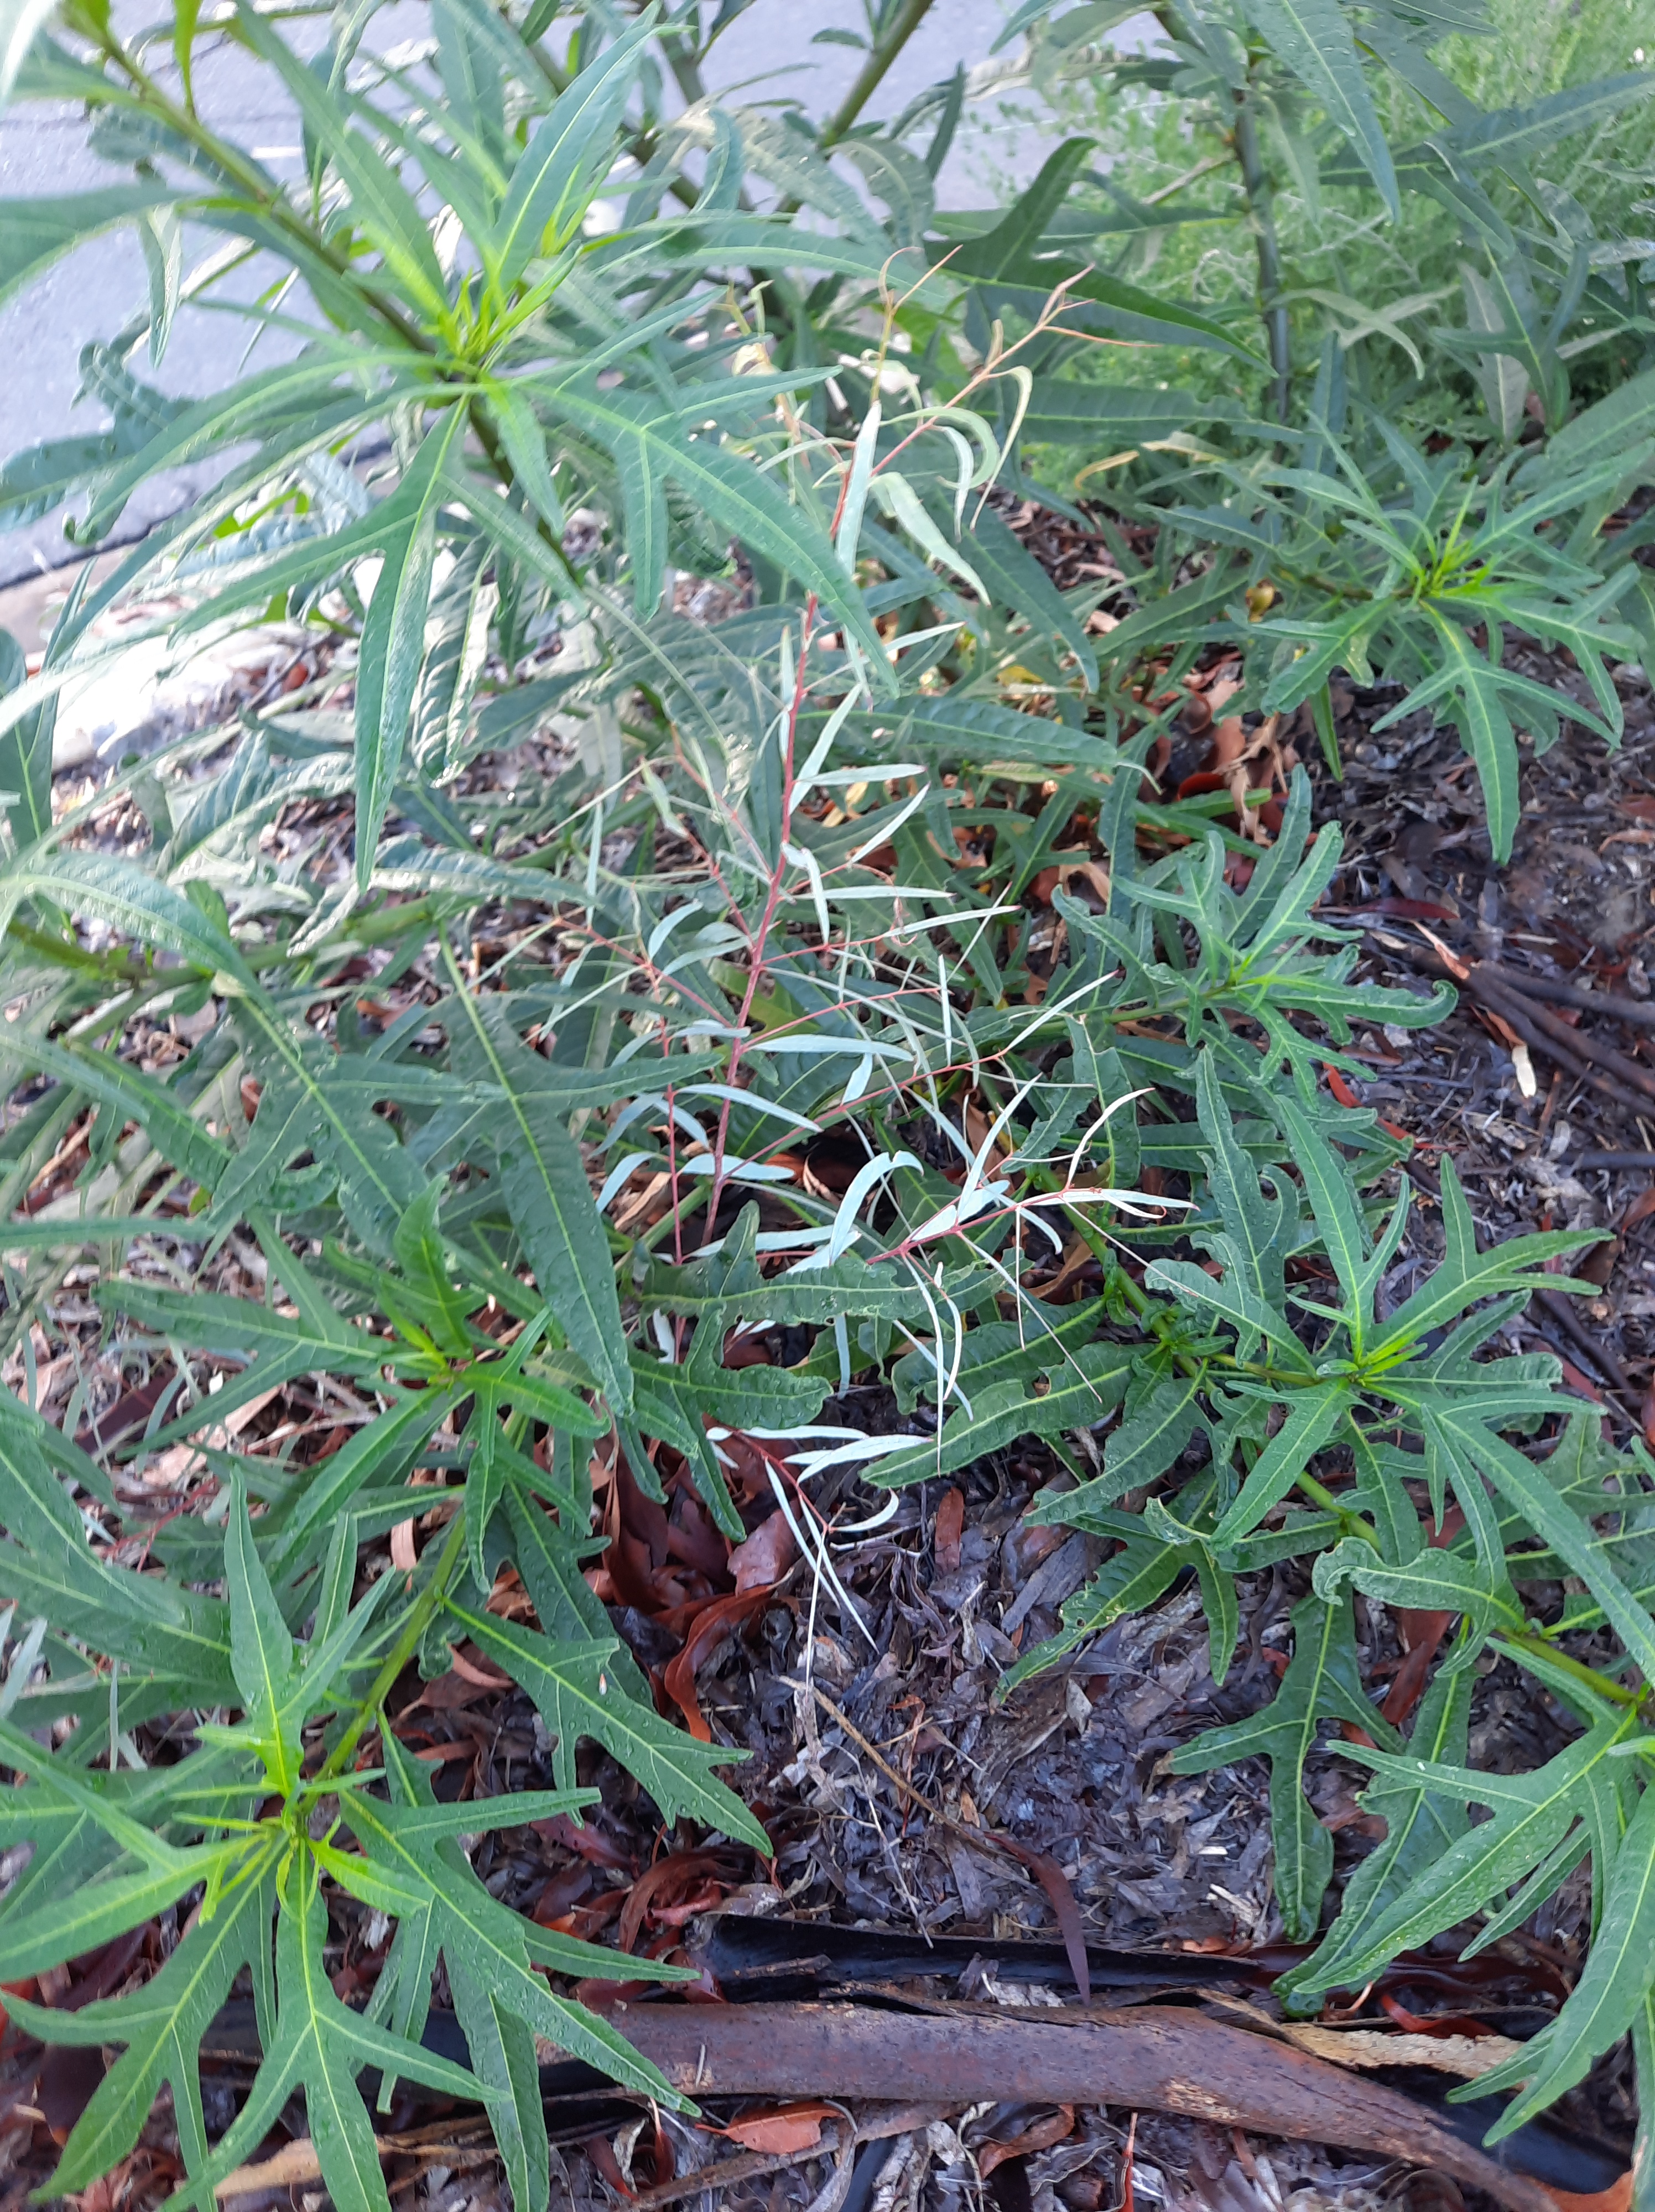
Autumn is the time for collecting seeds, taking cuttings and propagating by root division. I started out on cuttings with karkalla/pigface/carpobrotus glaucescens. Being a hardy succulent, it propagates very readily, and as the first link states, it is edible as well as having a lovely flower. I have stopped propagating it only because it is so severely attacked by cushiony scale in my area that enormous plants I had established (and those planted by council) have all but died. My next choice was creeping boobialla (myoporum parvifolium) see image above. Some I propagated from my parents’ garden, and planted out in a street where council left bare earth for over two years. It propagates readily, survives in challenging soils and with no additional water in my neighbourhood. It can form a nice, dense, weed limiting mat of leaves and it flowers and fruits, providing food for insects and birds. I’ll explain how to propagate it below.
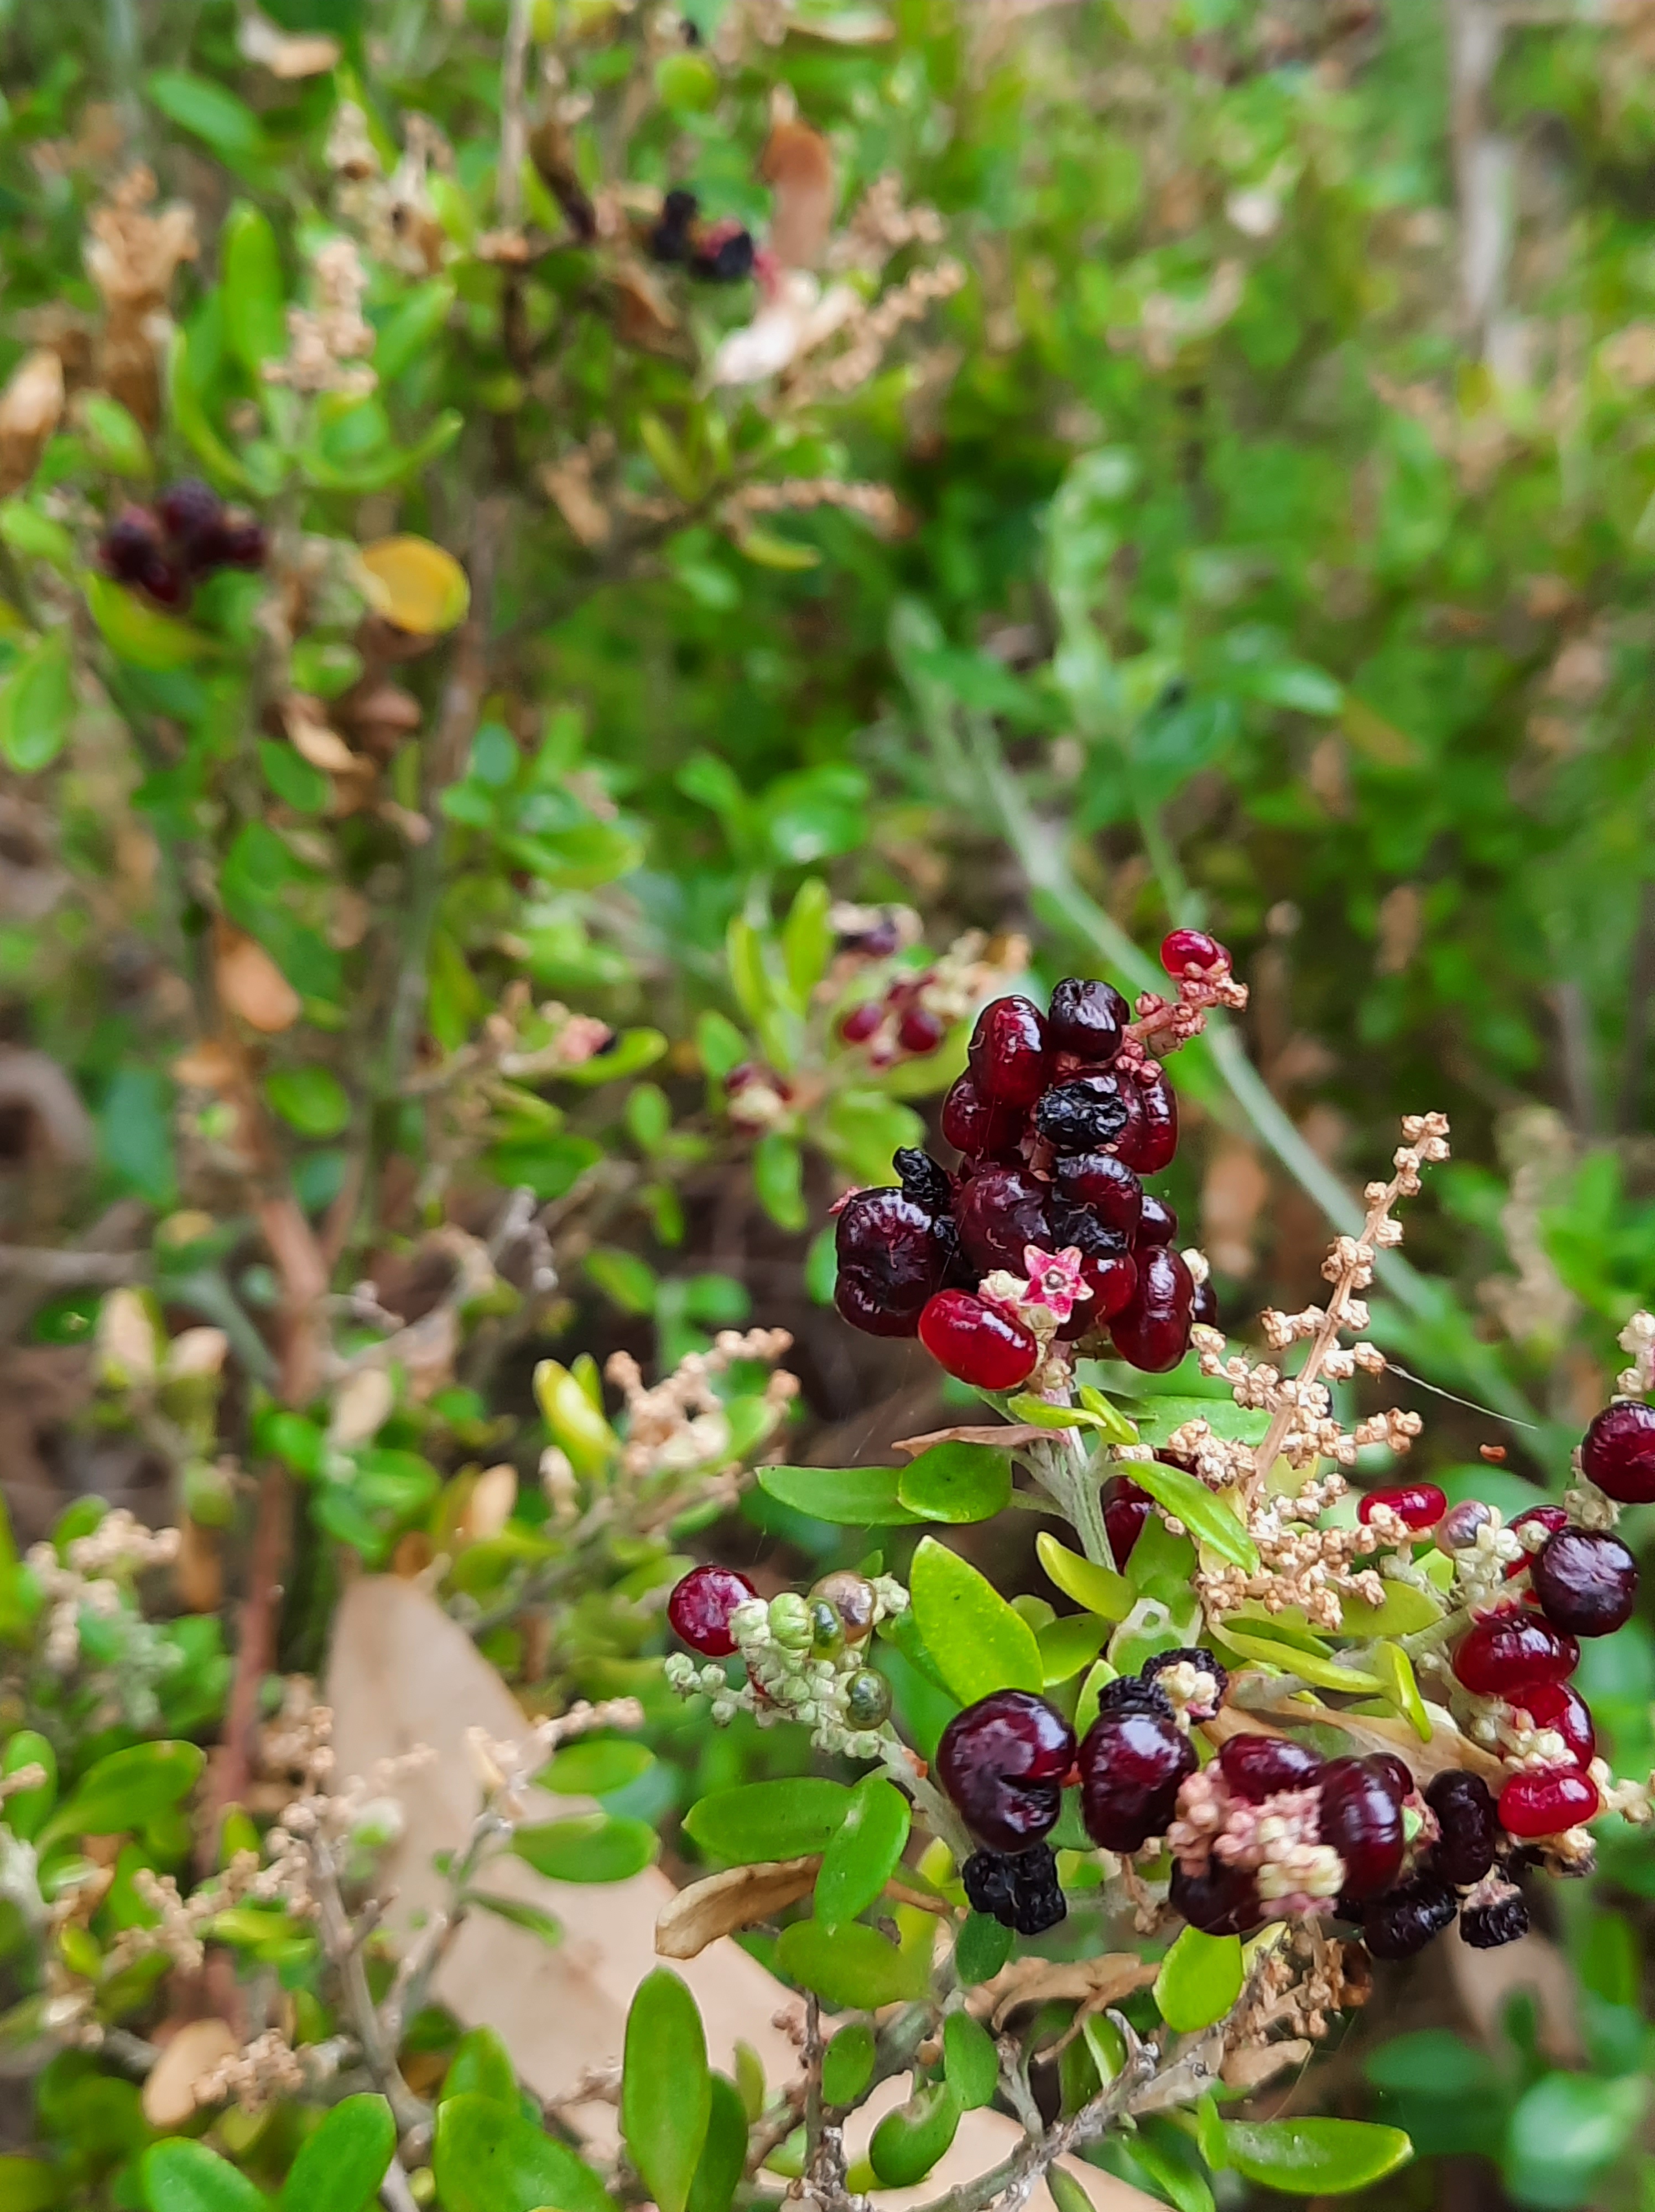
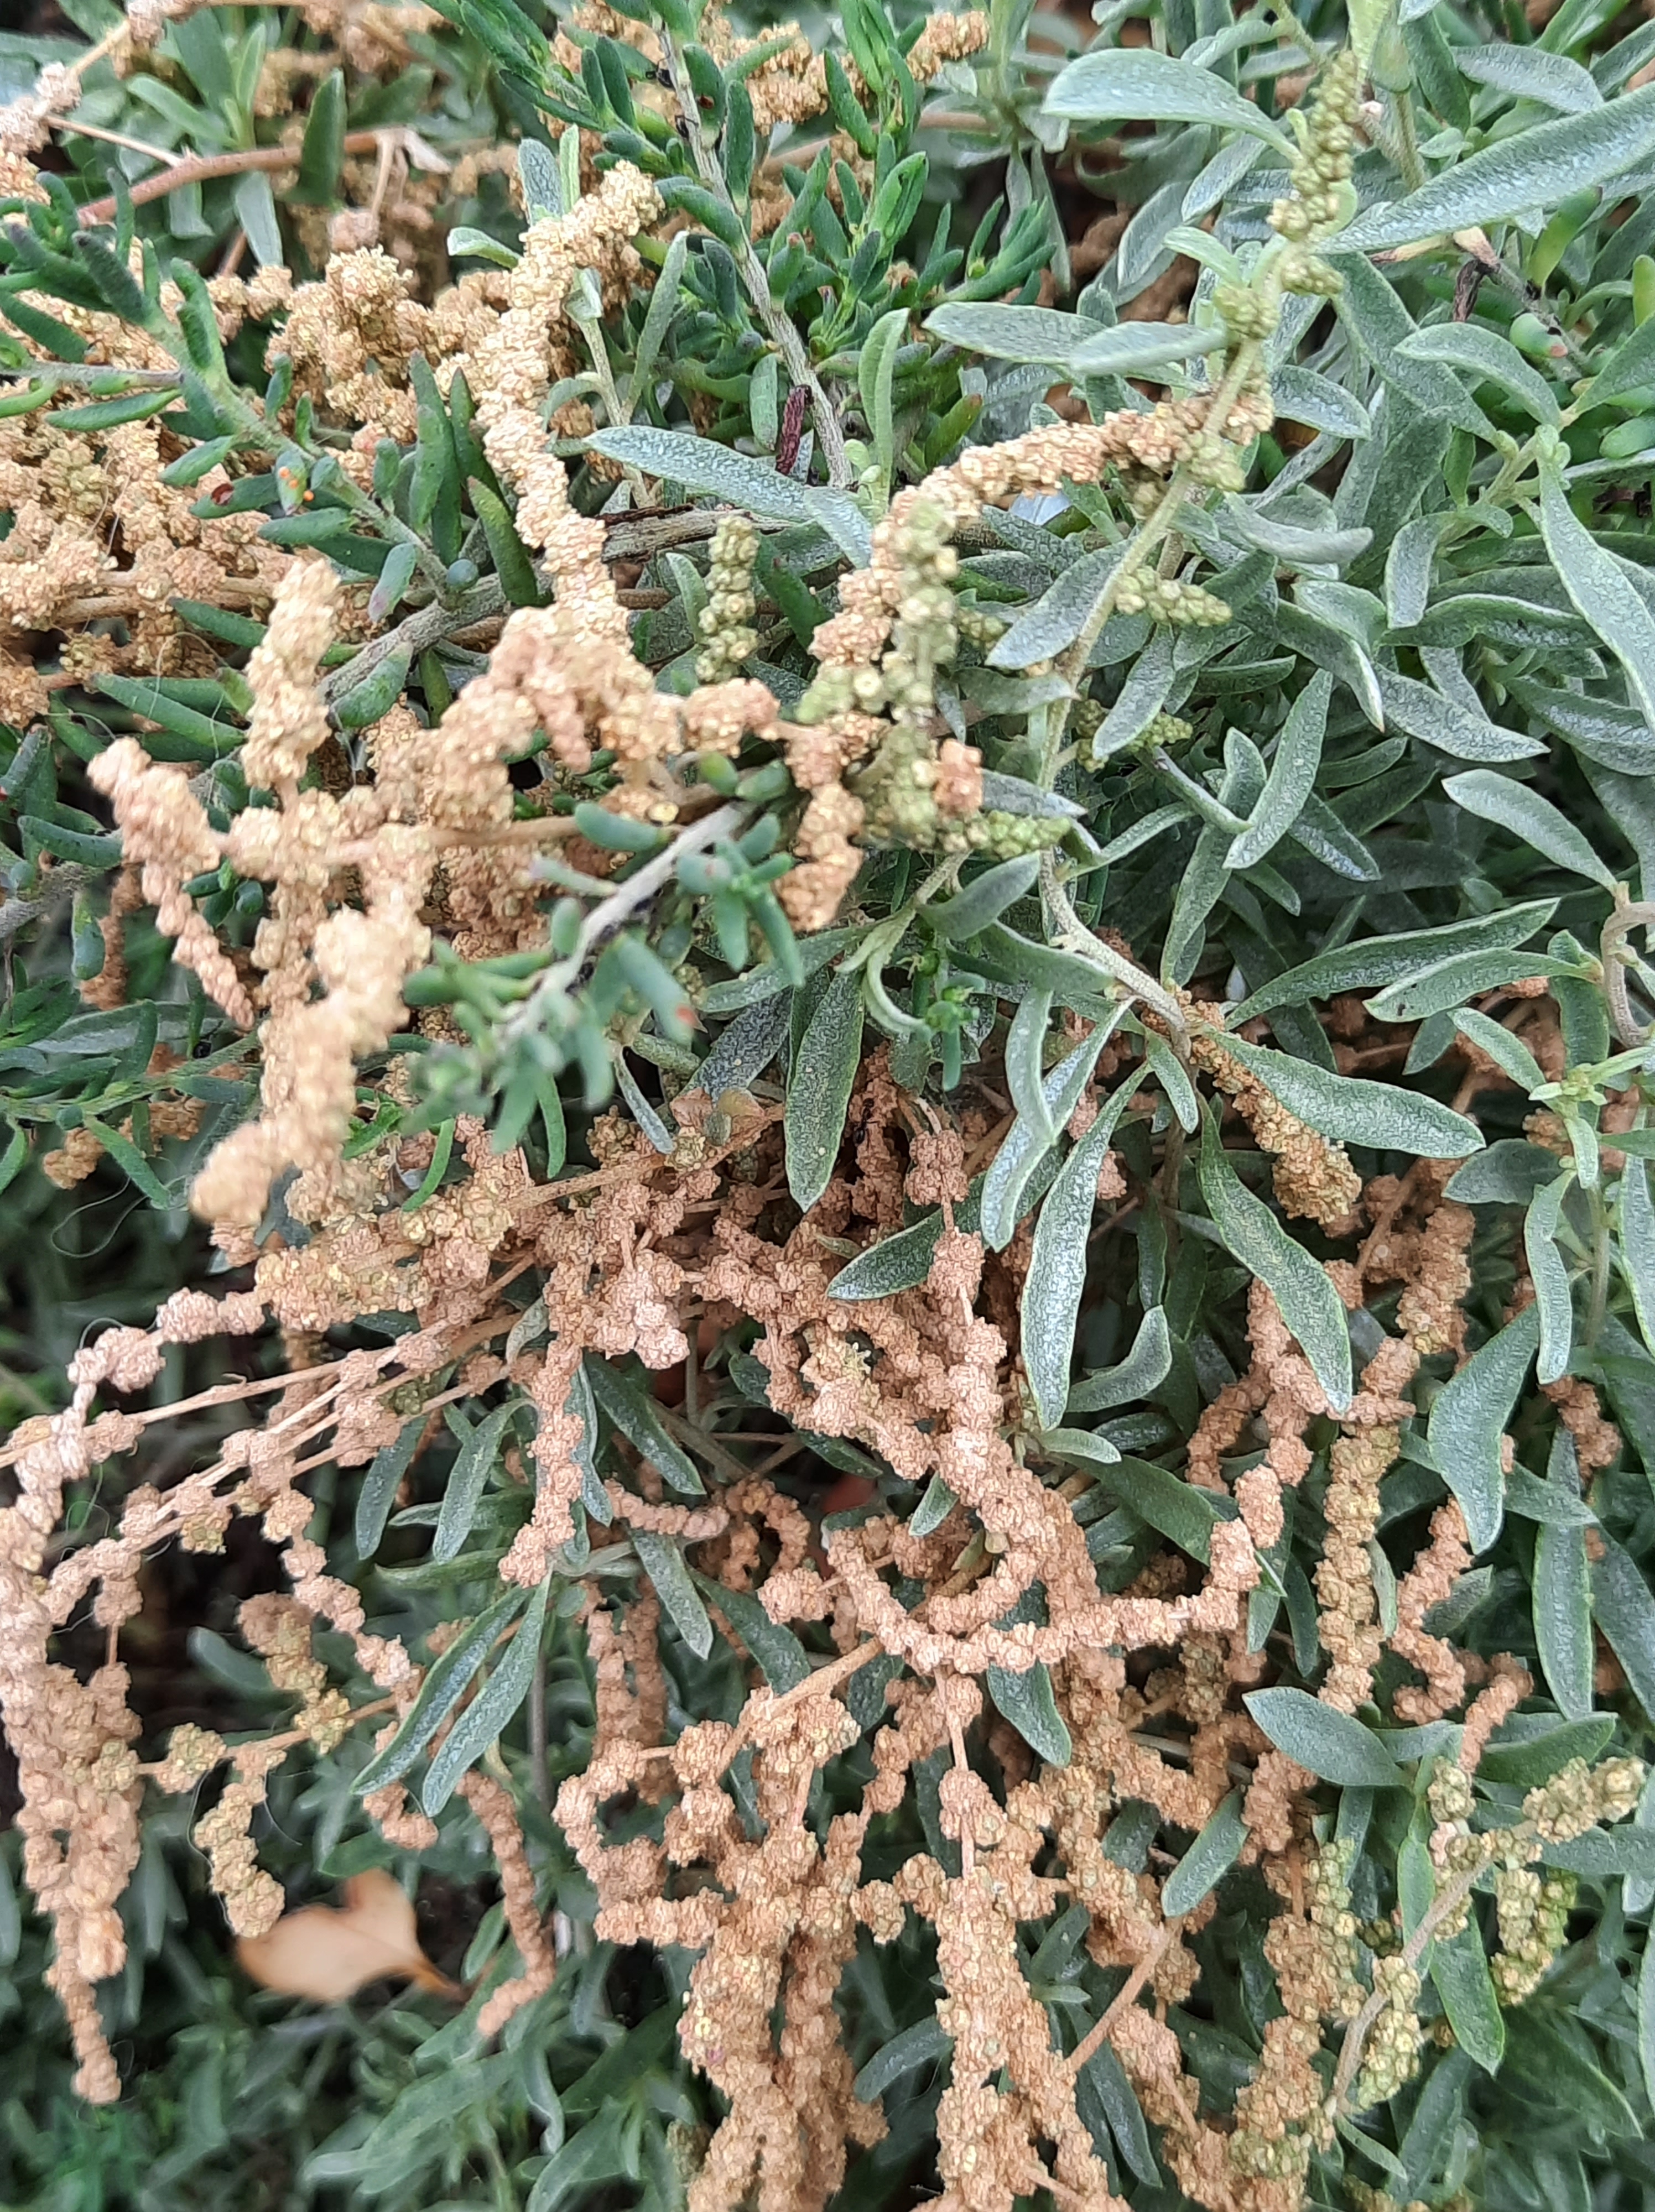
The other thing I look to do at this time of year is to save seed from anything seeding now–which is many of the plants that go by “saltbush”. This rhagodia (seaberry saltbush) has mature fruits that are beginning to dry on the bush–the perfect time to collect and dry them. This is another hardy bush that is native to the coast of SA and Victoria.
If you want to try root division, look for very dense clumps of dianella–like these. About 15 were stolen from this council street planting in their first week. I have gradually replaced them and filled the gaps in the planting by digging some (not a huge amount!) out each autumn, putting them straight into a bucket of water, separating out viable plants (each with some roots attached), and then straight into small pots of soil and a nice drink of water. I have found that of you let them dry out, they will not grow.
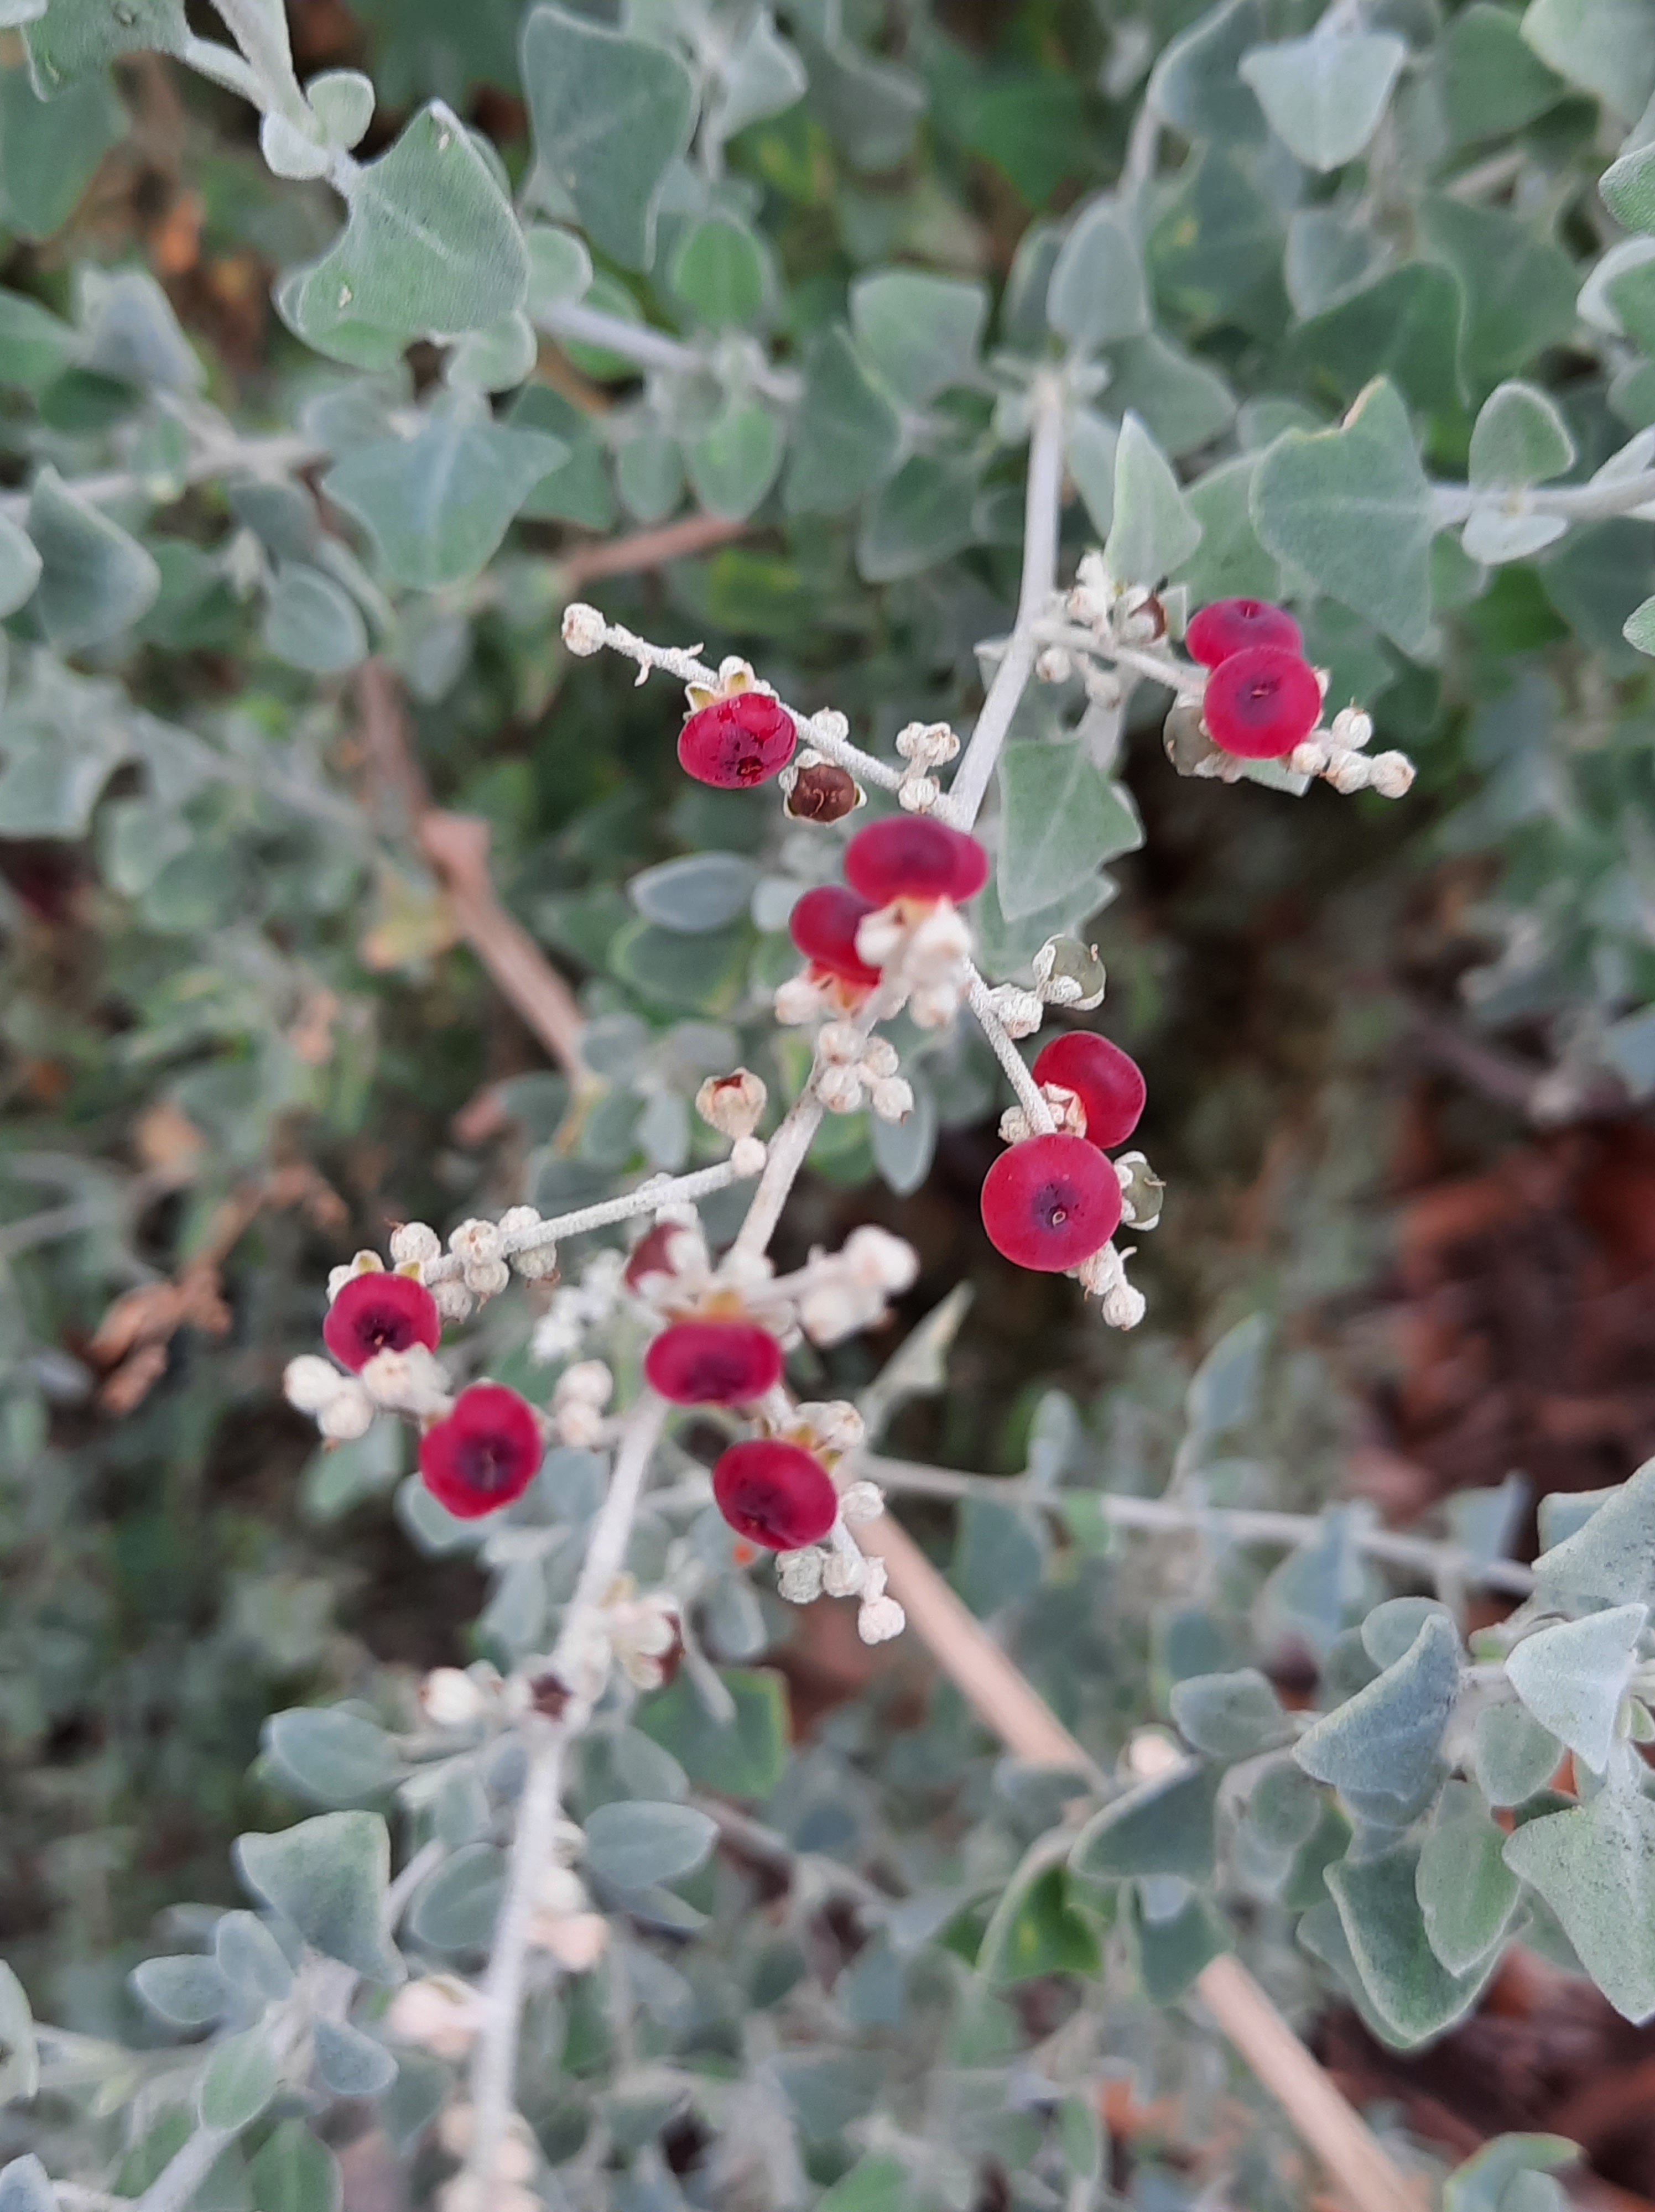
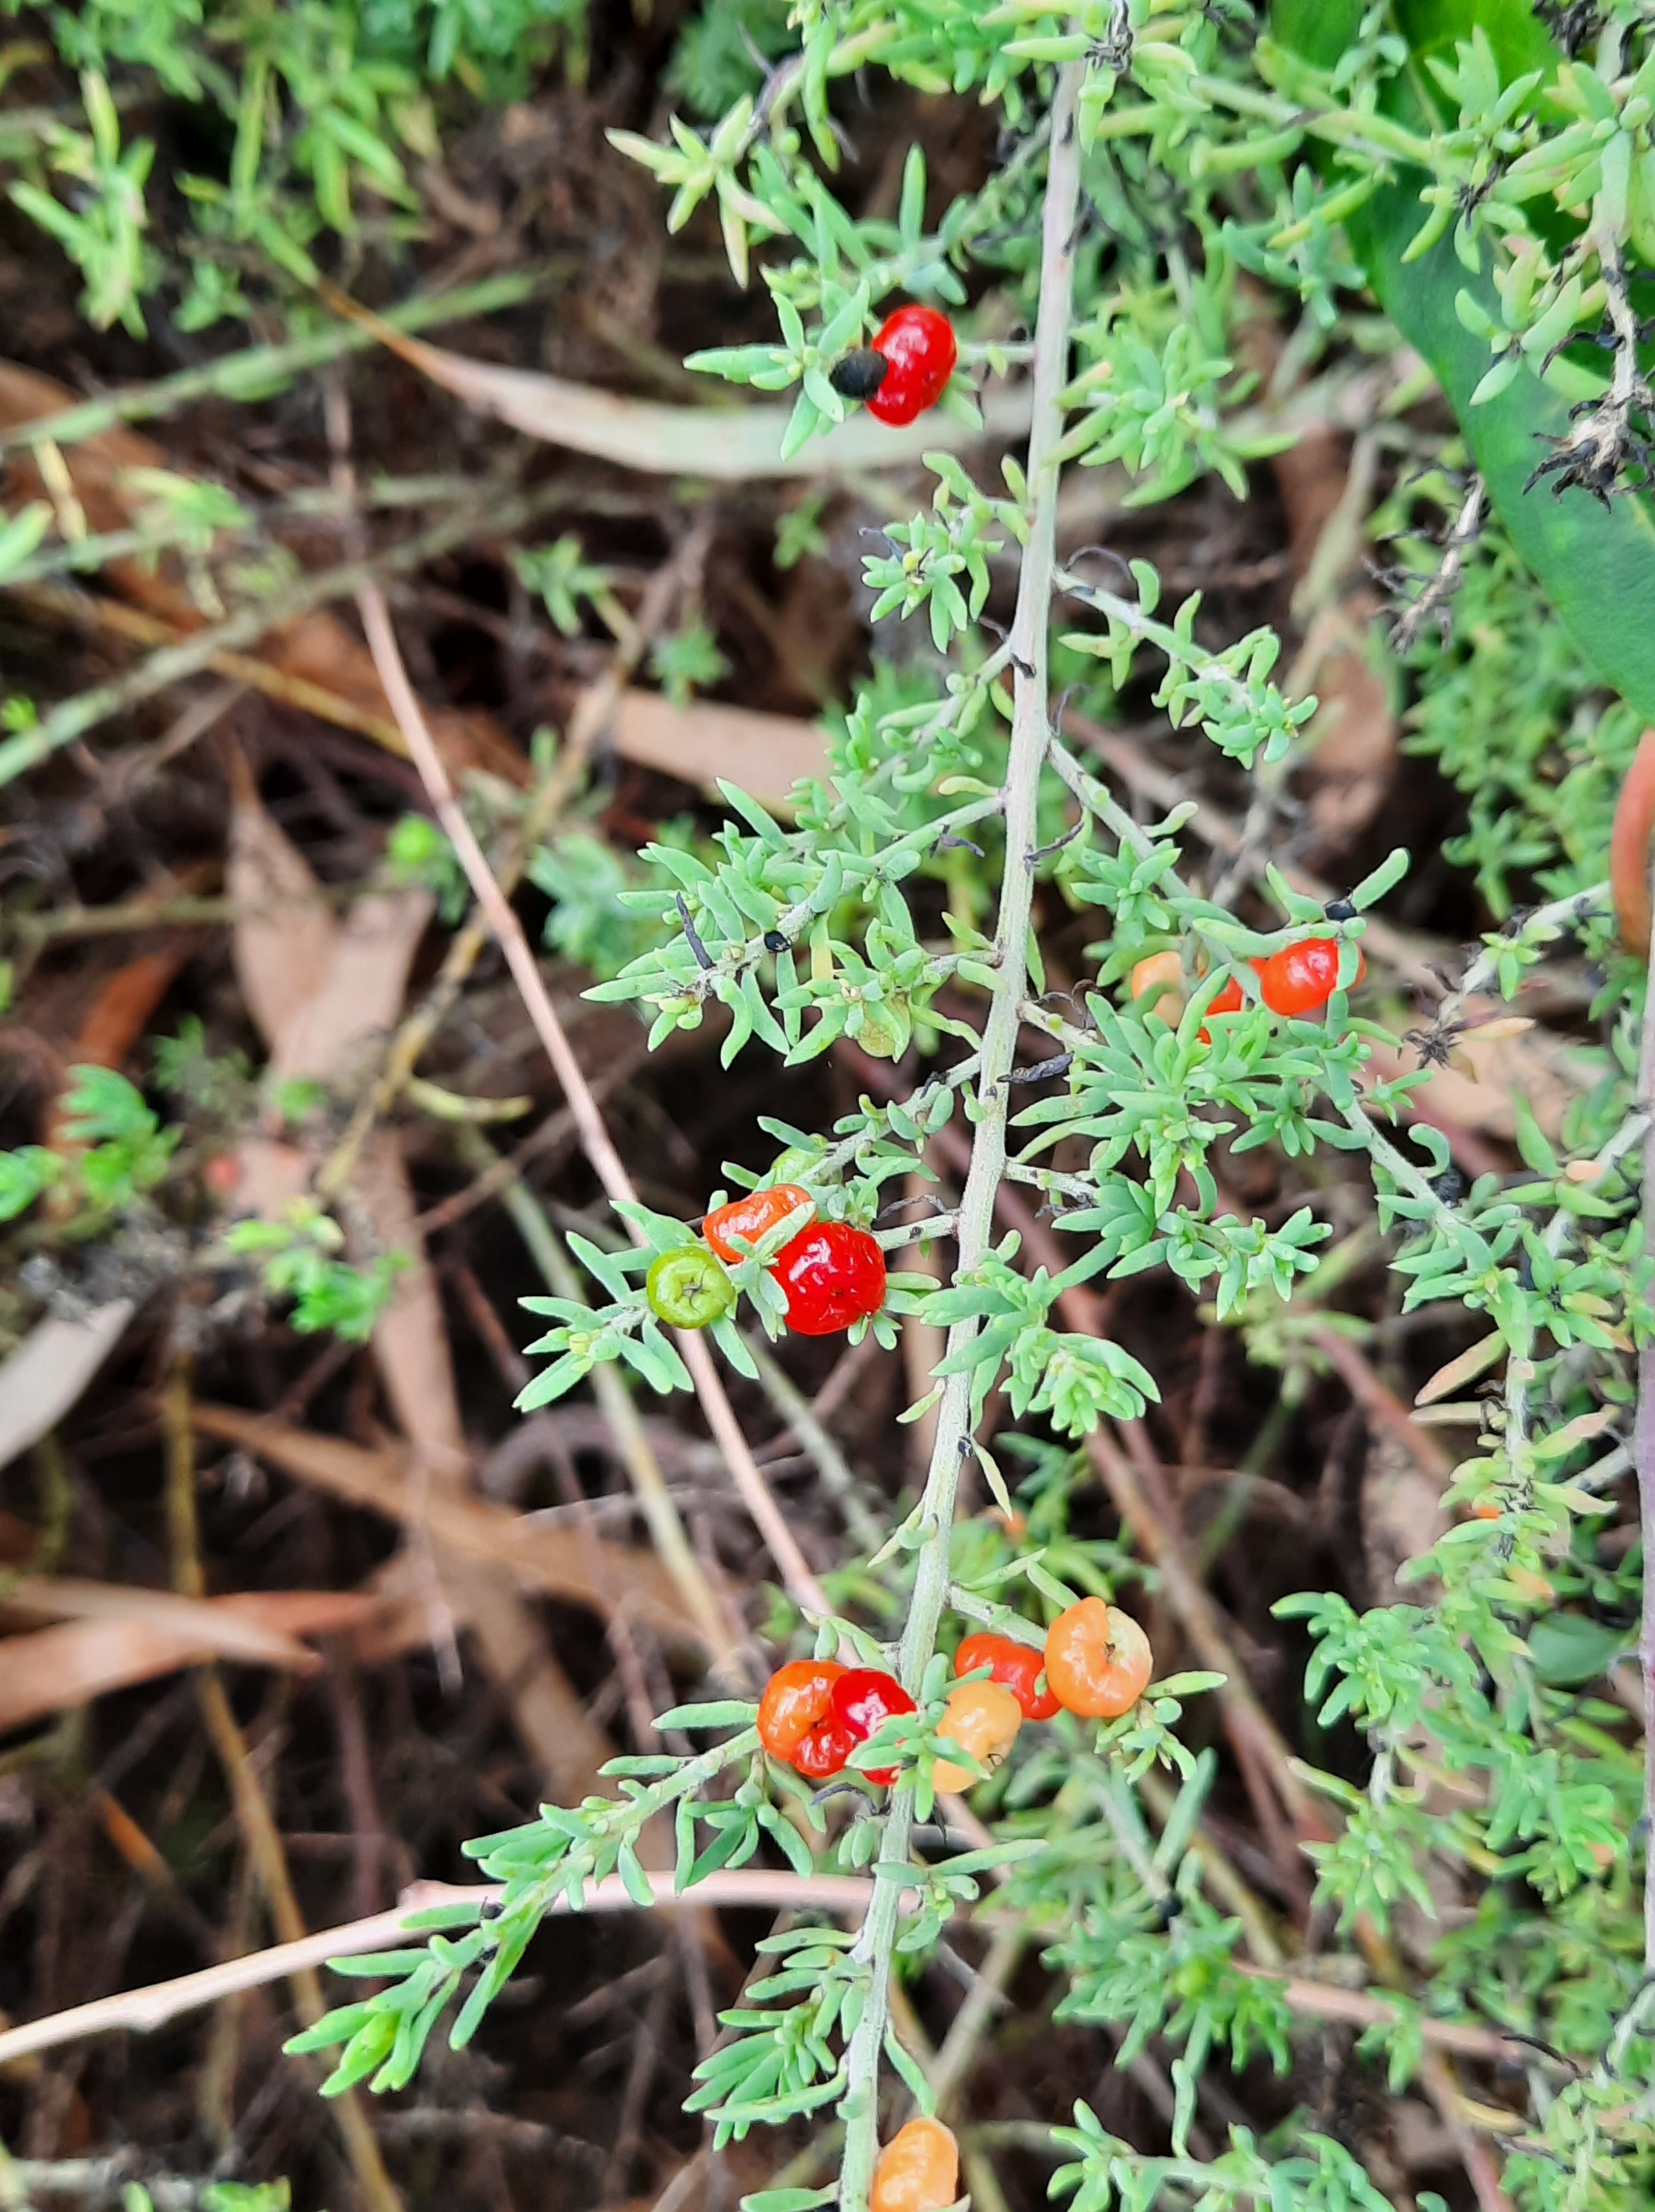
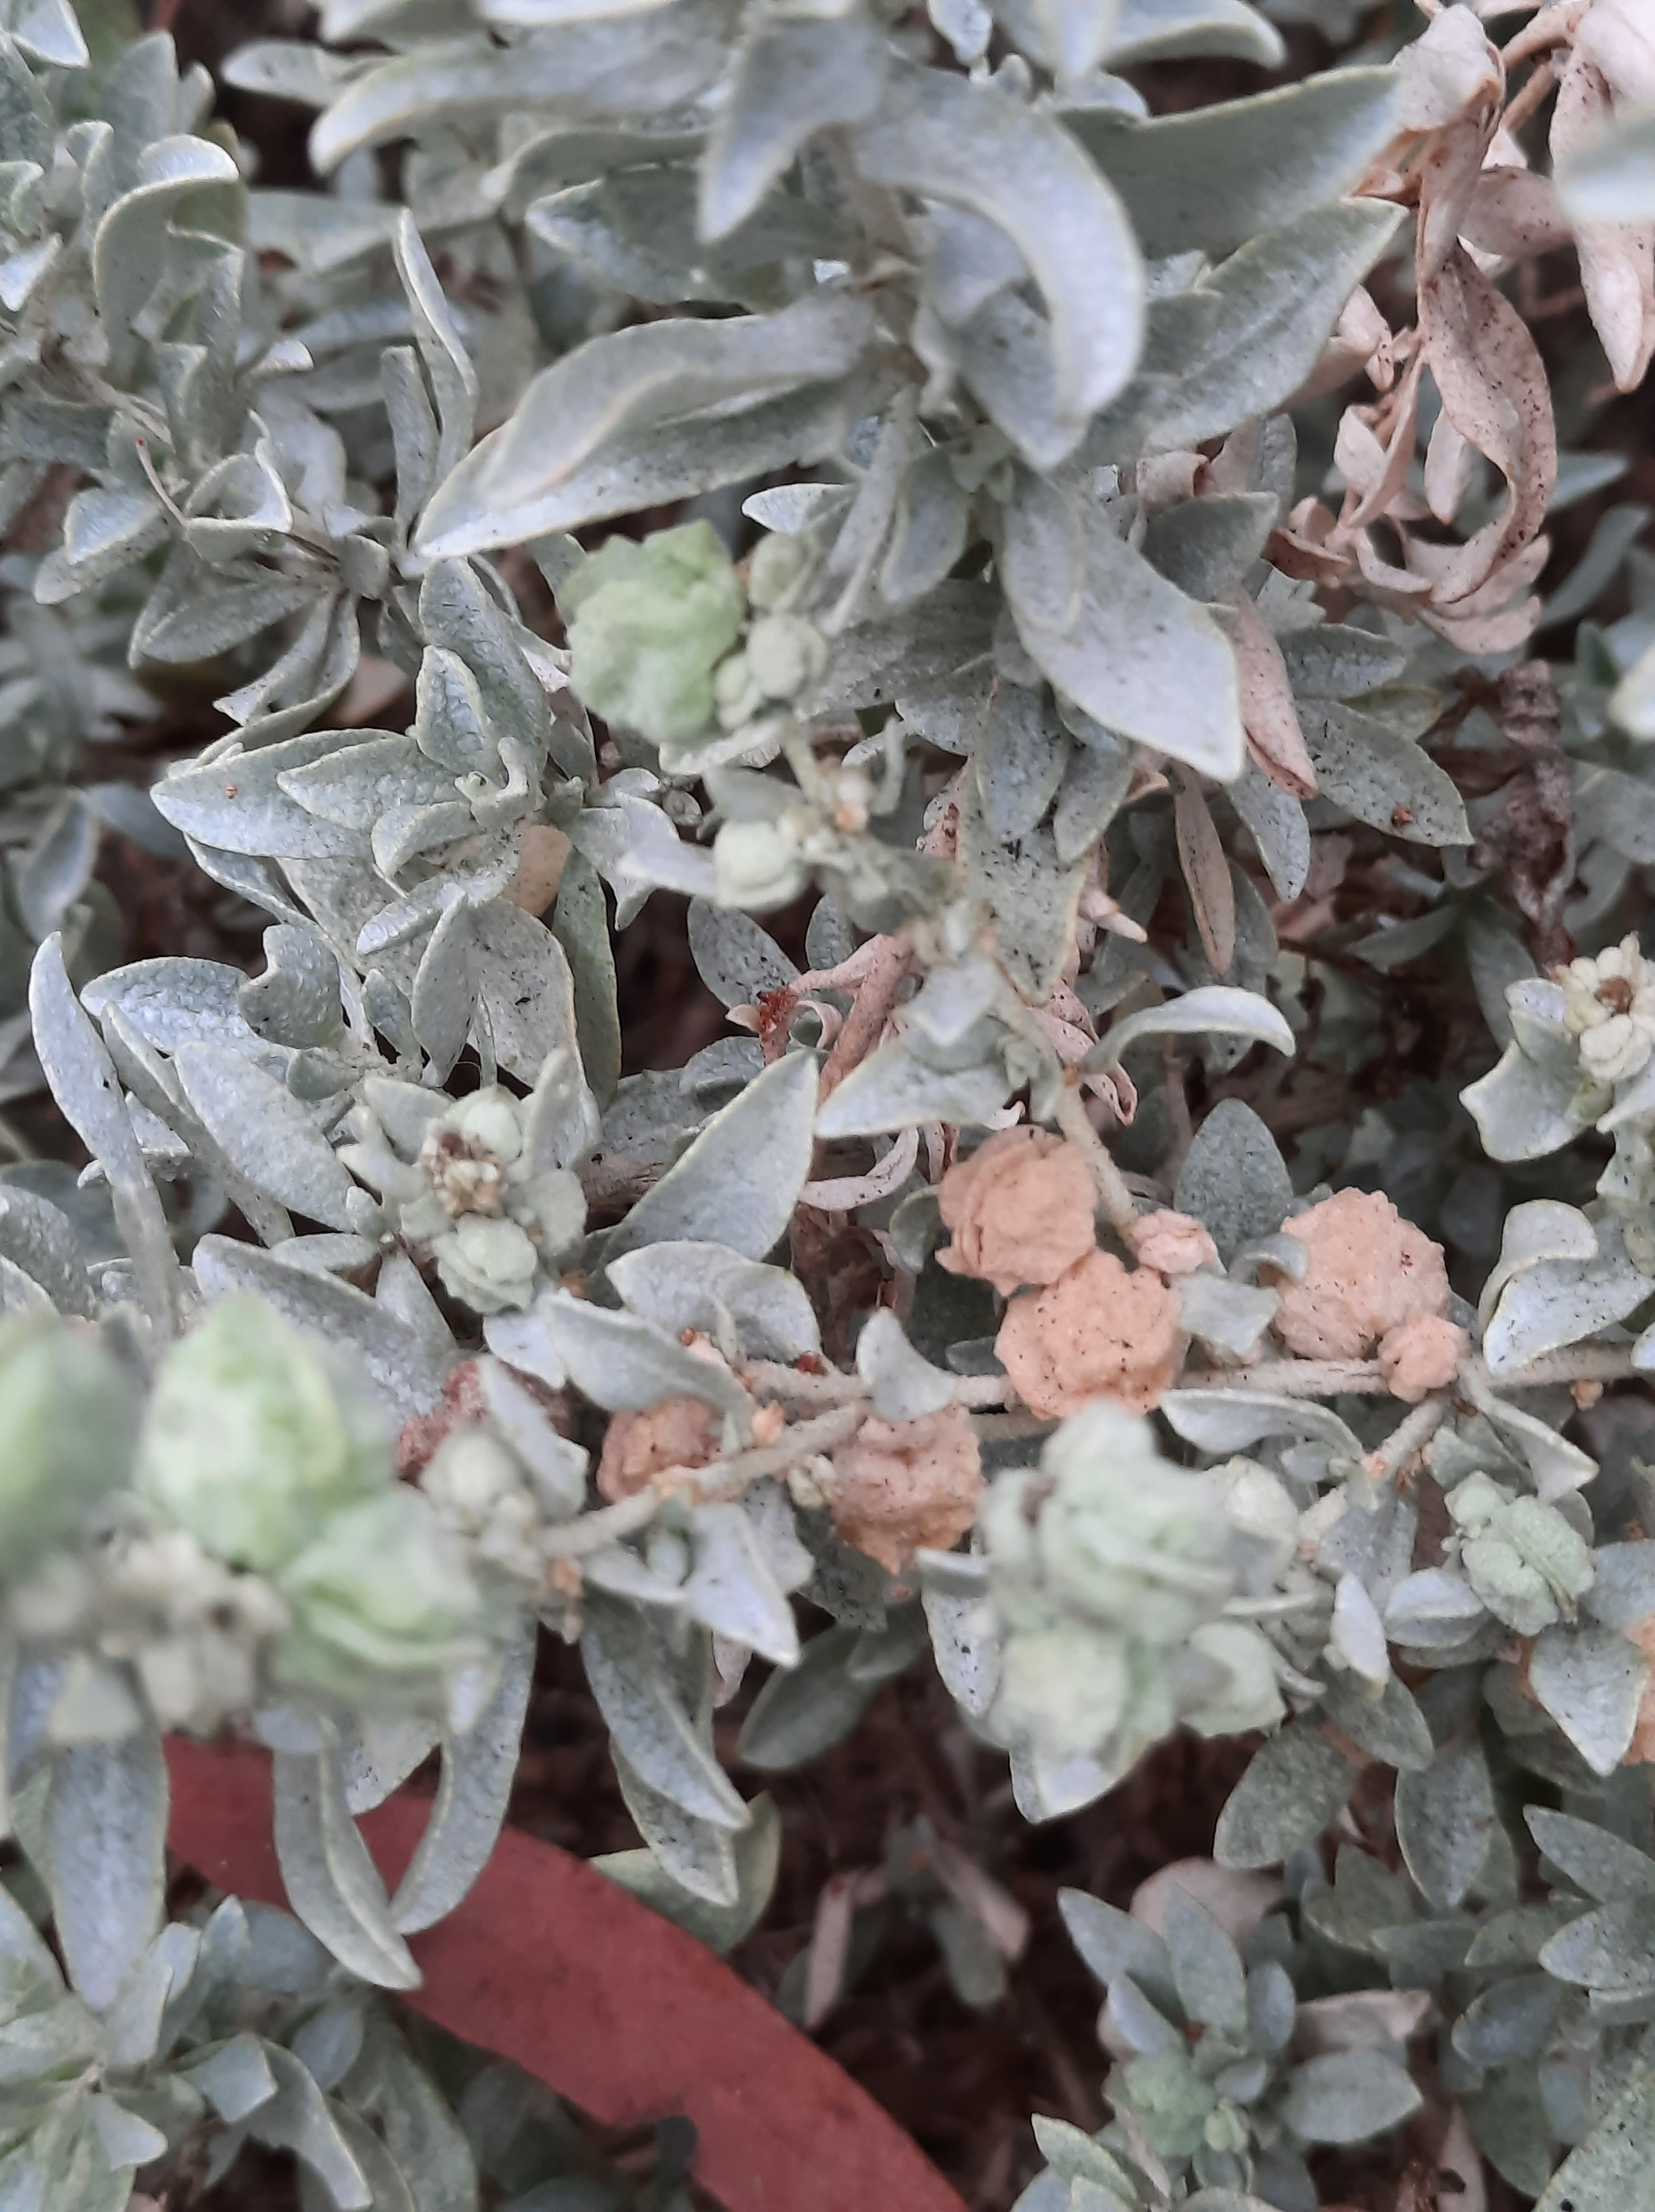
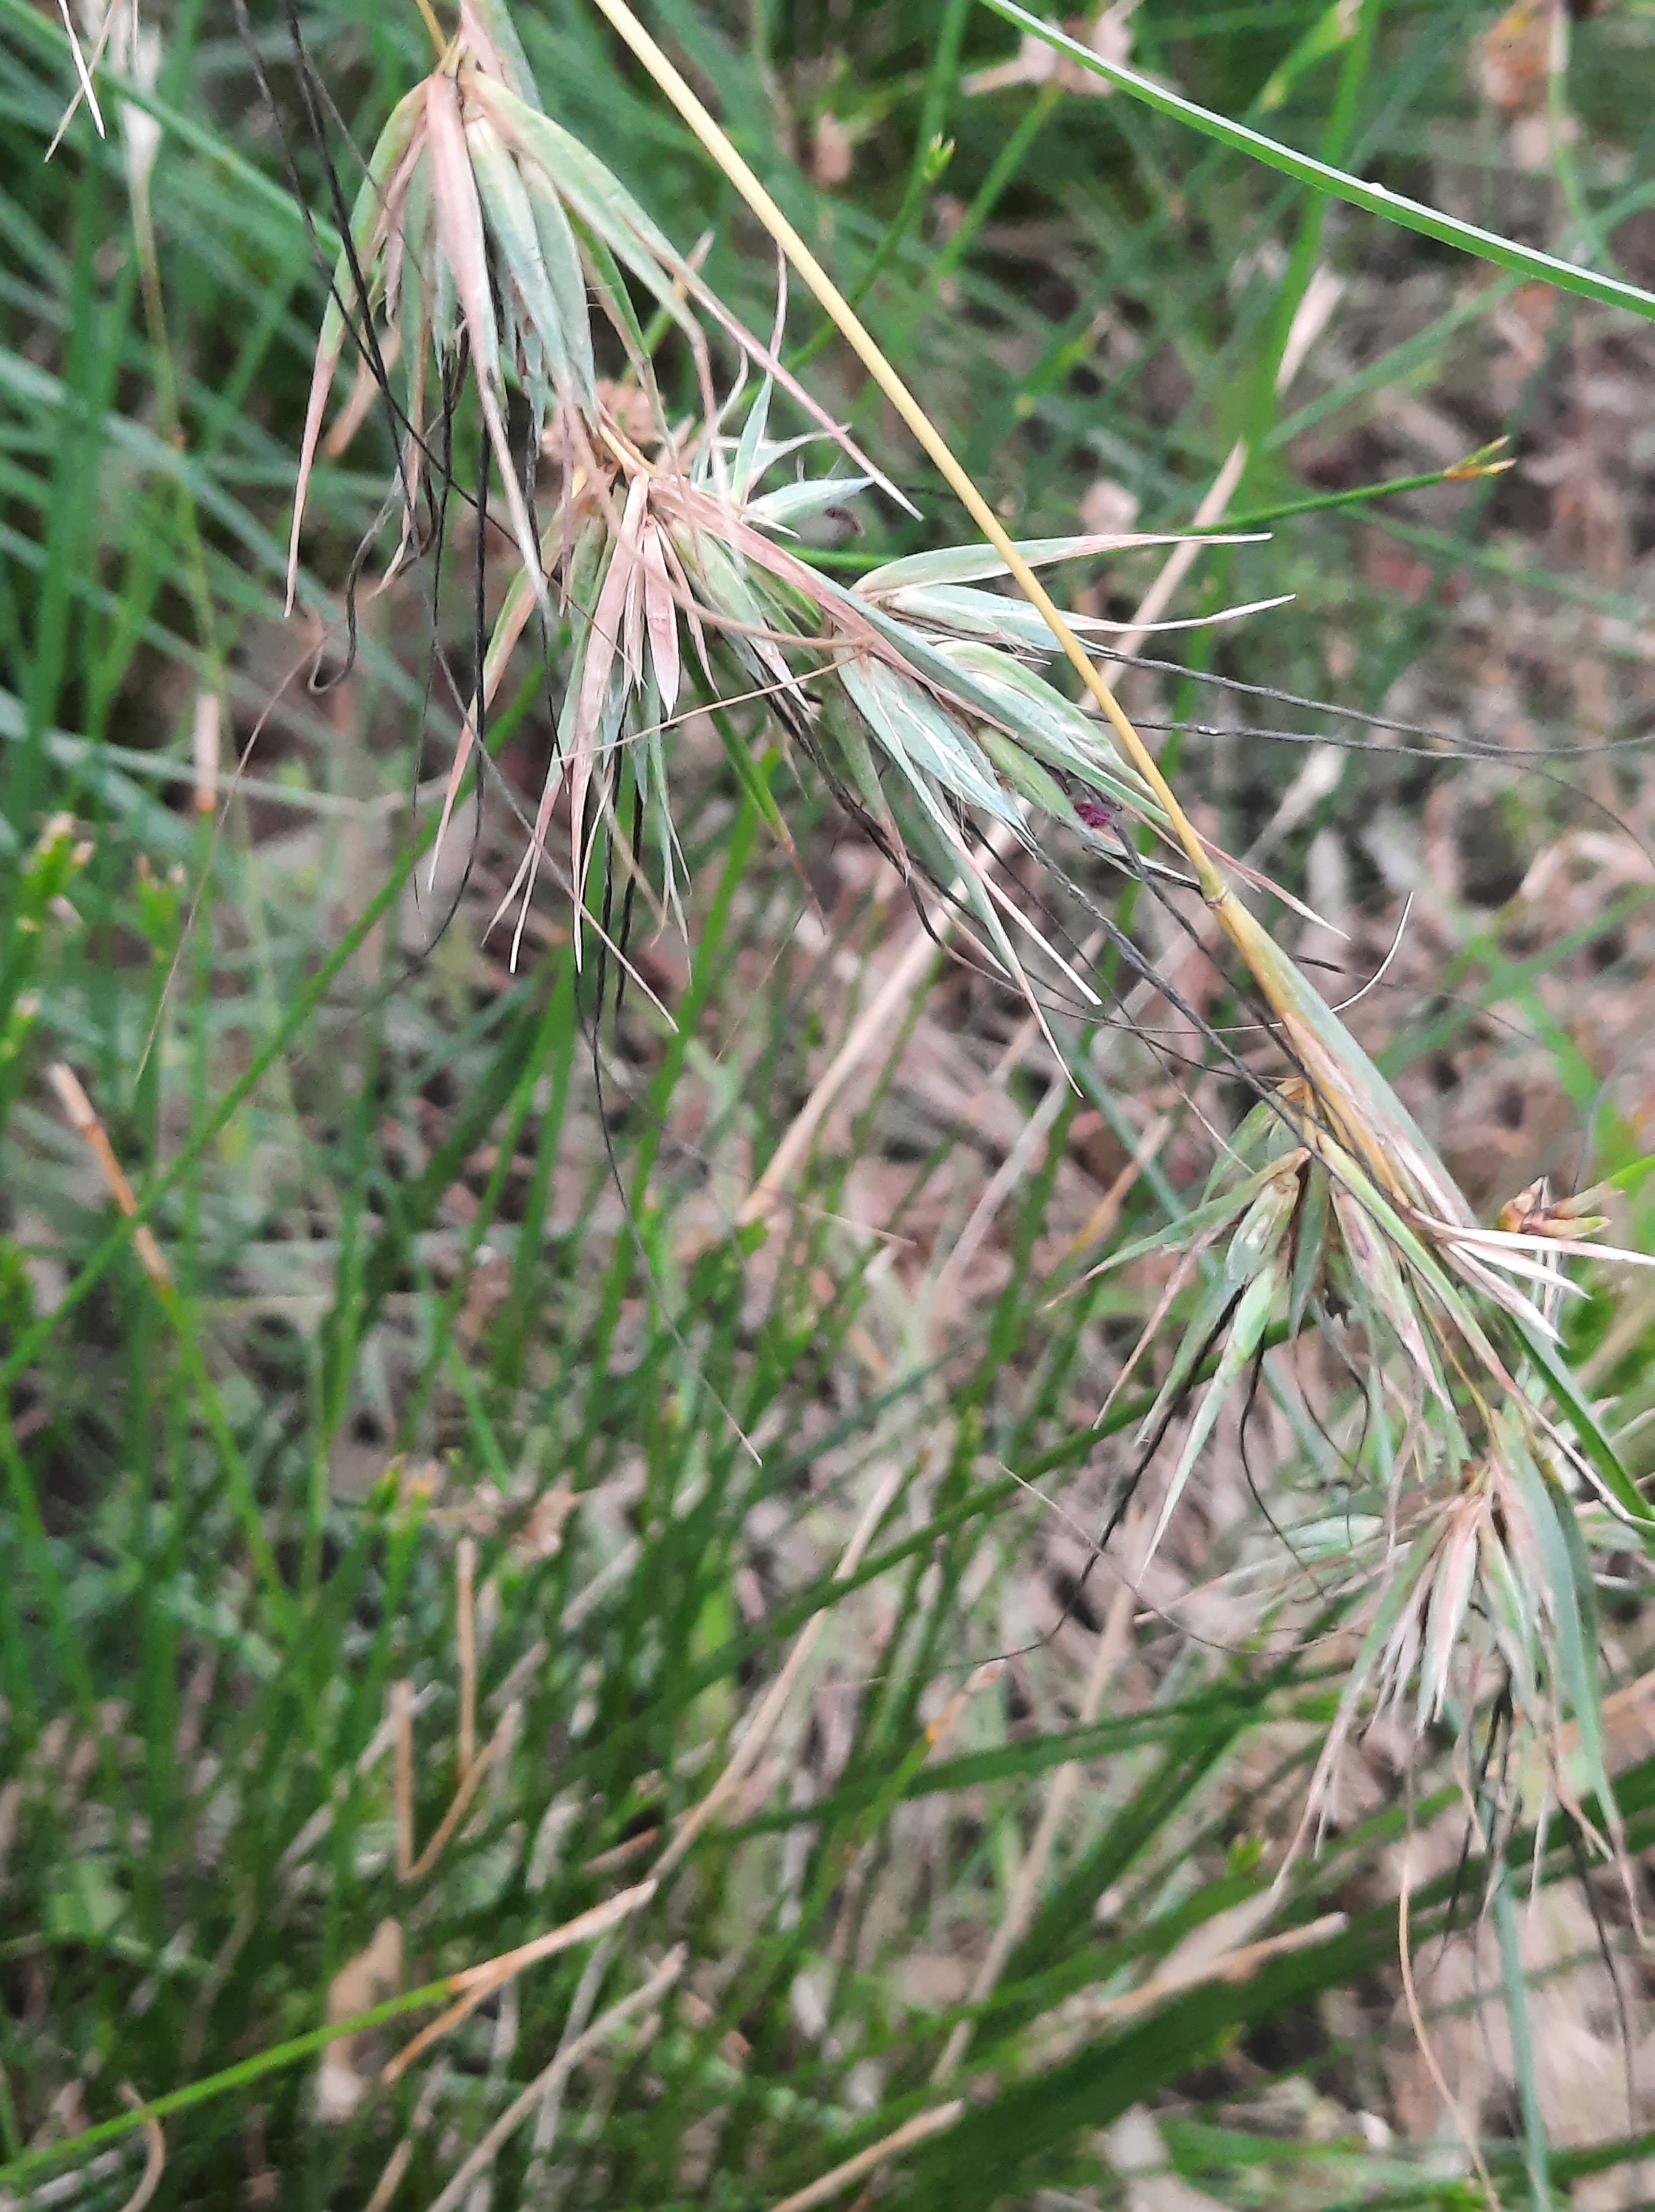
Walking through my neighbourhood, here are four other saltbush species that are ready to harvest for seed, plus native grass that is ready to give seed. I just head out with paper bags, or little jars/yoghurt pots/my hand and collect, then bring back and set out in saucers or dishes to air dry. But experiment! Look to see what can tough it out in local parks and gardens, and give it a try.
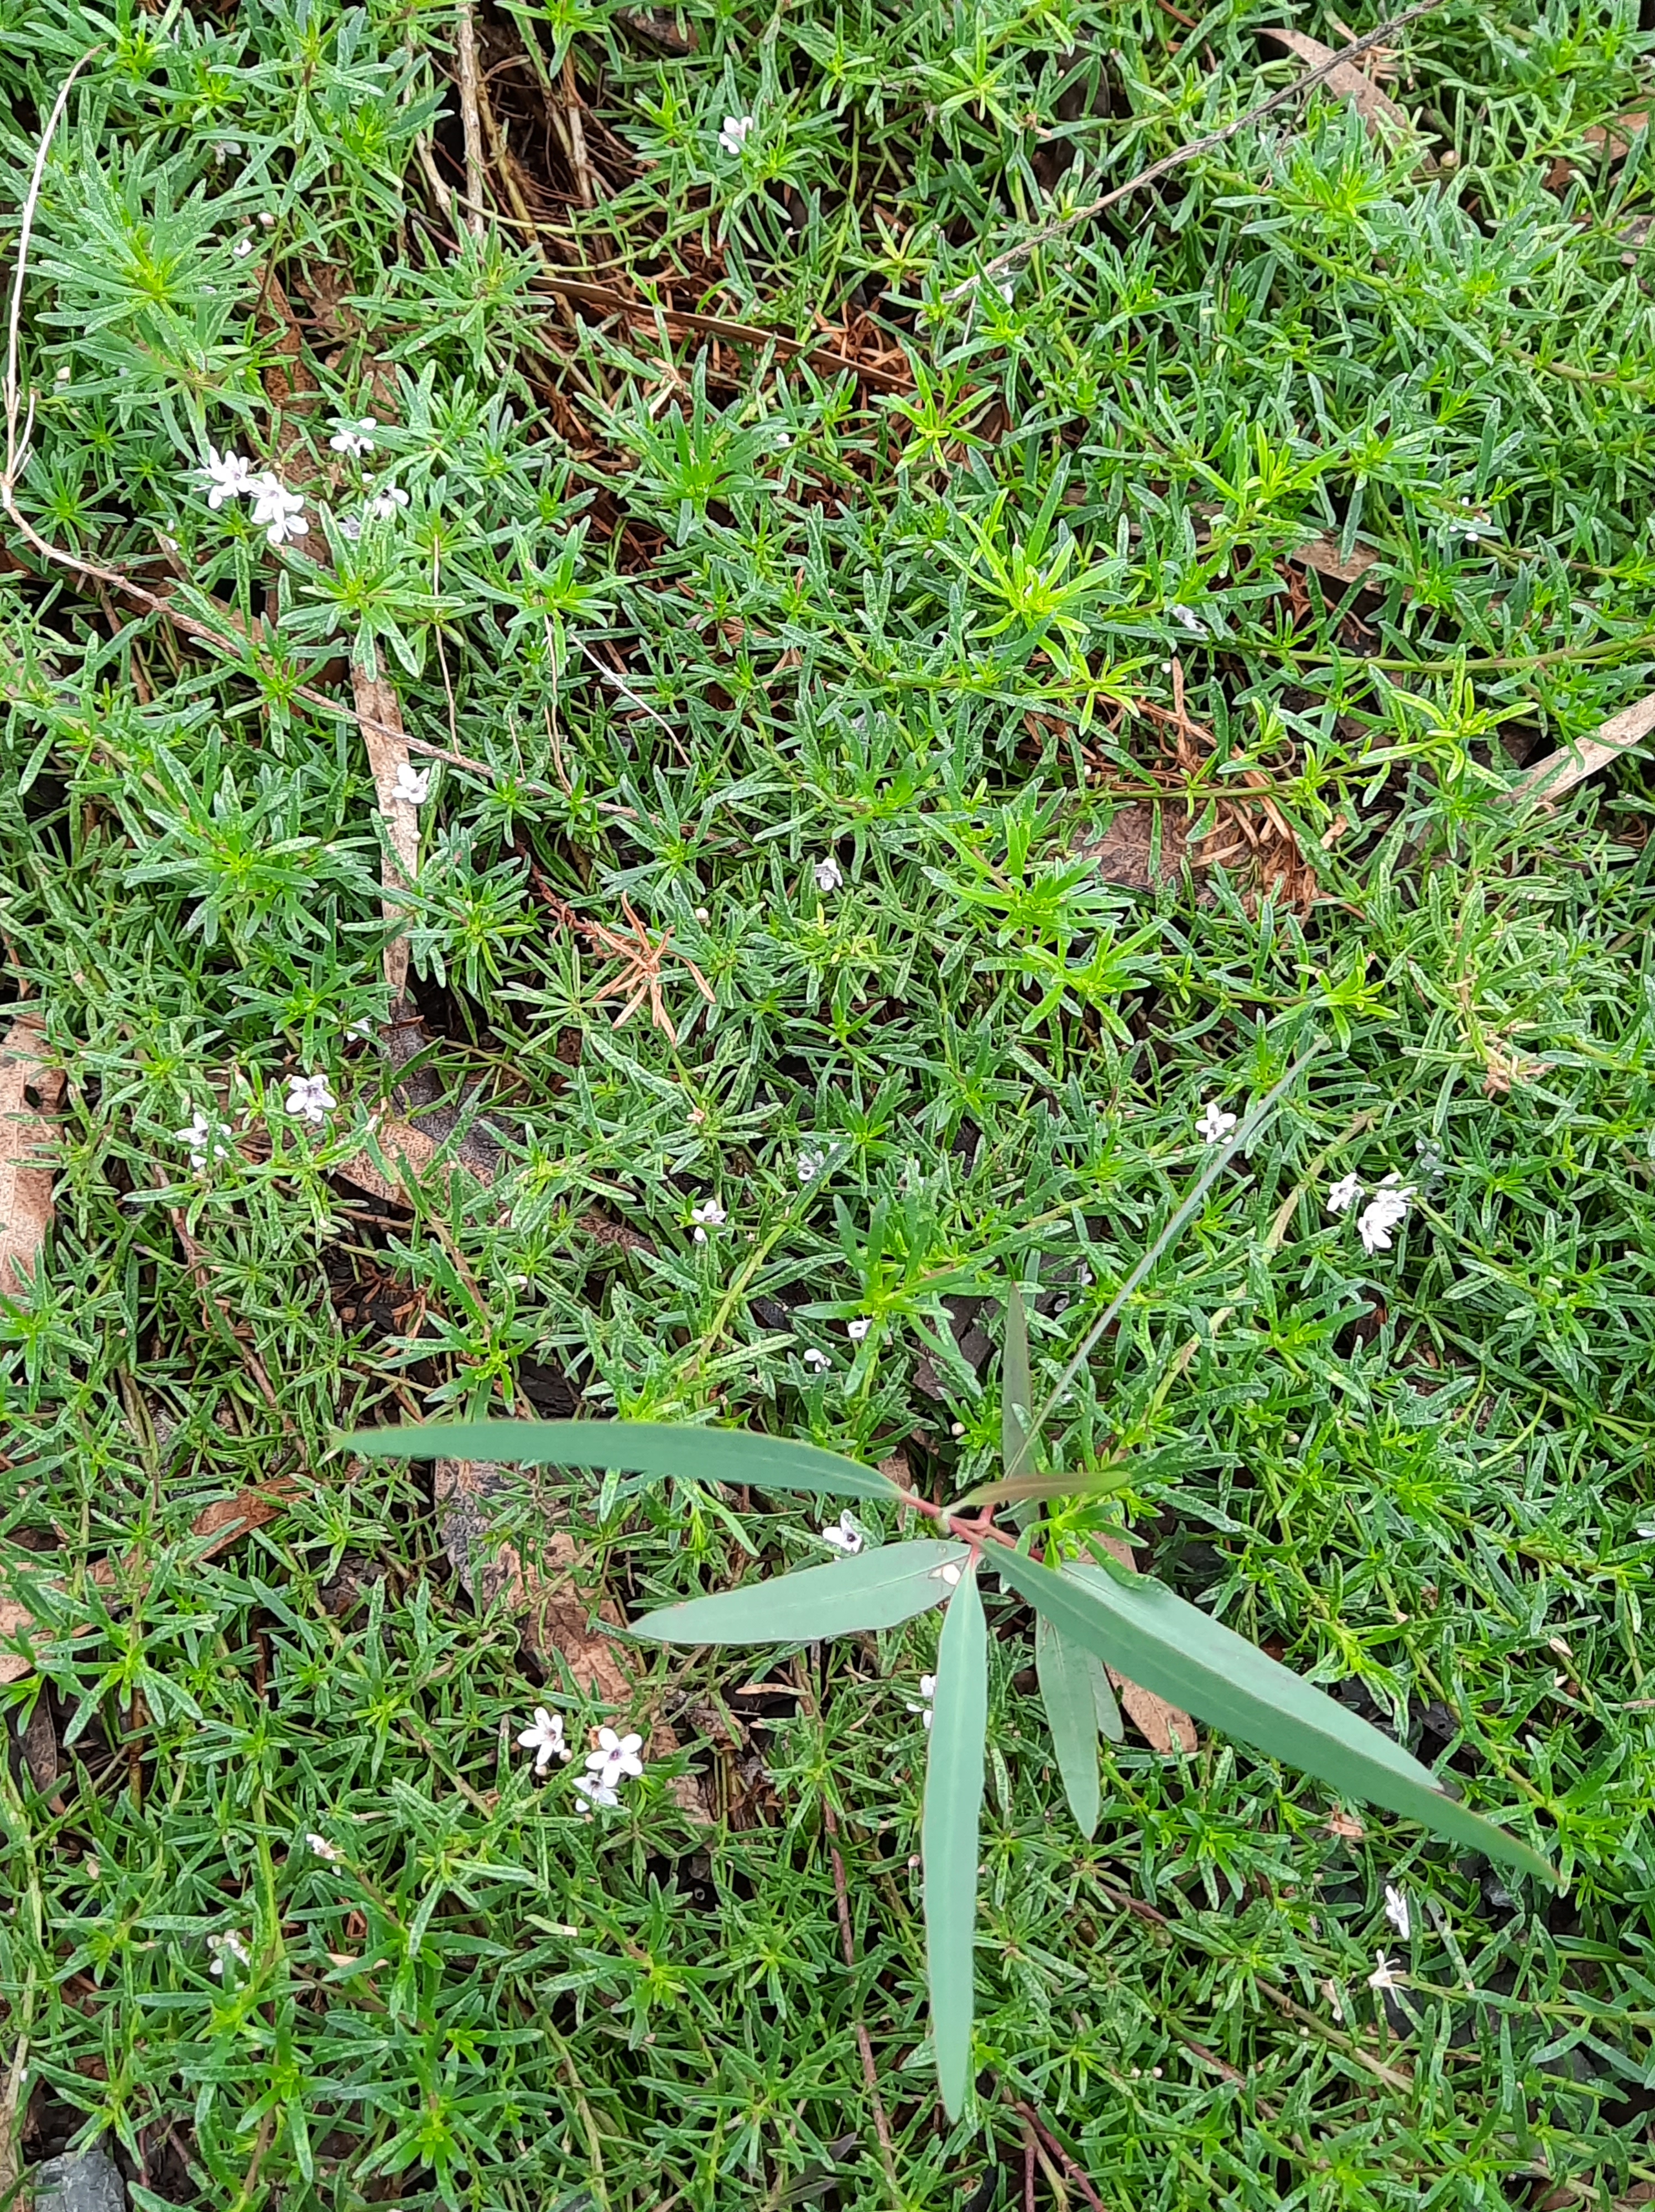
Myoporum parvifolium comes in fine leaved (bottom left) and thicker leaved (bottom row, middle and right) varieties, and in green coloured (bottom middle and right) leaves as well as what my father calls “red” (middle row, right side; bottom left). Most of these are plants I’ve initially grown from cuttings and planted out. If you look at the ones beside kerbs and roads, you will see that they are either cut back regularly by council or just run over by cars so often that they die back to the edge of the road. So, if I want to take cuttings I choose a nice big patch and then cut near the edge! And, just look at the picture in the middle of the top row! That is a self seeded eucalypt. I find establishing aground cover really improves the chance of anything bigger growing at all, and self seeding is especially exciting. Over time, a really convincing ground cover or understorey will cause people to stop walking through planted areas, allowing more plants to thrive and grow.
I favour cutting a long stem with decent sized side shoots. One of these will give quite a few cuttings.
Back home, I’ve pre filled my pots with 50% coir and 50% sieved compost or soil from the chookyard, and watered them.
I gently pull each side stem from the main one, aiming to bring a small “heel” from the main stem with it.
Then I gently strip most of the leaves from each. With no roots in the beginning, a cutting needs to have minimal leaves to support. If there are large leaves, I cut them back a bit, too. Then, into a teaspoon of honey. I can’t tell if it makes any difference, but it’s cheap and easy!
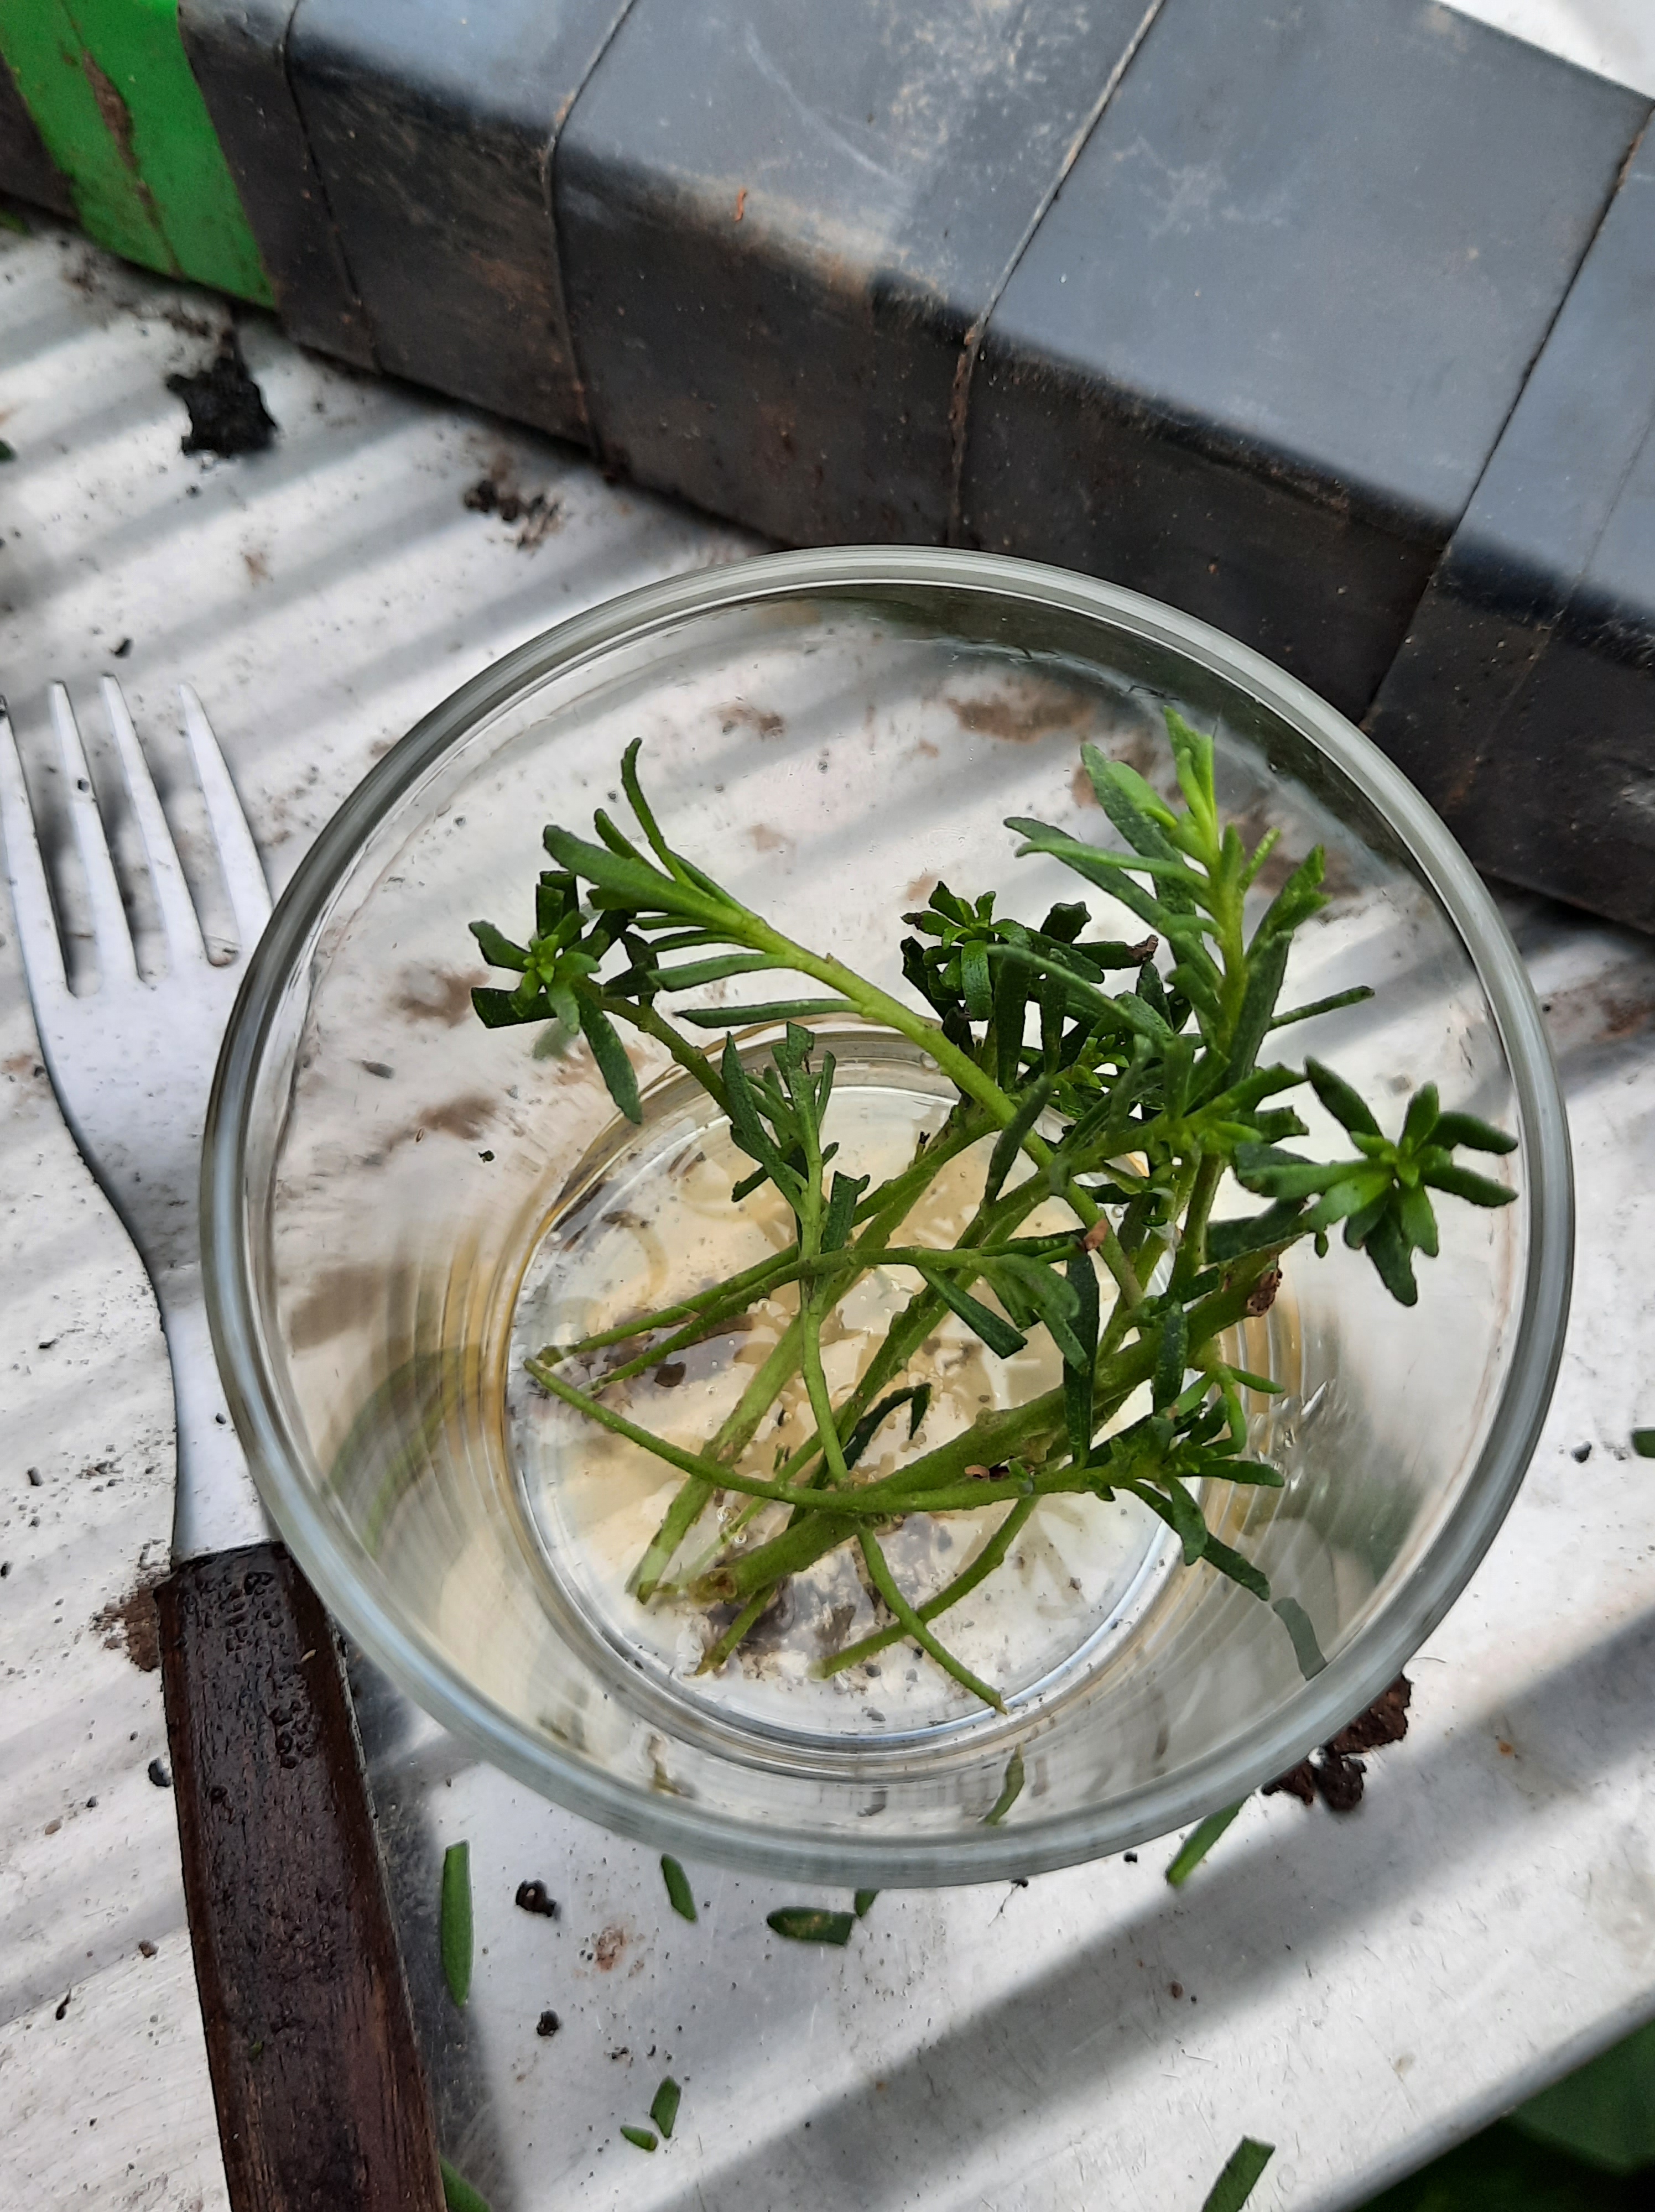
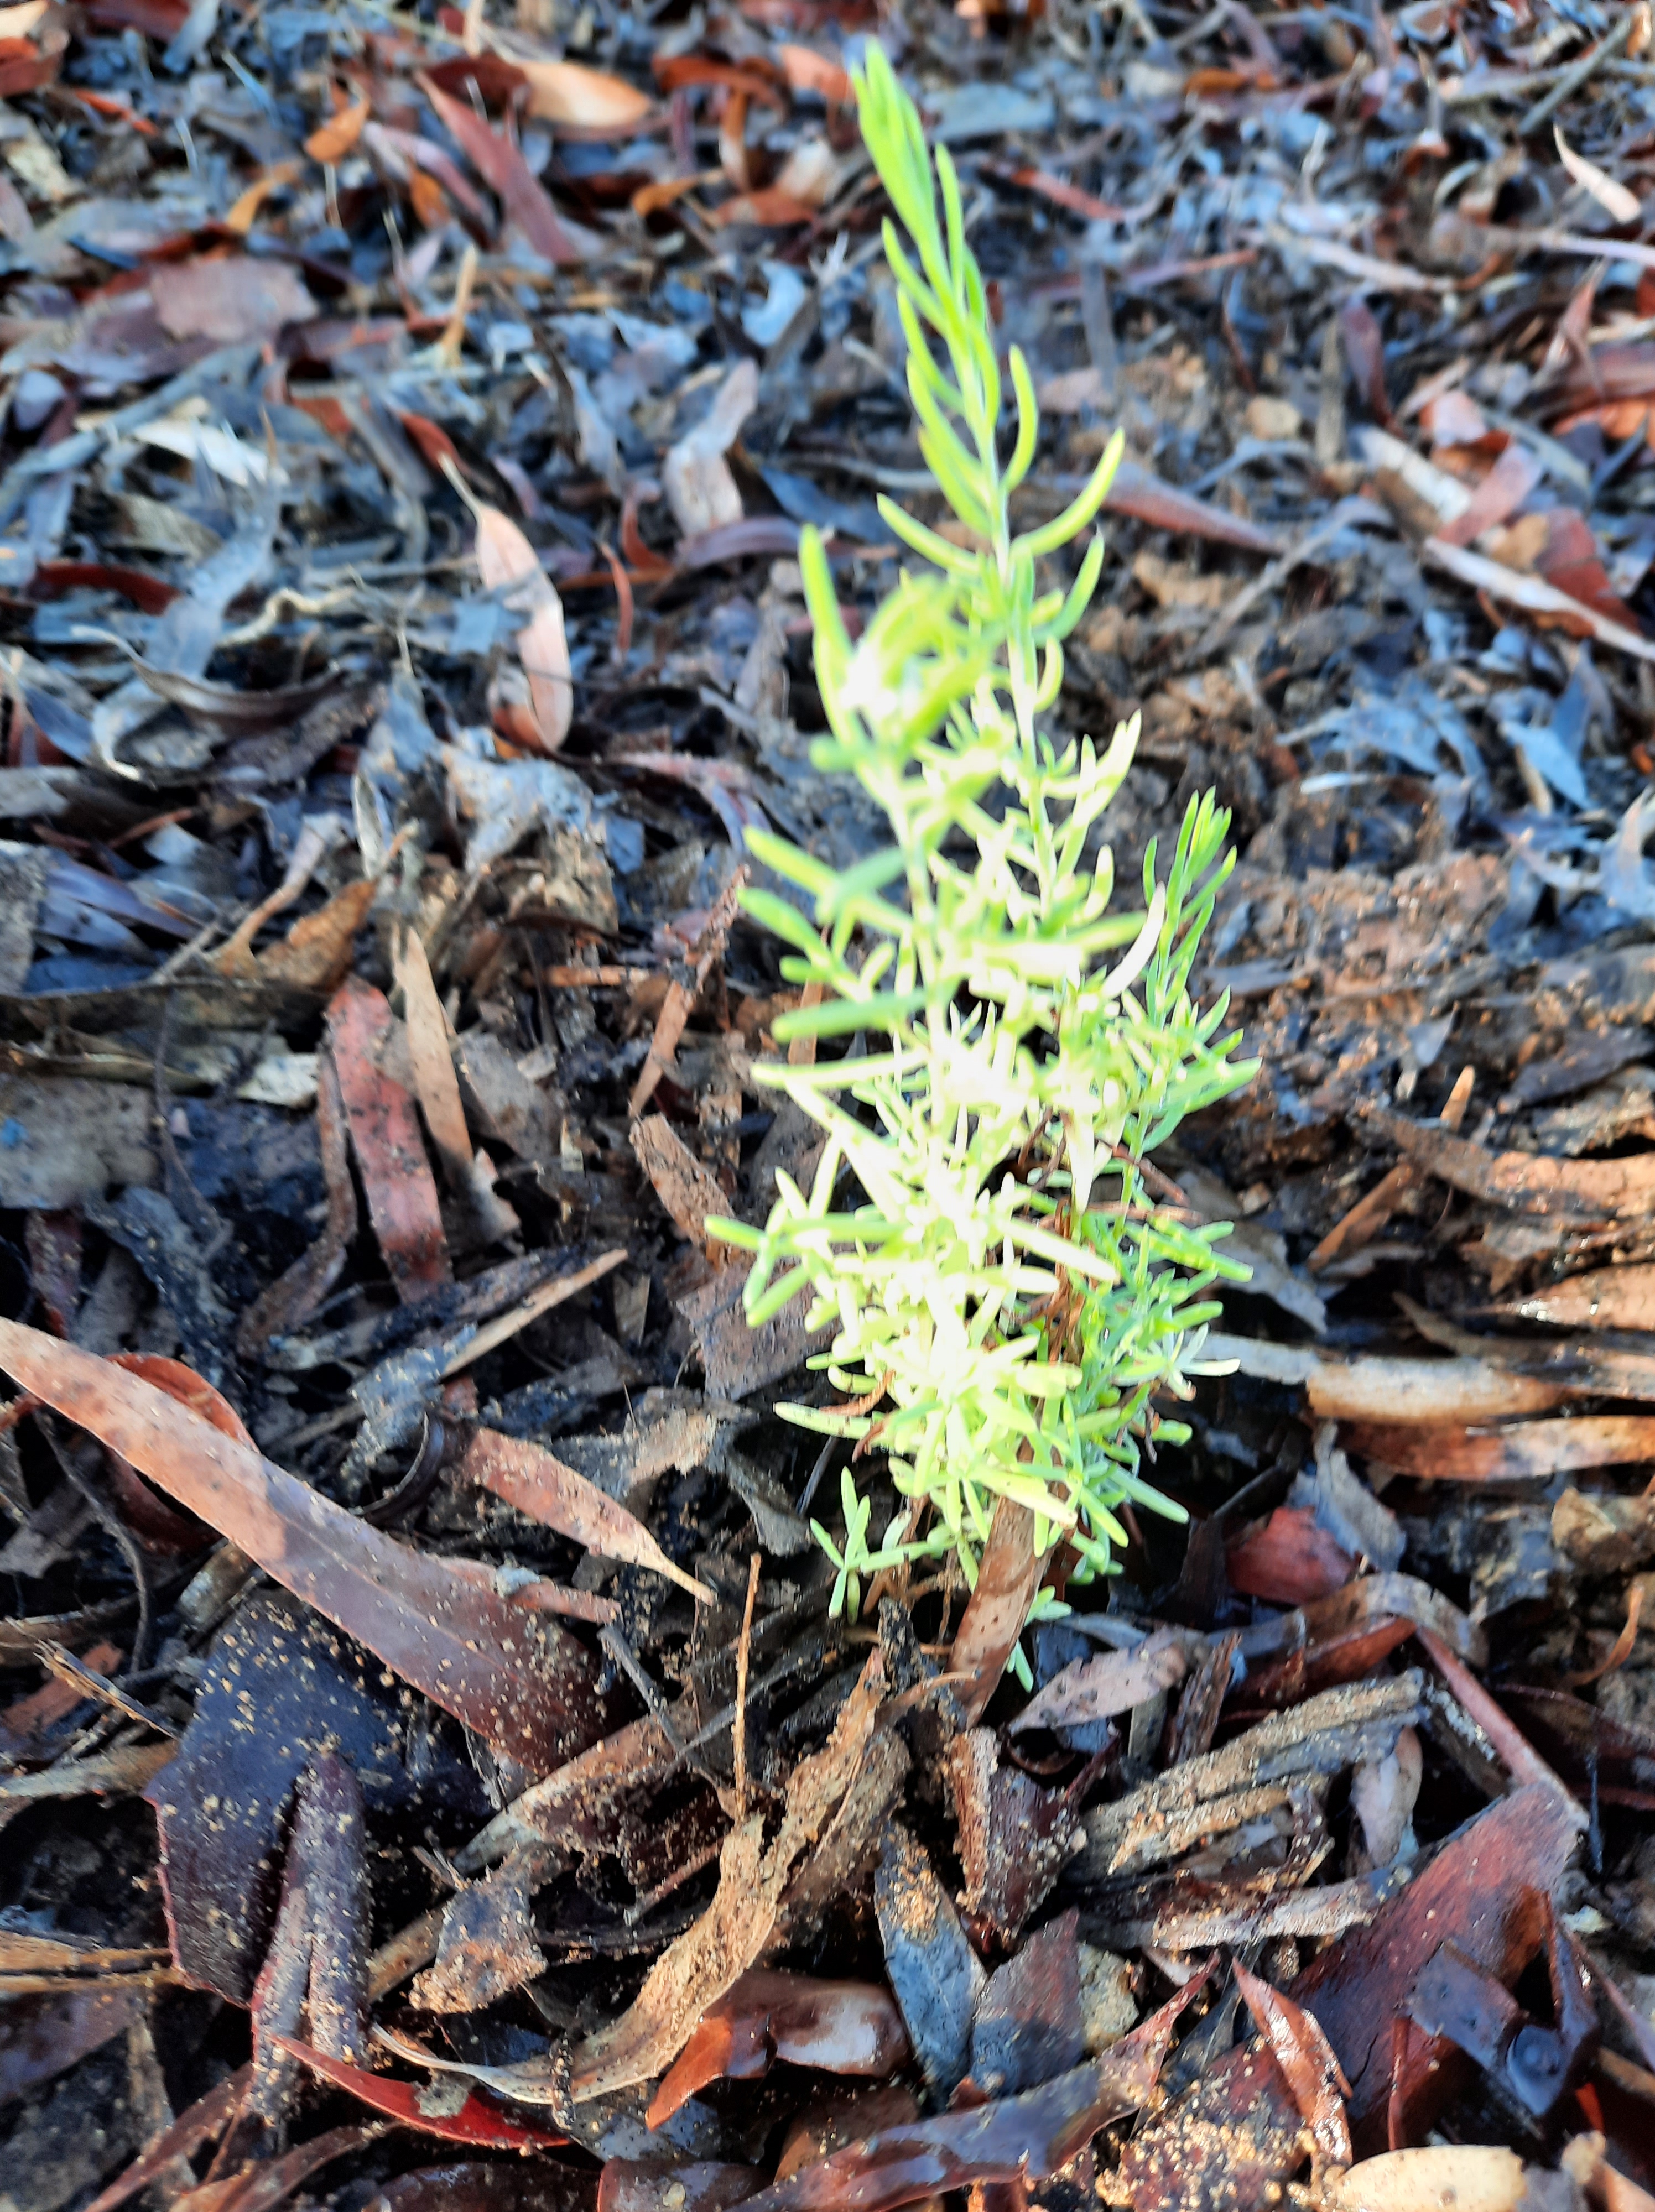
Then, I make a narrow hole in my soil with the handle of the fork you can see in that image. I put 2 or 3 to a pot, improving the chances of success. Use what you have to make a hole for your cuttings–a stick, a chopstick, a finger. I place the cutting in and firm the soil around it. And then, a nice drink of water.
Now I will keep these moist until spring, when I hope most will have grown new leaves of their own, revealing that they have grown roots below the soil. And yes, there is some disphyma crassifolia (cut from a patch a few metres wide in a bed in the local park) in there along with a couple of different boobiallas. Fingers crossed!
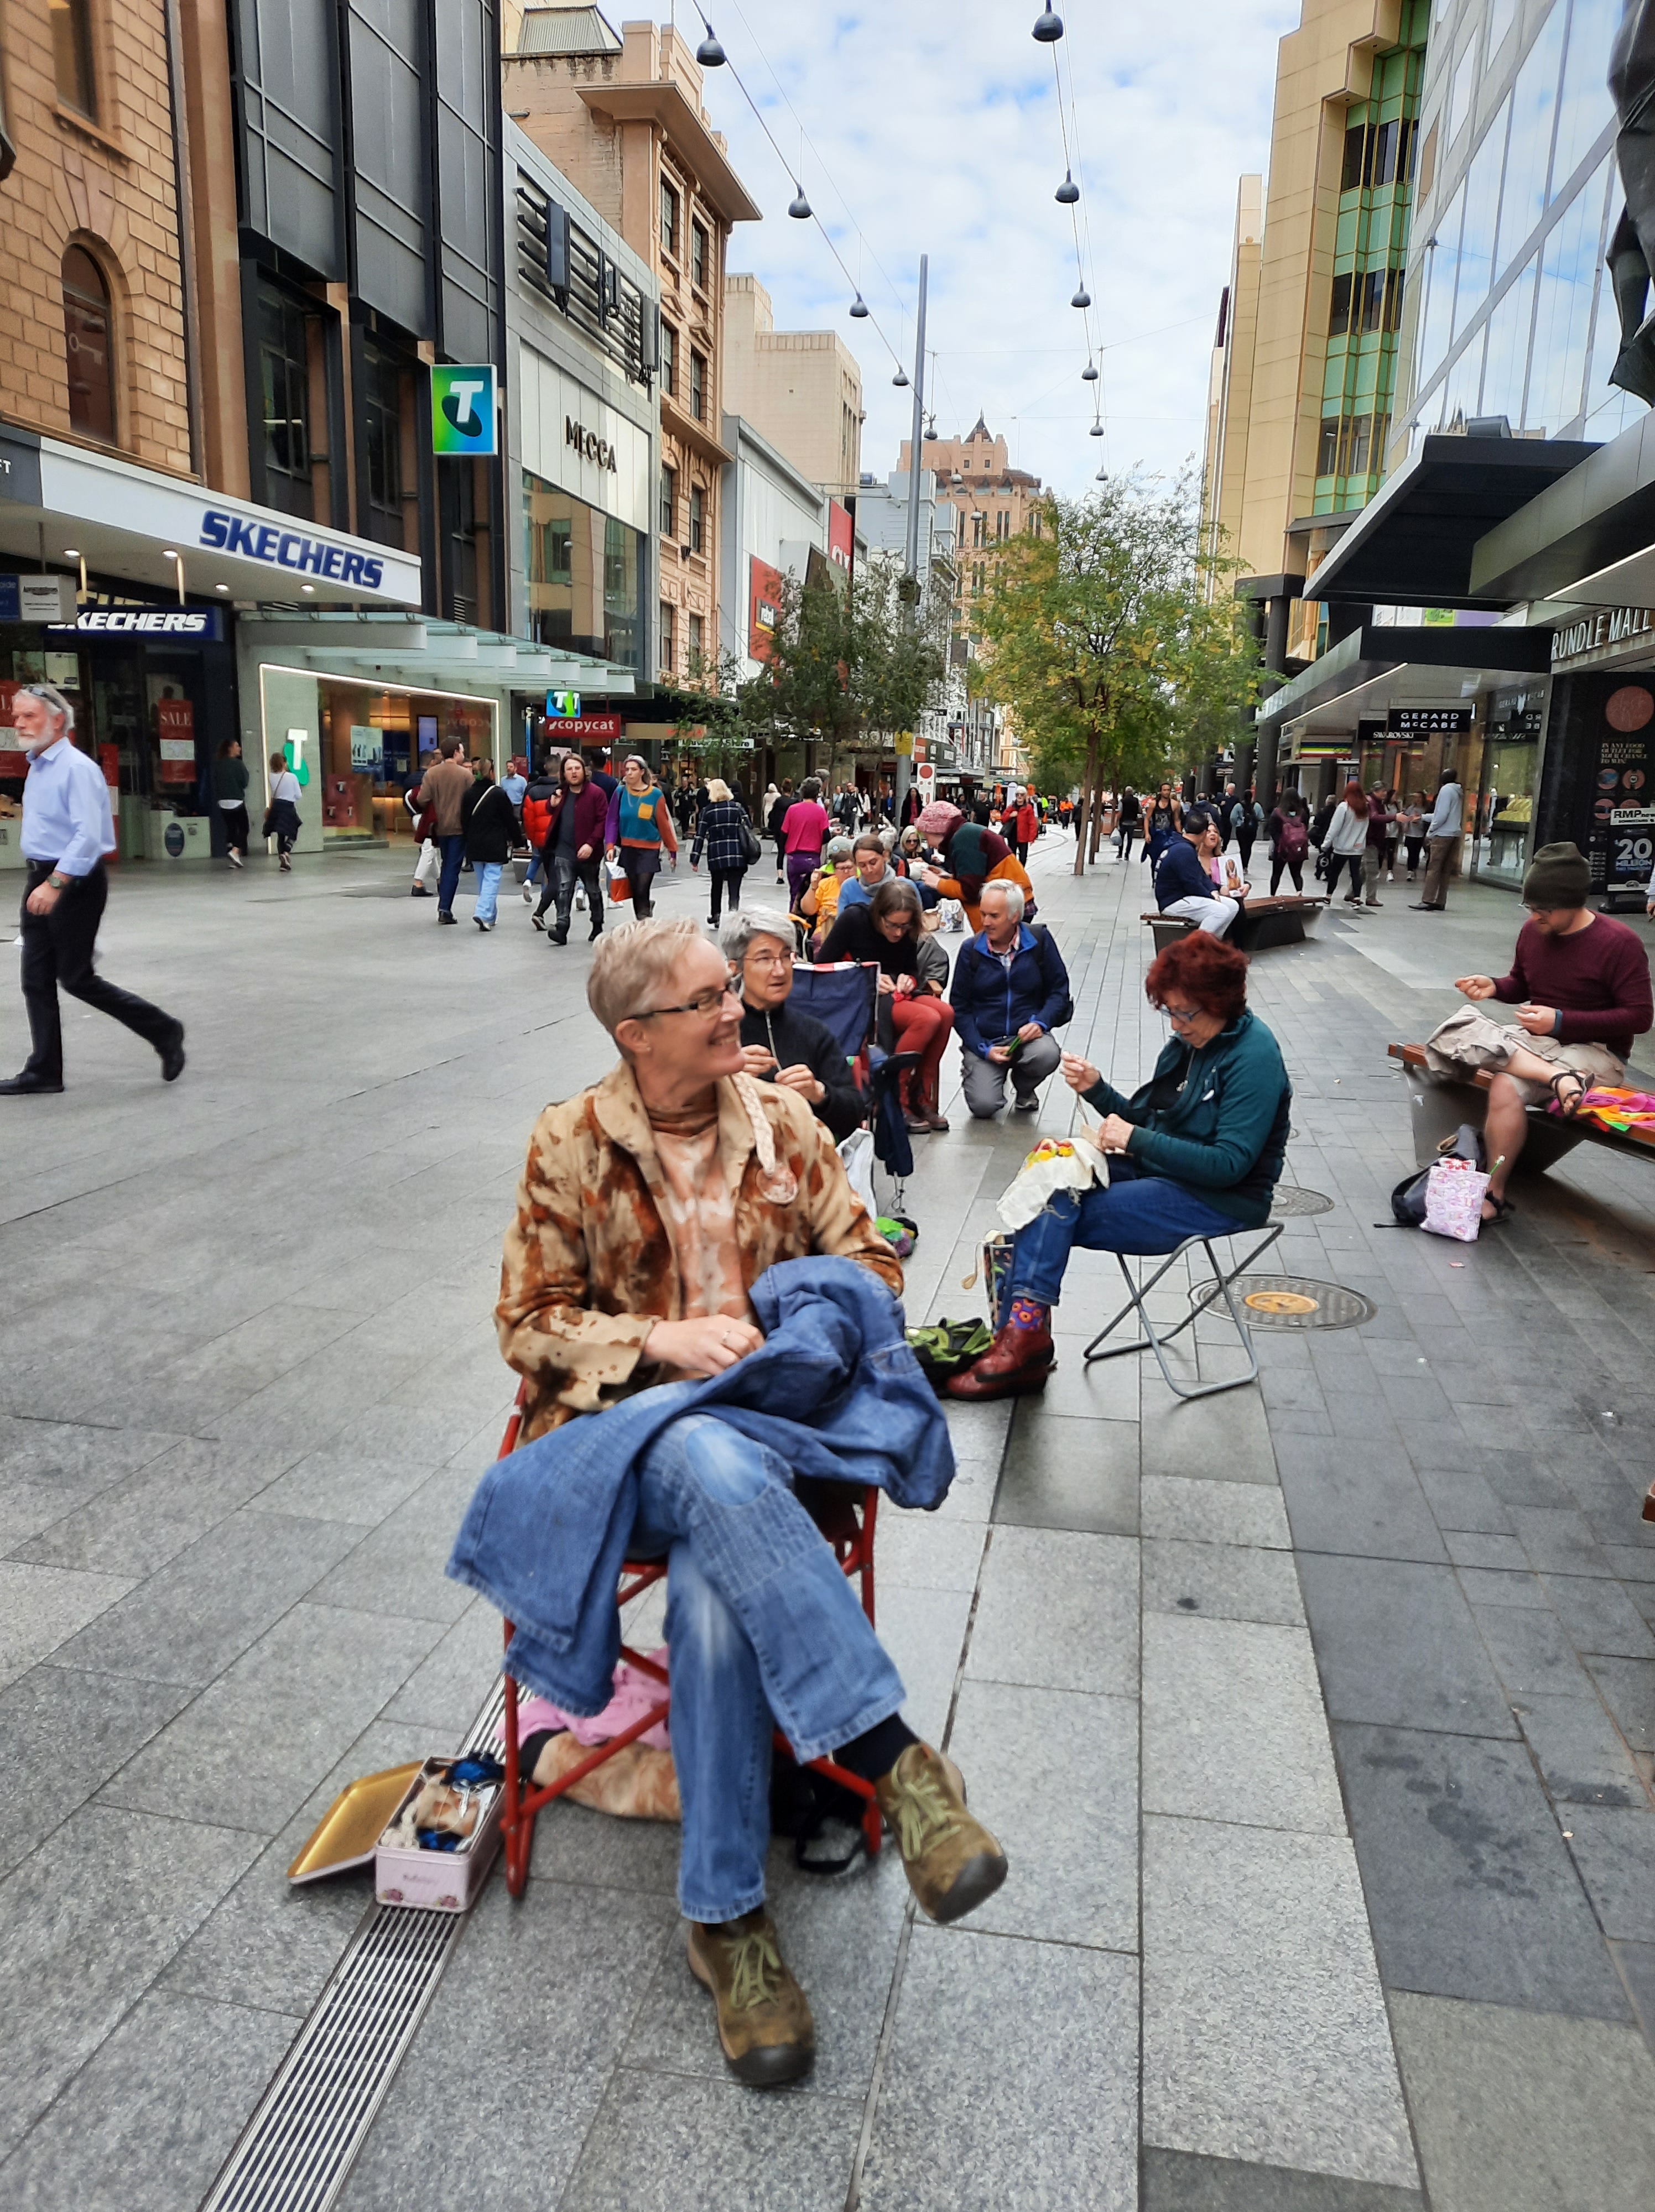
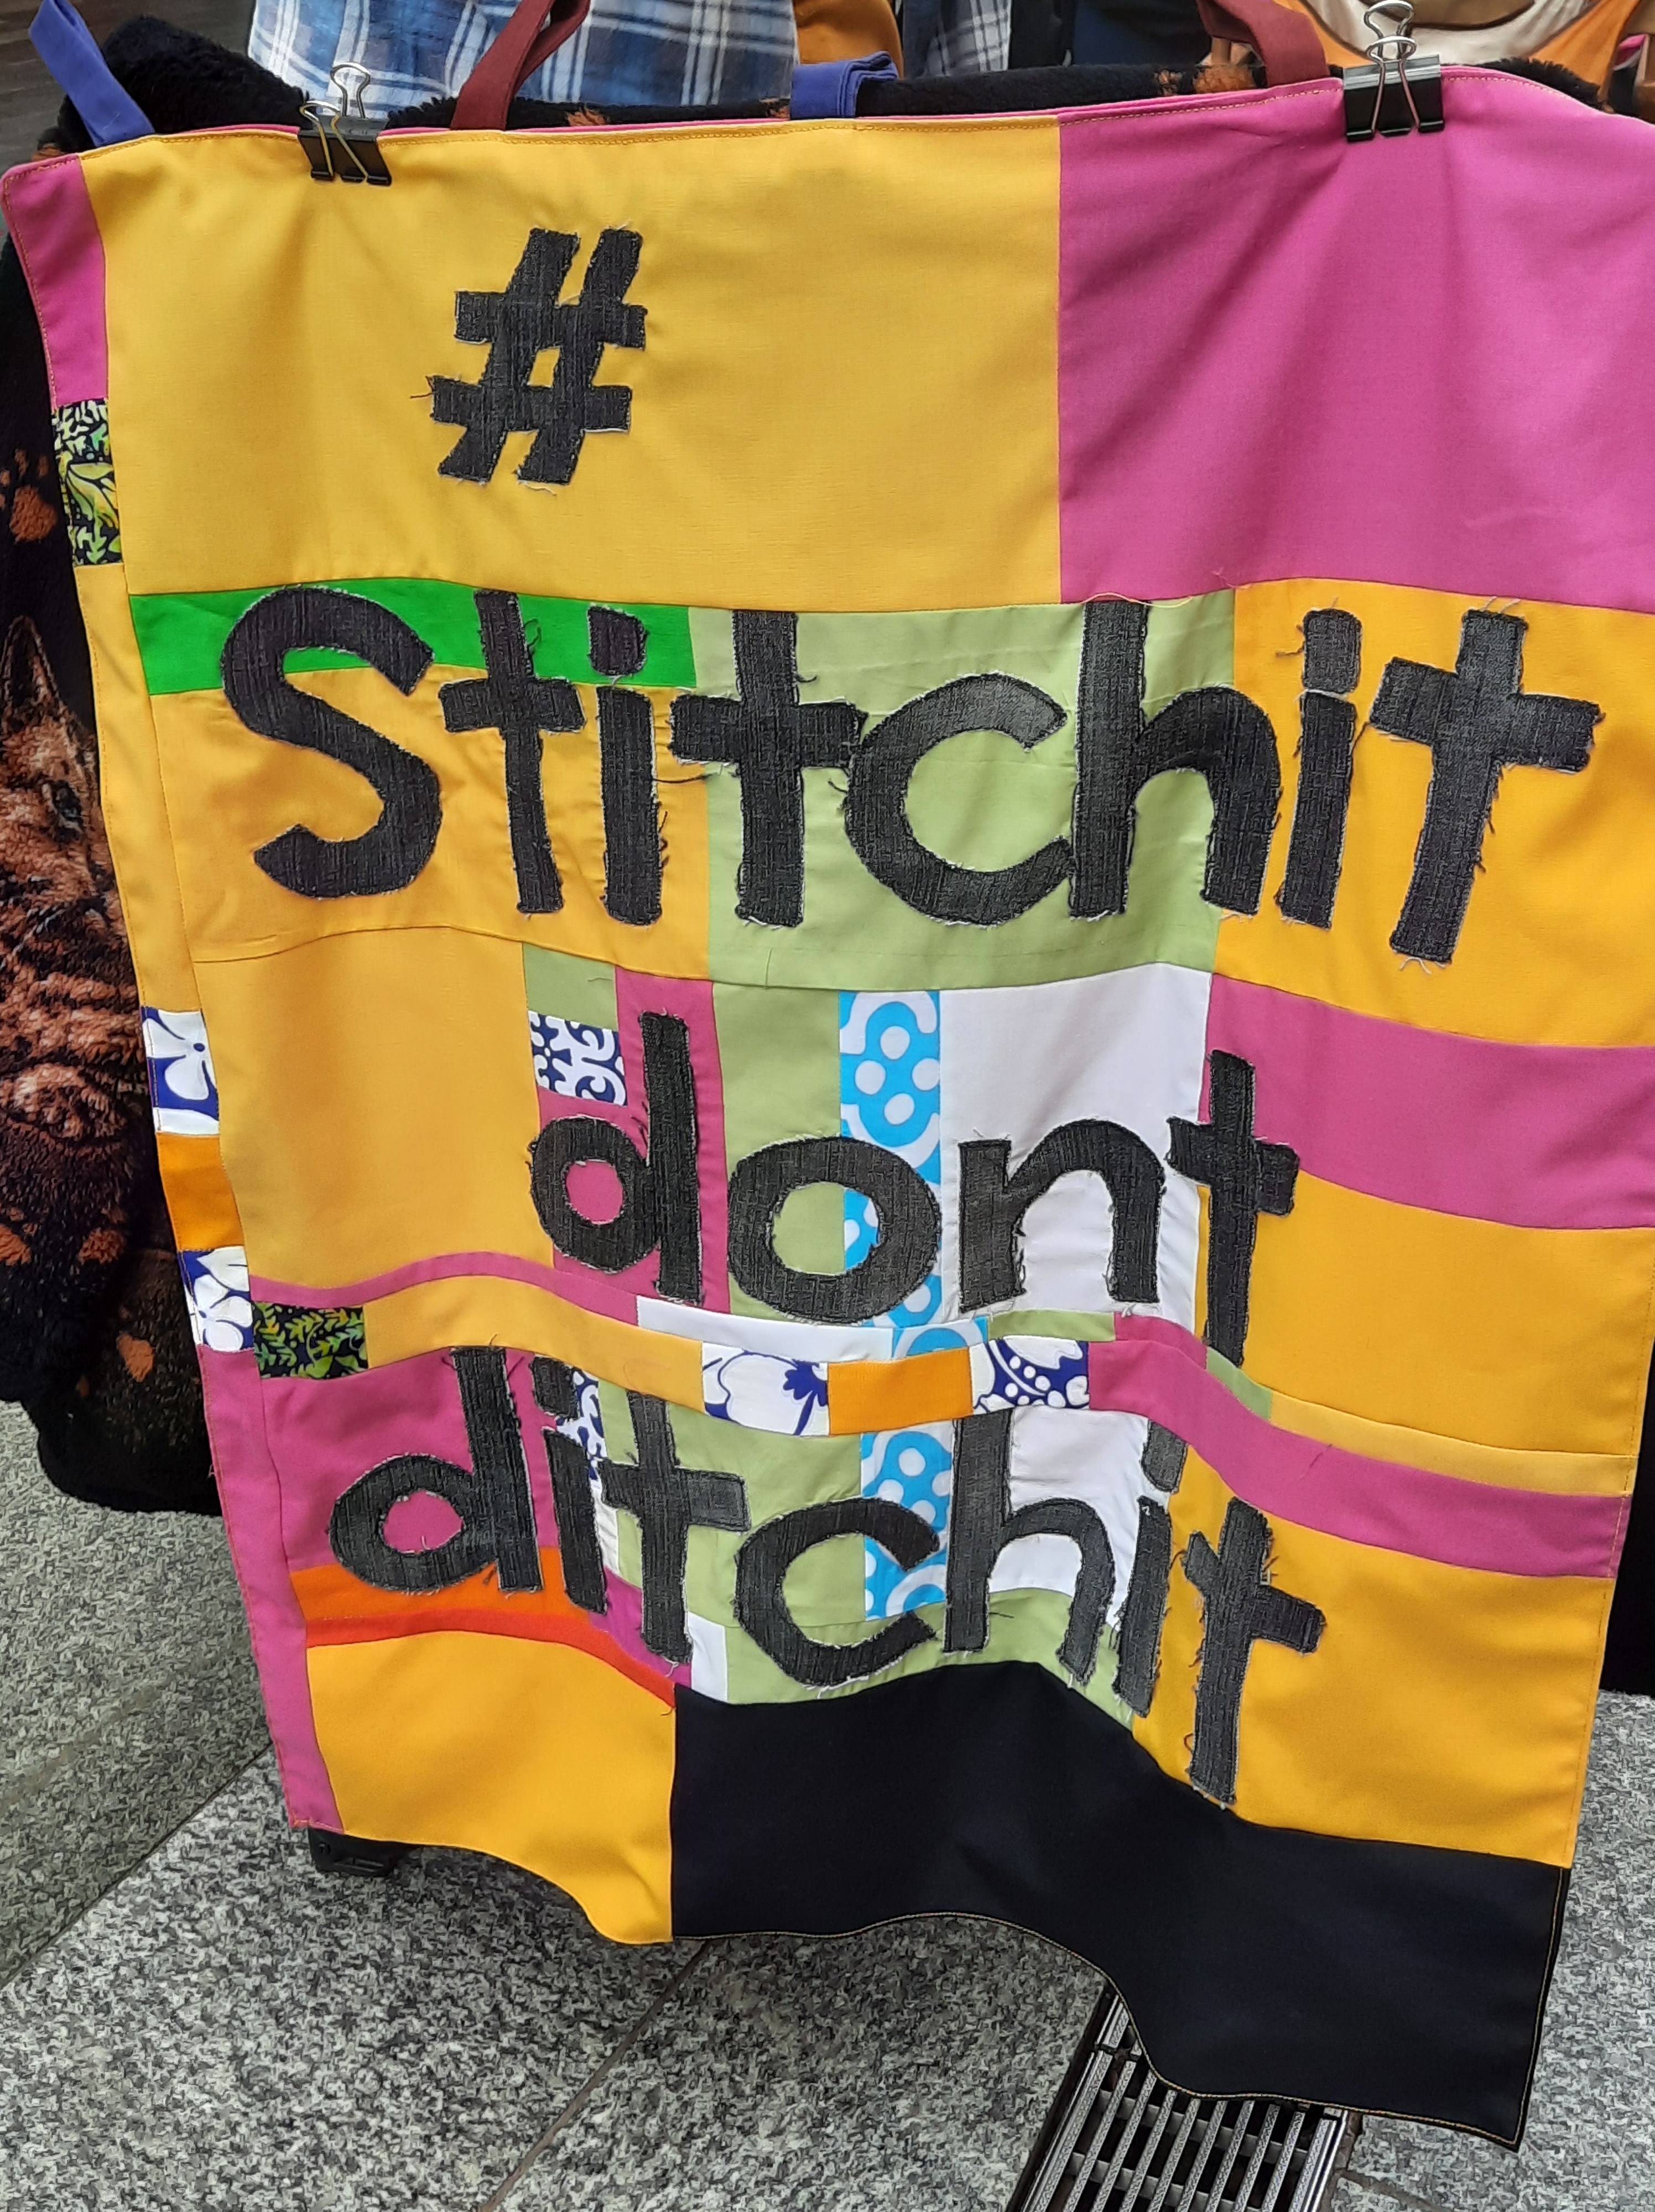
Yes, we are coming to Rundle Mall (here in Adelaide, South Australia) once more for some socially distanced public mending. YOU are welcome to join us if you are anywhere nearby and have the means to get there. We will be mending as part of Fashion Revolution Week. And we will be outside H & M.
In case you’re wondering, yes–H & M do have some organic clothing, and they do have a clothing recycling programme that doesn’t come anywhere near addressing the immense number of items of clothing they produce every year, as the second biggest clothing manufacturer in the universe. But in any case they happen to be in the middle of the biggest shopping mall in our town. And it is Fashion Revolution week. So there we will be, at the intersection of Rundle Mall and Gawler Place, April 20, 12-1.30 pm. All the details are here. Do bring your mending and come and join us! You will be welcomed.
This photo is a record of a day I went into the local creek bed, prepared to collect a LOT of rubbish, and maybe a few figs. Afterwards I made three or four jars of jam. The really great eating fig trees were not ripe yet, but what my grandma always called “jam figs” or “Turkey figs” were ready to go and they do make good jam! And, isn’t it sad when even a feed sack is not enough for all the rubbish? Thanks for the bag, Hungry Jack’s. NOT.
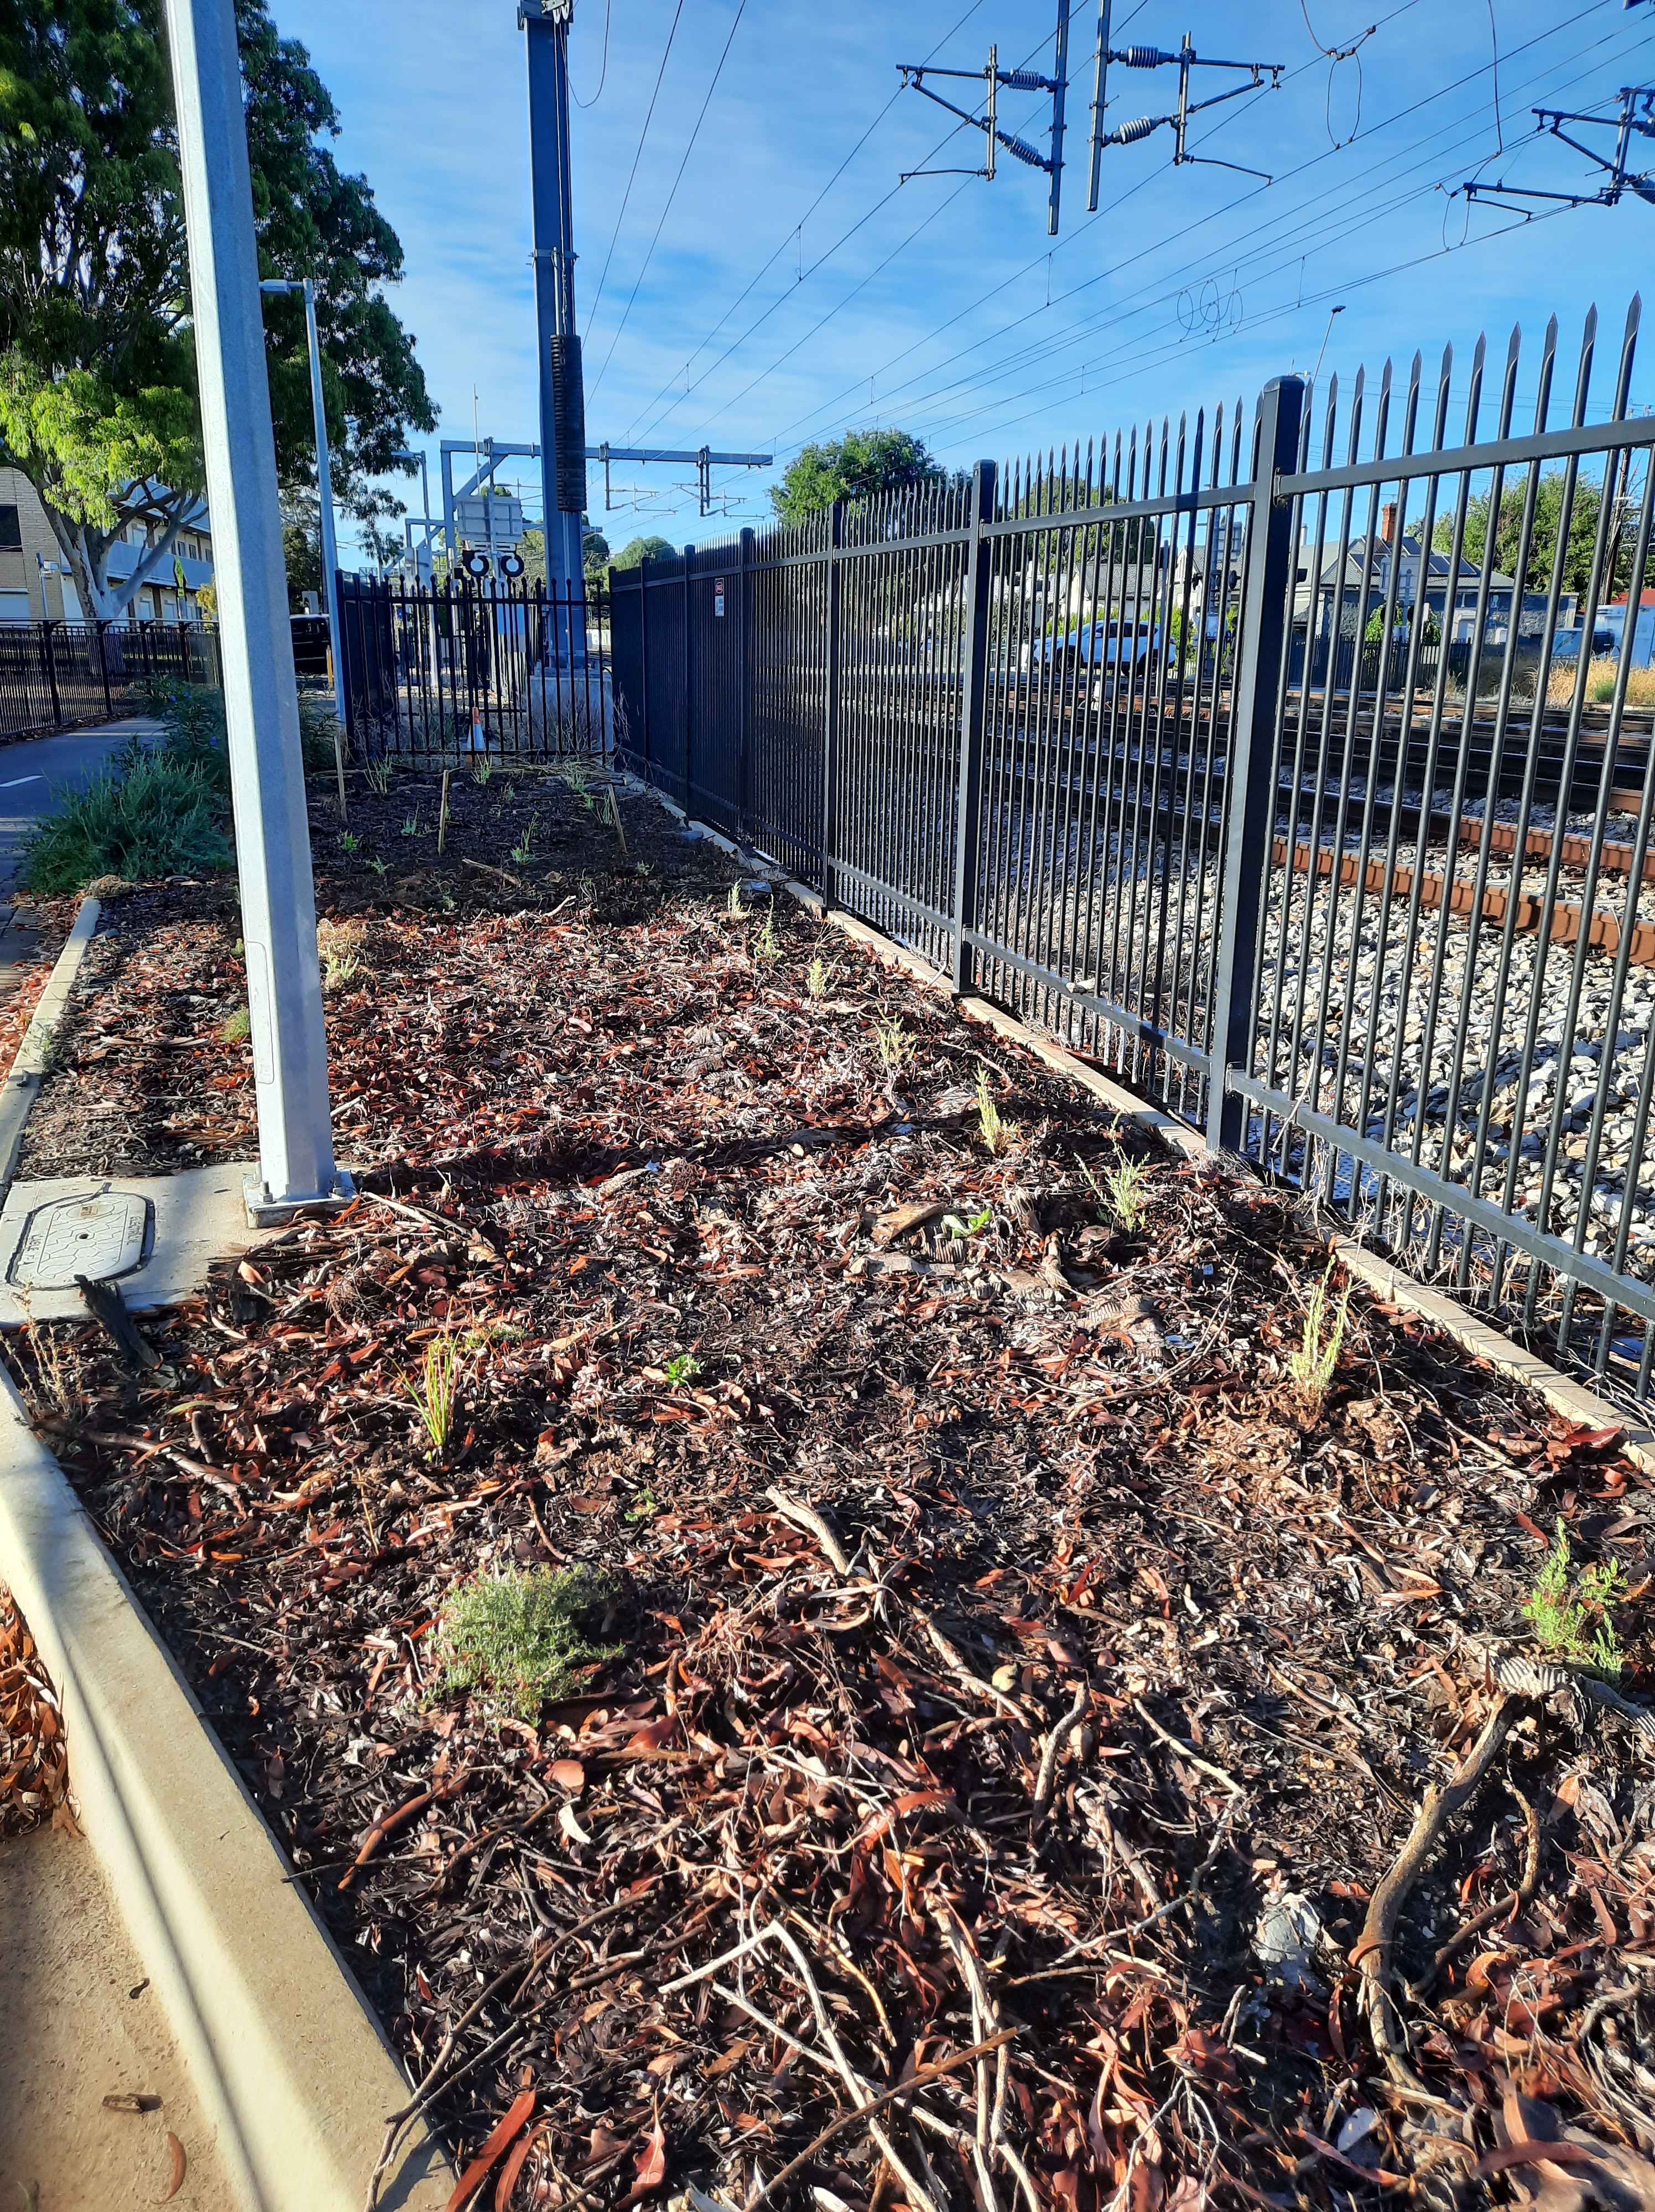
And, here is the start of my autumn guerilla planting. Here, I am replanting a spot where myself and a friend have sheet mulched. Cardboard, and many, many street leaves. Imagine the hours that took us. So there are no head-high weeds here as would be normal by this time of the year. However, our first round of planting was largely pulled out or poisoned. Who can say why? I am trying again. Some things lived from the first planting.
The few ruby saltbush that made it are substantial now, most of a year on. The eucalypts that made it (some have mutated in response to poison) are now not-quite up to my knee. The kangaroo apples that lived are growing well and flowering.
And, creeping boobialla wins again! I am going to propagate A LOT of this plant again this year. In my experience of guerilla gardening, establishing a ground cover can be the beginning of good things. I much more often start here and move up to a shrub or tree–than being able to establish a tree and then put in understorey to complement it.
Anyway–this day I planted 30 or 40 ruby saltbush. Another of my favourites. Maybe more than 40. And now I have my fingers crossed. There is not a lot of soil in this spot for their roots to go into, and clearly a poisoner visits (though not very often). Go ruby, go!
I even planted a back row to make this look Very Deliberate, just like an Intentional Planting (which it is, natch), in case that helps. There is just no reason this blighted spot has to be full of weeds year after year, when it could be full of native plants creating food and shelter for small forms of life. And a green spot for passersby. And if I can establish some plants here, they will restore soil eventually. But meanwhile, I applied water and rode home. Wish them luck!
My mother-out-law runs to a very fine fabric. And these days, when one of her fine fabrics needs a few stitches, I provide them. Here, a seam pulling apart.
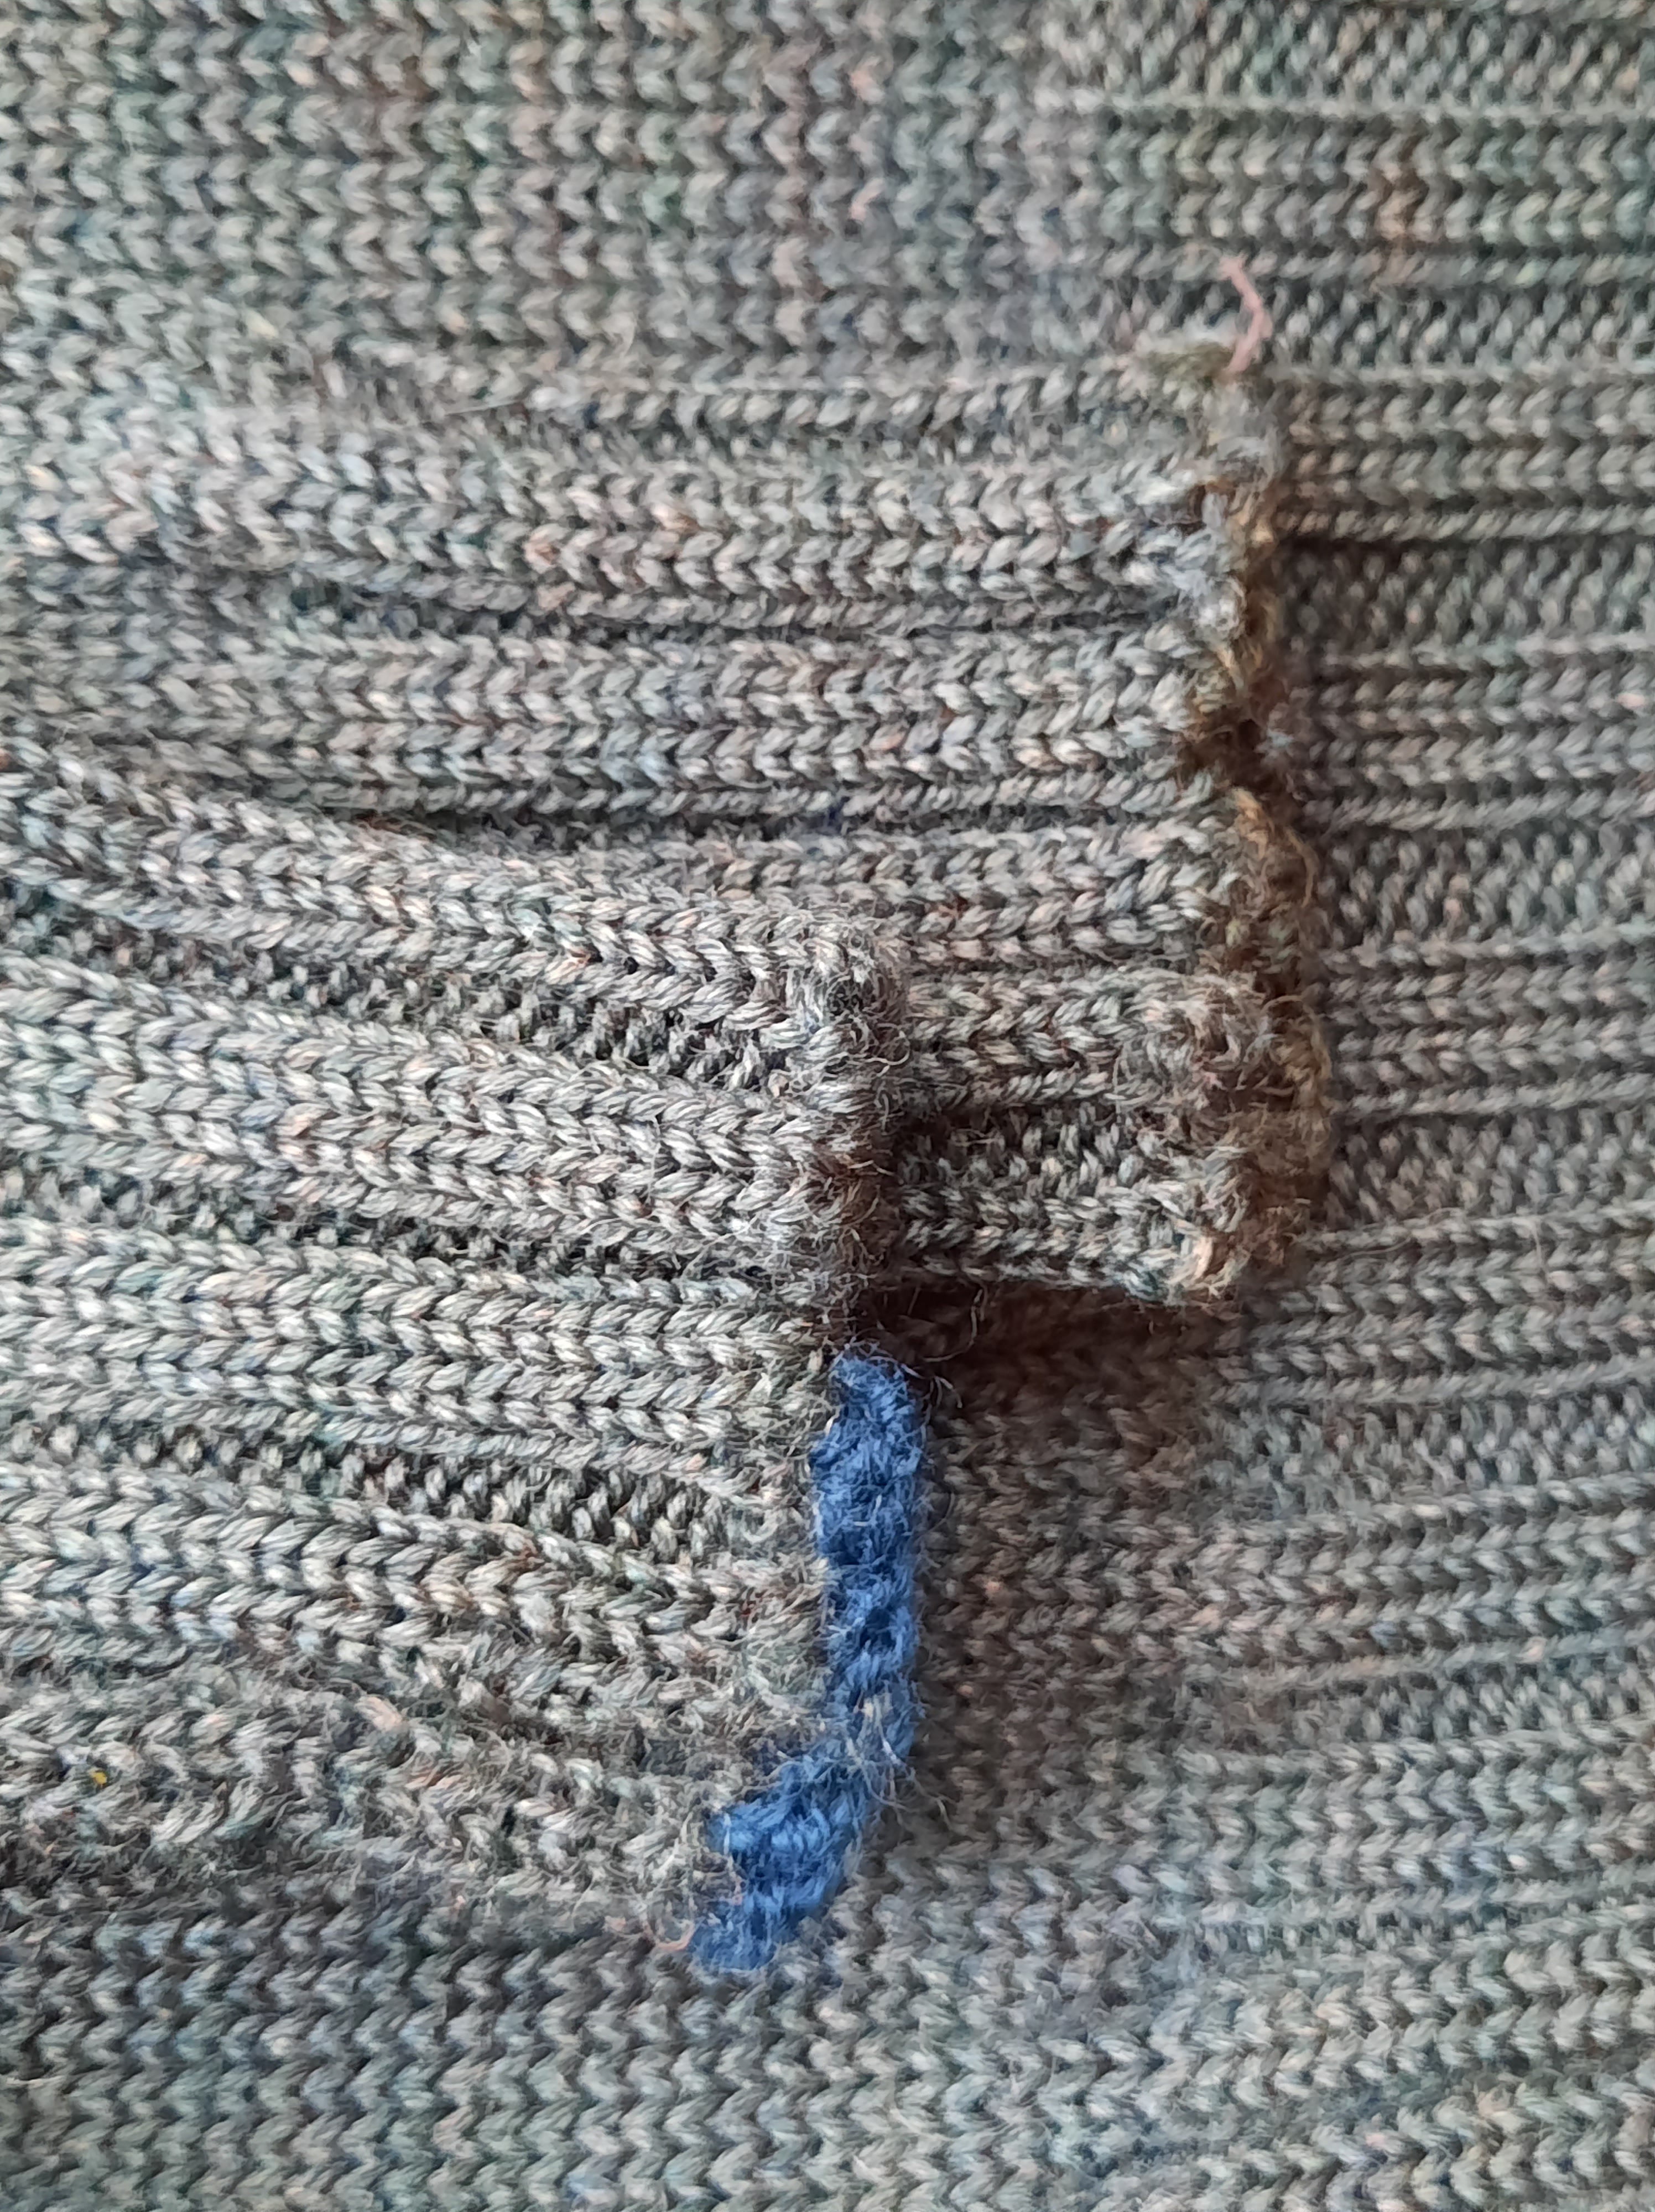
Sorted. But more mending usually comes! This beloved but unravelling jumper came my way.
I must say, I loved the way these unravelling cuffs came back with the application of a crochet hook to pull dropped stitches back into their previous locations–loop within loop within loop.
I love being able to make that much improvement, without even applying a needle or using any new yarn! I had no really matching yarn, and used what little I had, to address more minor damage reasonably invisibly. Here, I chose a visible re-knit to supply the fabric that is no longer there.
The new yarn has not been subjected to the washing of the rest, so I knit a little more rather than a little less in the expectation of some shrinkage.. Fingers crossed that was a good call.
Yes, both cuffs have been mended, just differently. Next, my daughter’s stretch jeans needed some help. The classic rear end mend really…
Apparently I lost interest in documenting that mend–two pairs of jeans! And here is one of the patches on my ancient pyjamas–oh dear, so out of focus. As of the date I’m writing, there are two yellow, one red, one pink, and one blue patch. I’ve been wearing them for years after my daughter cast them off in my direction–to bed, and occasionally to cover up at the beach. They are tired and faded but perfectly comfortable, and I think I’m mending them for my own entertainment, hence the colour scheme!
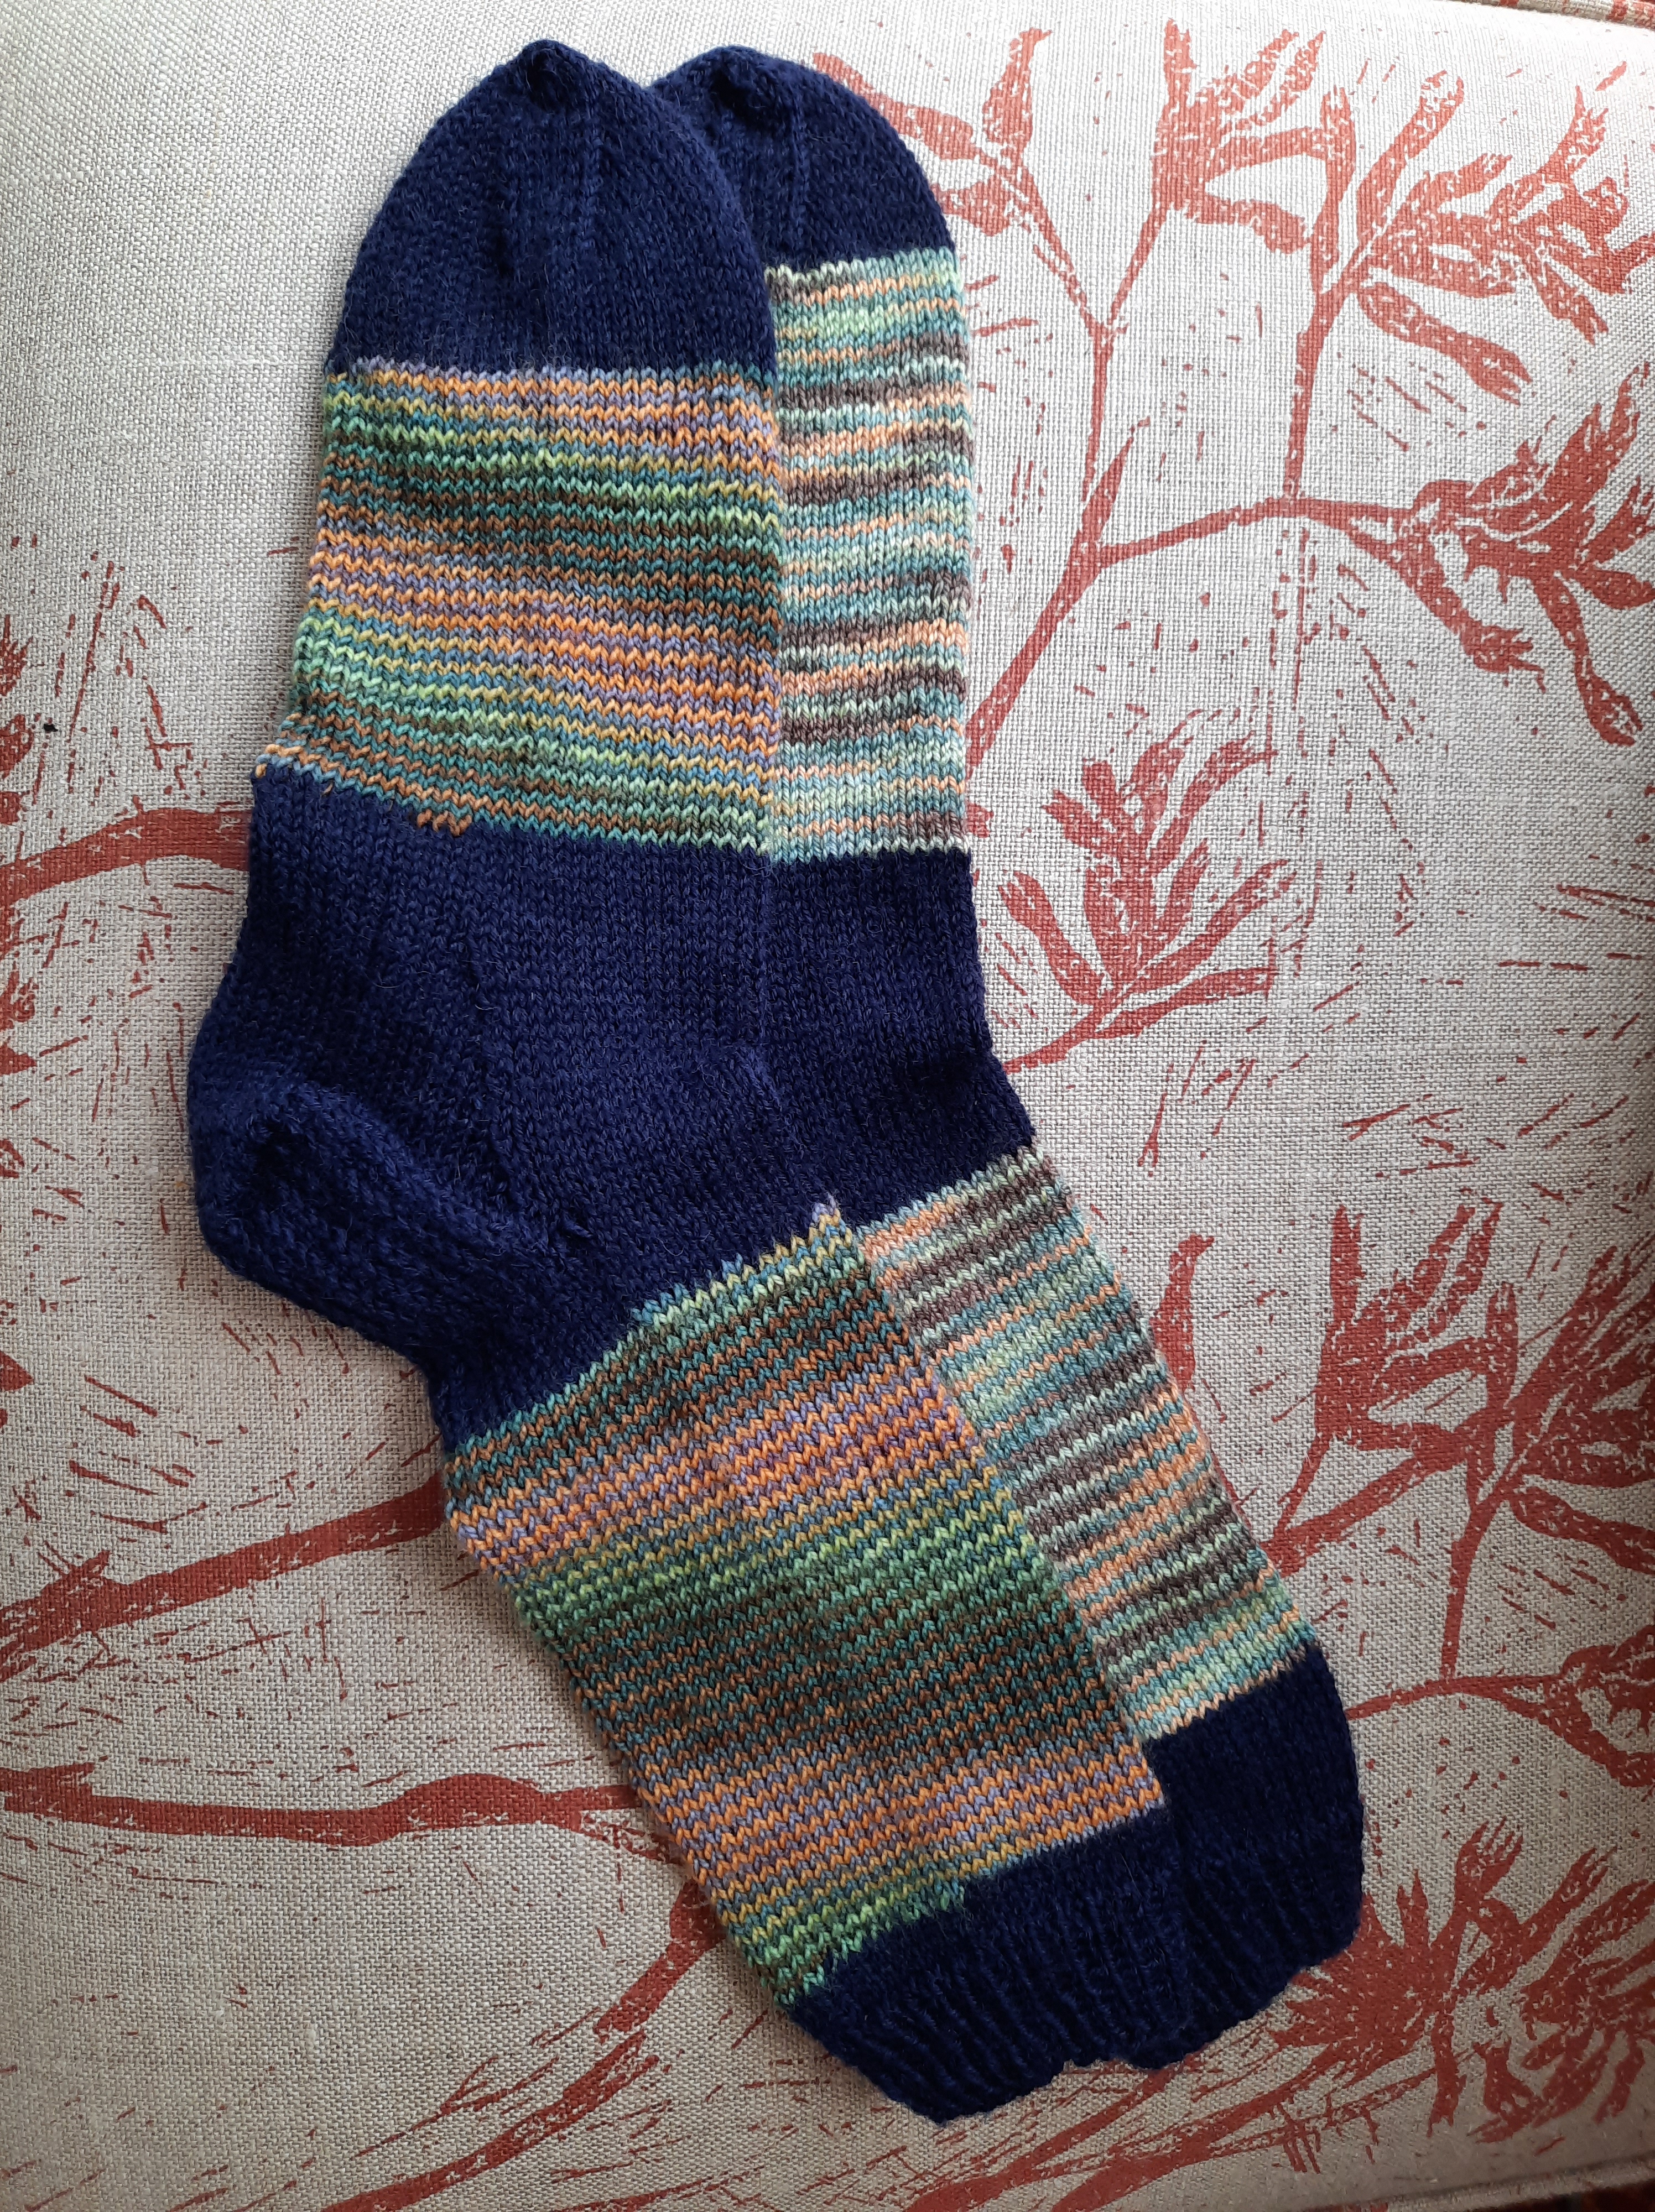
I’ve been continuing to use up my leftover sock yarn. That is going so well, that I’m almost out of sock yarn.
This pair accompanied me on a trip to support my beloved through a very tough period in her life, and the life of her parents. I don’t remember deciding on photographing the sock on top of a Webster (medication) pack though! Thank all that is merciful on the universe, for being able to knit in times of stress.
I have been very entertained by how like and yet unlike, this pair are. The recipient does not want matching socks, but individual socks, like those made by the father of the family in a book they’ve enjoyed. The book sounds very fun, though the idea that all members of a family could fit into the same socks and just pull them indifferently from the same pile of socks when the wash is done? Seems quite implausible (though entirely joyous) to me!
I just kept going from this pair to the next, for the same sweetheart recipient.
I actually got so low on yarn that a friend gave me some of her leftovers, including some Bendigo navy blue.
I remember buying that hand dyed yarn at the Bendigo Sheep and Wool Show. The dyer is a local, Kathy’s Fibres. And I think my friend might have bought some too (we went to teh Show together that year)–so it entertained me some more to find I now had two different sock blends and two different colourways from the same indie dyer… which arrived in time to be part of the same non-pair of socks!
Ooops! The hot chocolate is in focus and the sock is not?? What was the smartphone thinking?
I am really enjoying this project… and beginning to wonder how to tap what I do not doubt is a reservoir of unwanted scrap sock yarn out there somewhere… or return to spinning sock yarn. Or maybe both??
This is a picture from someone on my local Buy Nothing group–of her worm farm, now insulated by a custom blanket I made. I love that statue, which I didn’t see in the original post because it was just too small!
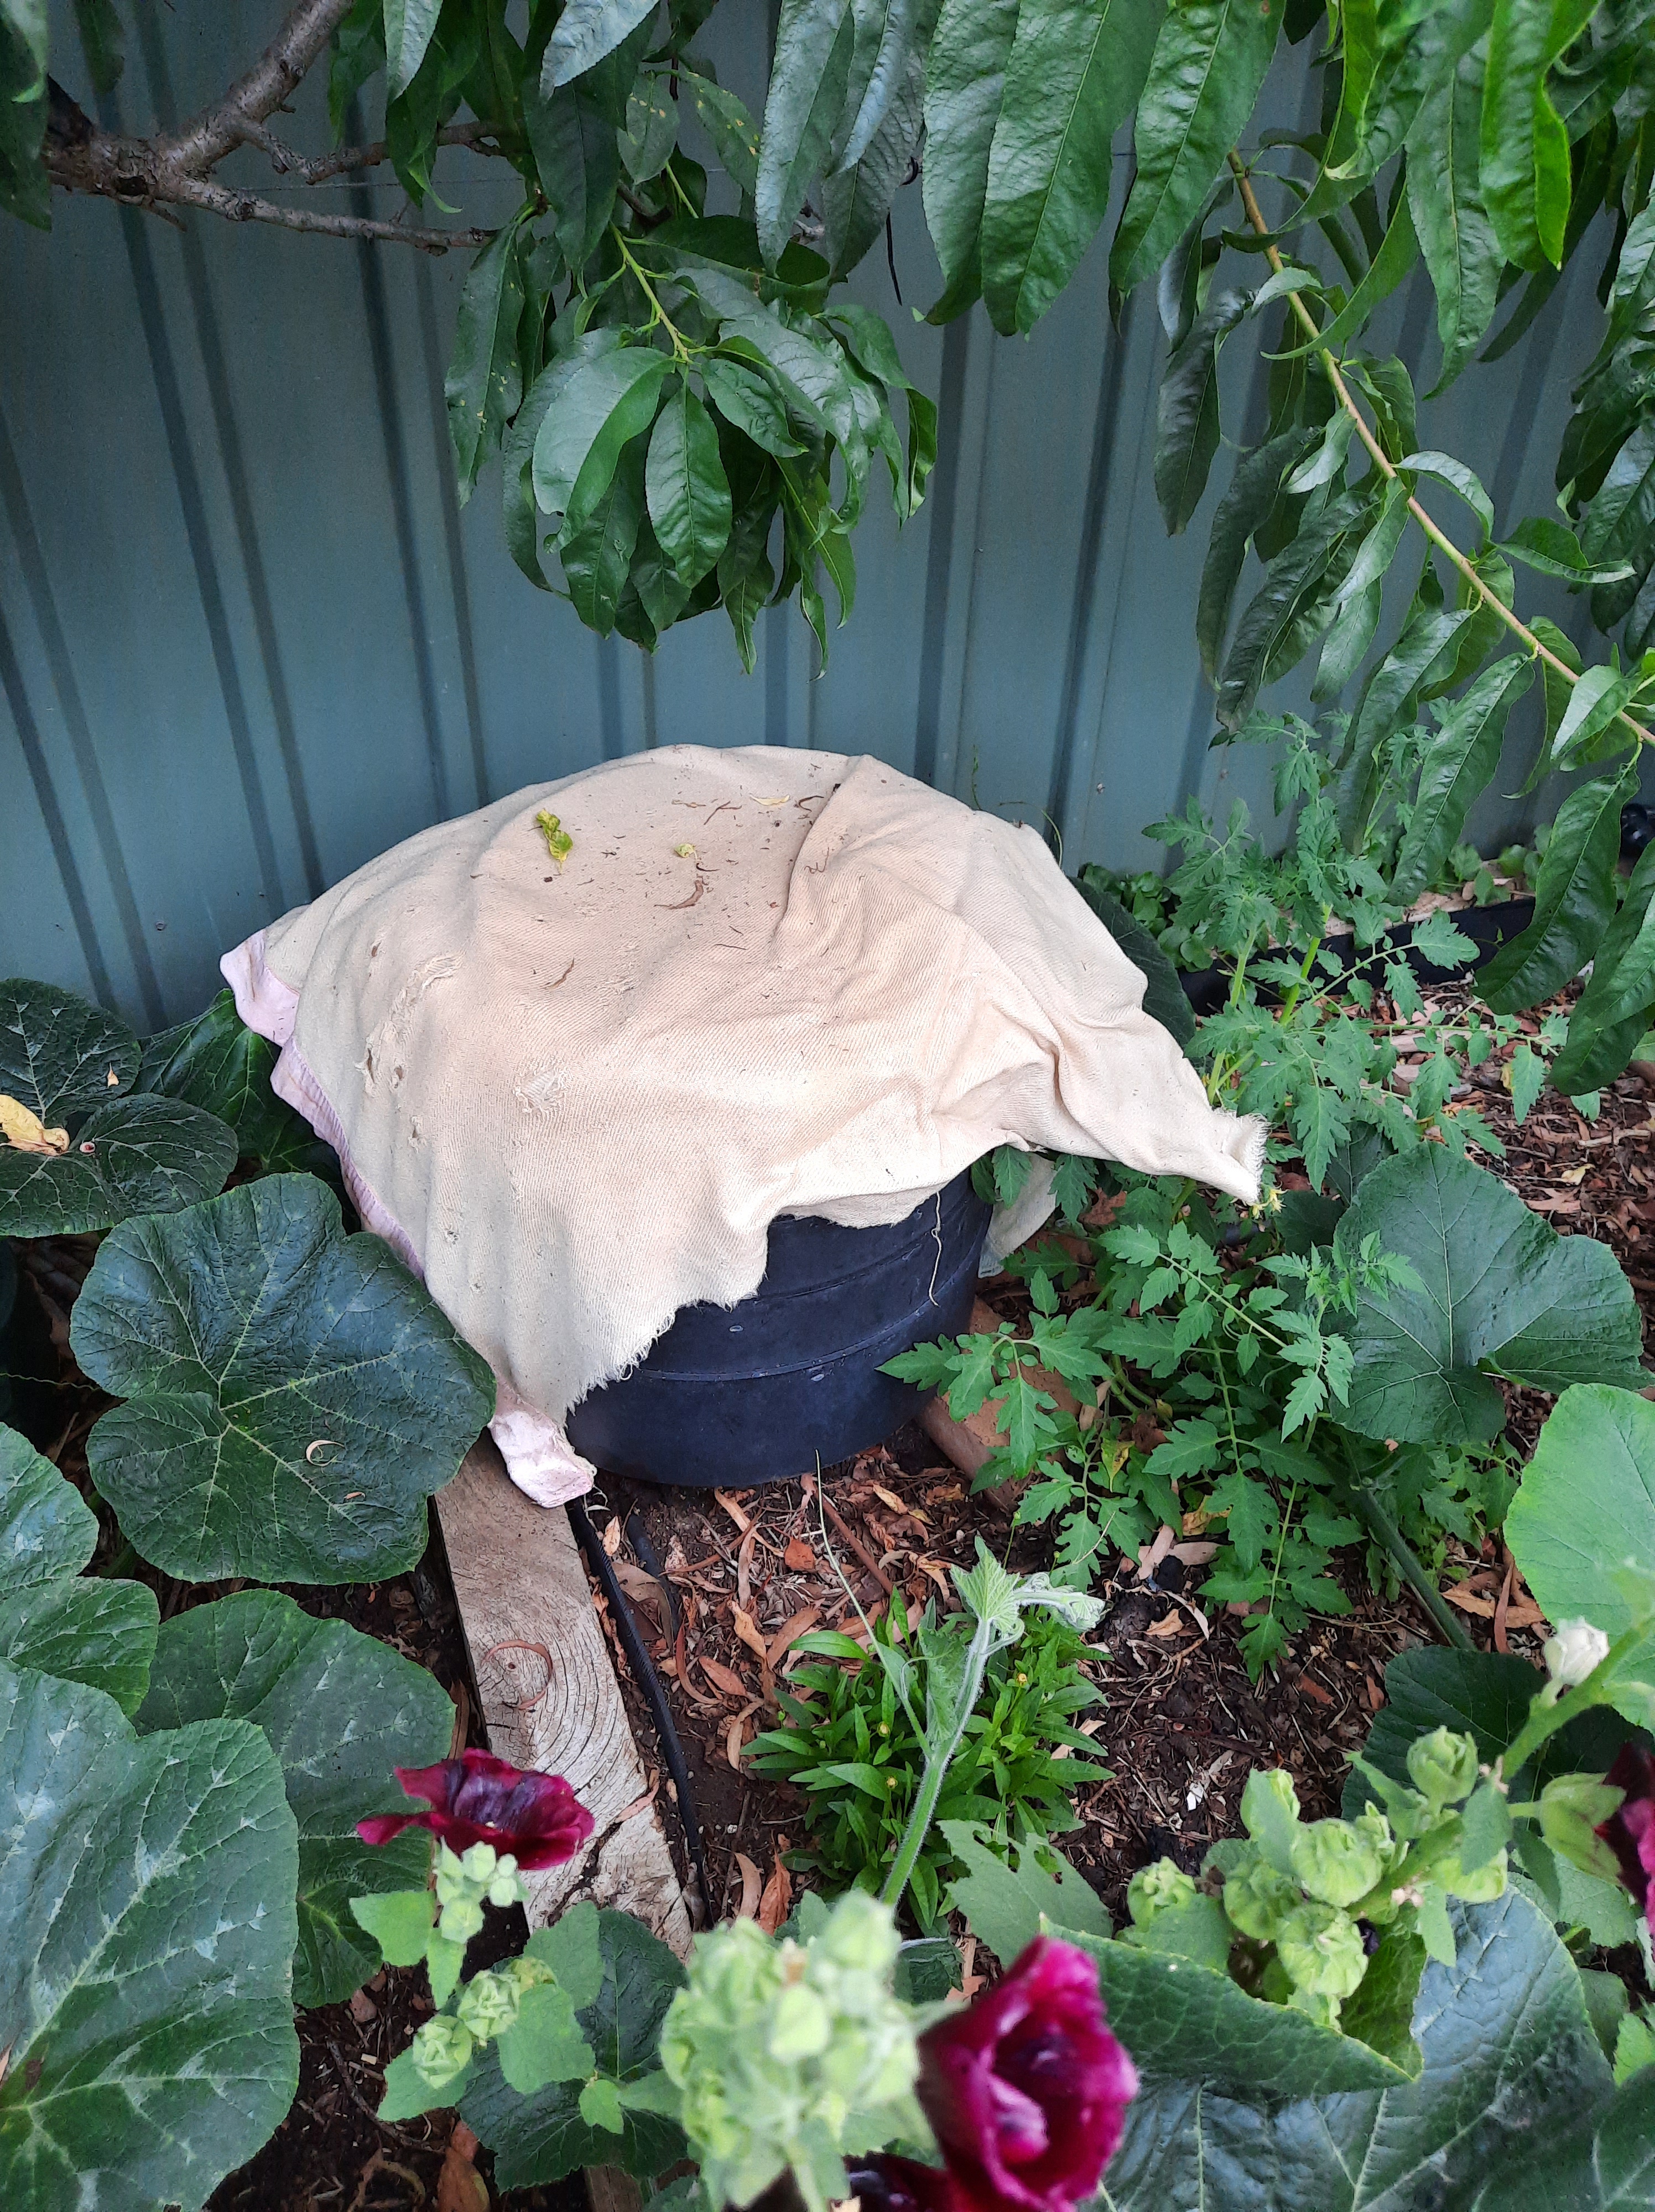
I noticed that folks on our Buy Nothing group were requesting worms, because theirs had died over summer. It seemed sensible to offer strategies for keeping worms alive over our hot summers. Now, to be honest with you, my worm farms are tastefully (*cough*) draped with a couple of old towels, or a cut off piece of “dog blanket” (see below). “Dog blanket” is an entire category in some Australian op shops/thrift stores, covering stained blankets and those that have met with careless washing or other mishaps rendering them unfit for polite human company in the estimation of the op shop volunteers. I cover my worm farms to insulate them and because they are made from black plastic, which is a bad choice for our summers.
These deluxe worm farm insulating blankets were driven by a bit of desperation about the sheer quantity of end-of-life textiles I’ve been receiving from a friend. She and I are both keen to keep as much as possible from landfill. But some textiles are capable of being re homed and others really are not–and I am not managing to give away rags at the rate they are coming into the house.
Only some fabrics can be made into things for show—like bunting. Others really need to be hidden if at all possible!Sad as it is, even really lovely jumpers can be so worn and moth eaten that I’m not up for rescuing them (especially in the absence of an excited recipient)… and here are some, cut open and laid out as the insulating layer for a blanket.
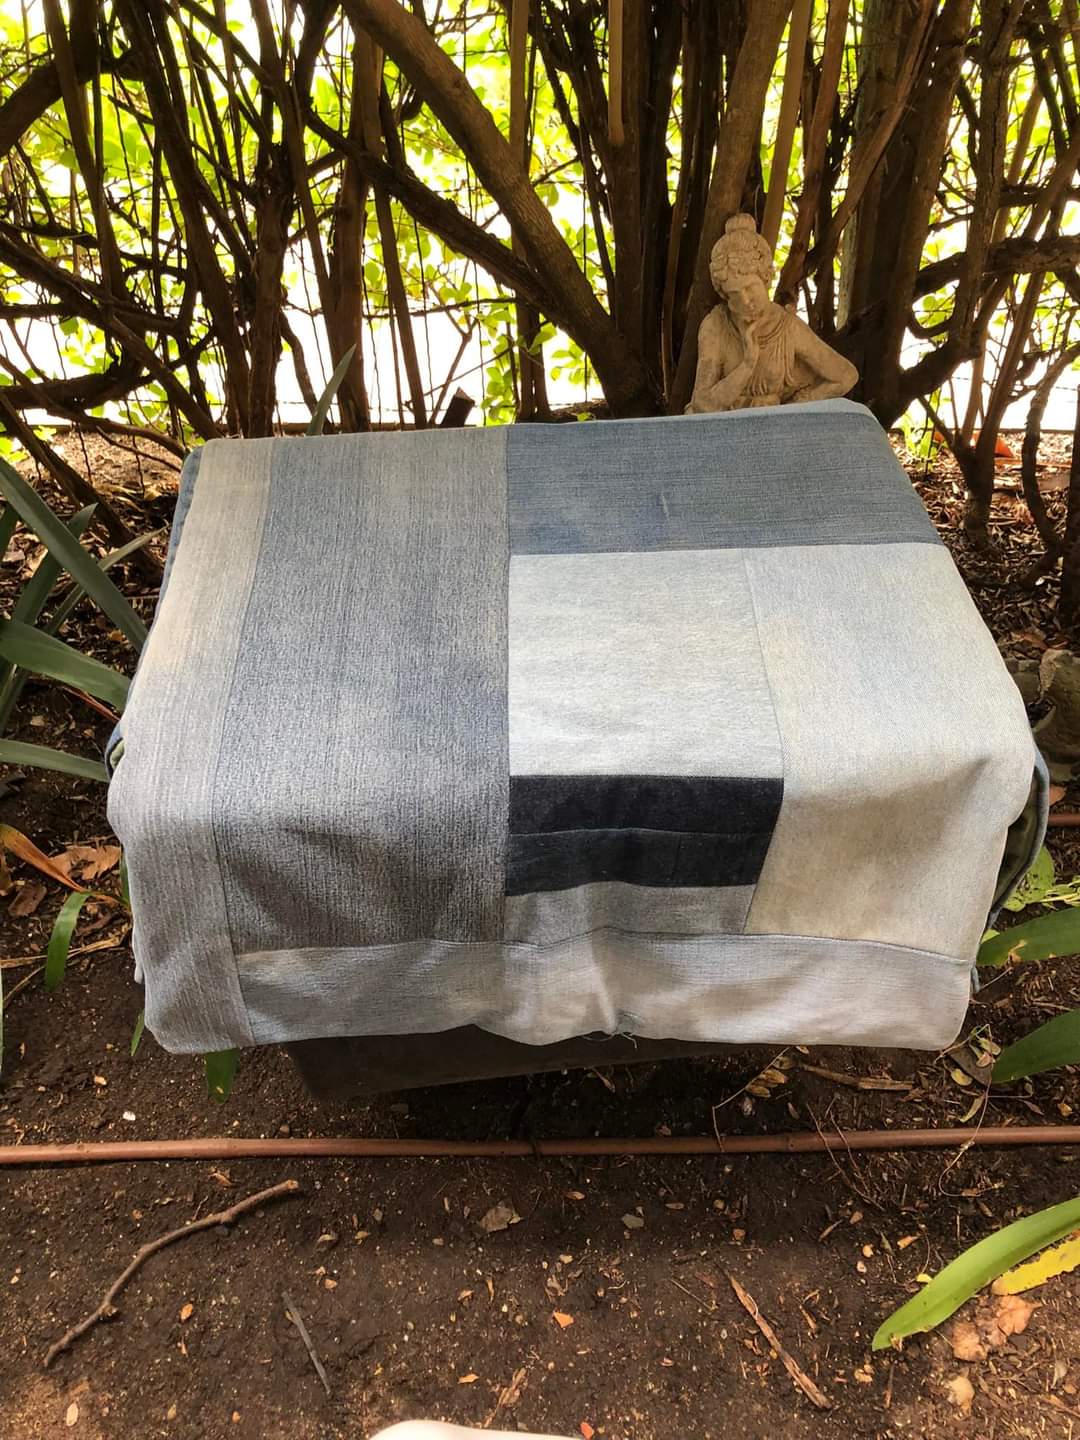
And here are old singlets doing the same job! I constructed the outside covers of these little numbers from old curtains, gardening jeans and other workwear… worn out clothing… even an old cotton tarpaulin that would no longer keep the weather out. I pieced together the useable parts of all these elements to construct enough fabric for the job.
The end result is a bit like this, designed to sit on the worm farm and drape over it, as in the opening image.
After I made several rectangular models, I got a request for a round one. I have two round worm farms. One, I bought new many years ago. The other was offered to me by someone down the street who thought I looked like the kind of person who would want a worm farm!? Who knew that was so obvious to a passer by?
The lining on this one was all old corduroy pants, whatever remained viable…
The seams in these suckers were a bit of a challenge, I admit… in the end I sewed a layer of old nightie or t shirt over the main insulating layer just to control all the bits before sewing all the layers to each other.
And here it is awaiting collection…
And here is a photo the new owner sent of it in its new home, keeping worms happy!
I make a lot of bags. I’m guessing you’ve noticed. I made some for a person who was seeking some on our Buy Nothing group, when none appeared. Then I made these for an “adventure” themed birthday, to hold “survival kits”, also for the Buy Nothing group. They are all made from upcycled fabric–worn out workwear and jeans mostly. They are lined with old shirts and sheets. Perfect for the job!