I am surprised to be able to say this, but I have finished another quilt.

In December, I was rather inspired by a comment on the blog from Susan, who put me onto GiveWraps–Australian craft bloggers advocating for the Japanese tradition of wrapping gifts (and everything else, it seems to me) in fabric. The Needle and Spindle versions are patchworked together in a very lovely way that is an excellent fit with what I like to do.
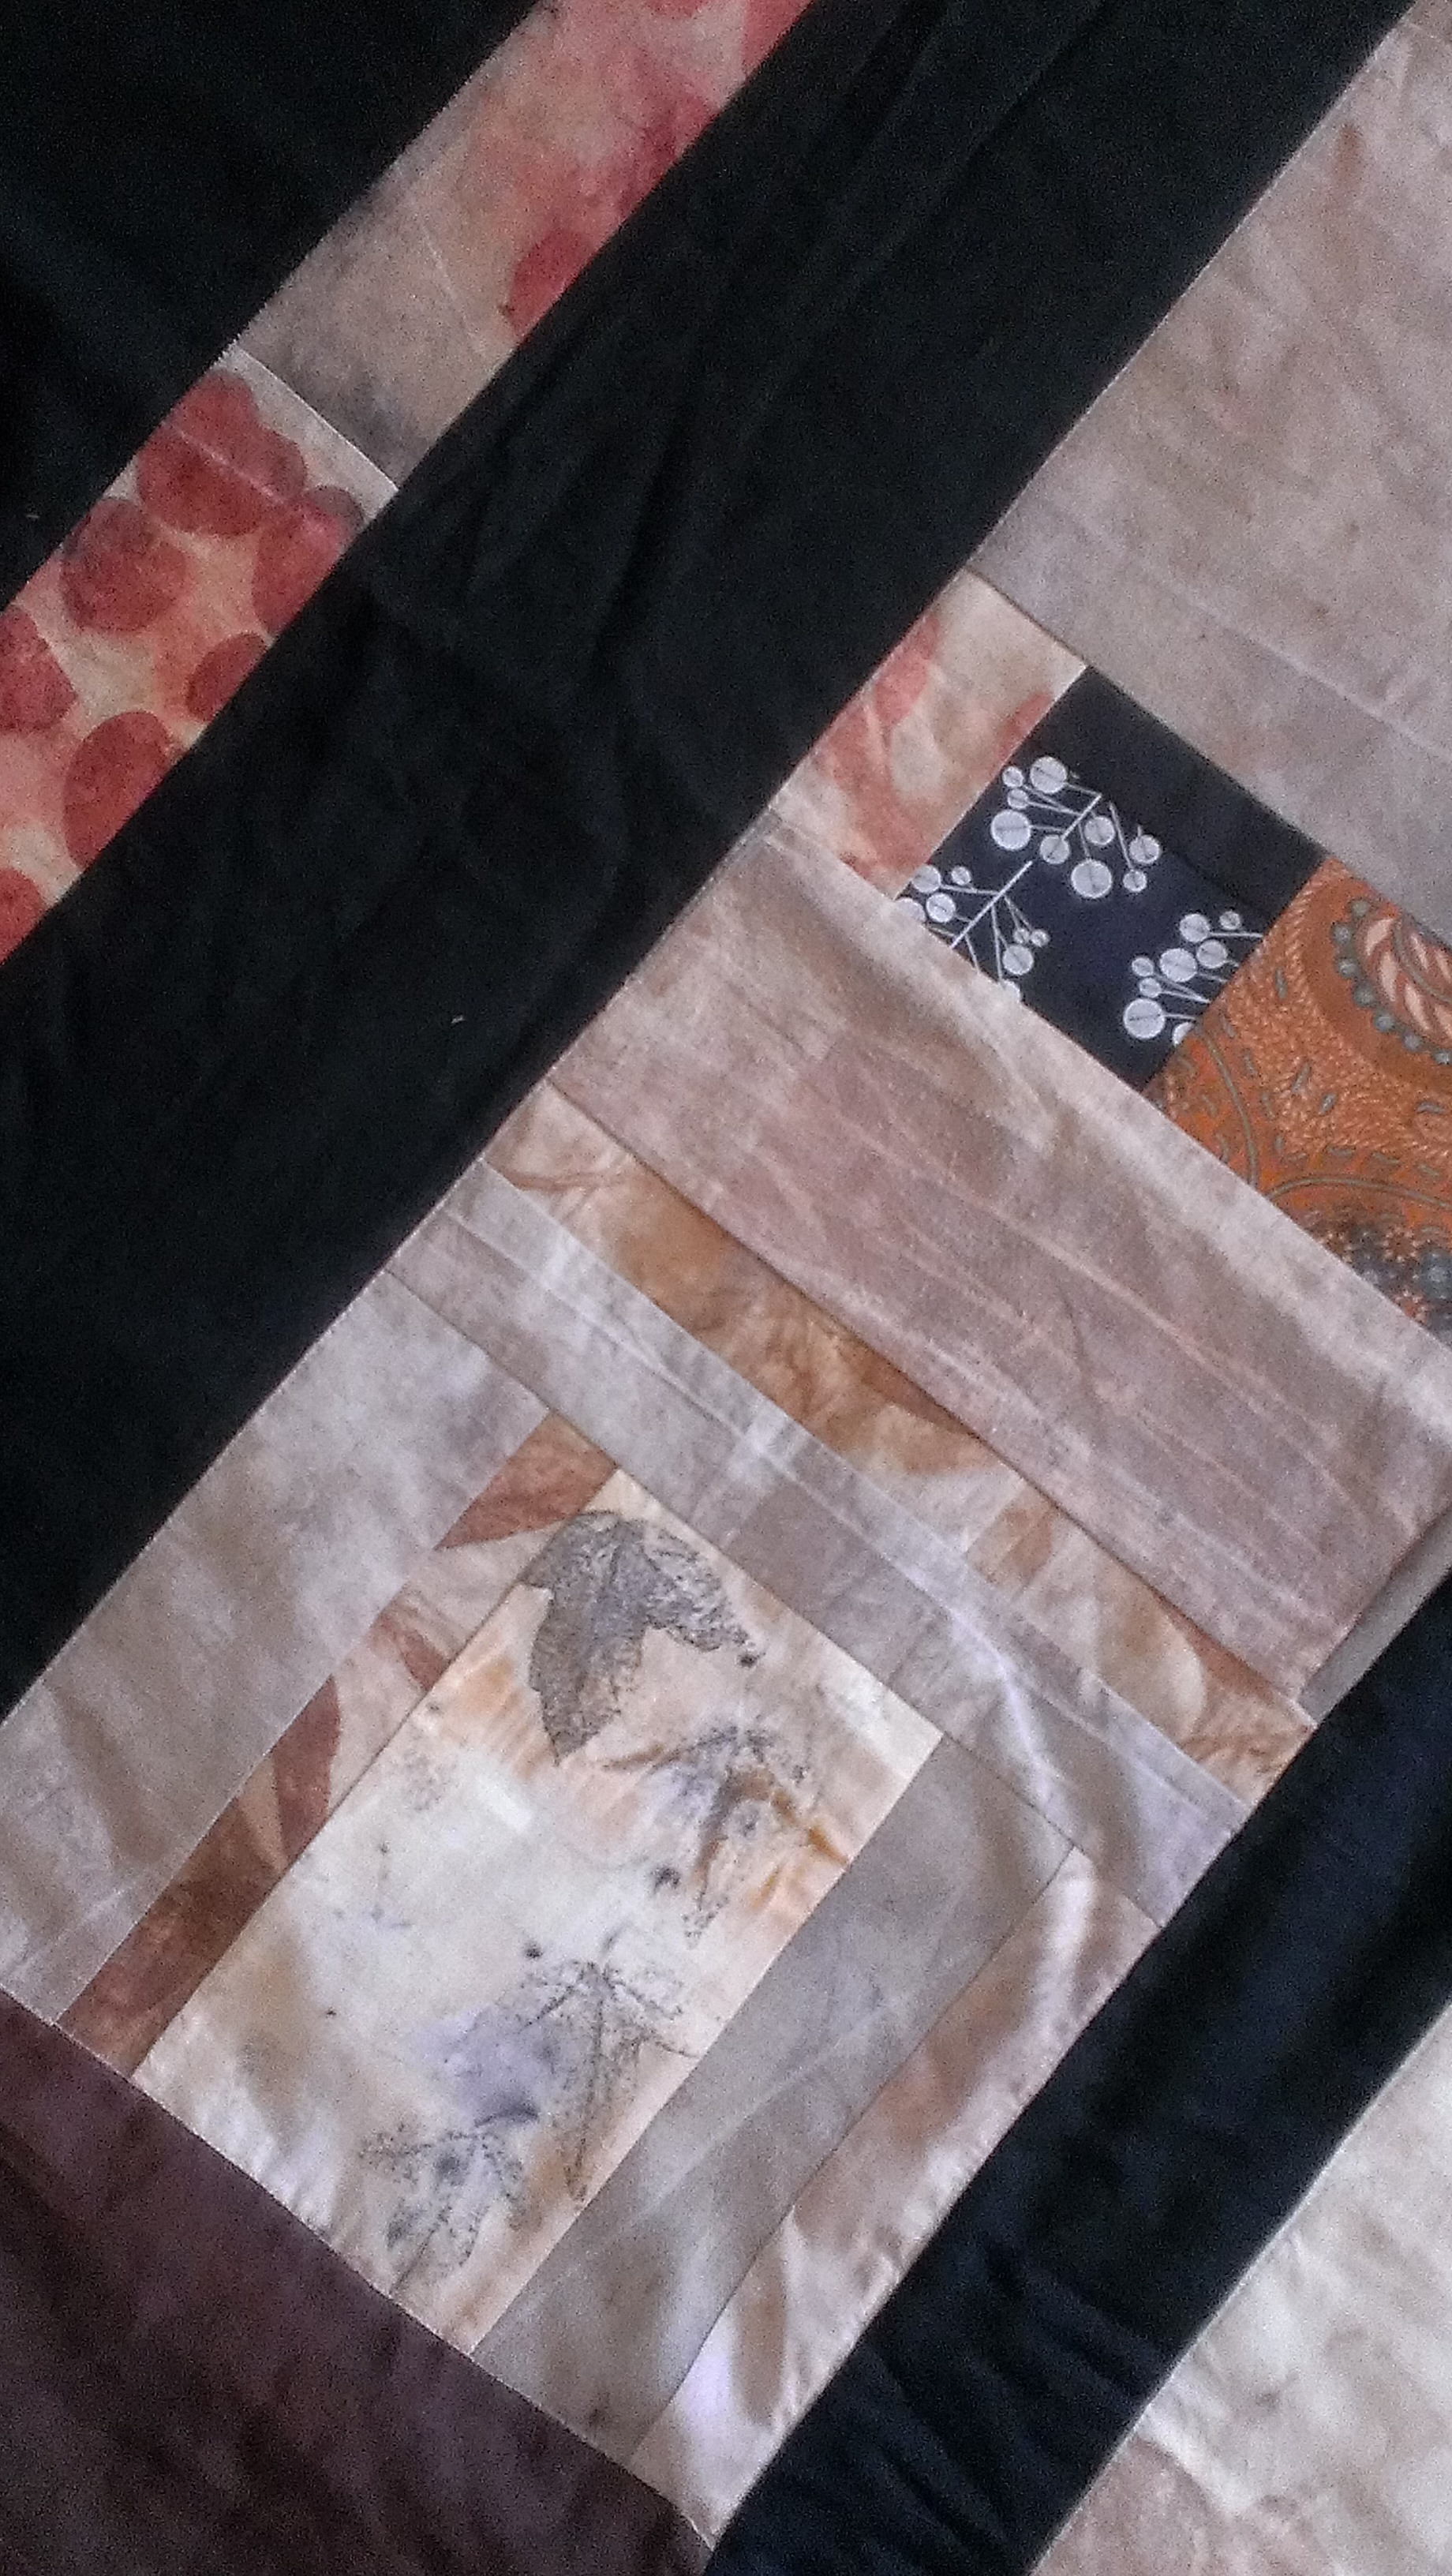
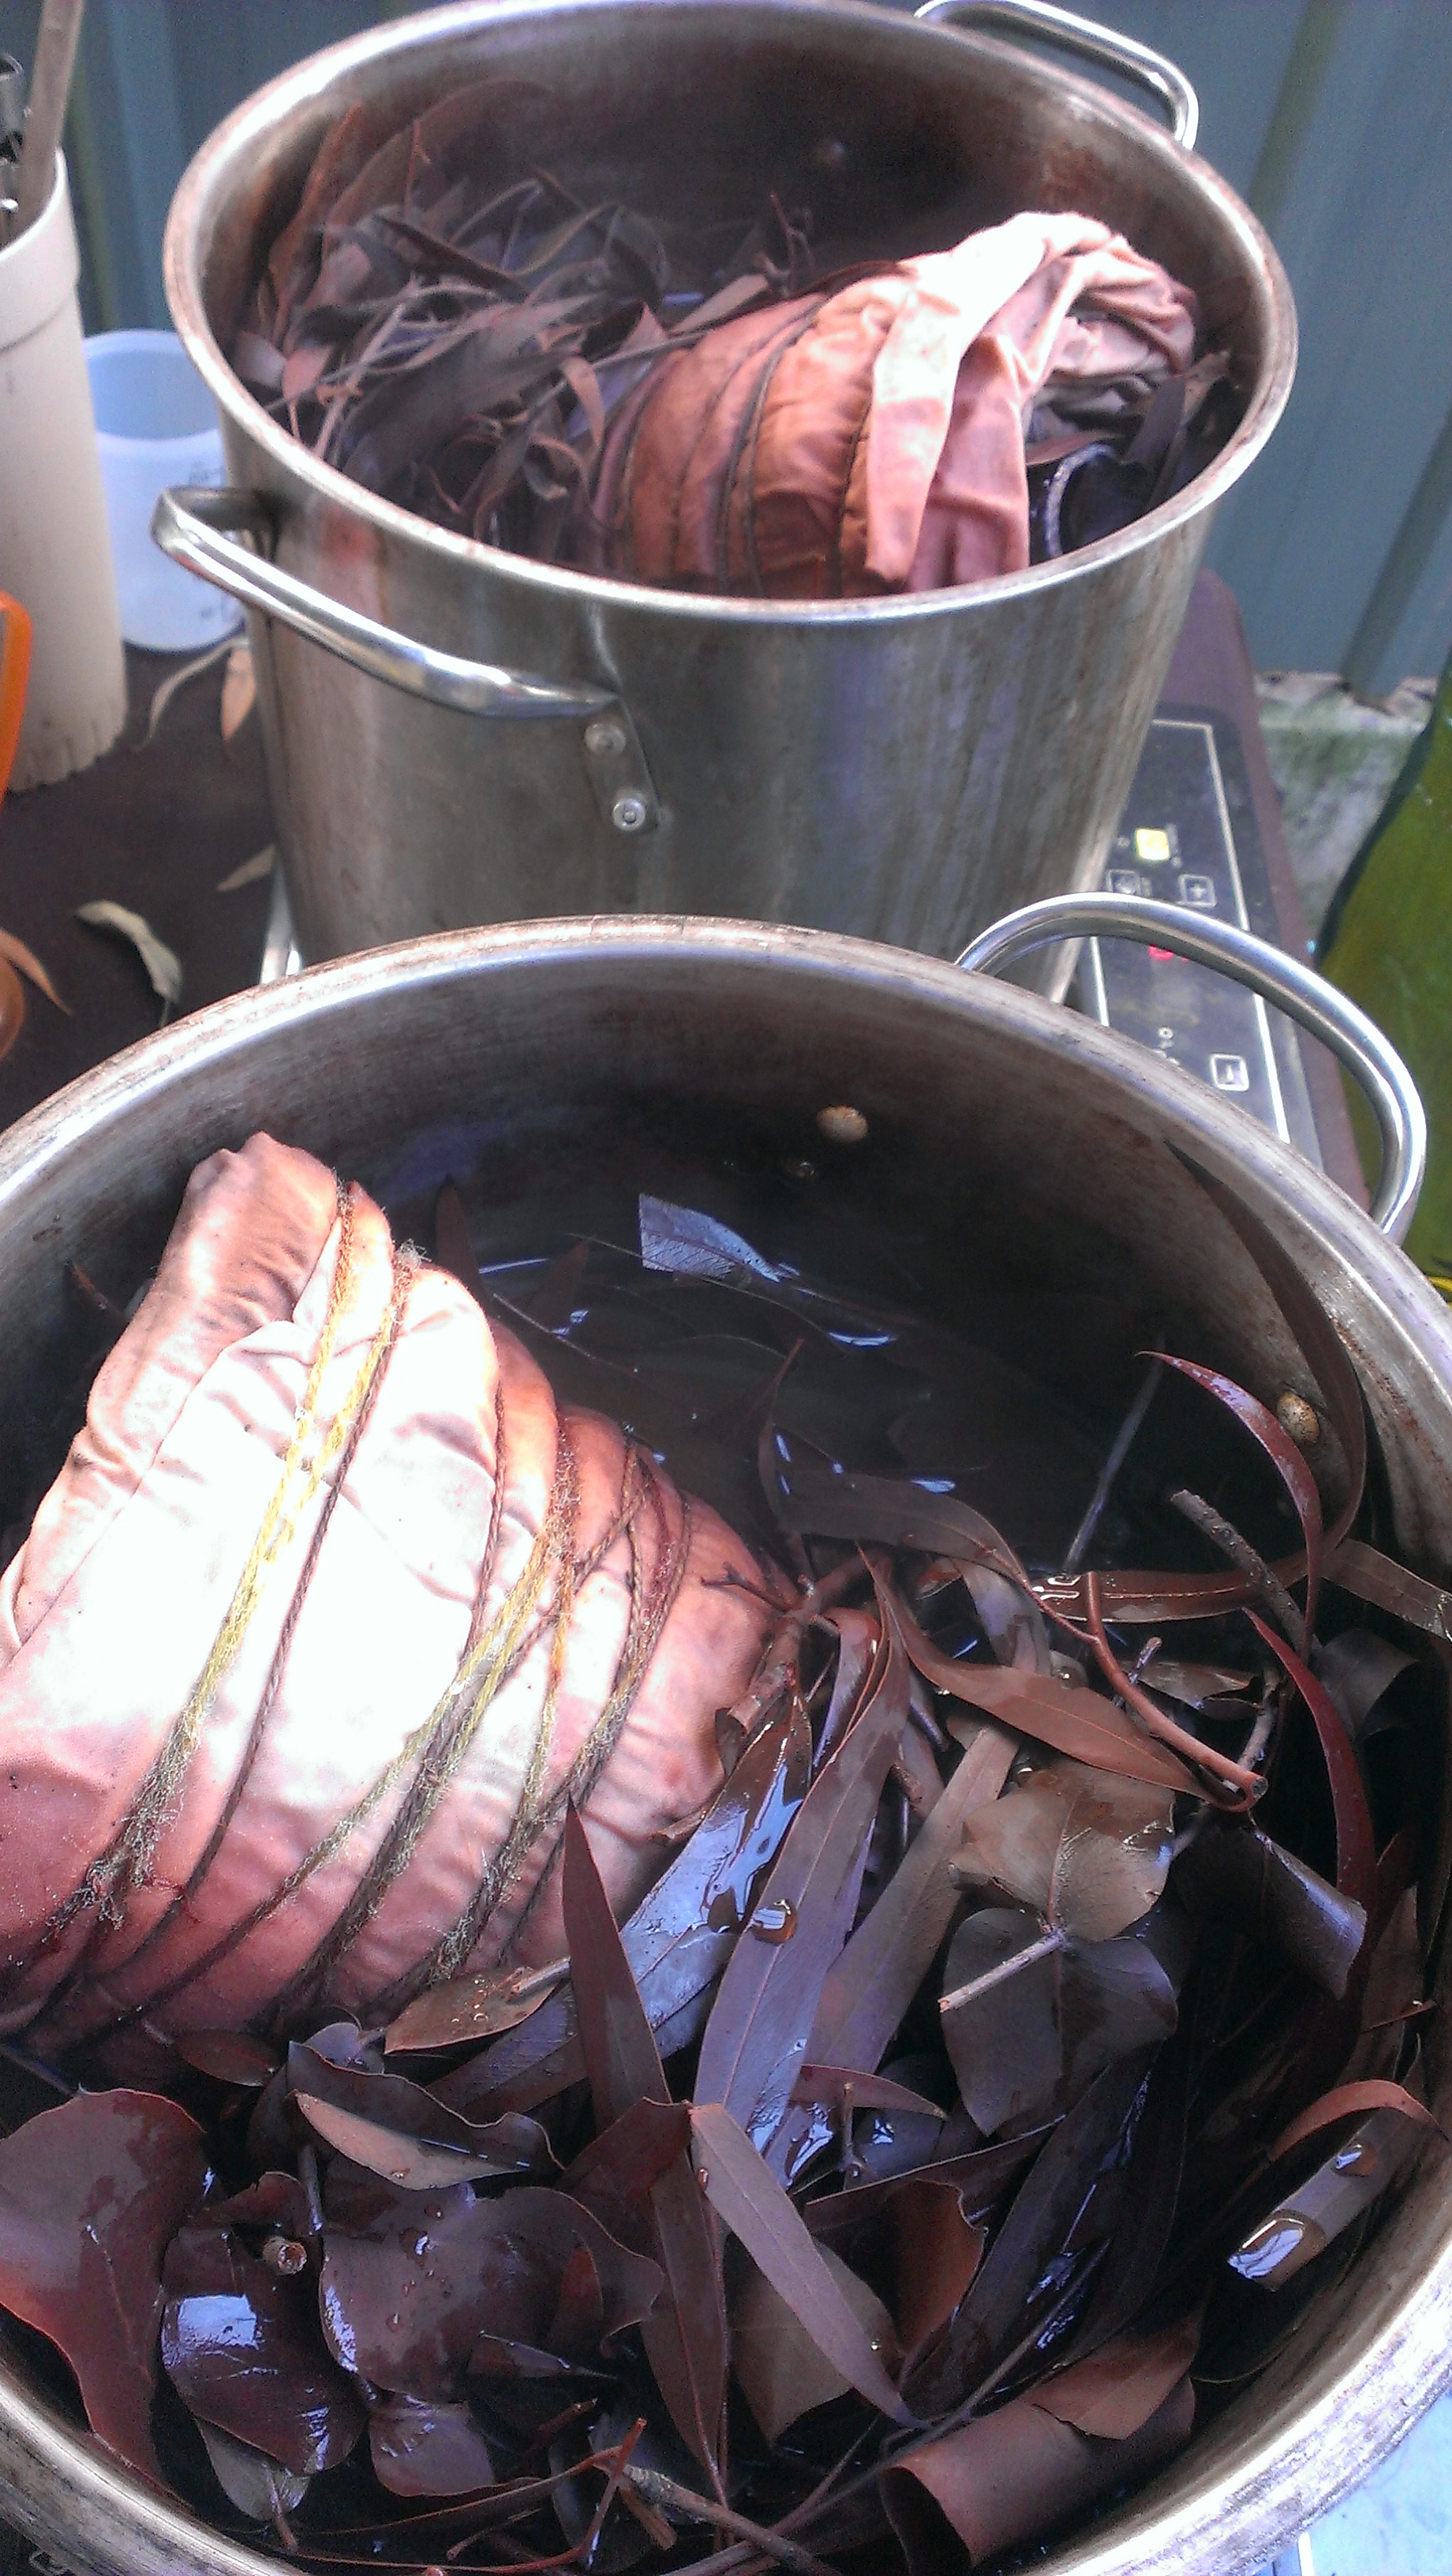
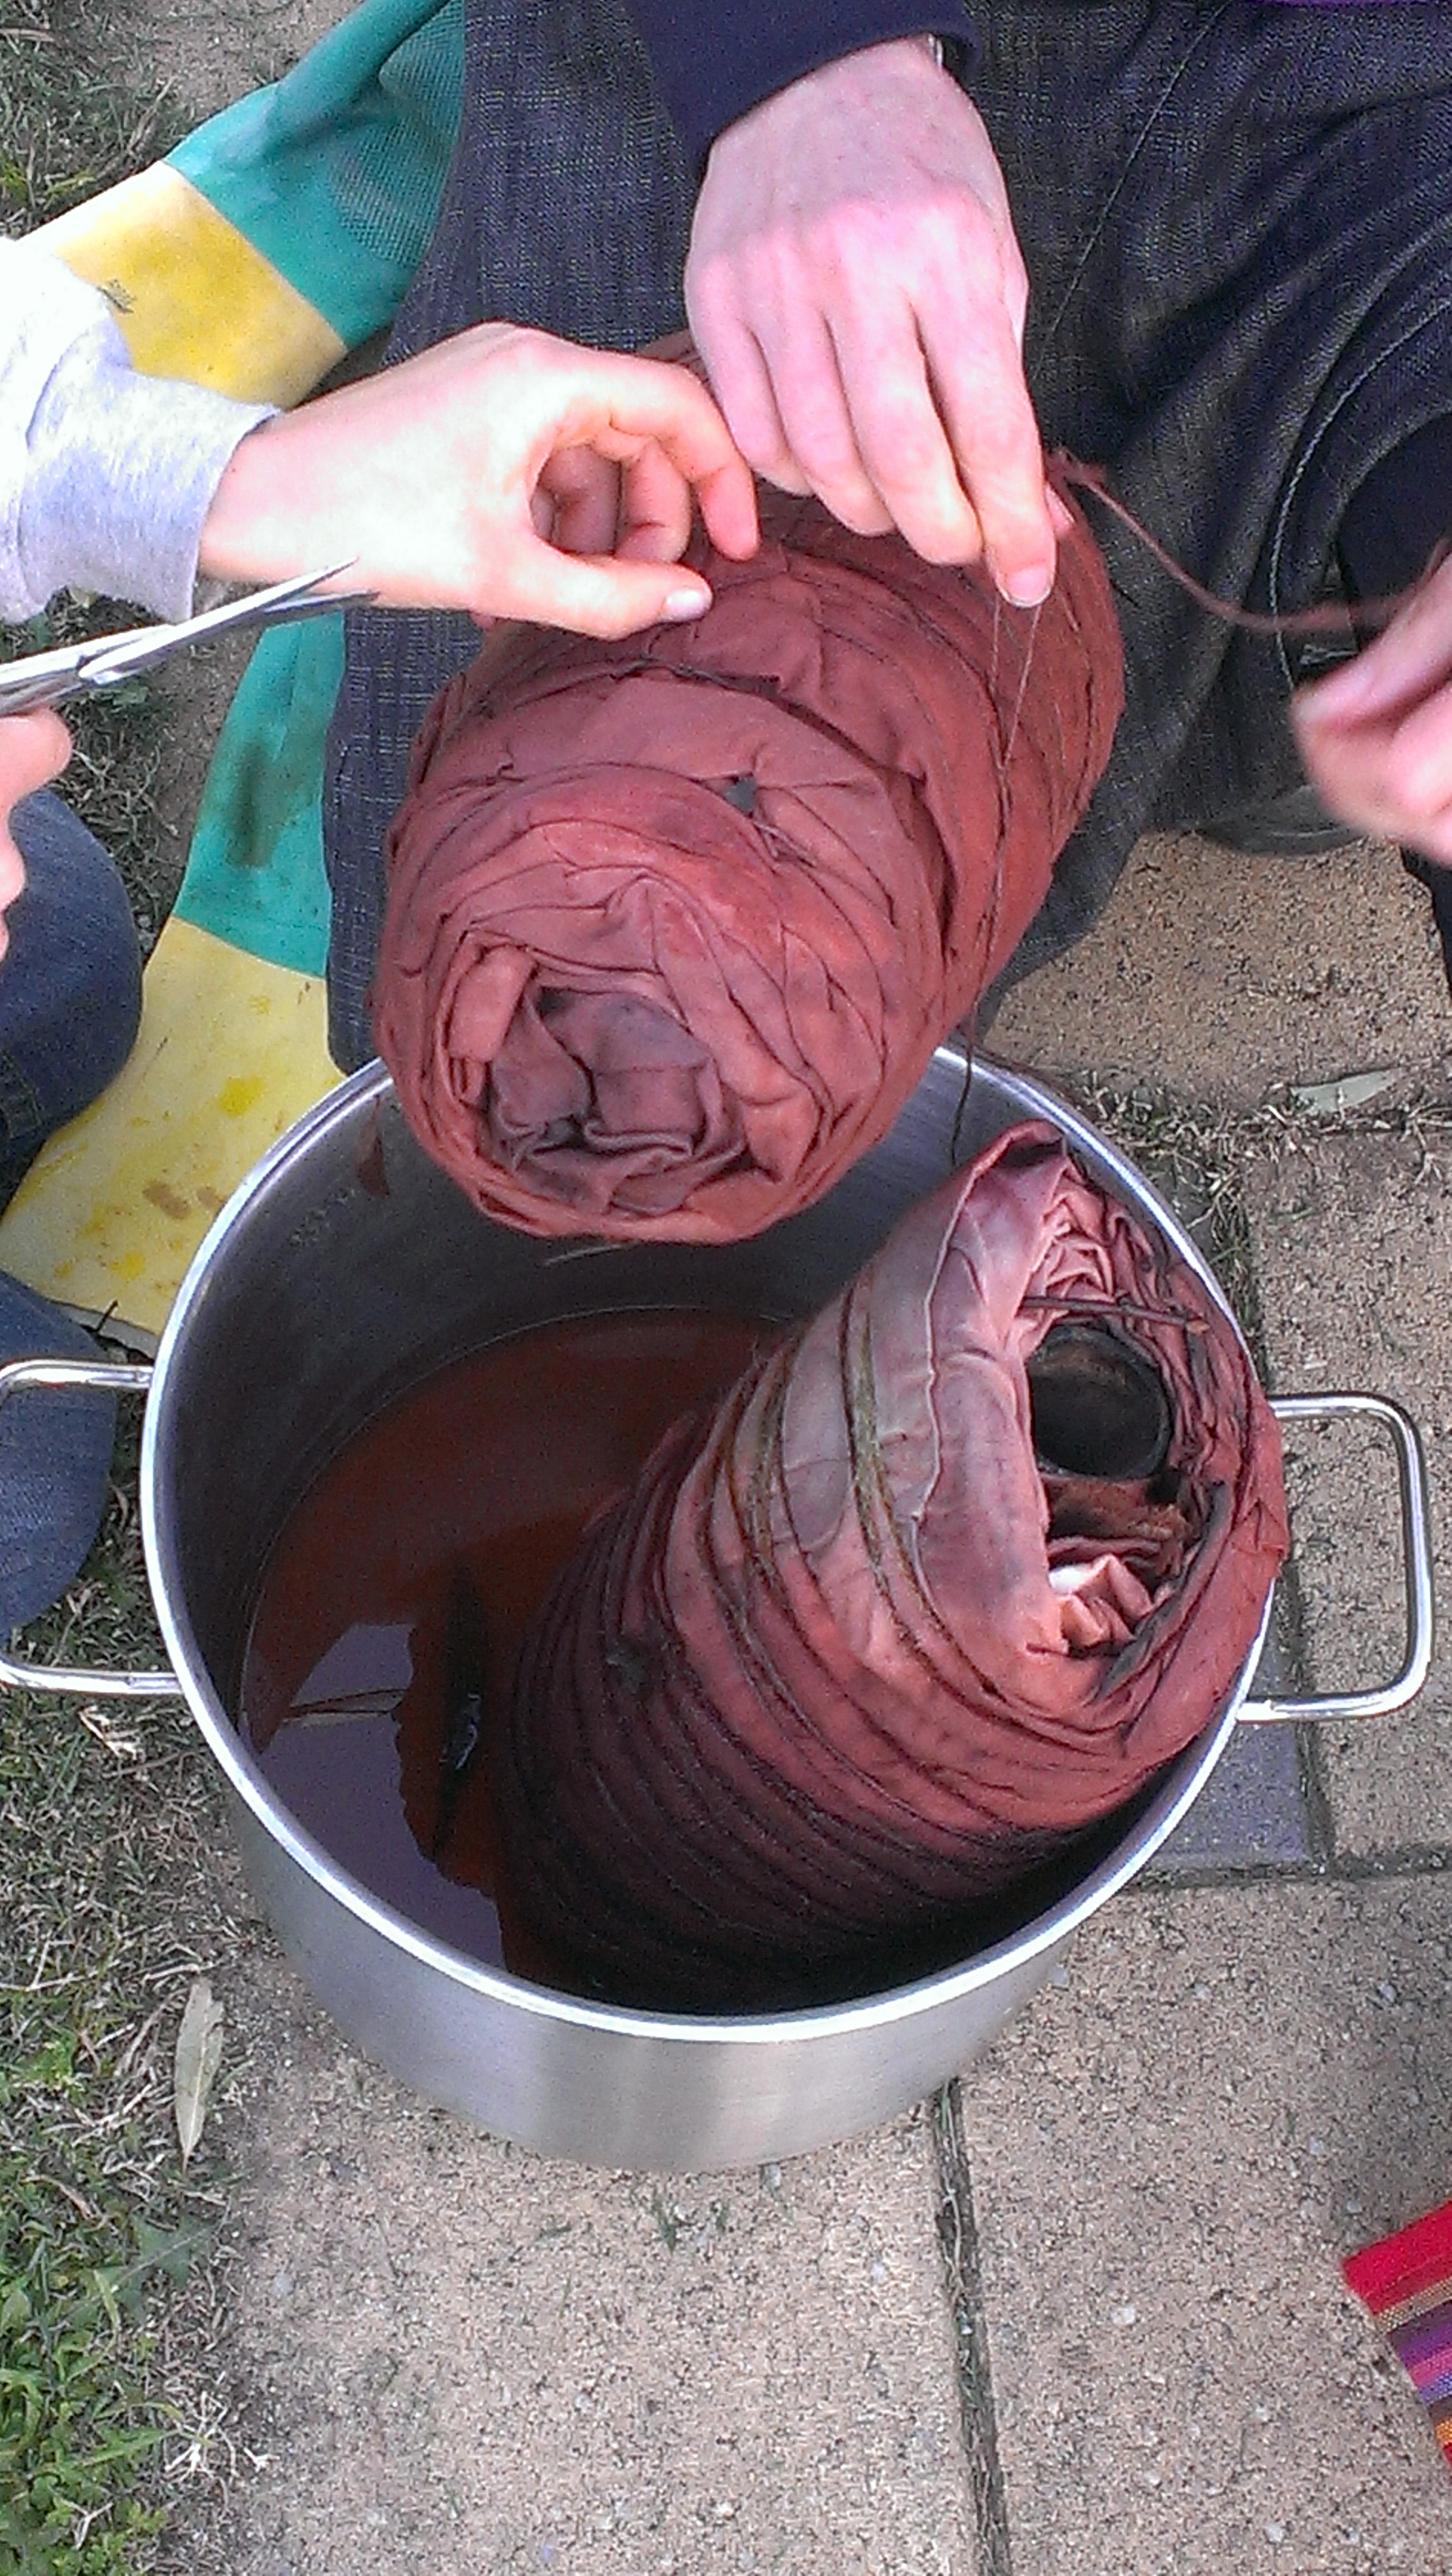
I have been trying to use recycled wrapping paper or making bags for gifts to go in for years… so I was rather inspired by the GiveWraps idea and immediately began patching together yet more bits and pieces. However, ususally I patch leaf prints with other leaf prints, and prints with other prints and plains. The GiveWrap idea somehow had me mixing them up in a rather liberating way.
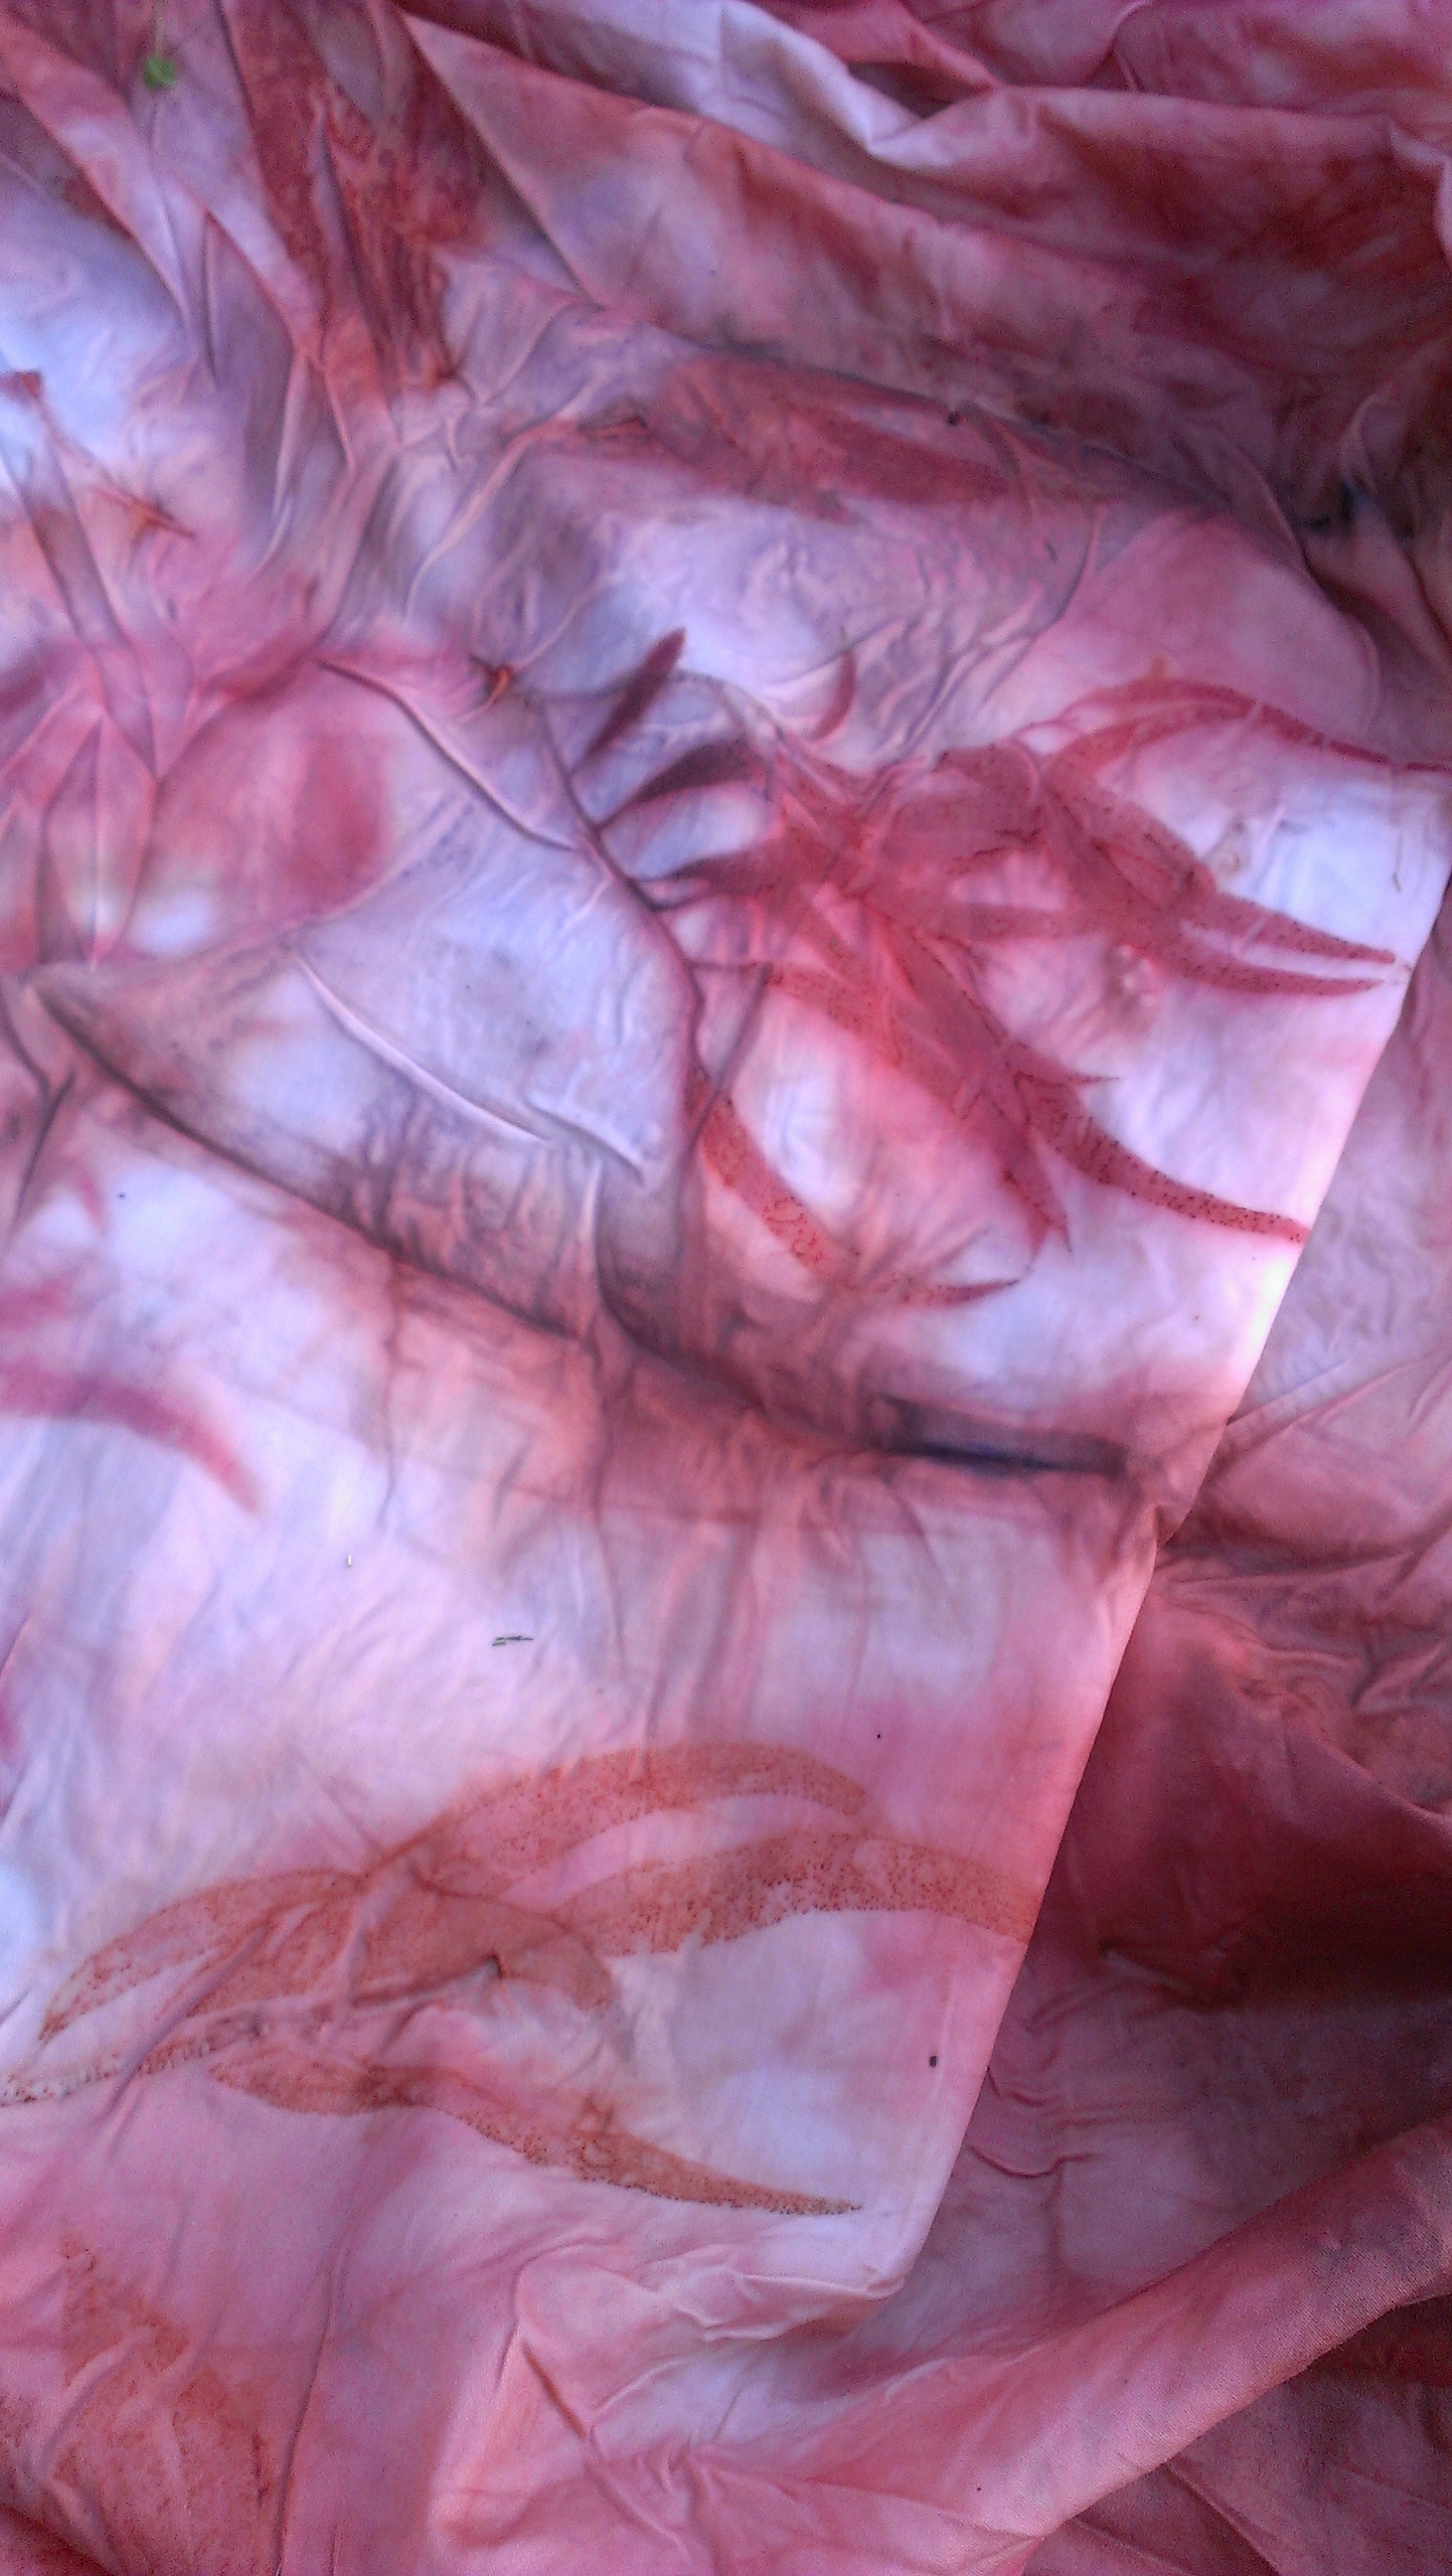
In this case, I patchworked together leaf print offcuts with leftover pieces of garments that have become bags, scraps of sarong leftover from making pants, details from a pair of shorts that finally came apart and scraps from the previous quilt, as well as stash fabrics.
It went really well, and soon I had two squares the size of the only Japanese wrapping cloth I own. It’s a generous size, almost a metre square. We often use it as a tablecloth on a coffee table. I laid my two squares out on the floor side by side and immediately thought–almost a single quilt there already!

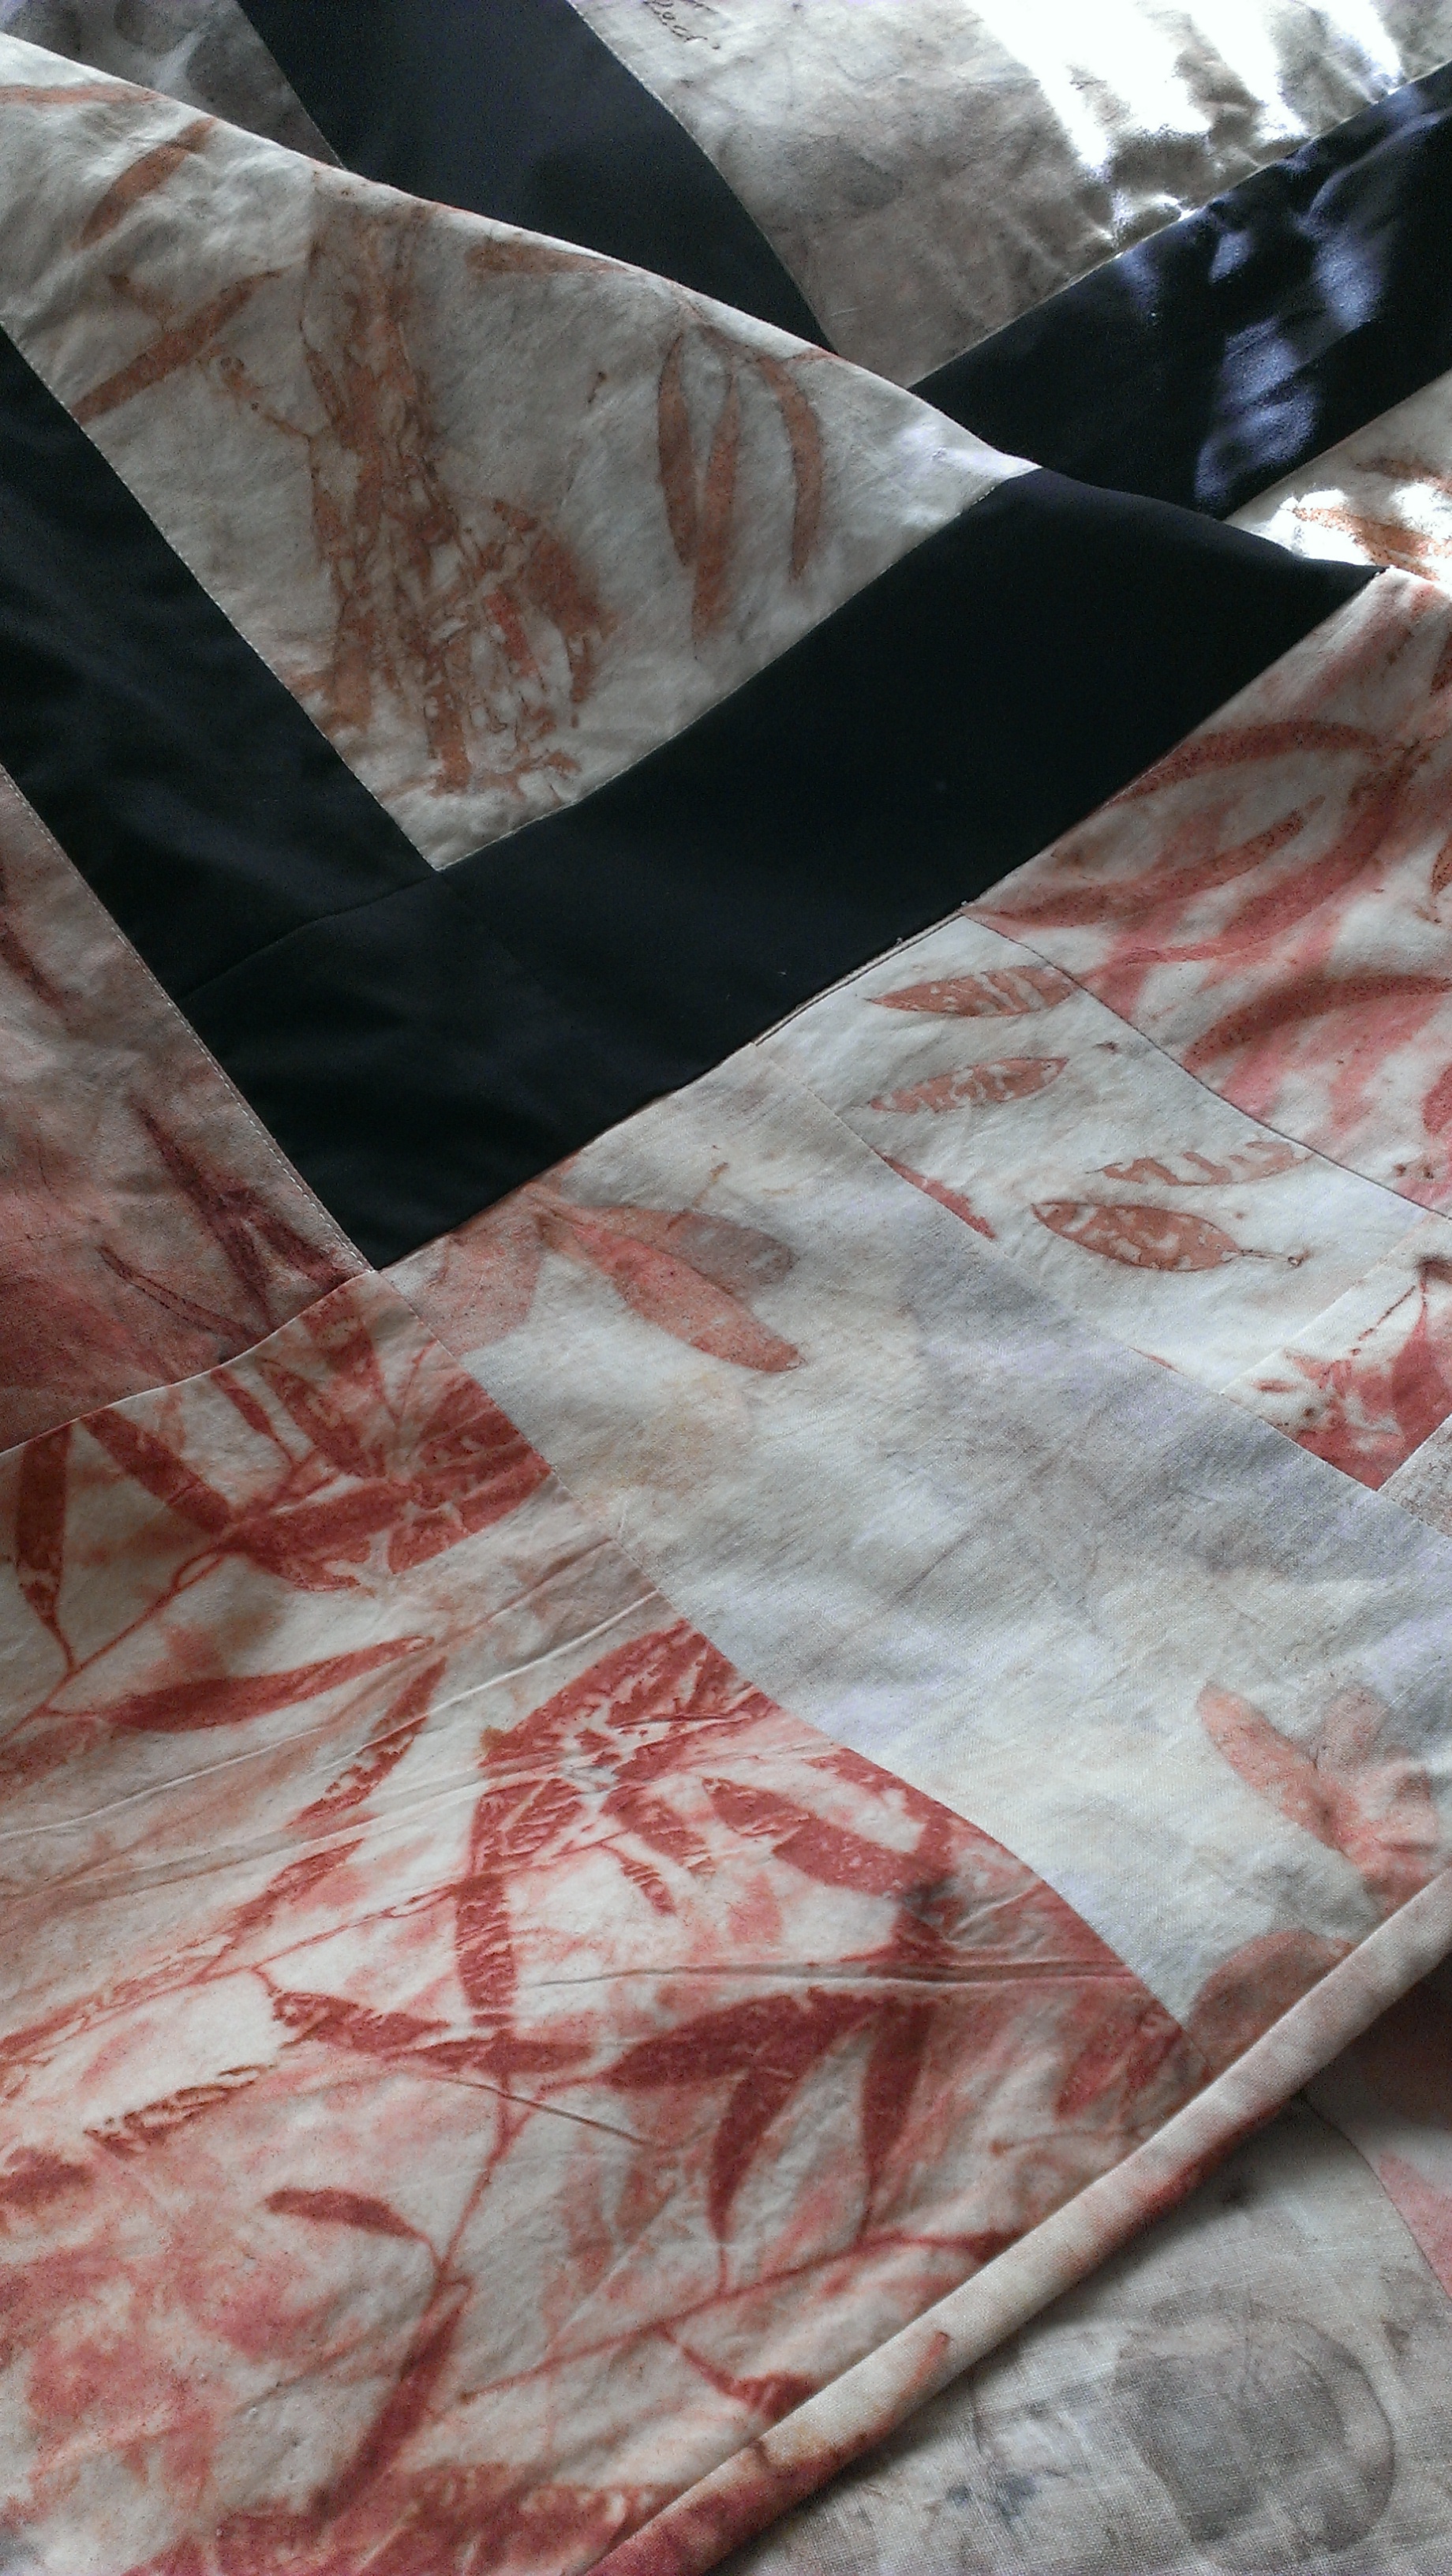
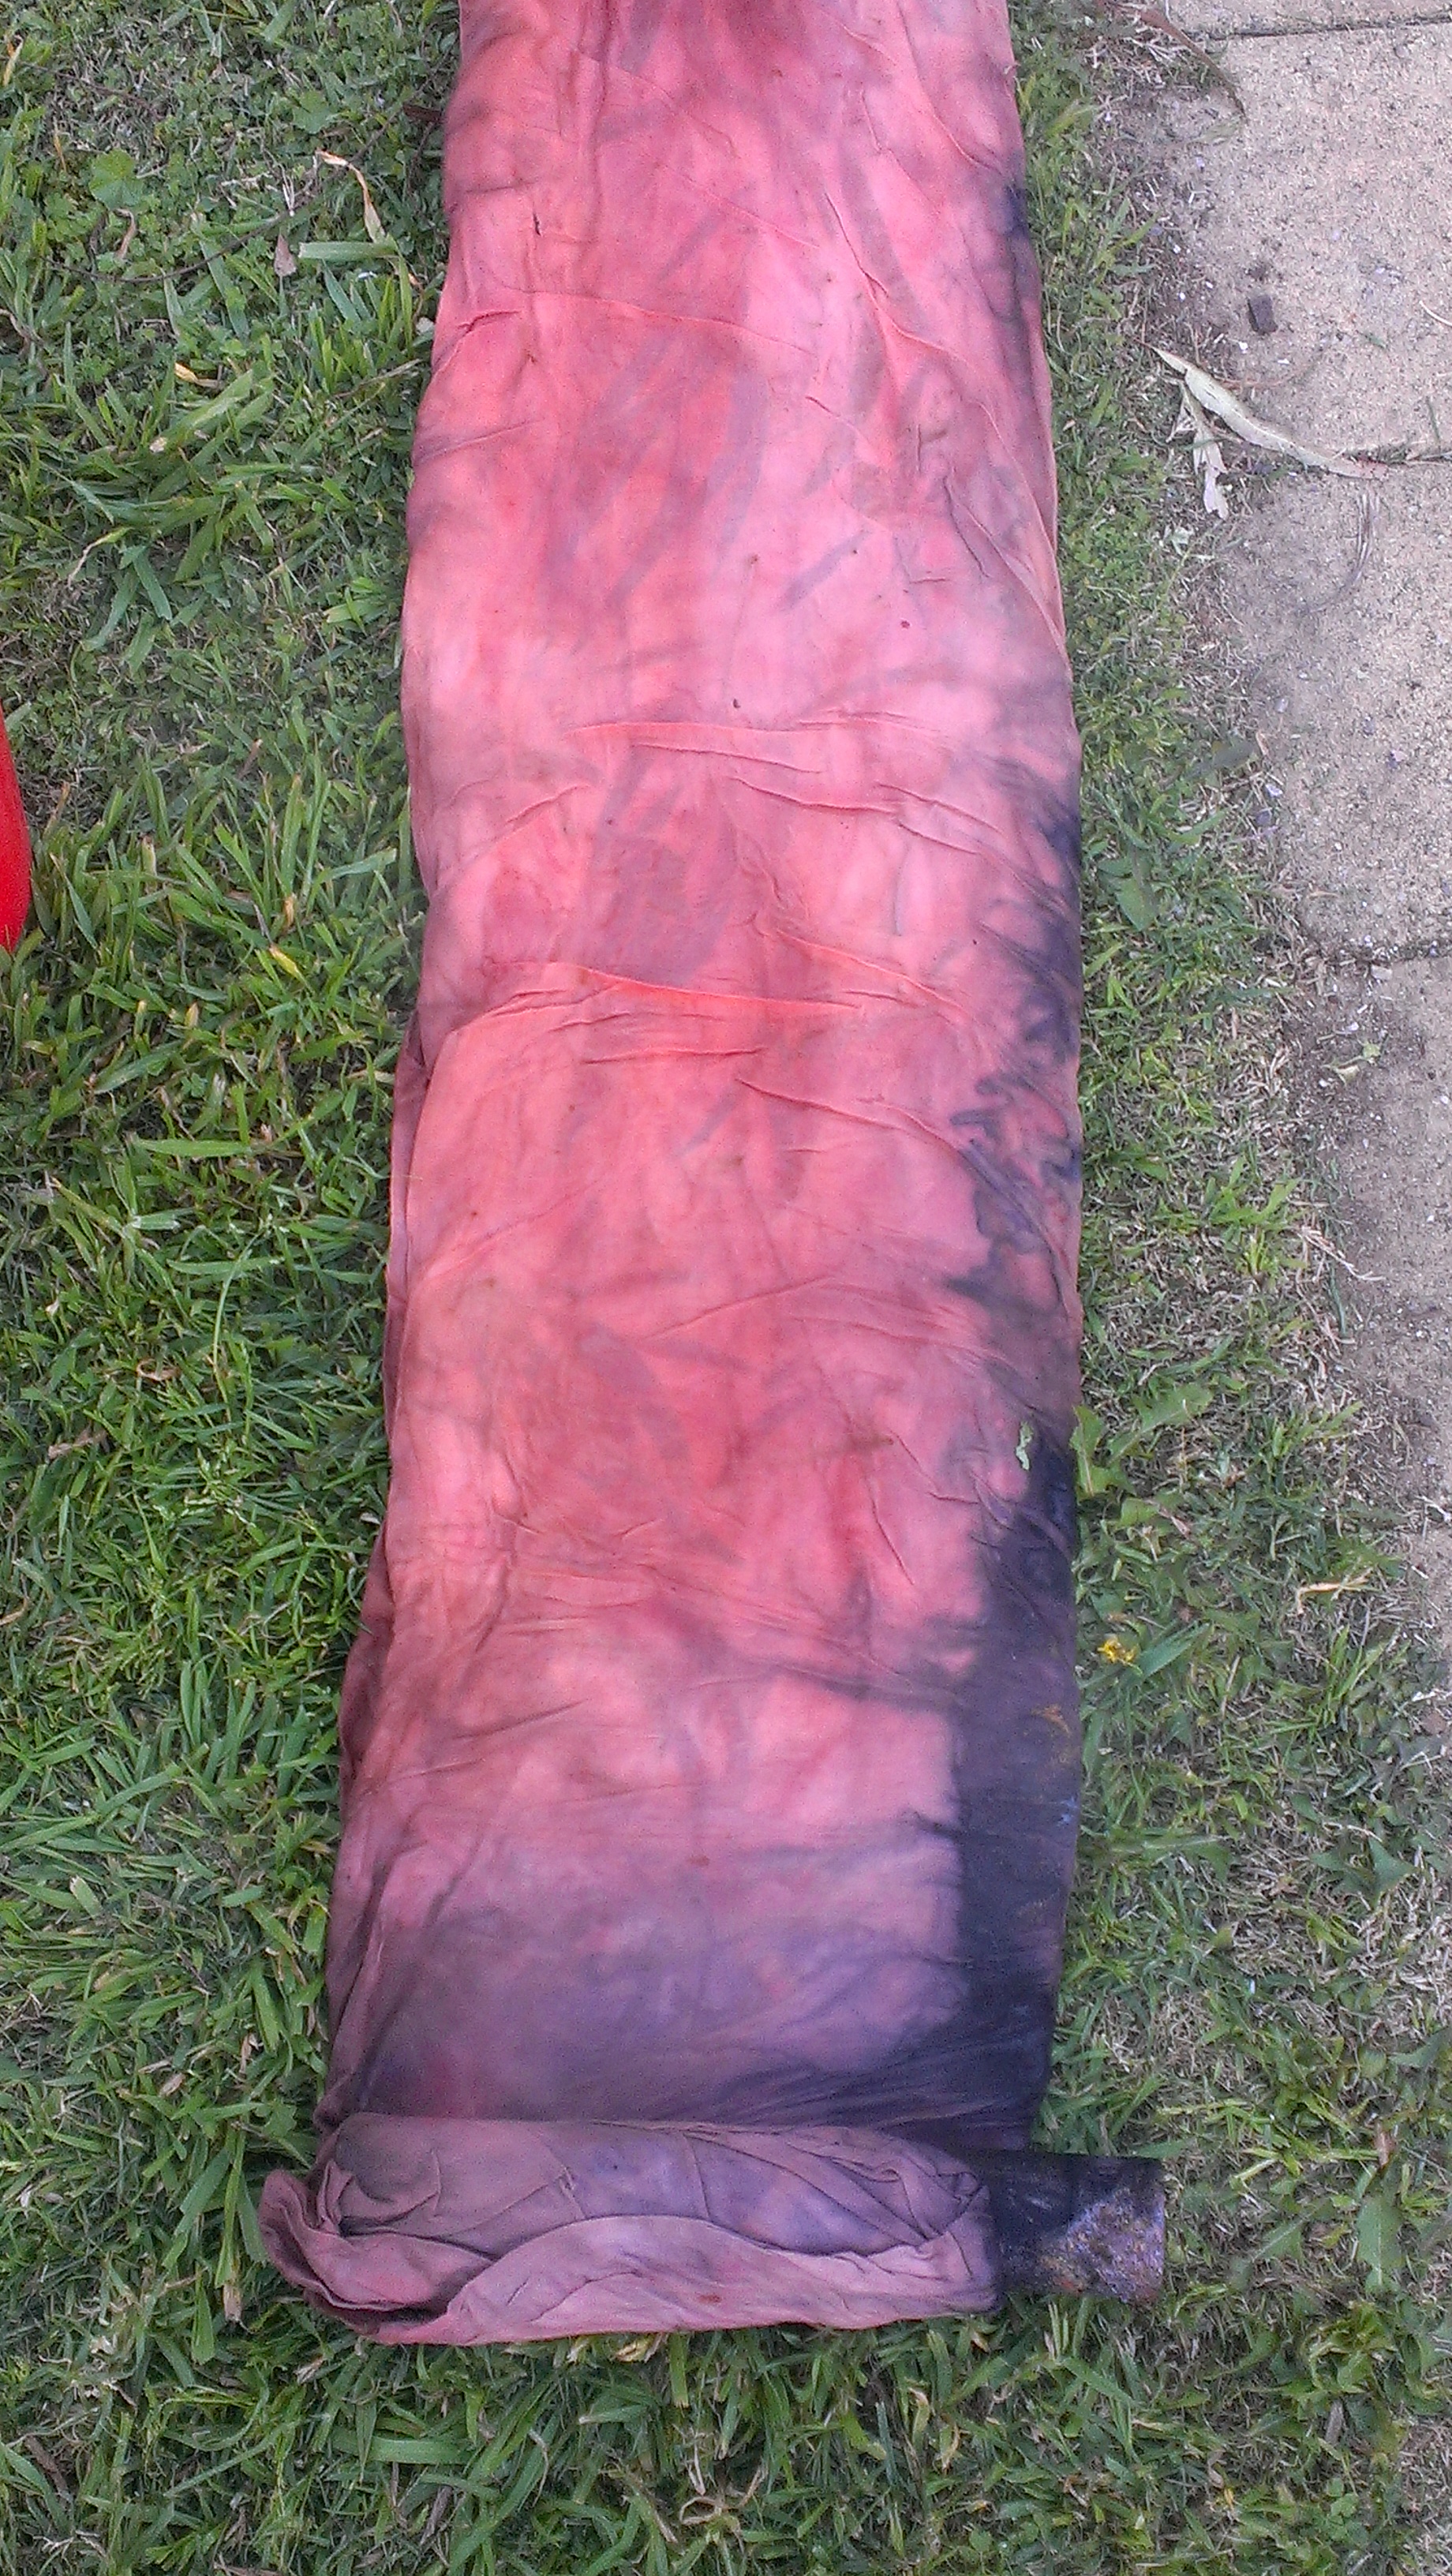
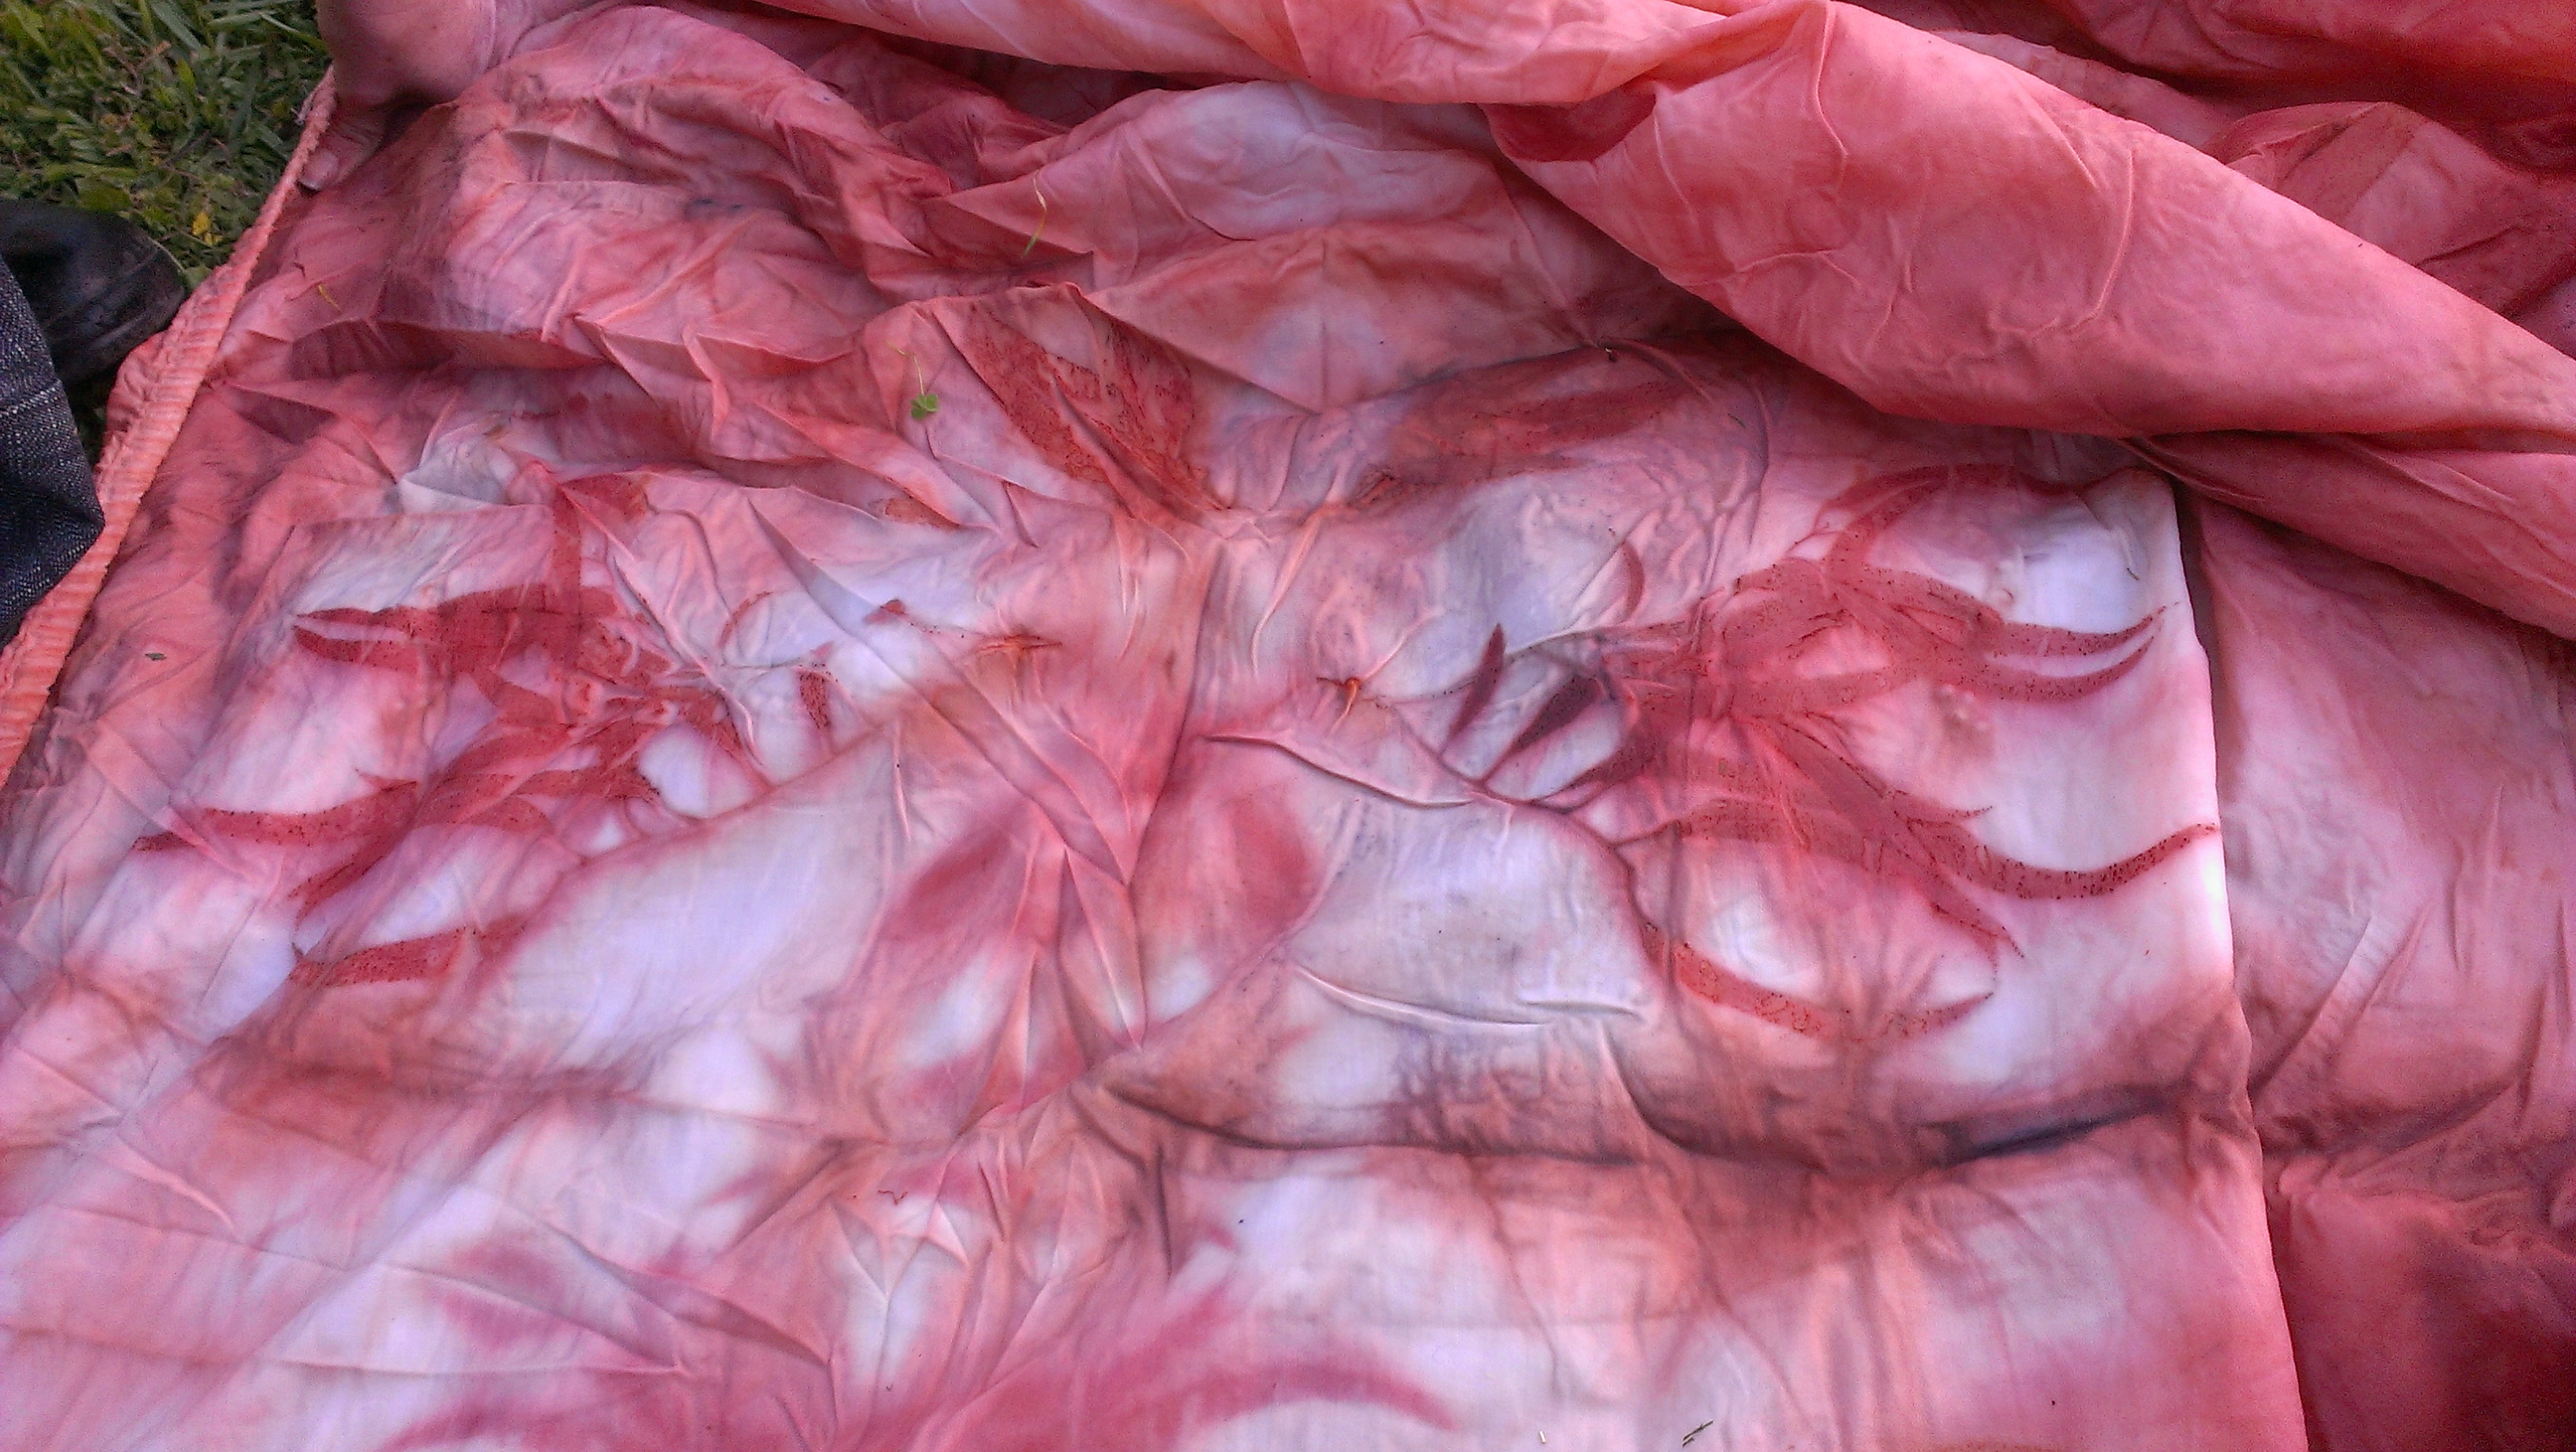
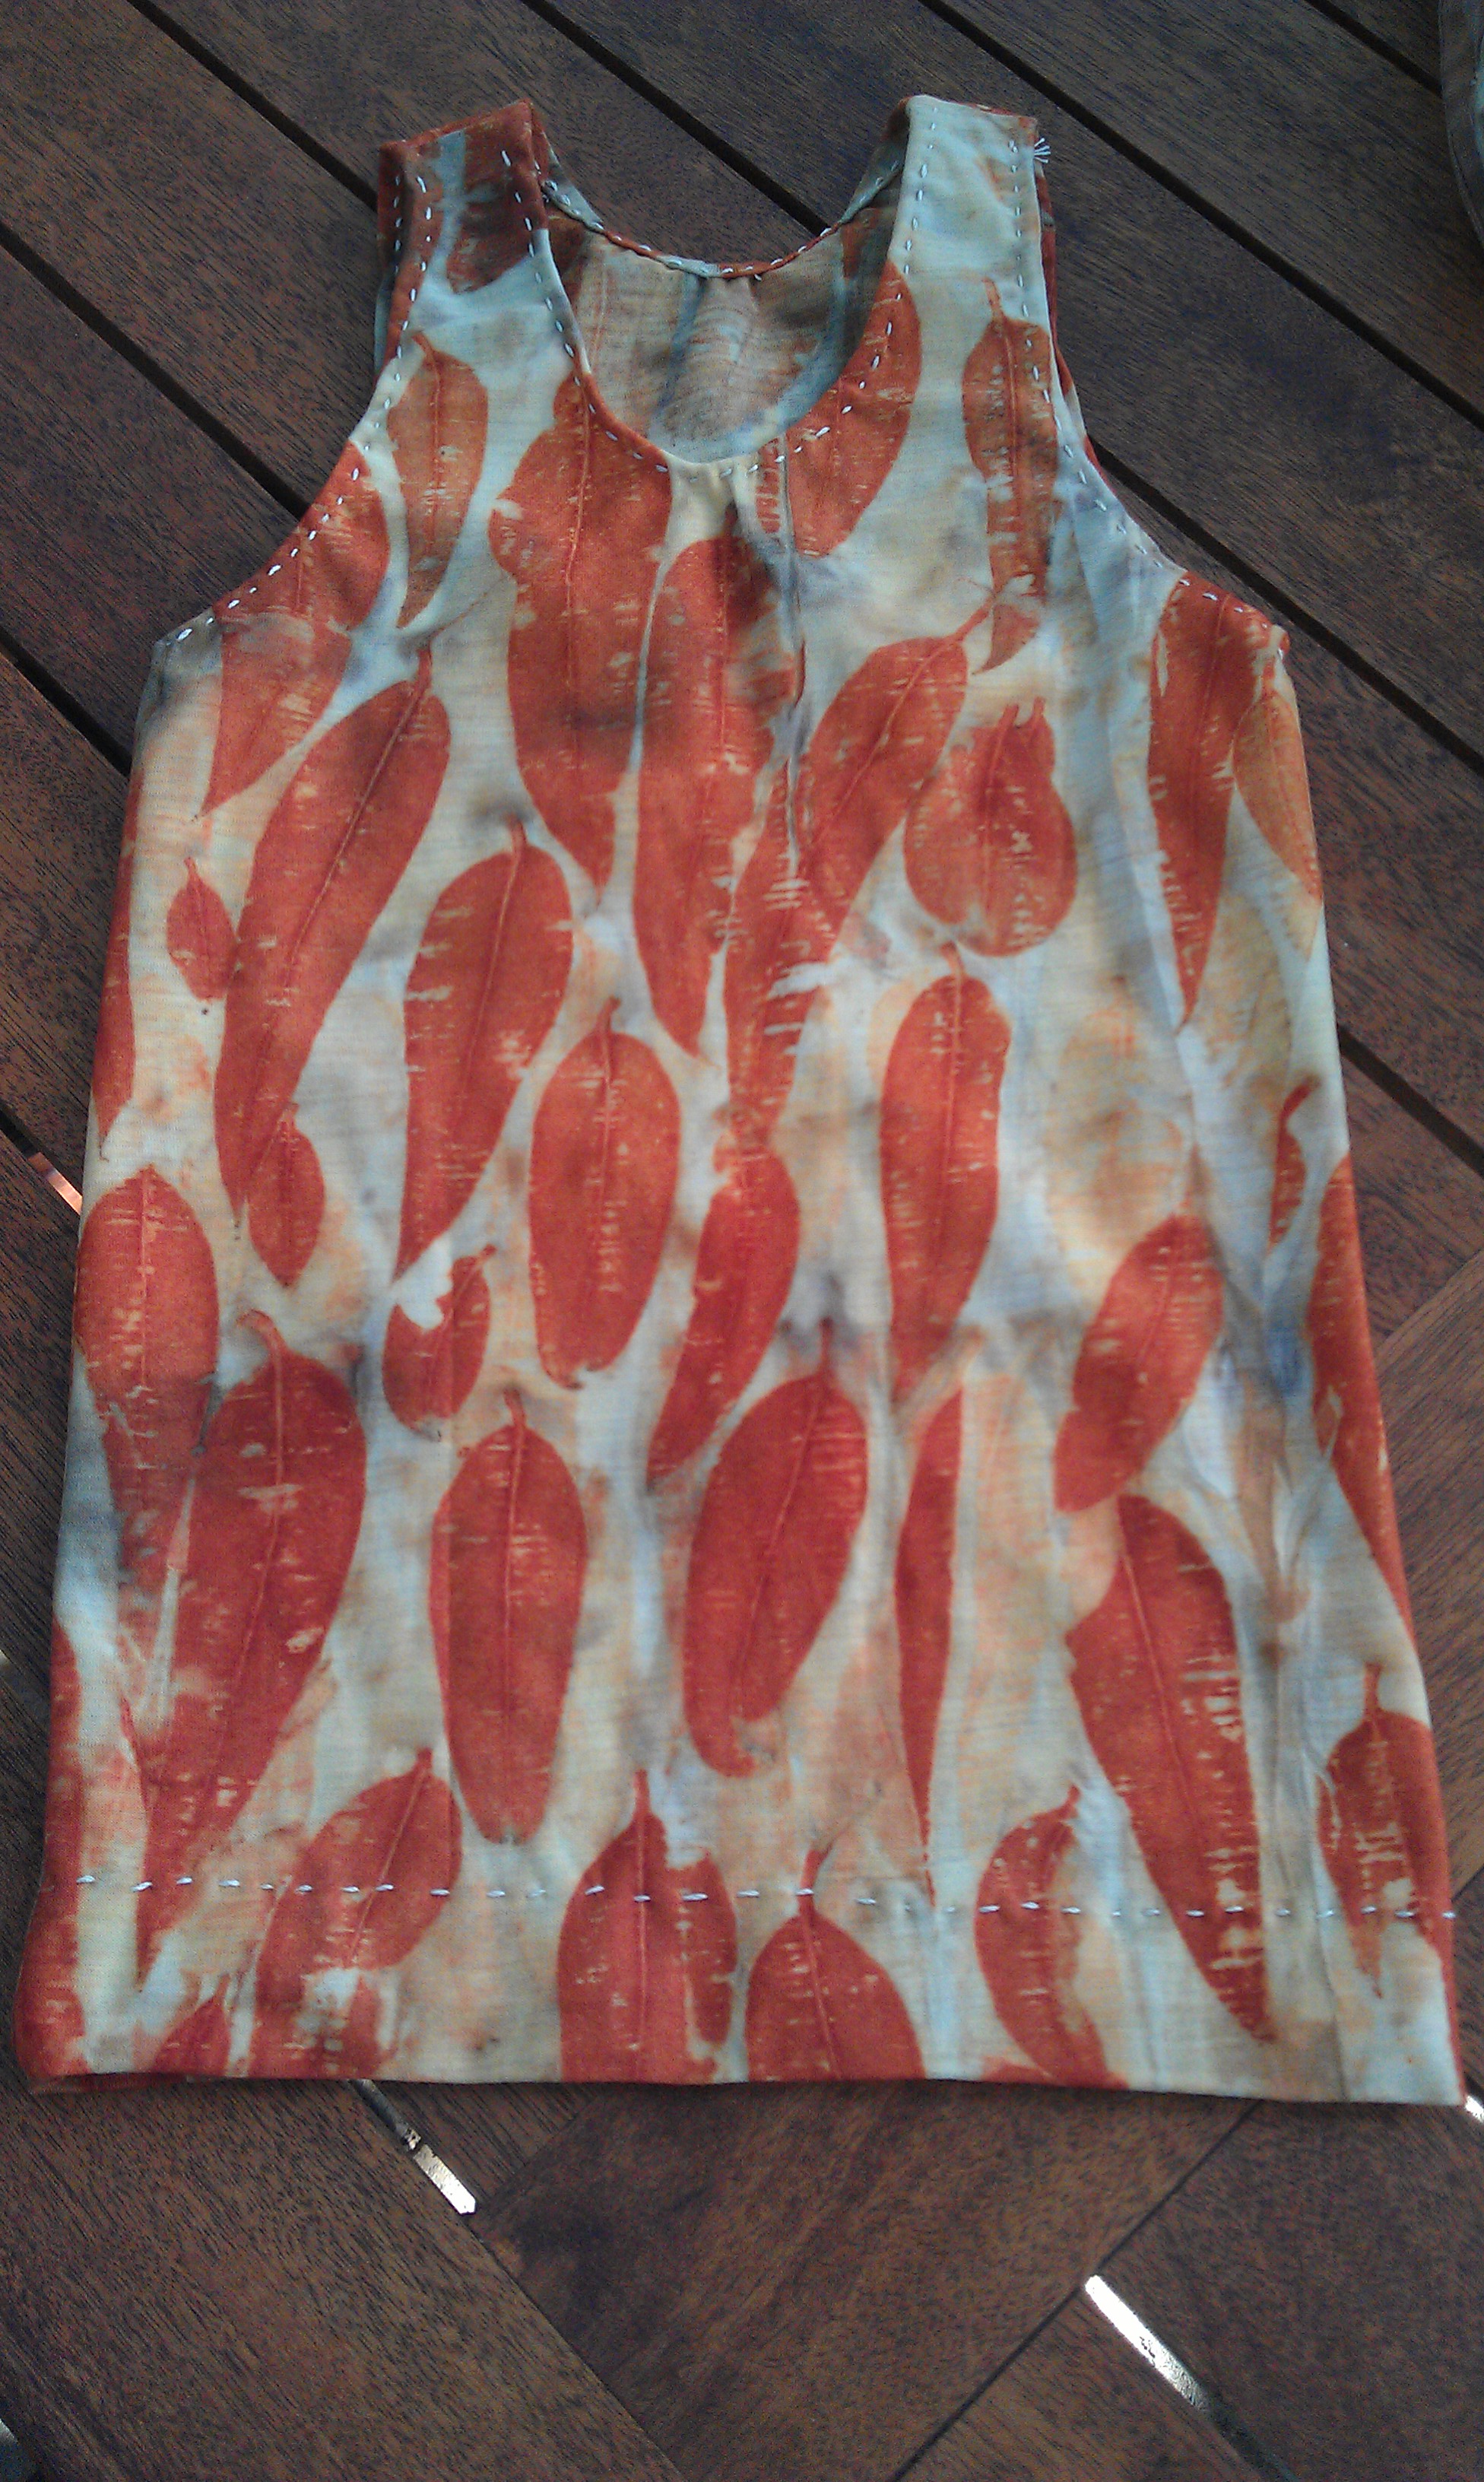
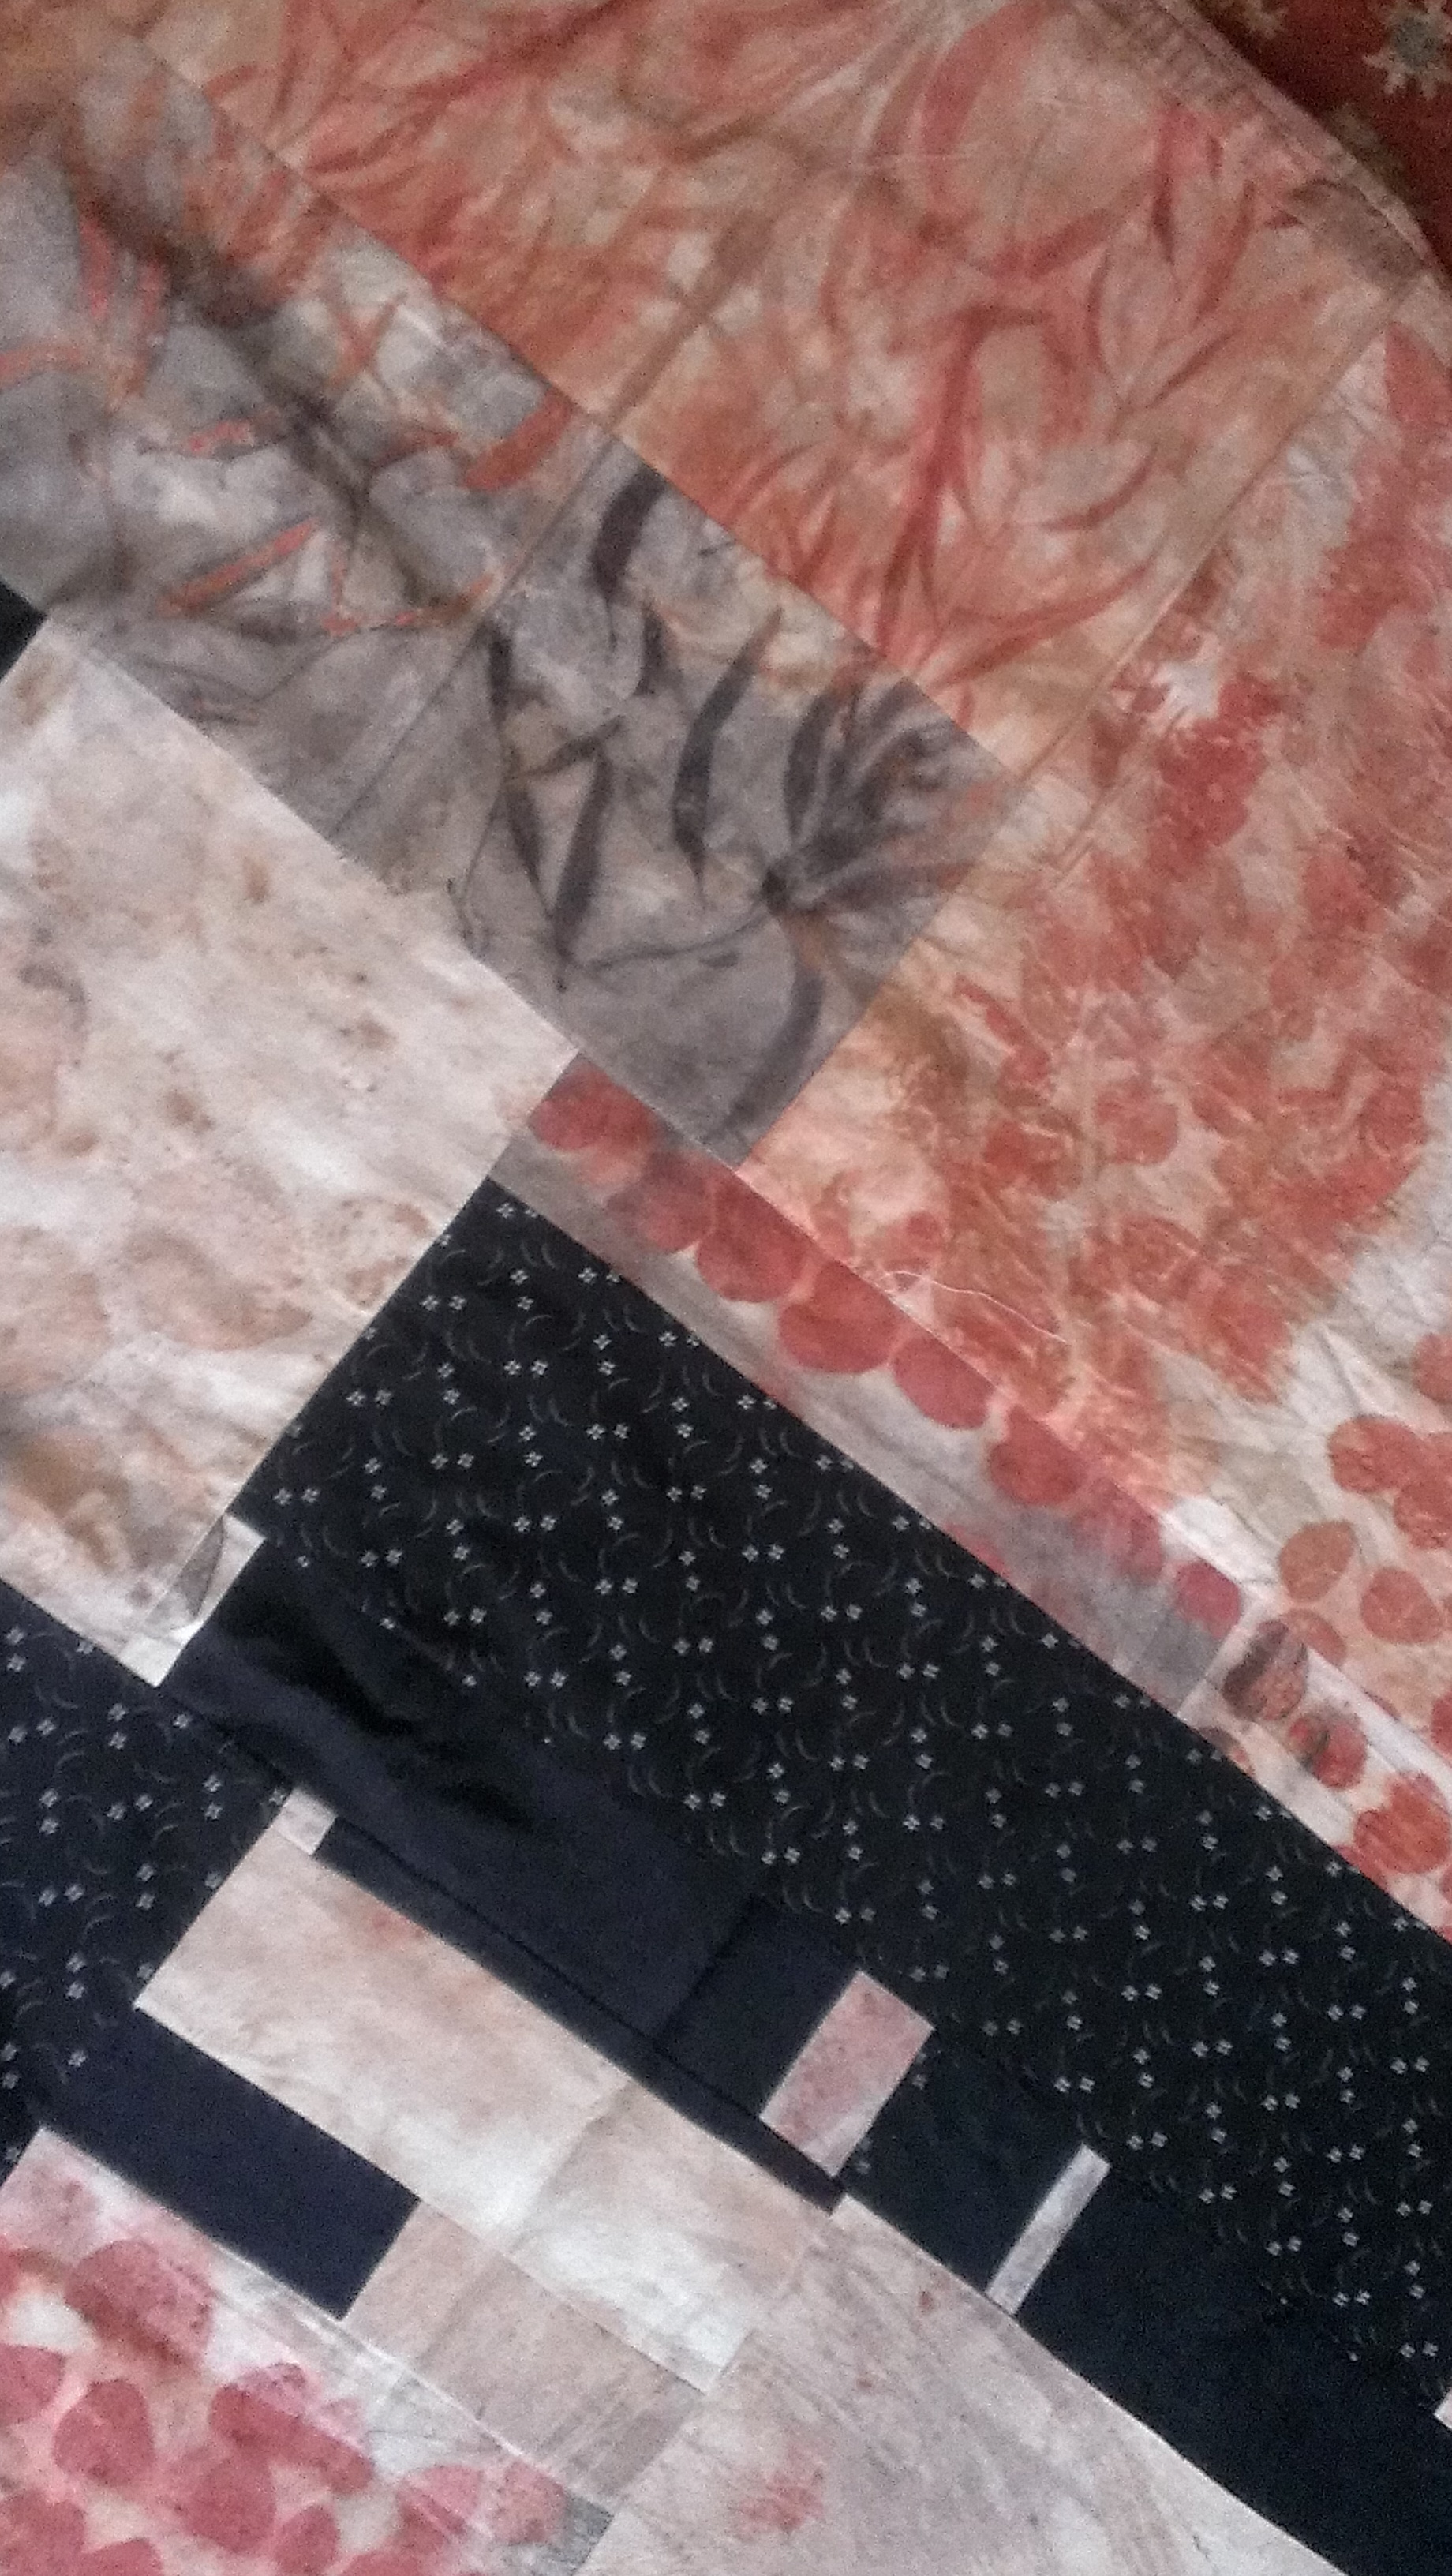
I had plenty of leaf printed fabric to make the back and the binding. This is the back.

Admittedly, machine sewing the binding on became a wrestling match between me and the sewing machine, and in the end the machine had to go into the repair shop. The last little section was sewn on a friend’s machine, and now I have been sadly parted from my machine for weeks.

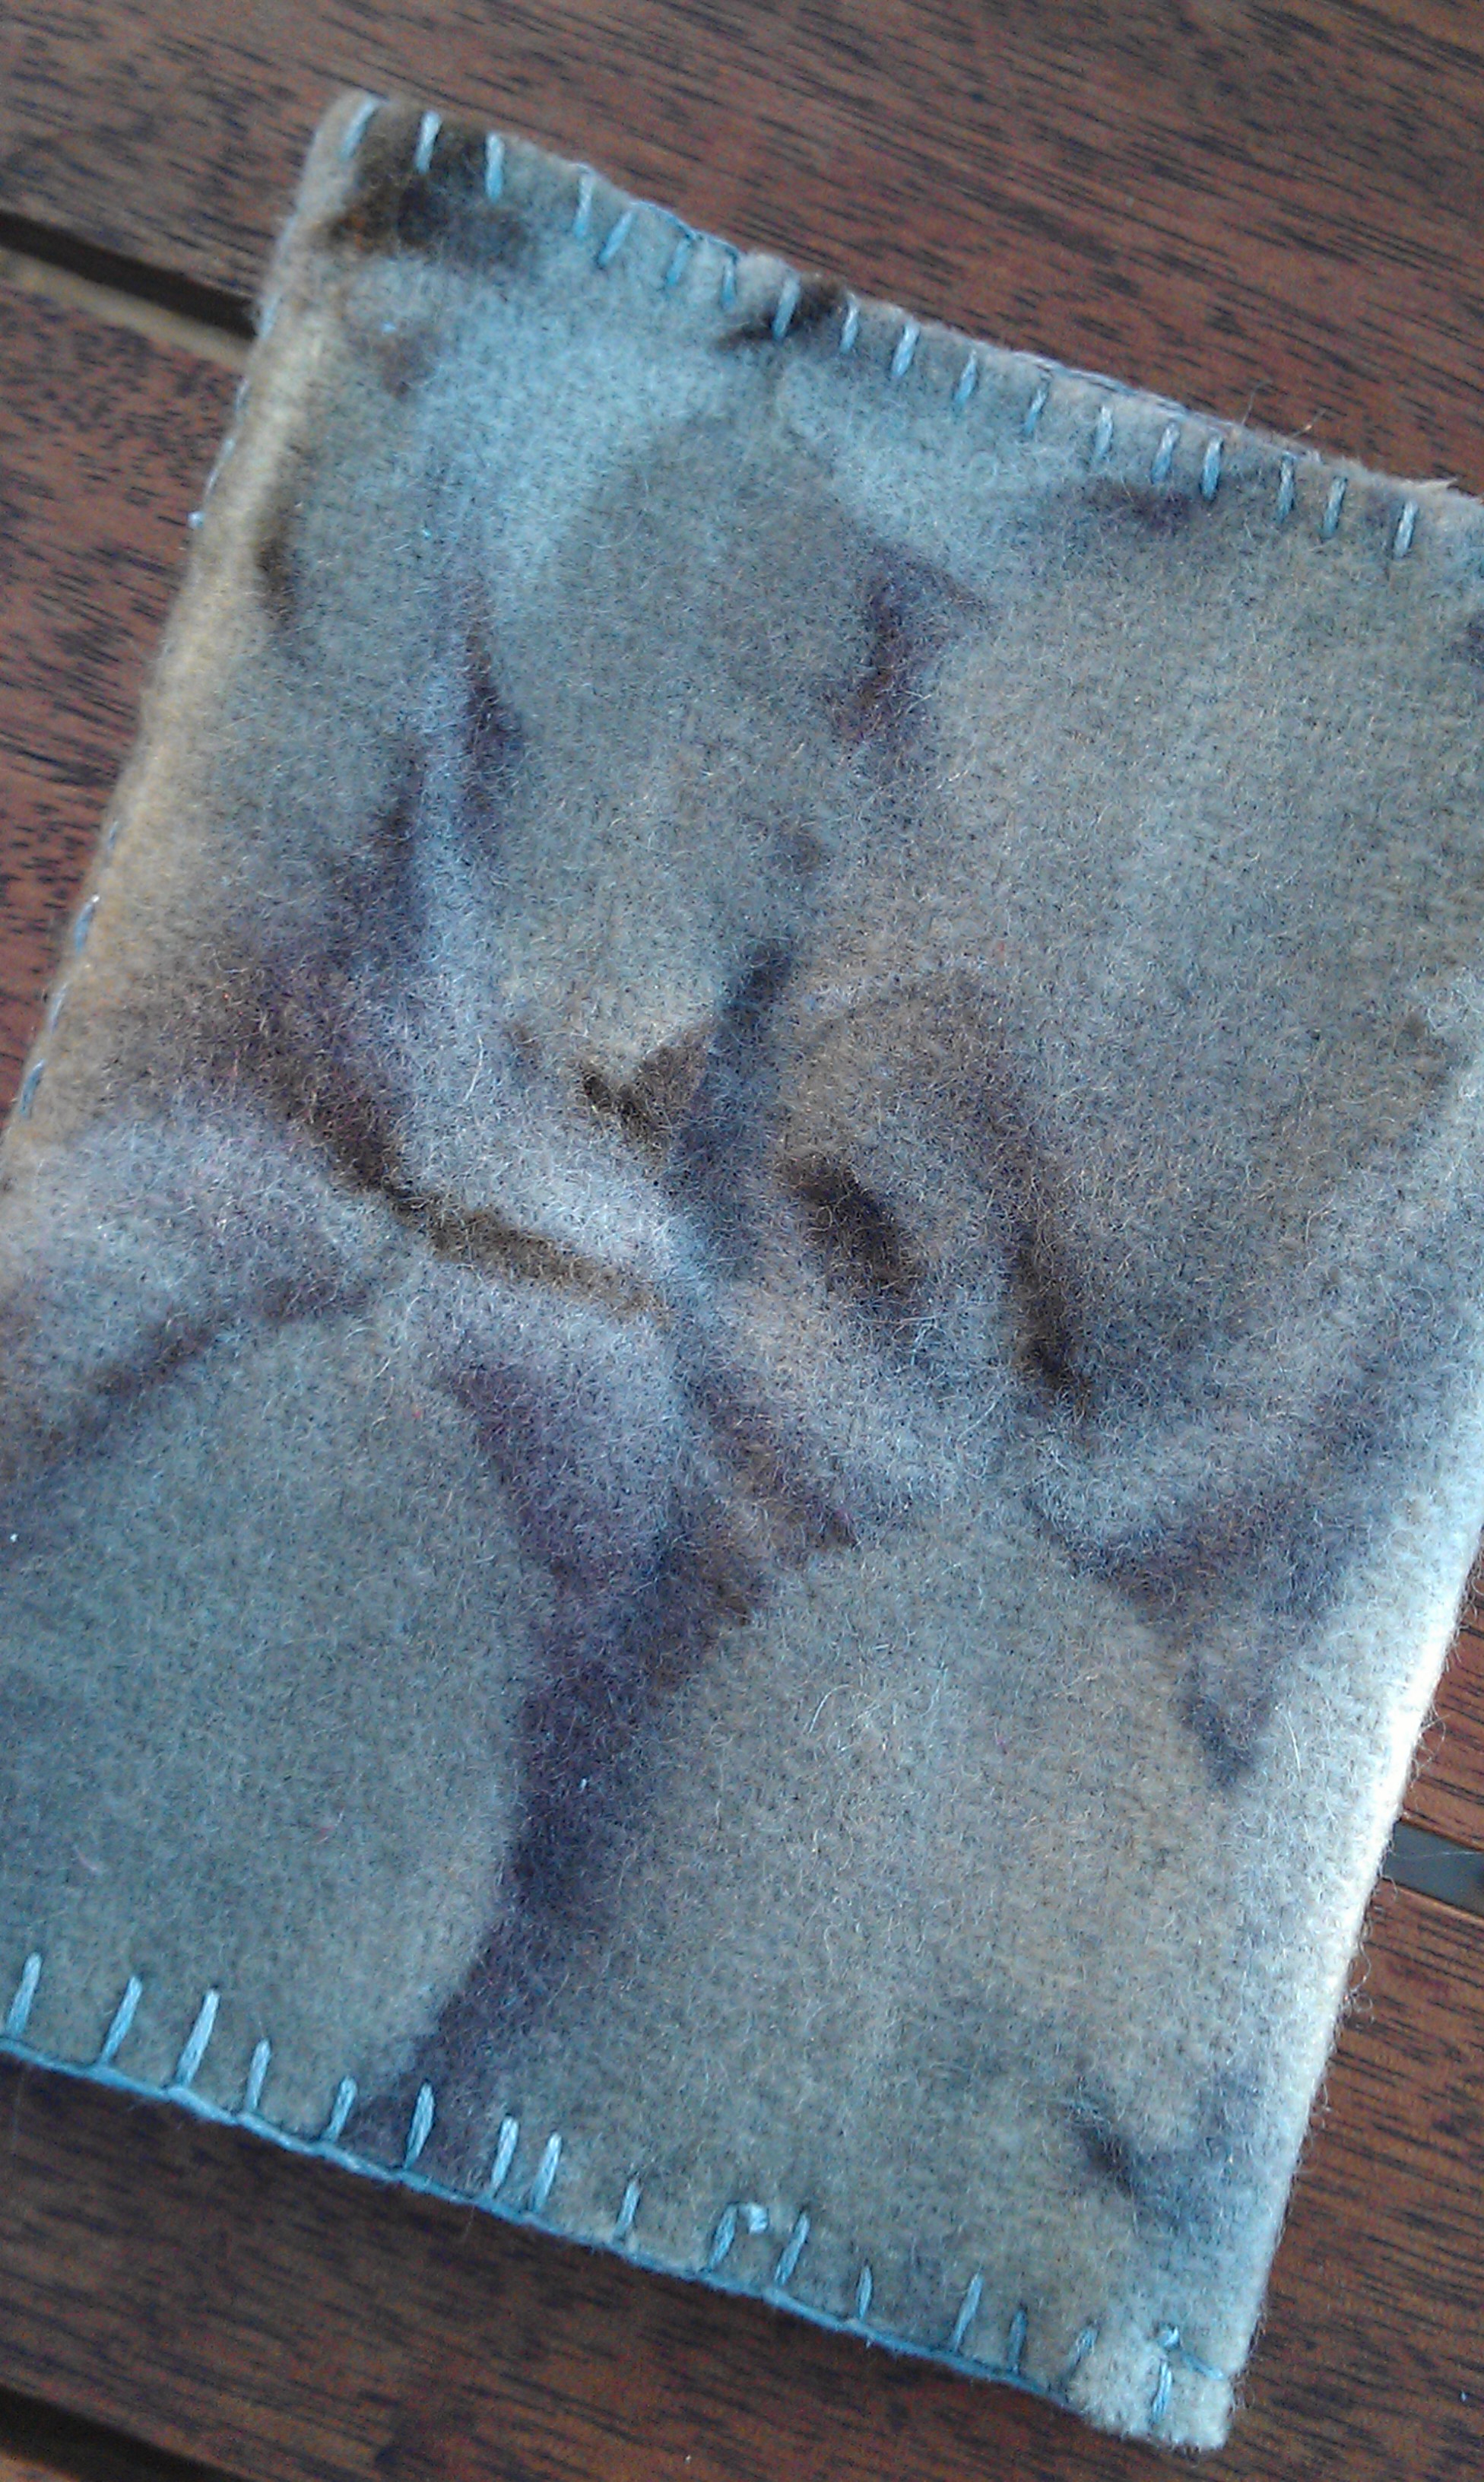
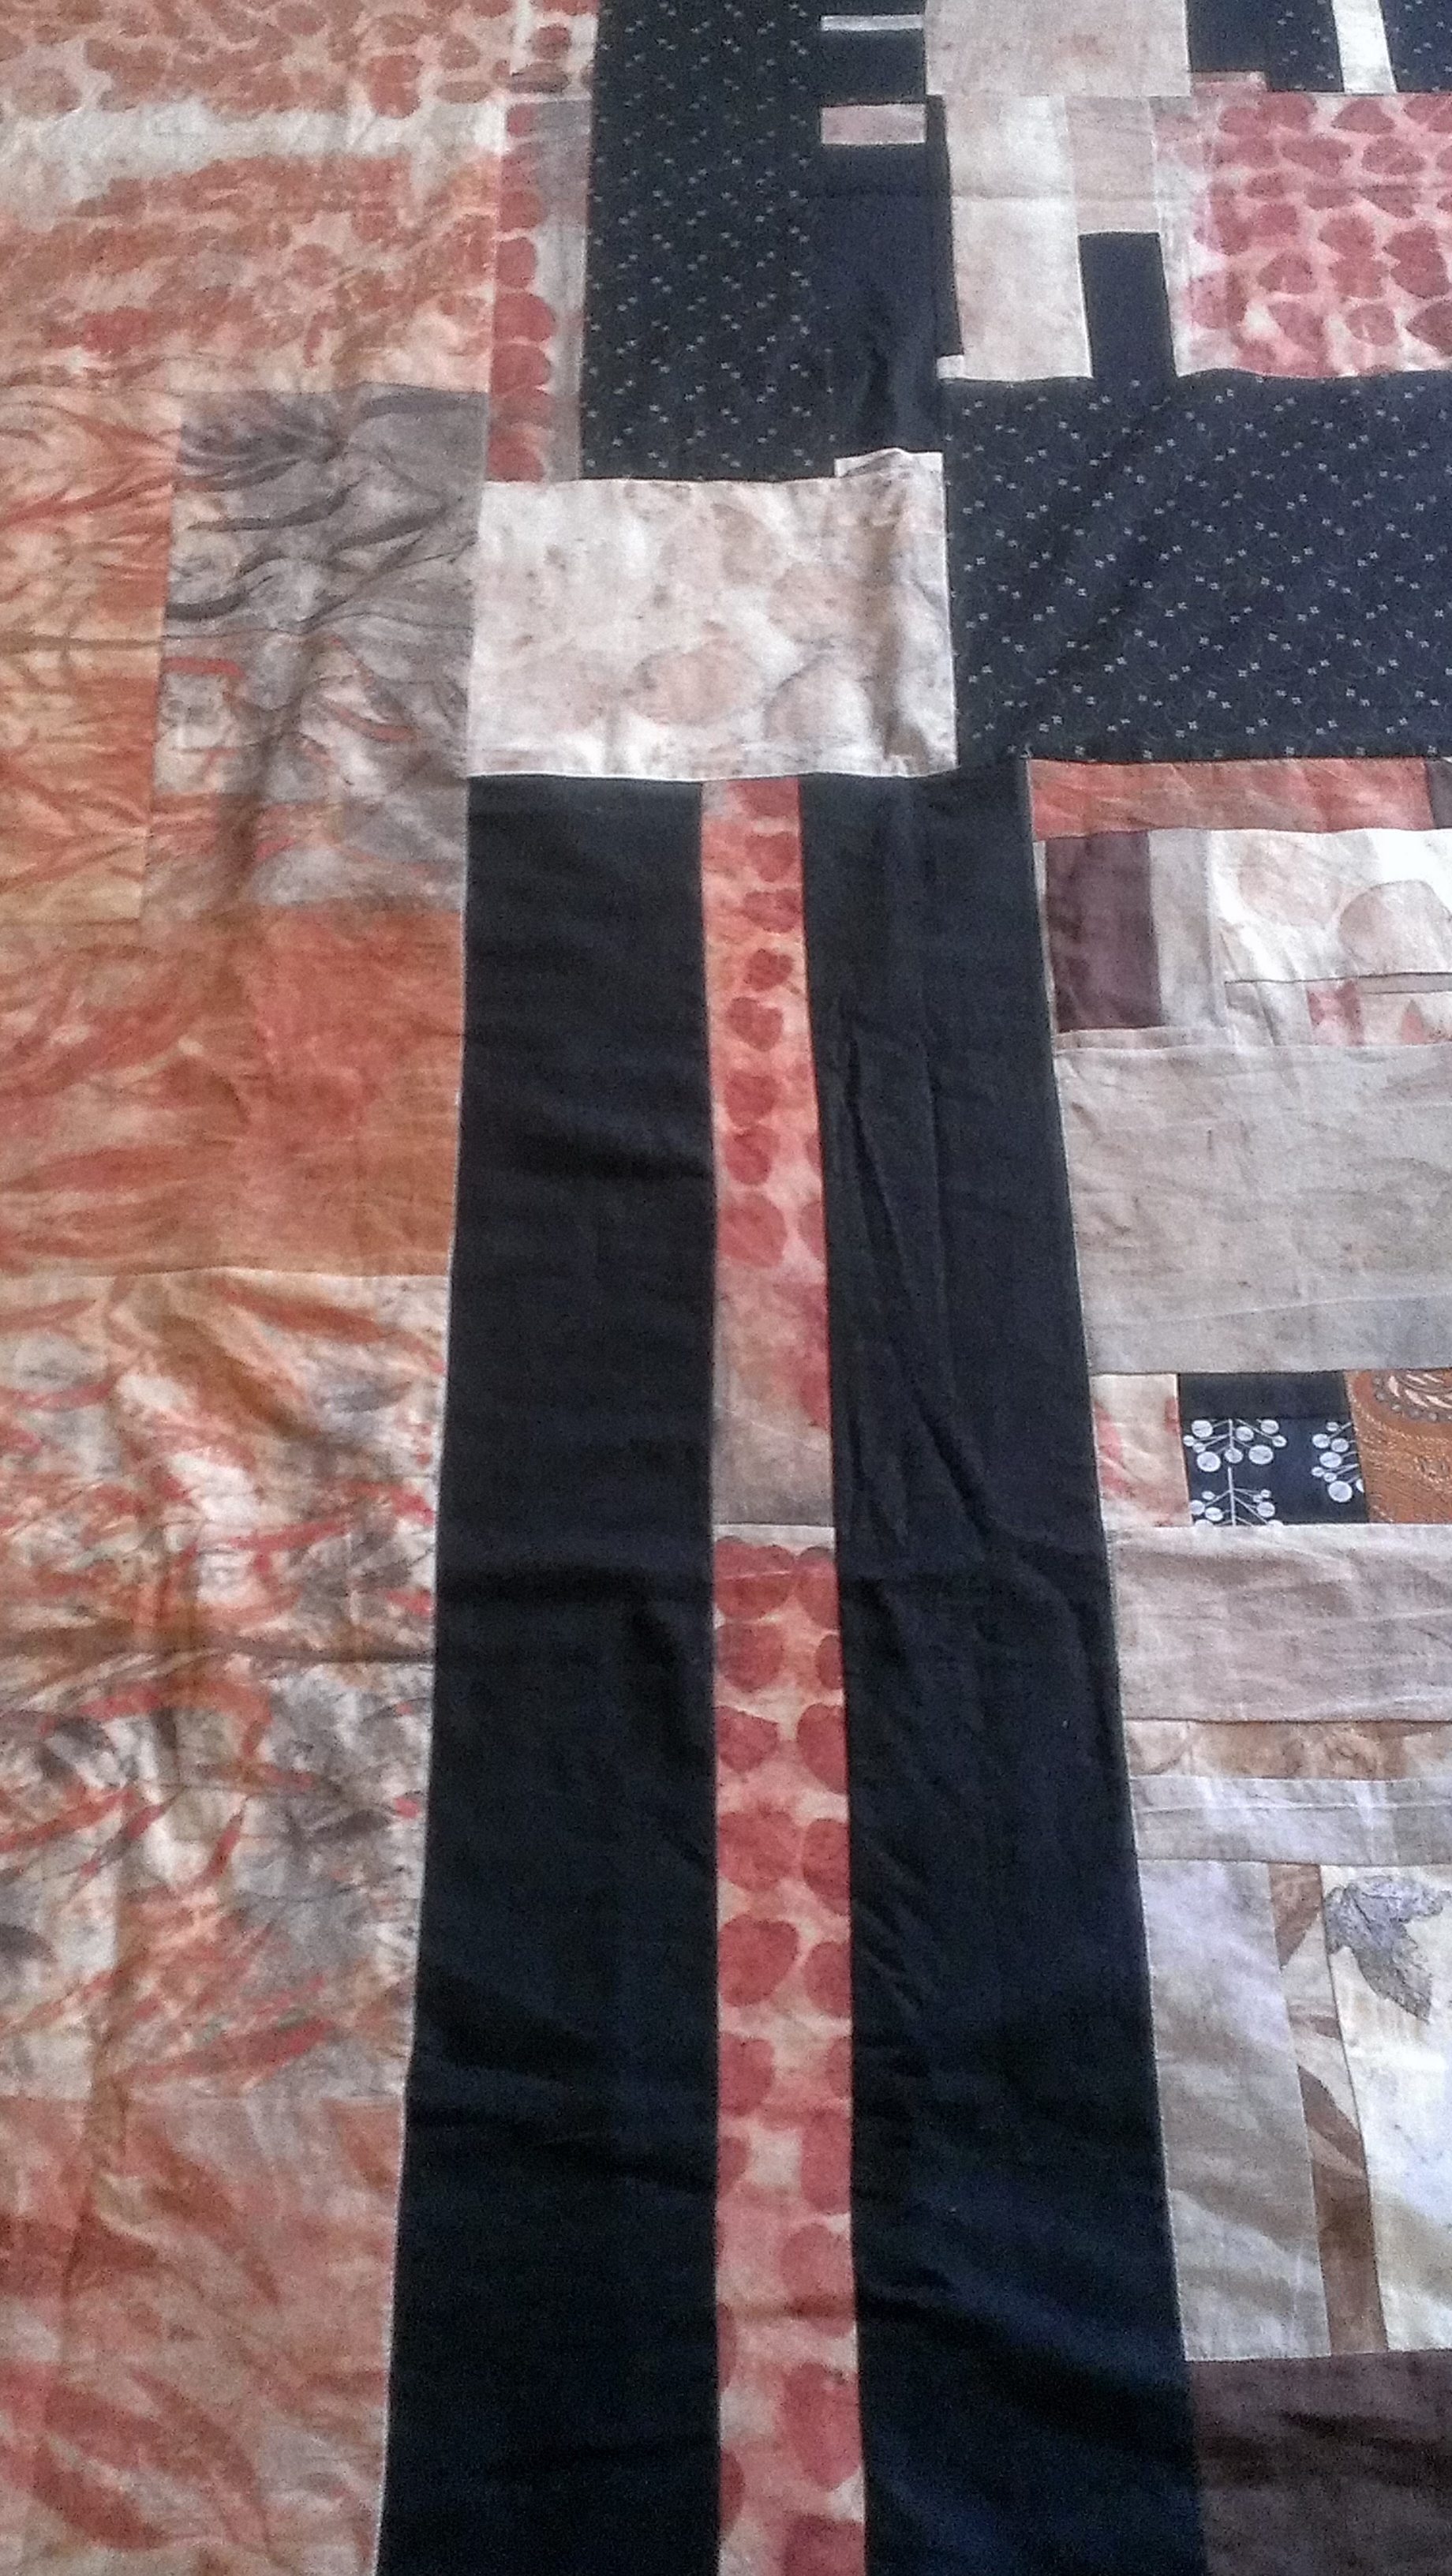
This time, I actually did make the binding with the wonderfully beautiful slanted seams t5hat create less bulk in the next step.

Partway through hand stitching binding to back, a friend who is a tailor and teaches sewing gave me a tip about sliding my needle along the inside of the folded edge of the binding as I handstitched down the binding, so that went extra well too. Second picture of the binding because… I am proud of actually doing the proper thing with the binding for the first time! So, from this…

To a finished quilt.

I even embroidered a little panel with a dedication and the date, as this is going to be a gift for my fairy goddess-son. A finer appreciator of a handmade item would be hard to find, but he is blessed to be sharing his life with, and being brought up by, two such fine people. Soon it will be his birthday. How to wrap the quilt???