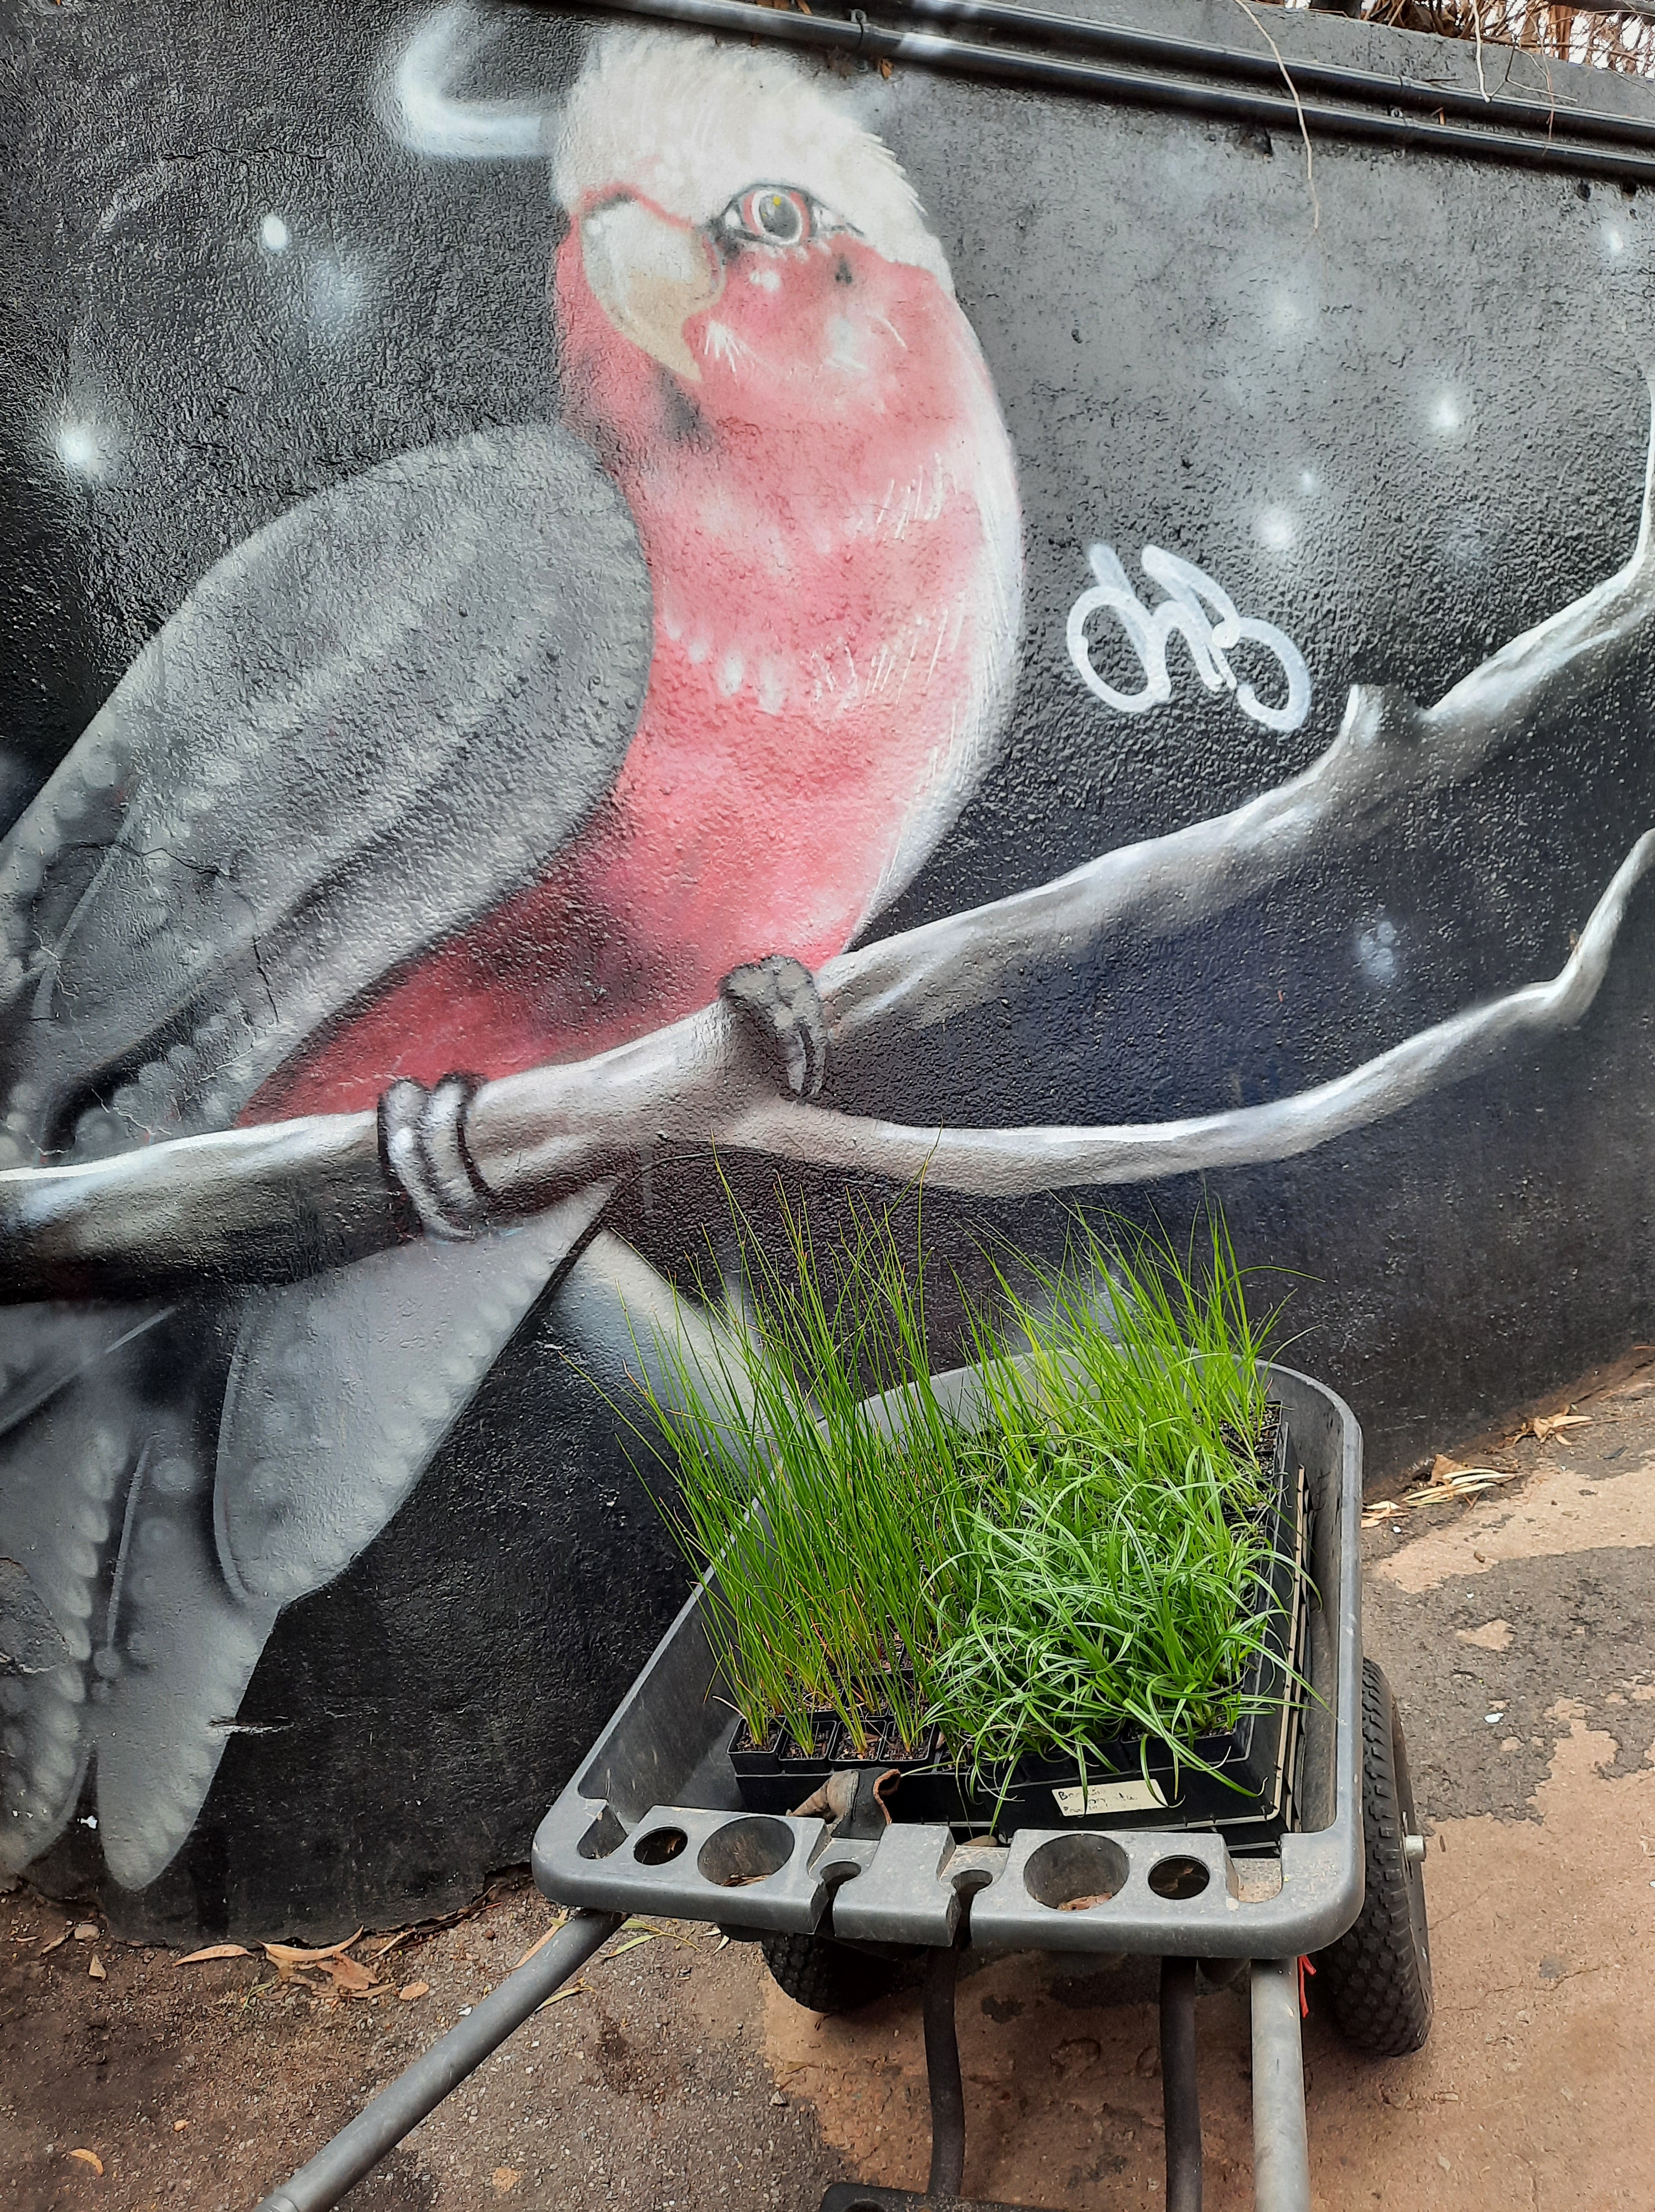
I’ve built a relationship with someone from the Council, and one day, they got in touch to ask if I’d be able to plant 125 plants in a local spot. I said yes! Here they are on their way to the banks of Willa Willa, the local creek.
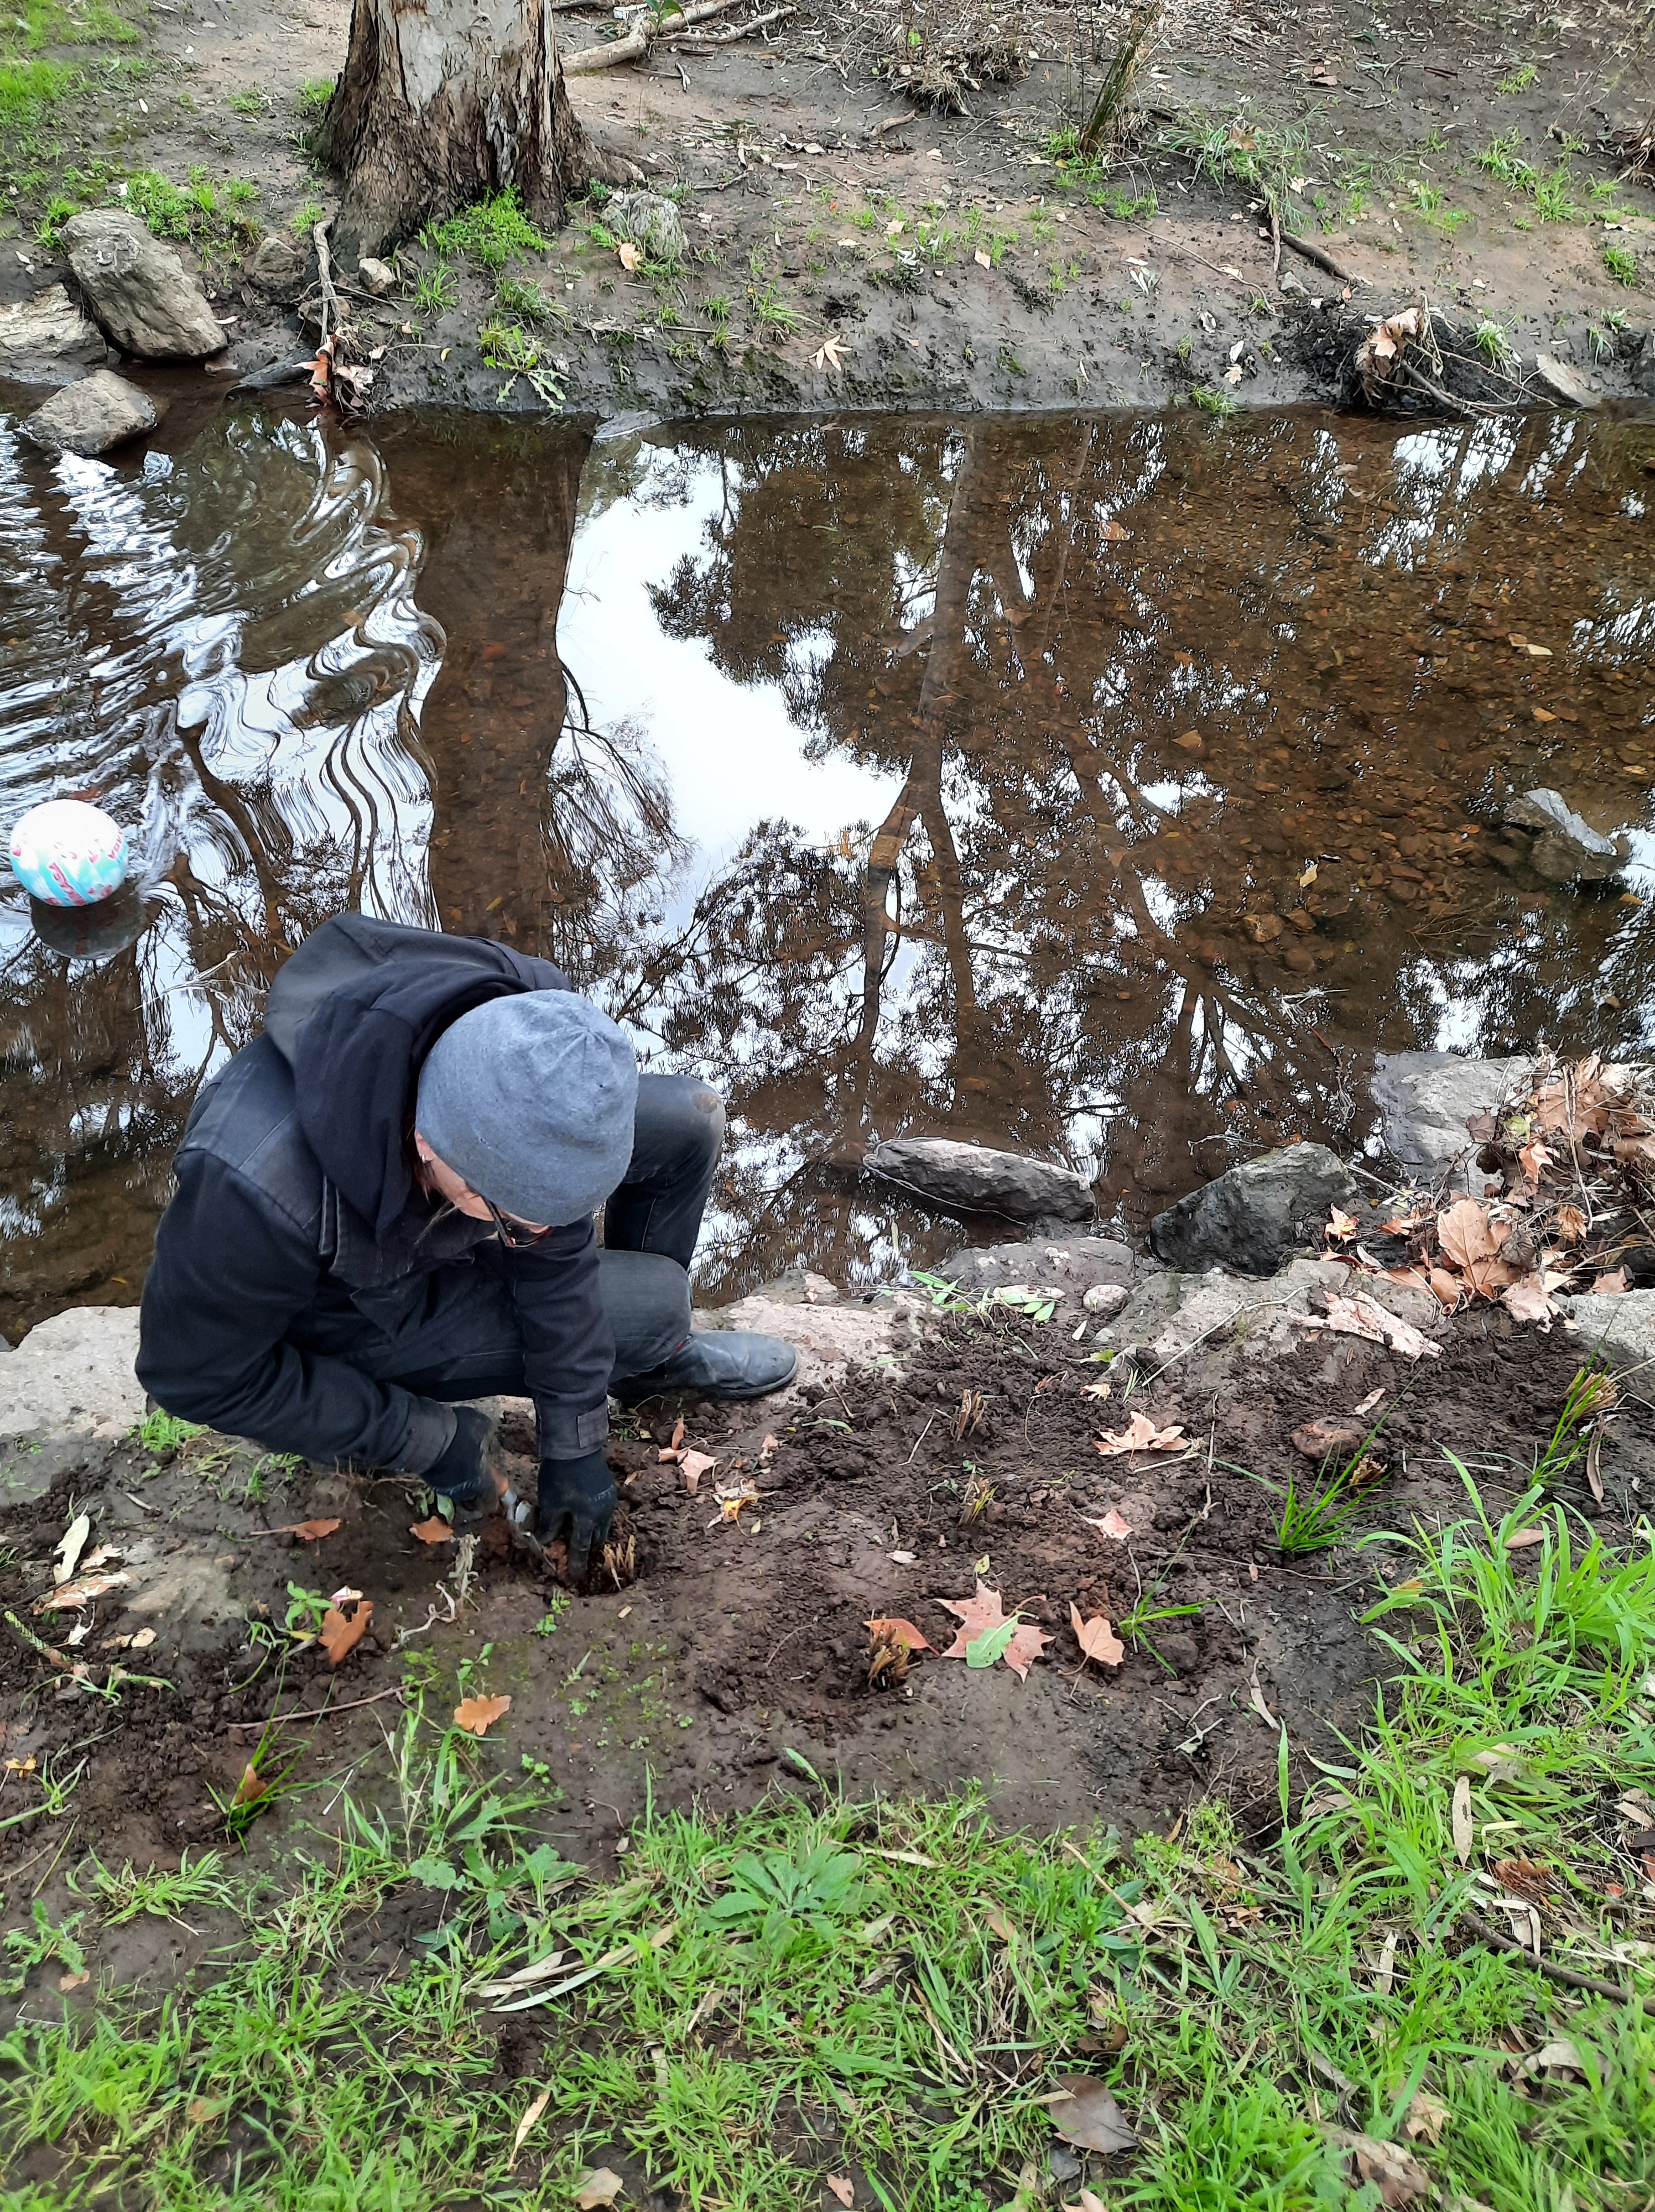
We planted and planted and planted. The creek was still running then.
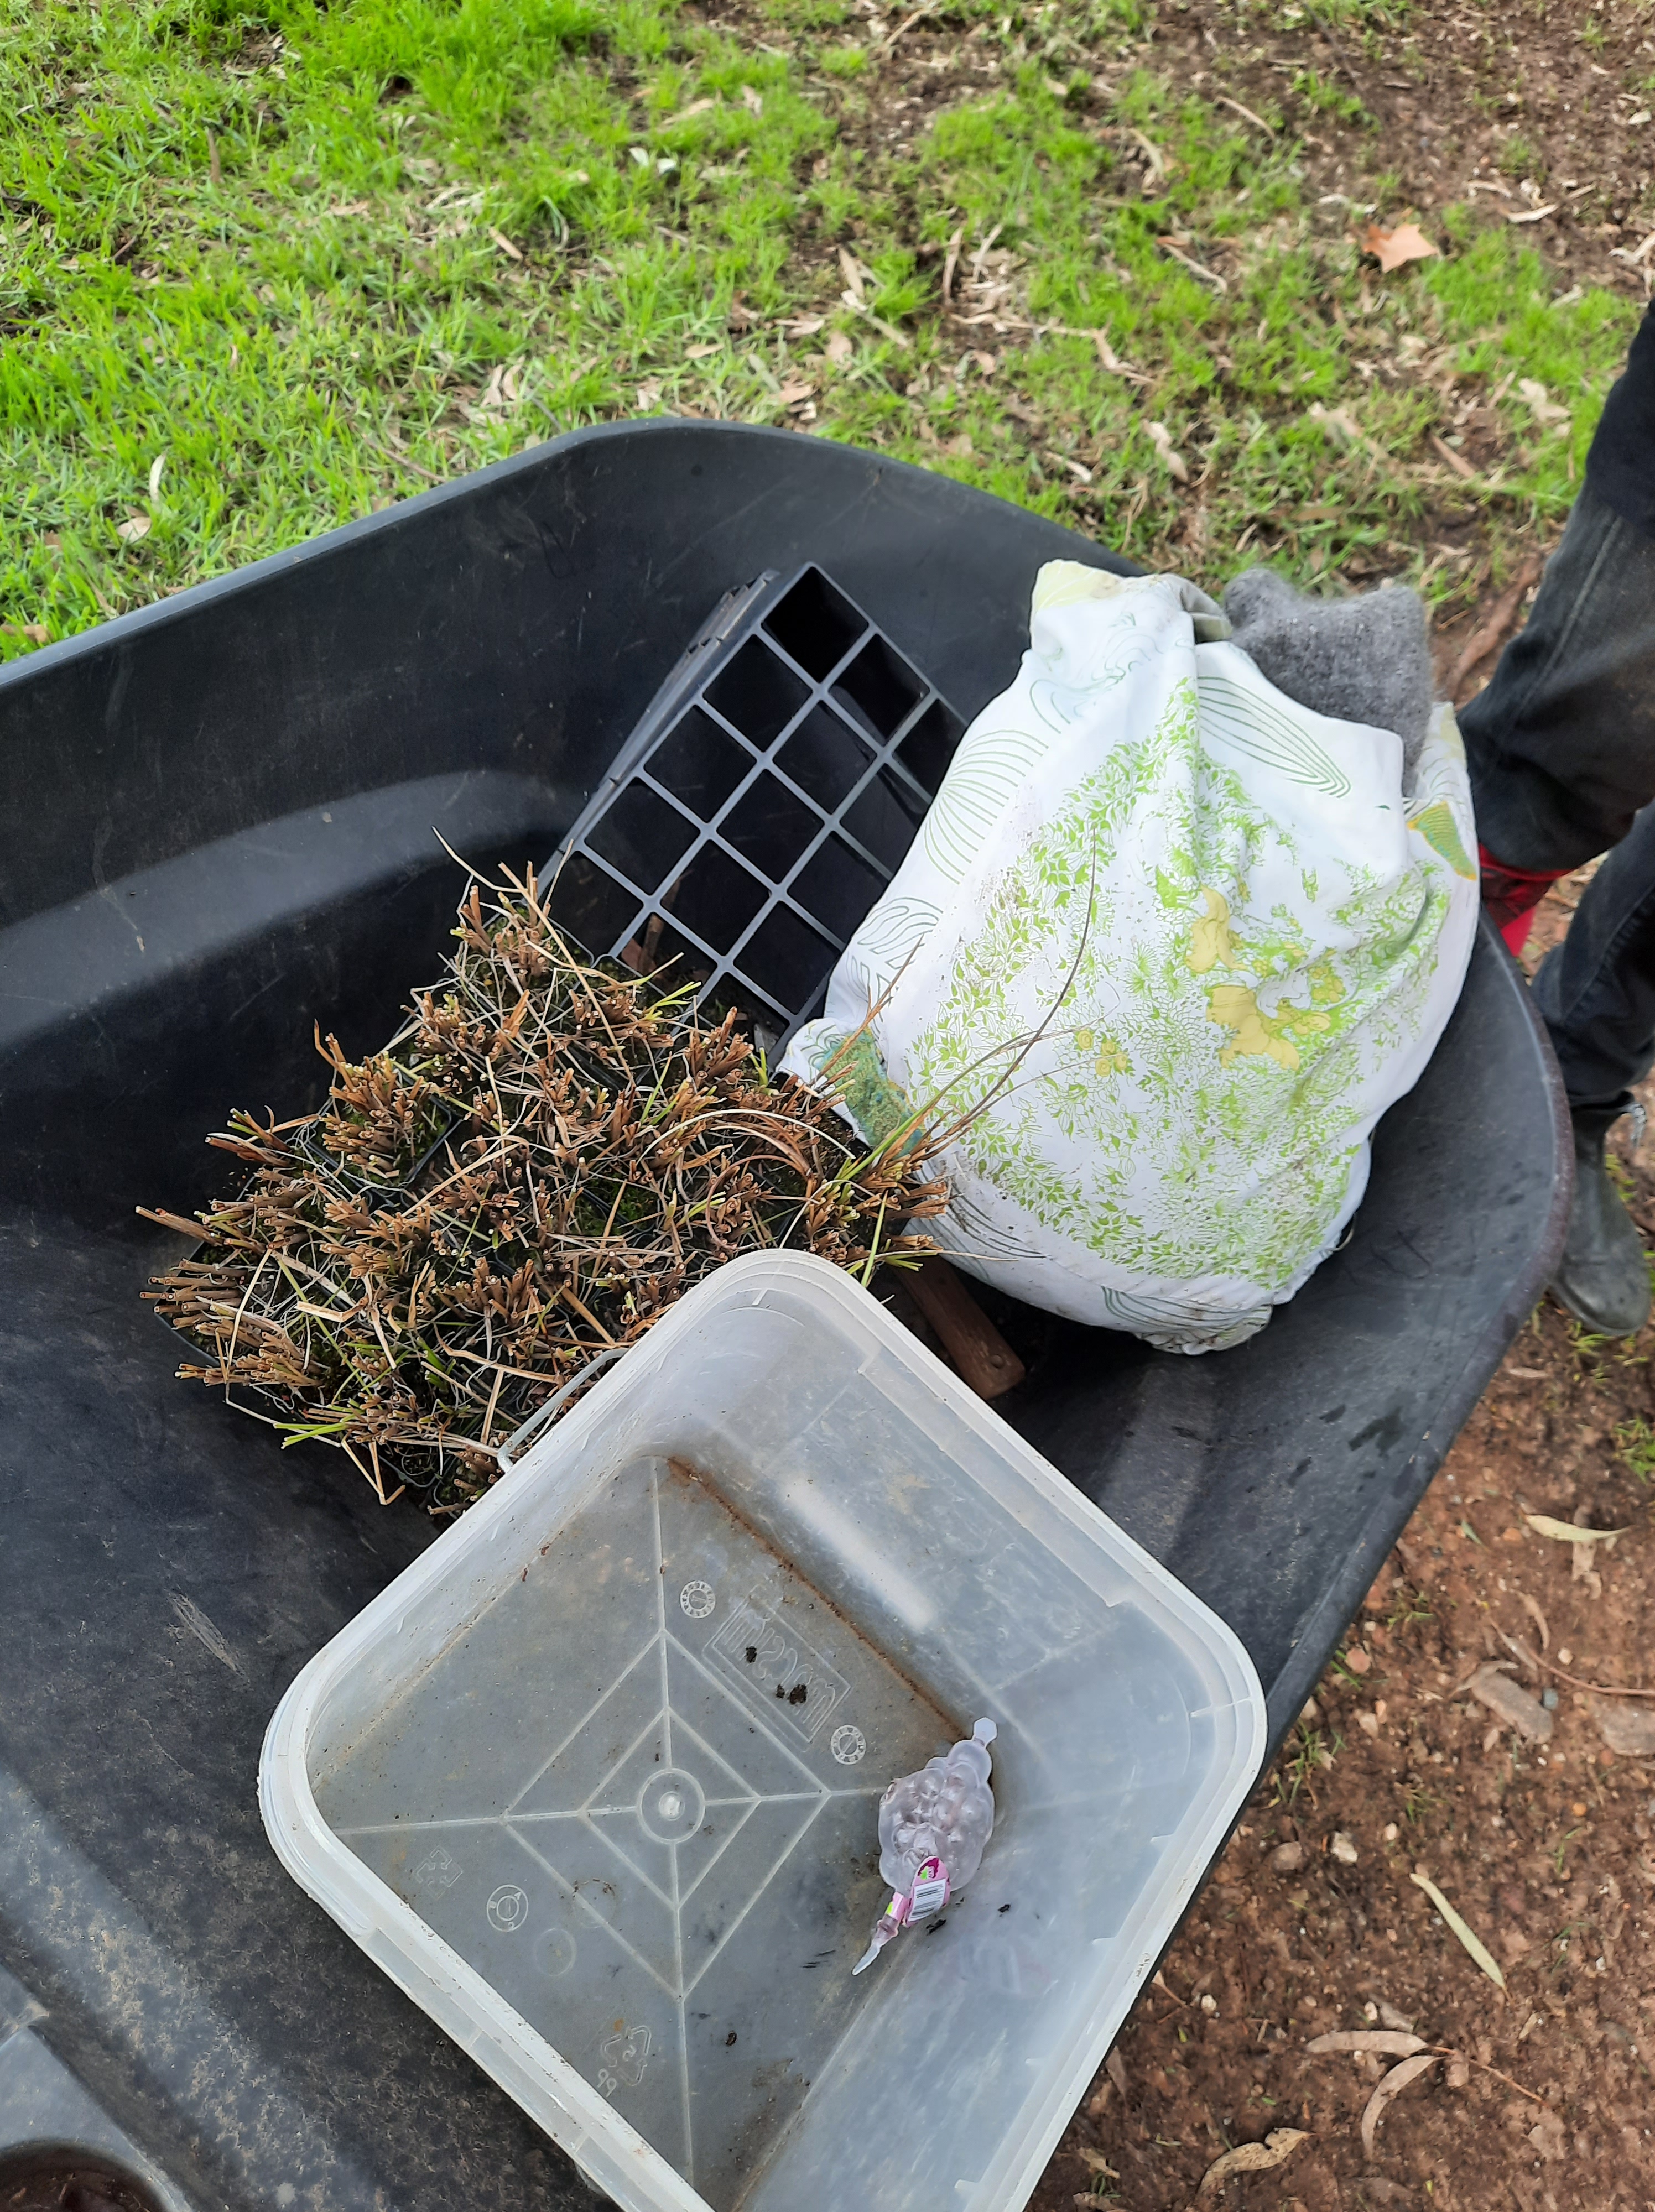
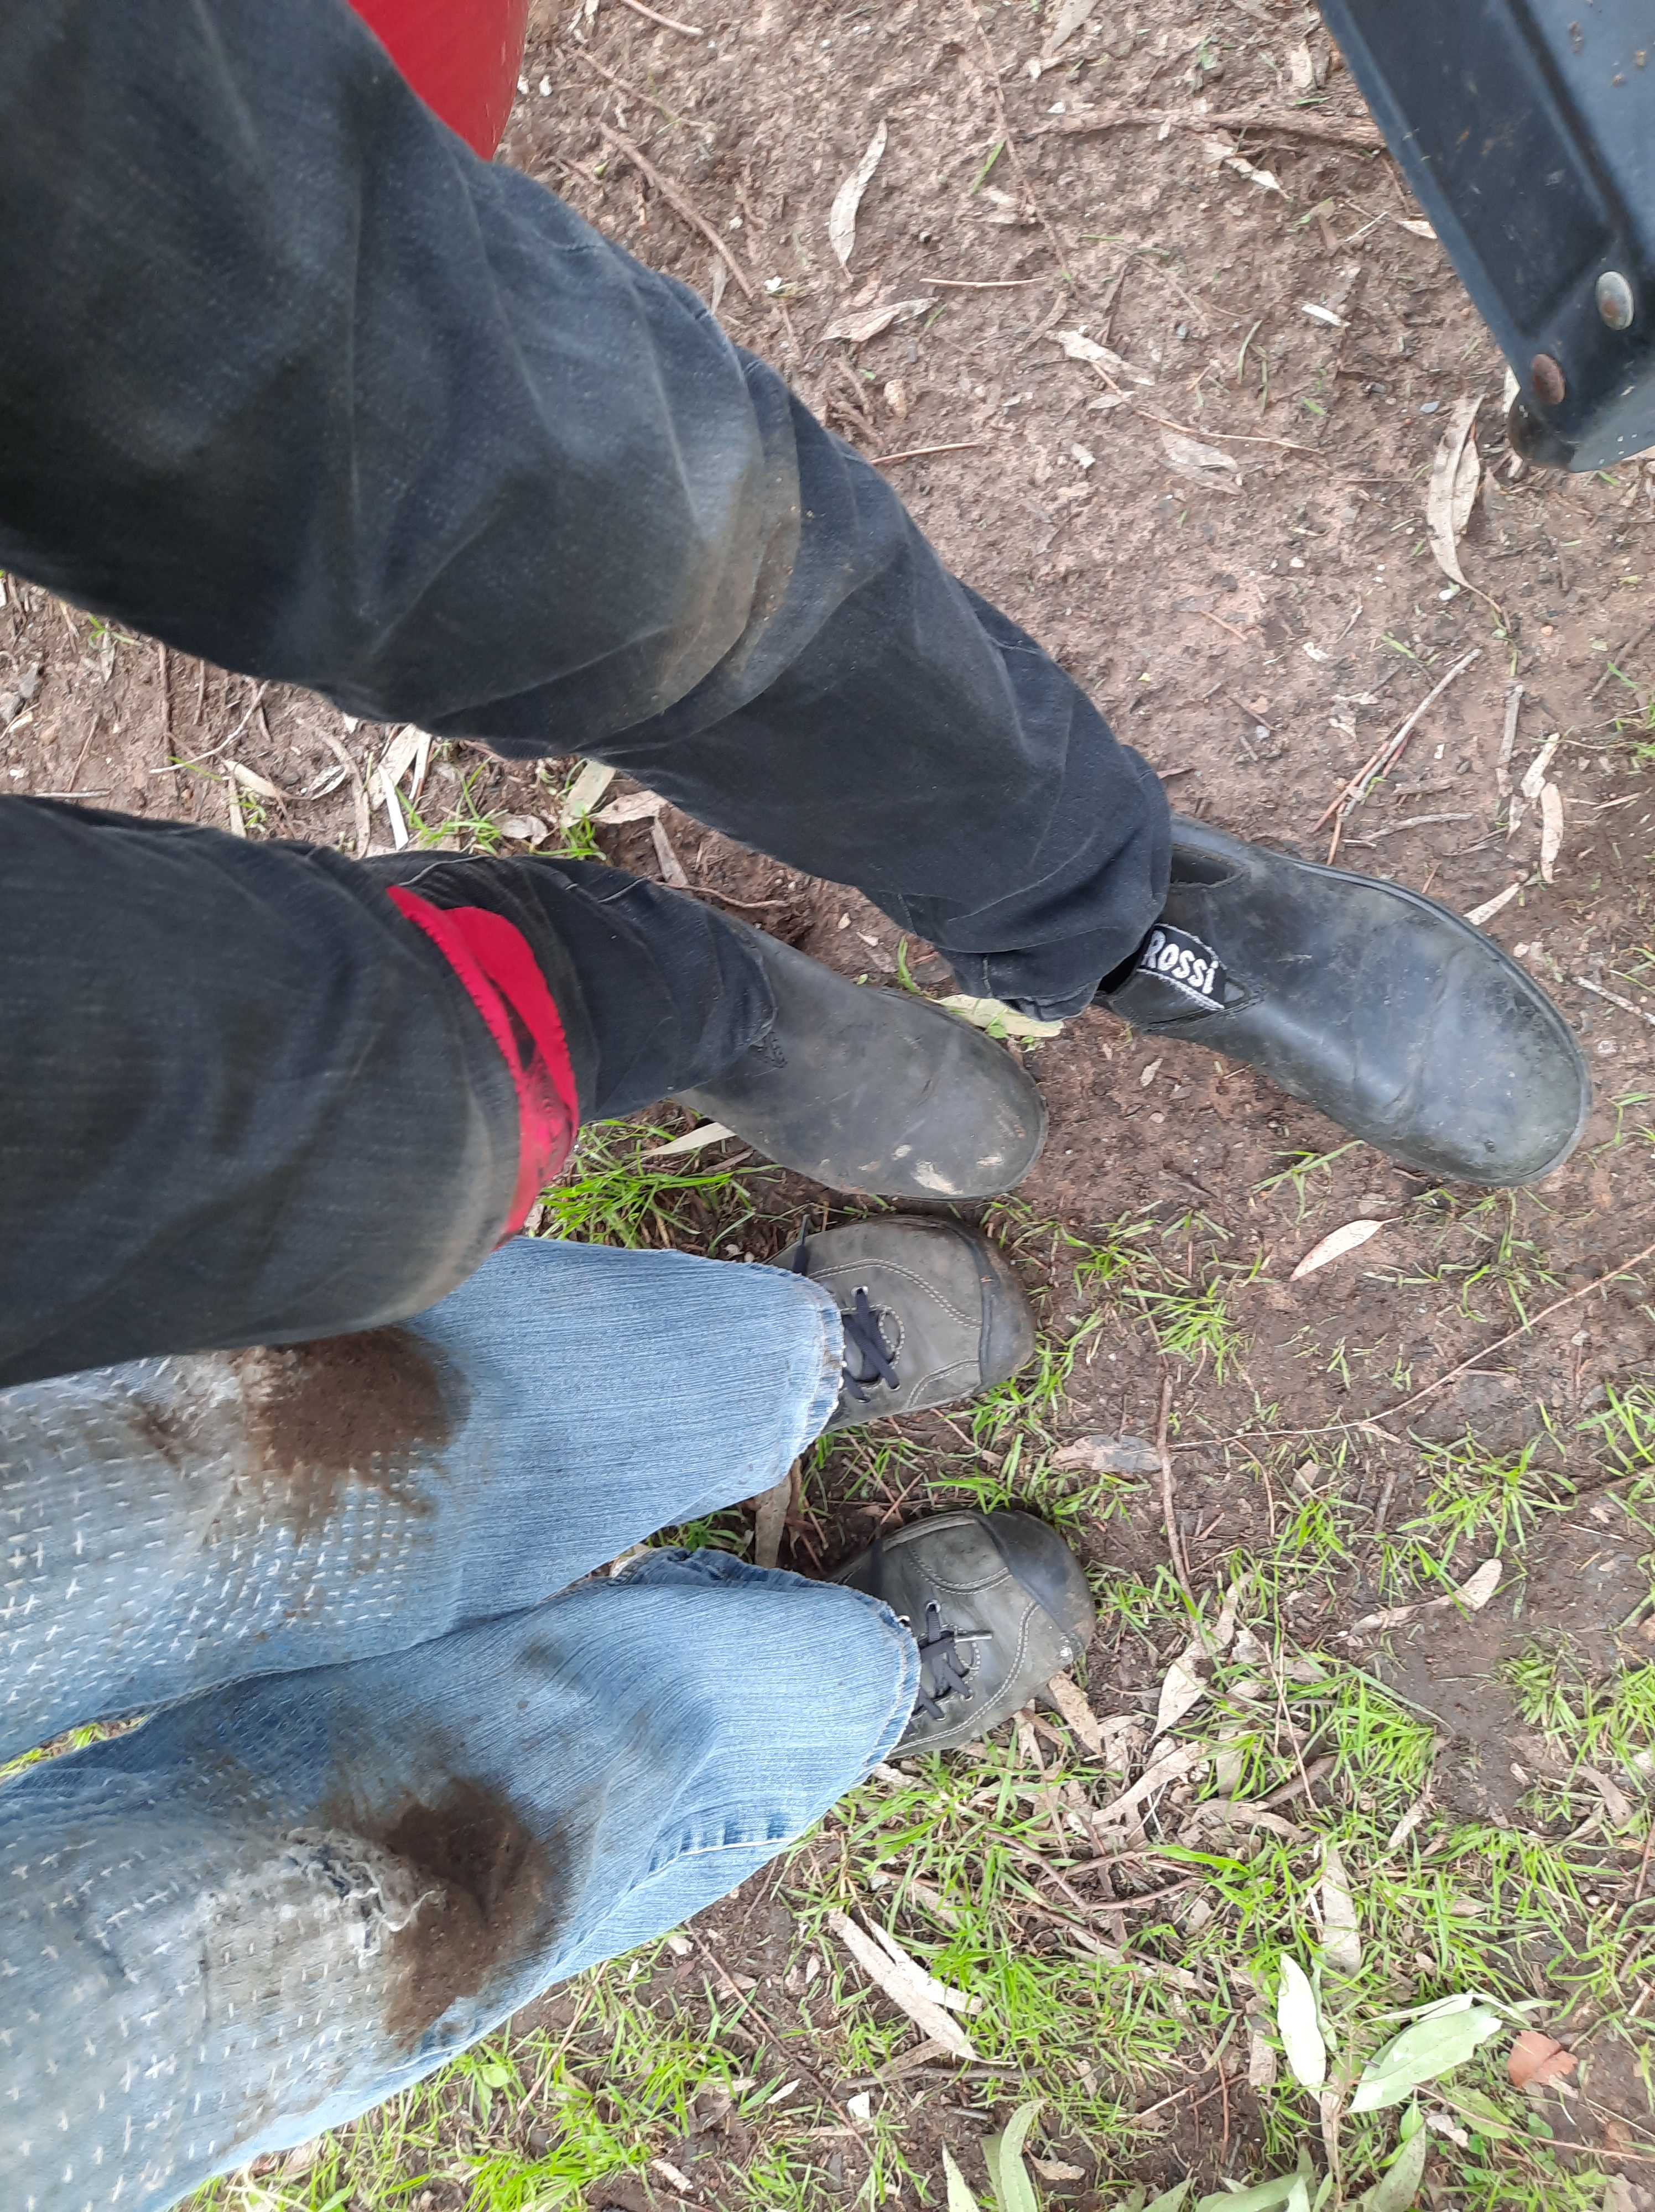
Two of us put them all in. Afterwards, a bucket of litter, muddy knees, and lots of pots for re-use!
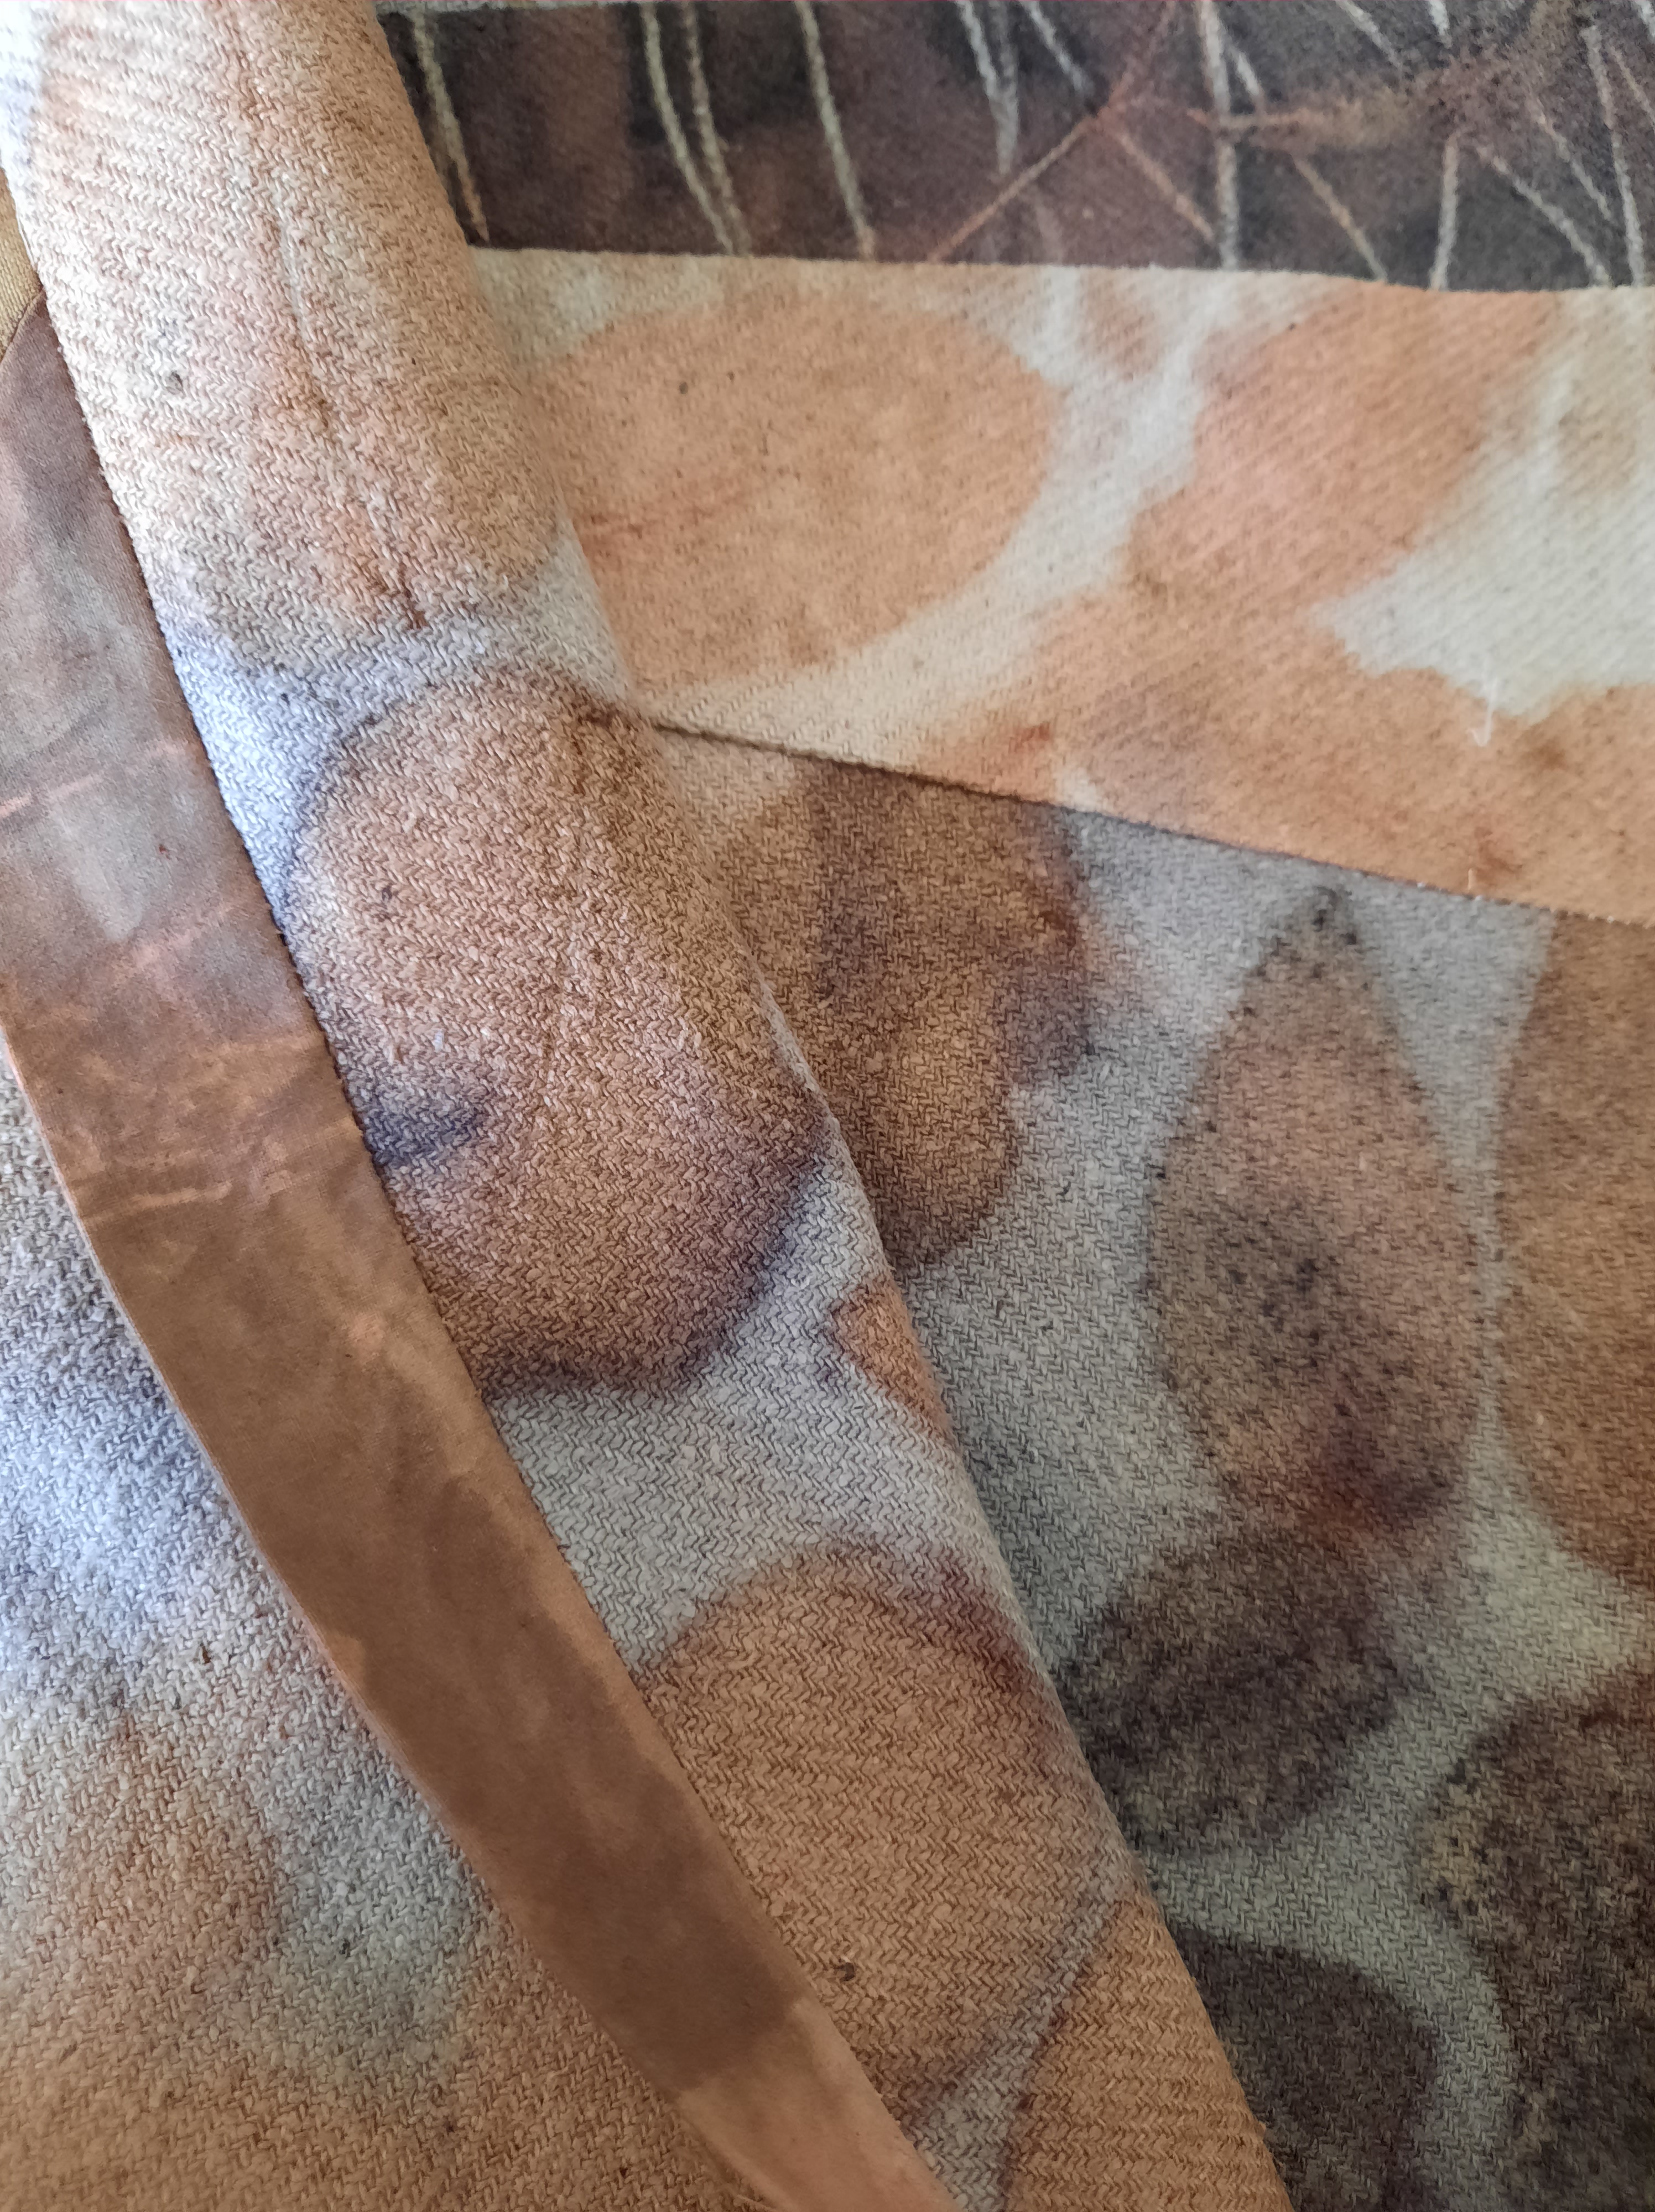
A while back, I went to the Exhibition Embroidery: Oppression to Expression at the David Roche Foundation in North Adelaide. I must admit, I only realised this private gallery was there some time in the last year. This is the first time I’ve been there. It ran through until 25 September, and inexplicably, I drafted this post and didn’t realise I had failed to post it. Sorry! I was initially attracted to the exhibit because it included a selection of survivalist samplers: part of a project initiated by Sera Waters in response to the pandemic. The example above is Survivalist Sampler: Apron by Kay Lawrence. I was particularly drawn to her use of sewing/sowing and clearly pre-loved materials.
This is Sera Waters’ Survivalist Sampler #2. Rich in details! I have watched this sampler evolve on social media and been a bit fascinated by this concept and the way many so people have taken it up.
And this is Leonie Andrews’ Survivalist Sampler: March 2020 Covid Diary. Again, rich in detail, and I love the inclusion of the pocket bags, the yellow tailed black cockatoos winging through the details of a city life. These works had me noticing how the theme of time appears again and again, whether explicitly (as in Kay Lawrence’s work) or implicitly, in the way that works engage with dailiness and detail; the small picture of the kitchen and garden rather than the world at large, with a time scale to match.
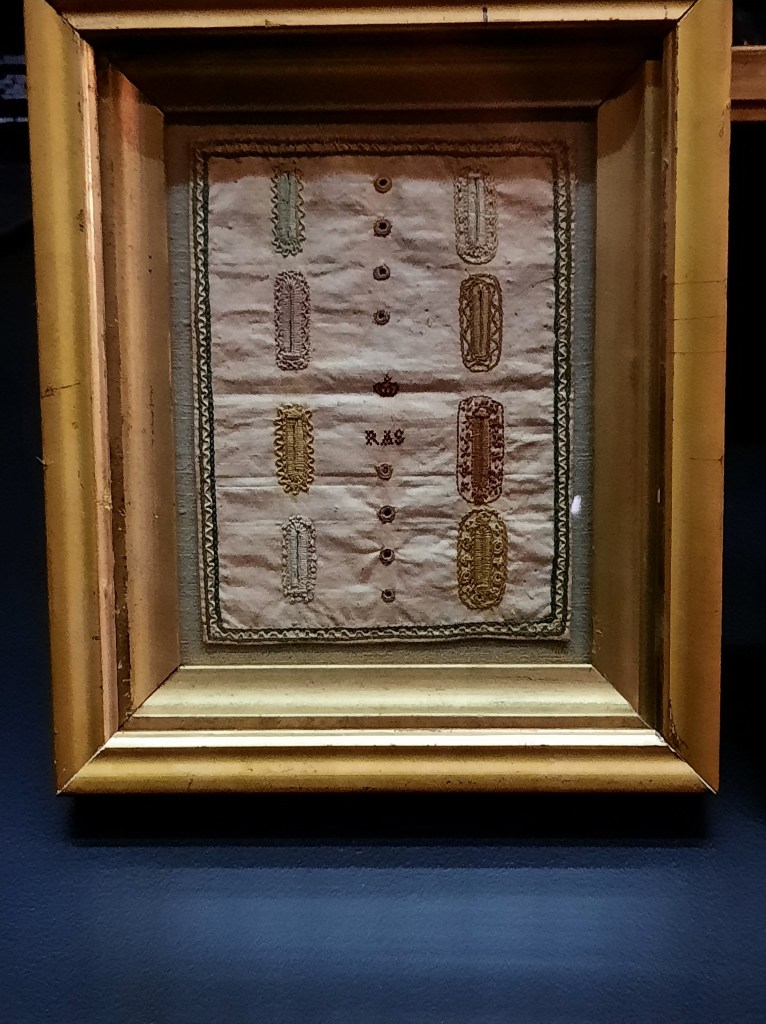
The exhibition contained a considerable selection of historical and contemporary Embroidery, drawn together from private and public collections and those in the hands of religious institutions. This placket sampler attributed to RHAS and dated 1818 is thought to have come from the Netherlands. I’ve seen buttonhole samplers before, but never a placket sampler!
My brother-in-law has framed a buttonhole sampler that has been passed down in his family, and I admire it every time I stay in their home. It’s not as fancy as this one (but it has more buttonholes!) This one is by the well known RAS, also possibly from The Netherlands.
This stomacher is by the famous, long lived and prolific female artist “Unknown”; 1715-1730. The exhibition contains many examples of beautiful garments and garment fragments. This one did have me laughing a little, as I only know what a stomacher is because I read the fabulous book The Pocket: A Hidden History of Women’s Lives, 1660-1900 by Barbara Burman and Ariane Fennetaux. Because of the historical period it covers, I learned quite a few new words!
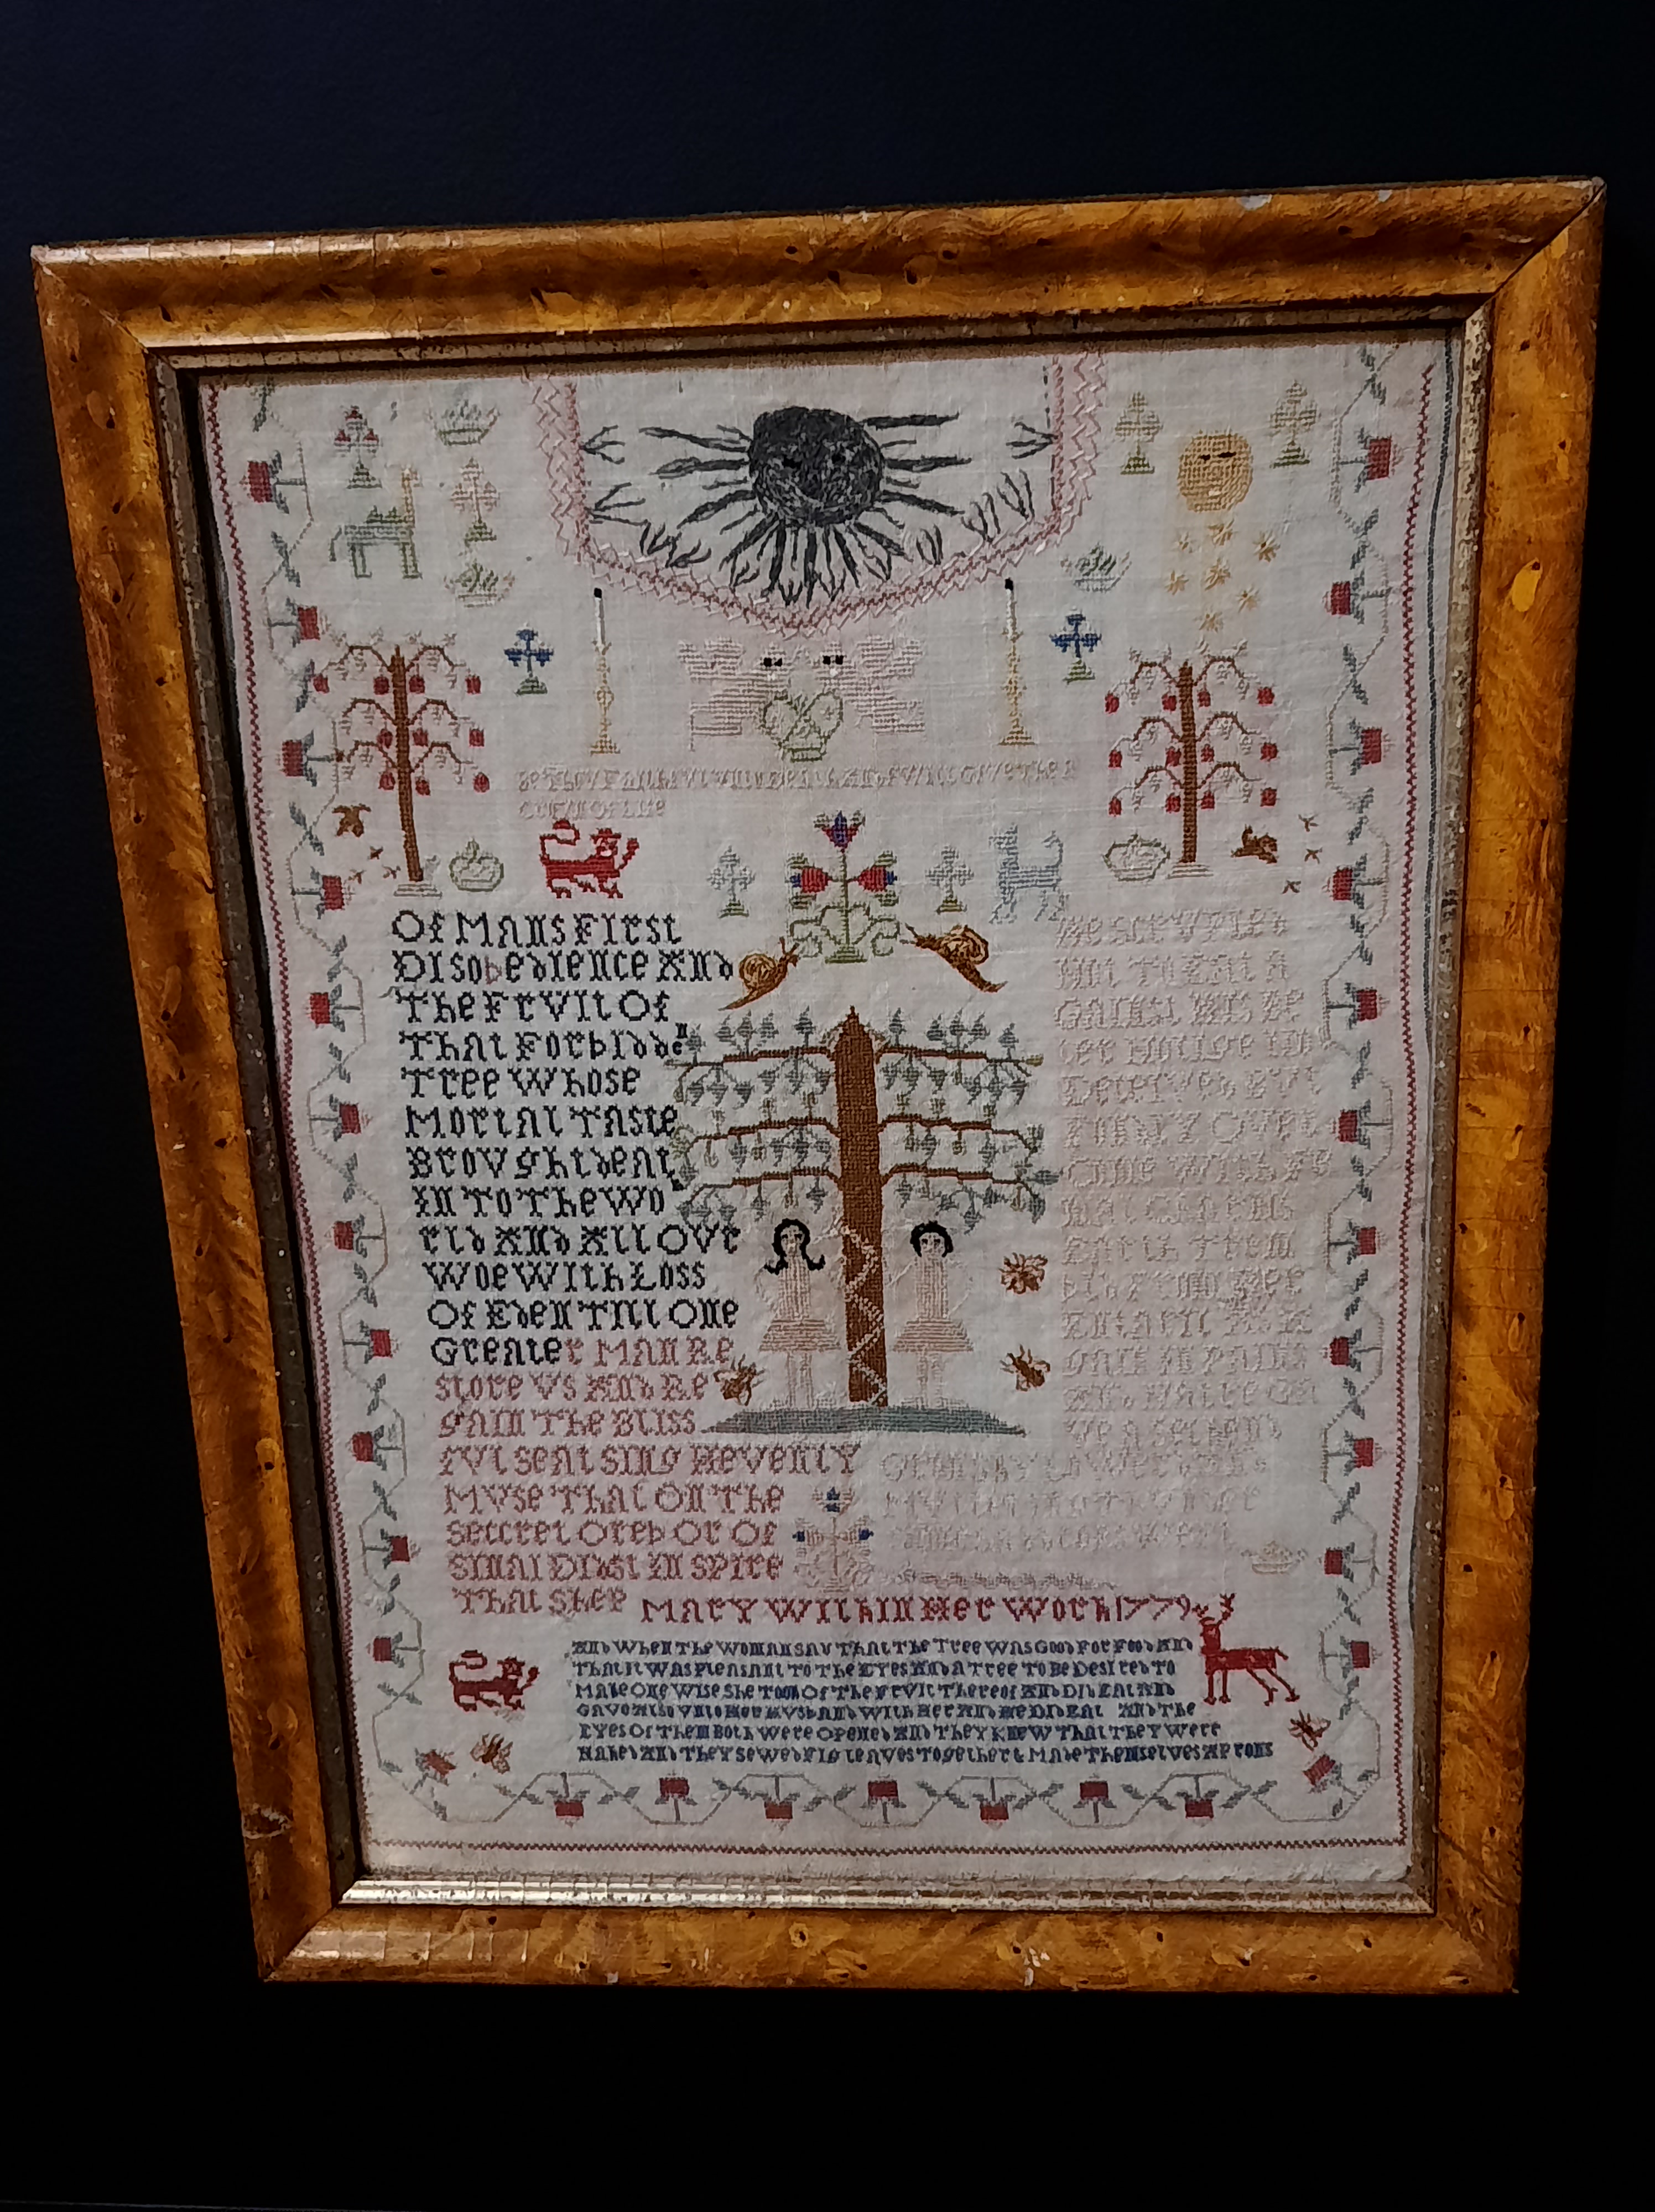
This sampler by Mary Wilkin was one of many on display.
And this is by Charlotte Legg.
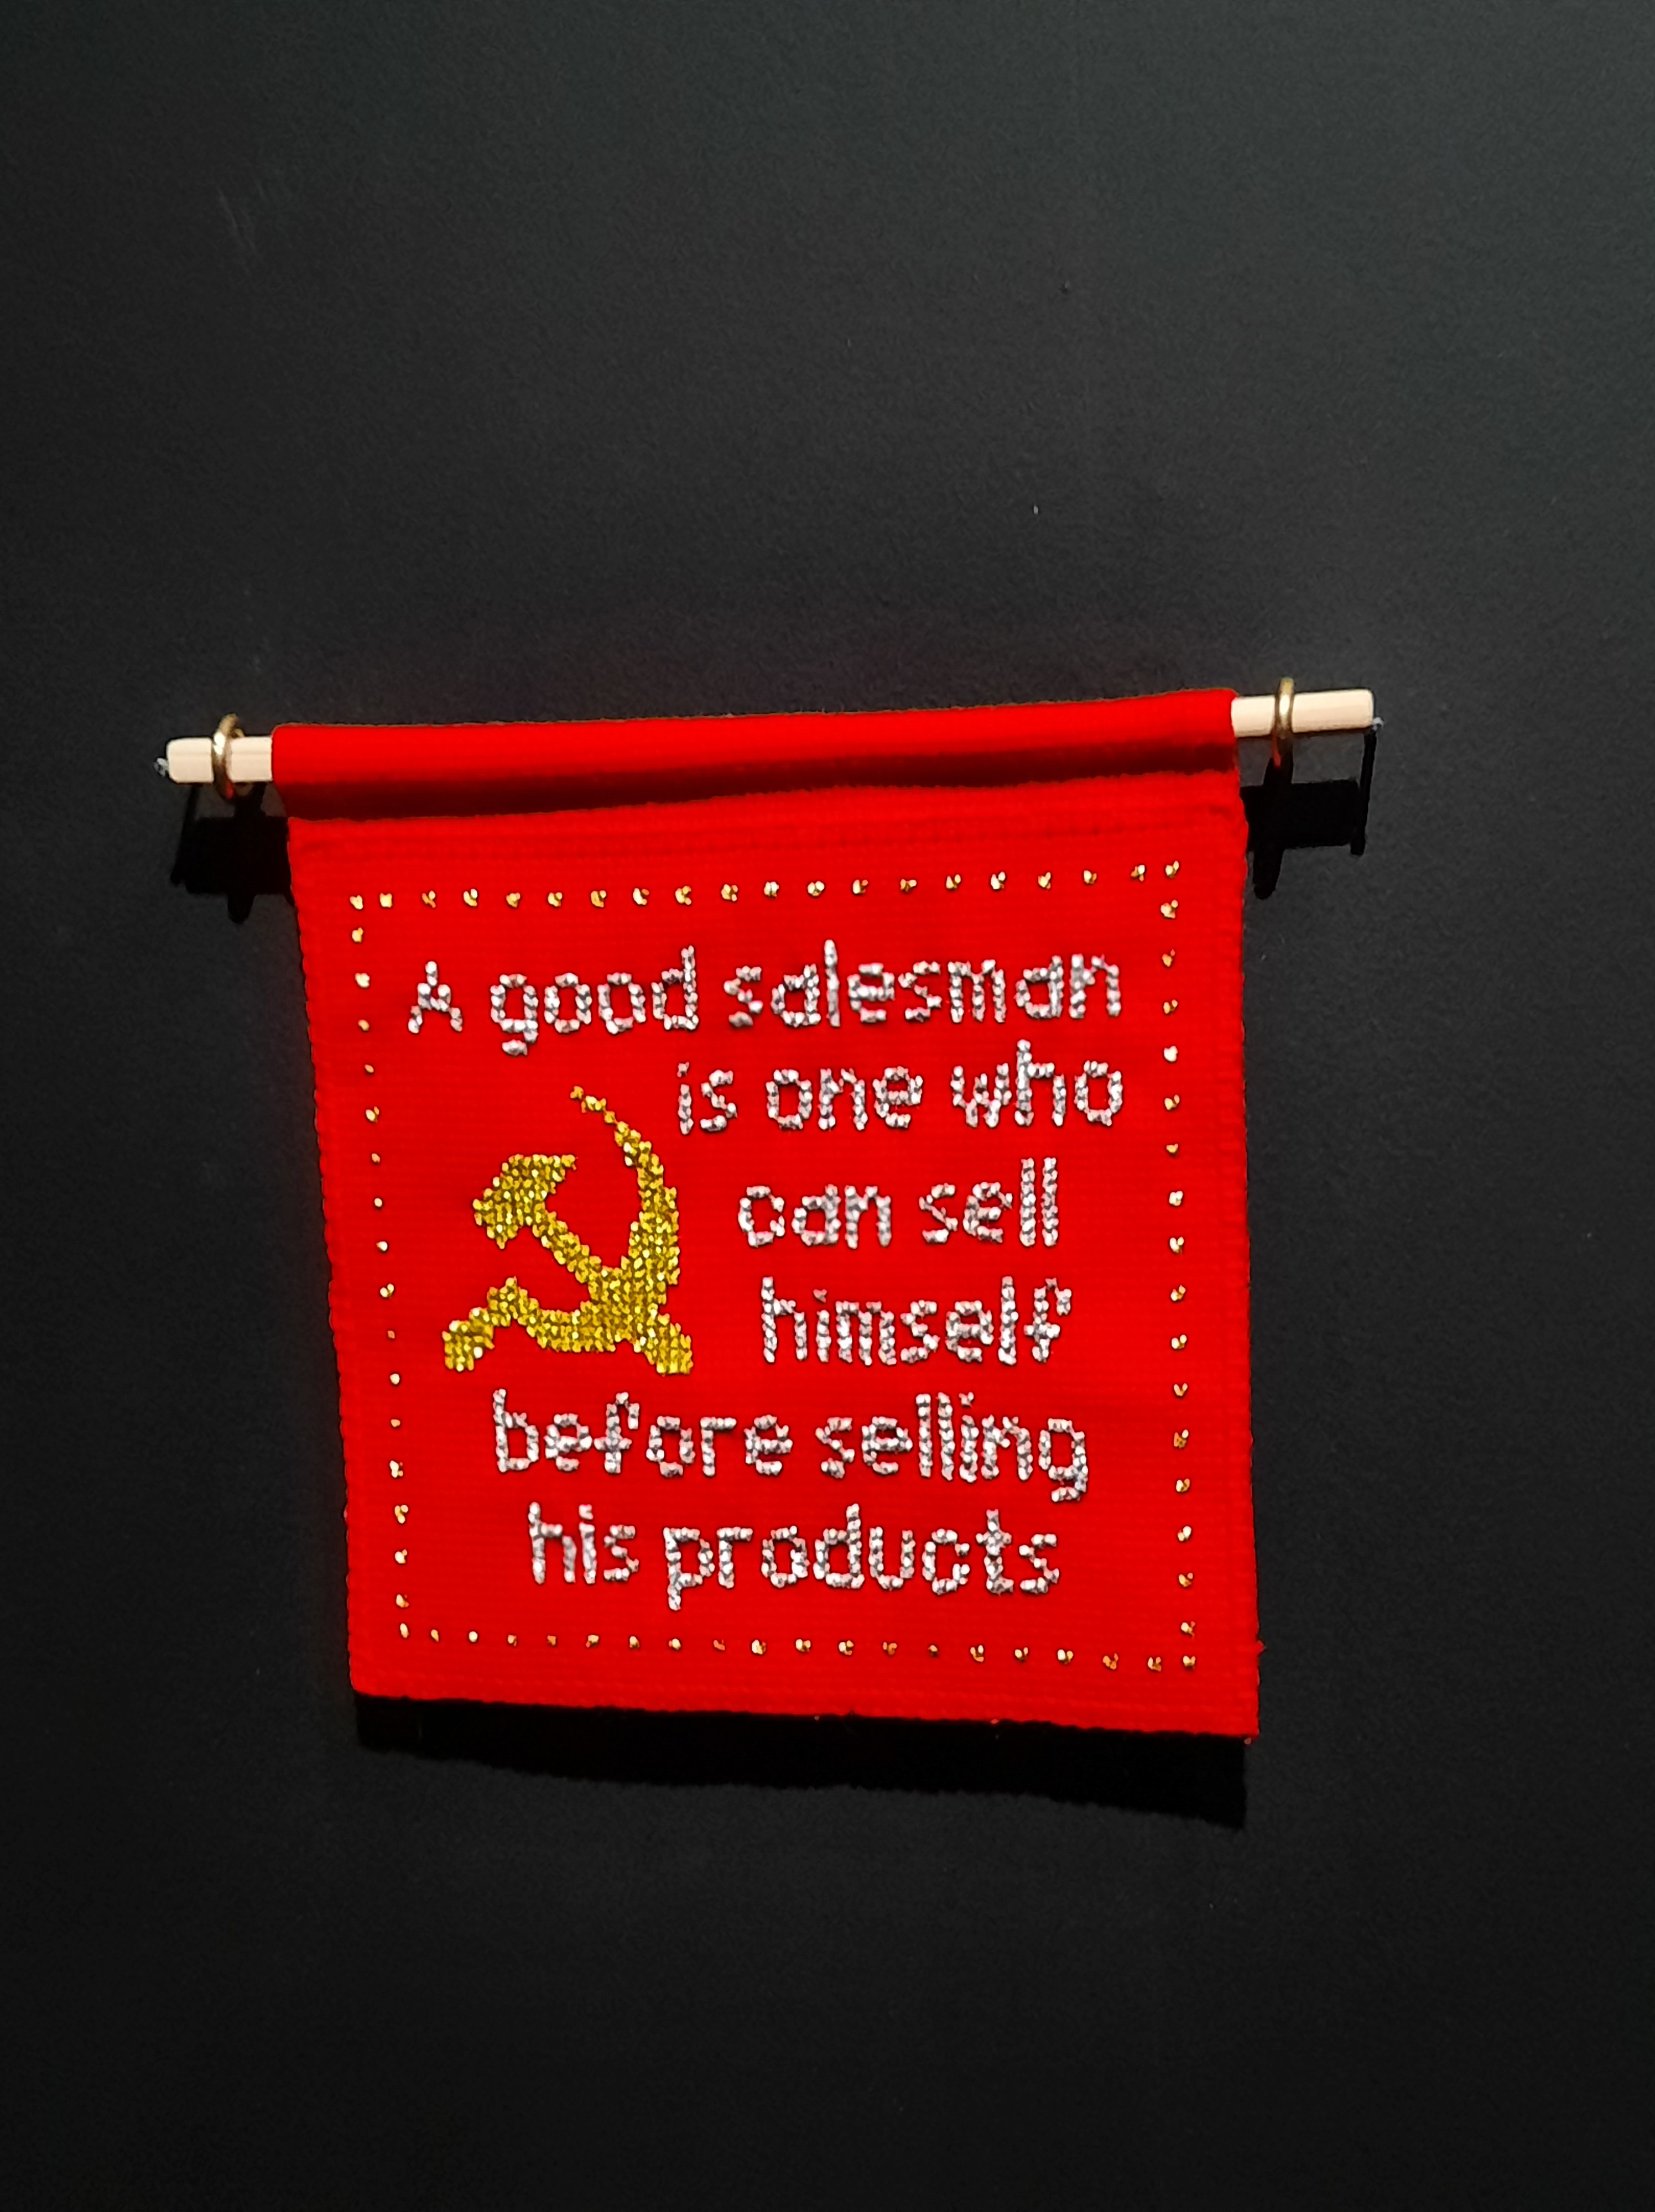
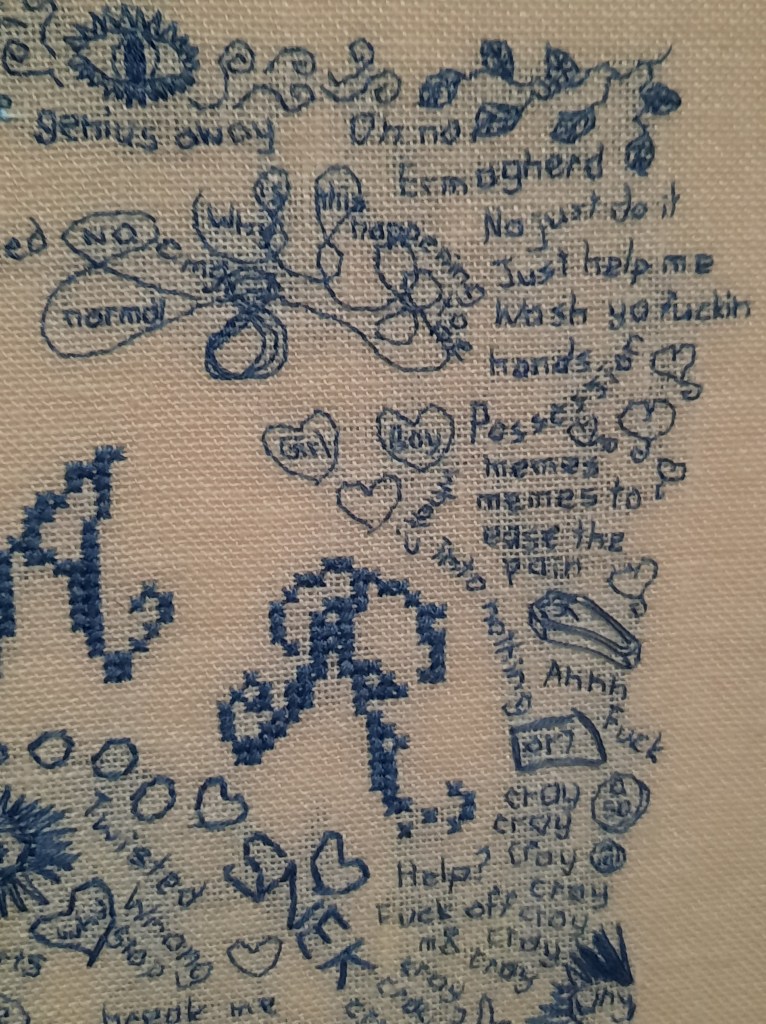
The selection of contemporary embroidery was really interesting to me. In particular, Makeda Duong’s works. Above, Sales Tips for the Red Capitalist; and below, Bipolar Disorder.
Makeda Duong, Bipolar Disorder
All in all–a fabulous exhibition! Sorry you’ve missed it though!
Once upon a time, I was a Girl Guide. It was so long ago, that I was a Girl Guide who camped out in the bush under canvas. Yes, in tents made of cotton canvas, and held up with guy ropes made of natural fibres that did not have cleats and required some sophisticated knot tying, to be adjusted into a nice taut surface. In tents that were not waterproof, so that they needed to be taut, and to have a separate (taut) canvas fly also held up with actual rope, to help keep the water off, and a nice trench dug around them to redirect rain if rain fell. In tents that did not have floors sewn into them. In that time, long ago and far away, I learned how to mend tents with hand stitches, and the kind of mending we most often did was to repair rips in the canvas that needed to have their edges drawn together. The canvas was so stout that I don’t remember the kind of wear that creates a bigger hole.
Maybe someone can set me right about the name of the stitch I learned to achieve this: I have always called it tent stitch, probably because that is what my Guider called it!
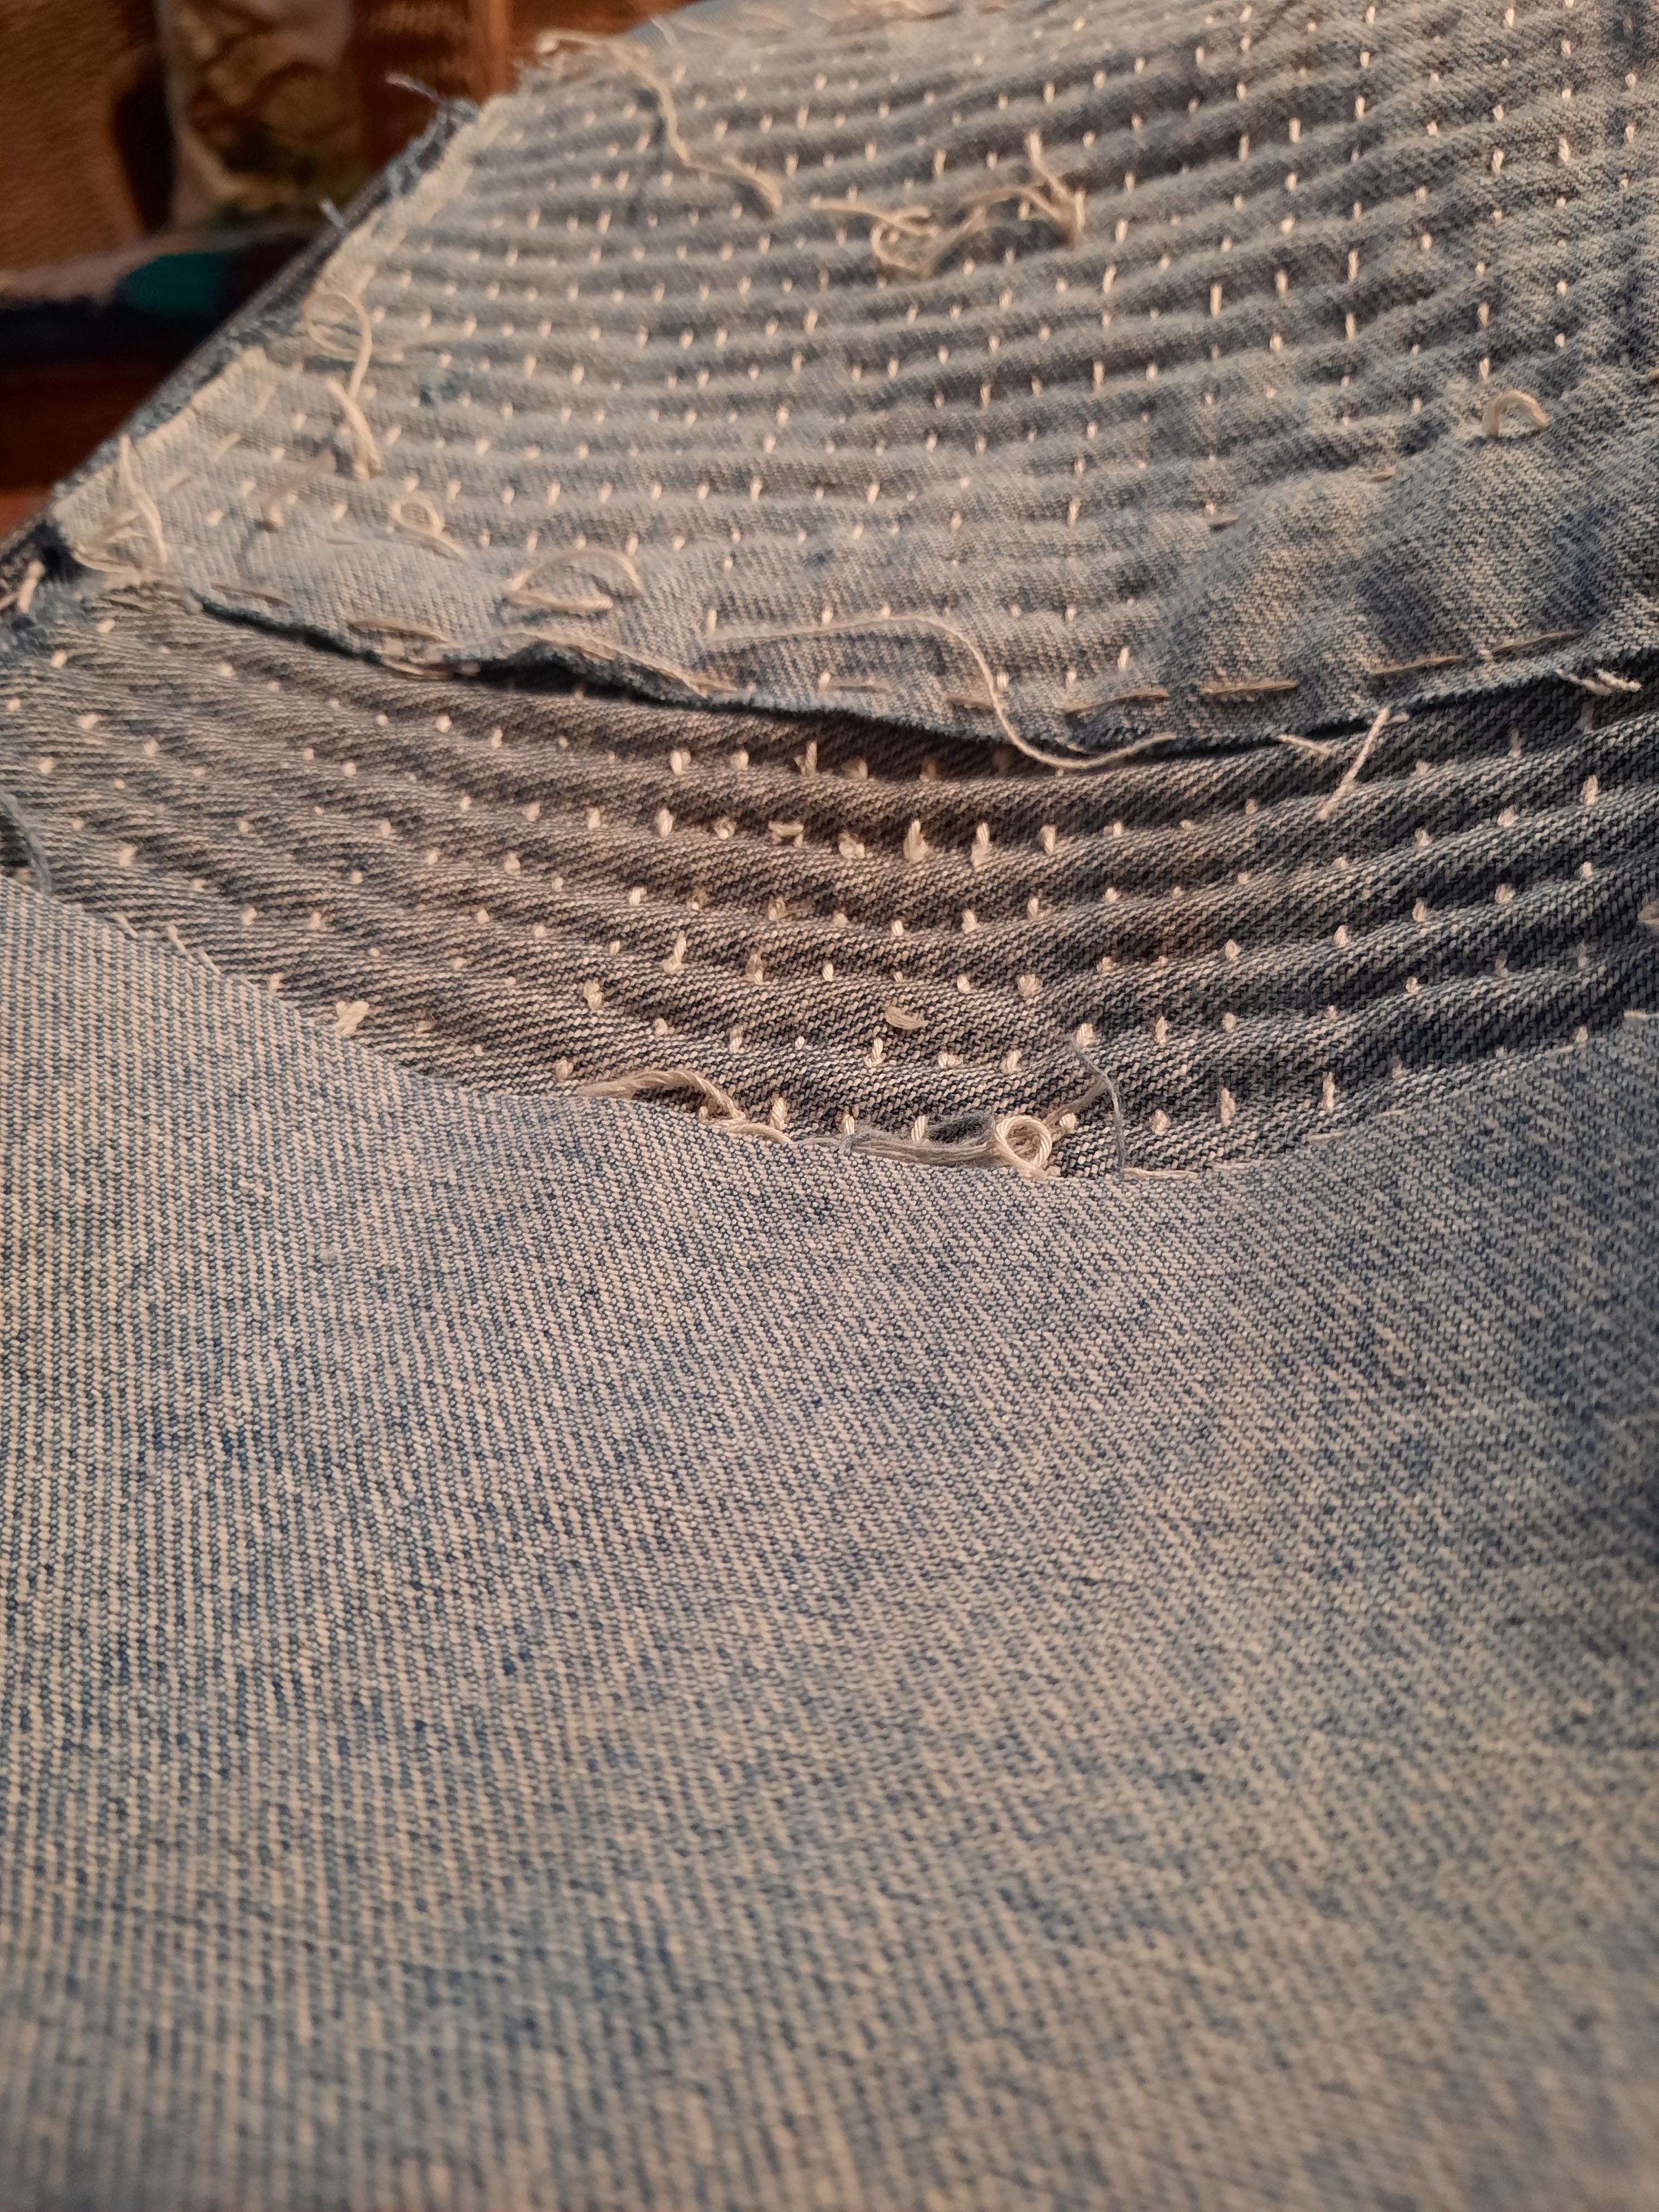
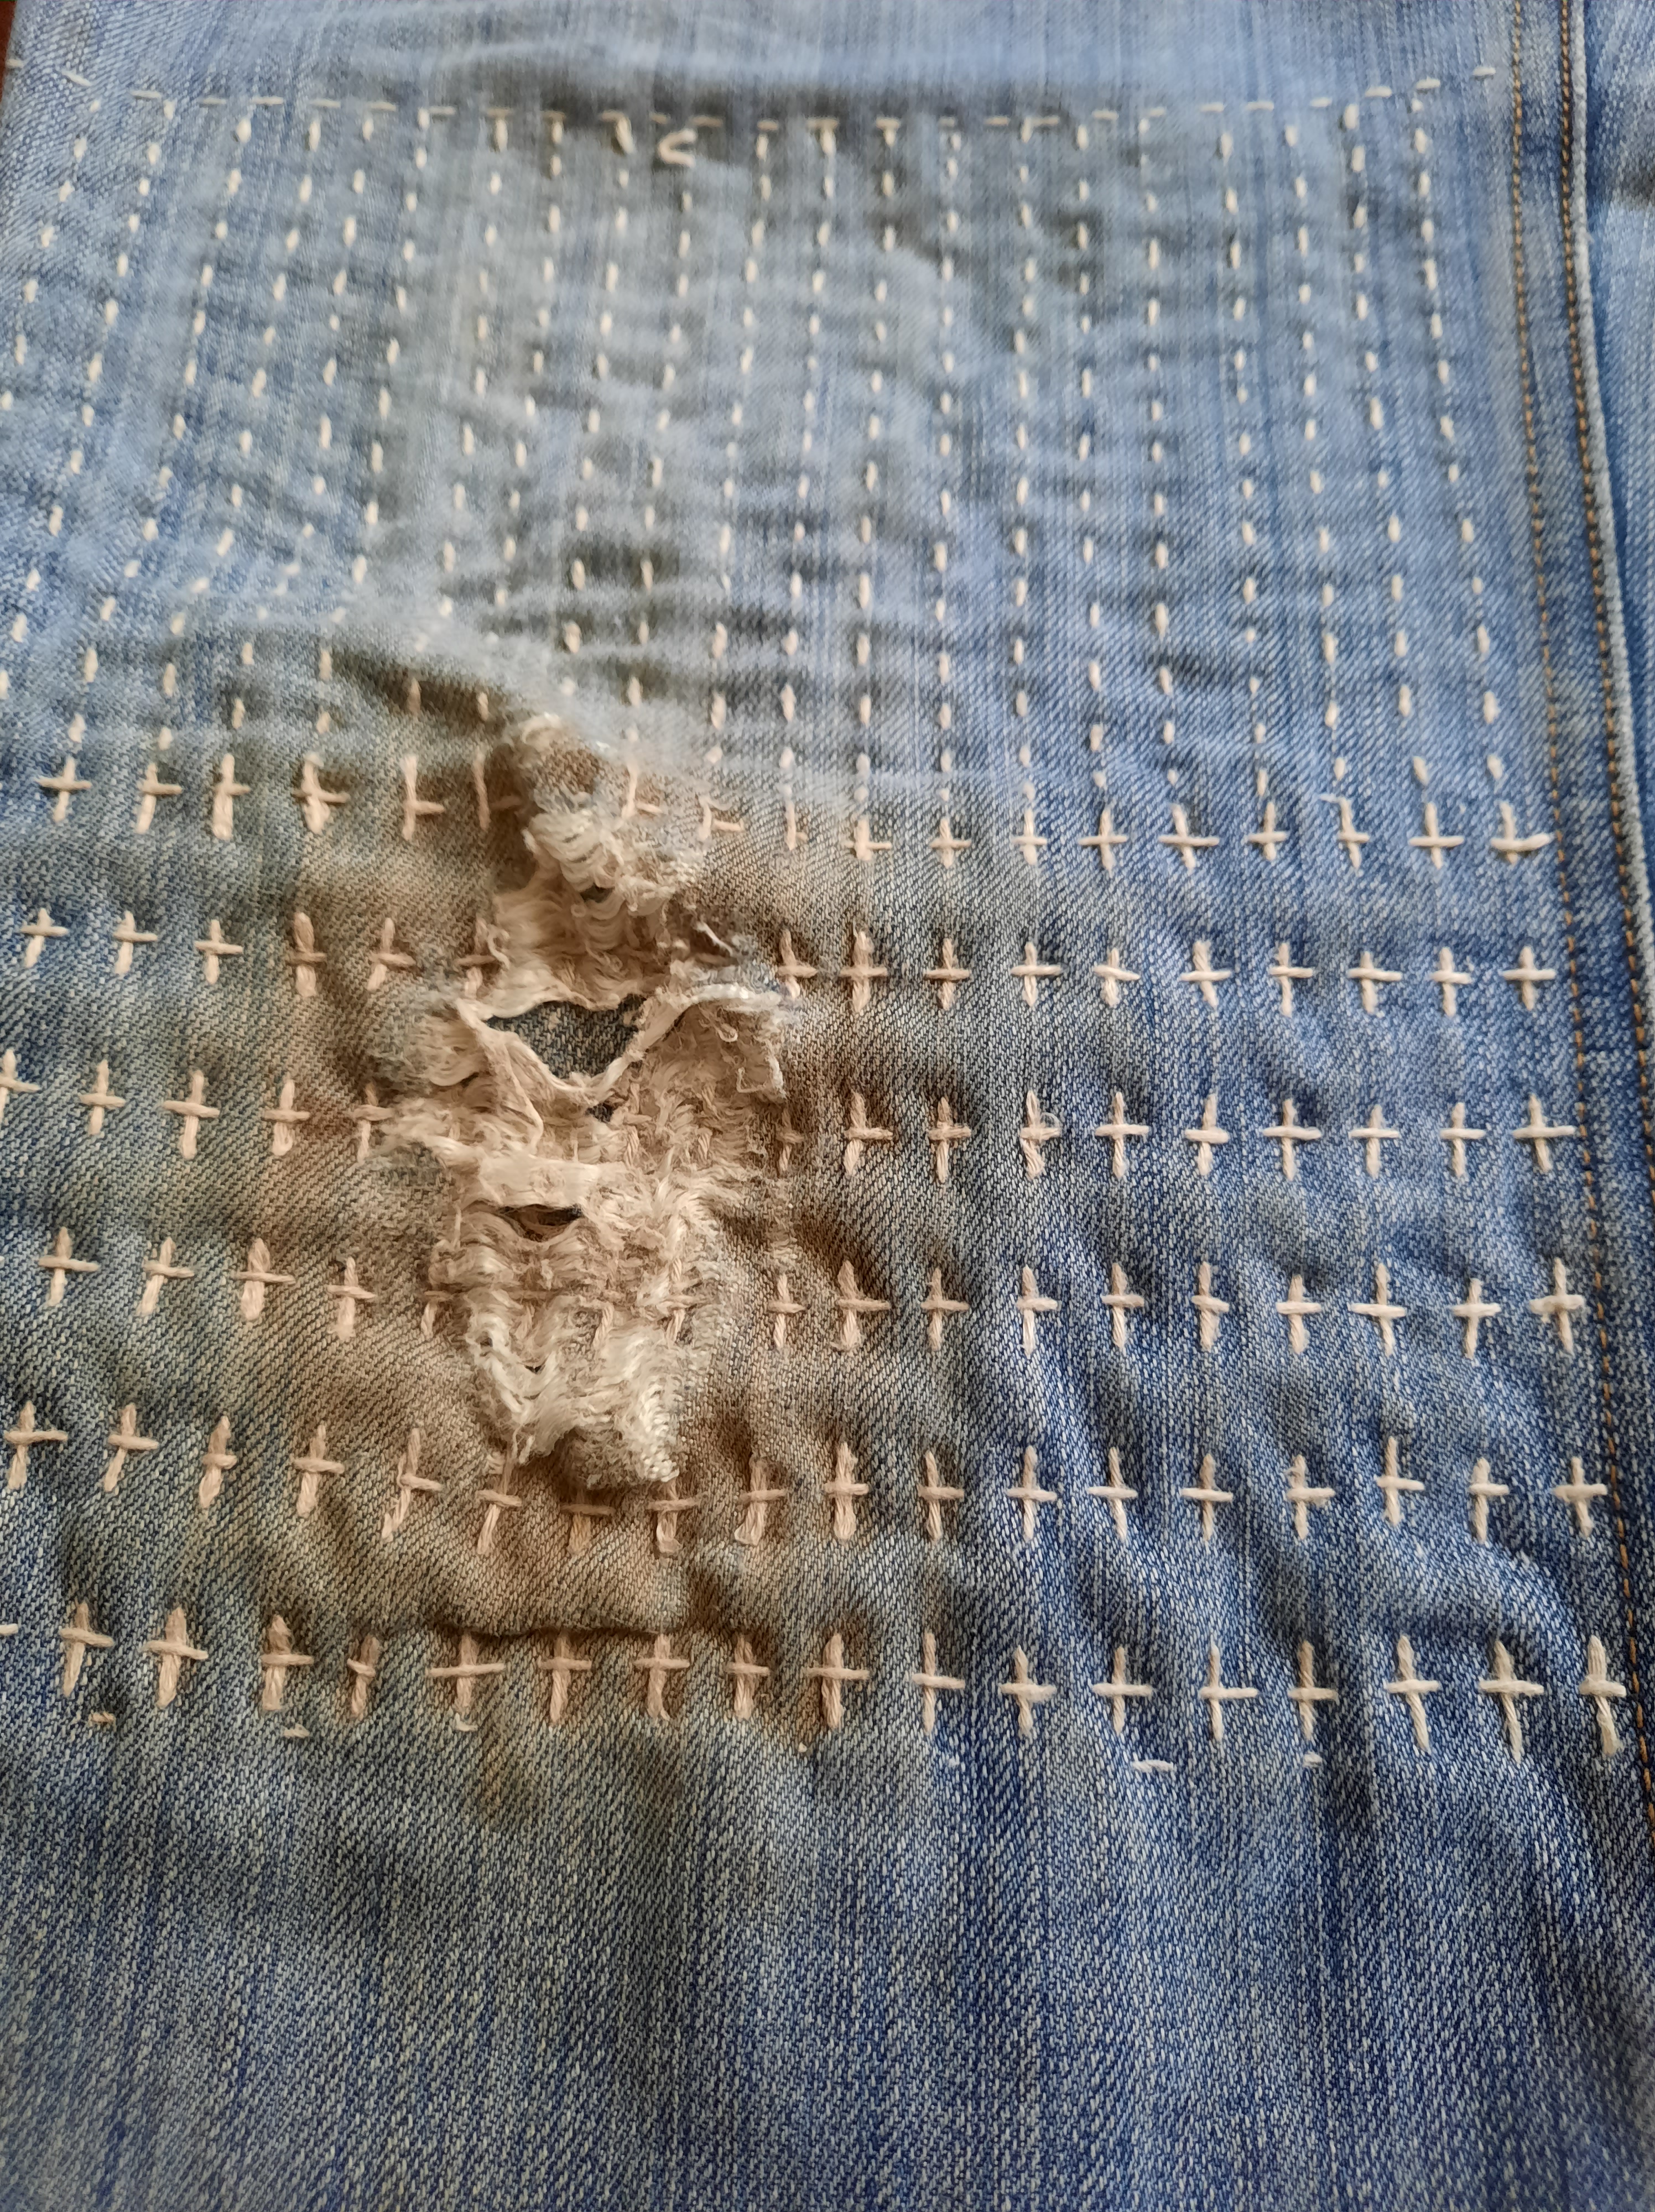
Example 1: crotch tear in jeans, right along the line of the seam. I have used tent stitch to pull the edges of the tear together tidily so the patch I sewed on inside in the next stage of this mend will not yell out its presence. The wearer of these jeans doesn’t want attention drawn to this part of himself, any more than I would.
This stitch has many uses. I most often use it these days to pull together the edges of tears where there is no real amount of fabric missing, or hardly any “hole”. The fabric is still all there, it’s just that it has been torn in some way. Three corner tears can be repaired this way. Jeans that have torn along a seam can be repaired in this way. I like to start with tent stitch if I want a tear repaired to minimise its visibility, even if I will also apply a patch on the inside for strength. Using this stitch means the fabric is returned to something approximating its previous shape and pattern.
Example 2: this is a wheat bag made of corduroy that has begun to split along the wales and leak wheat. I’ve used tent stitch to mend it in sashiko thread. It’s just late night hasty mending really but it makes the stitch a lot more visible.
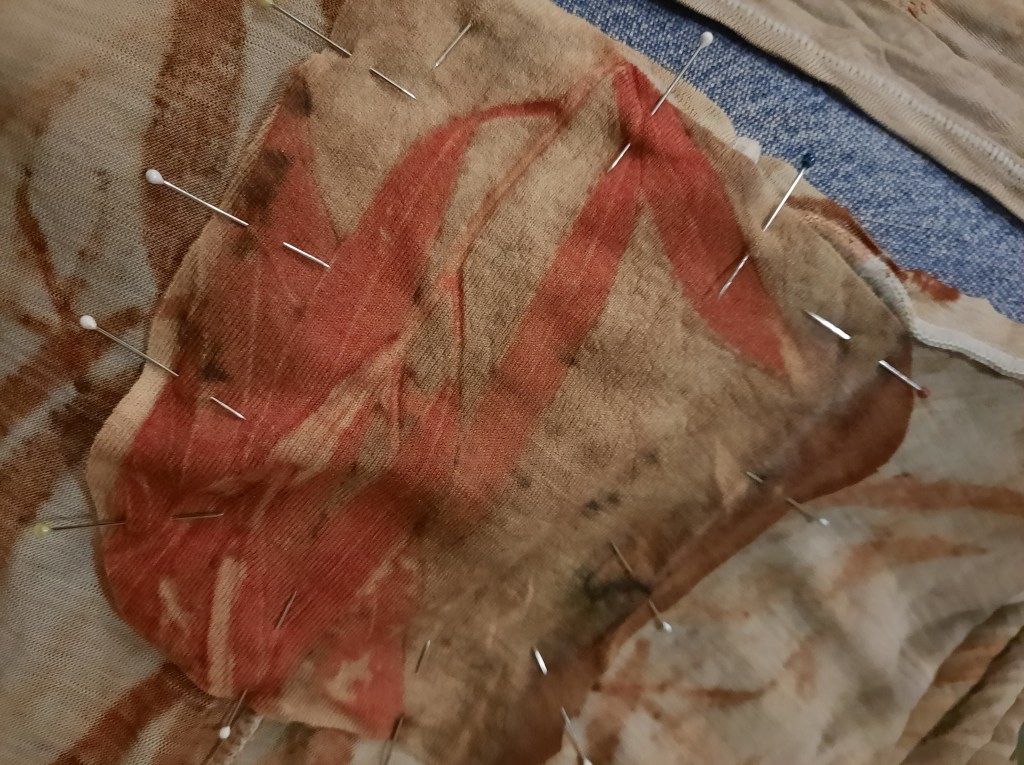
How to: begin with your torn fabric.
This is perfect (looks like someone cut it!!): the fabric is basically intact–but there is a tear there that needs the edges brought together to be repaired.
Choose your thread. Thread needs to be strong enough for the job, but not so strong that it will pull through your fabric. I remember mending a sarong that had been hanging on a wall from some map pins. One pin tore through, creating a three corner tear which I repaired with machine sewing thread to match the weight and colour of the fabric.
Here, on medium weight cotton drill, trying to make what I am doing obvious, I’m using sashiko thread (quite thick cotton thread). In the jeans above, 2 strands of embroidery thread, allowing for a strong but colour matched mend.
Knot the end of your thread, and pull it up through the fabric to the right side, beside the end of the tear. You can even “make believe” that the tear is a bit longer and do some reinforcing stitches that extend past the end of the tear, if the fabric needs reinforcing.
Push your needle up to the right side, and then slip it in through the tear to the wrong side. Push it up through to the right side again.
That’s basically all there is to it. Keep going. The needle comes up through the fabric on the right side, on one side of the tear. Then down through the tear and up to the right side again, on the other side of the tear. To spread the load on your mend, alternate between a long stitch and a short stitch (optional but fun). If you want to make this very neat, draw or tack two lines on each side of the tear and parallel to it, and use them as guides for where to push your needle up on the right side each time. I turn the work each time.
You can make it decorative by creating a shape with your stitches. It doesn’t have to be a rectangle (sort of) like this one–you could create an oval or a leaf shape, for example. Just draw the outline on the fabric, or tack it on and use as a guide for your stitches.
Tips for success: as you put your needle in through the tear, shuffle the previous stitch up against its neighbours. Keep the stitches close together for a neat, effective mend. Keep an eye on your tension. Too tight and you will have a permanent pucker in your fabric. Too loose and the edges will not be pulled together, when pulling them together was the whole point.
Finishing off: once you reach the end of the tear, take at least one stitch where you put the needle through the fabric beyond the end of the tear, so that you can tie off on the wrong side and the knot will not pull through. Congratulations! That’s tent stitch!
Mending ebbs and flows in this household, and I think it tends to flow when the seasons change. It’s because instead of mending when things are put away at the end of a season (as I no doubt should), I tend to pull them out as I want them and find that they need mending. This winter, this blanket finally got a nice new edge, complete with leaf and bud prints. It has waited several years, but now it’s done.
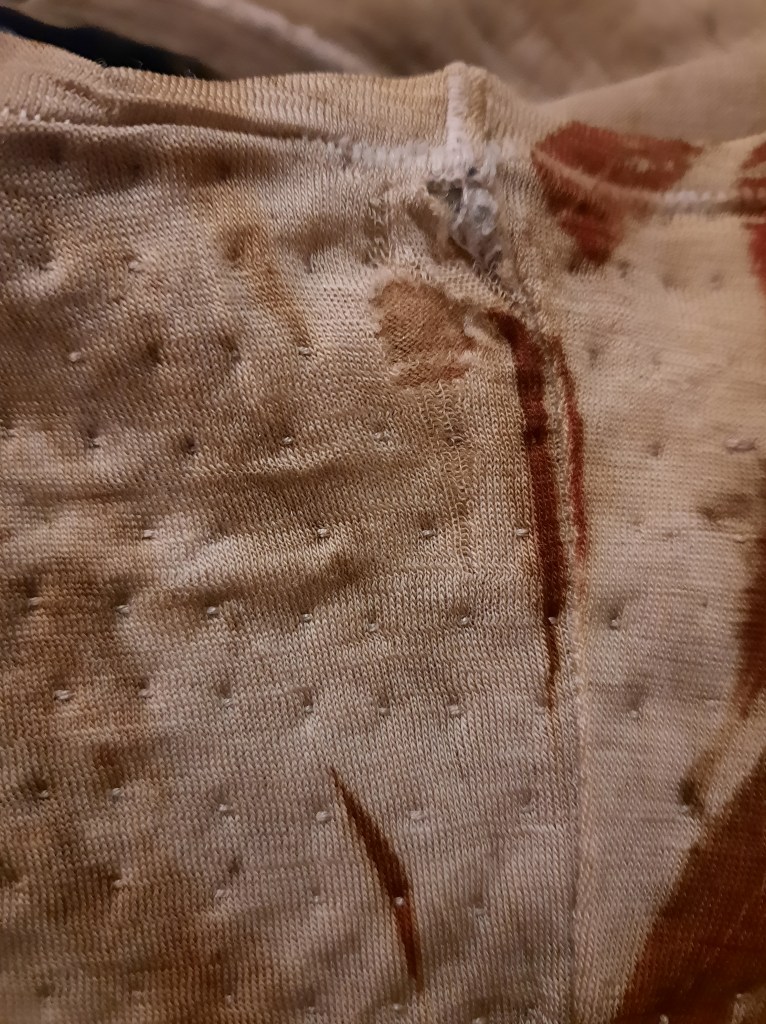
Then there is the woollen singlet mending. I’m addressing a combination of wear and moth damage, I believe. Some places, I darn.
Others require a patch. This one on the inside.
And of course, there is more than one garment requiring mending. Some of them I started mending in wild mismatched colours. This one, I usually mend with whatever is left on a needle in my needle book. I counted, and there are now upwards of 30 mends on it. No, I haven’t figured out when I’ll stop!
And of course, there are random buttons that need to be sewn on, and mends that are so depressing I didn’t photograph them. In fact, the garment in that last picture accompanied me to a lovely Zoom event that was all about textile art. Clearly the fact that I was sewing was observed and some folks wanted to see what I was doing. I was just too embarrassed to show my very worn, very much mended, undergarment (even on Zoom)! I’ve been through a few old posts and found this singlet being mended in July last year, and already overdyed and being darned in many colours in 2016, and in its original colour with three different coloured darns in 2015, and its first darns in 2014. The one above appears here, mended, in 2015. Well, that’s a reality check on how long I’ve been mending them, and how likely it is that I am now mending wear rather than insect damage. *Cough*!
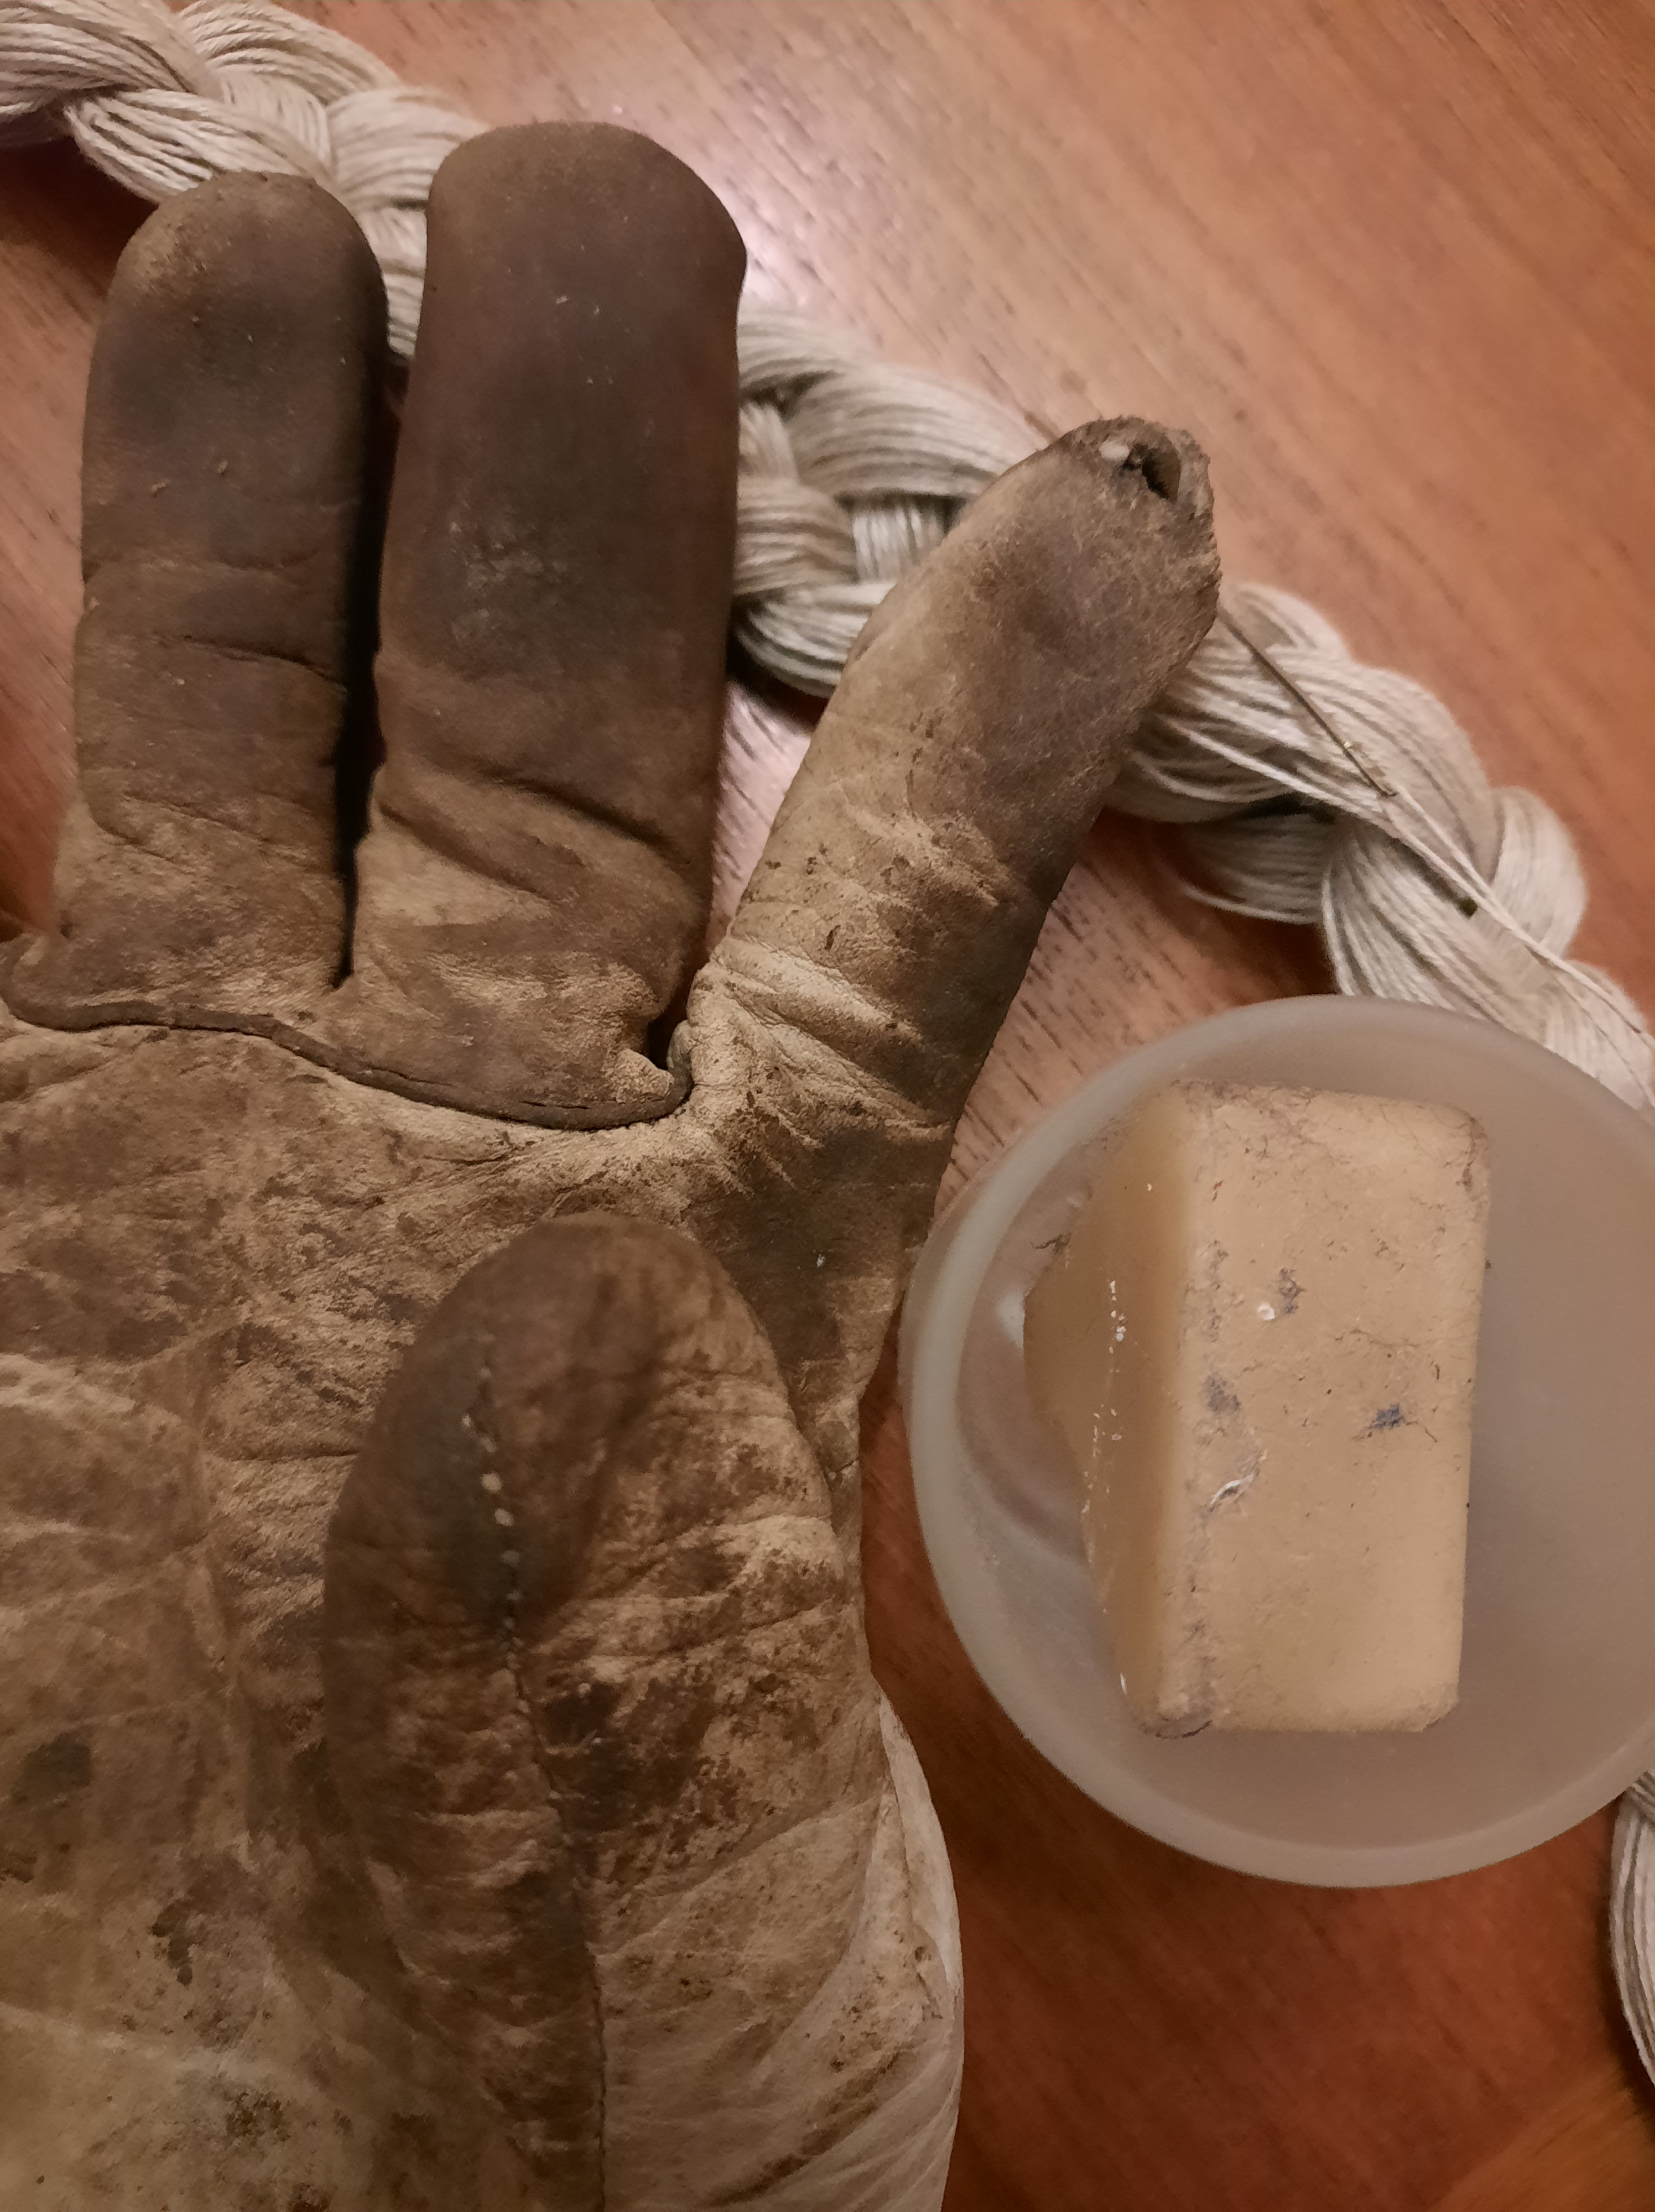
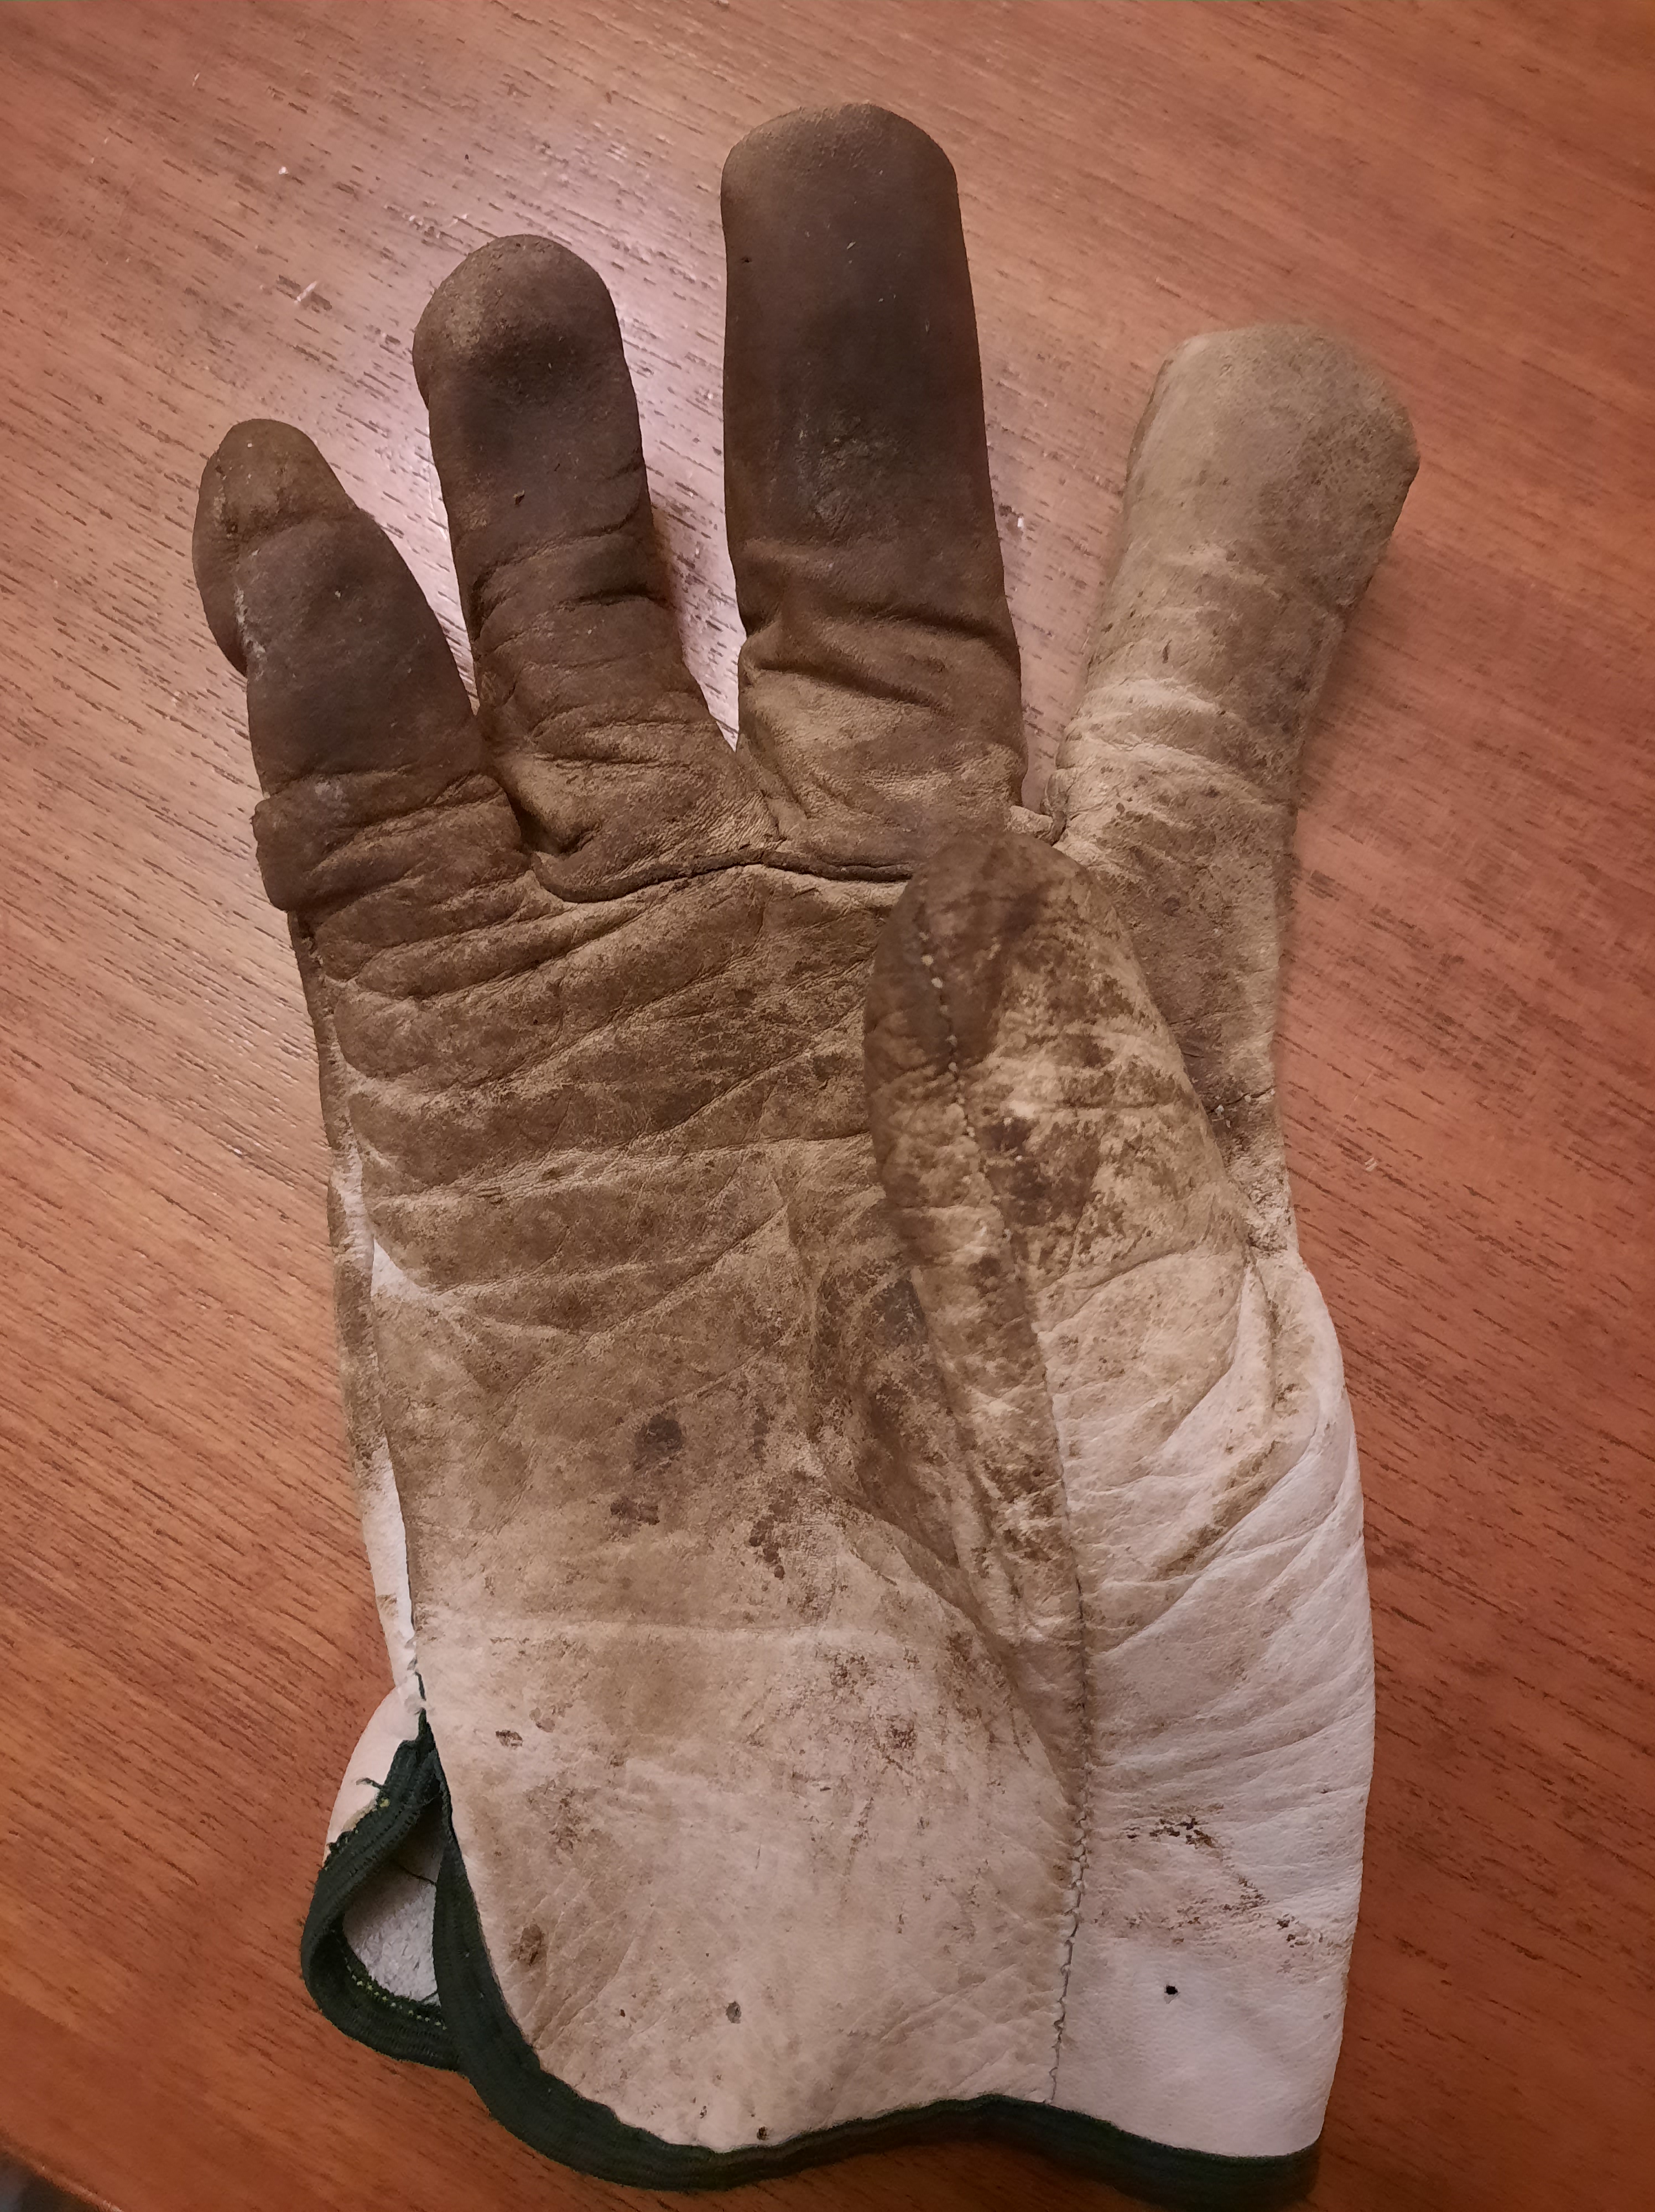
Then there was the garden glove mending. Waxed linen thread is my preferred option.
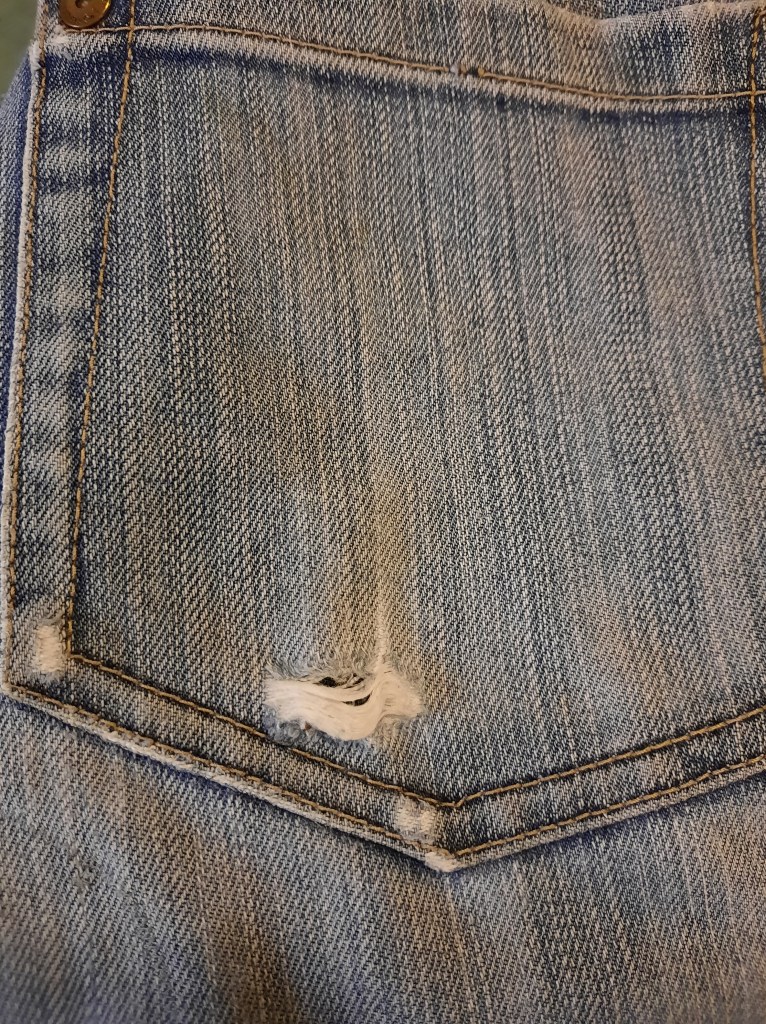
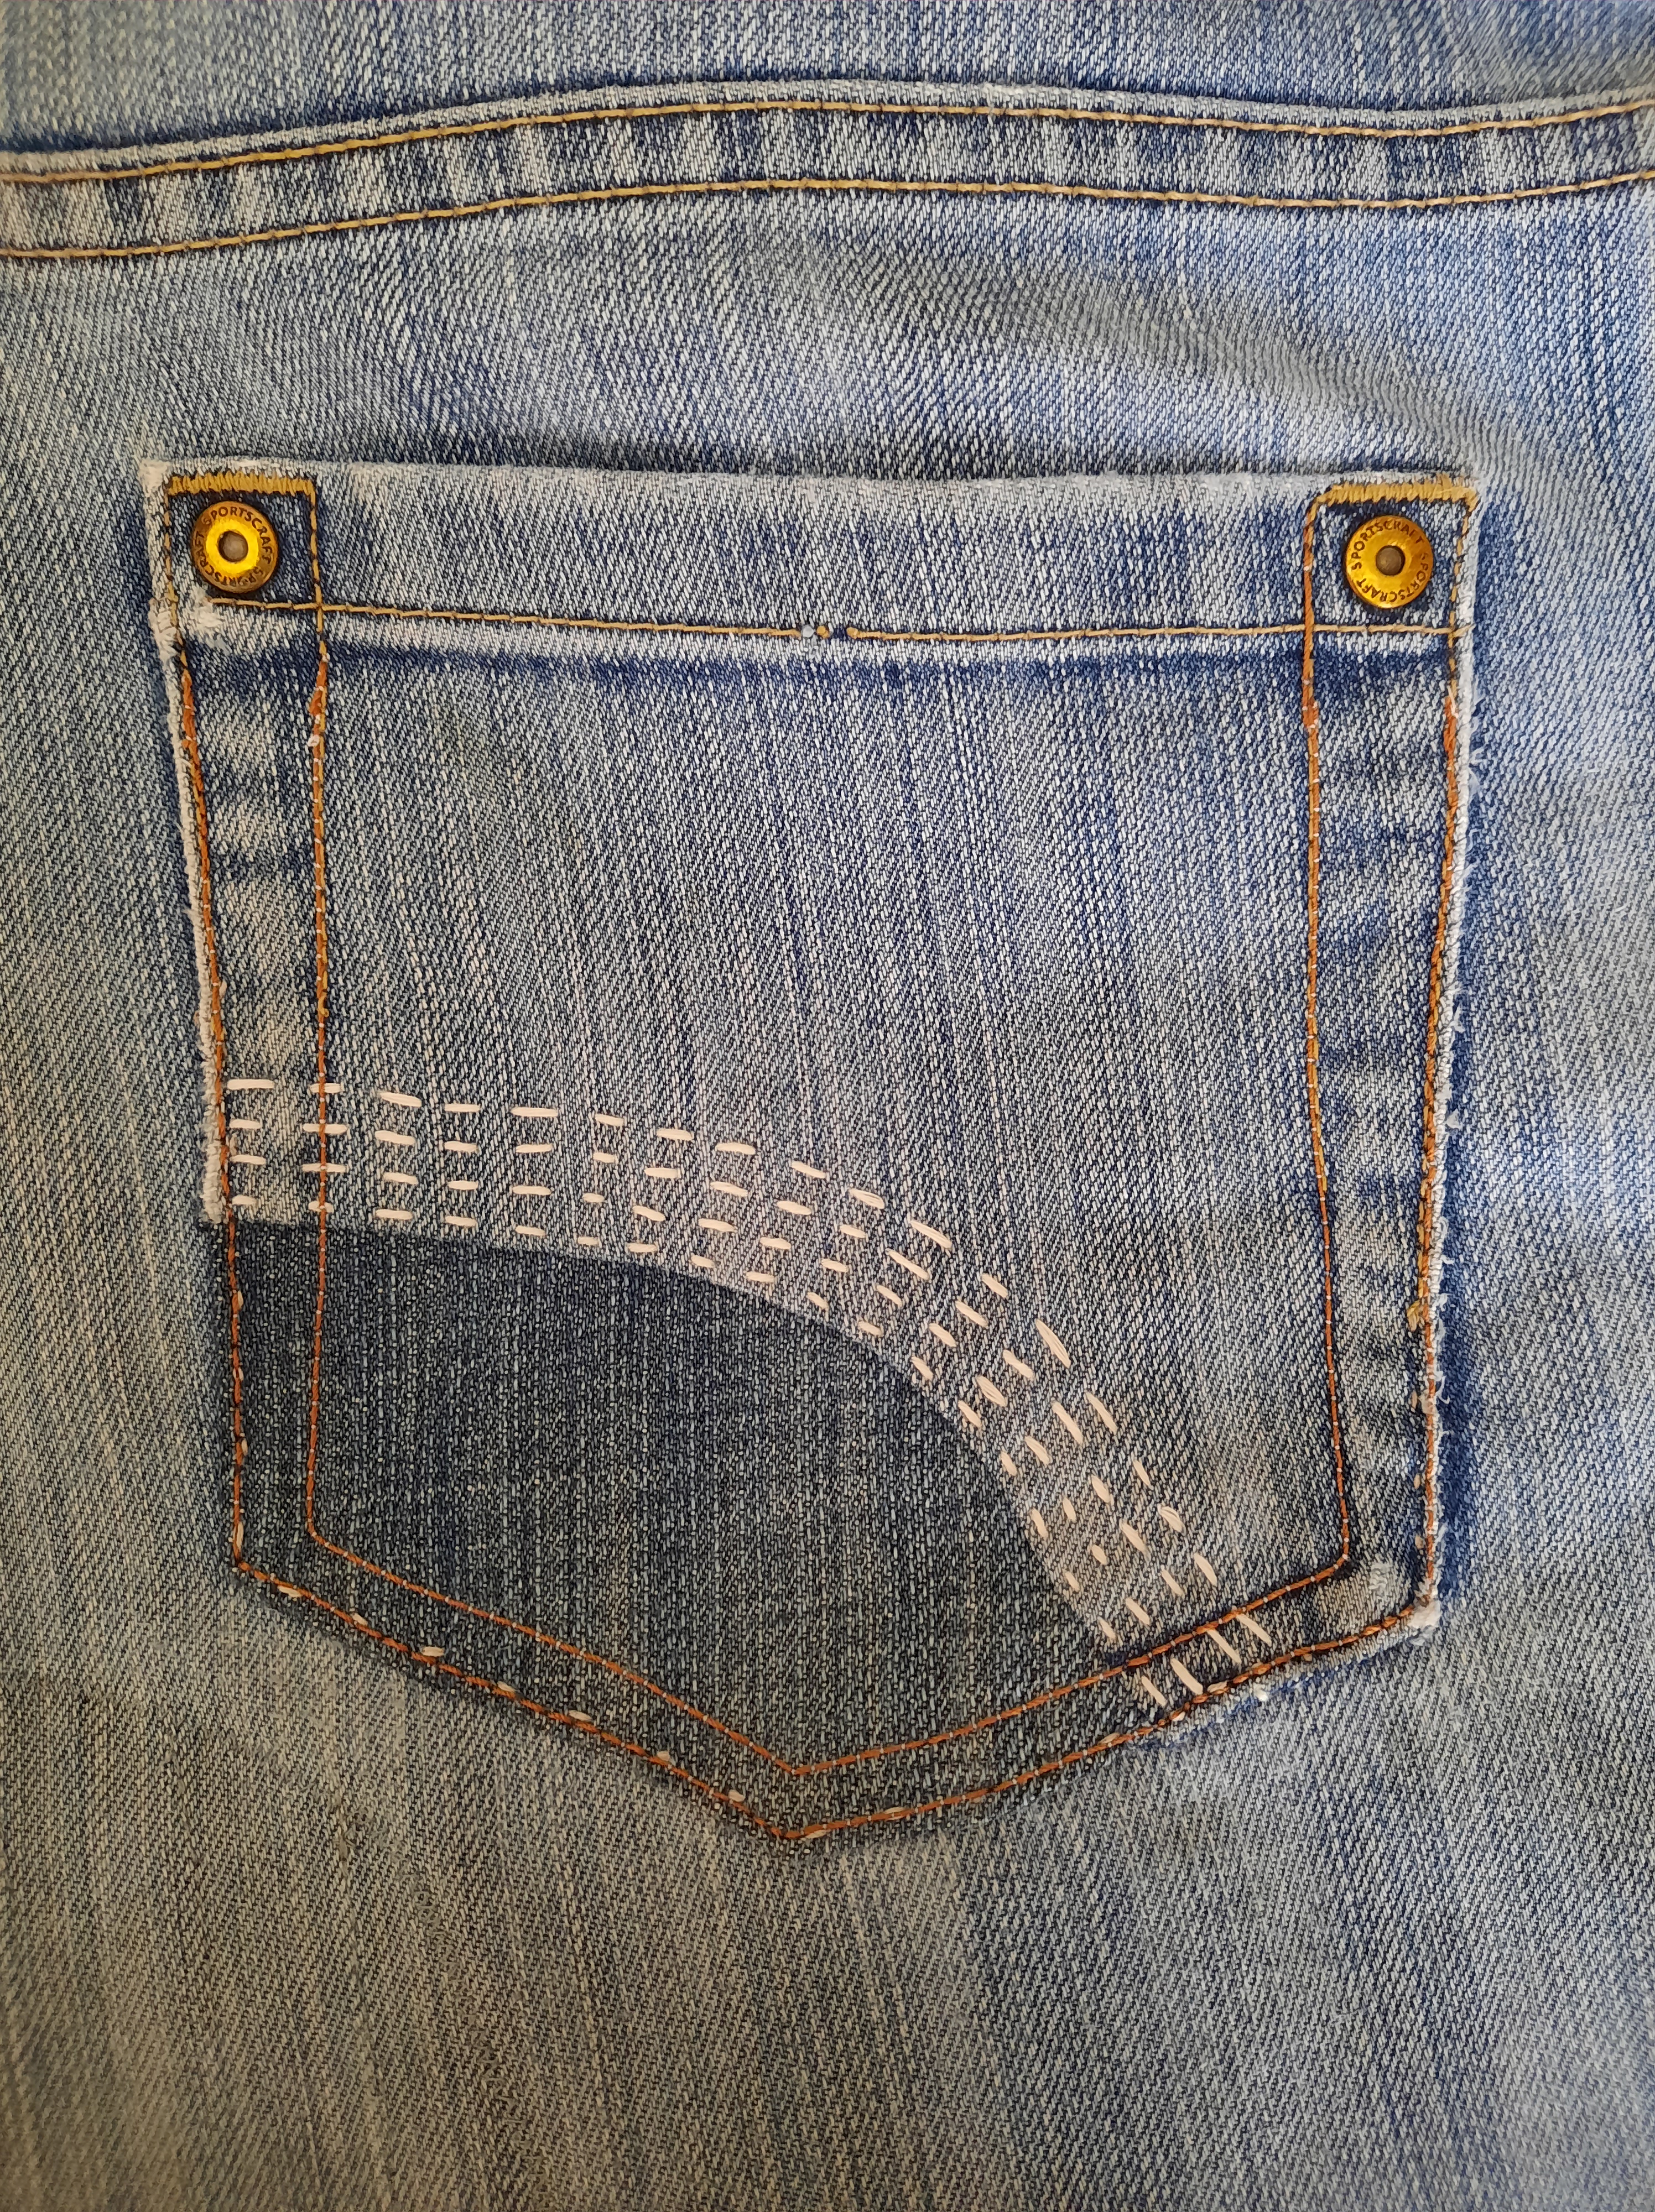
The dodgy back pocket mend on one of my pairs of gardening jeans…
Then I decided that I’d wear this top more if it was slightly longer. So I took out the hem and substituted some leftover quilt binding, so that the total length of the garment is slightly greater.
And–more mending on the leg of my gardening jeans. You can see I’ve overlapped the new patch with the old one, and added stitching to secure the overlap.
And then, there’s touching up the quilt where some patches have pulled apart, and stopping the wheat bag from leaking. And… you get the picture!
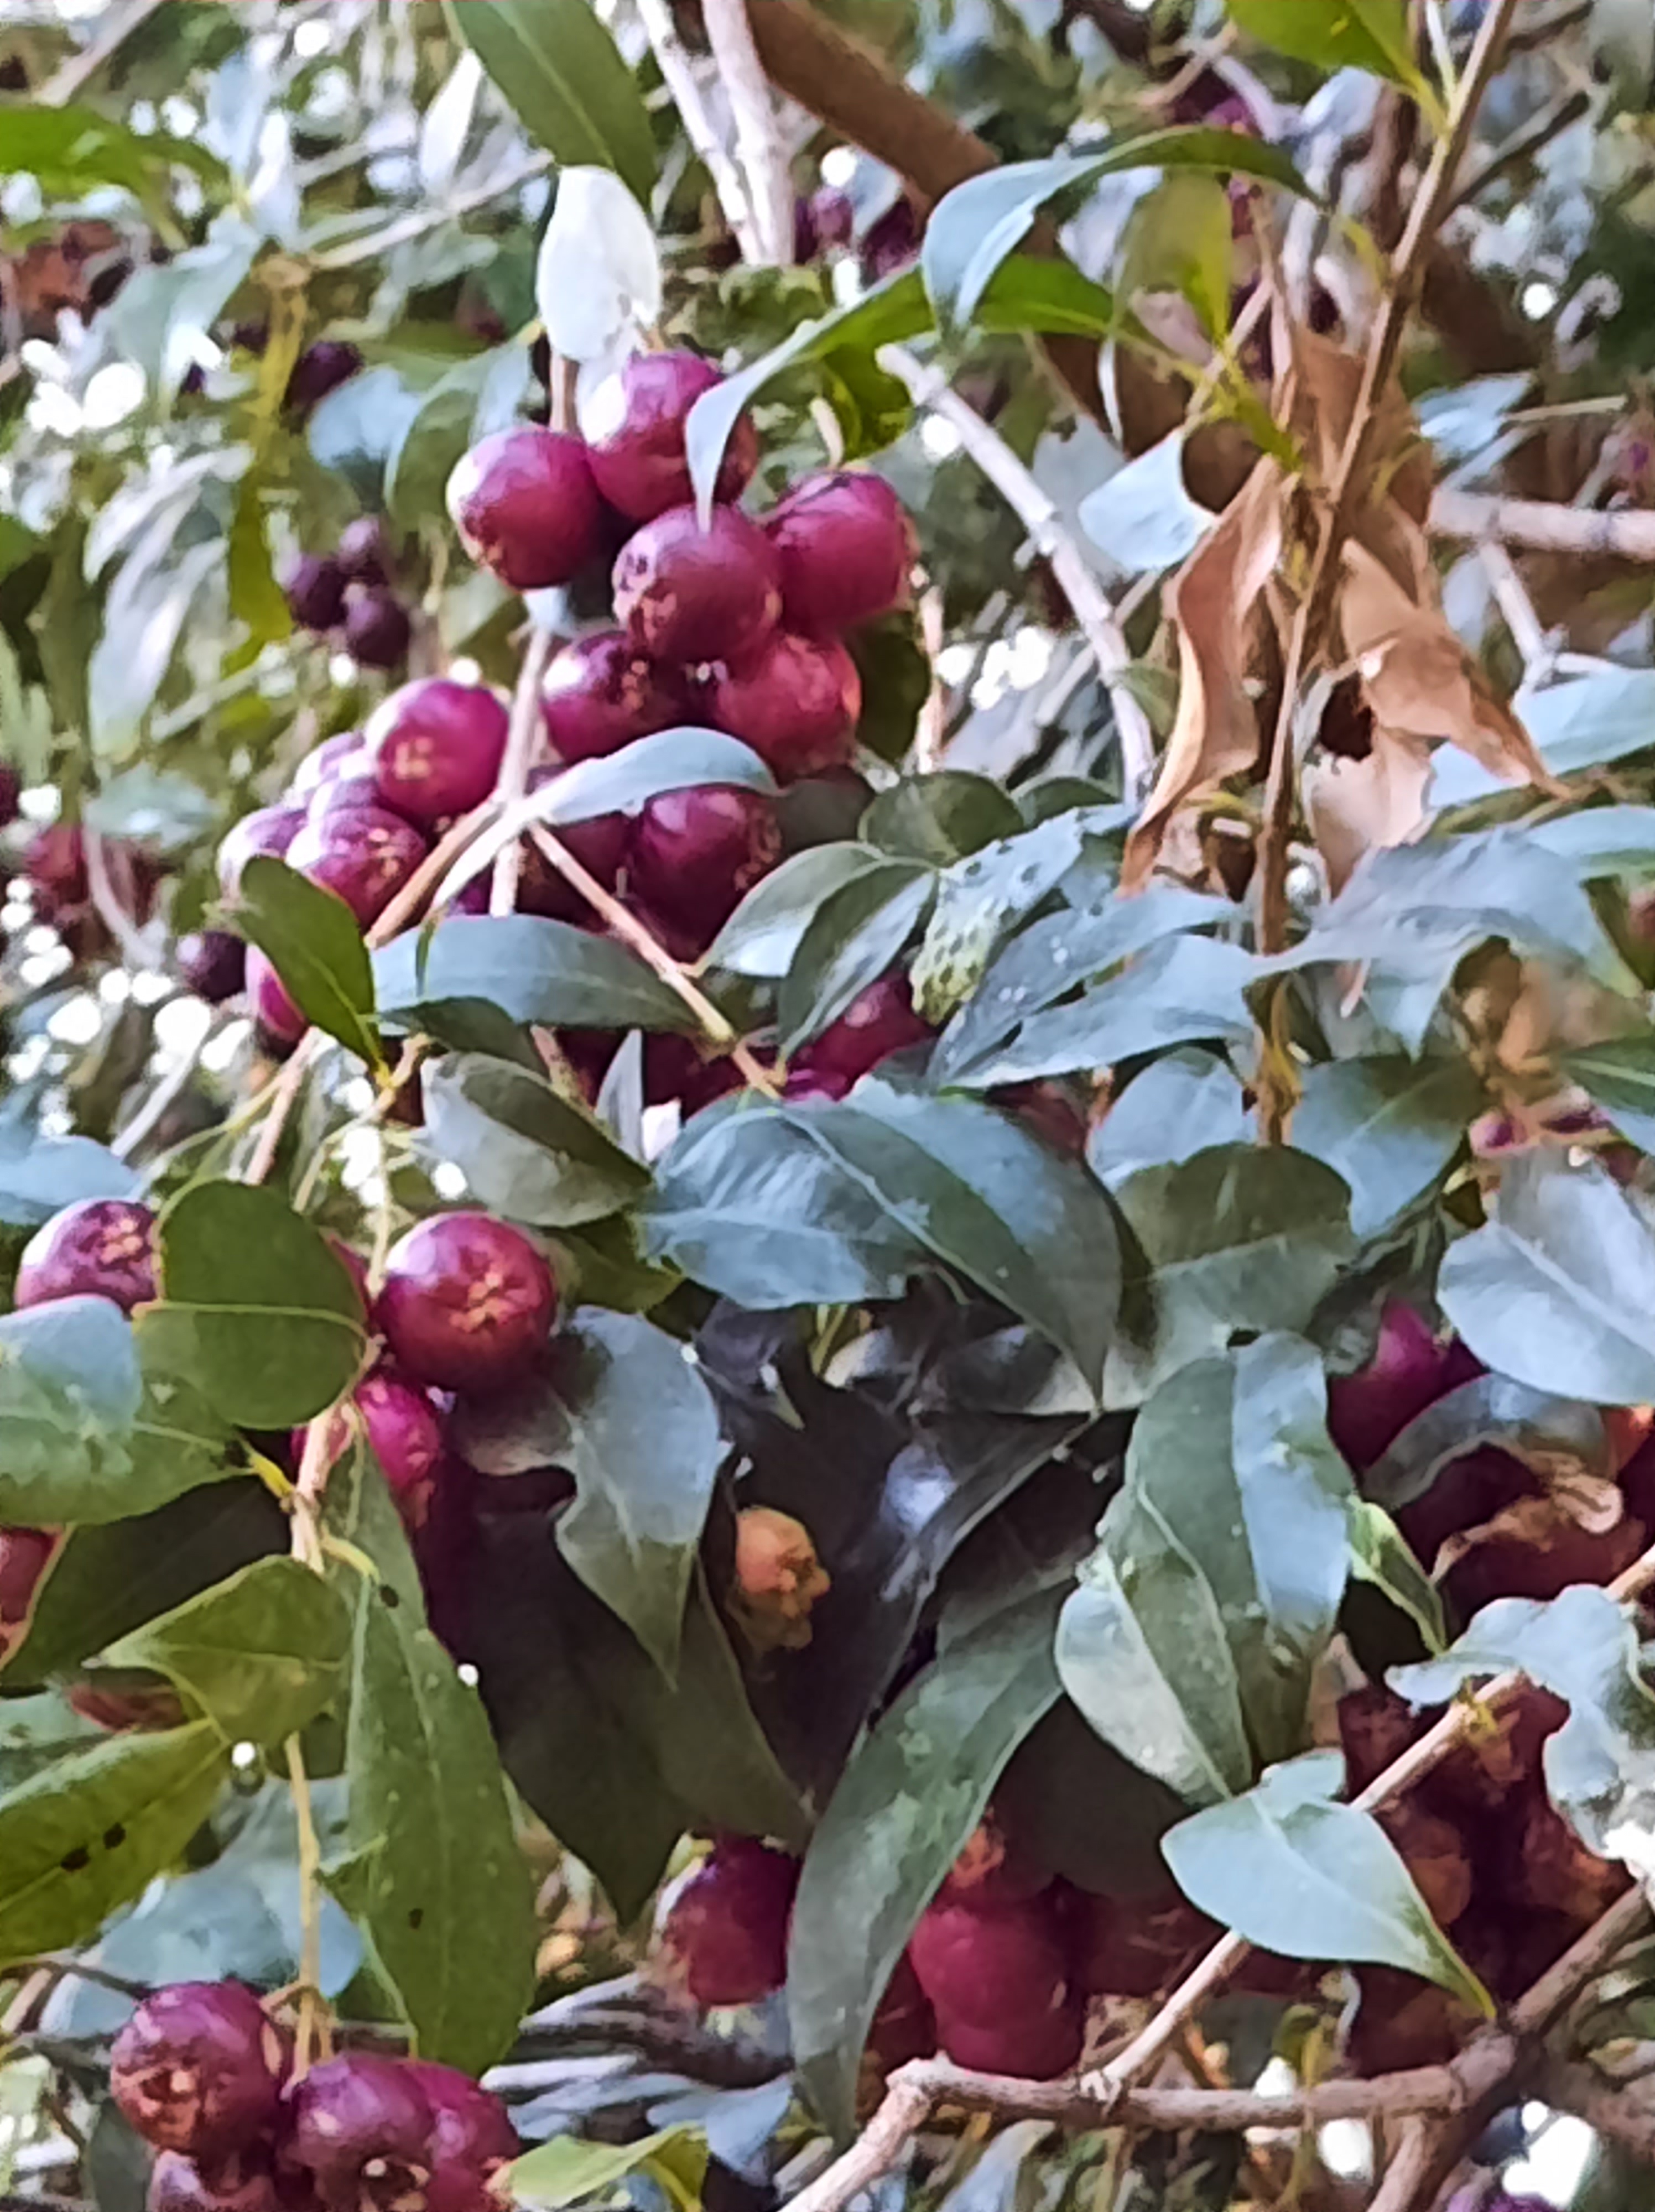
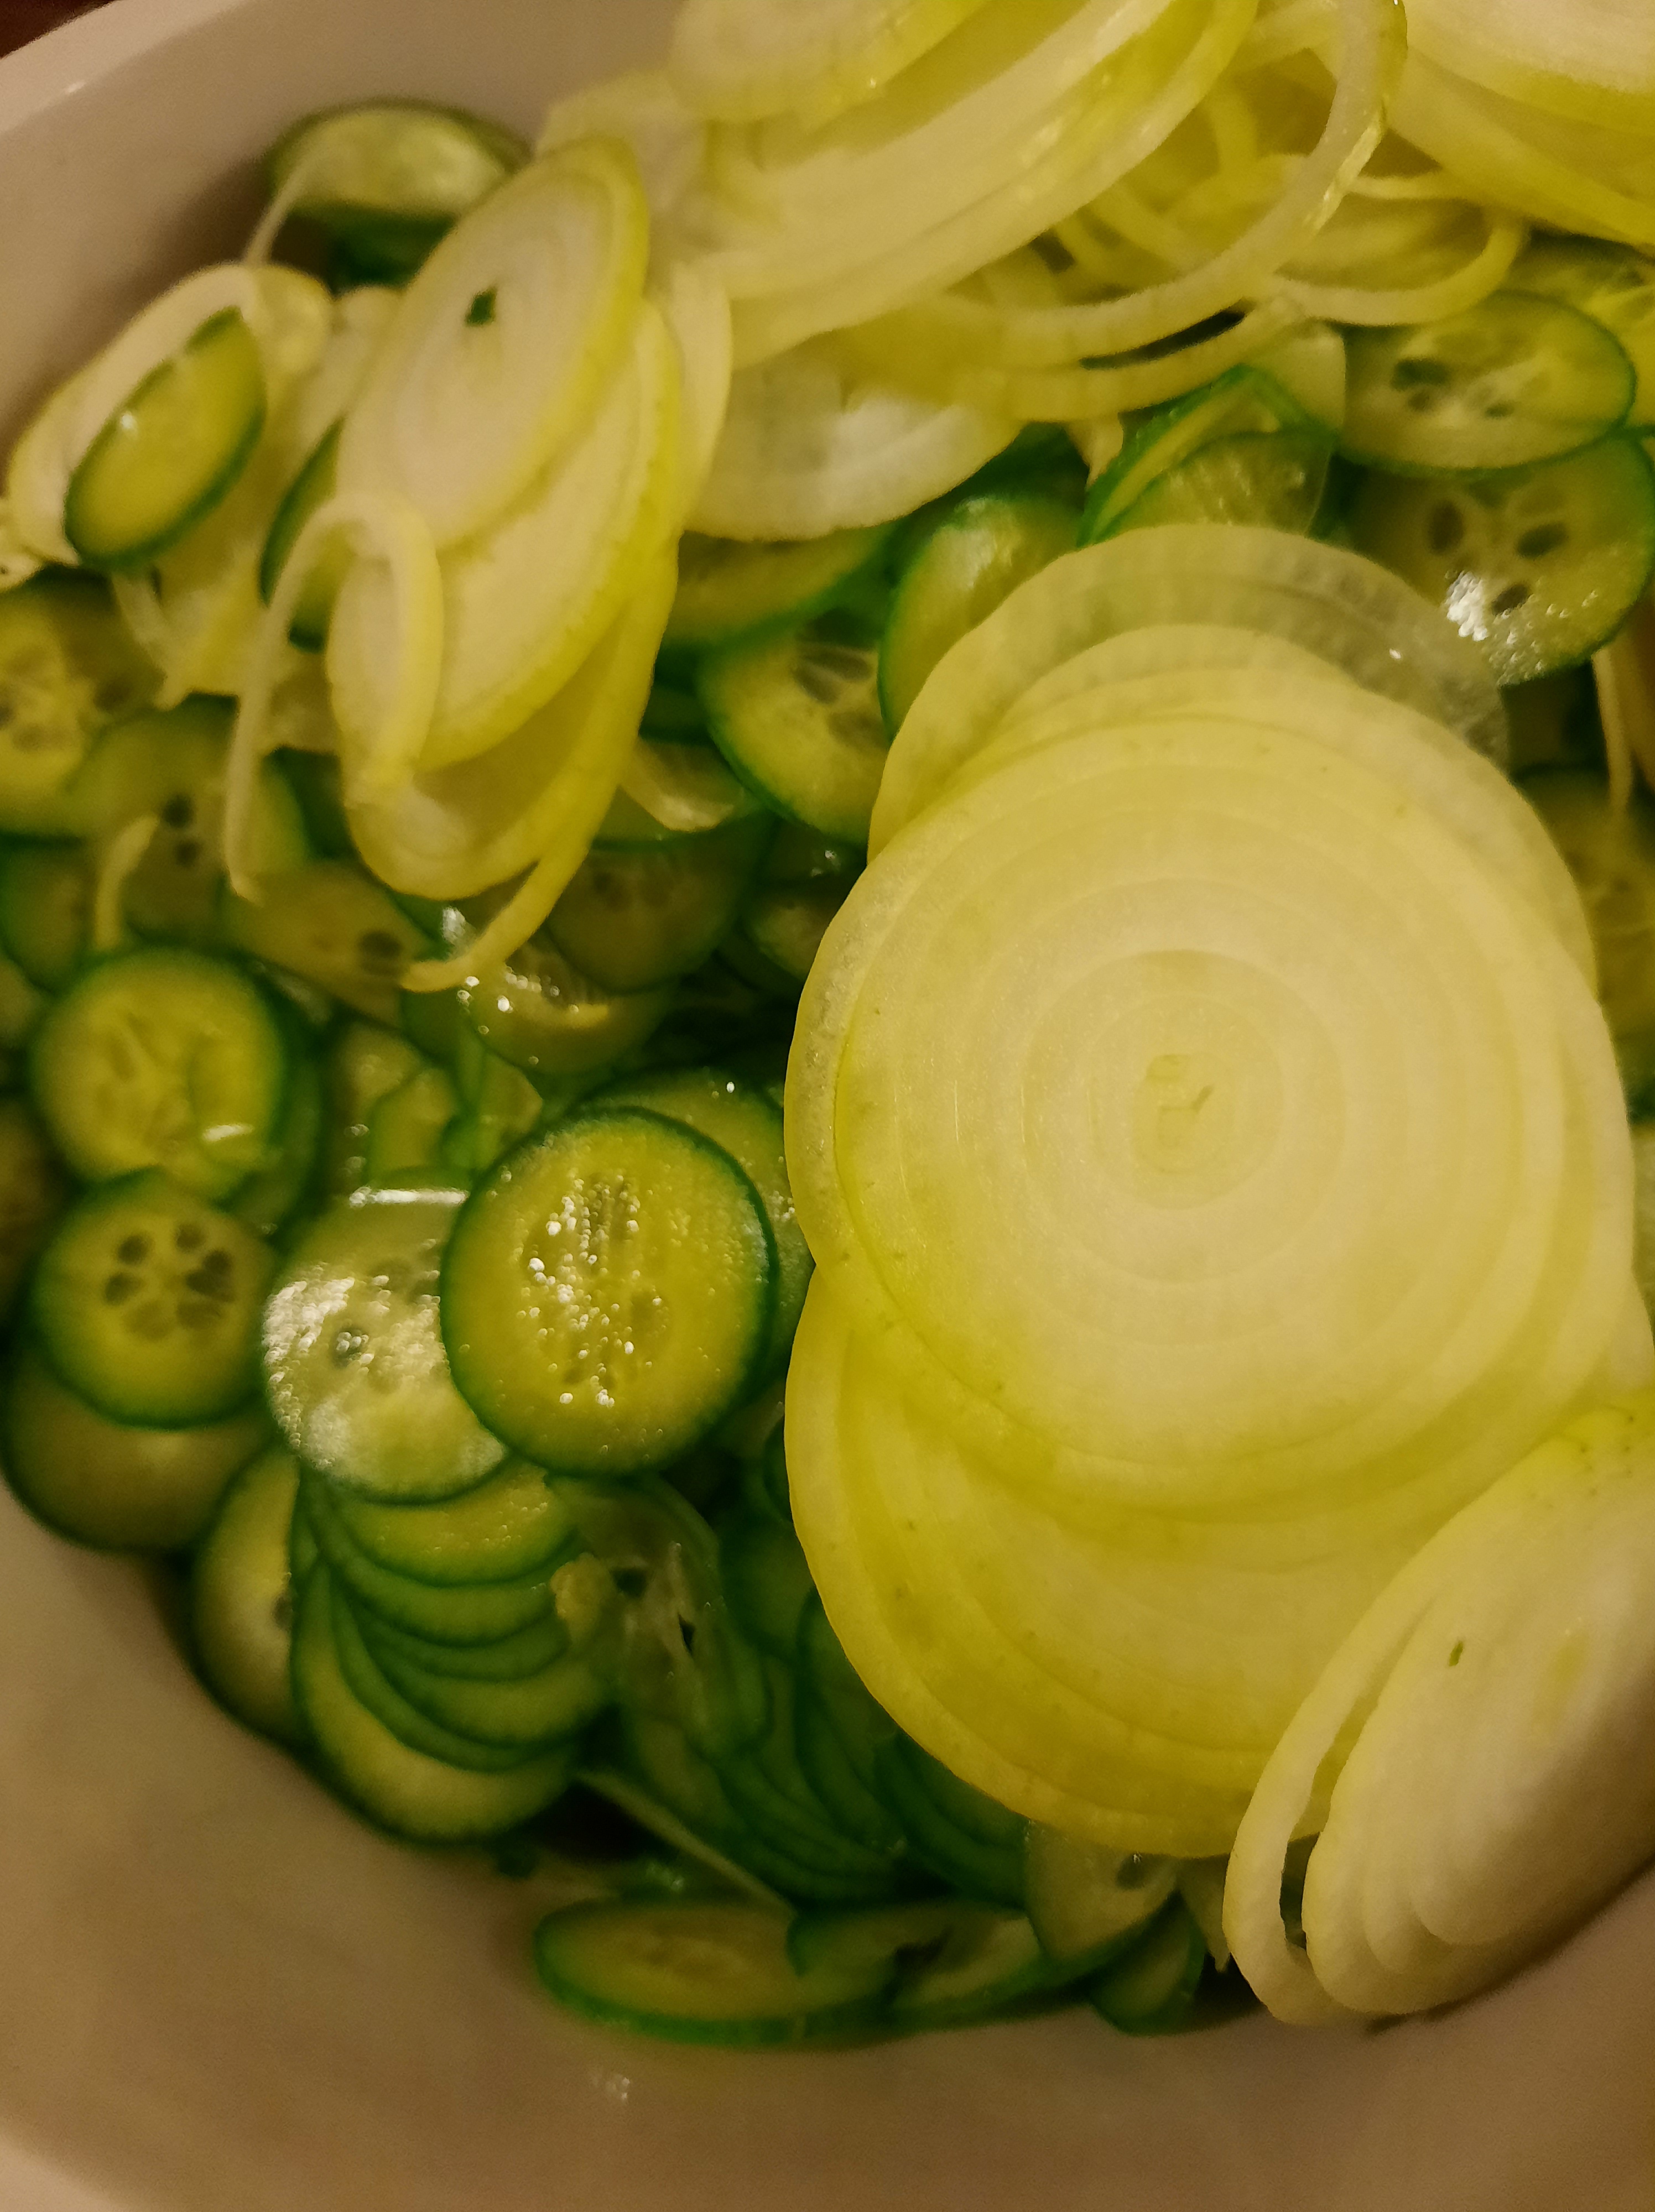
The lilly pillies in the local park called to me. I made them into lilly pilly jelly. Then a friend needed help with their mandarin crop, and we are both in the fruit fly zone (there are strict restrictions on moving fruit). I made it into marmalade at her house. 29 jars of it! I had to do a bicycle mercy mission around the neighbourhood to find more jars. And then I scored the very last of the cucumber crop when the plants were pulled up at our friends’ market garden. A few more jars of pickles resulted from that too…
Happy times in the kitchen, and so much sharing to be done! And here is a small ode to the local lilly pilly, in the local park at sunset.
My sweetheart’s last round of pyjamas grew so worn that they had to go to rags and compost. So I made two new pairs. Nothing can make a pair of PJs into an exciting image. The only thing less exciting is the three pairs of running shorts I have made myself. They are made from black knit that has come to me from other stashes and a garage sale. They are boring and black. They use elastic with a channel through the centre, with a drawstring. I bought a bag of it at an op shop at least 20 years ago and I am still using it. There is nothing romantic about these items, but they are very much used in this household. I think they are super important. They are comfort items that do the job they are designed for. They get washed and worn and washed and worn.
I copied a pattern from my previous running shorts to create the new ones. I bought the first round of running shorts of my life as “a runner” and had to buy men’s shorts to get something made of cotton and involving no lycra. I do indeed stand out a bit, especially at yoga. I wore them to rags. Then I bought the same shorts again, only to find, once I got home, that they were now made of cotton and polyester. That’s it. Never again. I’ve worn them to rags and I intend to cut them into strips and include them in a cushion stuffing to keep them from landfill. I won’t buy more, and that is why I have made a series of three myself. But there are no exciting pictures of the other pair of pyjamas, and no pictures of any of the running shorts. So here is a cute caterpillar!
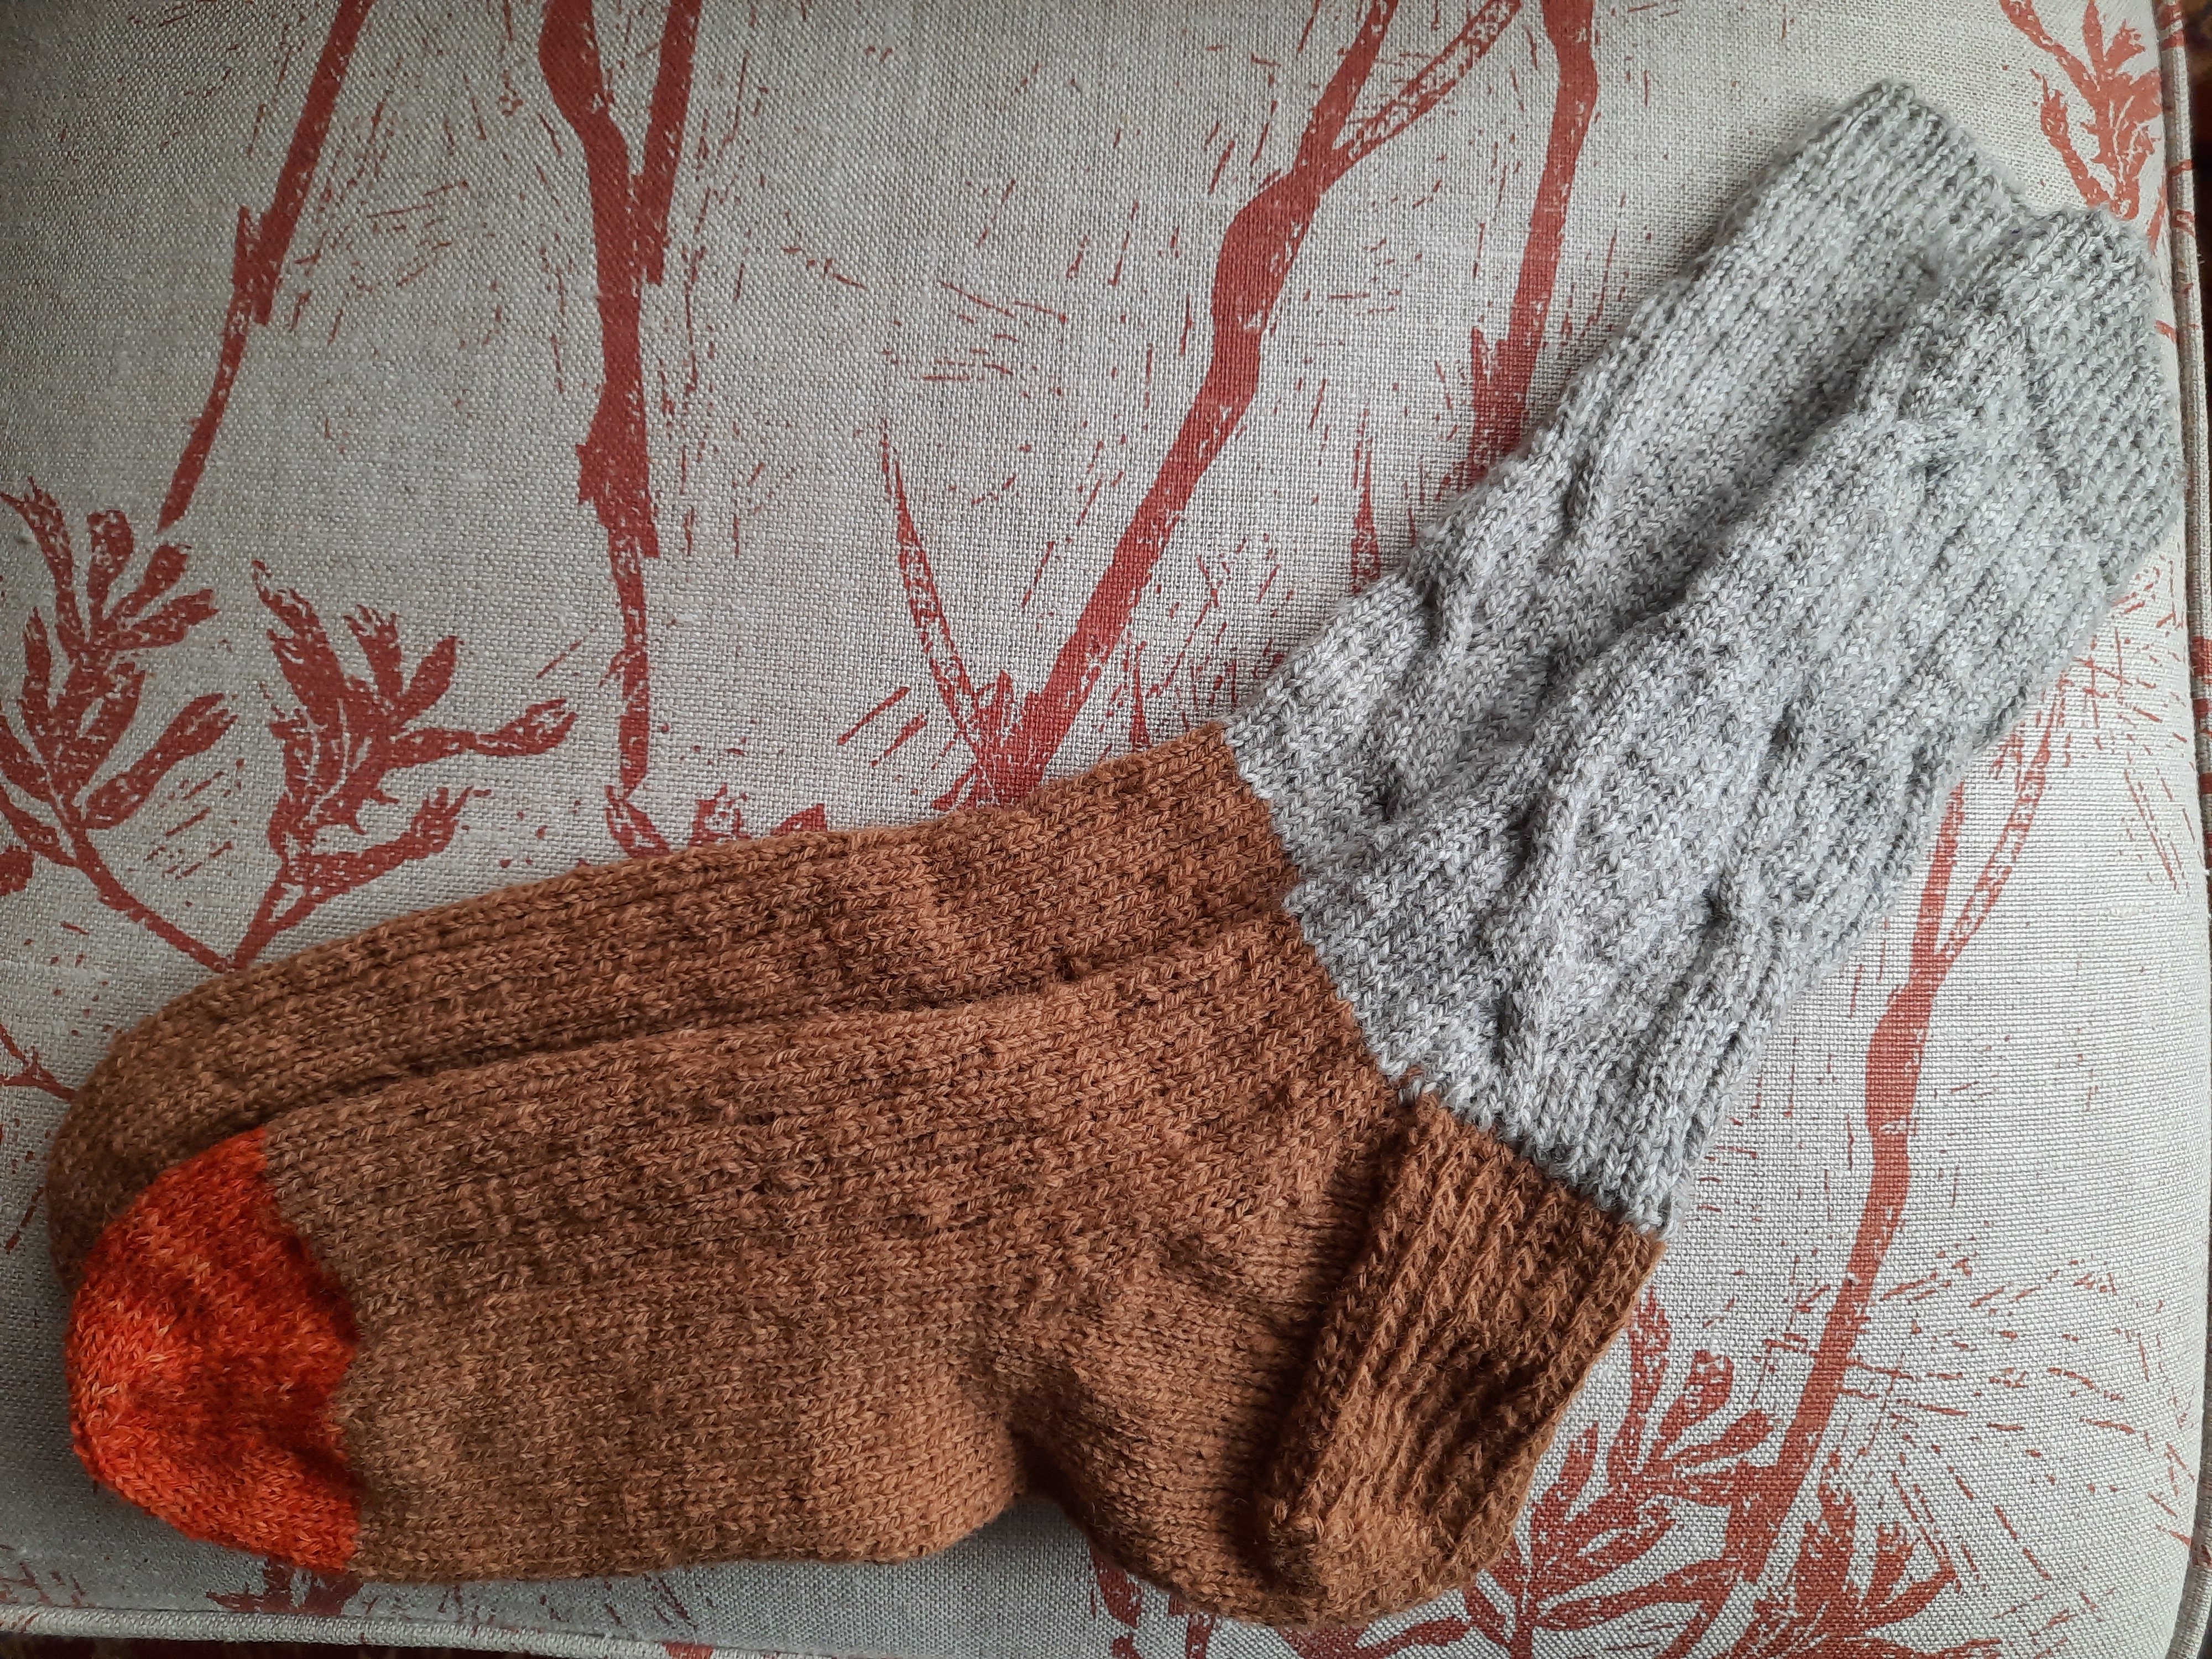
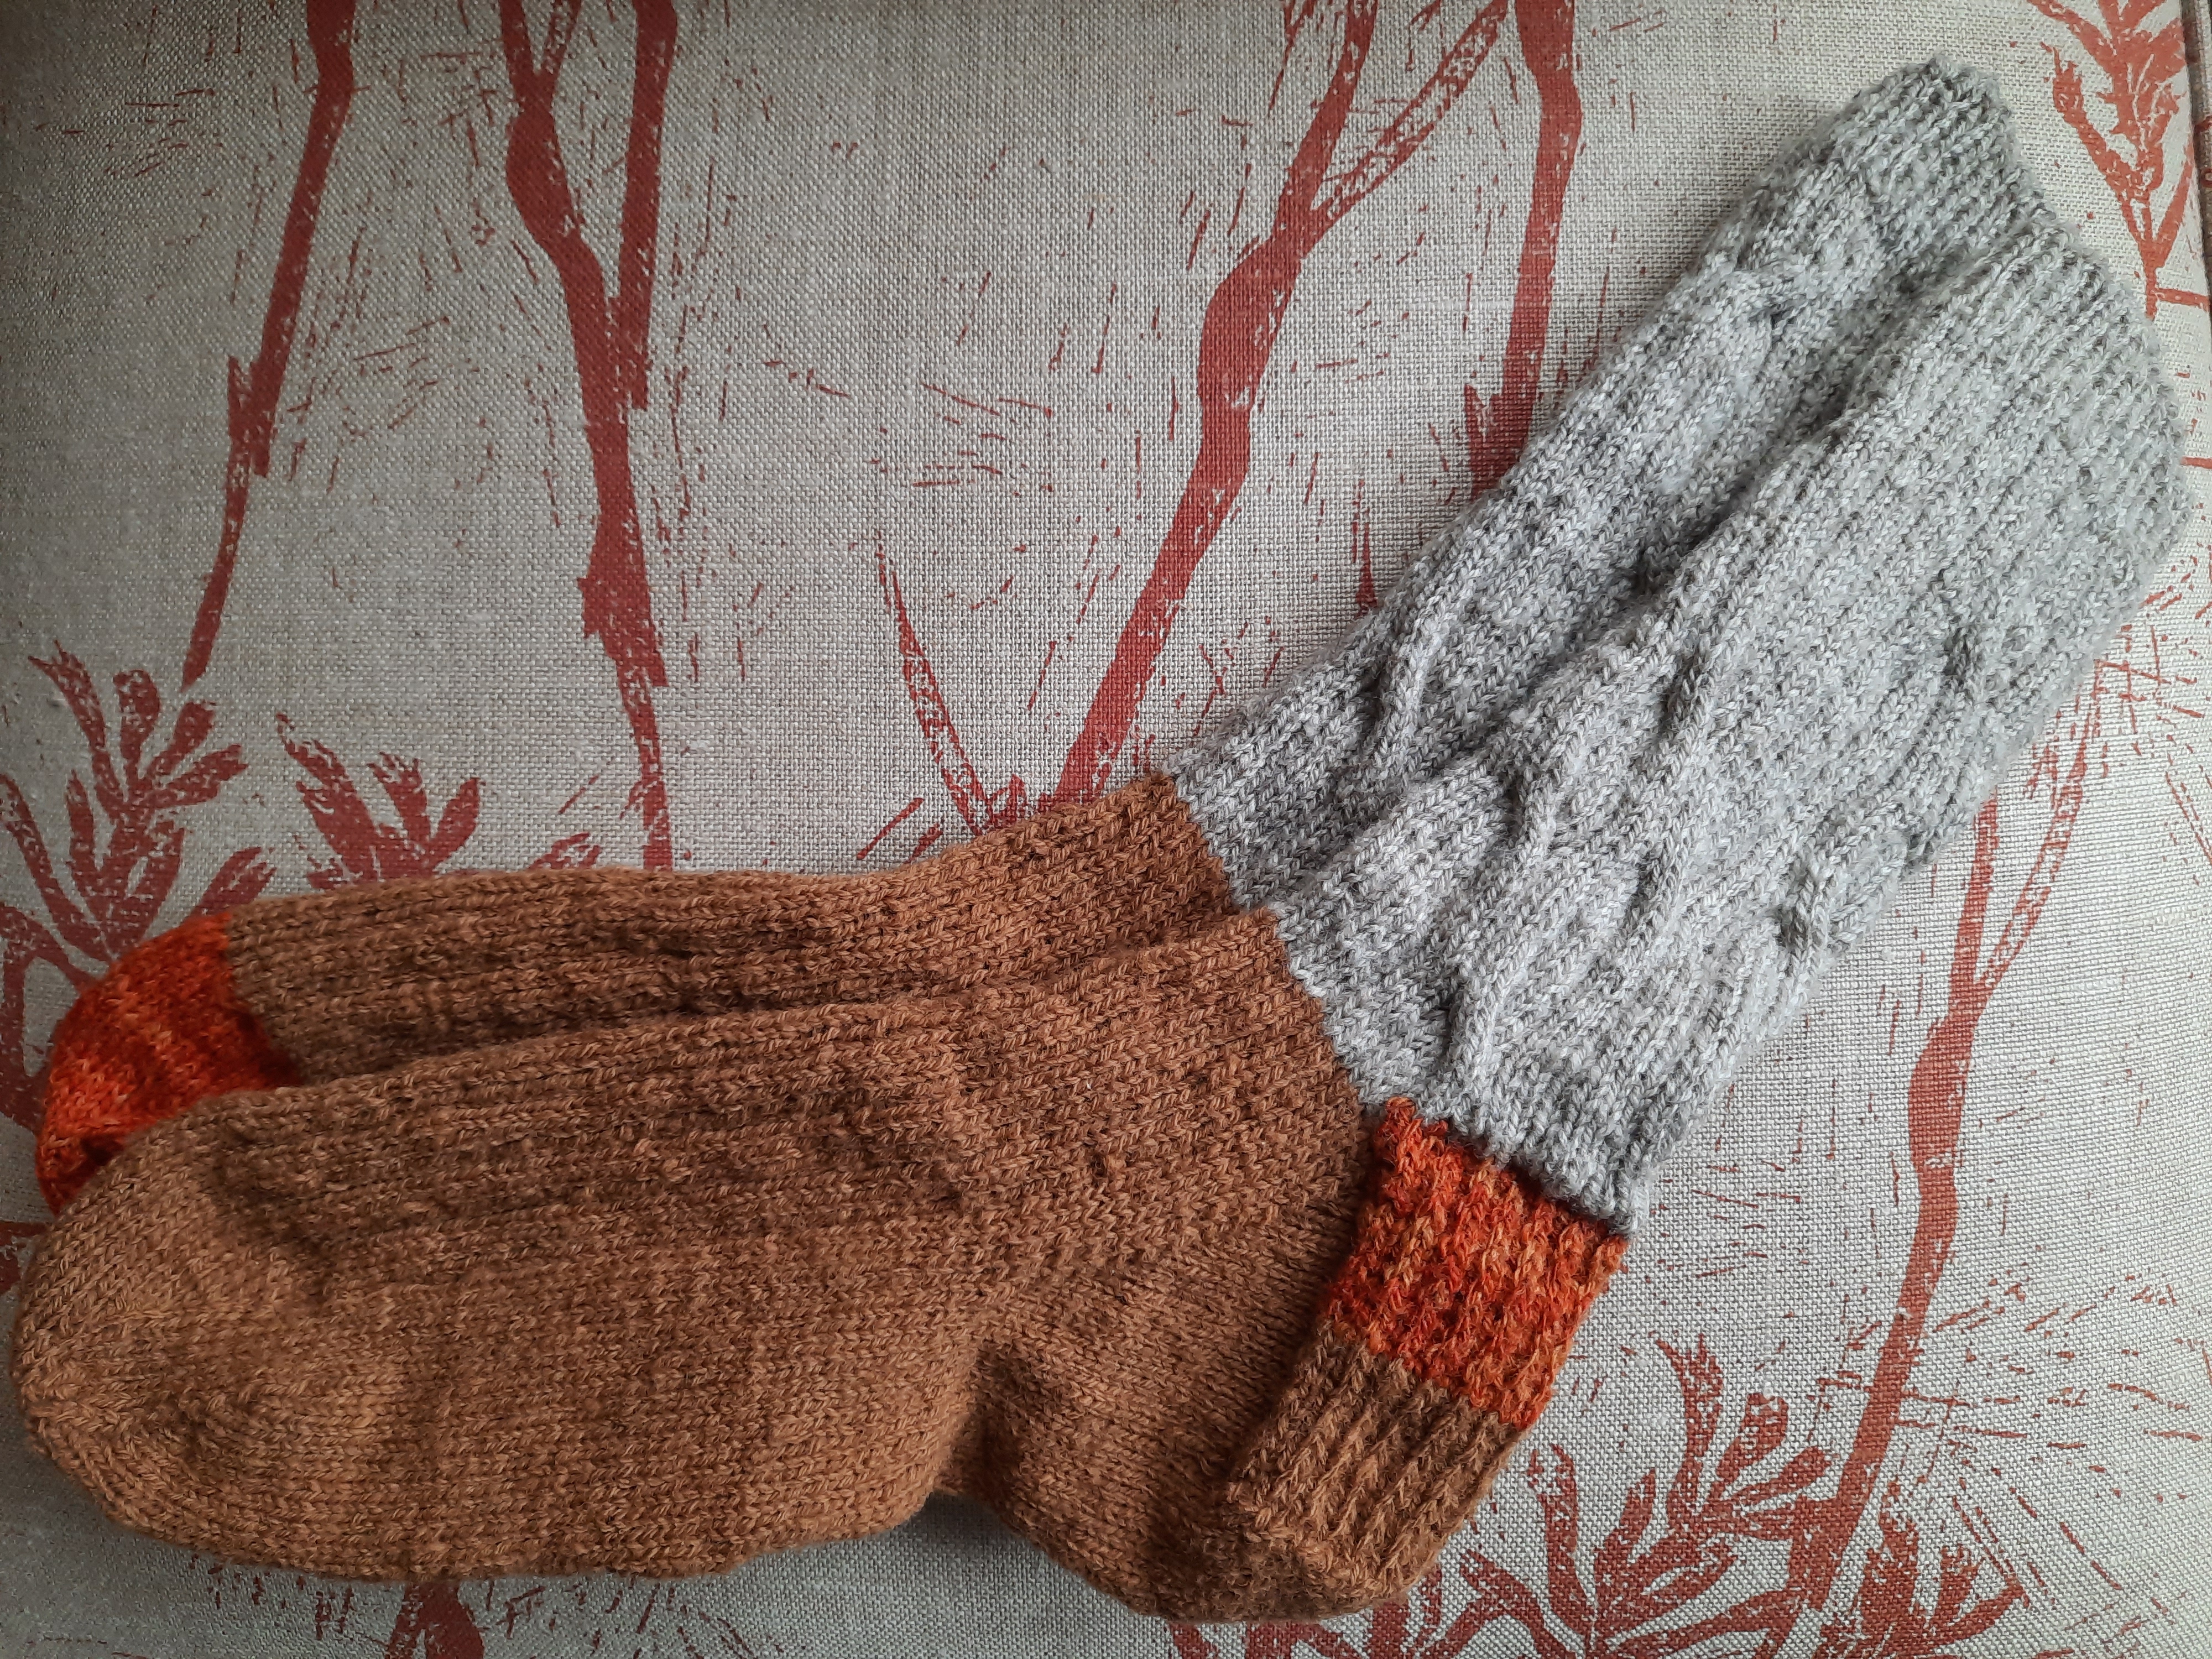
It wouldn’t be right, life without a sock in progress travelling along with me.
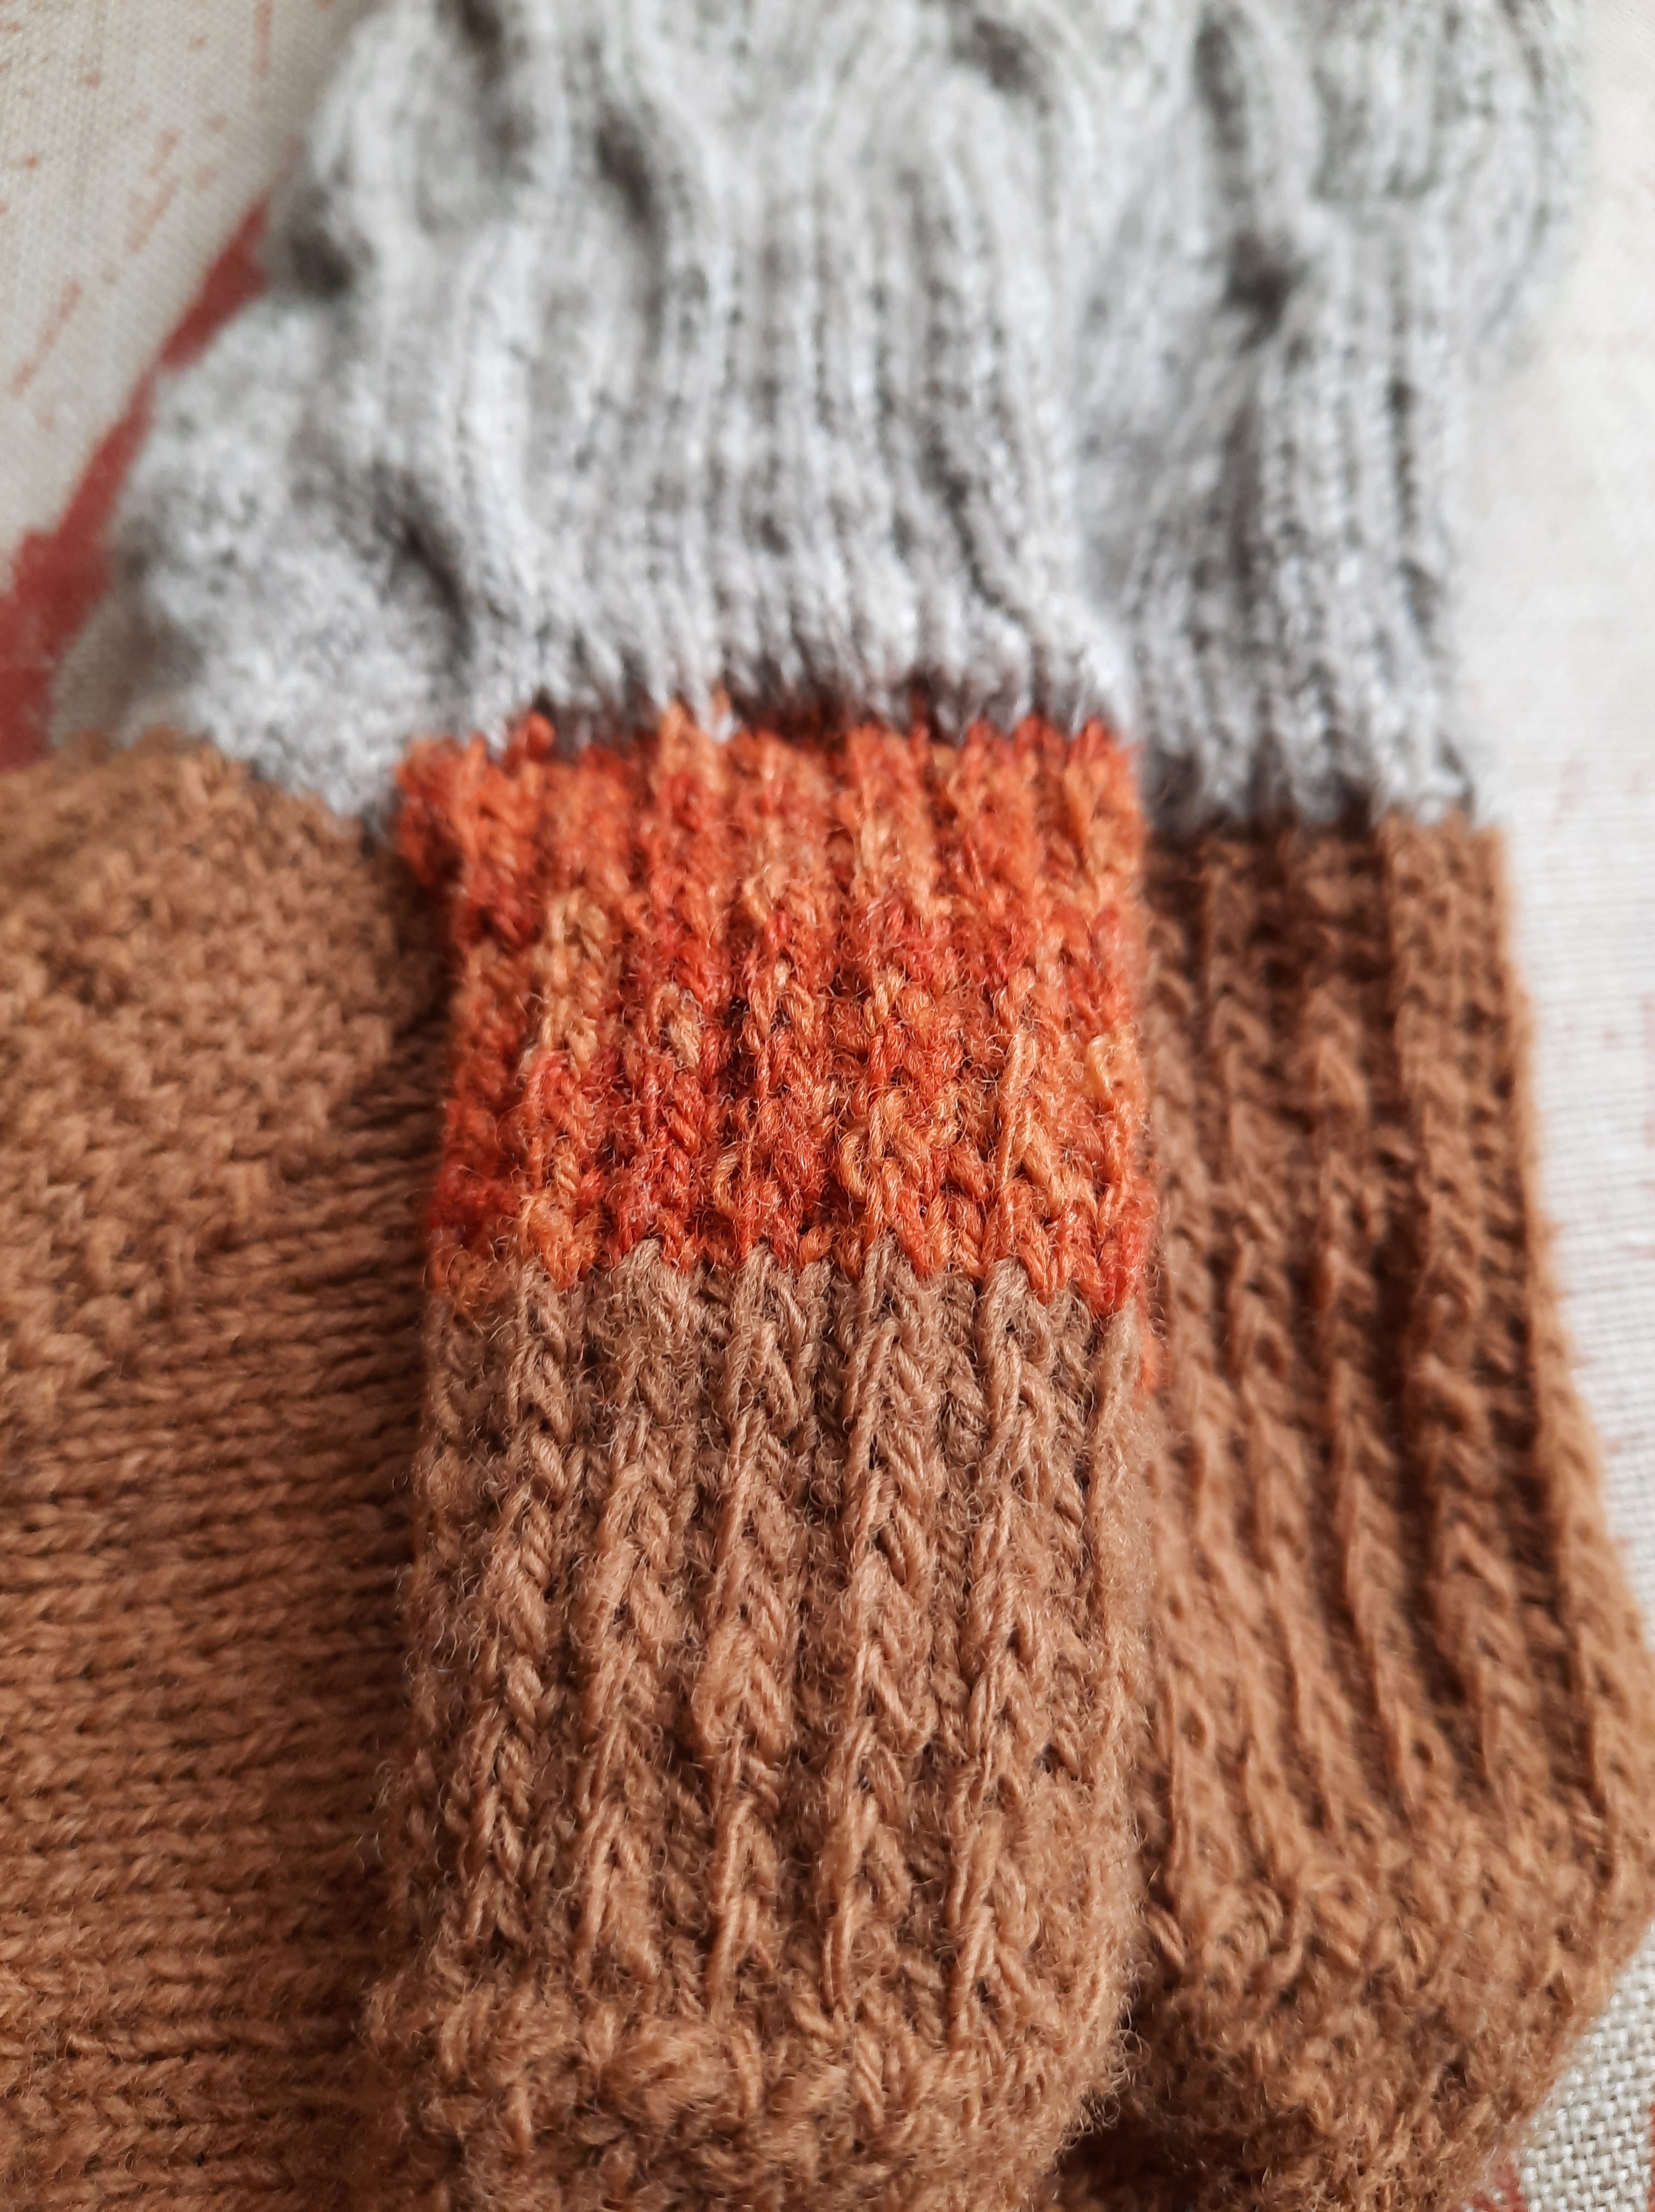
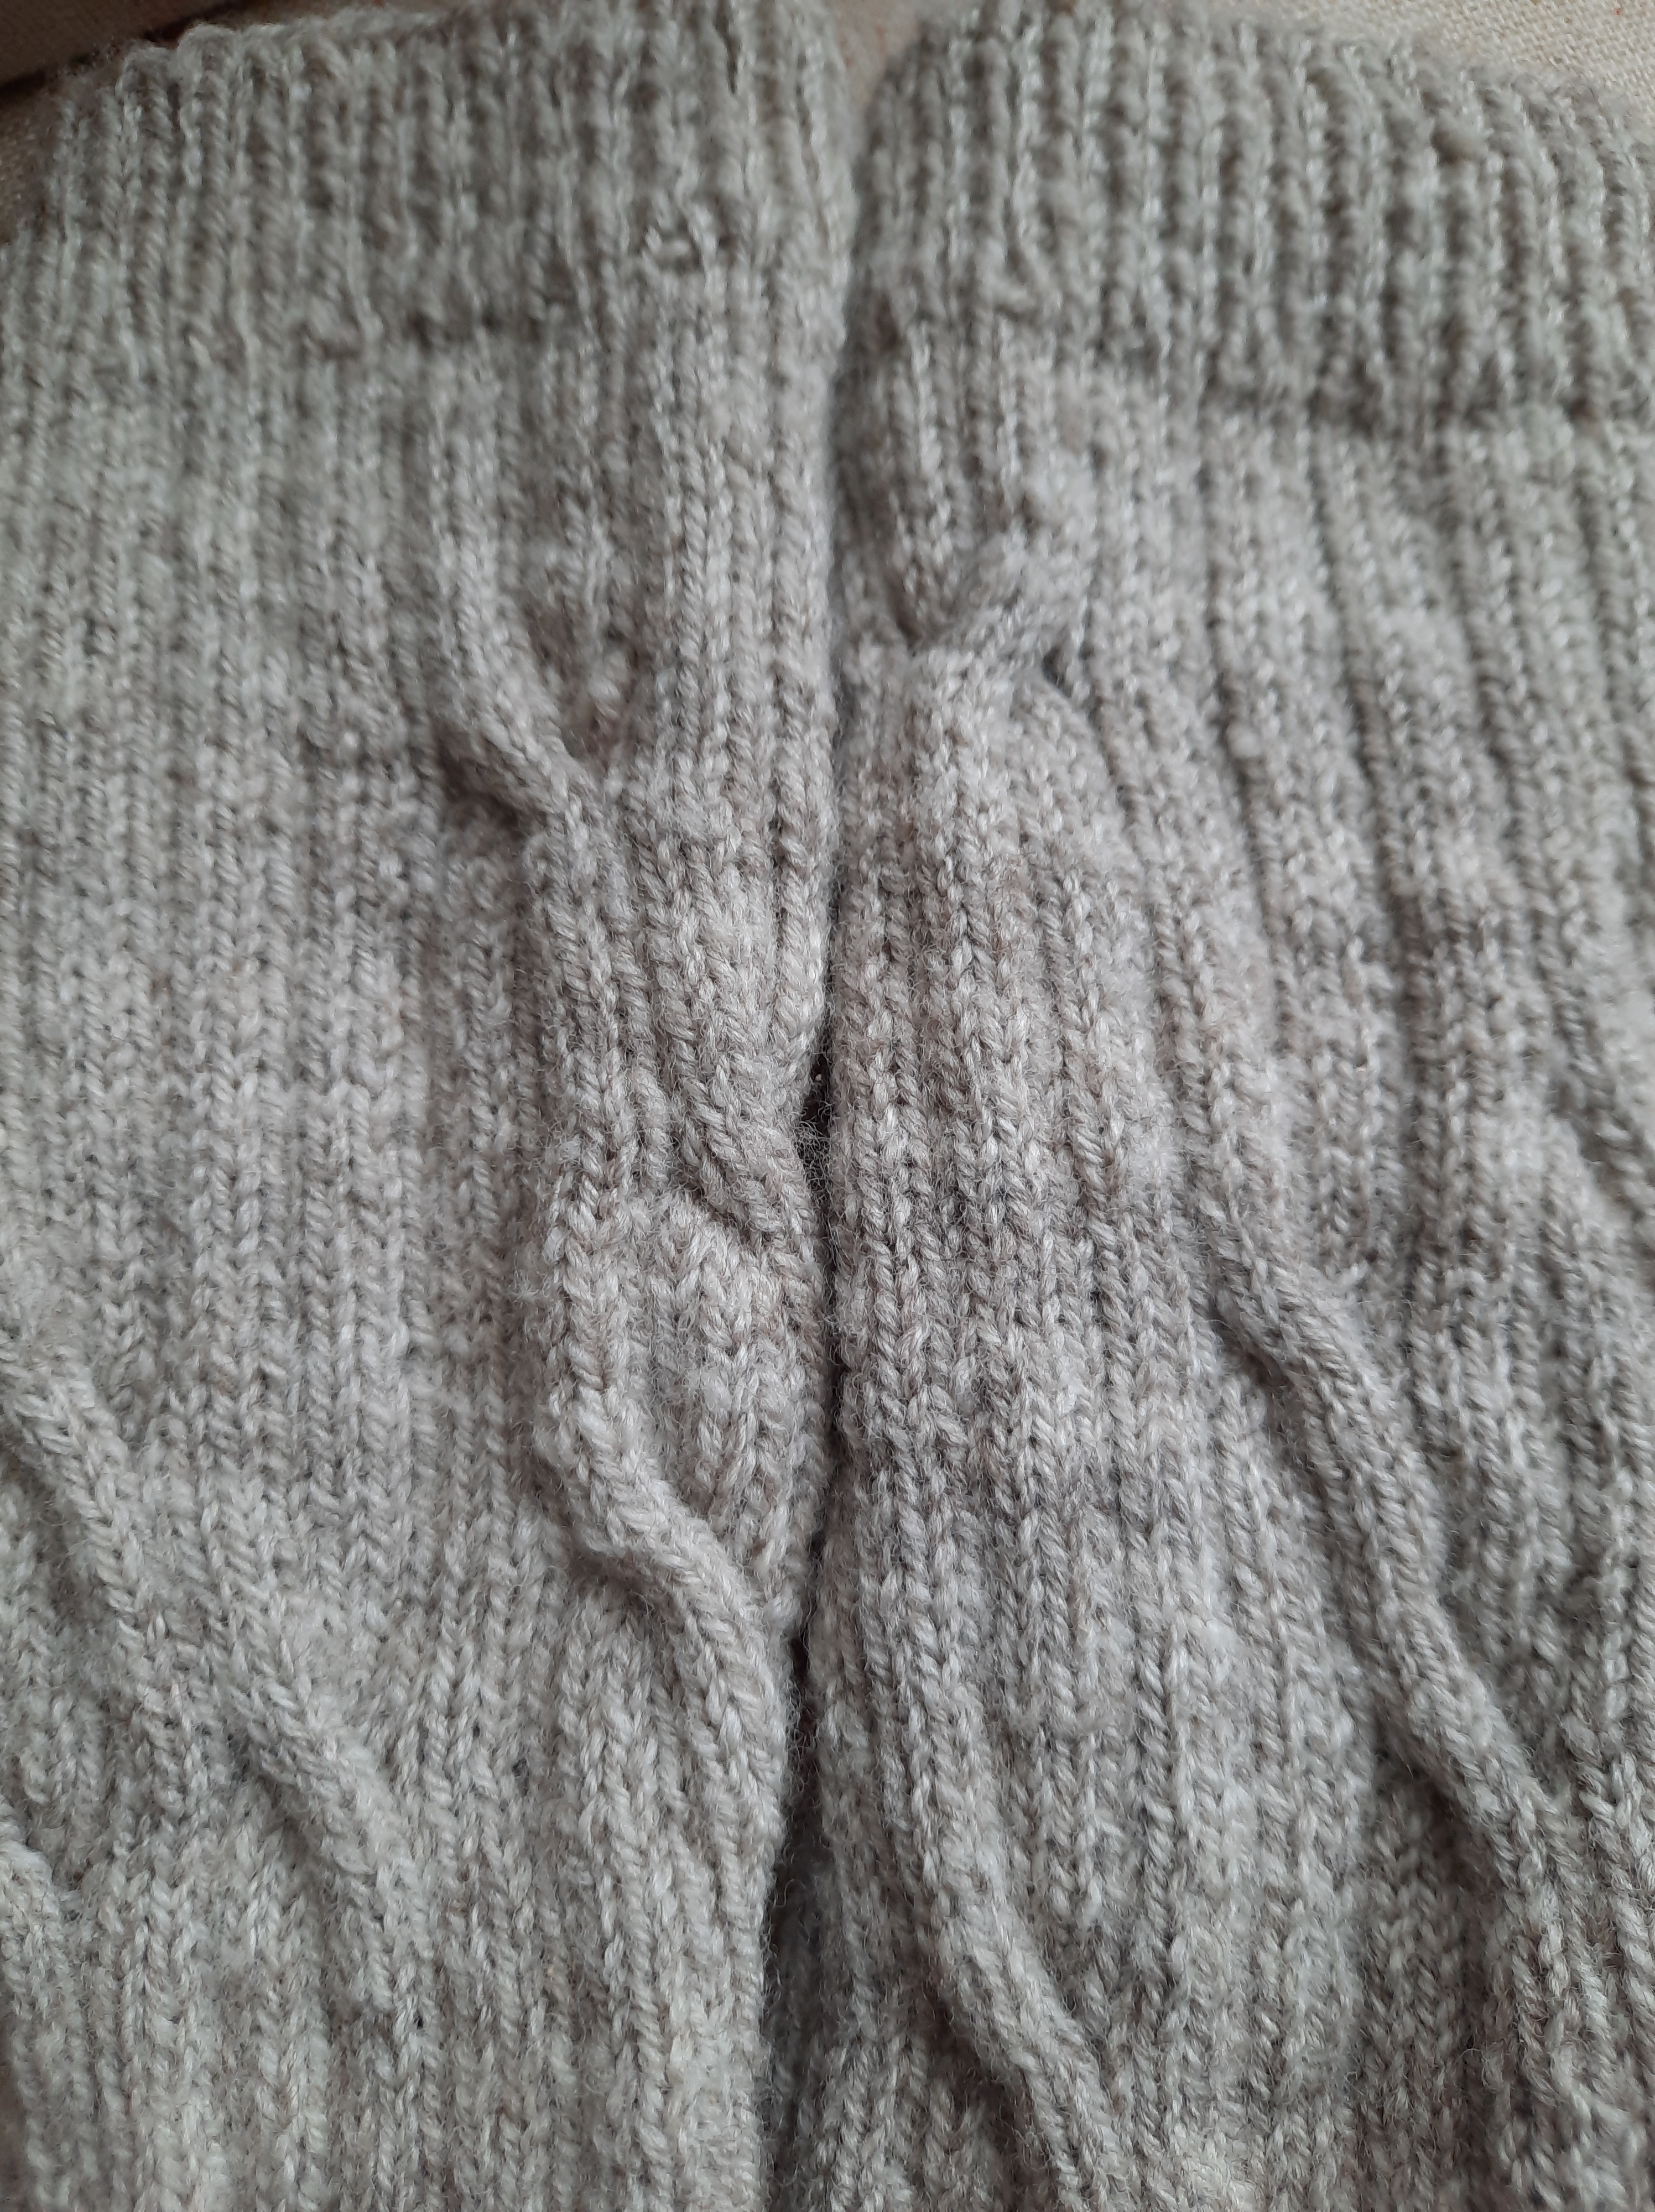
These are merino lamb handspun legs in the “whimsical cable” zone; with a sturdy hard wearing handspun foot + sole (the breed of this yarn escapes me though). I’m using up all the ends of skeins in the handspun sock yarn stash, which led to the heel and toe peeping out like sunshine…
And for those who enjoy them, here are details. They have gone to a dear friend who has sent pictures of these, on her snug warm feet!