Tag Archives: dyeing

Fresh Madder dyeing 2019

I’ve been growing madder long enough to have a good big patch now, and so it came to pass before the weather warmed too much, that I dug out an entire kilogramme of fresh madder root (yes, I weighed it once washed clean).

I didn’t dig out the whole patch and I did propagate more plants for the Guild while I was at it… and then came the washing.

It’s pretty exciting to think I can grow red dye in my very own garden!

Next stage, breaking up by hand or with secateurs, and then–

Then the dye bath… my trusty muslin from the ever delivering op shop lets me strain out all that ground up root.

And then… in with some wonderful soft handspun Tasmanian Cormo from the wonderful Kylie Gusset’s Tonne of Wool project.

In the interests of honesty, I confess that I broke all the rules AGAIN and boiled the madder vat AGAIN. And yet, red. My experience suggests that madder is not as fussy as every single dye book suggests. That I am so bad at keeping a dye vat below boiling point that I cannot be trusted. And that with fresh root it is best to dye a small quantity if you want really really red red, and then many exhaust baths will give orange and then coral and then peach if that’s what you’d like to have.

My goal with this–is to knit a beautifully soft and red beanie for one of my special sweethearts. But as knitting is going slowly at present it might be a little while!

2 Comments

Filed under Natural dyeing

Hat-o-rama

In among Joyce’s no-longer-needed craft stash was a significant number of bottles of Queen brand food dye.  Eventually I also found instructions for using it to rainbow dye yarn. In my opinion, a much better use than dyeing food with it!  I chose some pale oatmeal handspun yarn and tried it out.

2017-10-05 07.50.53

I am sure it was the Joyce connection—it wanted to be hats. I knit one beanie.

IMAG5201

Then another and another.

IMAG5194

And eventually there was a hat. And another hat, and another. Until–I ran out of yarn. But not food dye!


6 Comments

Filed under Knitting

Quilt finished at long last!

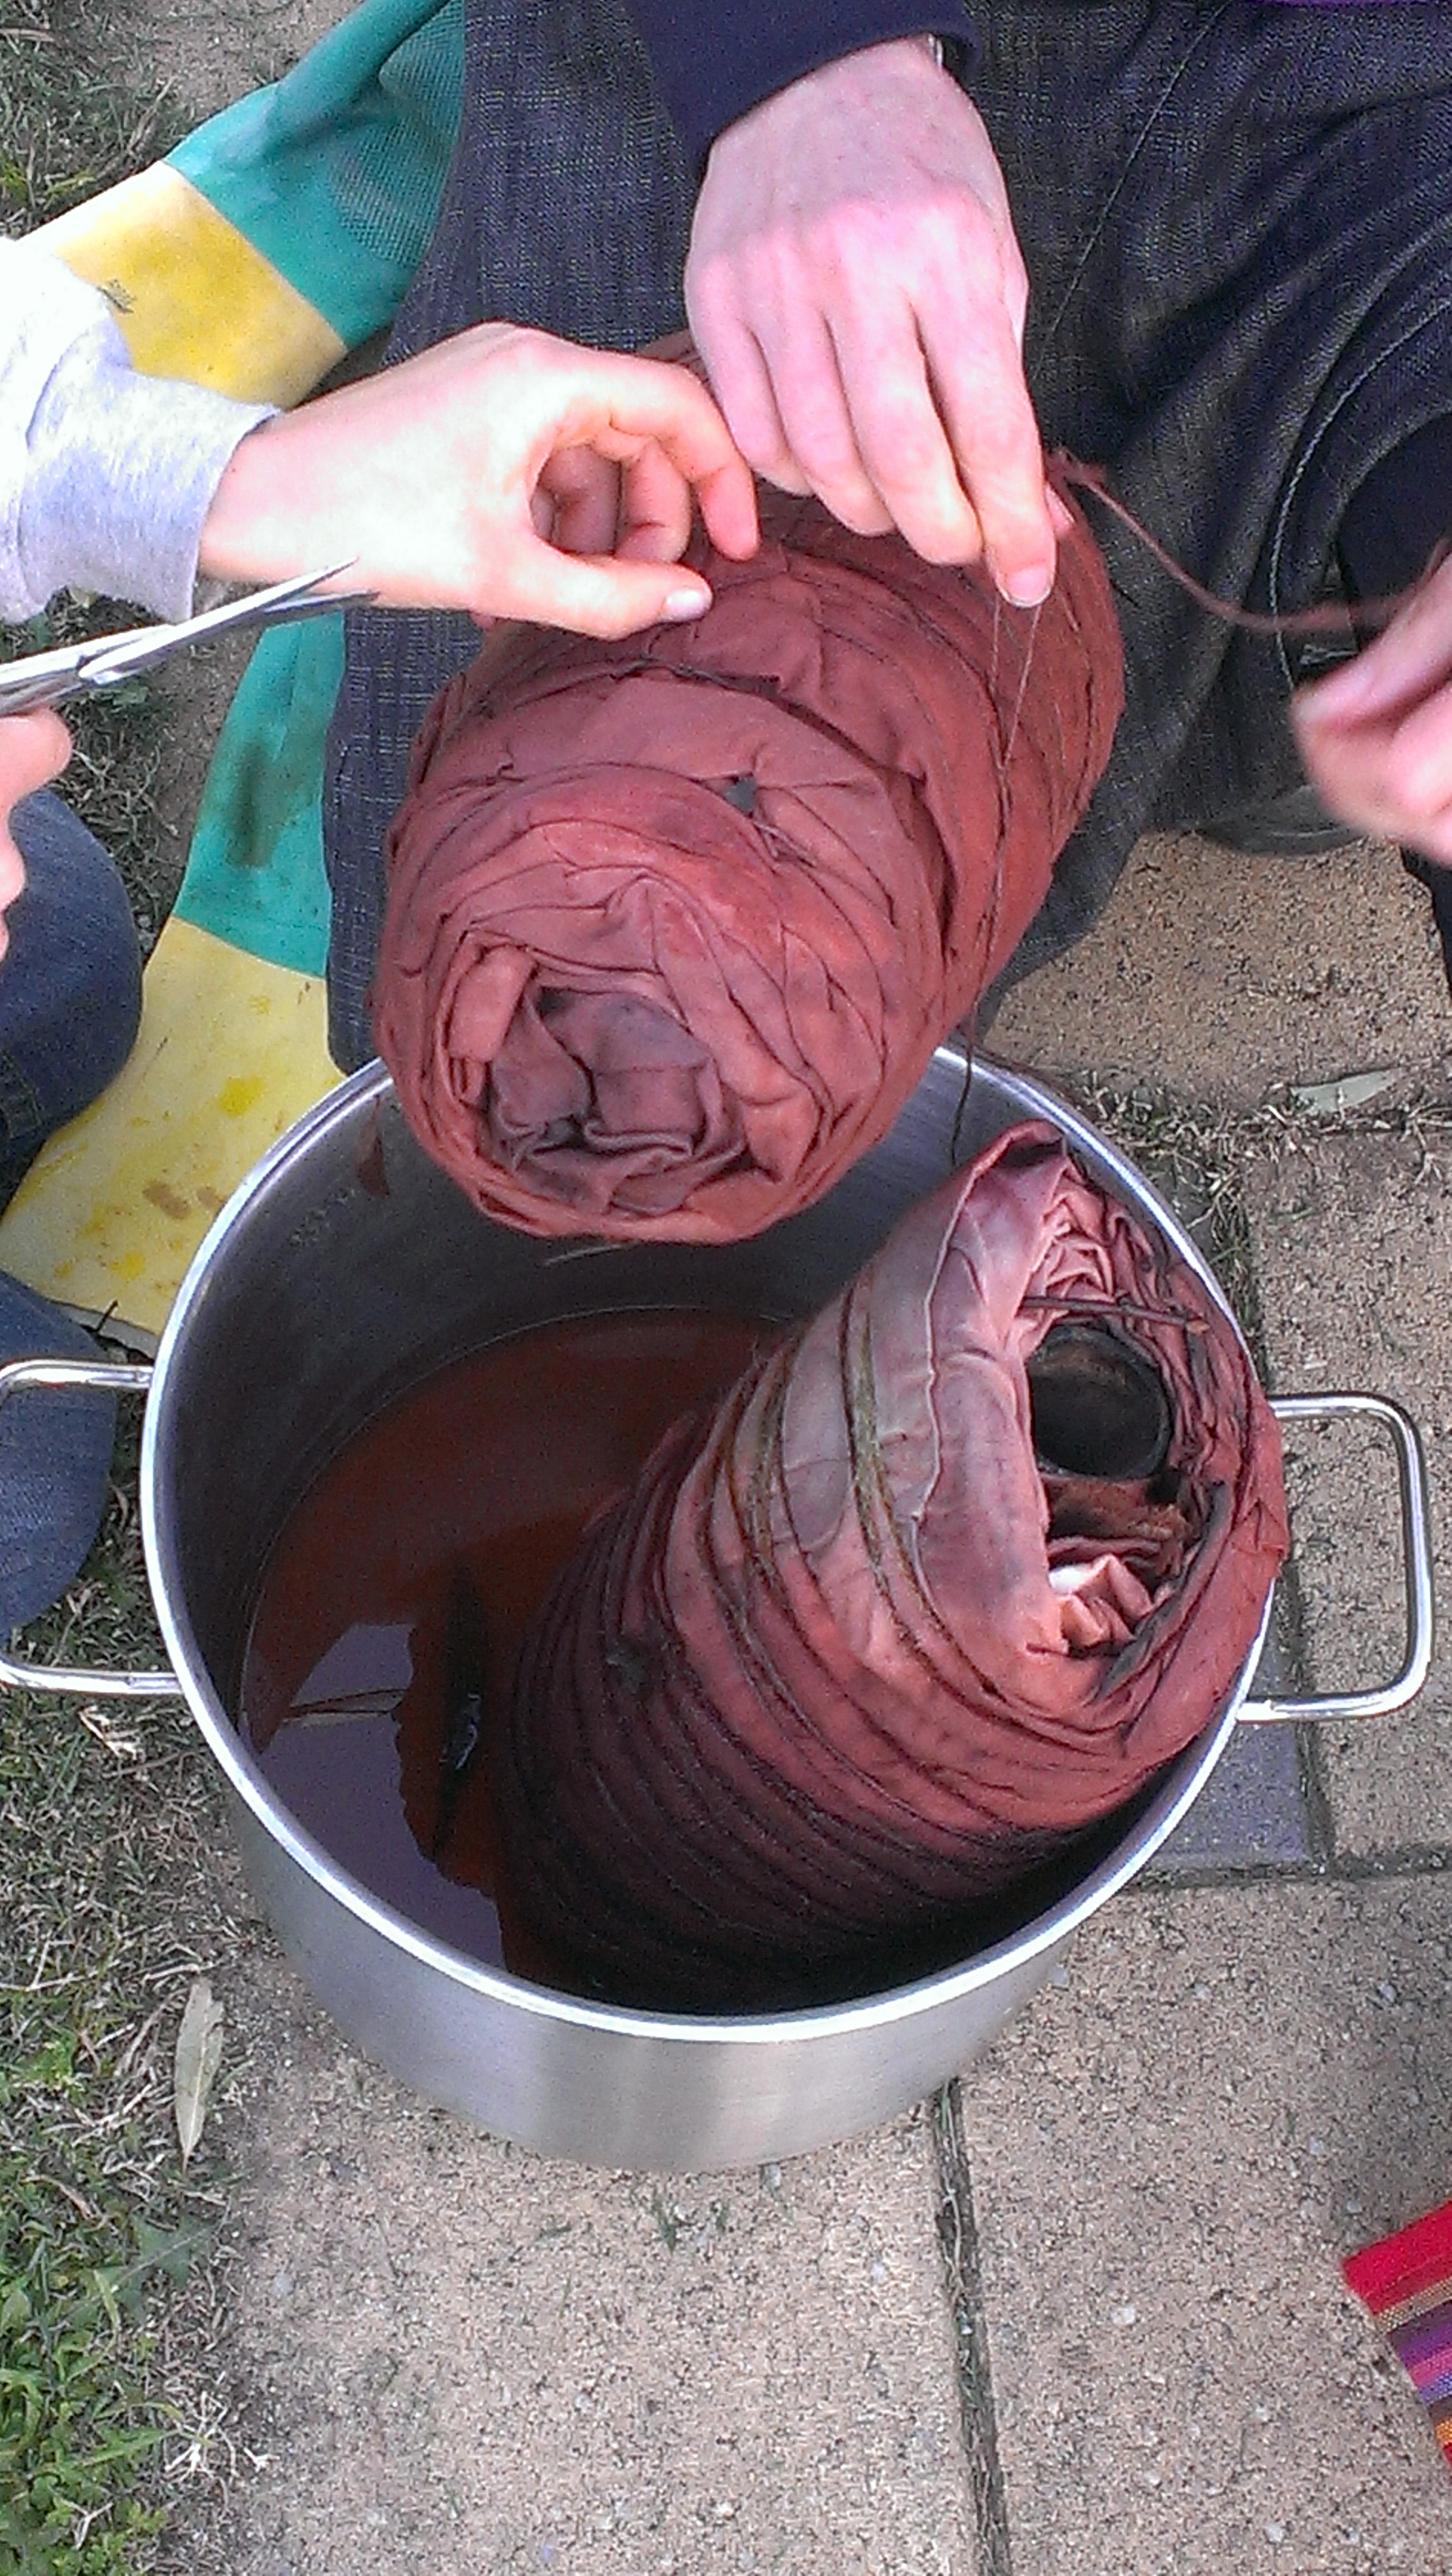
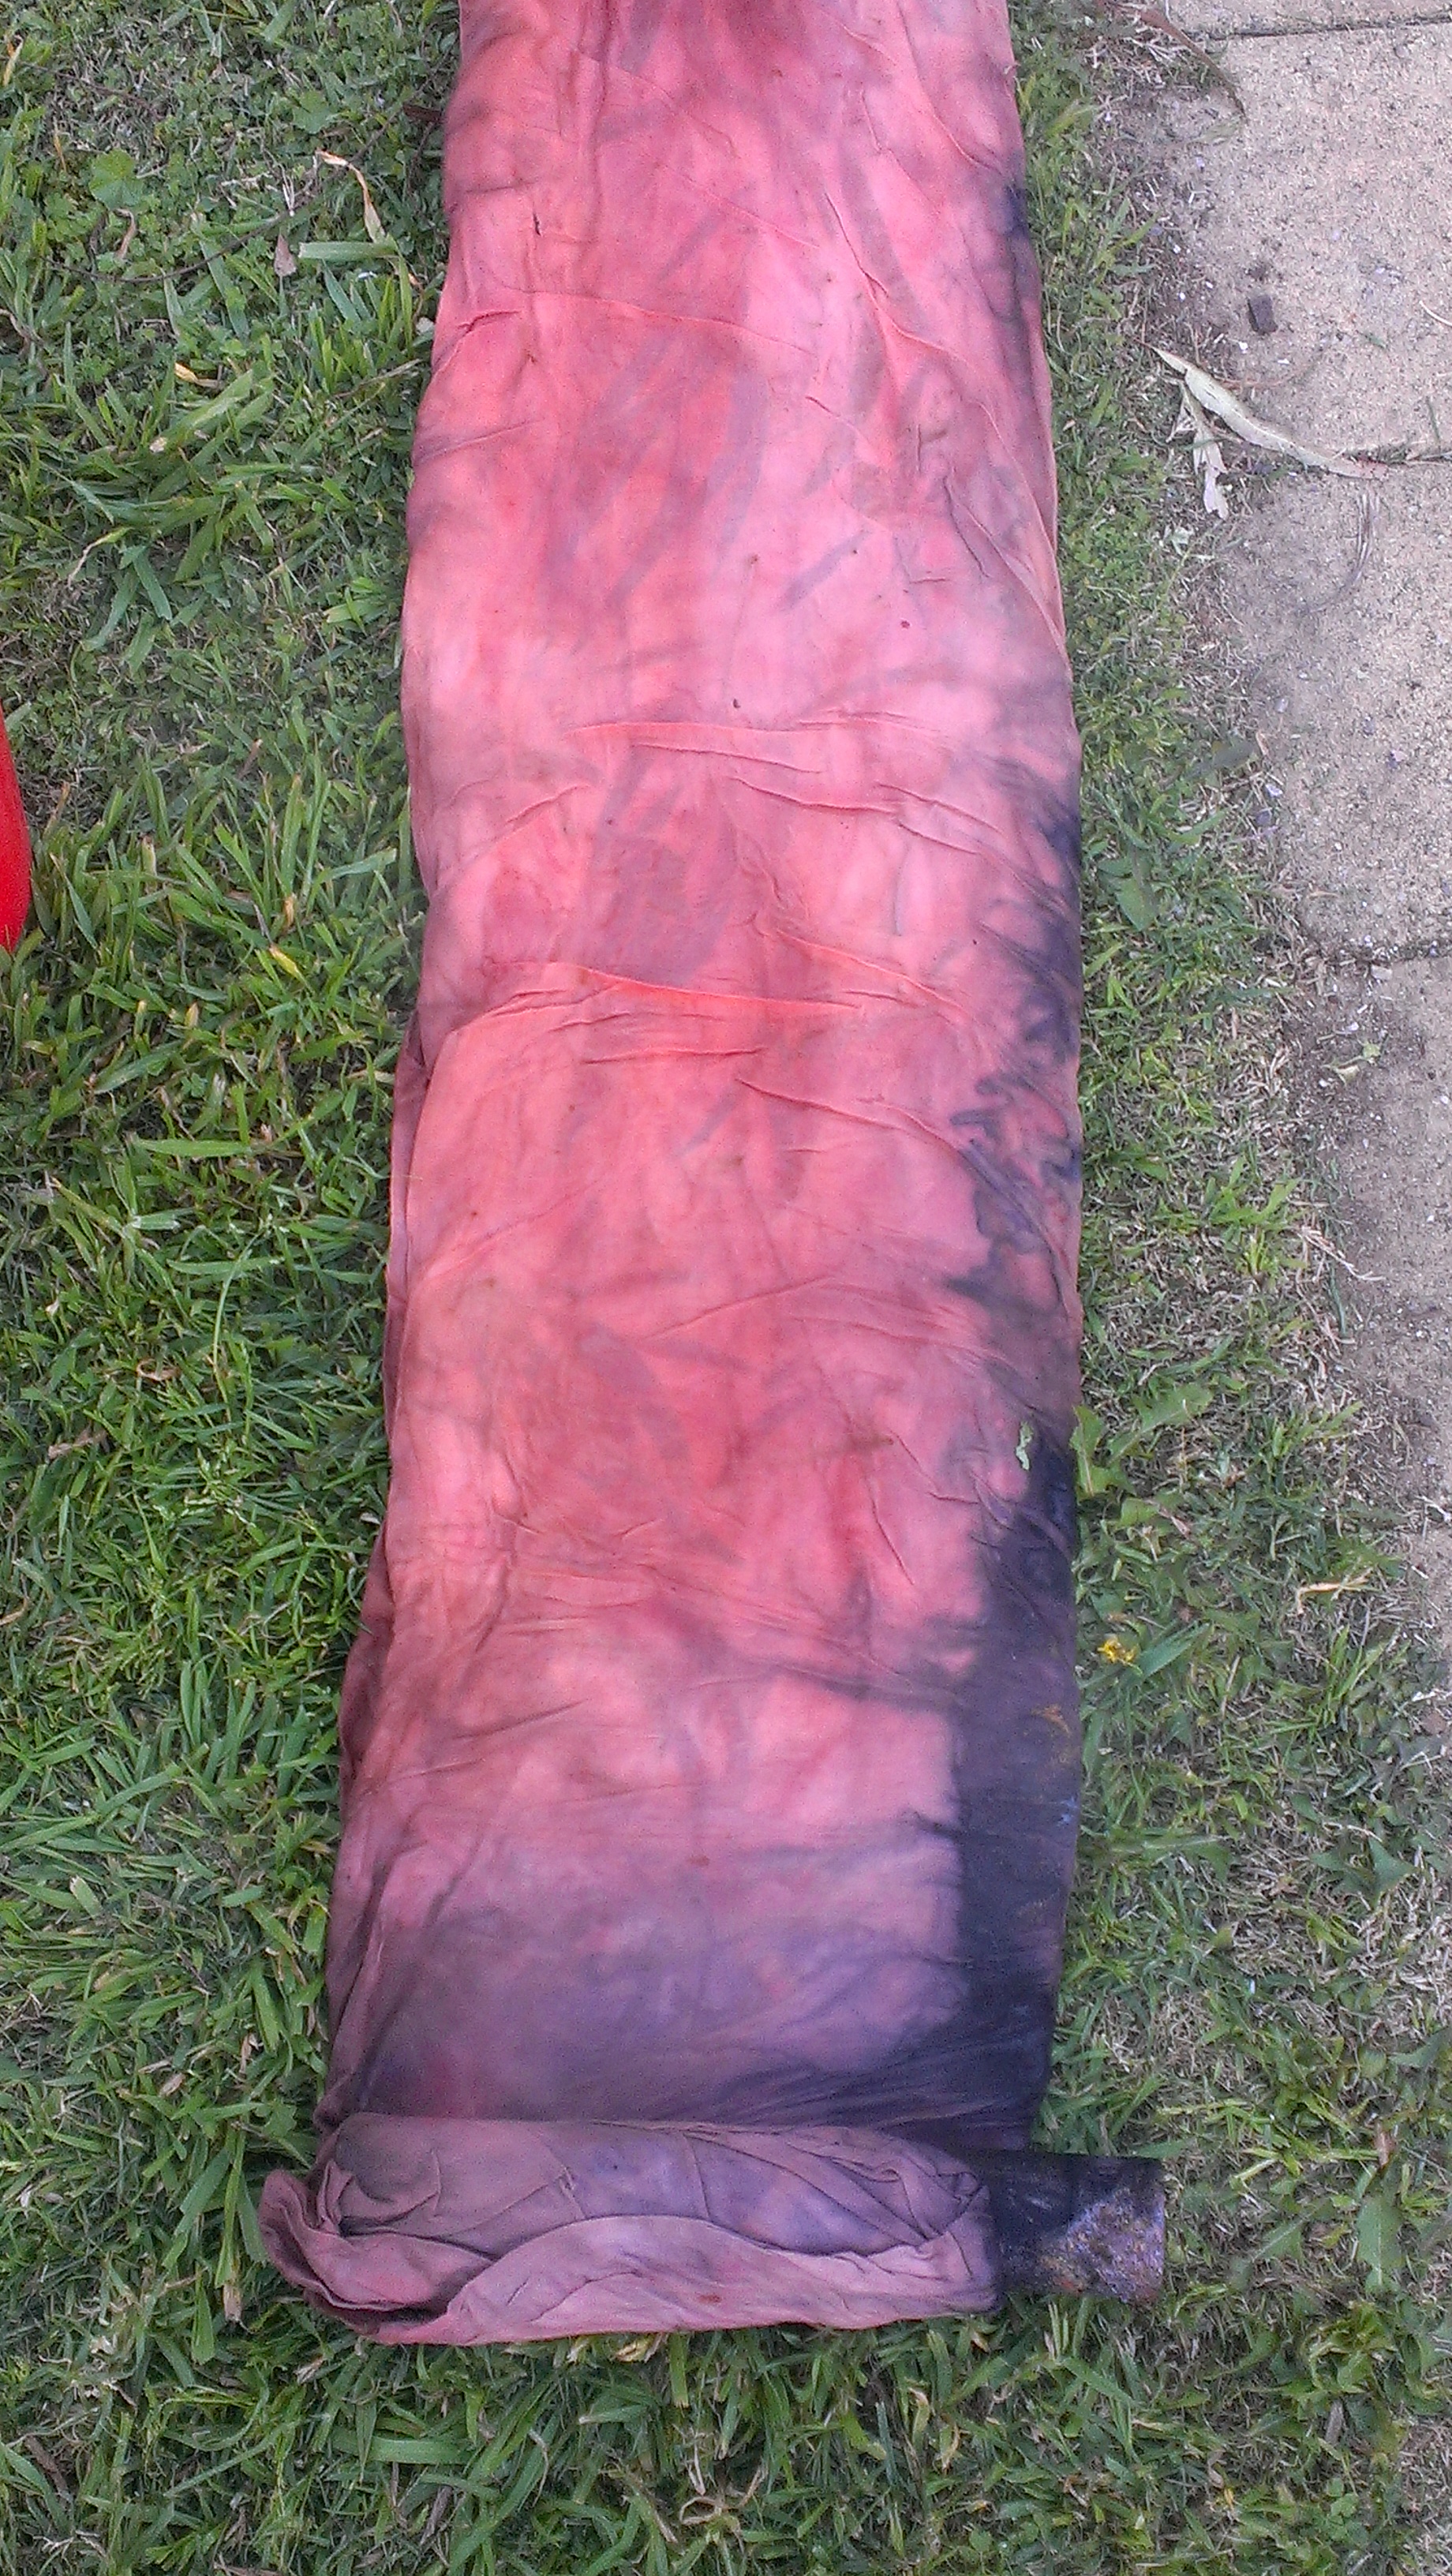
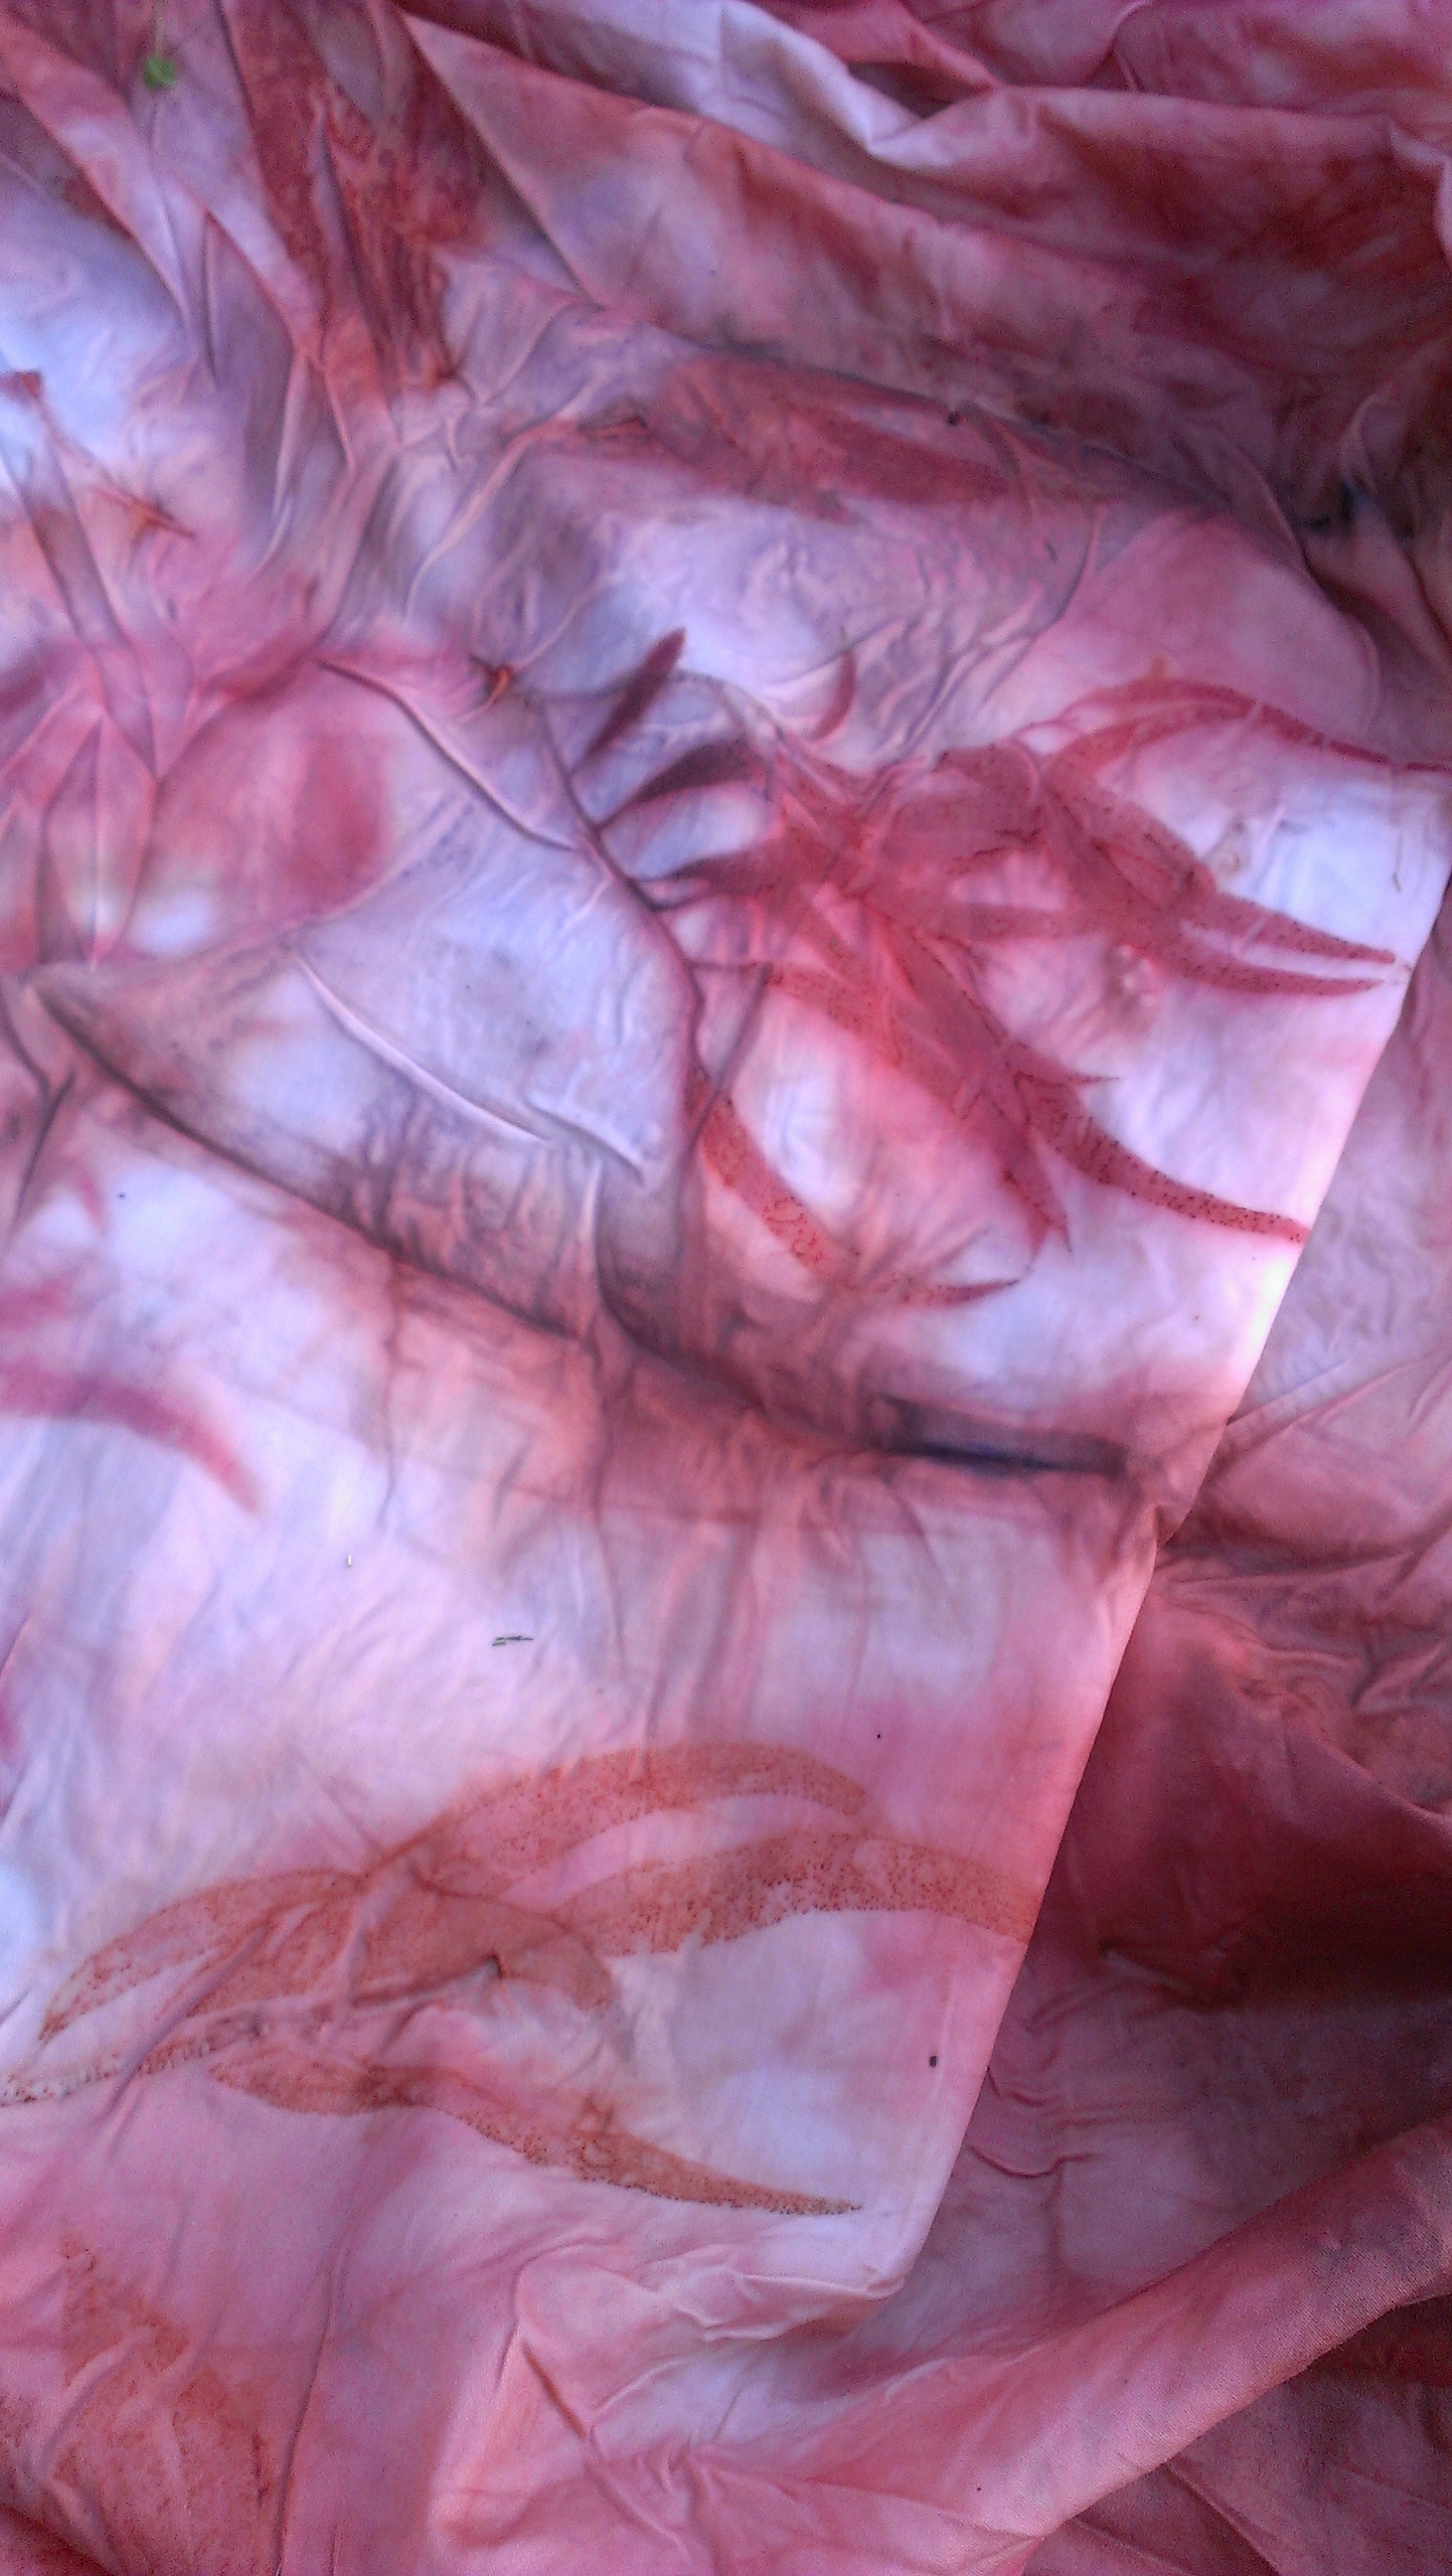
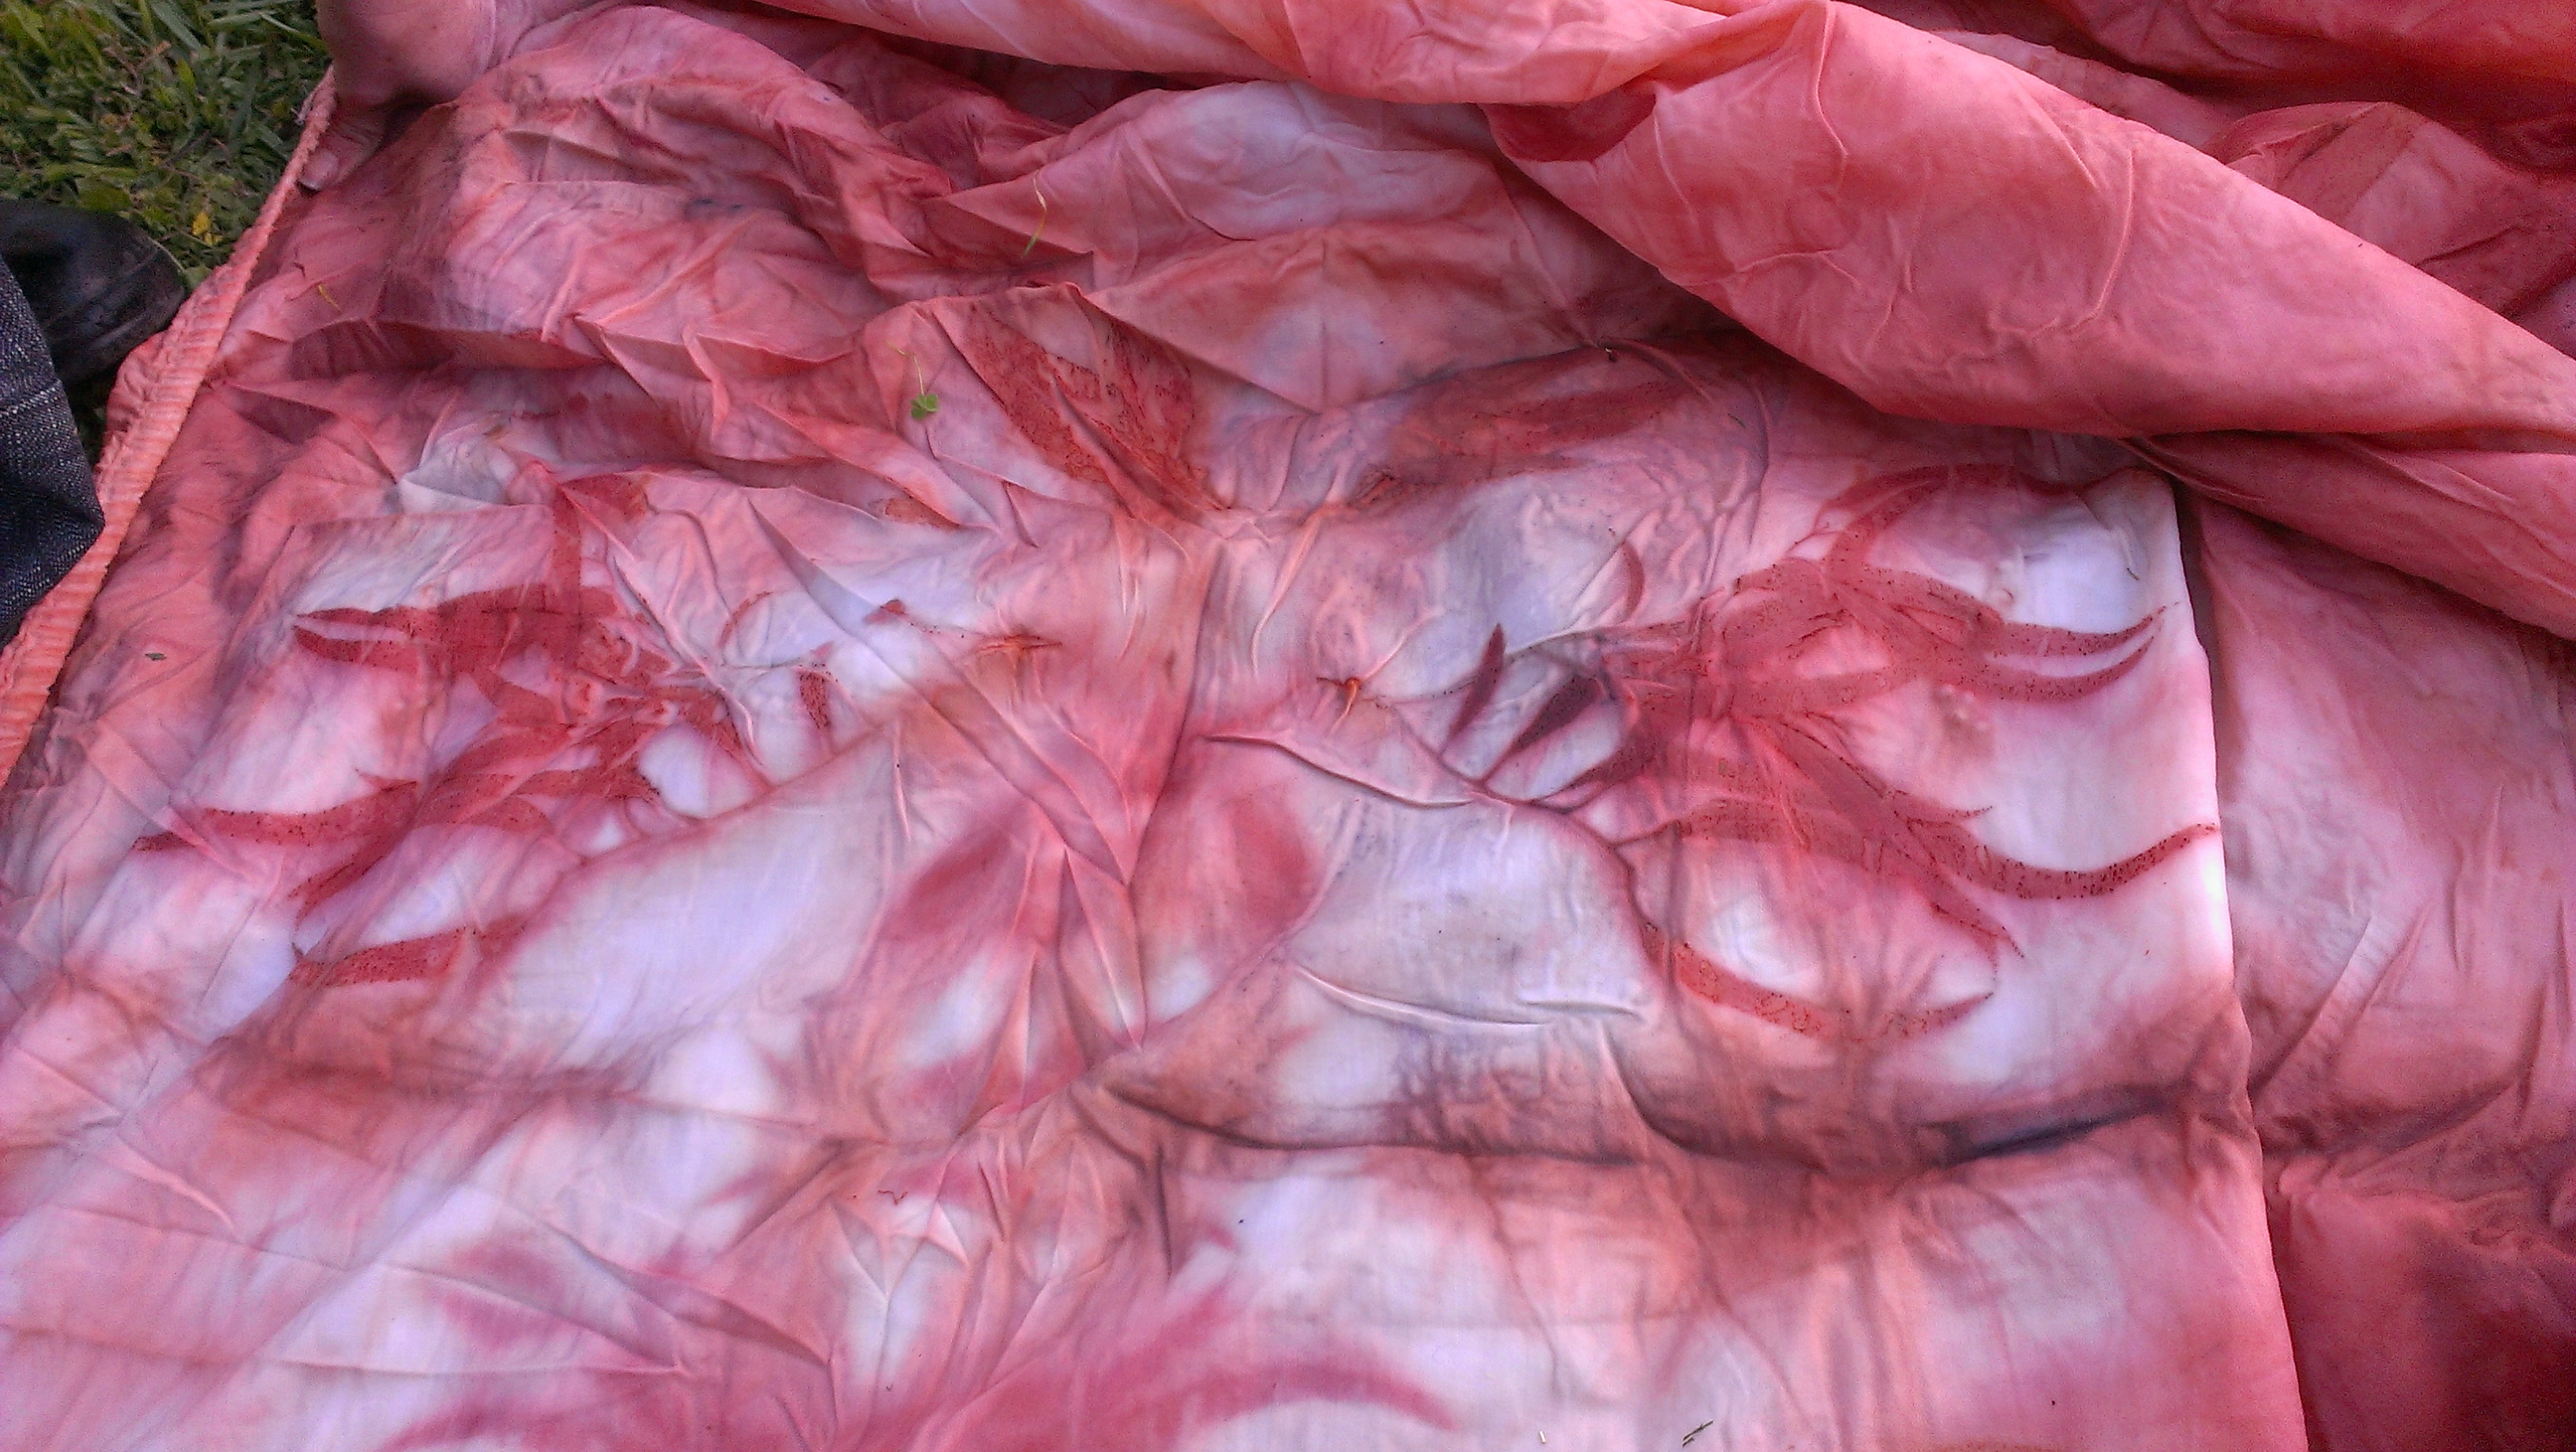
It has been a long time coming, but toward the end of my first burst of holiday time I finally got a proverbial wriggle on and made some serious quilt progress. I have created a series of blocks that each showcase leaves from a specific eucalypt, and embroidered the name of the eucalypt onto the block with eucalyptus-dyed silk thread. Who knew I had it in me?  I thought I had decided against embroidery as a child, never to go back.  I tracked the old posts on this project because I wondered just how long I have been working on this quilt (or not working on it, which is the routine case, of course!)  Just between you and me, this post in July 2013 is my first intimation on the blog that this project was in my mind.  Blocks sitting waiting for courage here.  Blocks finished here.  Sashing attached with help from a visiting friend here. Dyeing the border here.  Back finished here.  Finally, it was assembly time!  Here is the back, pinned out flat on the floor, wrong side up.

2015-01-03 14.38.04

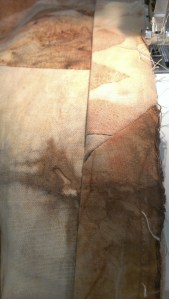
I love the wrong side.  Of most things. The back is made of a mix of recycled, inherited and thrifted fabric.  Next, the minimal batting option for women of a certain age in a warm climate: an ancient flannellette sheet, well past its prime.  It’s hard to tell it was ever blue now.

2015-01-03 14.56.57

The top, pinned out over the rest, is made of stash black fabrics and a mix of recycled and thrifted fabric again:

2015-01-03 16.05.14

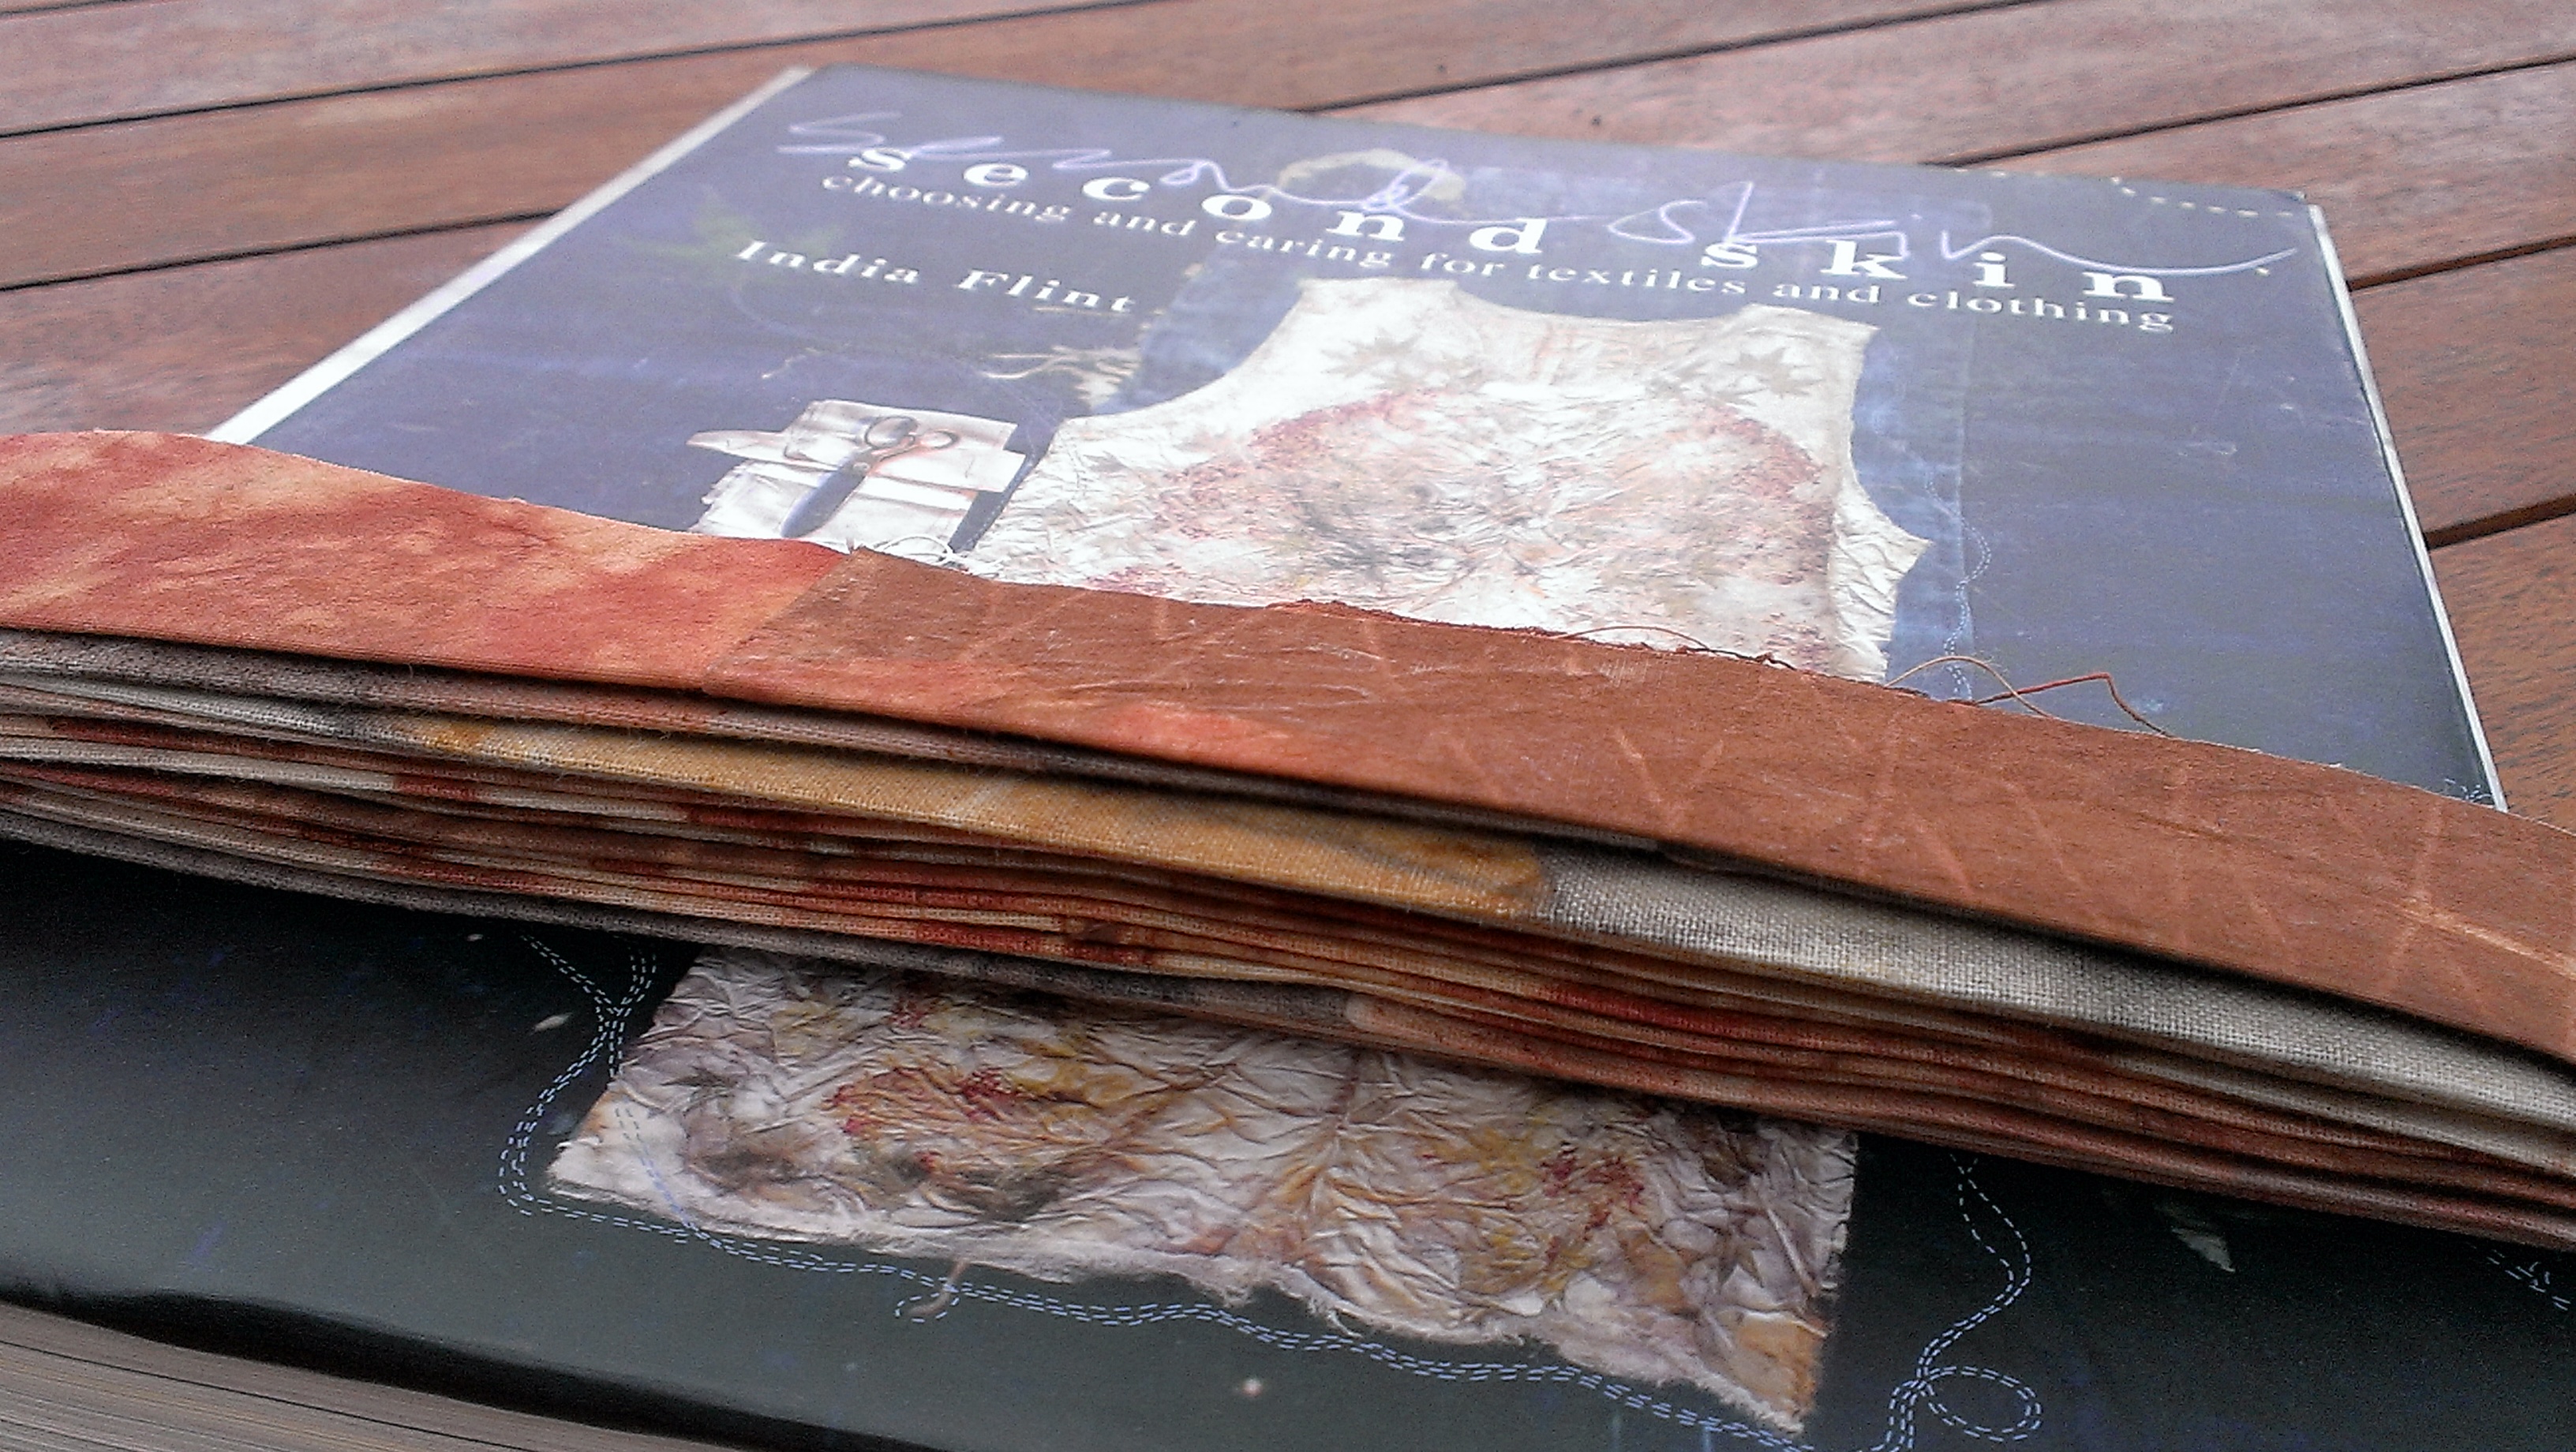
All layers pinned together, I decided on machine quilting, coaxed by a friend. The quilting part has never gripped me.  My last quilt was tie-quilted and not really ‘quilted’ with stitching much at all. Clearly the patchwork is my main interest, and the dyeing, of course.  Then, time to make the binding.  There were plenty of leftovers.  I made metres of binding and followed the instructions in Block Party by Alissa Haight Carlton and Kristen Lejnieks.   As usual, with less precision than the authors suggest might be warranted.  Just the same… here it is, kept tidy until stitching-on time…  Second Skin was right behind the ironing board, and seemed perfect for multiple reasons…

2015-01-03 16.44.04

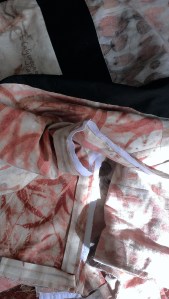
I do understand bias binding, and there are places for it, but I can’t see the point when binding a straight edge, so I went with on-the-grain binding and contrary to the instructions, sewed seams straight across at 90 degrees (okay, it creates less bulk to use 45 degree seams–that part, I concede). I made an exception when I had a moment of curiosity and finished with a lovely 45 degree seam–seen under sewing-machine-mood-lighting below.  Because who needs seams that match?  Maybe next time I’ll give all the binding that treatment, you just never know.  I followed the instructions for mitred corners.  Simple and effective!  Much better than my own past efforts at reverse engineering without instructions.  Done!

2015-01-04 16.57.11

Apart, that is, from the metres and metres of hand stitching required on the back.  And here it is, midsummer!

2015-01-04 16.59.16

But all such jobs come to an end, and now, finally, I have a quilt I love.  I am surprised by how much I like the embroidery.  It just glowed in the sunlit window the day I tried for pictures.

2015-01-14 15.24.40

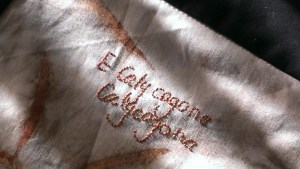
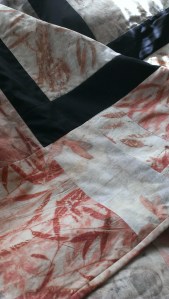
I like all those blocks with their Latin names and motley prints.

2015-01-14 15.53.07

And I like its all-over-leafiness and the nicely bound edge.  I expect this quilt will be a companion for many years to come, and this is such a happy thing!

2015-01-14 15.25.10


24 Comments

Filed under Leaf prints, Natural dyeing, Sewing

Home made mending kits

On a visit to relatives not so long ago, I discovered that an entire family were depending on a single tin of buttons and needles and thread for mending.  When we visited, I was called on to assist in mending and when the tin could not be found–repairs could not be made.  I decided that this was not good enough.  So when we got home, I made up two mending kits to add to the family resources, as two members of the family are reaching the fledging stage of life.  Each comes with a Pohutukawa-leaf needle case, a seam ripper, thread, buttons, and a few other basics.

2015-01-03 17.09.36

Pohutukawa (Metrosideros excelsa) is native to Aotearoa/New Zealand and widely grown in Australia.  Here is the interior view of one of the needle case.  They are simple: two layers of leaf-printed wool blanketing, blanket-stitched together.  The leaves gave completely different prints on each side, so the outside of the needle case is one side of the leaf and the inside is a print from the other side.

2015-01-03 17.09.53

This kit makes use of a tin left behind by recent Austrian visitors. It contained a rather delicious Austrian chocolate covered delicacy, but not for long!  I’m delighted to find the next use for this tin.  This kit was big enough to also fit a pre-loved darning mushroom.

2015-01-03 17.08.11

These little kits have found their way to their new homes by mail–I received a text message of thanks today.  And now, I’ll finish on a gratuitous koala picture.

2015-01-07 17.01.35

The appearance of this amazing creature on a Manchurian pear tree at my place of work is not a good sign.  It arrived in a period of extreme heat and little rainfall, no doubt seeking water (and fame, I’m sure–in the bush, koalas are much further away and very hard to photograph effectively–JOKE!).  Over the years a koala has turned up in this spot once in a while–presumably the same one–and water is provided.  In a day or two, it heads back to the nearby eucalypts, since koalas have a very narrow dietary range.  Sometimes one or two can be sighted from a glass walkway up on the second floor, hanging out in the treetops, to equal fascination on the part of passing humans.  Enjoy!

8 Comments

Filed under Leaf prints, Natural dyeing, Sewing

Ply time!

A while back I had used almost every bobbin I own, each with a different colour of thread on it.

IMAG0963

Over time there were even more bobbins of singles than this pictures shows…  finally there has been a season of plying, skeining and washing, and now I have this pile instead.

2014-10-12 14.26.11

Logwood purples, purple-greys and purple-browns, a cochineal pink (and a cochineal-logwood exhaust), three indigo blues, two madder exhaust-oranges, and a coreopsis exhaust yellow.  I didn’t take good enough notes of the fibres–some are on merino roving (the madder), some on polwarth, some on grey corriedale. Maybe there is a little of Malcolm the Corriedale in there too!

2014-10-09 17.30.19

And there has been even more bee swarm action in the neighbourhood.  These bees have taken up residence on a rainwater tank, with some support from a ladder! And… I am so over tending the silkworms 🙂

8 Comments

Filed under Natural dyeing, Spinning

Sheet bundles

There has been some more bundle cooking for my friend.  She handed over these massive bundles–they are bedsheets. We’d walked over to visit with a bale of straw for our friends’ hens… and walked back with the bundles and cartons of fabric.  I spent time helping a friend clear out her Mum’s sewing room recently and since then have been finding new homes for sewing machines, yarn, fabric and a wide array of other items.  Some of my fellow guildies were delighted to take possession of tapestry bobbins…

2014-08-23 17.19.02


Here are the parcels going into the pot, packed with dried leaves.  My friends have an E Scoparia at the end of their street, and that’s what was inside the bundle… leaves and some bark, too!


2014-08-23 17.33.28


Some time later…

2014-08-24 08.15.25

And being unbundled!

2014-08-24 16.43.03

One had remarkably little in the way of distinct leaf prints.  I am amazed that there was enough dye in those leaves to colour so much fabric.  Unrolling…

2014-08-24 16.48.16


Flapping about over the lawn, wet from the dye pot…

2014-08-24 16.52.15

The second one had some prints in closest to the centre of the bundle. 

2014-08-24 16.58.53


Glorious!  A third immense bundle has gone home with my biggest pot, for some time on a gas burner.  I love that big pot but it just doesn’t work with my electric burners.  This is going to be one fabulous set of sheets!

2014-08-24 16.58.56

13 Comments

Filed under Leaf prints, Neighbourhood pleasures

Dyes of antiquity: Carmine cochineal

2014-06-14 14.20.01

Cochineal is another of the dyes I received from the Guild and used at the workshop a while back.  In fact, there was a choice of cochineals.  In what I realise now was my ignorance, I chose ‘carmine cochineal’ because it was ground up and I was unsure how I could adequately grind the whole dried insects I also have.  As you can see, after an initial period of being dull ornage, the dye bath was an impressively shocking pink.  It turns out that ‘carmine cochineal’ is not a shade of cochineal but a preparation of cochineal boiled with ammonia or sodium carbonate.  I borrowed Frederick Gerber’s Cochineal and the Insect Dyes 1978 from, the Guild and found that the deeper red colour I had in mind when I saw the term ‘carmine’ could only be obtained from this preparation with the application of a tin mordant which I am not prepared to use.  the colours we achieved with alum were well within the range indicated by the included colour chart of wool samples (those were the days!)

2014-07-20 16.00.18

The colour range on this card (with madder beneath for comparison) is impressive even without tin. 

2014-07-21 14.33.21

We dyed organic wool. I dyed silk paj and twined string (the orange string was dyed with madder). 

2014-07-04 12.52.33

I brought the vat home with me and dyed a lot more fibre in an attempt to exhaust it.  Here is grey corriedale mordanted with alum and overdyed with carmine cochineal.

2014-07-30 11.27.48

And spun–three plied.  This is my first ever crocus flower, by the way!

2014-08-23 11.57.30

The magenta silk embroidery thread had maximum time in the bath, since I fished it out when removing the dyestuff (in its recycled stocking) prior to disposing of the bath!

2014-07-30 11.23.55


12 Comments

Filed under Natural dyeing, Spinning

Dyeing with camellia flowers

2014-07-16 09.13.02

It’s camellia season here.  We have two camellias, a red flowering variety and a more compact white flowering variety.  I put up a jar of camellia flowers a while back using the Stuff Steep and Store method… I couldn’t resist trying!  For those who don’t know what I am talking about–this is a method of ‘preservation dyeing’ developed by India Flint and published in this book.  There is also a rather wonderful online pantry of people’s dye jars to peruse and become inspired by, should you wish.

2014-07-20 16.27.51

However, I had no idea whether camellia flowers give reliable dye when I stuffed those blooms in the jar.  So I felt heartened when I found Aphee showing her camellia dyes on Ravelry.  She has posted about them on her blog a few times, too.  She was inspired by a Japanese blog.  My French is not very good, but my Japanese is non-existent: I enjoyed the pictures though!!

2014-07-19 10.54.19

Aphee’s posts suggest that camellia flowers give colour, that the contents of my jar are a promising combination, and that the nature of the dyestuff is exactly the kind India Flint says Stuff, Steep and Store works especially well for.  This, I had hoped for, but not expected.  I decided that while the camellias were blooming, I may as well try dyeing by more usual methods.

2014-07-19 10.57.27

I gathered all the fallen blooms and tried to rinse the mud and mulch from them.  Meanwhile, our chooks were out wandering the yard–and the camellias are their favourite dust bathing spot.  The edge of the bed must be in the rain shadow of the verandah, so the soil there is still dry while the whole garden has been generously rain watered lately.

2014-07-19 10.53.54

They left big circles of earth on the paving where they shook out the dust once they were finished!  The camellias soon turned brown though I kept the heat low.  This is one of the reasons the preservation dyeing method seems so promising for dyestuffs like these.

2014-07-19 11.45.14

Well… the result in this case was not impressive.  This test sample was barely nudged out of the cream and white it was before dyeing.  Longer heating didn’t change that at all.  So–let that be another example of the mysterious in natural dyeing for the time being.  Aphee is doing something differently to me and I have no idea what it is!  I’ll put the next clutch of fallen blooms in jars until I have a new thought… who knows what I might learn between now and next camellia season?

2014-07-20 16.34.35

19 Comments

Filed under Dye Plants, Natural dyeing

Dyes of antiquity: Madder root

Three cheers for dried madder root!

2014-06-12 16.16.20

You may remember that I acquired some through the Guild.  I set out by pouring boiling water over it twice, and draining off the resulting liquid.  This is a strategy which is usually described as a good idea in order to help separate some of the brown and yellow pigments in the root from those which might produce red.  The resulting liquid was very dark brown.  I saved it for later experimentation.  I’ll get back to that!

2014-06-12 16.21.42

Every long term reader of this blog knows I can organise orange dye in a heartbeat, so I was hoping for red from madder.  When seen at the workshop I ran at the Guild, it was looking rather orange.

2014-06-14 13.43.07

However, time is needed.  And gentle heat.  This pot produced some light reds at the Guild. Once again, the cold processed alum, long steeped sample gave the most intense colour. Rhubarb (the two samples on the right hand side), not so much.

2014-06-21 13.41.26

I didn’t think it was done, however, so I took the whole dyebath home.  Happily, no mishaps en route.  Since then, I’ve been happily trying to exhaust this madder. I have overdyed grey corriedale. The fleece took up the dye differently in different parts of the locks (the weathered paler tips most of all).

2014-06-21 13.42.57

I turned it into roving while I kept dyeing…

2014-06-21 14.11.22

When I ran a dye bath with the rinse water… to my surprise it gave a strong red, stronger than the exhaust dyebath by far.  Here it is on the left, with the original dye bath on the right for comparison.

2014-06-23 19.43.44

I also dyed quite a bit of merino roving I happened to have put by, achieving three different shades. And some more grey corriedale… not bad going from madder root that might have been in those jars for decades.

2014-06-28 10.34.17

14 Comments

Filed under Natural dyeing

Mock Orange–Choisya Ternata

Choisya Ternata (which I grew up hearing called ‘mock orange’) is appearing more and more as a hedge in my neighbourhood.  It looks very lush at this time of the year… leafy and green and just beginning to flower. Inspired by blog posts I’d read like Aqua and Flora and Debbie Herd, I ran a dyepot with no modifier and got a beautiful yellow. Then, I modified with copper water and obtained an olive green.

IMAG1740

The effect of this addition was impressive, to say the least.

2014-06-23 10.57.48

This rated as one of the most delectably scented dye baths ever, and it is certainly one I’ll try again.


3 Comments

Filed under Natural dyeing, Neighbourhood pleasures