Tag Archives: user error

Slippers old and new

Warning.  This post contains many images created in poor lighting conditions! Apologies in advance.

Oh dear.  A much loved and well worn pair of slippers came back to me from a friend for examination. I thought I would have matching yarn but I really didn’t.  In the end I went for visible mending of this pair and also decided to knit her a new pair. #Menditmay I thought!

2016-04-26 20.45.22

Here they are about to be returned to their owner over breakfast (in May), with big mends in the heels.  The inside sole is black so these darns will be less visible when they are being worn, perhaps!  I cast on the new pair…

2016-04-30 08.40.39

The next step was knitting a new pair.  Two pairs for different people, in the end, and two dinners with associated felting (no end to the thrills when you visit us!)  With appalling photographs to match.  This pair are a rich purple and they are on a blue background, not that it shows.

IMAG1705

They went to a new home with a cherished friend who has been feeling the cold terribly.  She also scored these hand warmers, knit from the remainder of a ball of Noro sock yarn some time ago and awaiting the right moment.  They look better on!

IMAG1706

Then, my beloved negotiated handover of a small pile of pre-loved and partially felted socks that will fit my friend better than my beloved at this stage.  Some required running repairs.

IMAG1710

Some were too felted for anything other than brutal patching.  No way to knit a patch in.  Can’t find any stitches to pick up! Some of these socks were knit before I really understood the kind of yarn that was suitable.  But pairs like this, made from Bendigo Woollen Mills 8 ply alpaca, were such a hit among my friends I made a lot of them anyway.

IMAG1704

I’ve since had an email about blue socks being worn at Pilates class and a photo of my friend’s ankle as she heads out to dinner in handspun, handknit socks!  Too good.  These are the people for whom hand knits should, indeed, be made.  And finally, the friend whose slippers I was darning at the top of the post came over and I felted her new slippers to size.  She arrived wearing hand knit socks… perfect!

IMAG1718


7 Comments

Filed under Knitting, Sewing

Dye bundle results

2015-10-05 18.45.21

My recent dye bundles came out less well than I’d hoped.  Some went well…

2015-10-05 18.46.08

I got some great string resist marks on others…

2015-10-05 18.46.44

Still others were delicate and pale.

2015-10-05 18.45.49

This rather promising looking print of sheoak in flower largely washed out, and so did several others.

2015-10-05 18.47.16

I think there is something about using a dairy milk mordant that I have failed to understand.  I have tended to use soy more and so this was a bit of an experiment.  Or perhaps part of the trouble was that these were new fabric offcuts, and I am used to using well washed and worn recycled fabrics, which present a different kind of substrate for dyeing.  But I have been using them nonetheless… and finding places where these prints work for me.  More soon!  So much more 🙂

19 Comments

Filed under Natural dyeing

What? More slippers?

I know, I know.  There are repeating themes in my knitting life.  Socks and slippers. Credit where it is due, these are knit from a new-to-me pattern, the Trim Clogs by Katie Starzman.  More or less… since, with no provocation at all,  I ignored her yarn suggestions, substituted an Australian alpaca yarn in a different gauge to the one she proposes, held it double instead of single, and changed the needle size.  I also knit 5 instead of the required 4 since I had a monumental pattern reading failure.  Needless to say, I cursed the pattern a lot and could not understand what the problem was.  The short version is that I failed to grasp that two named sizes were being knit in the same identical manner, until I had managed to knit an entire slipper.  Once I’d worked it out, it was obvious.

2014-09-01 16.21.31

The penny dropped eventually and I think these are rather lovely.  I also had a colossal felting surprise–the kind of thing you know can happen, but that I nevertheless did not expect.  These slippers all came out of the washing machine one chilly night after the same amount of time in the machine, together.  They started out the same size and were knit in different colourways of the same yarn.  What’s with that?

2014-08-28 20.19.38

6 Comments

Filed under Knitting

Dyeing with camellia flowers

2014-07-16 09.13.02

It’s camellia season here.  We have two camellias, a red flowering variety and a more compact white flowering variety.  I put up a jar of camellia flowers a while back using the Stuff Steep and Store method… I couldn’t resist trying!  For those who don’t know what I am talking about–this is a method of ‘preservation dyeing’ developed by India Flint and published in this book.  There is also a rather wonderful online pantry of people’s dye jars to peruse and become inspired by, should you wish.

2014-07-20 16.27.51

However, I had no idea whether camellia flowers give reliable dye when I stuffed those blooms in the jar.  So I felt heartened when I found Aphee showing her camellia dyes on Ravelry.  She has posted about them on her blog a few times, too.  She was inspired by a Japanese blog.  My French is not very good, but my Japanese is non-existent: I enjoyed the pictures though!!

2014-07-19 10.54.19

Aphee’s posts suggest that camellia flowers give colour, that the contents of my jar are a promising combination, and that the nature of the dyestuff is exactly the kind India Flint says Stuff, Steep and Store works especially well for.  This, I had hoped for, but not expected.  I decided that while the camellias were blooming, I may as well try dyeing by more usual methods.

2014-07-19 10.57.27

I gathered all the fallen blooms and tried to rinse the mud and mulch from them.  Meanwhile, our chooks were out wandering the yard–and the camellias are their favourite dust bathing spot.  The edge of the bed must be in the rain shadow of the verandah, so the soil there is still dry while the whole garden has been generously rain watered lately.

2014-07-19 10.53.54

They left big circles of earth on the paving where they shook out the dust once they were finished!  The camellias soon turned brown though I kept the heat low.  This is one of the reasons the preservation dyeing method seems so promising for dyestuffs like these.

2014-07-19 11.45.14

Well… the result in this case was not impressive.  This test sample was barely nudged out of the cream and white it was before dyeing.  Longer heating didn’t change that at all.  So–let that be another example of the mysterious in natural dyeing for the time being.  Aphee is doing something differently to me and I have no idea what it is!  I’ll put the next clutch of fallen blooms in jars until I have a new thought… who knows what I might learn between now and next camellia season?

2014-07-20 16.34.35

19 Comments

Filed under Dye Plants, Natural dyeing

Milky merino: Second effort

I decided to use the scraps from my milky merino to make a singlet for a small friend. One inspiration was the discovery of another E Cinerea nearby on a suburban street.  It is beautiful.

IMAG1723

It is covered in new growth, whose leaves are larger and teardop shaped rather than the rounder heart shape that is usual for mature leaves.

IMAG1722

I have to say milky merino is a glorious fabric to use for eco-printing.  It takes colour in a most spectacular fashion.  I bundled up one night and unbundled a day or so later.

IMAG1731

I love the way the fabric took on a golden creamy colour where it did not absorb a direct print.

IMAG1733]

Action shot!

IMAG1735

I created a pattern from an existing garment and set about cutting and sewing it from the fabric.

IMAG1753

The finished garment is sooo cute, and so tiny I need to find a different recipient for it.  I should have recognised the difference in stretch between the garment I measured up and the milky merino…!

IMAG1754


9 Comments

Filed under Dye Plants, Eucalypts, Leaf prints, Natural dyeing, Neighbourhood pleasures, Sewing

Indigofera Australis crop of 2014

Last year, I tried a cold vinegar process on some indigofera australis. The result was very pale blue, but just the same, blue, especially on silk and linen.  I thought this time I’d stick to silk.  I also found a direct dyeing method described online and decided to try it out on my indigofera australis.

IMAG4610

My friend and I stripped the leaves from the stems and into the blender they went.

IMAG4622

Pretty soon we had finely mushed leaves.

IMAG4624

I tried both the  vinegar method and the direct dye method with no success to speak of, even after repeated dippings.

IMAG4627

Remember that the wool on the right of each sample card has been mordanted with rhubarb leaf, so wasn’t white to begin with.

IMAG4648

Well, I thought I had nothing to lose by leaving the leaves and the liquid to sit for a few days and trying again, so I reunited the pulverised leaves and the two dye baths.

IMAG4651

I thought I’d try hydrosulphite, the last resort in case of indigo failure, in my case.  I warmed the liquid and strained out the leaves.

IMAG4654

I have recently received a Ph meter as a gift, so I aimed for 10.5 and added washing soda in solution until I reached it.  The result was a striking yellow.

IMAG4657

However… absolutely no blue whatsoever, not even an improvement on samples I thought I might overdye for improved colour.

IMAG4659

Time of harvest?    User error in the process?  The Ph meter isn’t properly calibrated?  The thermometer is out of whack (it certainly didn’t agree with the one on the Ph meter, so I knew one of them must be wrong–and I now know it was the thermometer)?  I have no idea, honestly.  I’ve decided to leave my one Japanese indigo plant to keep for seed…

10 Comments

Filed under Dye Plants, Natural dyeing

Trying out Stuff, Steep and Store

I mentioned a while back that I let out a squeak of glee when I got my copy of India Flint’s new book Stuff, Steep and Store… and it was only a matter of time before I’d try it out.

IMAG3530

I’m trying out the following.  I can’t pretend to think they are especially well suited to this method but there it is… time will tell, as it always does!

  • Brown onion skins, aluminium foil, E Scoparia dyebath with vinegar (I hope I wrote some fibre or other on the label!!)
  • E Scoparia leaves, bark and dye, aluminium foil, silk thread, vinegar
  • Dyers’ chamomile flowers, aluminium foil, silk thread, water and seawater and finally
  • Red onion skins, silk thread, copper and vinegar water, seawater.

Entertainingly enough, while India Flint says she has been inspired in this dyeing process by years of food preserving (and that’s evident from the book)… After my first batch of dye jars I was inspired to pitch a round of food preserving to my beloved.  We put up a dozen or so jars of white peaches and yellow plums for later enjoyment.  I am not sure why this is called ‘canning’ in the US, but in Australia it’s usually called ‘bottling’ because it is done in glass jars.  I have a massive collection. I have been the receiving point for others’ Fowlers Vacola preserving kits for so long I now gift or share them with friends who are not so well endowed.  Perfect, really!

Since filling these jars I’ve been on a seaside holiday.  I set the blog to load scheduled posts while I was gone… and being lazy at the beach is the reason for slow responses to comments lately.  WordPress and my phone have an on-again-off-again relationship, which doesn’t help.  Since I was by the sea and pedalling around the neighbourhood, I collected seeds of hardy native plants for later propagation and planting in the abandoned waste parts of my own neighbourhood. Plantings on public land just call out for seed collection, don’t you think?

IMAG3651

One plant, the seaberry saltbush (rhagodia spp, probably rhagodia candolleana), was in such profuse fruit that I collected enough to fill a small jar we had finished using.

IMAG3657

I can confirm that rhagodia fruit ferments quickly in heat like we’ve had lately (41C today)… and began to do so before I managed to get it home and process my jar properly.  Ooops!  That really should not have been a surprise.  The fruits are smaller than a currant but very pretty…

IMAG3670

Another experiment, since if anyone else has tried dyeing with this plant I don’t know about it and have only a foggy memory of the Victorian Handspinners reporting they got some colour from saltbush fruit (saltbush is a big family).  I happened to have embroidery thread with me… and into the jar it went with chocolate-bar-foil.  And now we wait.

IMAG3687

To see how others are working with this process, visit the delectable ‘pantry’ India Flint has set up, or if you’re so inclined, have a look on facebook.

8 Comments

Filed under Dye Plants, Eucalypts, Natural dyeing

What to do with silk cocoons 4: Spin degummed cocoons

For those who have not been following the silkworm saga… I raised a good number of silkworms last year, starting with the hatching and ending (after riveting weekly updates, believe me), with the very last silkworm creating a cocoon. Since then there has been a small series of ‘what I did with my silk cocoons’ posts… and I think this is the last one for this season of silk.

With  A Silk Worker’s Notebook by Cheryl Kolander (Interweave Press, Colorado USA 1985) as my guide, I moved on to my final experiment.  Cheryl describes the potential of spinning from degummed cocoons as ‘unlimited’ (page 71).  In fact, she goes so far as to say: ‘Direct spinning from degummed cocoons is the classic form for handspun silk. In fact, there is no easier fiber to spin.’

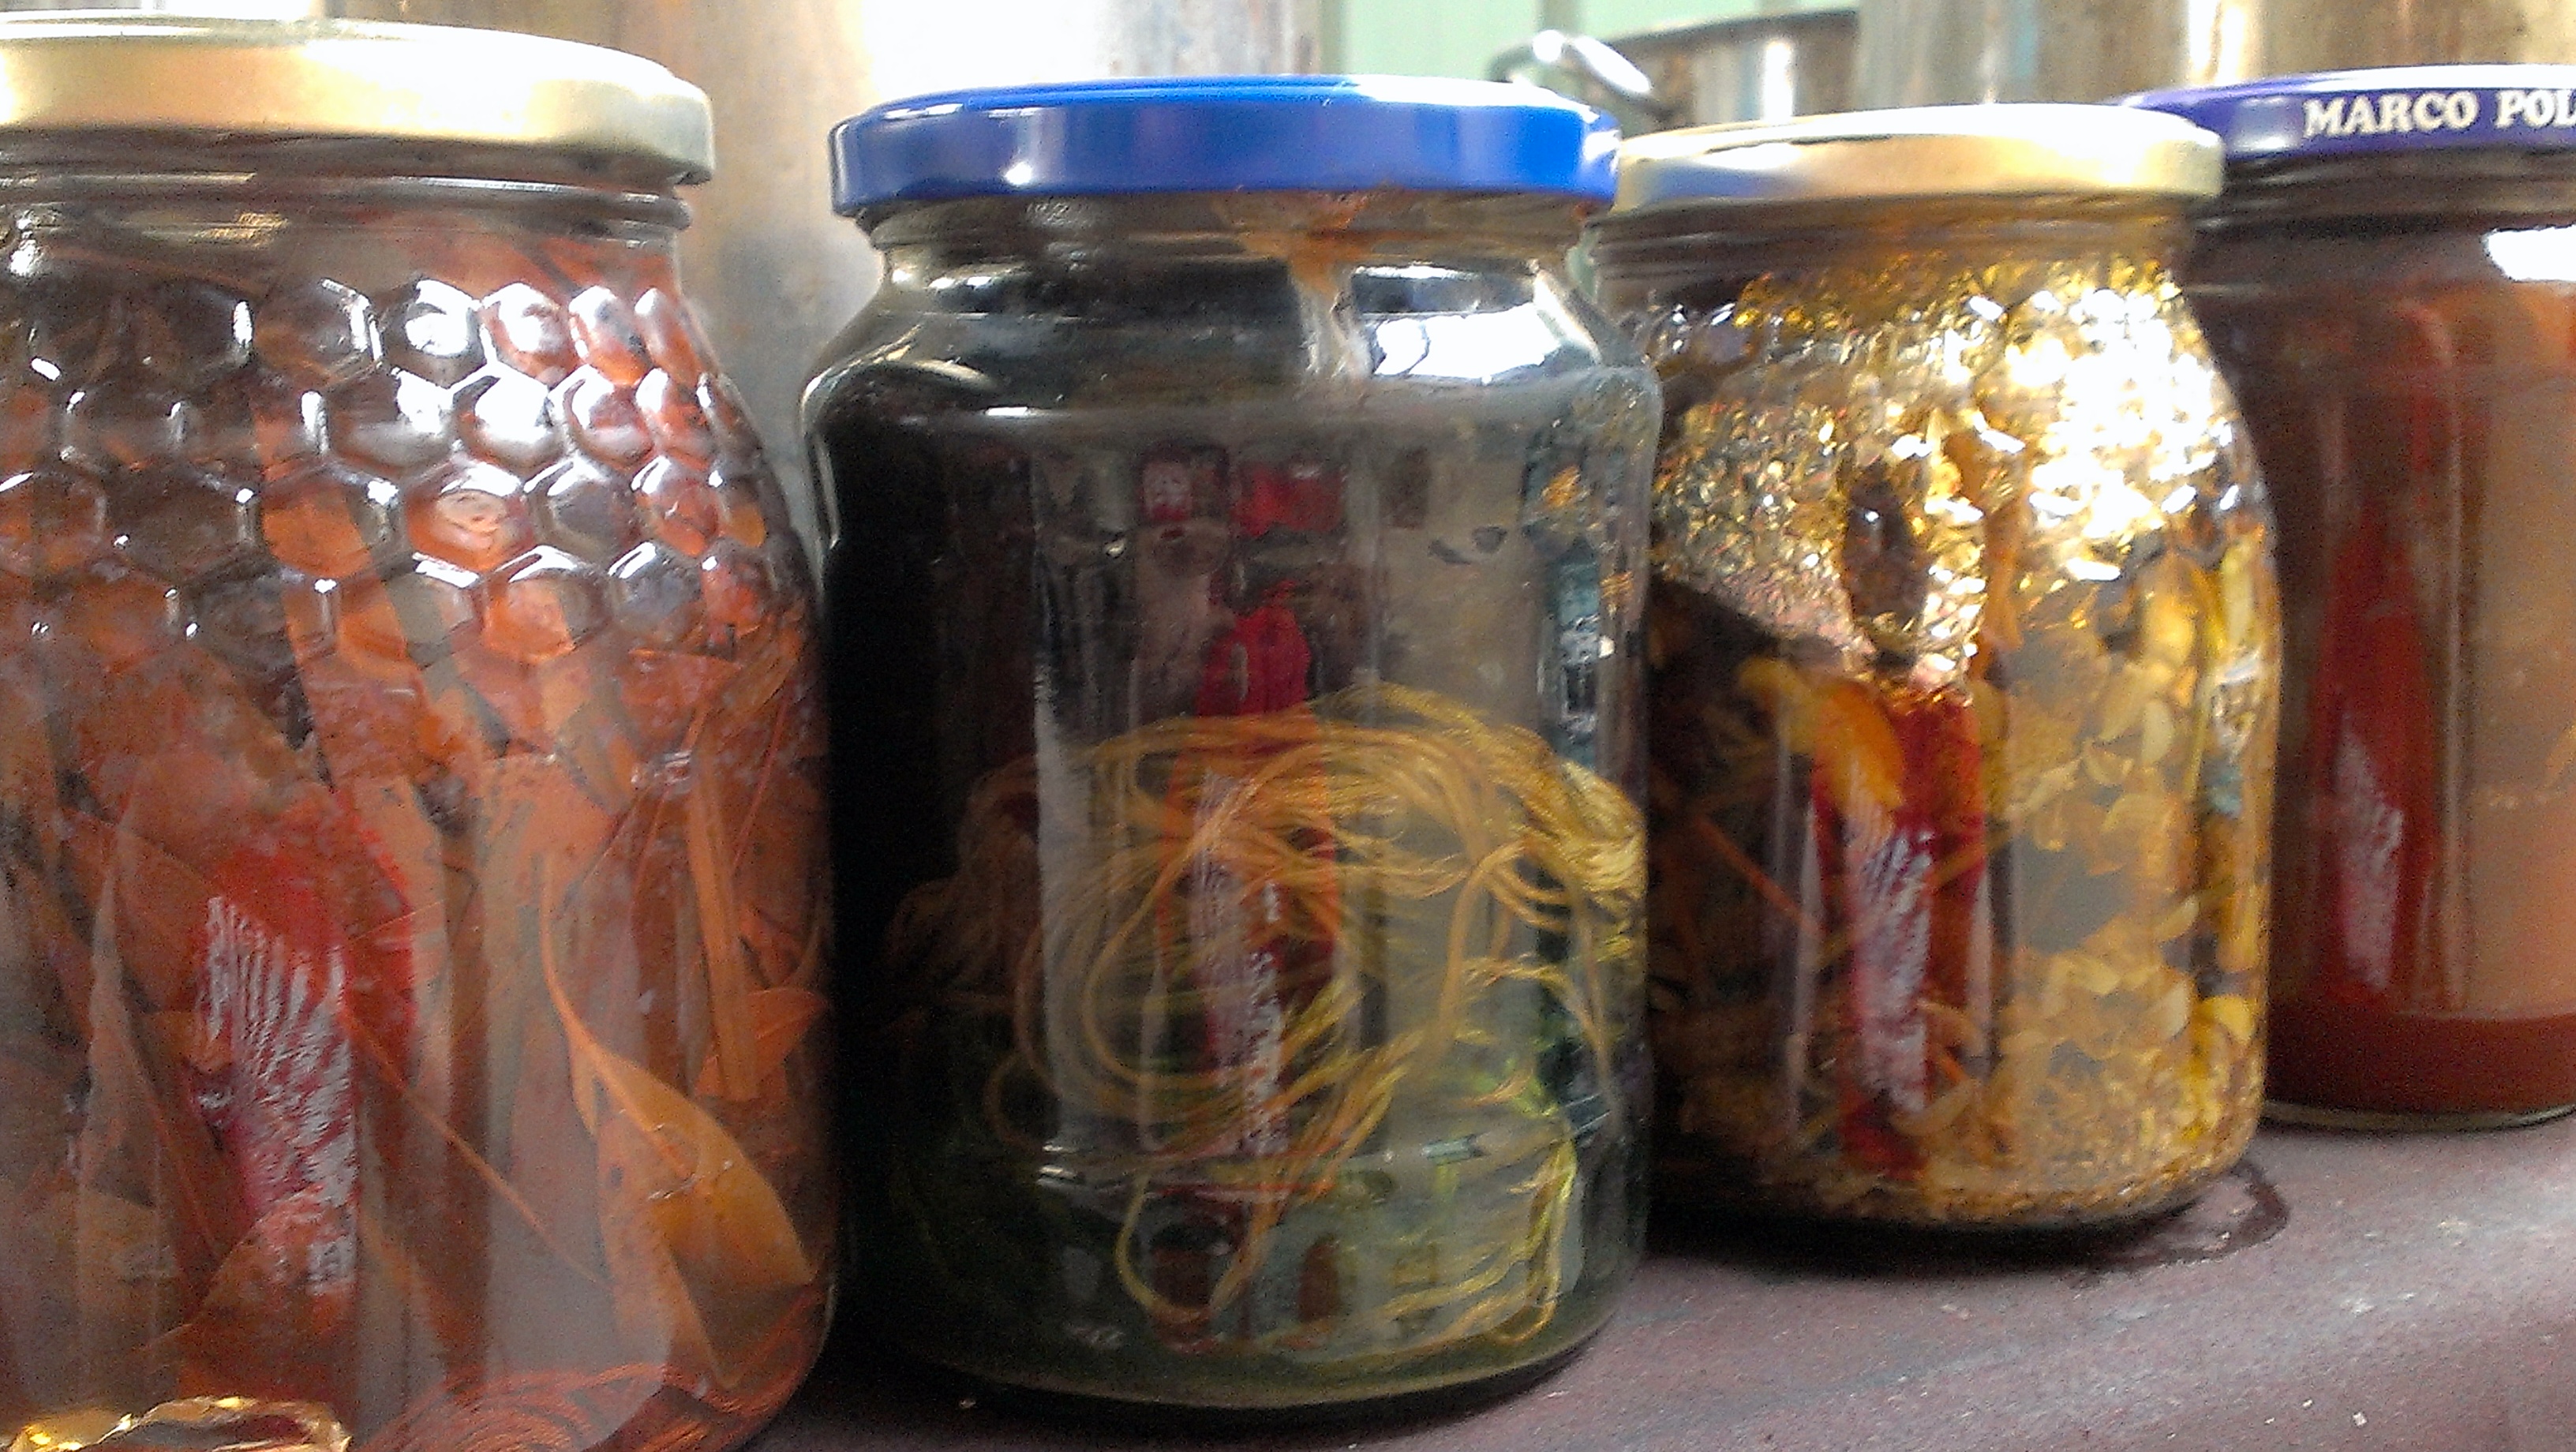
As it happens, I bought 25g of degummed cocoons last time I visited the Victorian Guild, (they have a lovely shop and gallery) for the princessly sum of $3.20.  It’s a good thing I did, because these are the only degummed silk cocoons I have ever touched. It can be difficult to embark on a process (such as degumming) when you have never seen anyone do it (other than on YouTube perhaps) and you have never seen or touched the finished product–and you have only a paragraph of text as your guide.

IMAG3043

Degumming is a way of releasing the sticky substance that holds the strands of silk together to form the cocoon, so these are still roughly cocoon shaped but fluffy by comparison with their intact counterparts.  Now, I have to begin by saying that Cheryl Kolander has skills that far exceed my own, but for me this was not the easiest fibre I have ever spun!

IMAG3480

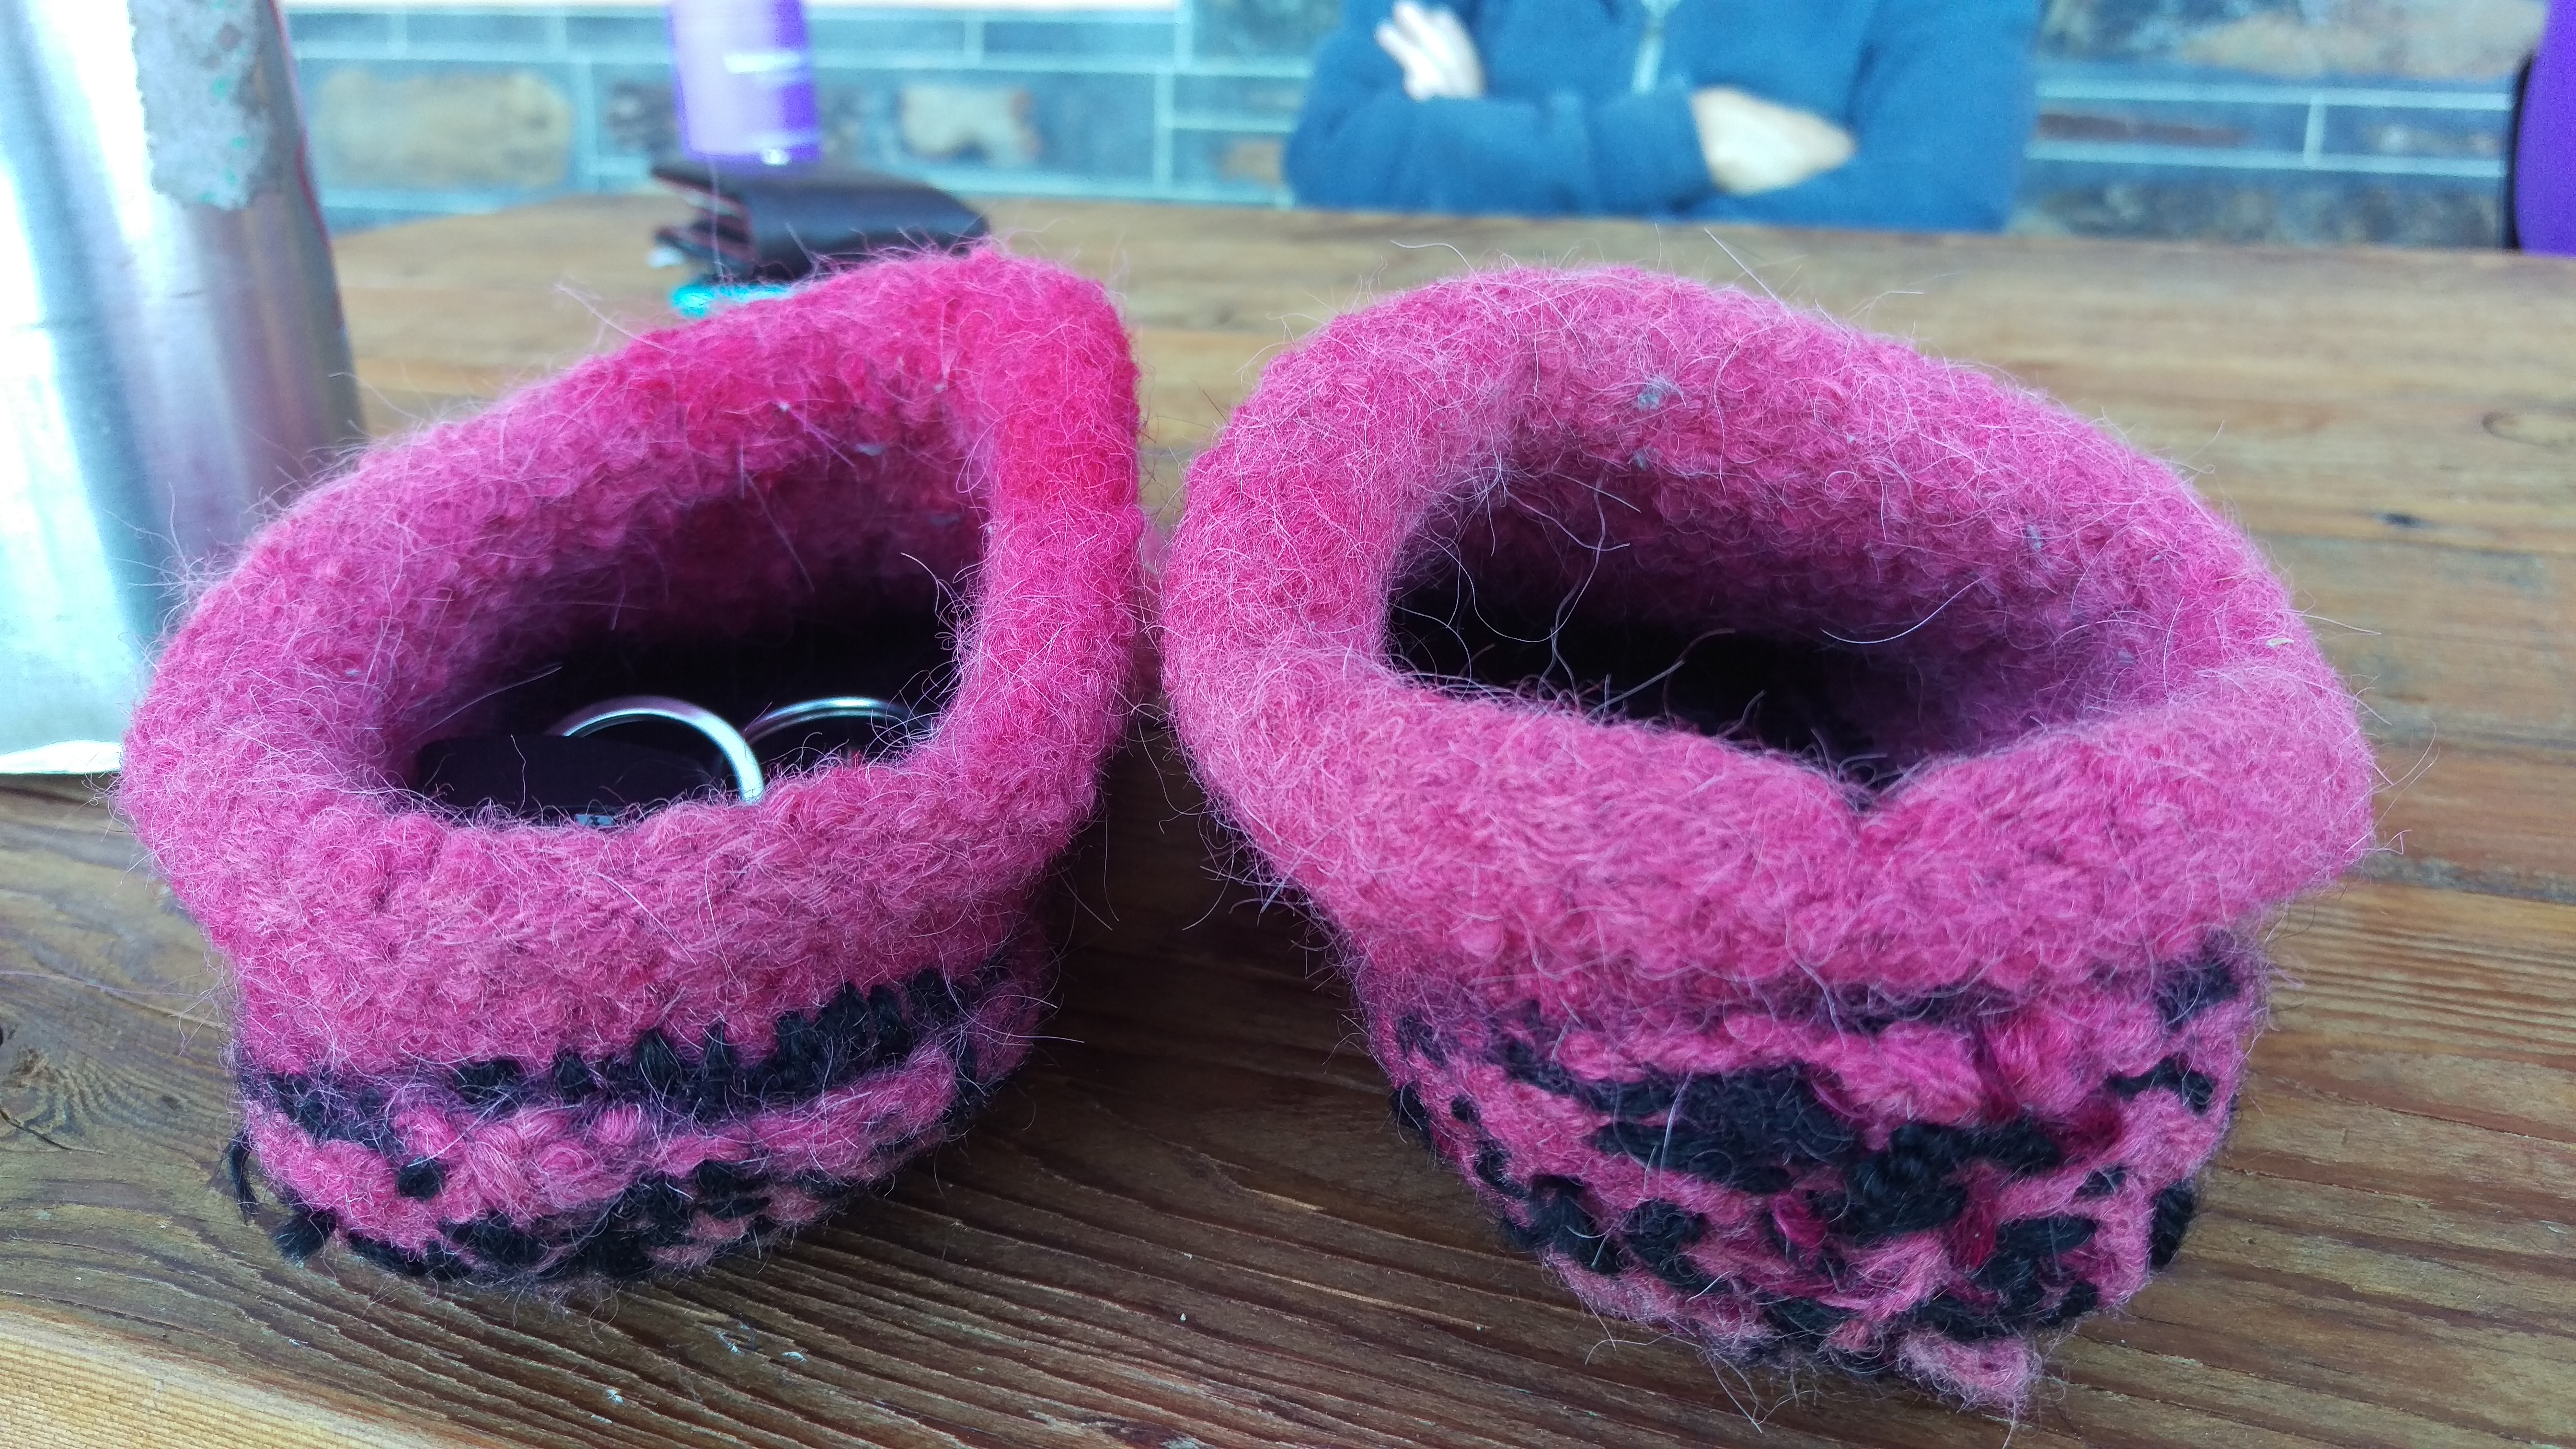
Just the same, I managed to spin it, extract most of the chrysalis remains that were included and produce yarn, even if I was quite unsure how to turn it into something even and lovely.  I didn’t really expect to do that on my first attempt–but I would not object to being surprised by beginners’ luck at some point in my life. I re-read the relevant part of the book to discover that even from Cheryl’s skill level and point of view, some parts are not spinnable, and they were the ones I struggled with most.  Here is what I produced:

IMAG3430

The next thing to do was to follow Cheryl’s advice on how to degum silk cocoons and try this process with my own.

IMAG3447

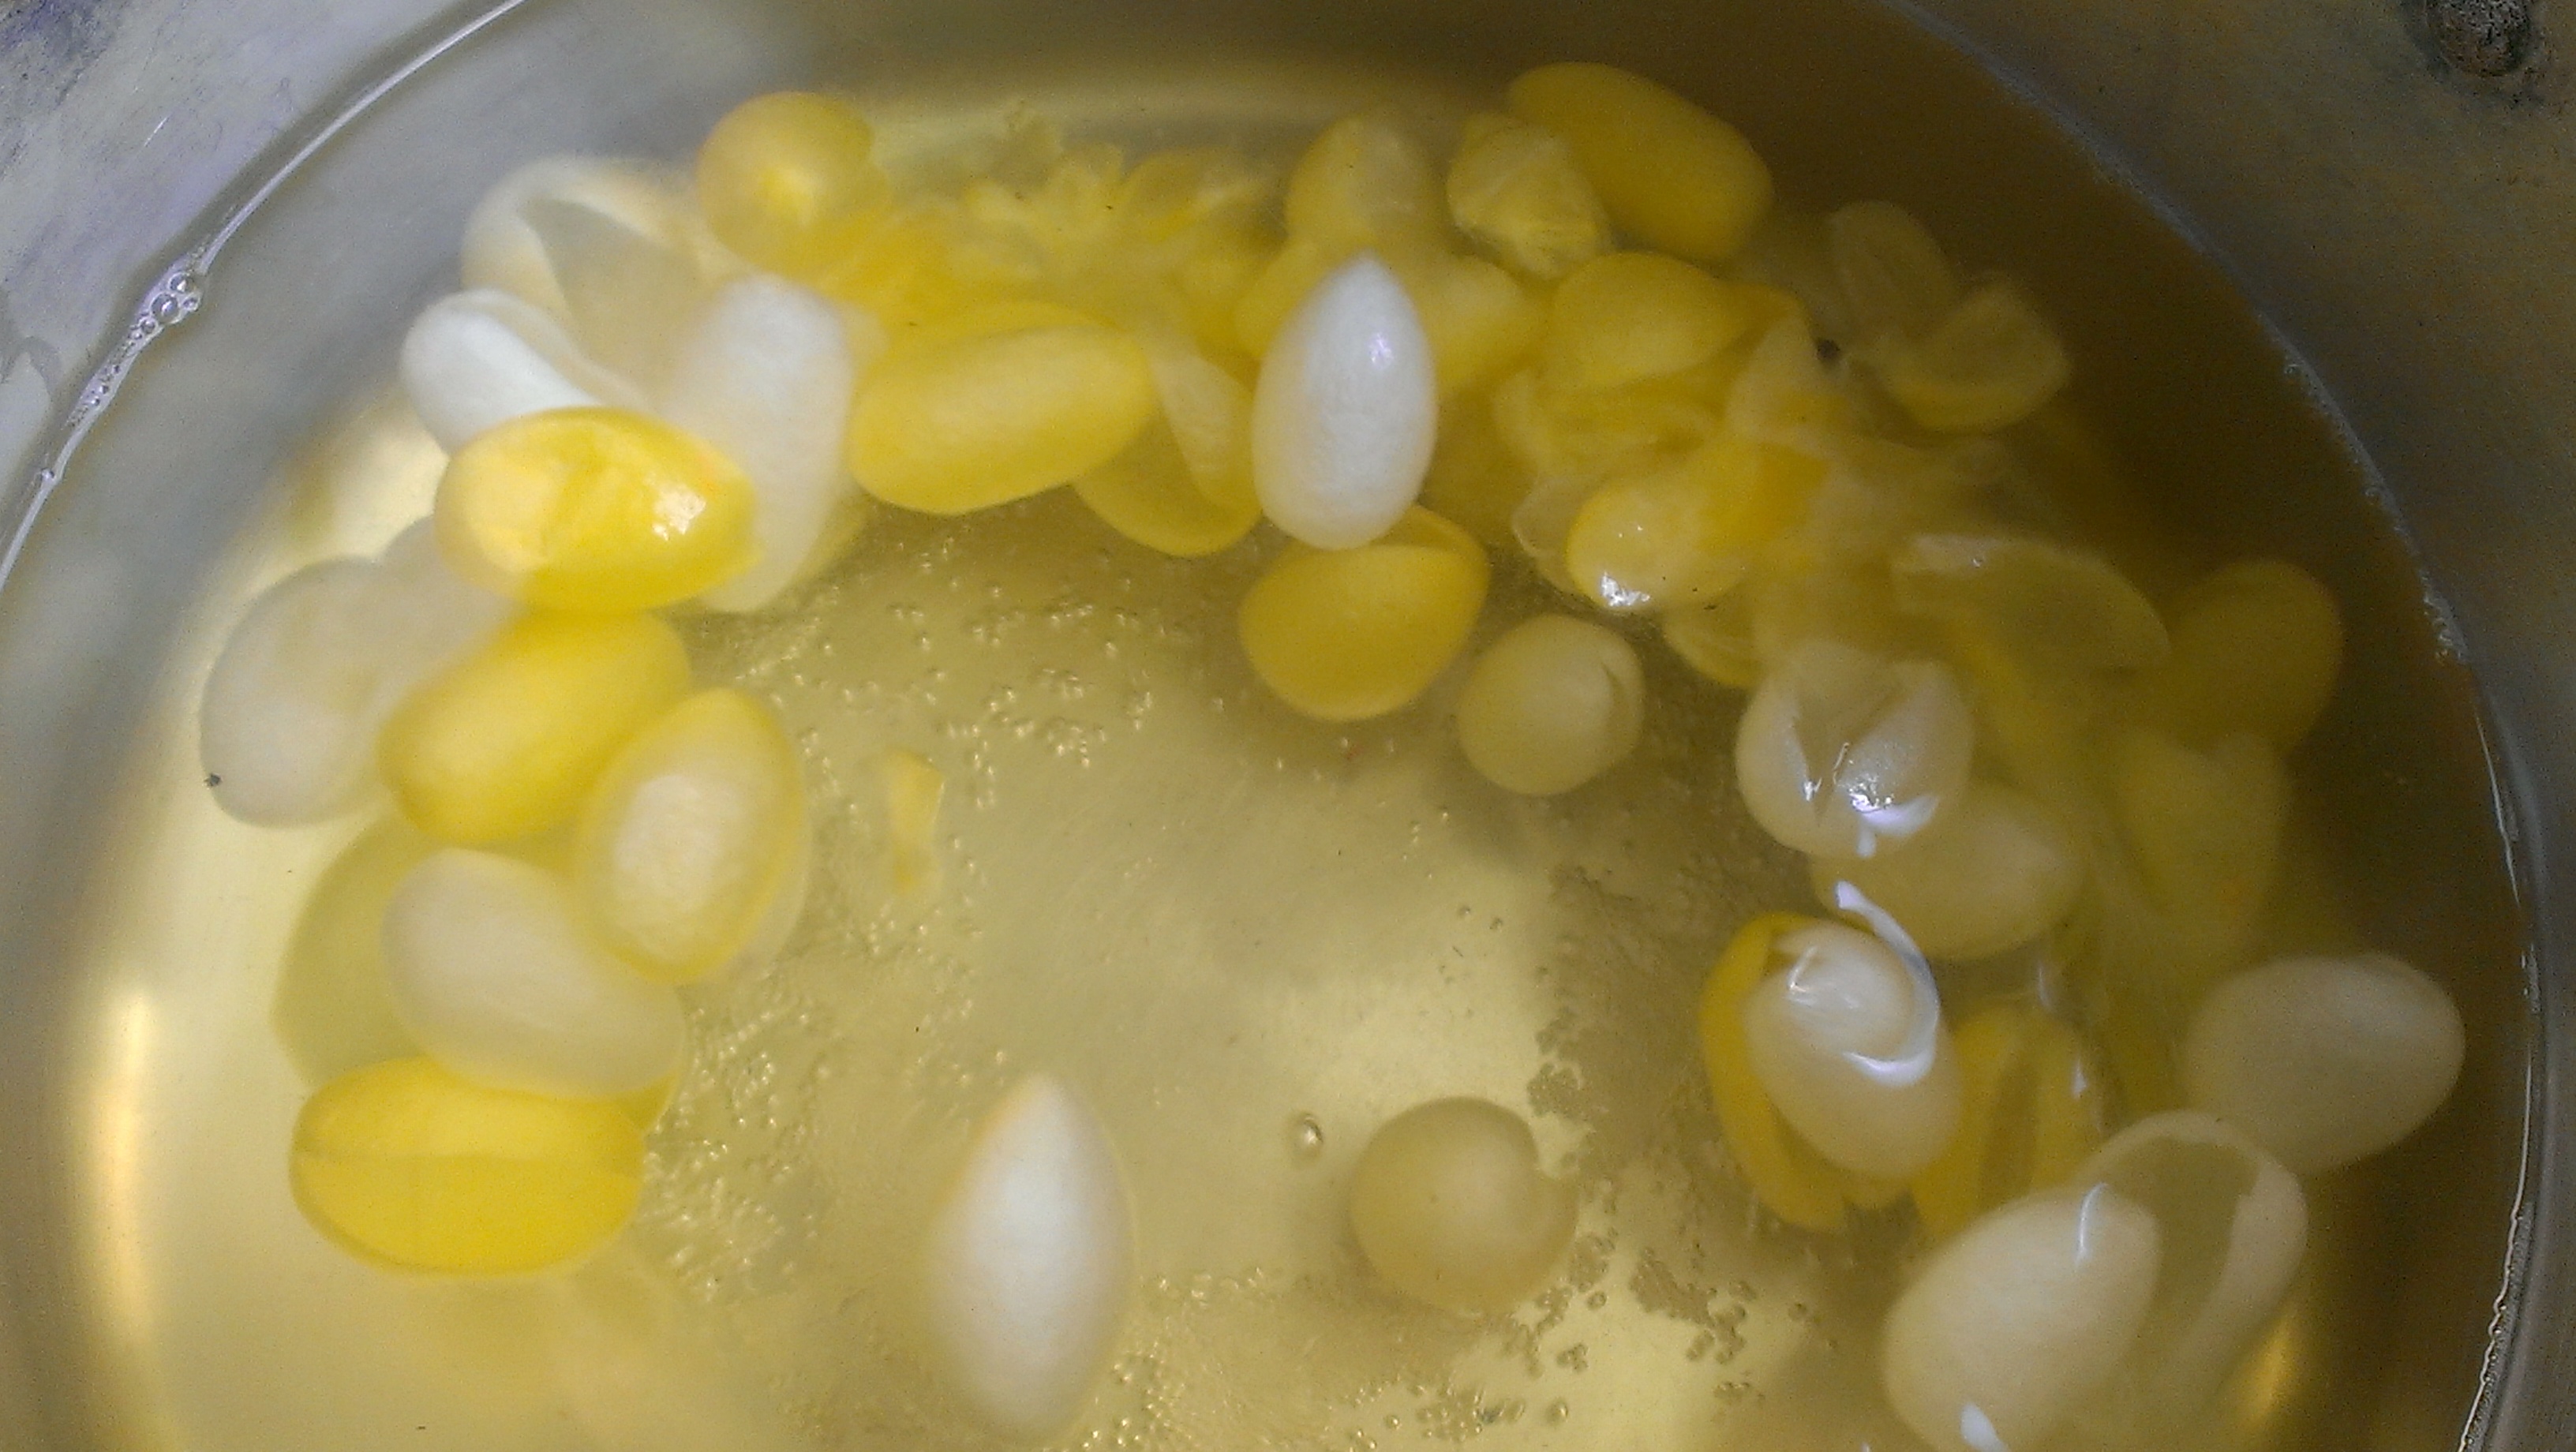
There were two accounts of how to degum in the book, one of which implied that the cocoons were degummed with the chrysalis intact (since it was extracted at a certain point in the spinning process).  The other advised cutting the cocoons up the side and removing the chrysalis before before degumming,  In the end, I decided to do that because the idea of a well simmered chrysalis did not excite me.  Call me unprepared to pick small insect parts from my fibre–stronger insults have come my way!

IMAG3487

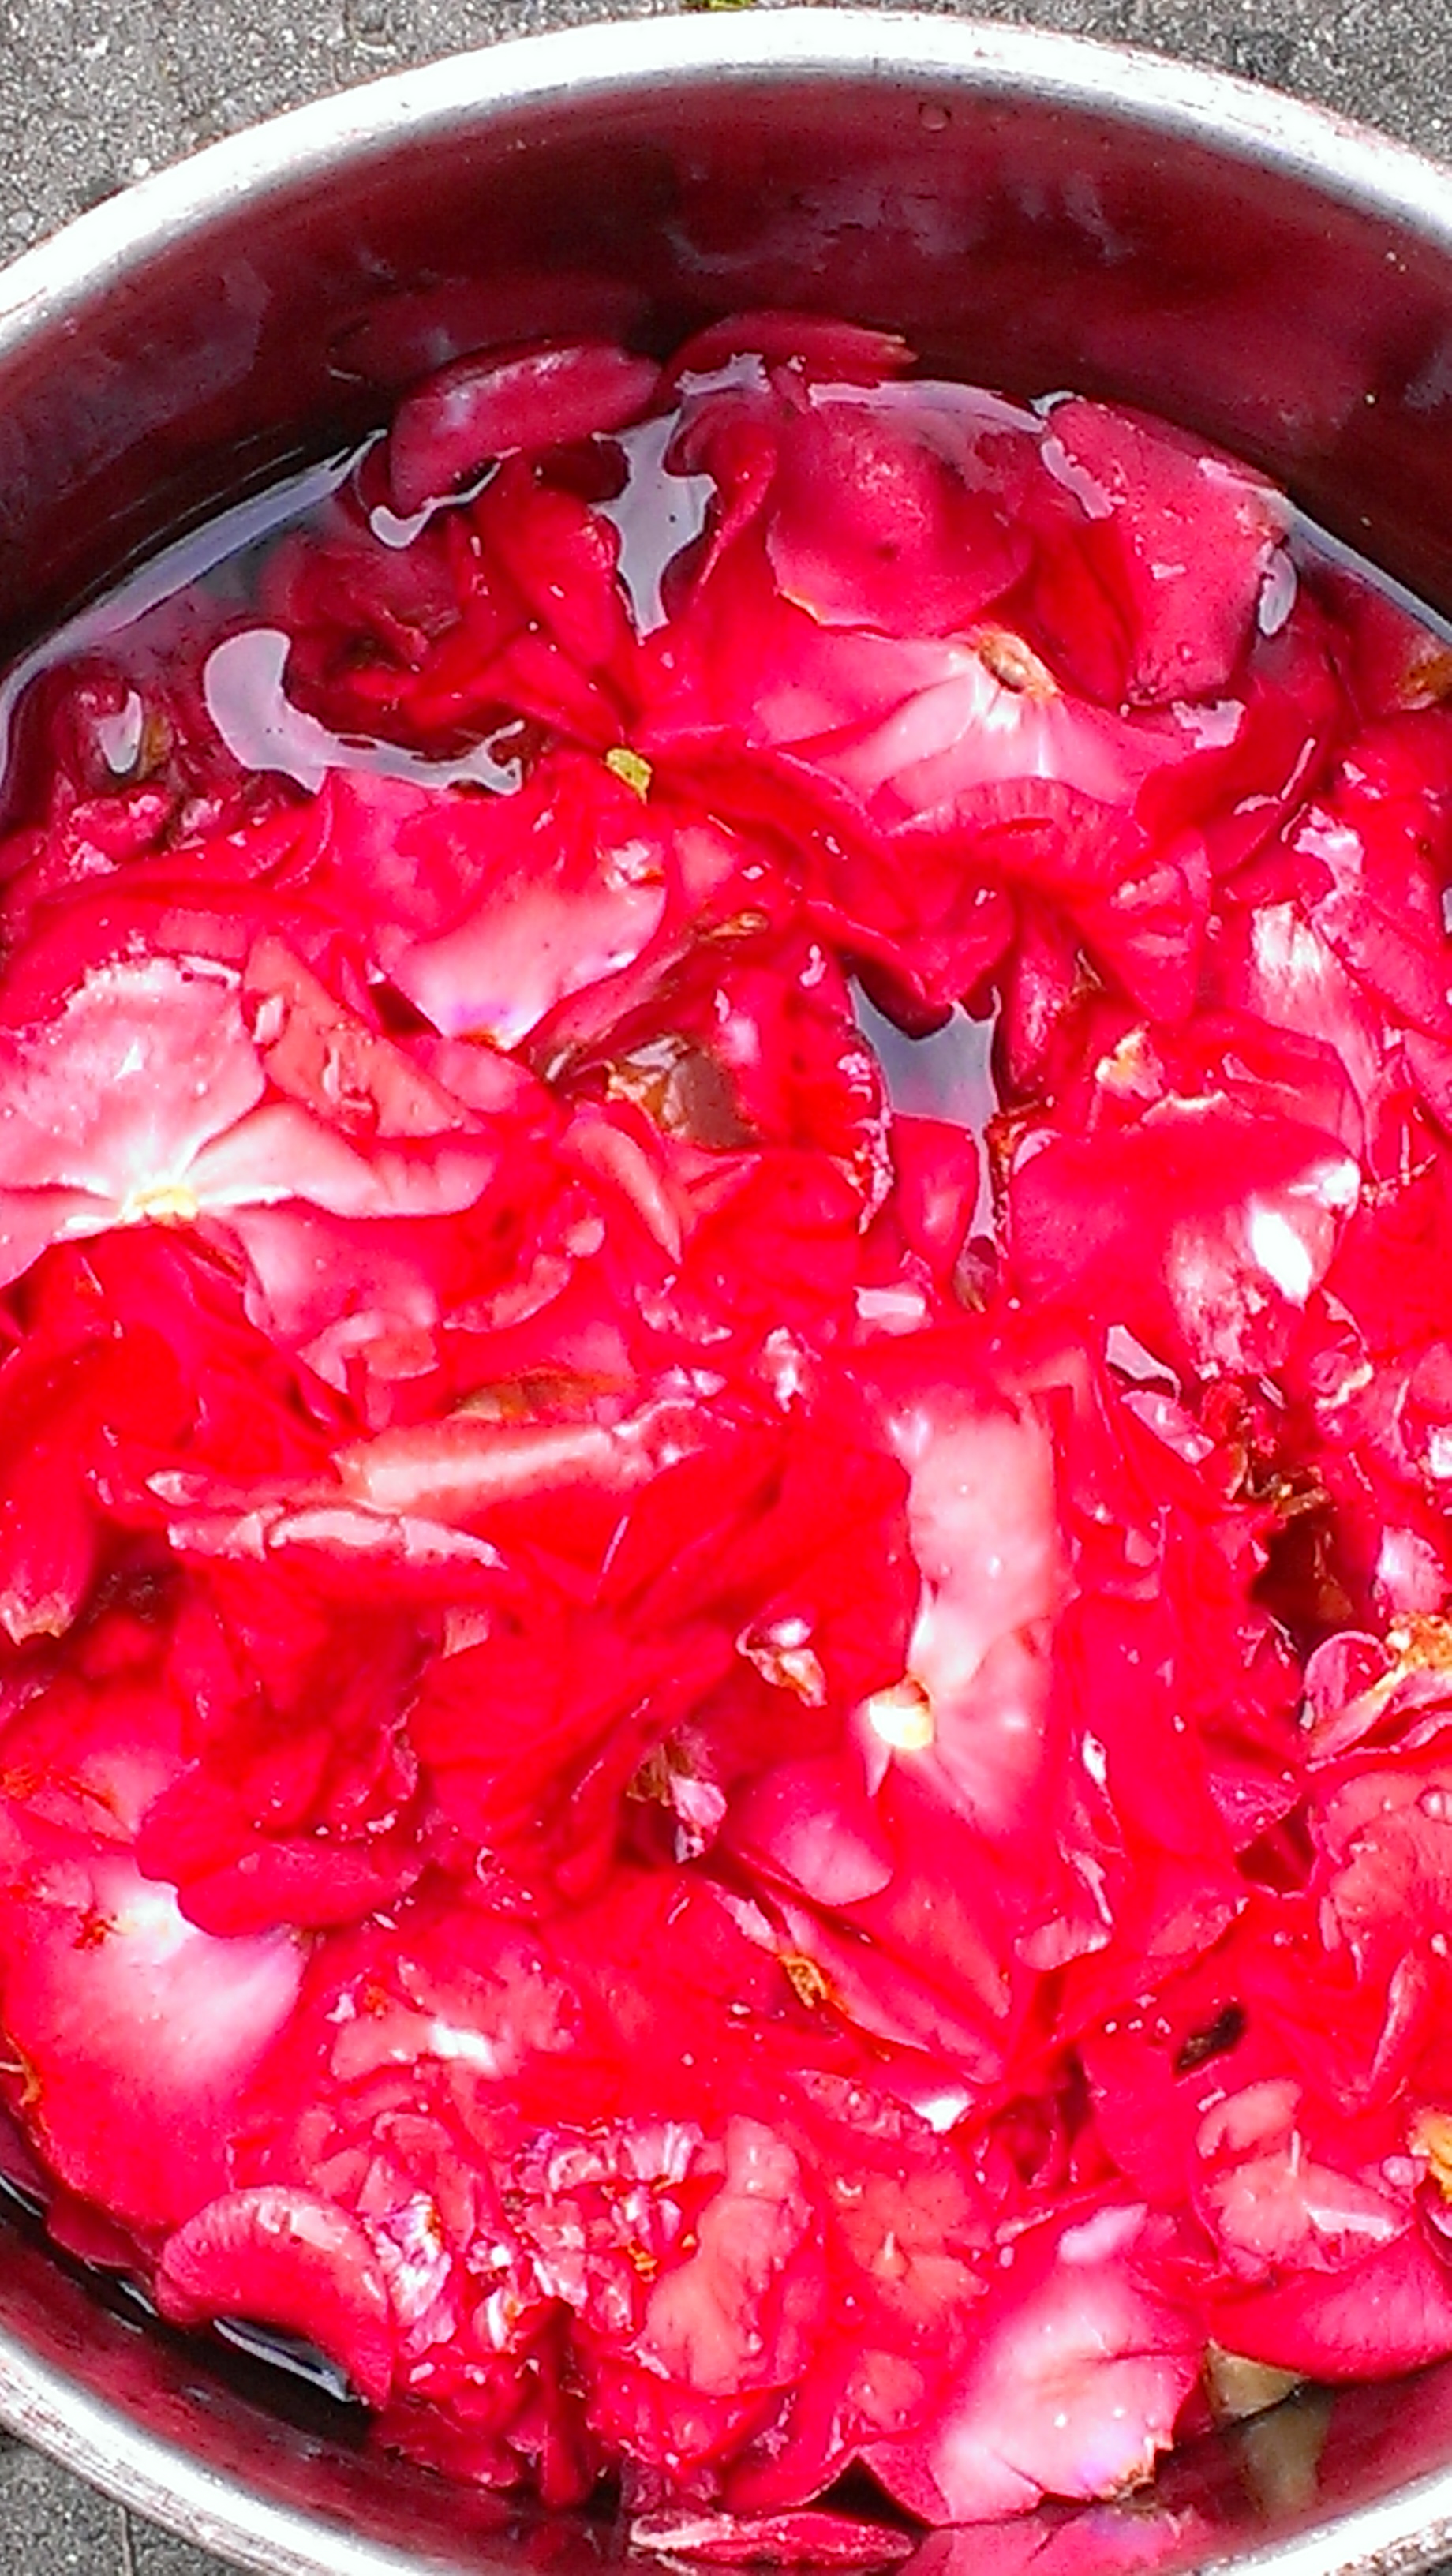
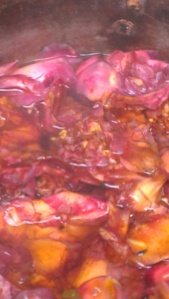
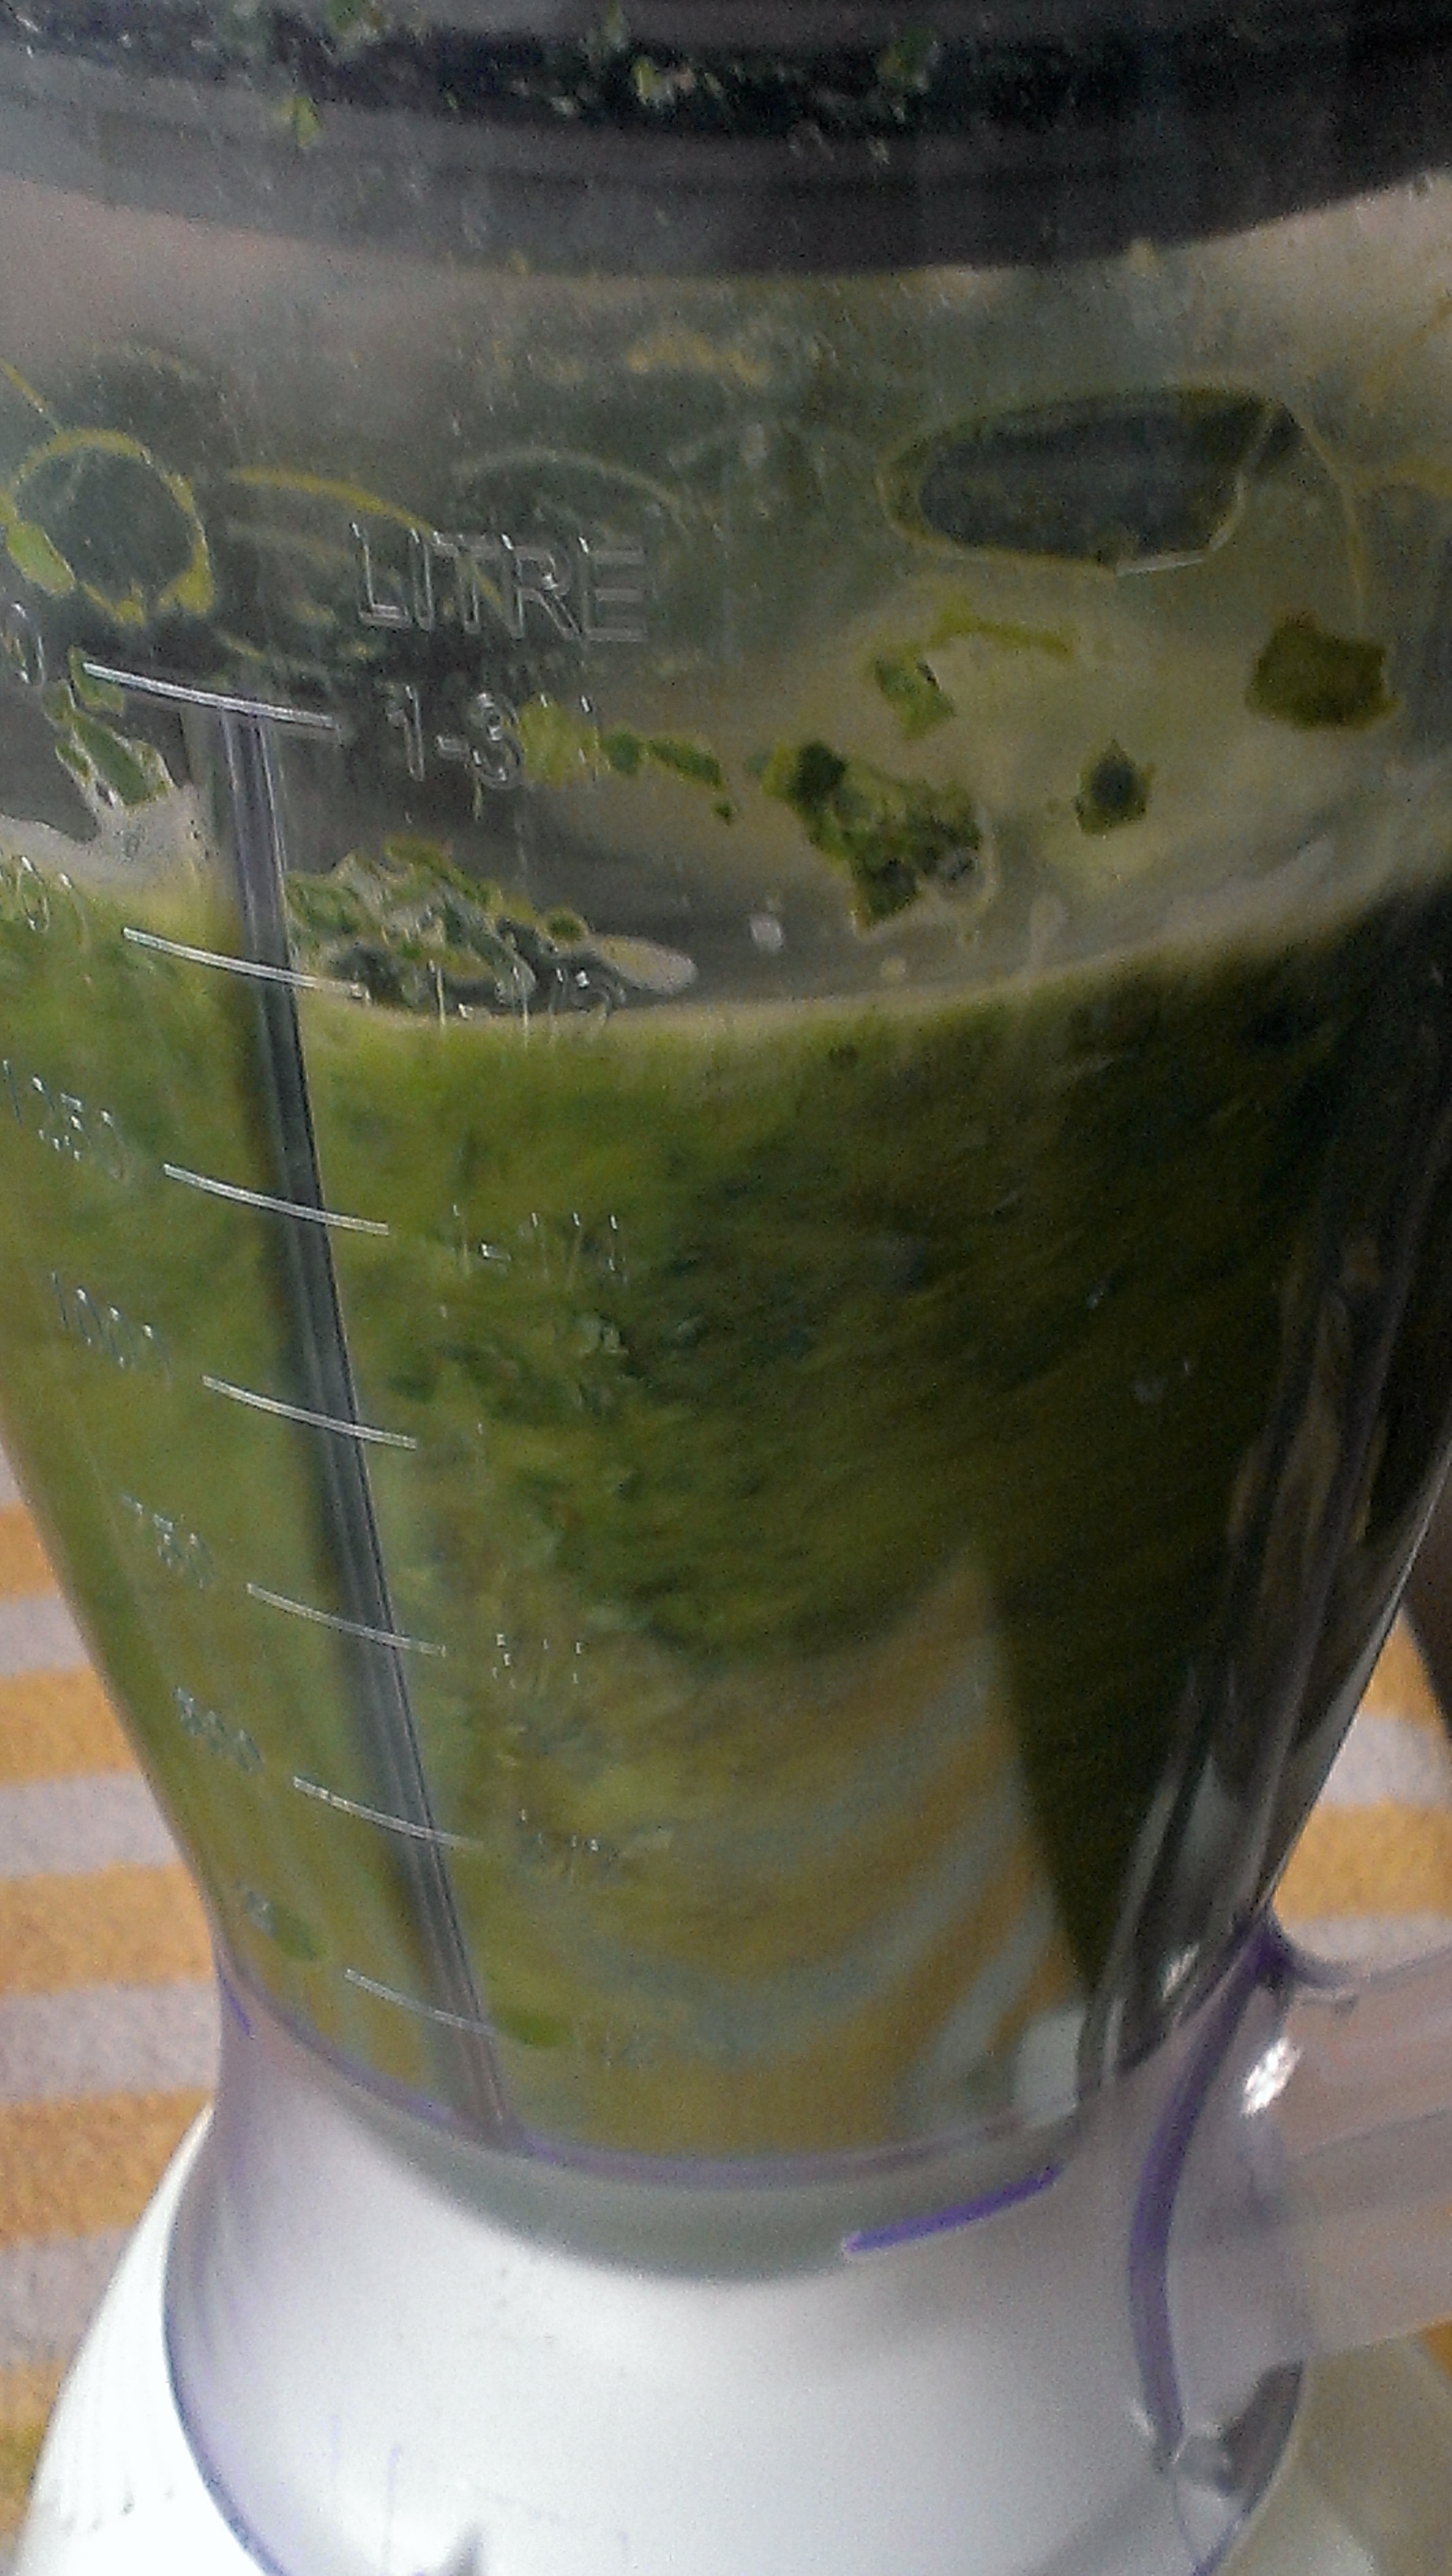
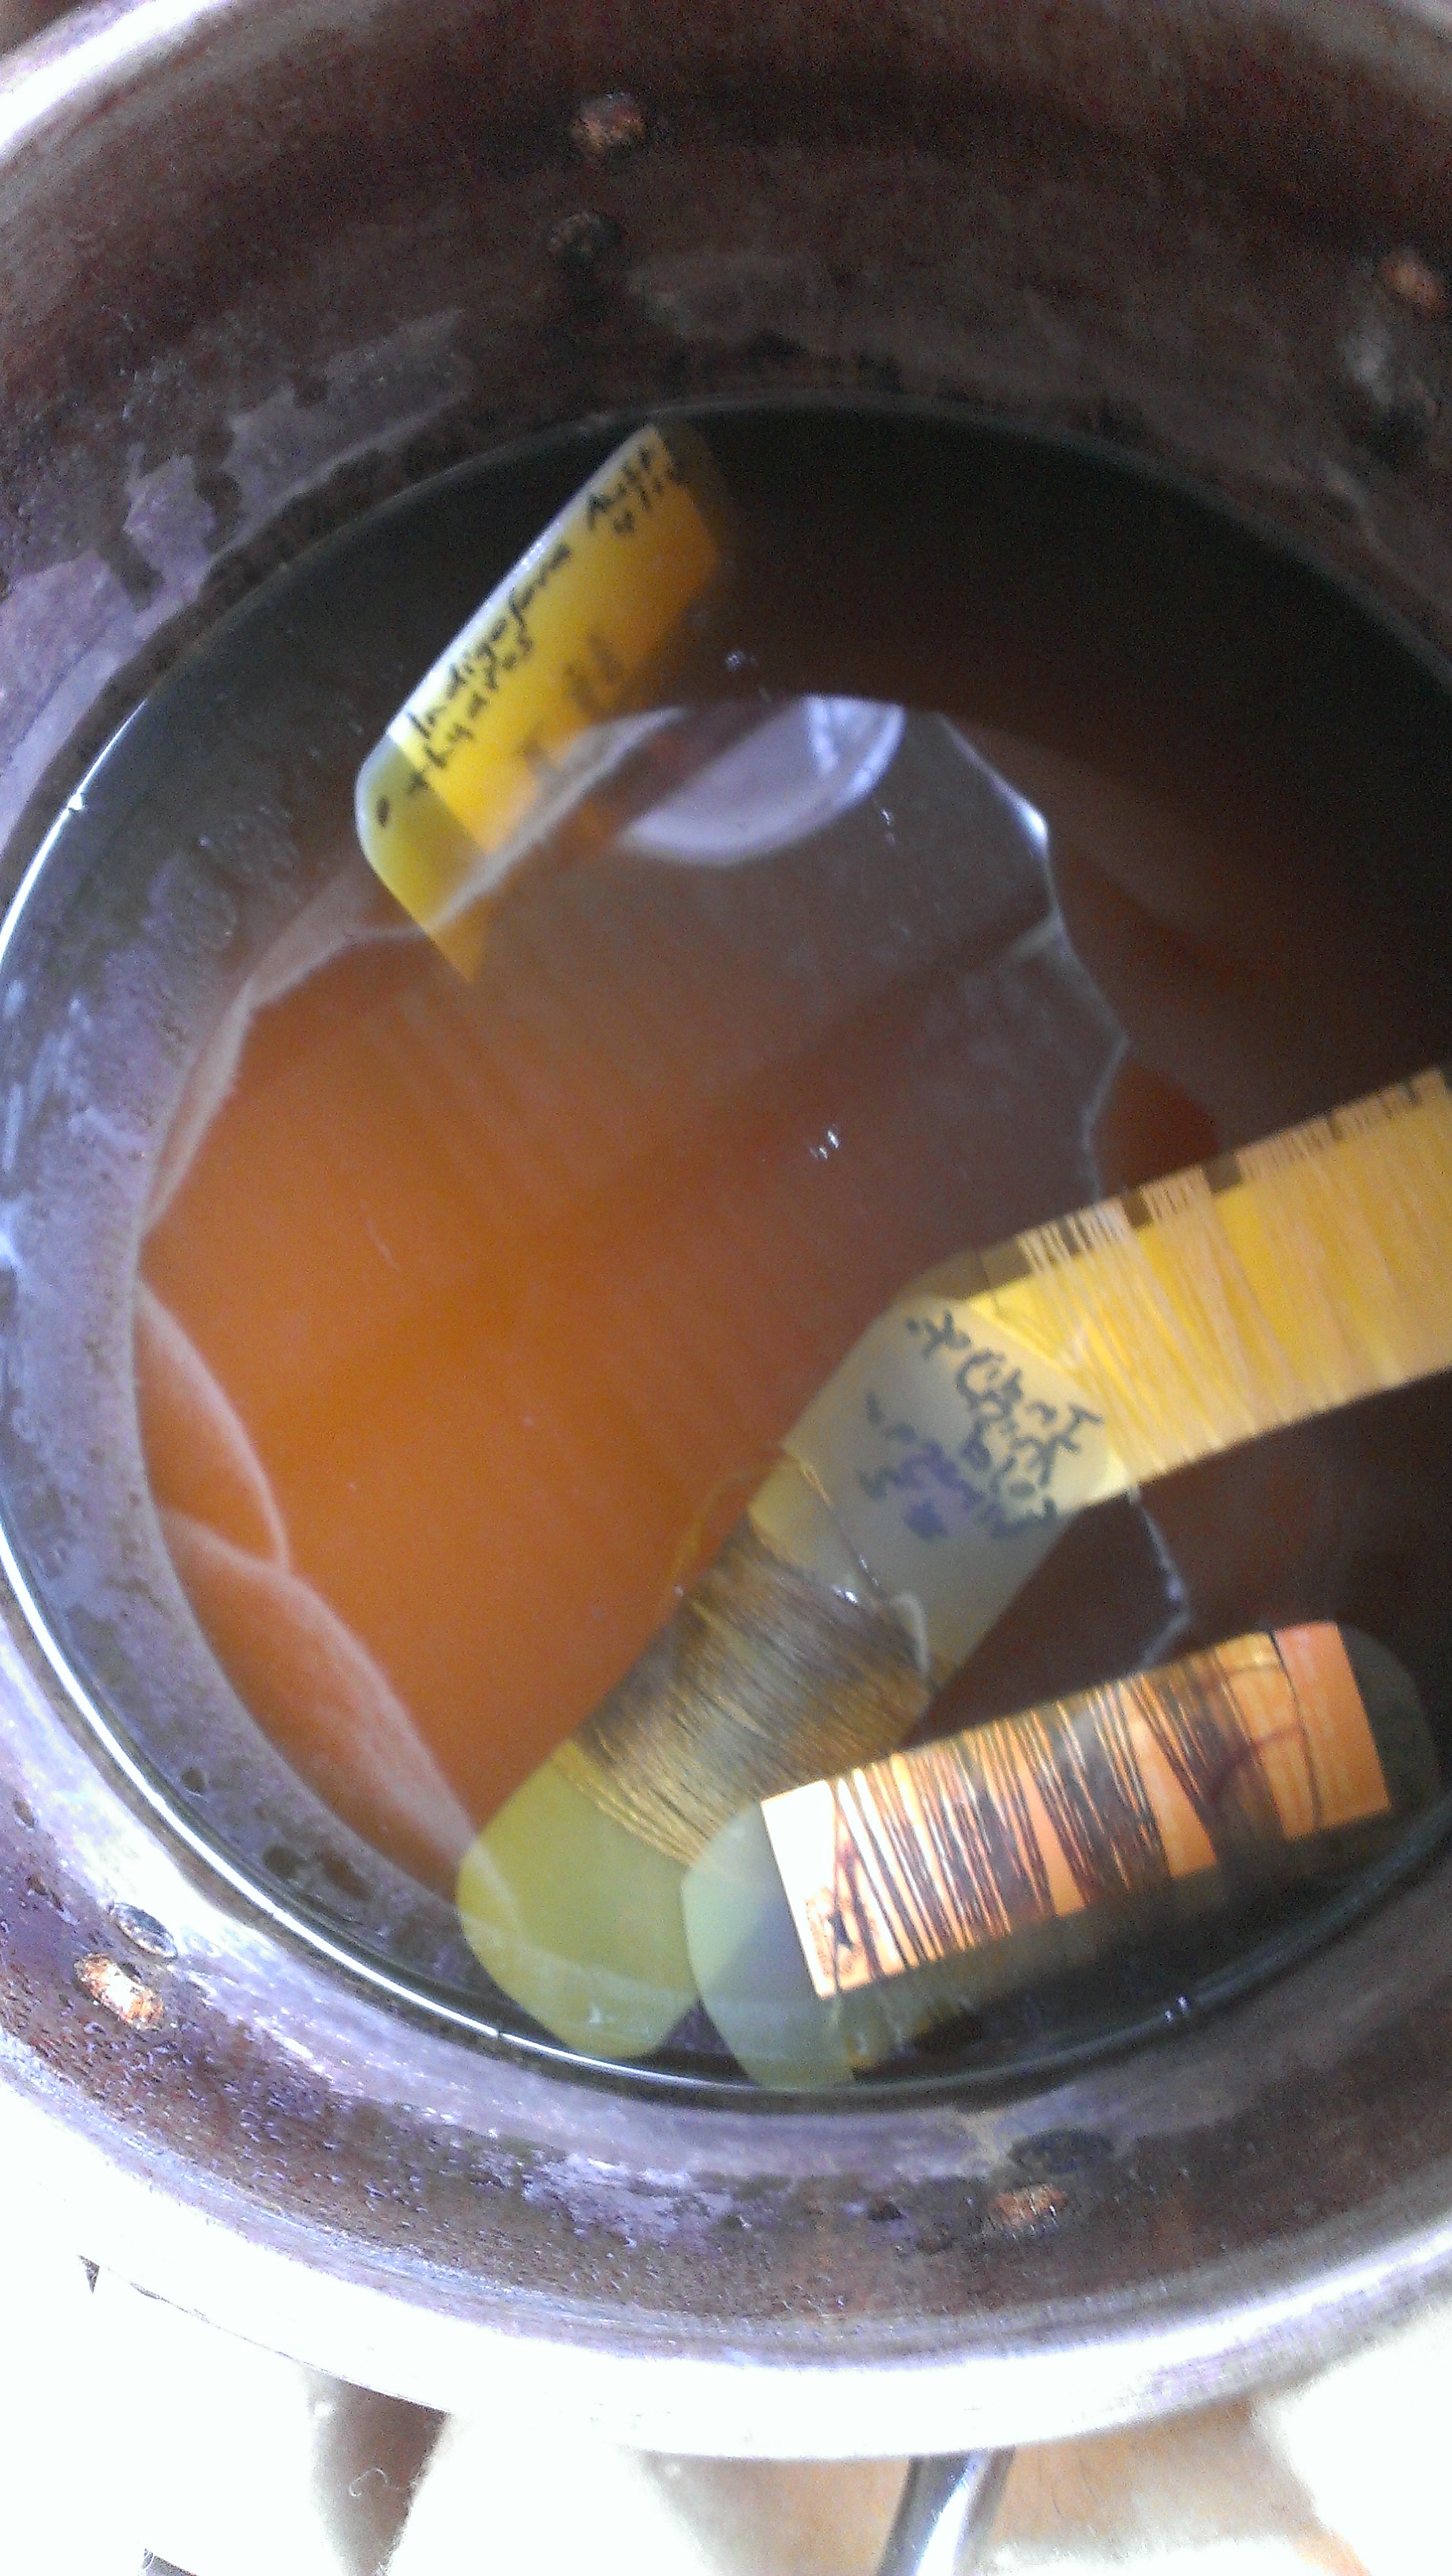
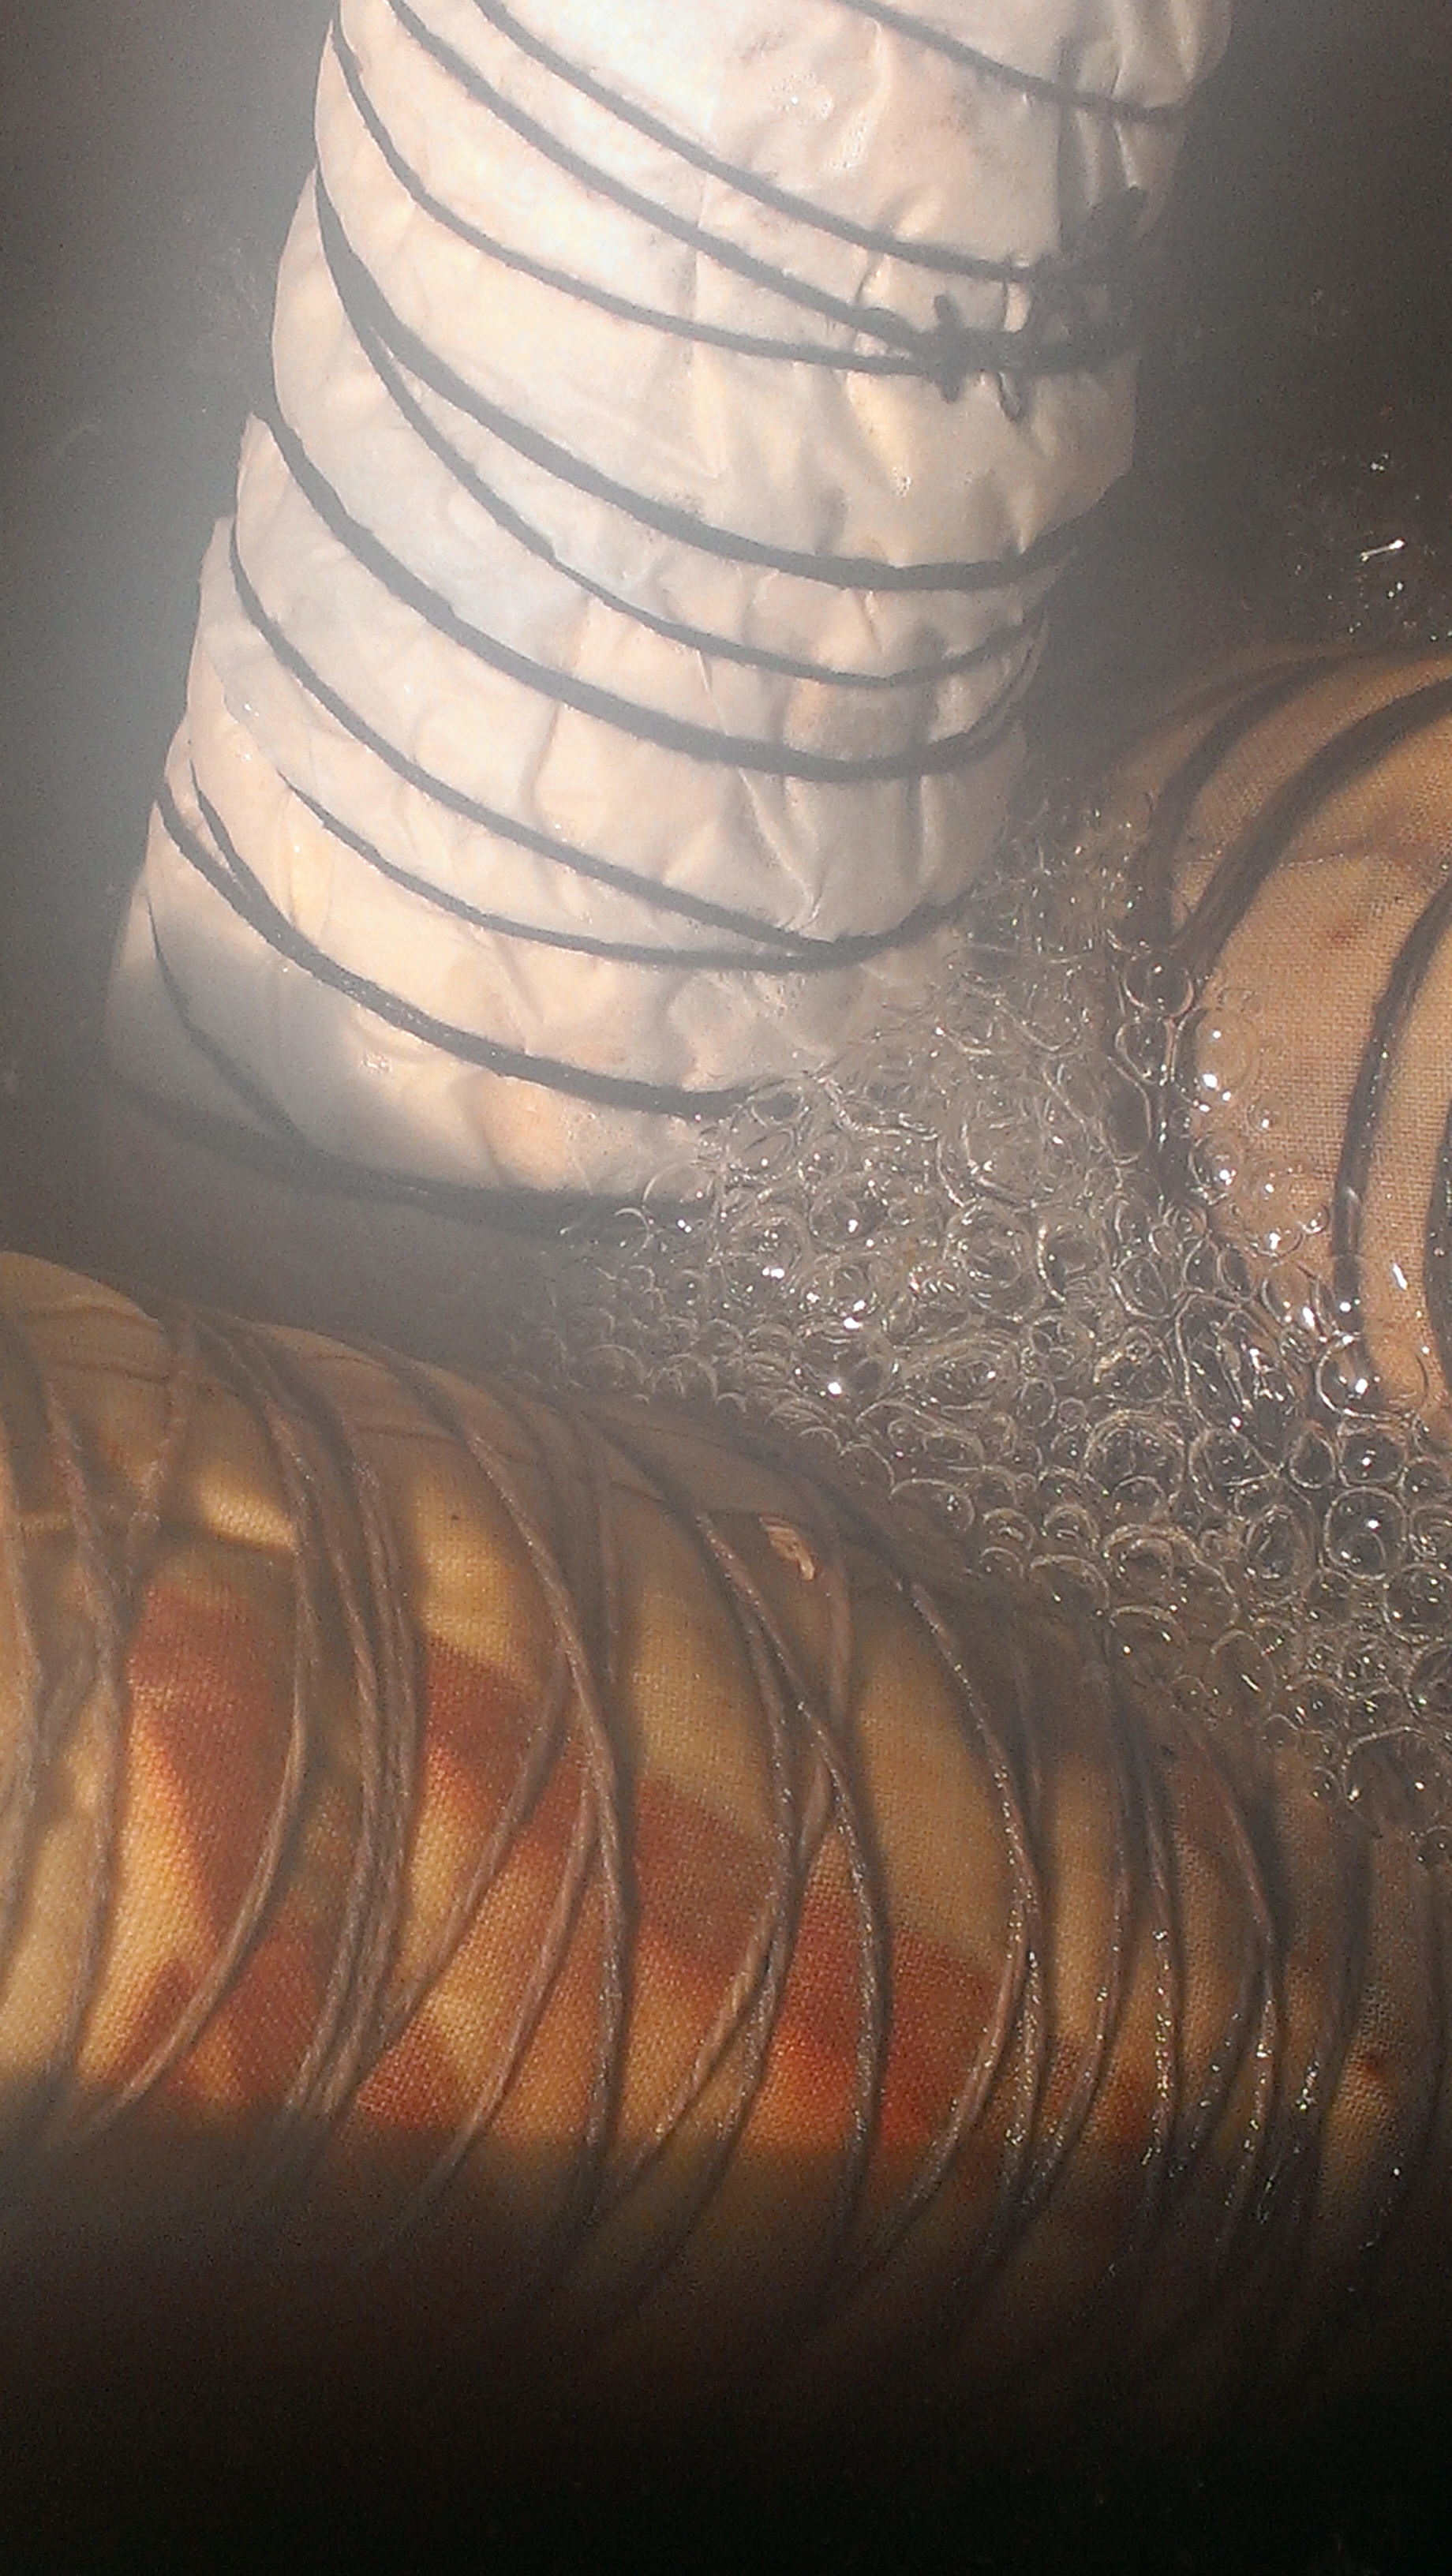
So, into the pot went the white cocoons, the yellow cocoons and the parts left over from spinning raw cocoons, just in case more could be done with them.  There were mysterious elements, as there often are with instructional texts from the US–for me, at least.  What is Ivory dish detergent?  Does the brand matter?  What would count as a big squirt?  This complication in understanding what others actually do is particularly entertaining in reading online discussion of washing wool–I recommend the thousands of accounts of the ‘only’ and ‘best’ way to clean raw fleece that you can find in any forum where this issue is discussed as fine entertainment!

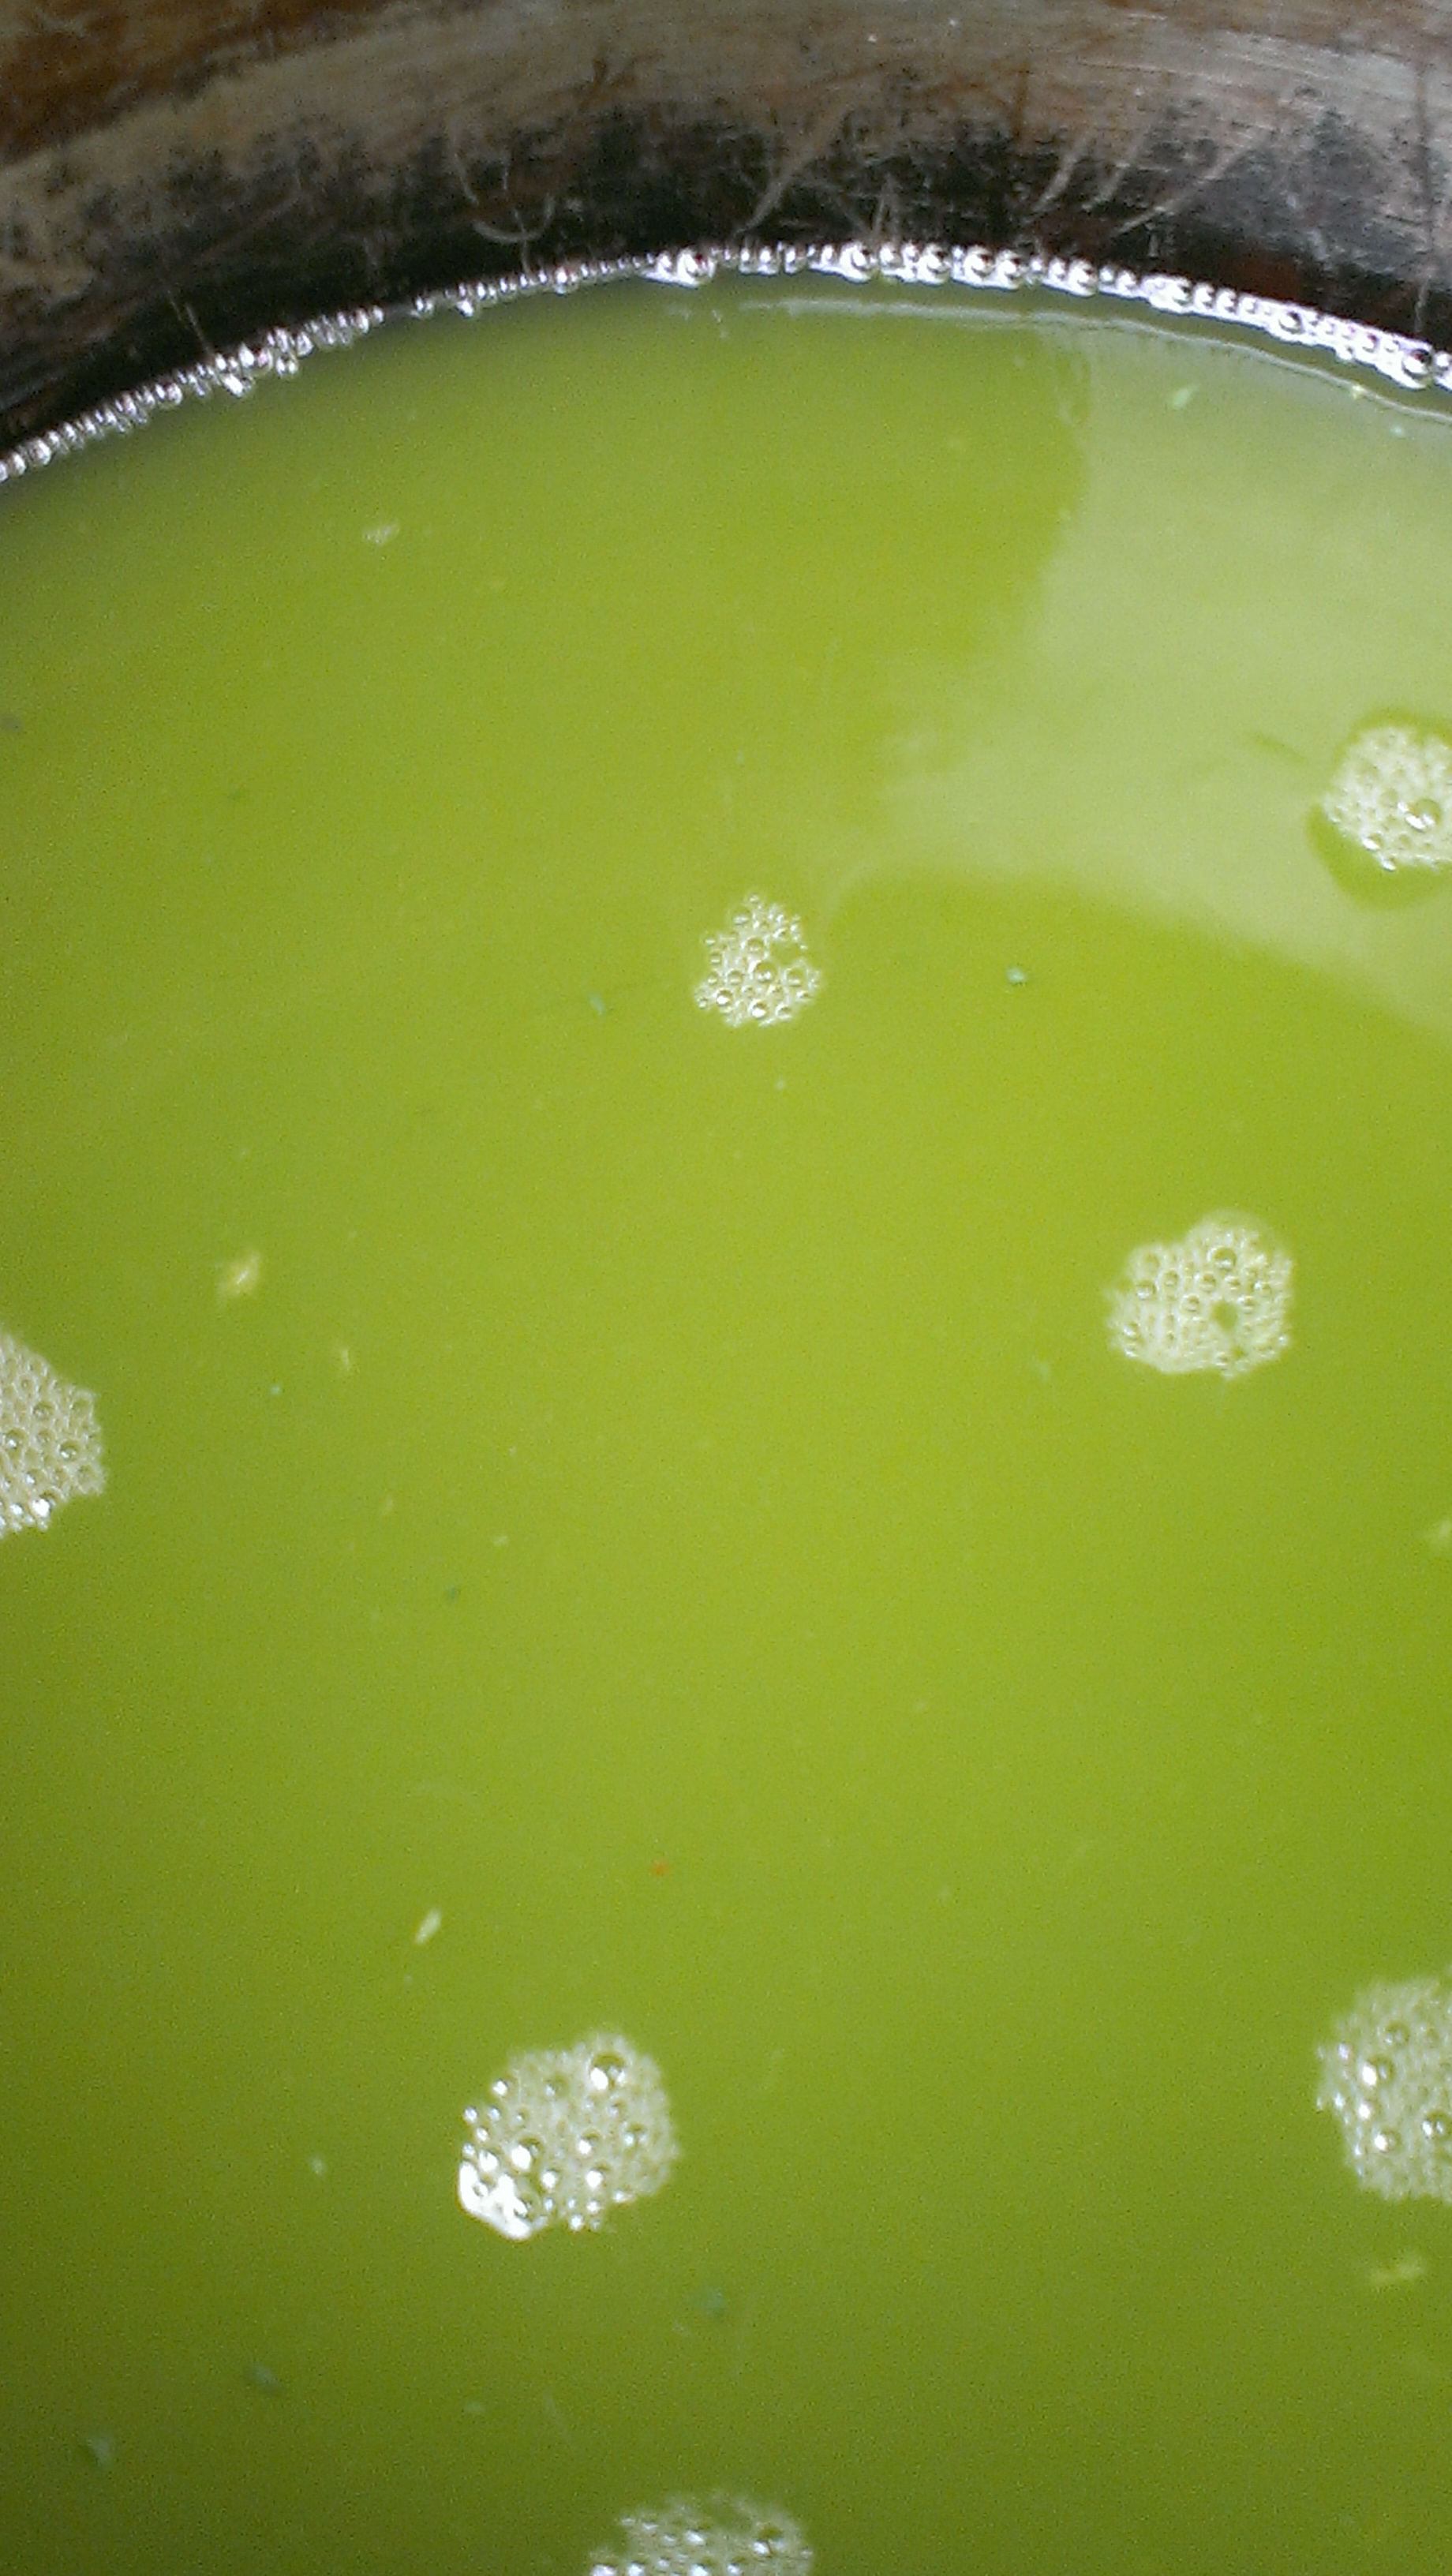
As usual, I resolved these mysteries with the judicious application of guesswork.  Some time later I had this, a circular mass of silk fibres with quite a bit less structure, much less colour and some yellow water:

IMAG3495

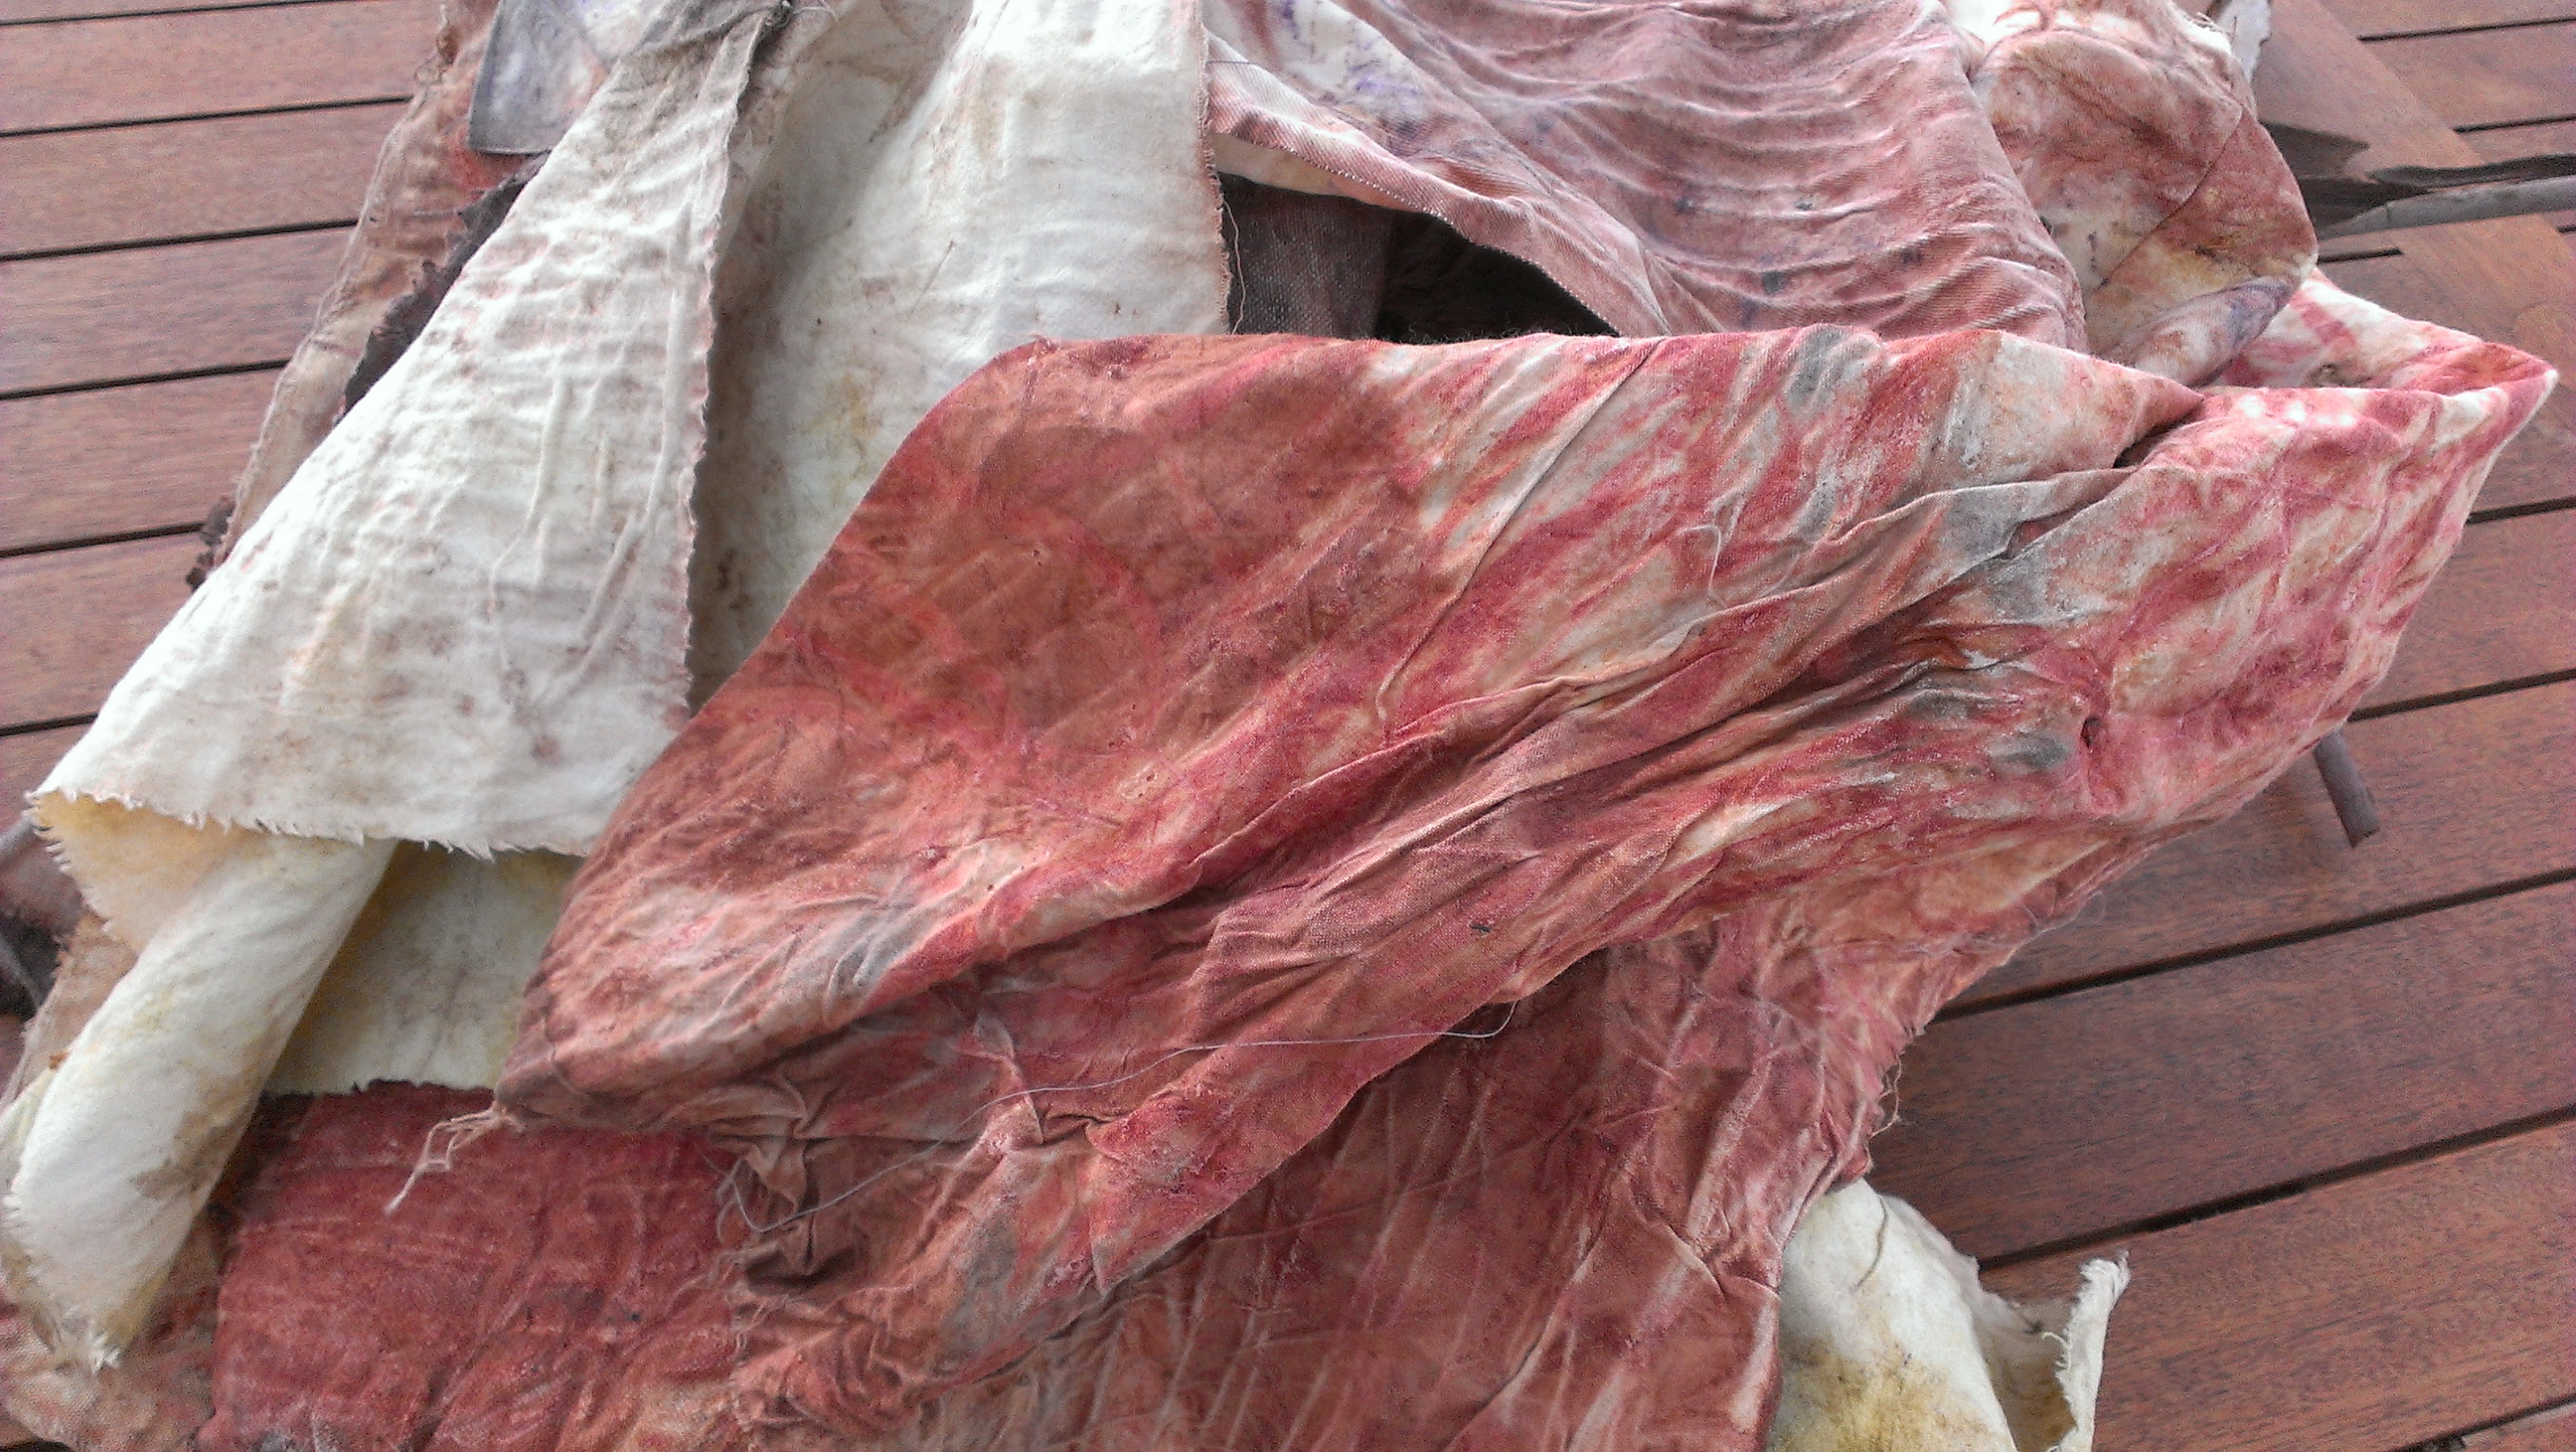
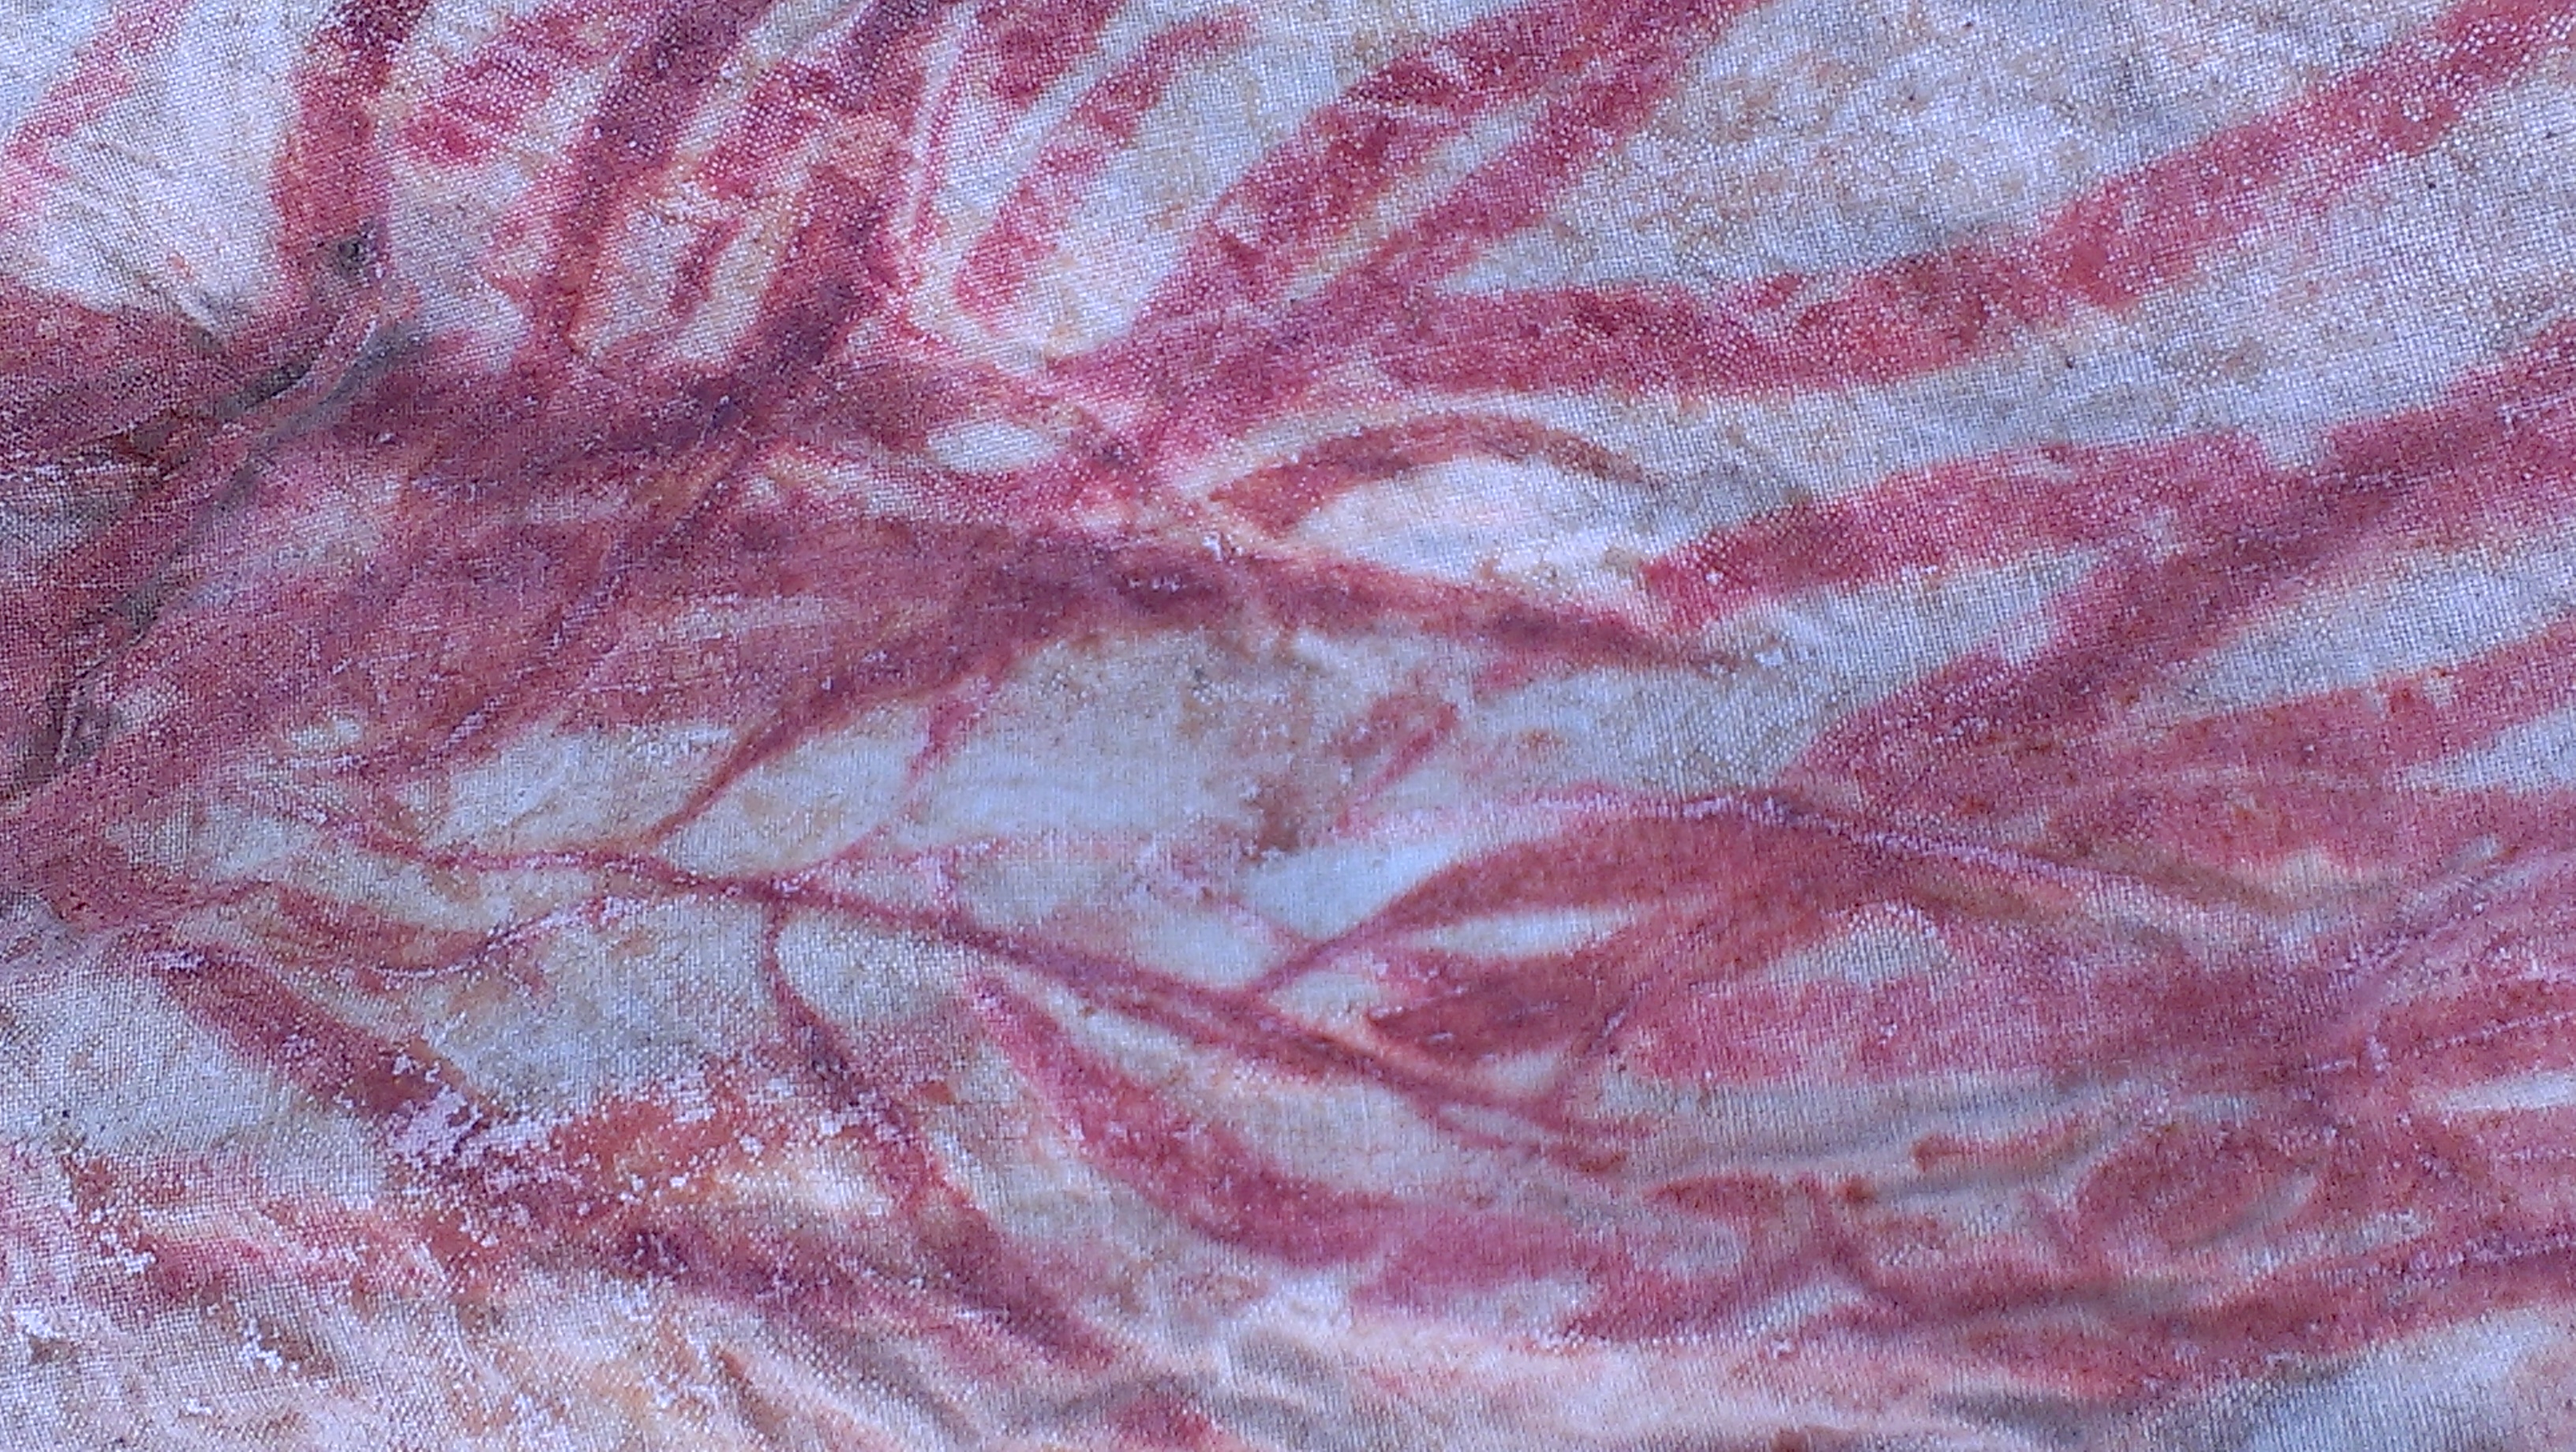
I rinsed–and had something decidedly mangy and sad looking at the end of the process.  So I drew it out into a longish lumpy mass and hung it out to dry.

IMAG3527

Then, the struggle to spin began.  I think the temperature on my degumming pot may have been a problem… in that my burners maintain temperature by intermittently heating, which sometimes produces bubbling. I think this introduced a level of tangling that the cocoons I bought from the Victorian Guild did not suffer from.  But of course… this was probably only one of my beginner mistakes. My cocoons did not contain as much fibre as those I had purchased either, so the ratio of spinnable silk to fine inner layer was different too.

In the end, there was some yarn.  Not very much, and not very lovely.  But there was yarn.

IMAG3598

Time to put my feet up until next September, I guess!

7 Comments

Filed under Fibre preparation, Spinning

Leaf prints of the week: Pecan and Eucalyptus on cotton

Last week there was some leaf printing. Eucalyptus Scoparia leaves, one of my favourites.

IMAG3492

Pecan leaves, inspired by Lotta Helleberg (when I went to her blog to insert this link there was an especially delectable pecan leaf printed fabric on show, by complete coincidence) and by a wonderful lunch with friends who have a pecan tree. The leaves have been patiently waiting in my freezer.

IMAG3490

Let me admit right here and now that I had some alum and tannin mordanted fabric which took no colour at all–I must have made some kind of mistake there!

IMAG3489

As always, the thrill of seeing good things begin to emerge.

IMAG3496

Then waiting to unwrap bundles.  I saved these until I had a friend over for dinner who I realised would enjoy the reveal as much as I do.

IMAG3499

Some pecan prints were better than others, but the good ones are lovely.

IMAG3535

And the Eucalyptus leaf prints were all I hoped for and more.

IMAG3534

6 Comments

Filed under Eucalypts, Fibre preparation, Leaf prints

What to do with silk cocoons 2: Spin raw cocoons

On the last Guild meeting day for 2013 I wandered into the library intent on borrowing for the coming 2 months–including holiday time.  One of my loans was A Silk Worker’s Notebook by Cheryl Kolander (Interweave Press, Colorado USA 1985). She describes spinning raw (softened in water but not degummed), degummed whole and cut and degummed cocoons.  Choices, choices, choices!

She instructs the reader to soak the cocoons to soften them.  I soaked them cold and nothing much happened.

IMAG3411

I double checked and Cheryl Kolander says to soak in warm water.  I did, and by bedtime, I had spun a very small number of cocoons over a considerable amount of time with great effort and decided soaking until the following evening would be necessary, since I do in fact have a job to go to…

IMAG3415

Kolander’s instructions make gradually drawing out fibre from one end of the cocoon sound straightforward.  Bless her heart, if she can do that, she has greater skills and/or strength than I do!  I have never applied so much sheer force to draft anything.  I found I had to snip the cocoon to make a start, enlarge the hole by pulling, remove the chrysalis and then tear or stretch the cocoon far enough that I could grab one half in one hand and the other half in my other hand and create a bridge of fibres I could attenuate and attempt to join to my thread.  All while still wet.

IMAG3460

Kolander promised a stiff thread and mine did not disappoint. Can you see the end of the thread heading off to the upper right in the next picture?  No wind or special effects were applied to this image!

IMAG3466

This was the smallest reel I could find.  But I am delighted to have managed to spin a thread.  I drew the line at plying and left it as a single.  As always, experiments like these give some finger-and-muscle-understanding and not just a vague intellectual sense of the tremendous skill and sheer hard work and time commitment of people who create fine reeled silk and all manner of silk yarns and fabrics with the most basic of equipment. I won’t be giving up my day job anytime soon!

IMAG3474

2 Comments

Filed under Fibre preparation, Spinning