

I’ve had a lovely query about how to propagate plants for guerilla gardening. I don’t think I’m much of an expert. Maybe check here for expert advice! But here’s what I’m doing at this time of the year–the Australian autumn. I took pictures while I walked the neighbourhood, so come along for the walk with me.
Autumn is the time for collecting seeds, taking cuttings and propagating by root division. I started out on cuttings with karkalla/pigface/carpobrotus glaucescens. Being a hardy succulent, it propagates very readily, and as the first link states, it is edible as well as having a lovely flower. I have stopped propagating it only because it is so severely attacked by cushiony scale in my area that enormous plants I had established (and those planted by council) have all but died. My next choice was creeping boobialla (myoporum parvifolium) see image above. Some I propagated from my parents’ garden, and planted out in a street where council left bare earth for over two years. It propagates readily, survives in challenging soils and with no additional water in my neighbourhood. It can form a nice, dense, weed limiting mat of leaves and it flowers and fruits, providing food for insects and birds. I’ll explain how to propagate it below.

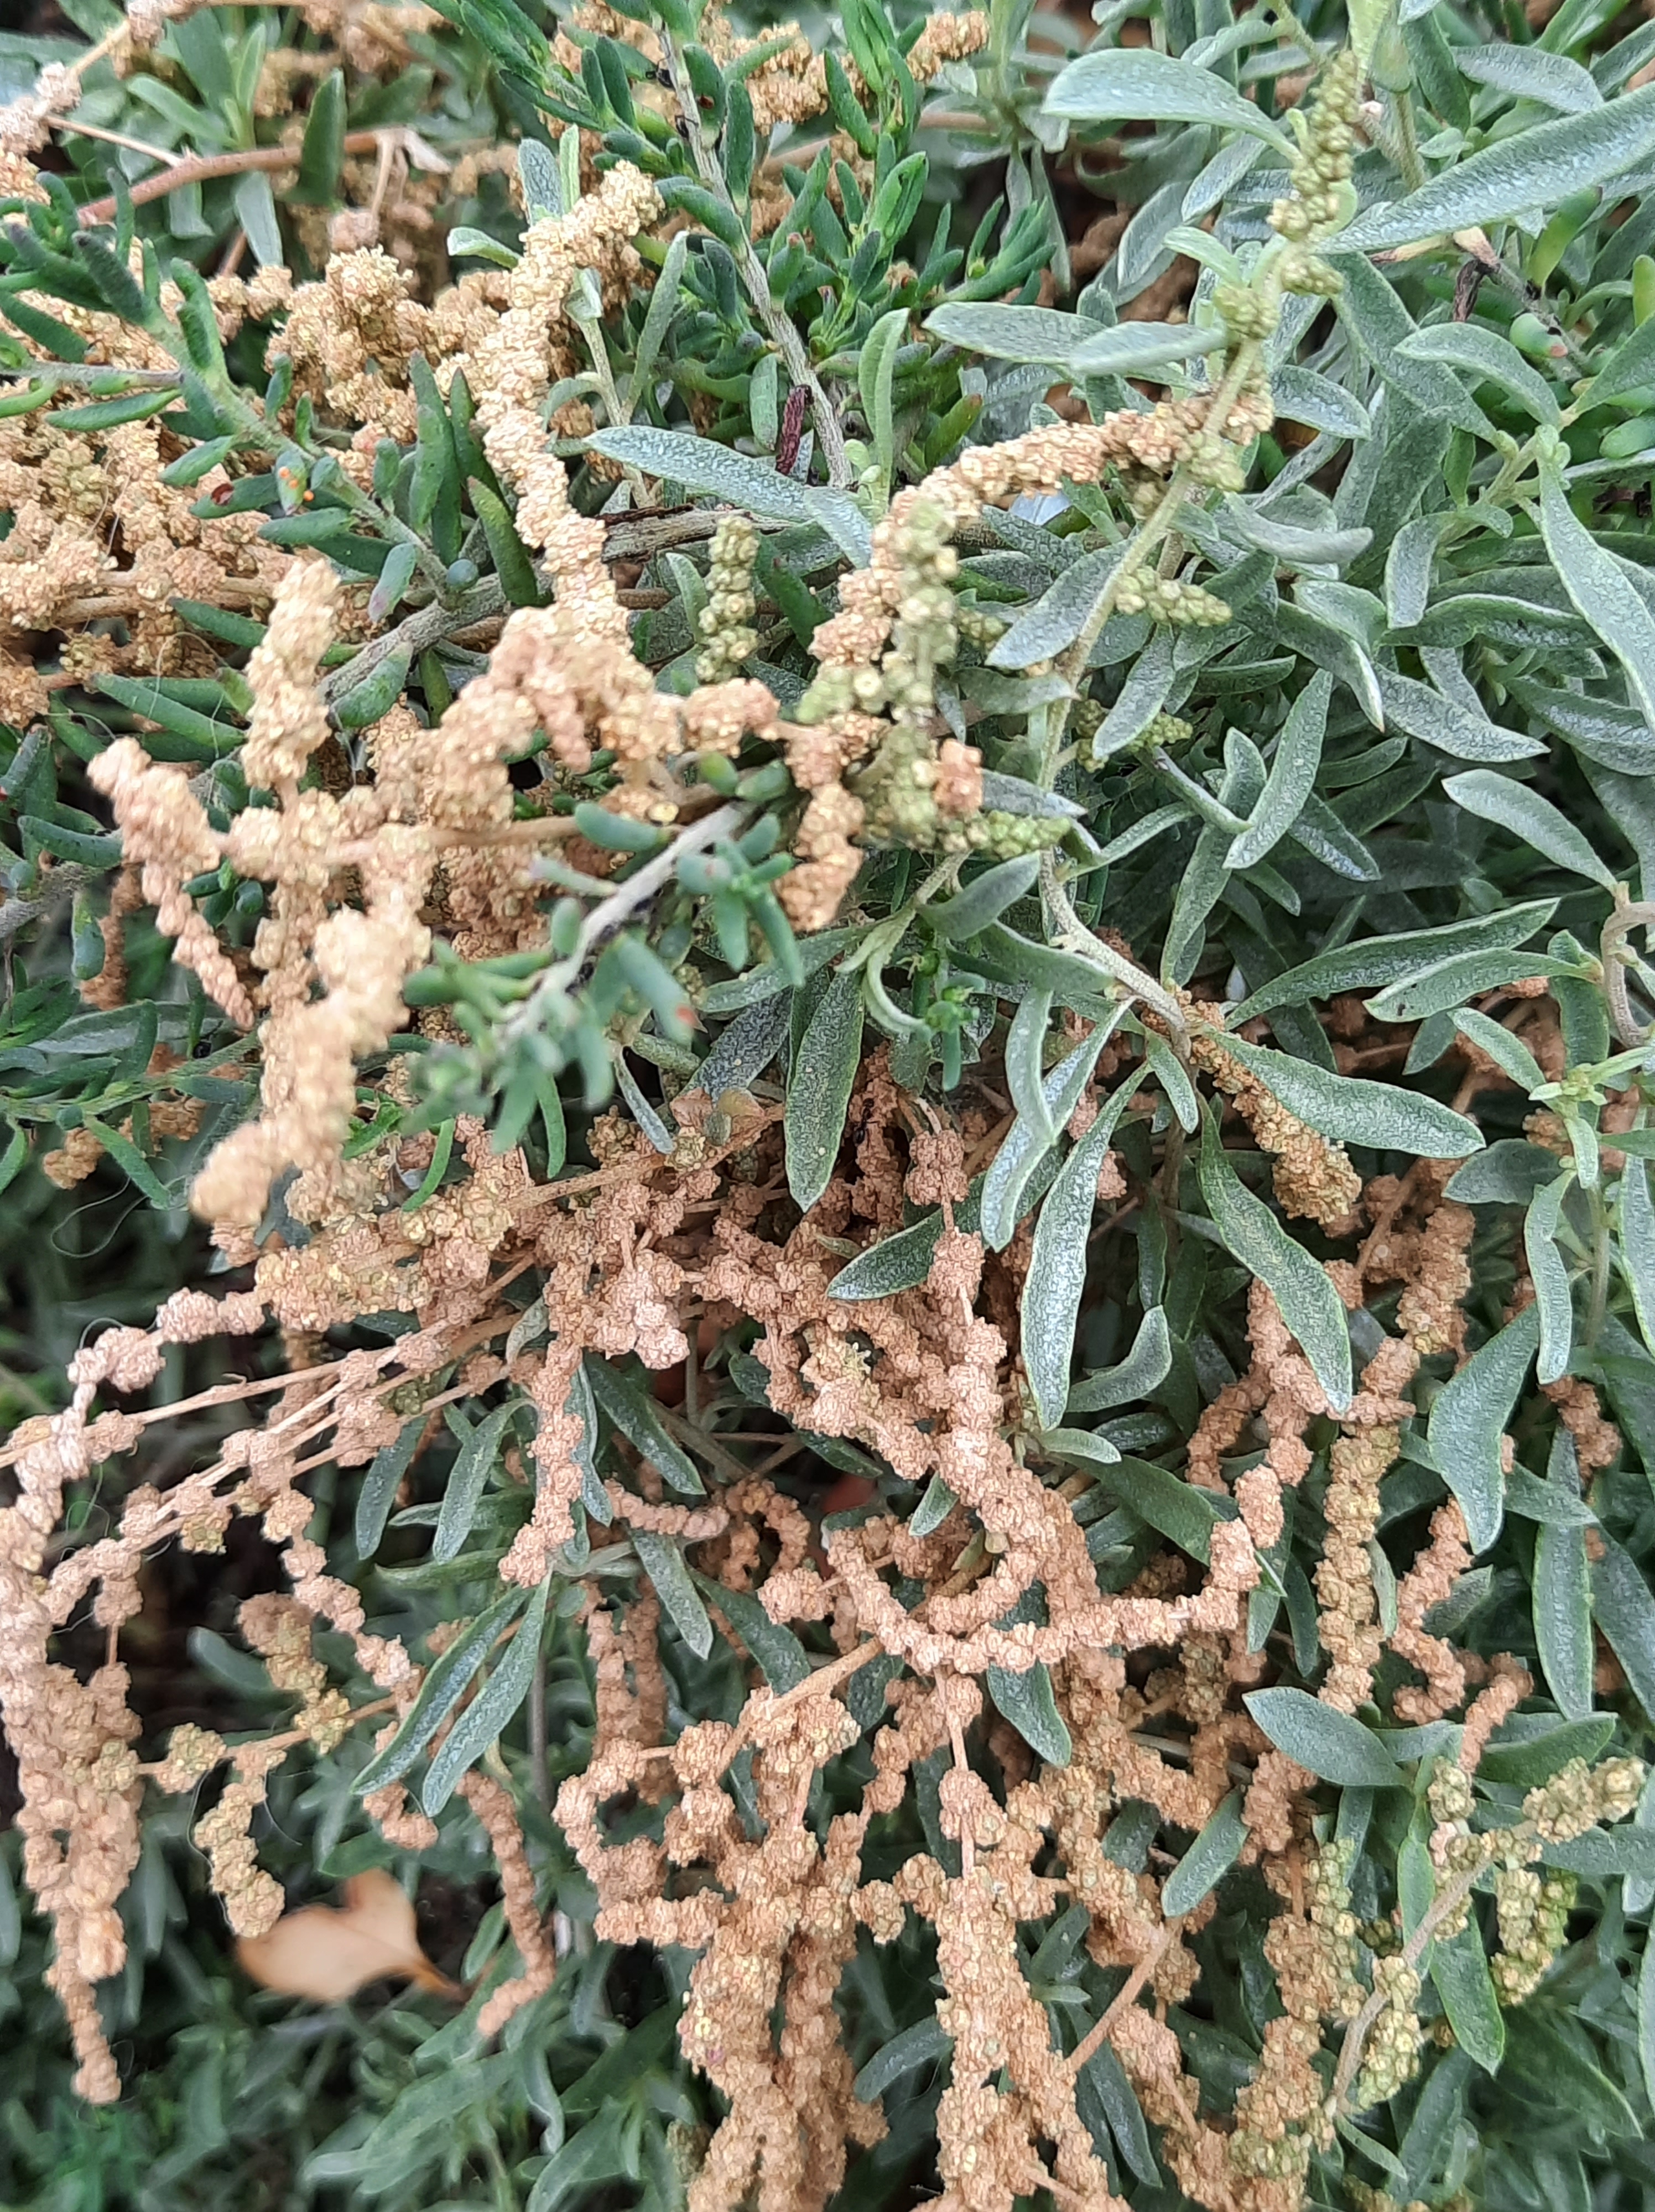
The other thing I look to do at this time of year is to save seed from anything seeding now–which is many of the plants that go by “saltbush”. This rhagodia (seaberry saltbush) has mature fruits that are beginning to dry on the bush–the perfect time to collect and dry them. This is another hardy bush that is native to the coast of SA and Victoria.

If you want to try root division, look for very dense clumps of dianella–like these. About 15 were stolen from this council street planting in their first week. I have gradually replaced them and filled the gaps in the planting by digging some (not a huge amount!) out each autumn, putting them straight into a bucket of water, separating out viable plants (each with some roots attached), and then straight into small pots of soil and a nice drink of water. I have found that of you let them dry out, they will not grow.


Walking through my neighbourhood, here are four other saltbush species that are ready to harvest for seed, plus native grass that is ready to give seed. I just head out with paper bags, or little jars/yoghurt pots/my hand and collect, then bring back and set out in saucers or dishes to air dry. But experiment! Look to see what can tough it out in local parks and gardens, and give it a try.
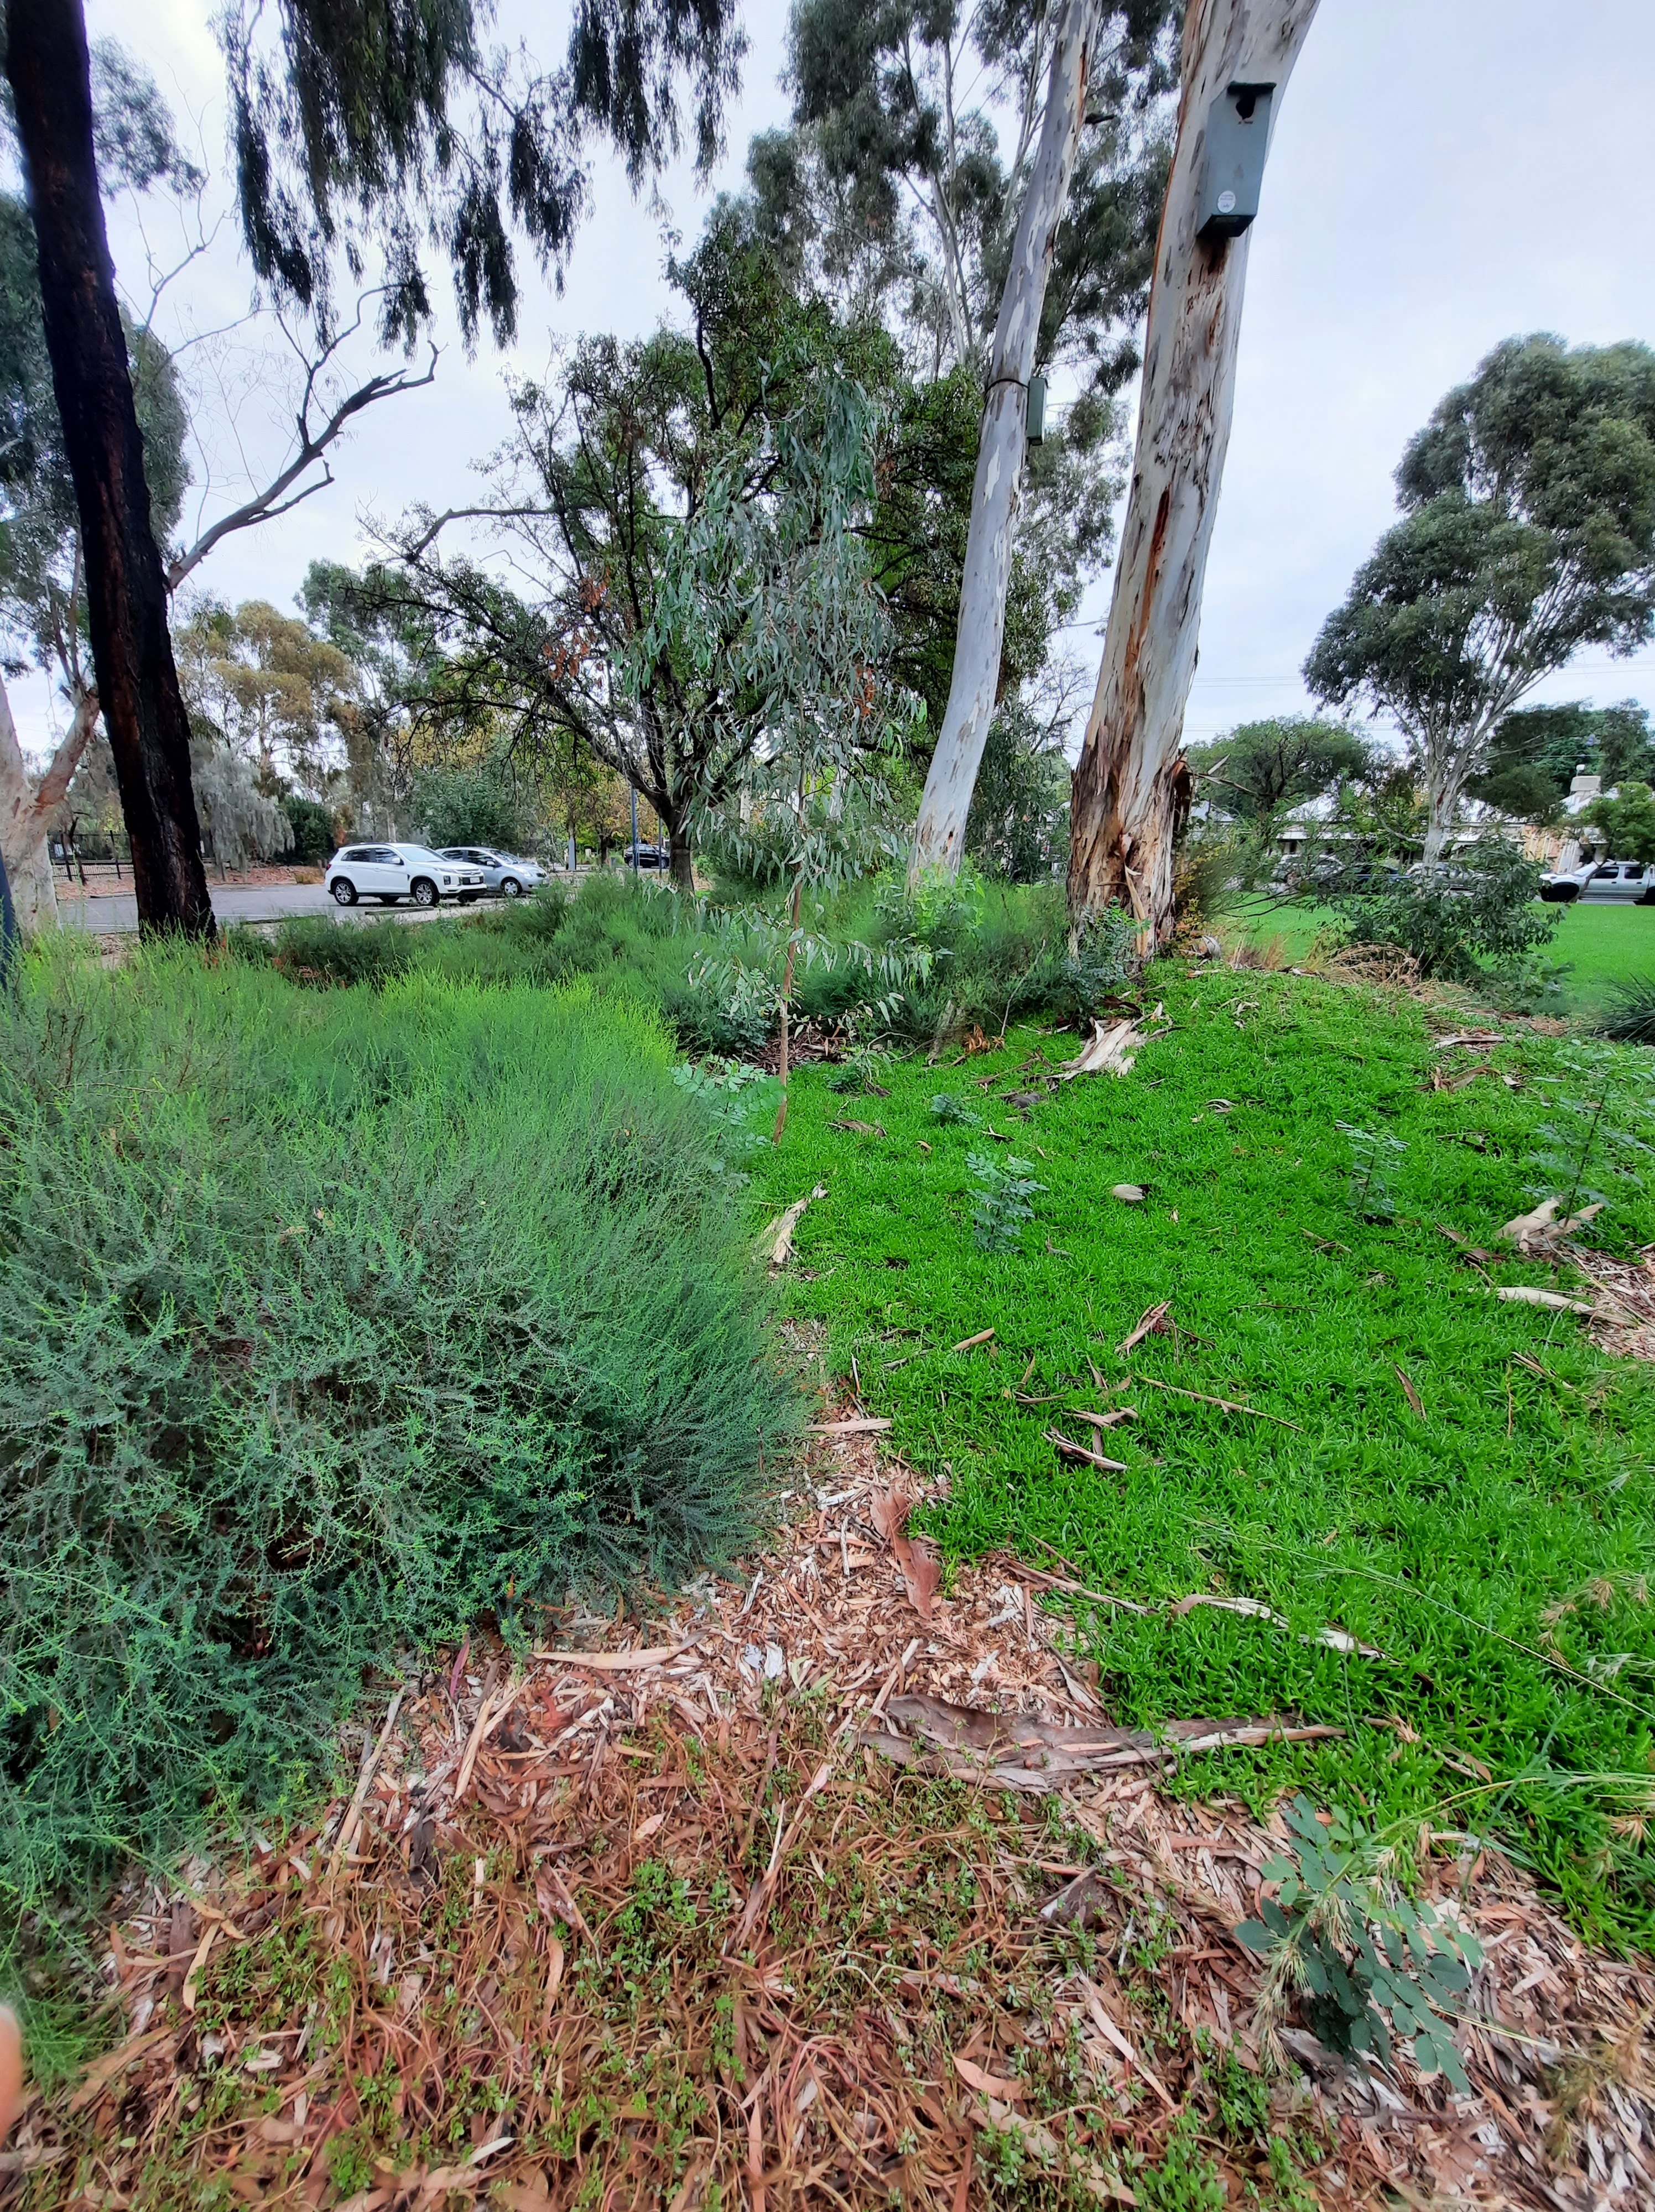


Myoporum parvifolium comes in fine leaved (bottom left) and thicker leaved (bottom row, middle and right) varieties, and in green coloured (bottom middle and right) leaves as well as what my father calls “red” (middle row, right side; bottom left). Most of these are plants I’ve initially grown from cuttings and planted out. If you look at the ones beside kerbs and roads, you will see that they are either cut back regularly by council or just run over by cars so often that they die back to the edge of the road. So, if I want to take cuttings I choose a nice big patch and then cut near the edge! And, just look at the picture in the middle of the top row! That is a self seeded eucalypt. I find establishing aground cover really improves the chance of anything bigger growing at all, and self seeding is especially exciting. Over time, a really convincing ground cover or understorey will cause people to stop walking through planted areas, allowing more plants to thrive and grow.

I favour cutting a long stem with decent sized side shoots. One of these will give quite a few cuttings.
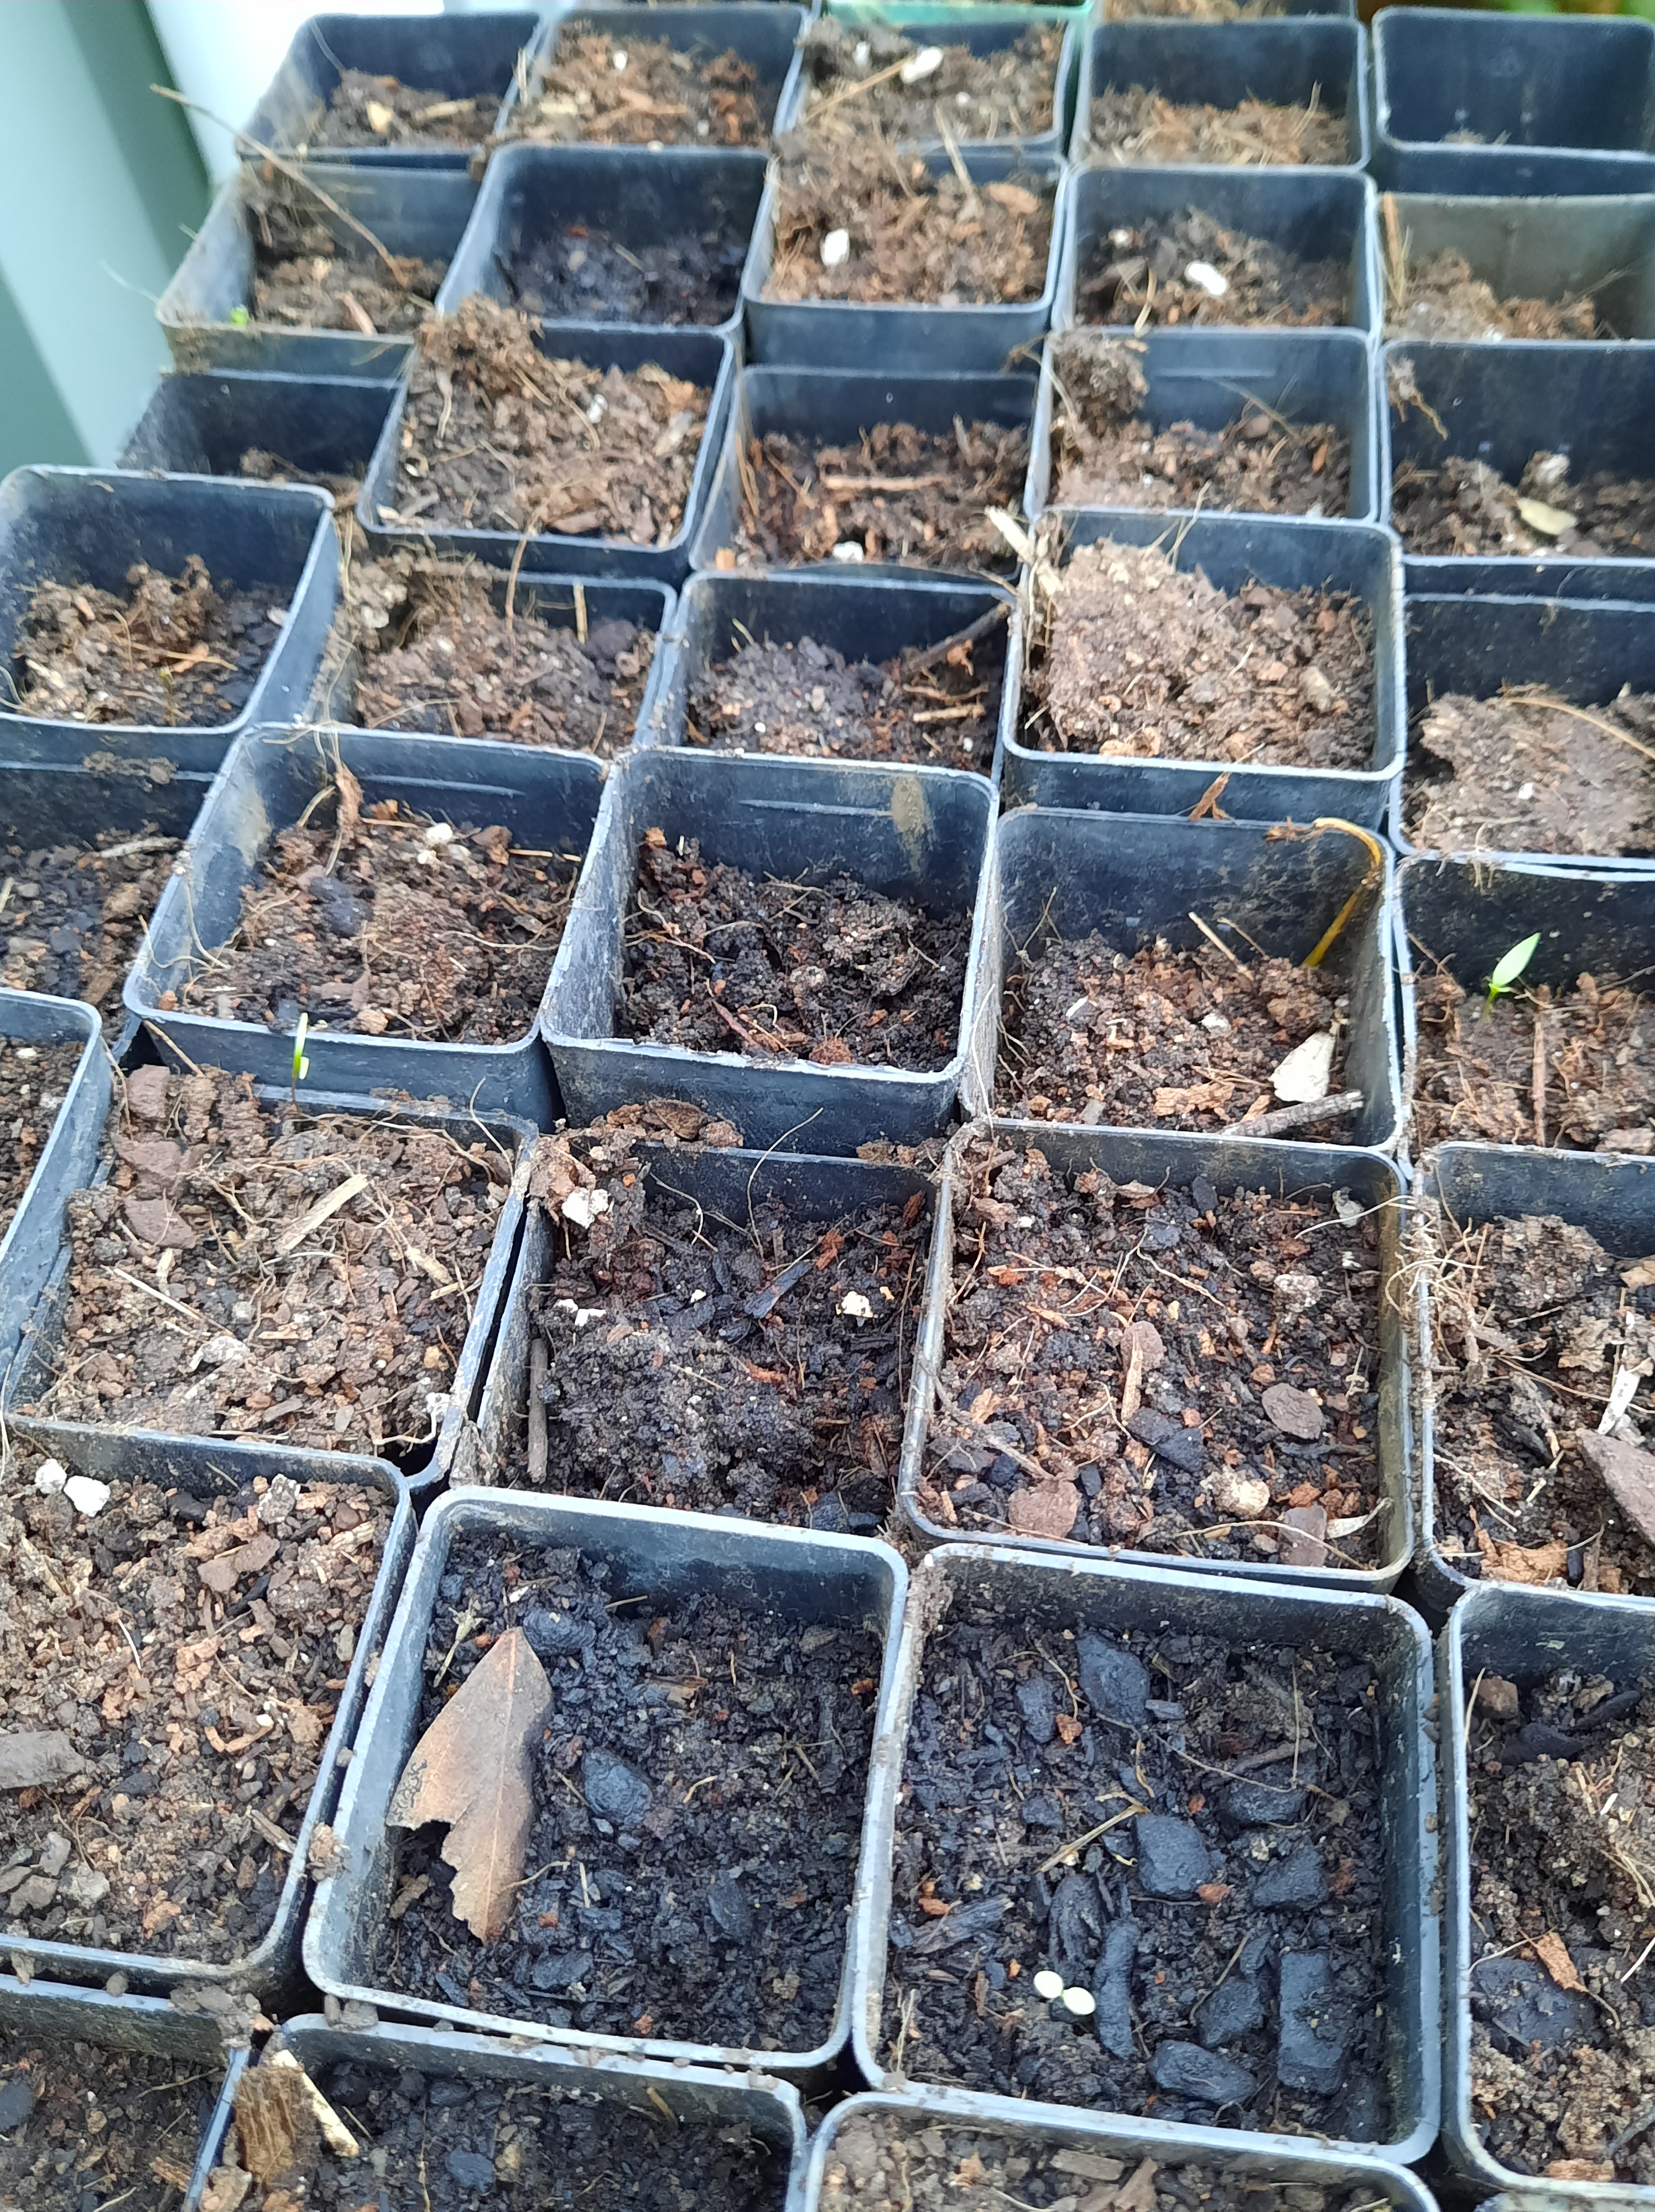
Back home, I’ve pre filled my pots with 50% coir and 50% sieved compost or soil from the chookyard, and watered them.

I gently pull each side stem from the main one, aiming to bring a small “heel” from the main stem with it.

Then I gently strip most of the leaves from each. With no roots in the beginning, a cutting needs to have minimal leaves to support. If there are large leaves, I cut them back a bit, too. Then, into a teaspoon of honey. I can’t tell if it makes any difference, but it’s cheap and easy!

Then, I make a narrow hole in my soil with the handle of the fork you can see in that image. I put 2 or 3 to a pot, improving the chances of success. Use what you have to make a hole for your cuttings–a stick, a chopstick, a finger. I place the cutting in and firm the soil around it. And then, a nice drink of water.

Now I will keep these moist until spring, when I hope most will have grown new leaves of their own, revealing that they have grown roots below the soil. And yes, there is some disphyma crassifolia (cut from a patch a few metres wide in a bed in the local park) in there along with a couple of different boobiallas. Fingers crossed!

Hi all. I have great success propagating salt bush from cuttings- I prepare cutting as you suggest with boobialla, but I put them in water till they produce decent root system then plant in potting soil. Probably not as efficient as planting straight into soul as the roots in water have to adapt to soil but it’s so cool seeing the roots develop in water.
LikeLiked by 1 person
Oooh! I have done that with boobialla but not with saltbush. Brilliant Marg, I’ll look forward to trying it!
LikeLike
Thanks so much for sharing Mary! I have been inspired by your Guerilla gardening for so many years, and keen to start doing some myself. Your post has helped arm me with a bit more confidence and knowledge to take action 🙂
LikeLiked by 1 person
Awesome! That warms my heart! There are so many enthusiastic propagators of Australian plants online, that it is always worth searching online for the plant or the process you want to know about. Happy gardening!
LikeLike