
Please read all the information under each heading before you start doing it, to make sure you’ve understood the entire step.
Cut out your pieces
Handles: cut 2 strips 9 cm x 60 cm
Bag: cut 2 rectangles 40 cm x 45 cm (you can make them by sewing smaller pieces together with neat, well finished seams if you like).

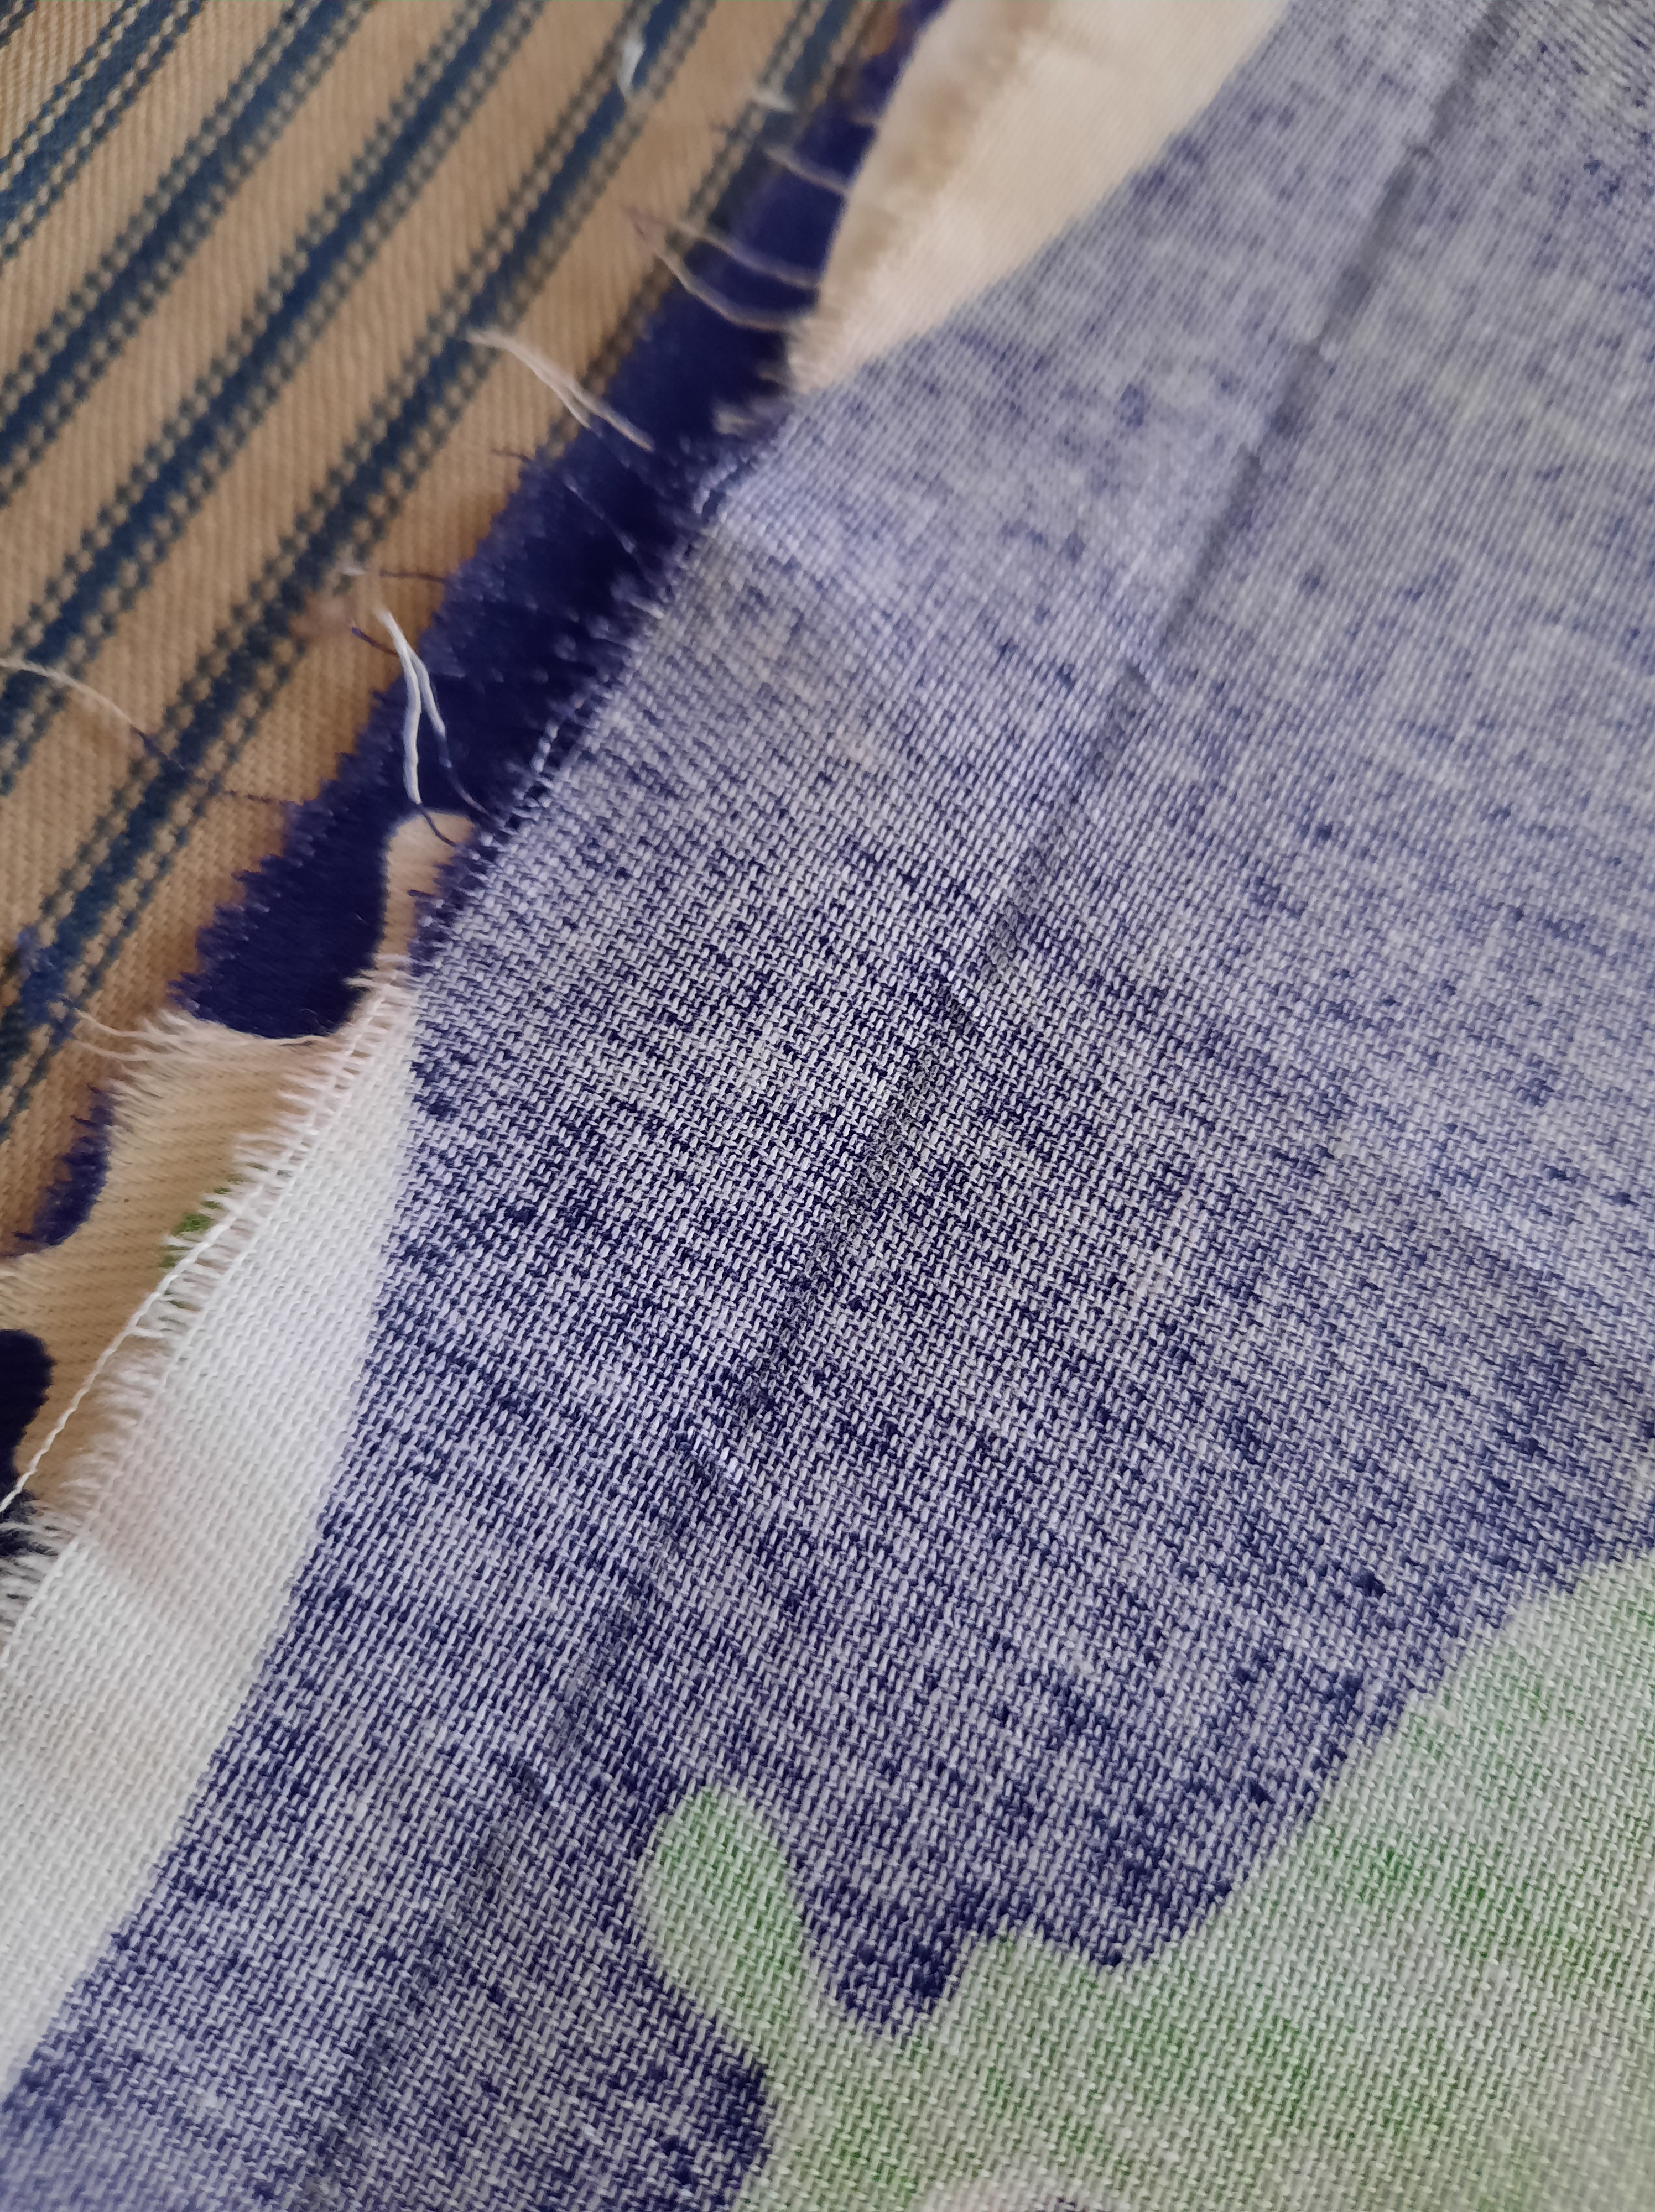
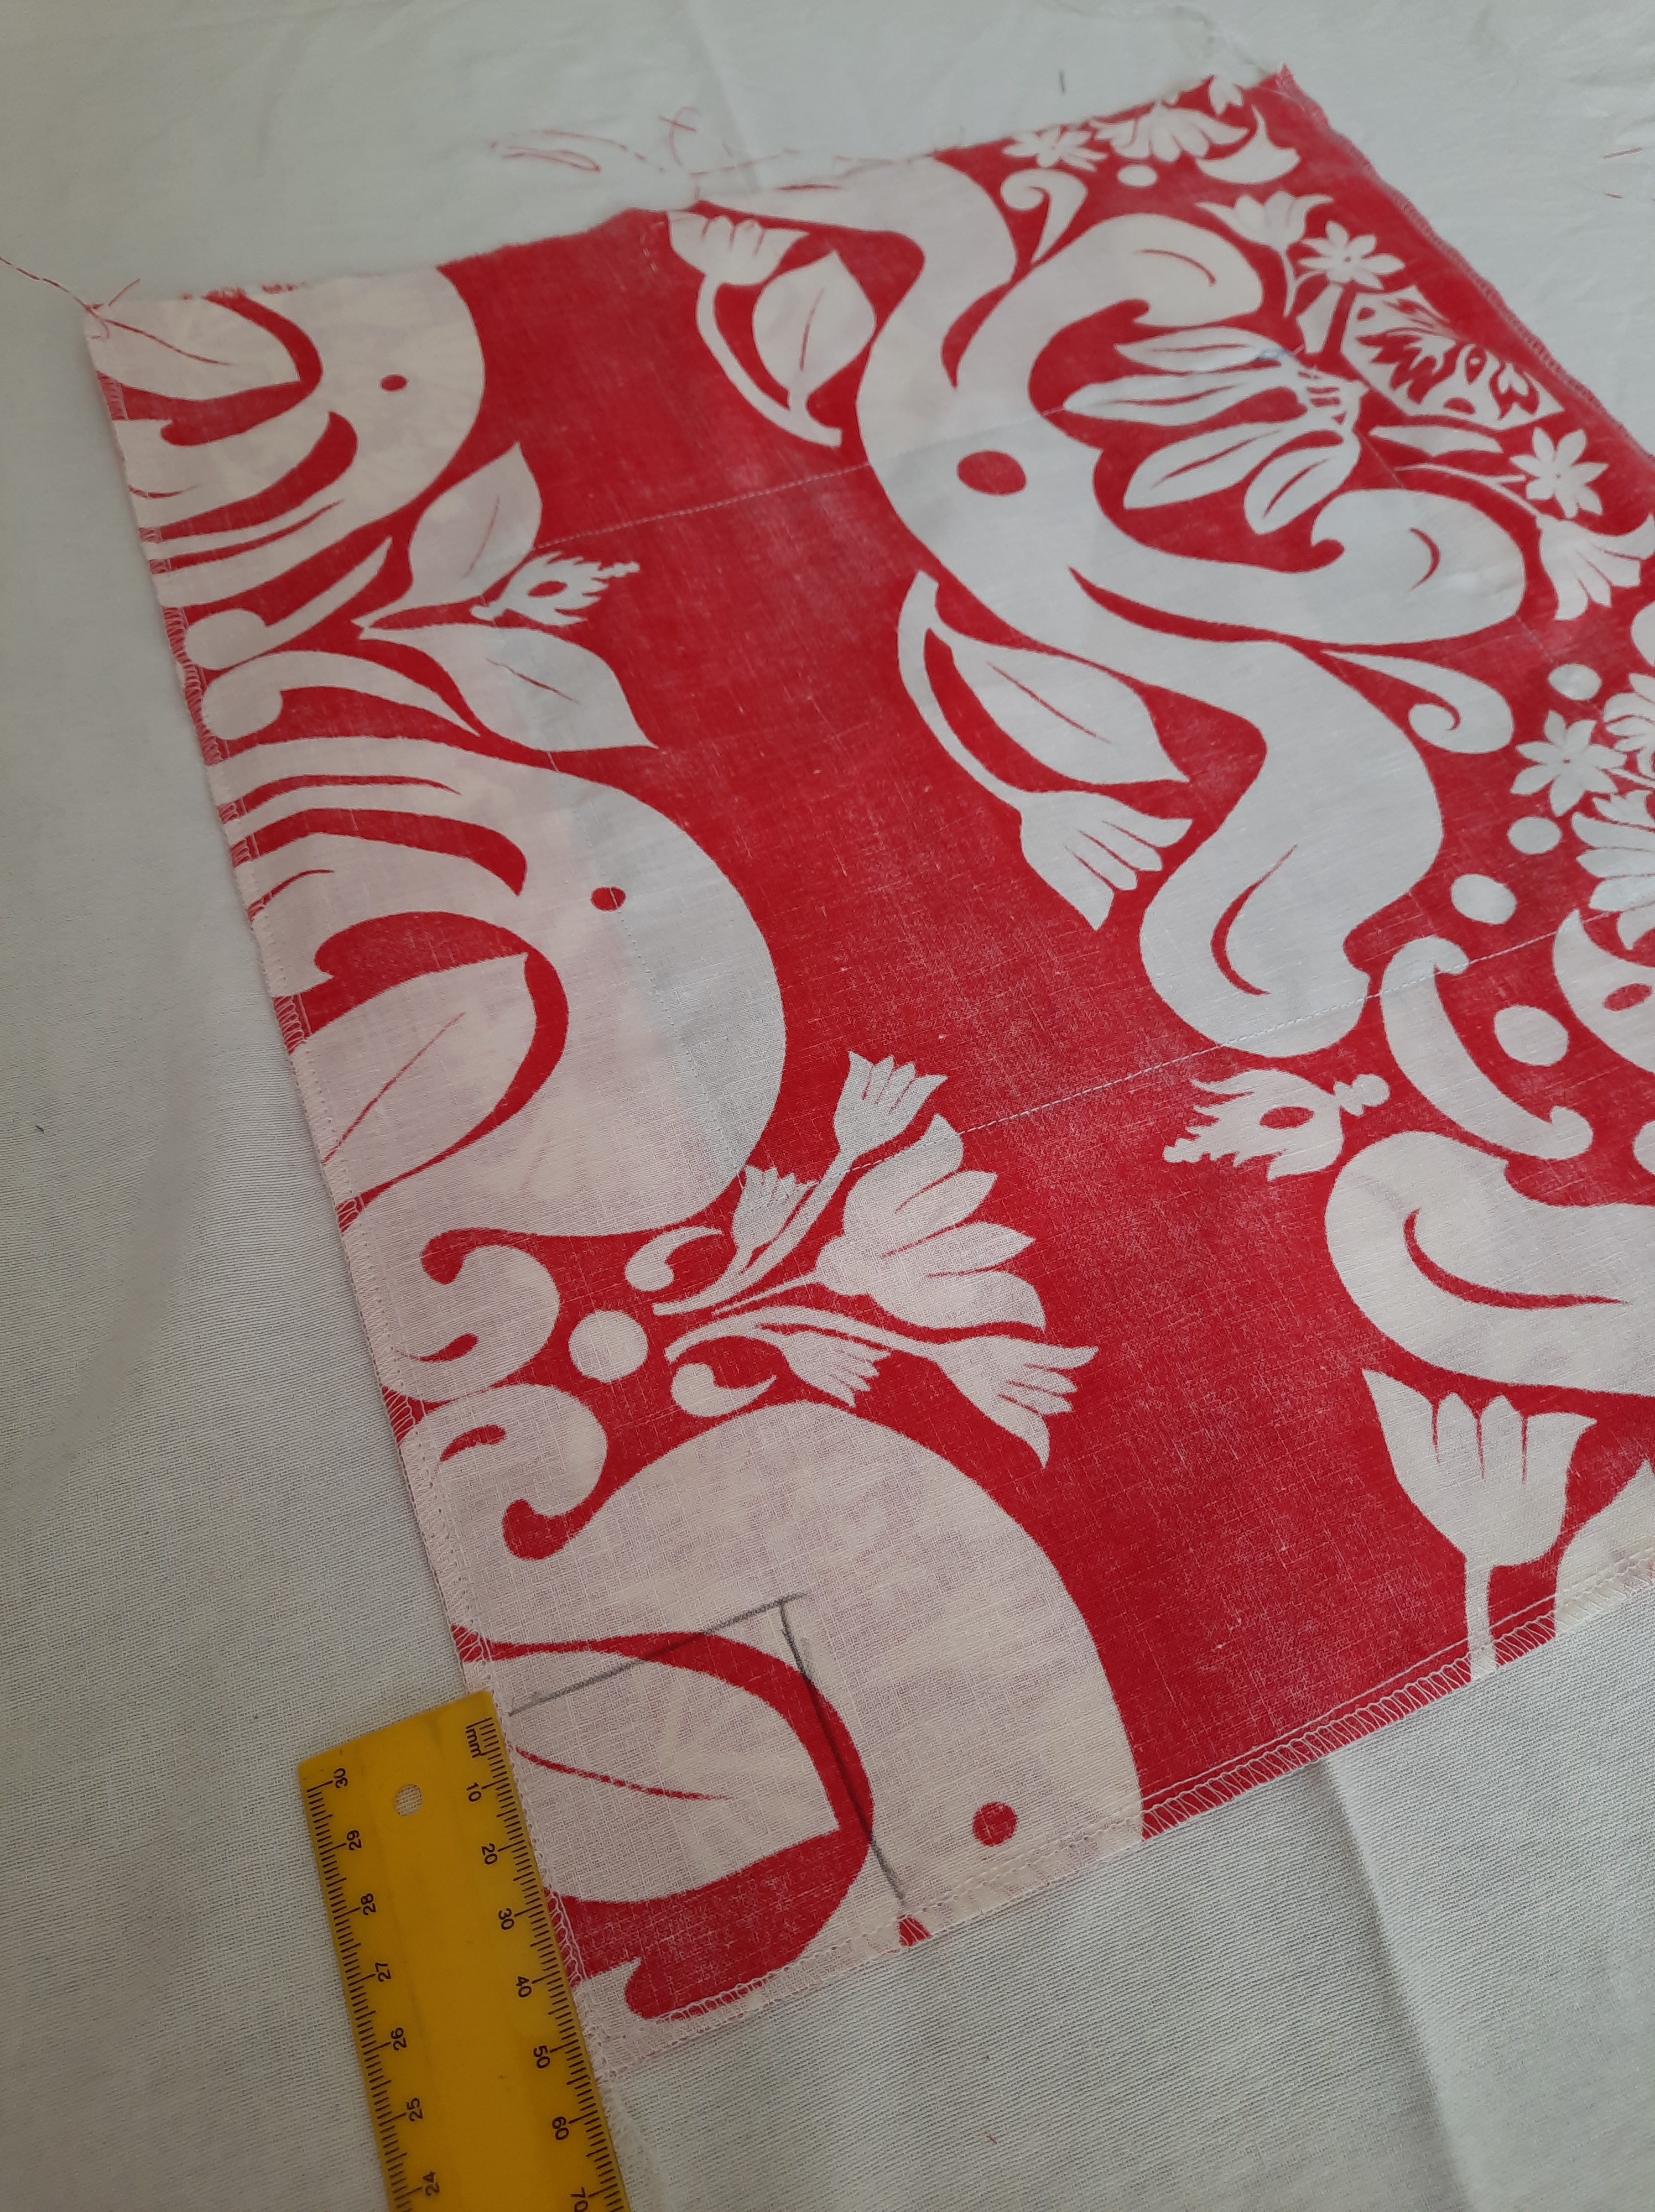
Prepare your patch
Adjust the heat of the iron to your fabric. Cotton can take a high heat and your iron probably has a cotton setting. Polyester needs a lower heat. Try “wool” or “polyester” or “delicates”, whatever your iron has marked on it. If the iron is too cool (remember it takes time to warm up, like a jug coming to the boil), then you will not get a crisp fold that stays in position. If it is too hot, you will find the polyester sticks to the iron. This is the plastic of the fabric melting onto the iron, so stop right away and turn the heat down, giving it time to cool.
Fold all of the edges of your patch to the wrong side and iron these hems into a neat shape. You can put a pencil line where you want to fold, and turn it under so it won’t show when you are finished. Line up the top edge of the lettering with the top and bottom folds.

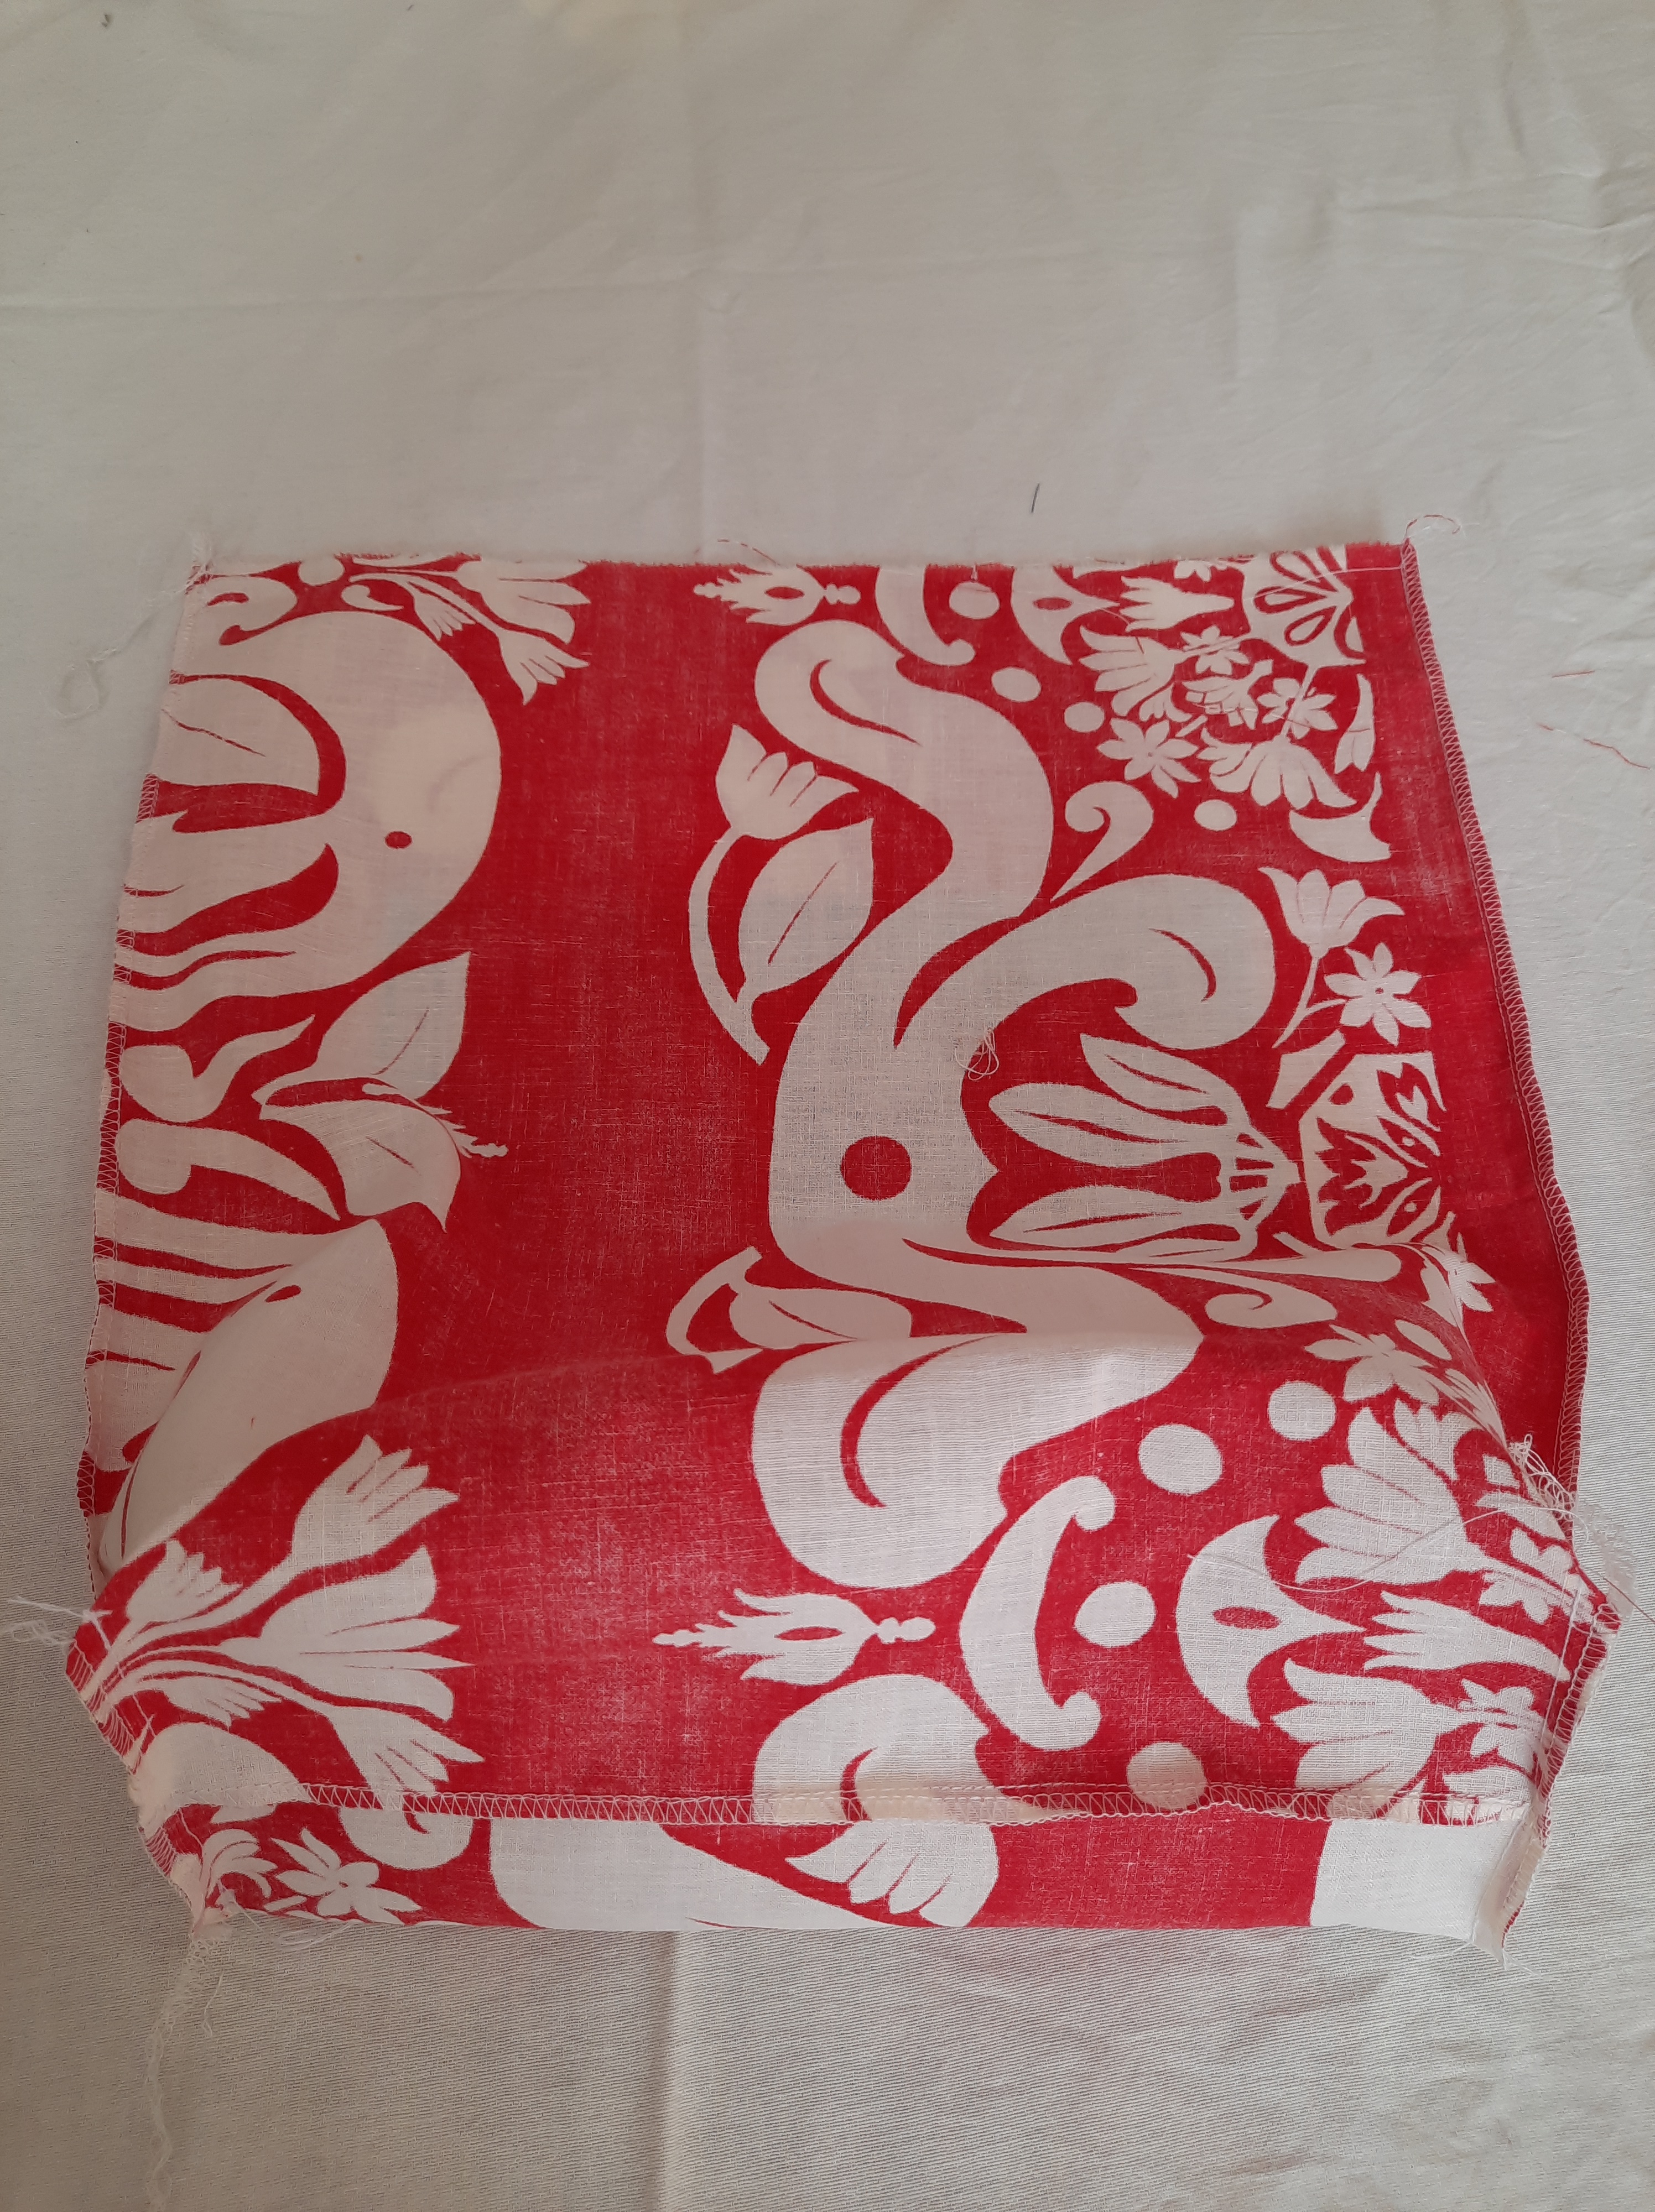
Sew the patch to one side of the bag
Check the print on the bag to make sure it is the right side up, if it has a one way design!
Centre the patch on one side of the bag. It doesn’t have to be exact.
Pin the patch in place.

Match your thread to the patch.
Start in one corner of the patch, close to the edge of the patch. Look for a marking on the foot (it might be the edge of the foot) that you can line up the edge of the patch with, as you sew. This will help keep your stitching straight.

Sew forward a few stitches, then reverse and stitch back over those stitches, back to the corner. Sew forward again to the next corner. Stop just before the edge. Lower the needle into the fabric, all the way down. Lift the foot, turn the fabric, put the foot down again ready to sew the next edge. Repeat on the next two sides, until you come back to the corner where you started.
Back stitch a few stitches to finish your seam. Trim your threads neatly. You’re done!

Sew the bag together
Stack the sides of the bag on top of each other, with the right sides facing each other on the inside. Check both sides are right way up and the patch is right side up.
Match your thread to the bag.
Start at a top corner, with the needle 1 cm from the edge. You might find there is a 1 cm line on the throat plate of your machine you can line up the edge of your fabric with.

Remember to stitch back over your first few stitches, and to drop the needle when you are 1 cm from the next corner, lift the foot, turn the fabric, drop the foot and set off across the bottom of the bag. Repeat at the next corner, Sew up the third side. Back stitch and trim your threads to finish.
Finish your seam
Choose zig zag stitch on your machine.
Sewing outside the line of your seam, stitch along those same 3 sides. This will prevent the woven raw edge from fraying, so your seam will stay intact after lots of washing and wear.

Turn the top edge of your bag
Draw a line 2 cm away from the top edge of your bag. Turn the edge to the inside of the bag and iron along that line. Now turn again at the raw edge, so the raw edge is completely hidden inside. Iron.


Sew down the turned edge all the way round. Don’t forget your back stitches.
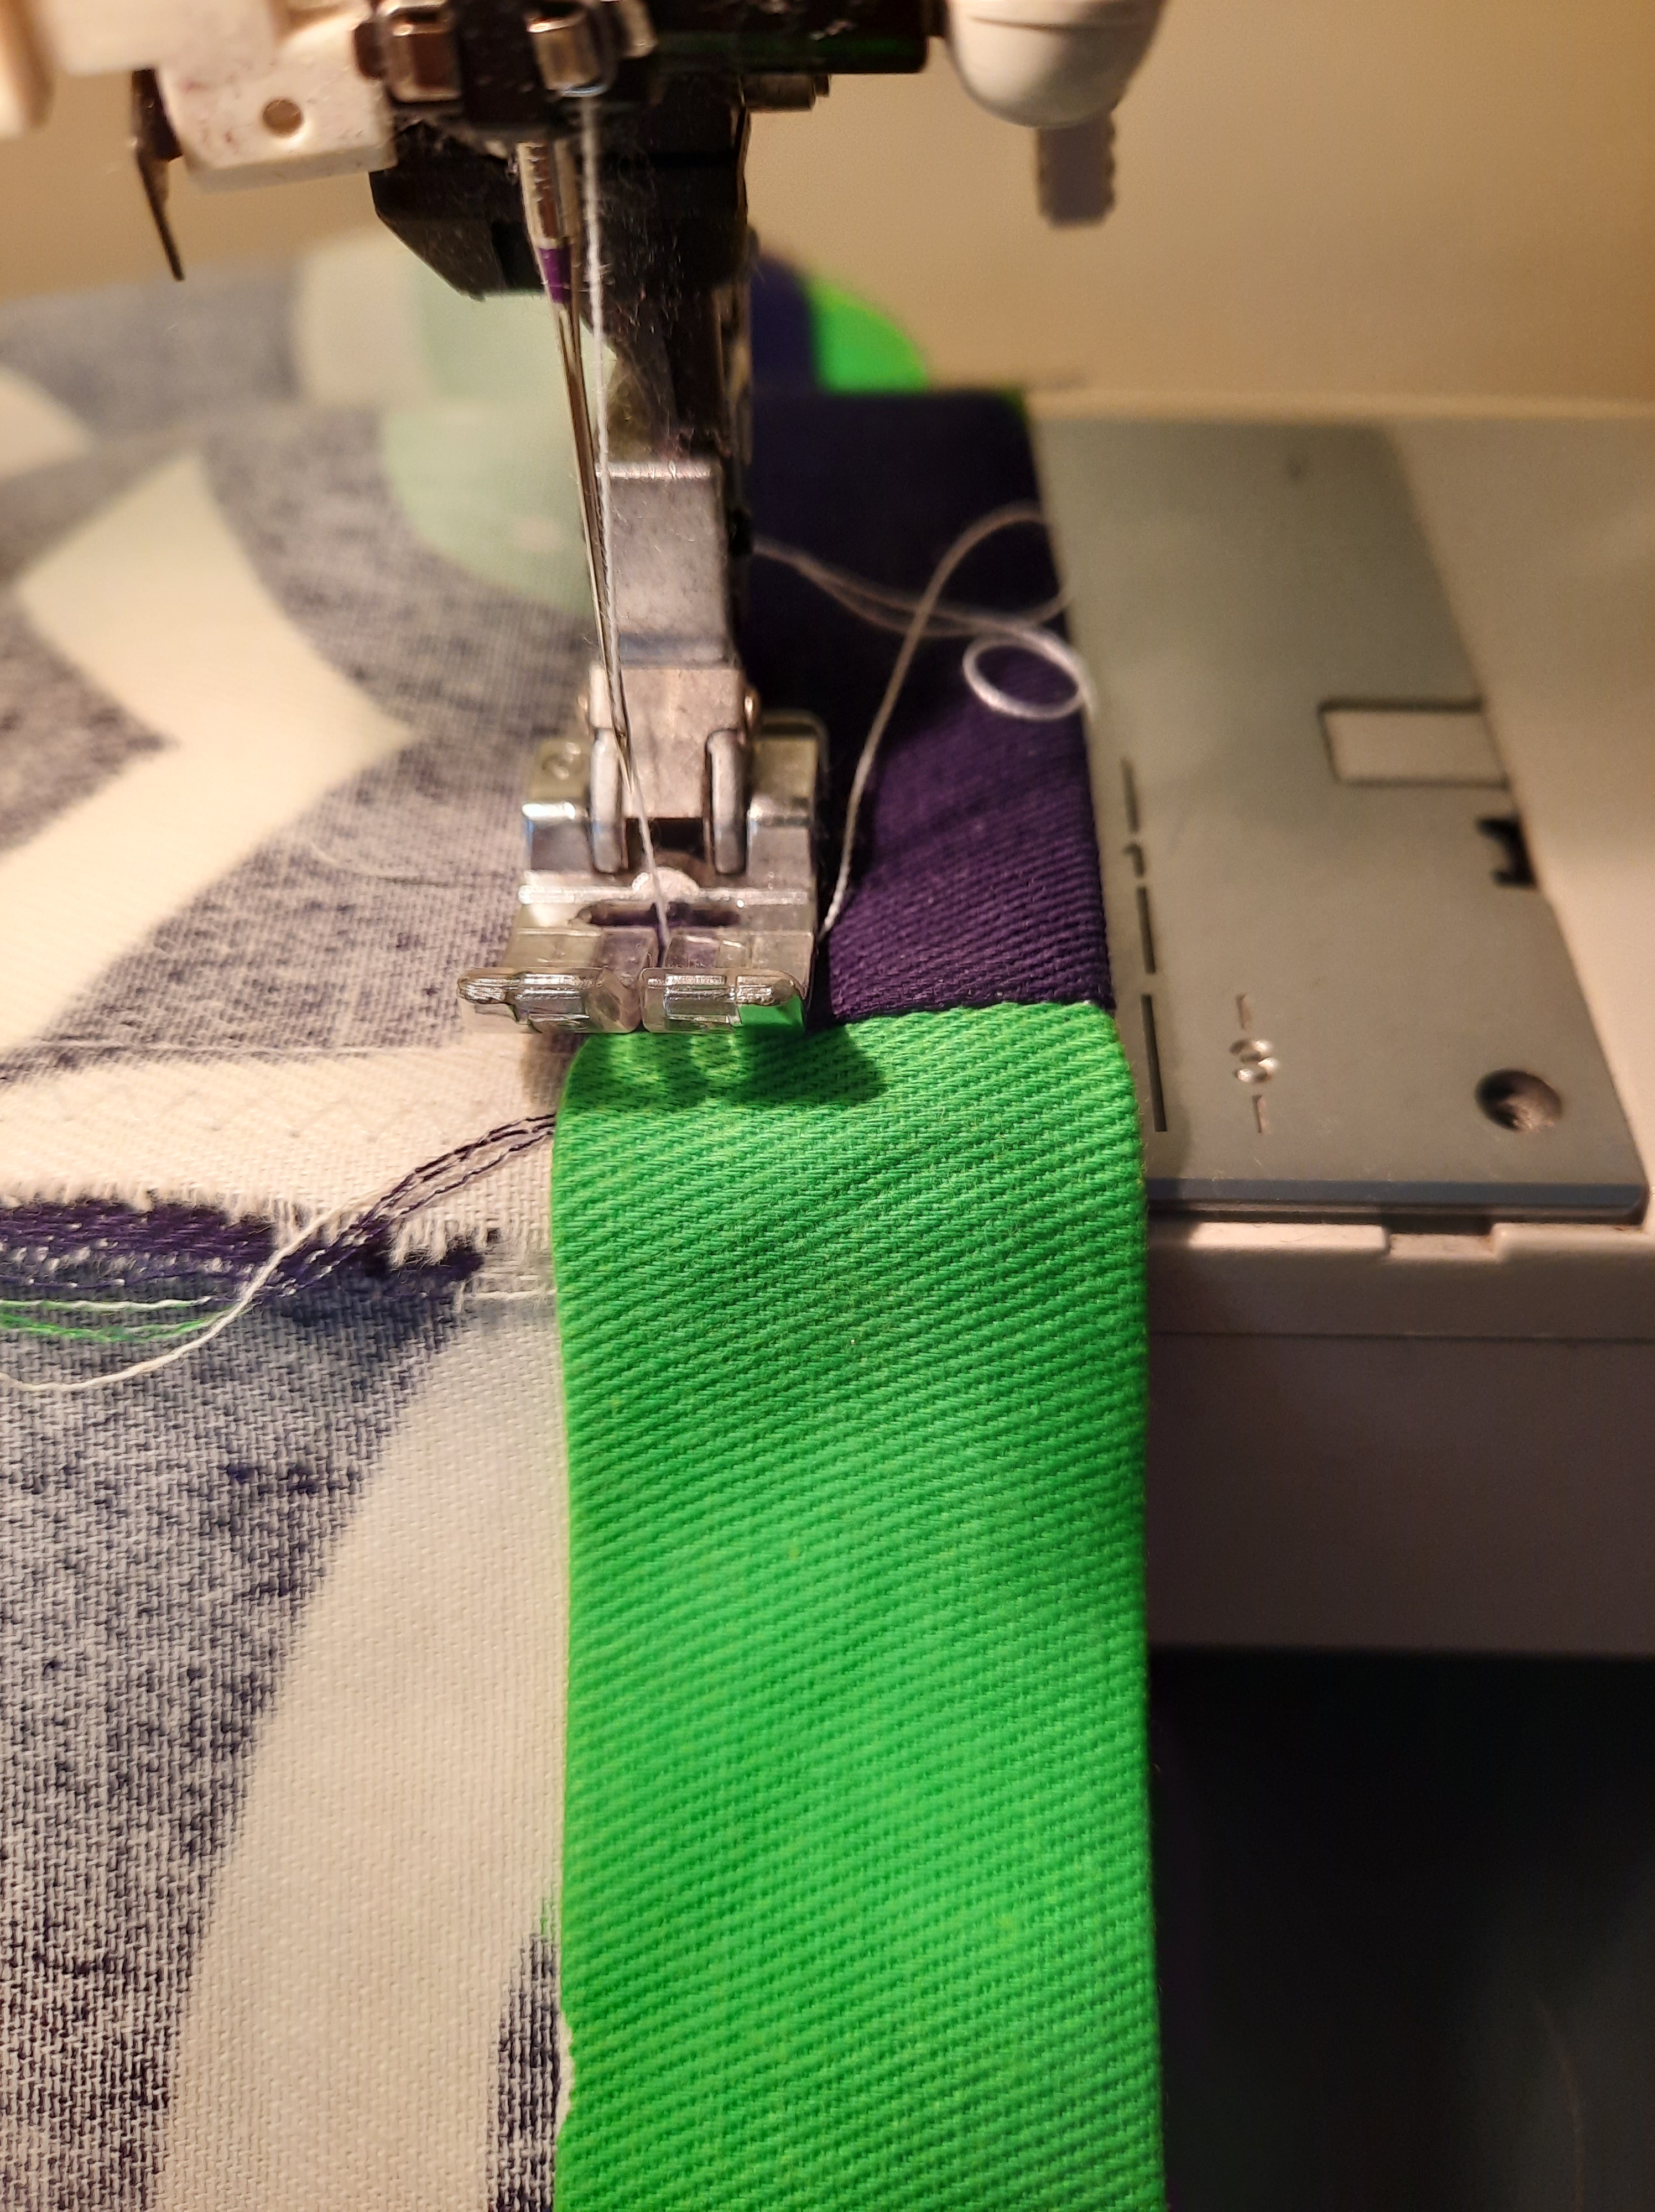
Make your handles
Fold each handle in half, long ways, with the wrong sides together. Open it out again.

Now fold each edge in to that centre crease and iron.
Fold along the centre crease again so all the raw edges are hidden inside.
Sew the edges of each handle together. Remember your back stitches and trim your threads off.
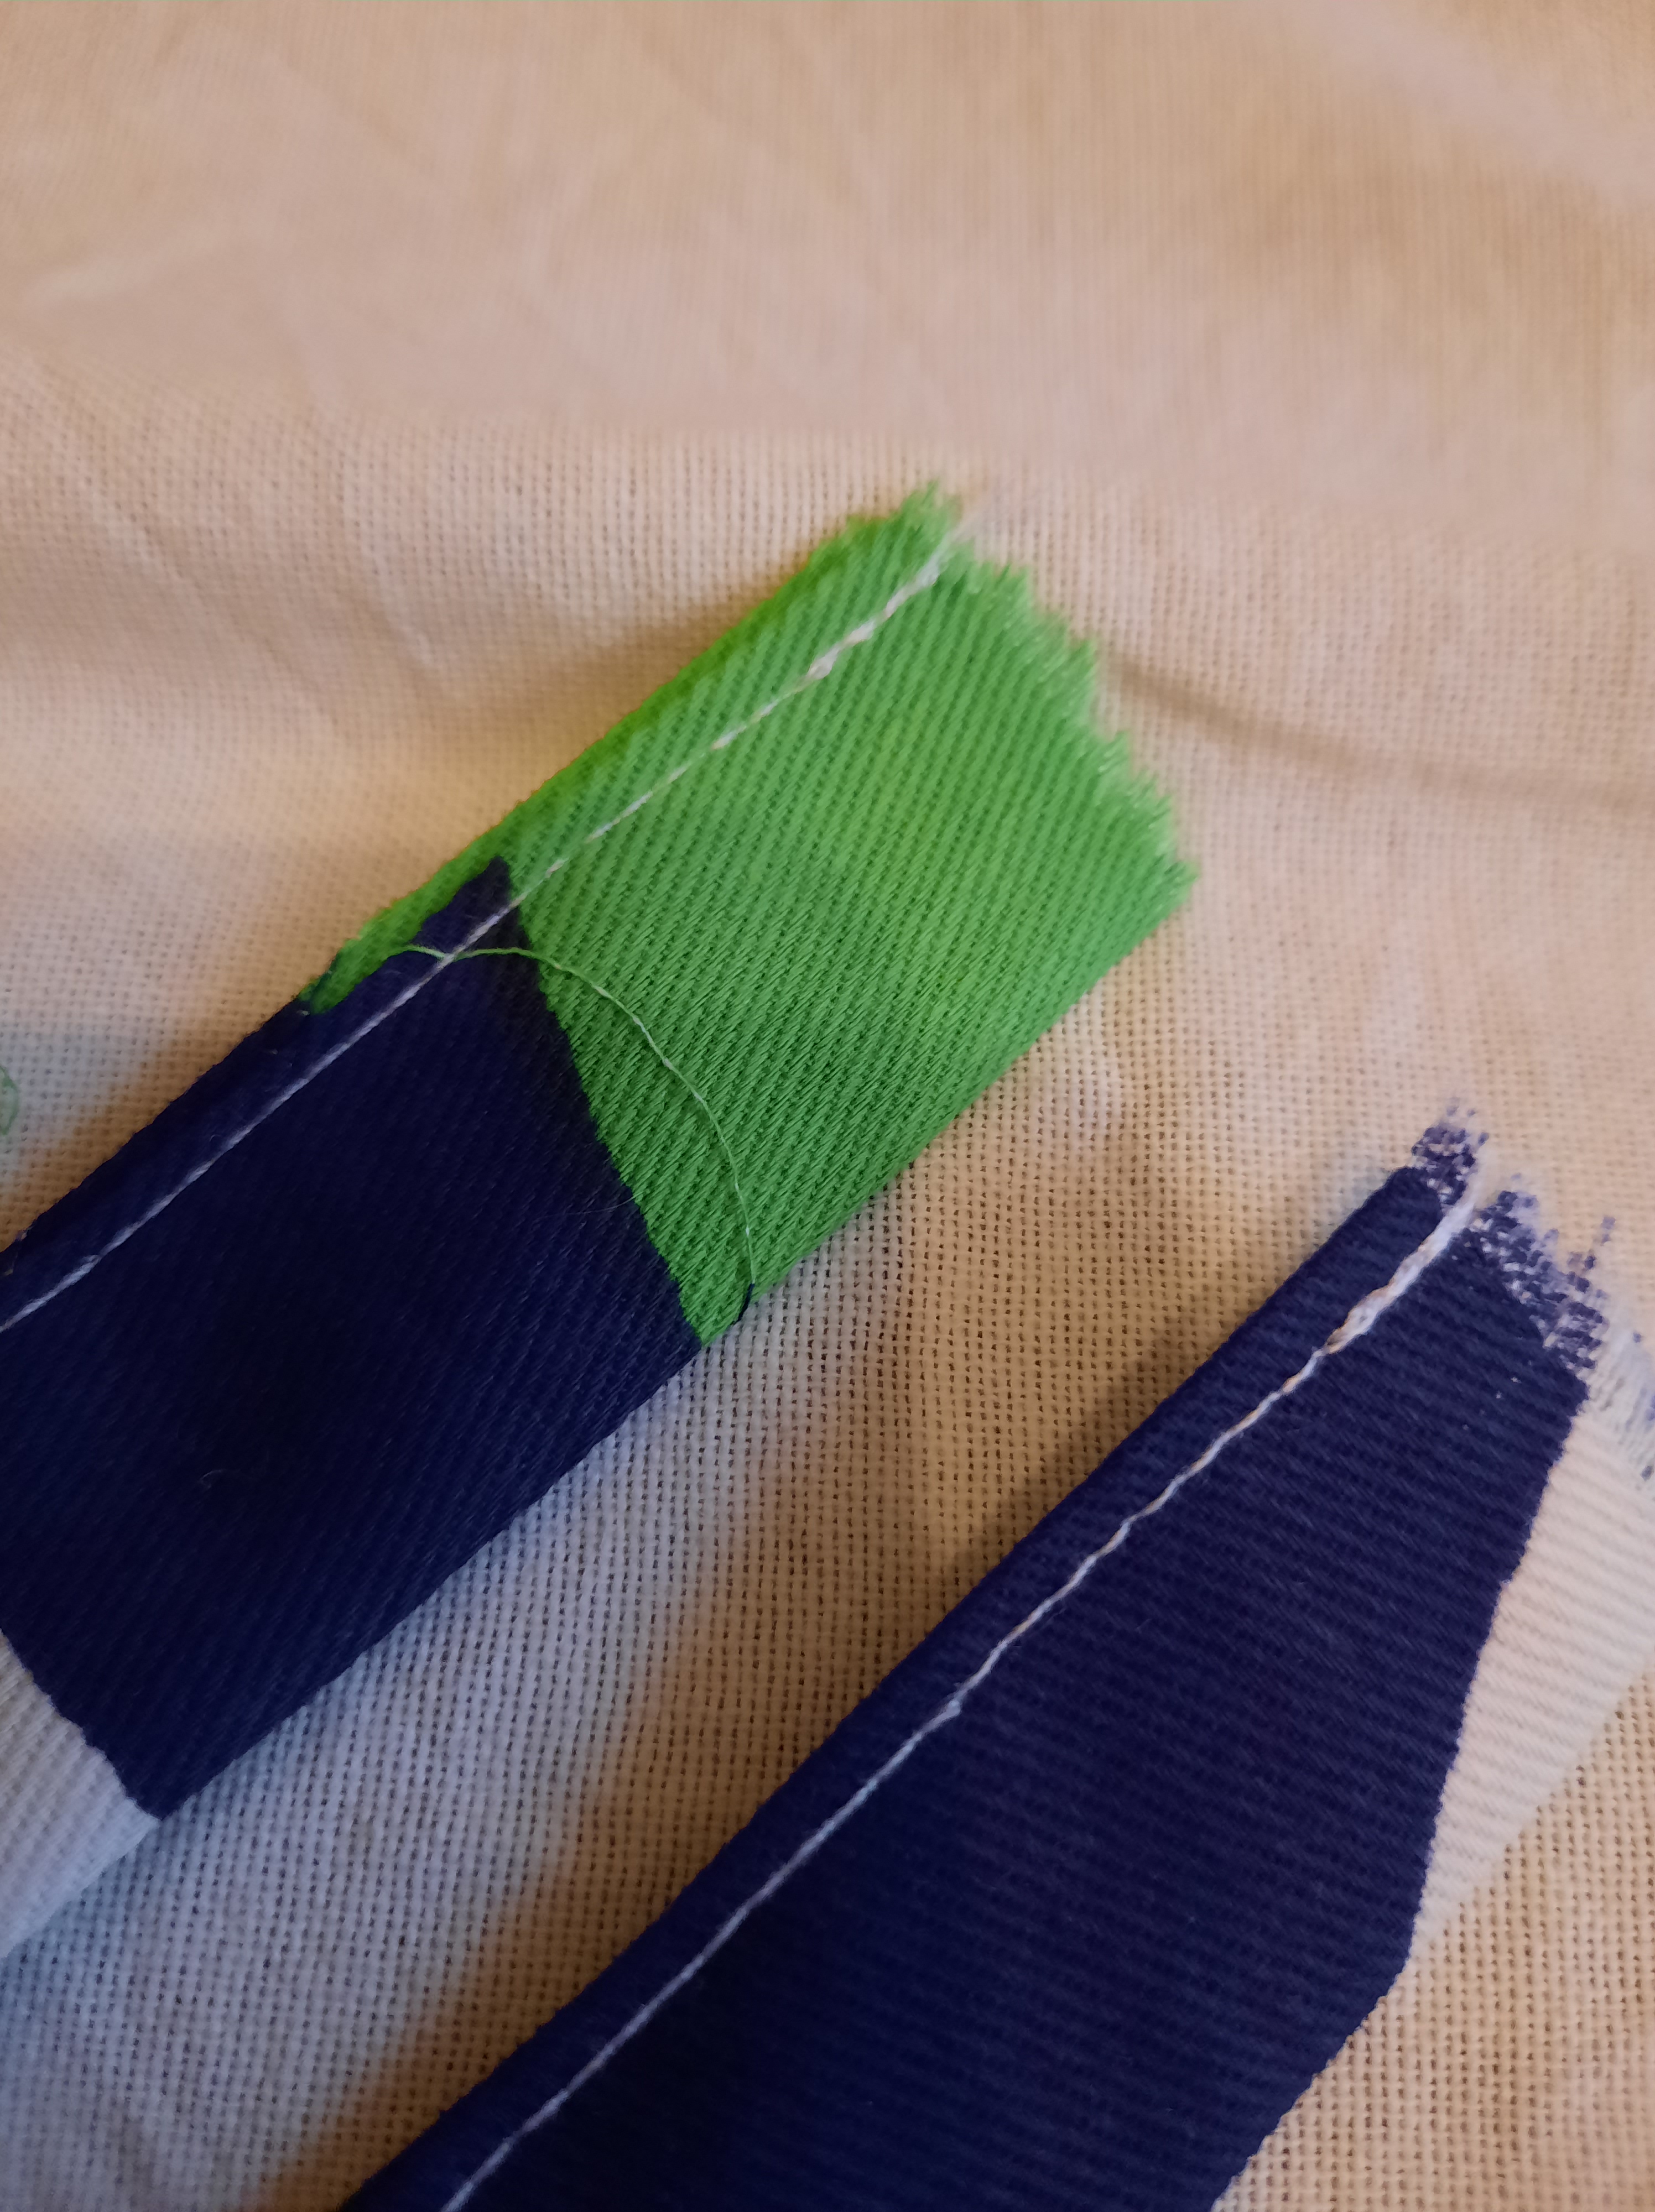
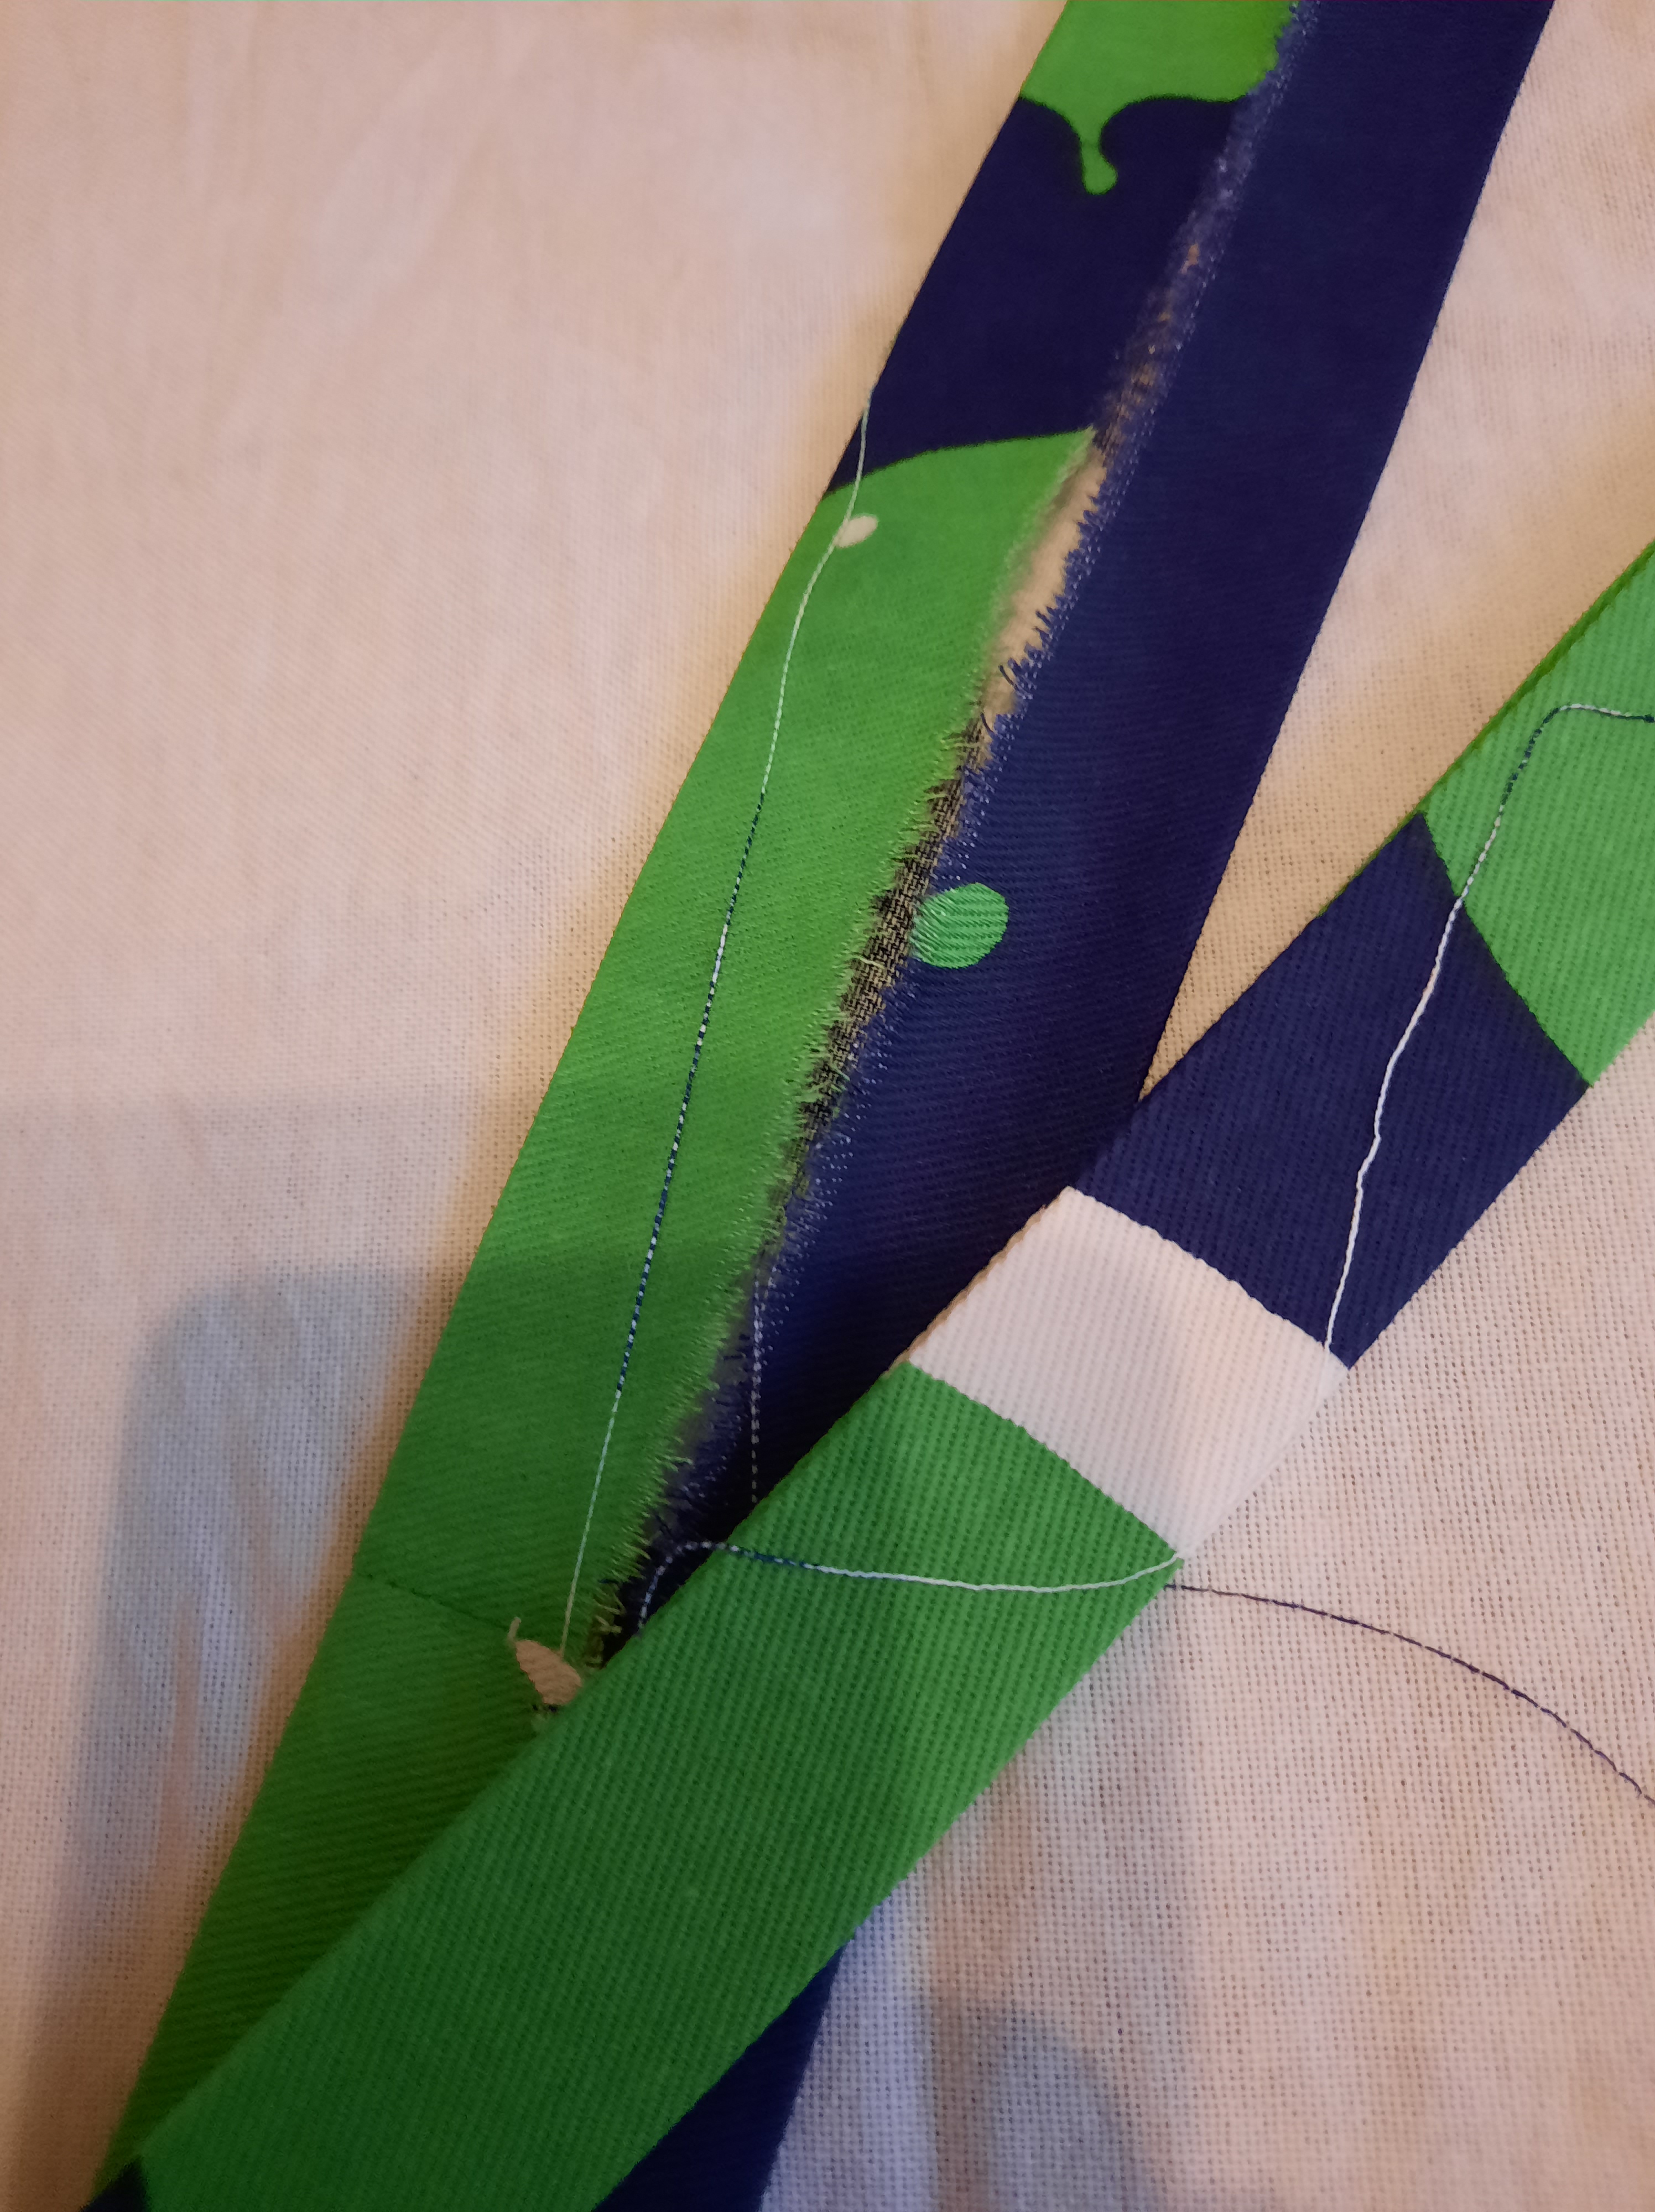
Fold the ends of each handle up by 2 cm and iron it flat.

Sew on your handles
Measure 10 cm from the edge of your bag, and pin your handle 2cm inside the bag, with the handle just inside that 10 cm line. Make sure the folded edge of the handle is tucked in between the handle and the bag so it will be enclosed inside the seam when you sew the handle on.
Pin in place.

Sew a square around the part where the handle overlaps with the bag, to firmly attach your handle to your bag. You will be able to sew along your hem line as one side of the square. Remember to back stitch at the beginning and the end, and to pivot at each corner with the needle in the down position.
Now sew two short lines to create a cross inside your square. This is the part of the bag that will take most strain so we are reinforcing it.
Repeat for all 4 points where the handles attach to the bag.
If you start having trouble sewing at this step, it probably means that the foot of your machine is at too steep an angle to sew effectively, especially at the start of each square. Fold some scrap fabric (or paper or cardboard) to the same thickness as the part you are trying to sew (a “shim”). Lower the needle into the part you need to sew, and then slide your folded fabric in behind the needle, under the foot. The goal here is to level of the foot while you start stitching. Once you start to sew the folded fabric will just fall away: but usually by then you have made a clean start and all is well.

Expansion pack: how to mitre the corners of your bag–TOTALLY OPTIONAL BUT FUN
Turn your bag inside out. Trace a 5cm square at each bottom corner. You can cut a 5 cm cardboard square and trace around it, if it is easier.


Now cut that square out. Open out the corner of the bag, and match up the seam along the base of the bag, and the seam up the side, so that they meet. Pin (or hold in place). Stitch that short seam. Finish the seam with zigzag stitch. Nifty, hey?


Fun and easy to do. Thank you!
LikeLiked by 1 person
Thanks!
LikeLike
hey! kylie gusset here – we did tin can bay with india flint together 🙂 I have some eco dyed pure wool blankets – happy to send them to you as a gift, as moving, too much stuff, think they’d be great for you if you’re up for it. gusseting @ gmail.com with your address + details for an early xmas present!
LikeLiked by 1 person