
This project was inspired by a wonderful little book: Sarah Corbett’s A Little Book of Craftivism–about the work of the craftivist collective. I loved their ideas about communicating through craft. You can read more about the craftivist collective and see their take on using bunting for good at the Craftvist Collective blog–it’s inspiring! There is a blog post about how I used the bunting pictured in this tutorial here.

First, cut your flags. I decided on triangles, but there is some lovely bunting on a stall at our local farmers’ market that has rectangular flags. Mine are 23 cm (9 in) across the top. I began by drawing the top line, just like the top bar of a capital T. Then, I drew a line at right angles to the first line coming from the midpoint down to the tip of the trangle (just like the stem of the T) 31 cm (12 1/4) in) long. Finally, I drew the long sides of the triangle by joining the ends of the top bar my T to the bottom of the stem of the T, which will be my triangle tip.
I made a template triangle from a cereal box. Then, I cut a second cardboard template (from the other side of my cereal box!) and traced a window in it where I thought my lettering might fit, leaving space for seam allowance up the sides of the triangle. That window is 8.5 cm across x 11.5 cm tall (3 1/2 x 4 3/4 in).

I began with an old sheet, cut it into strips that were 31 cm (12 1/4) in) deep, just like the triangles I wanted to have. I folded those strips into a rectangle 23 cm (9 in) wide, so I could set my cardboard template just the way it would hang from the finished bunting on top of the rectangle of fabric and cut lots of triangles in one step with almost no wastage.
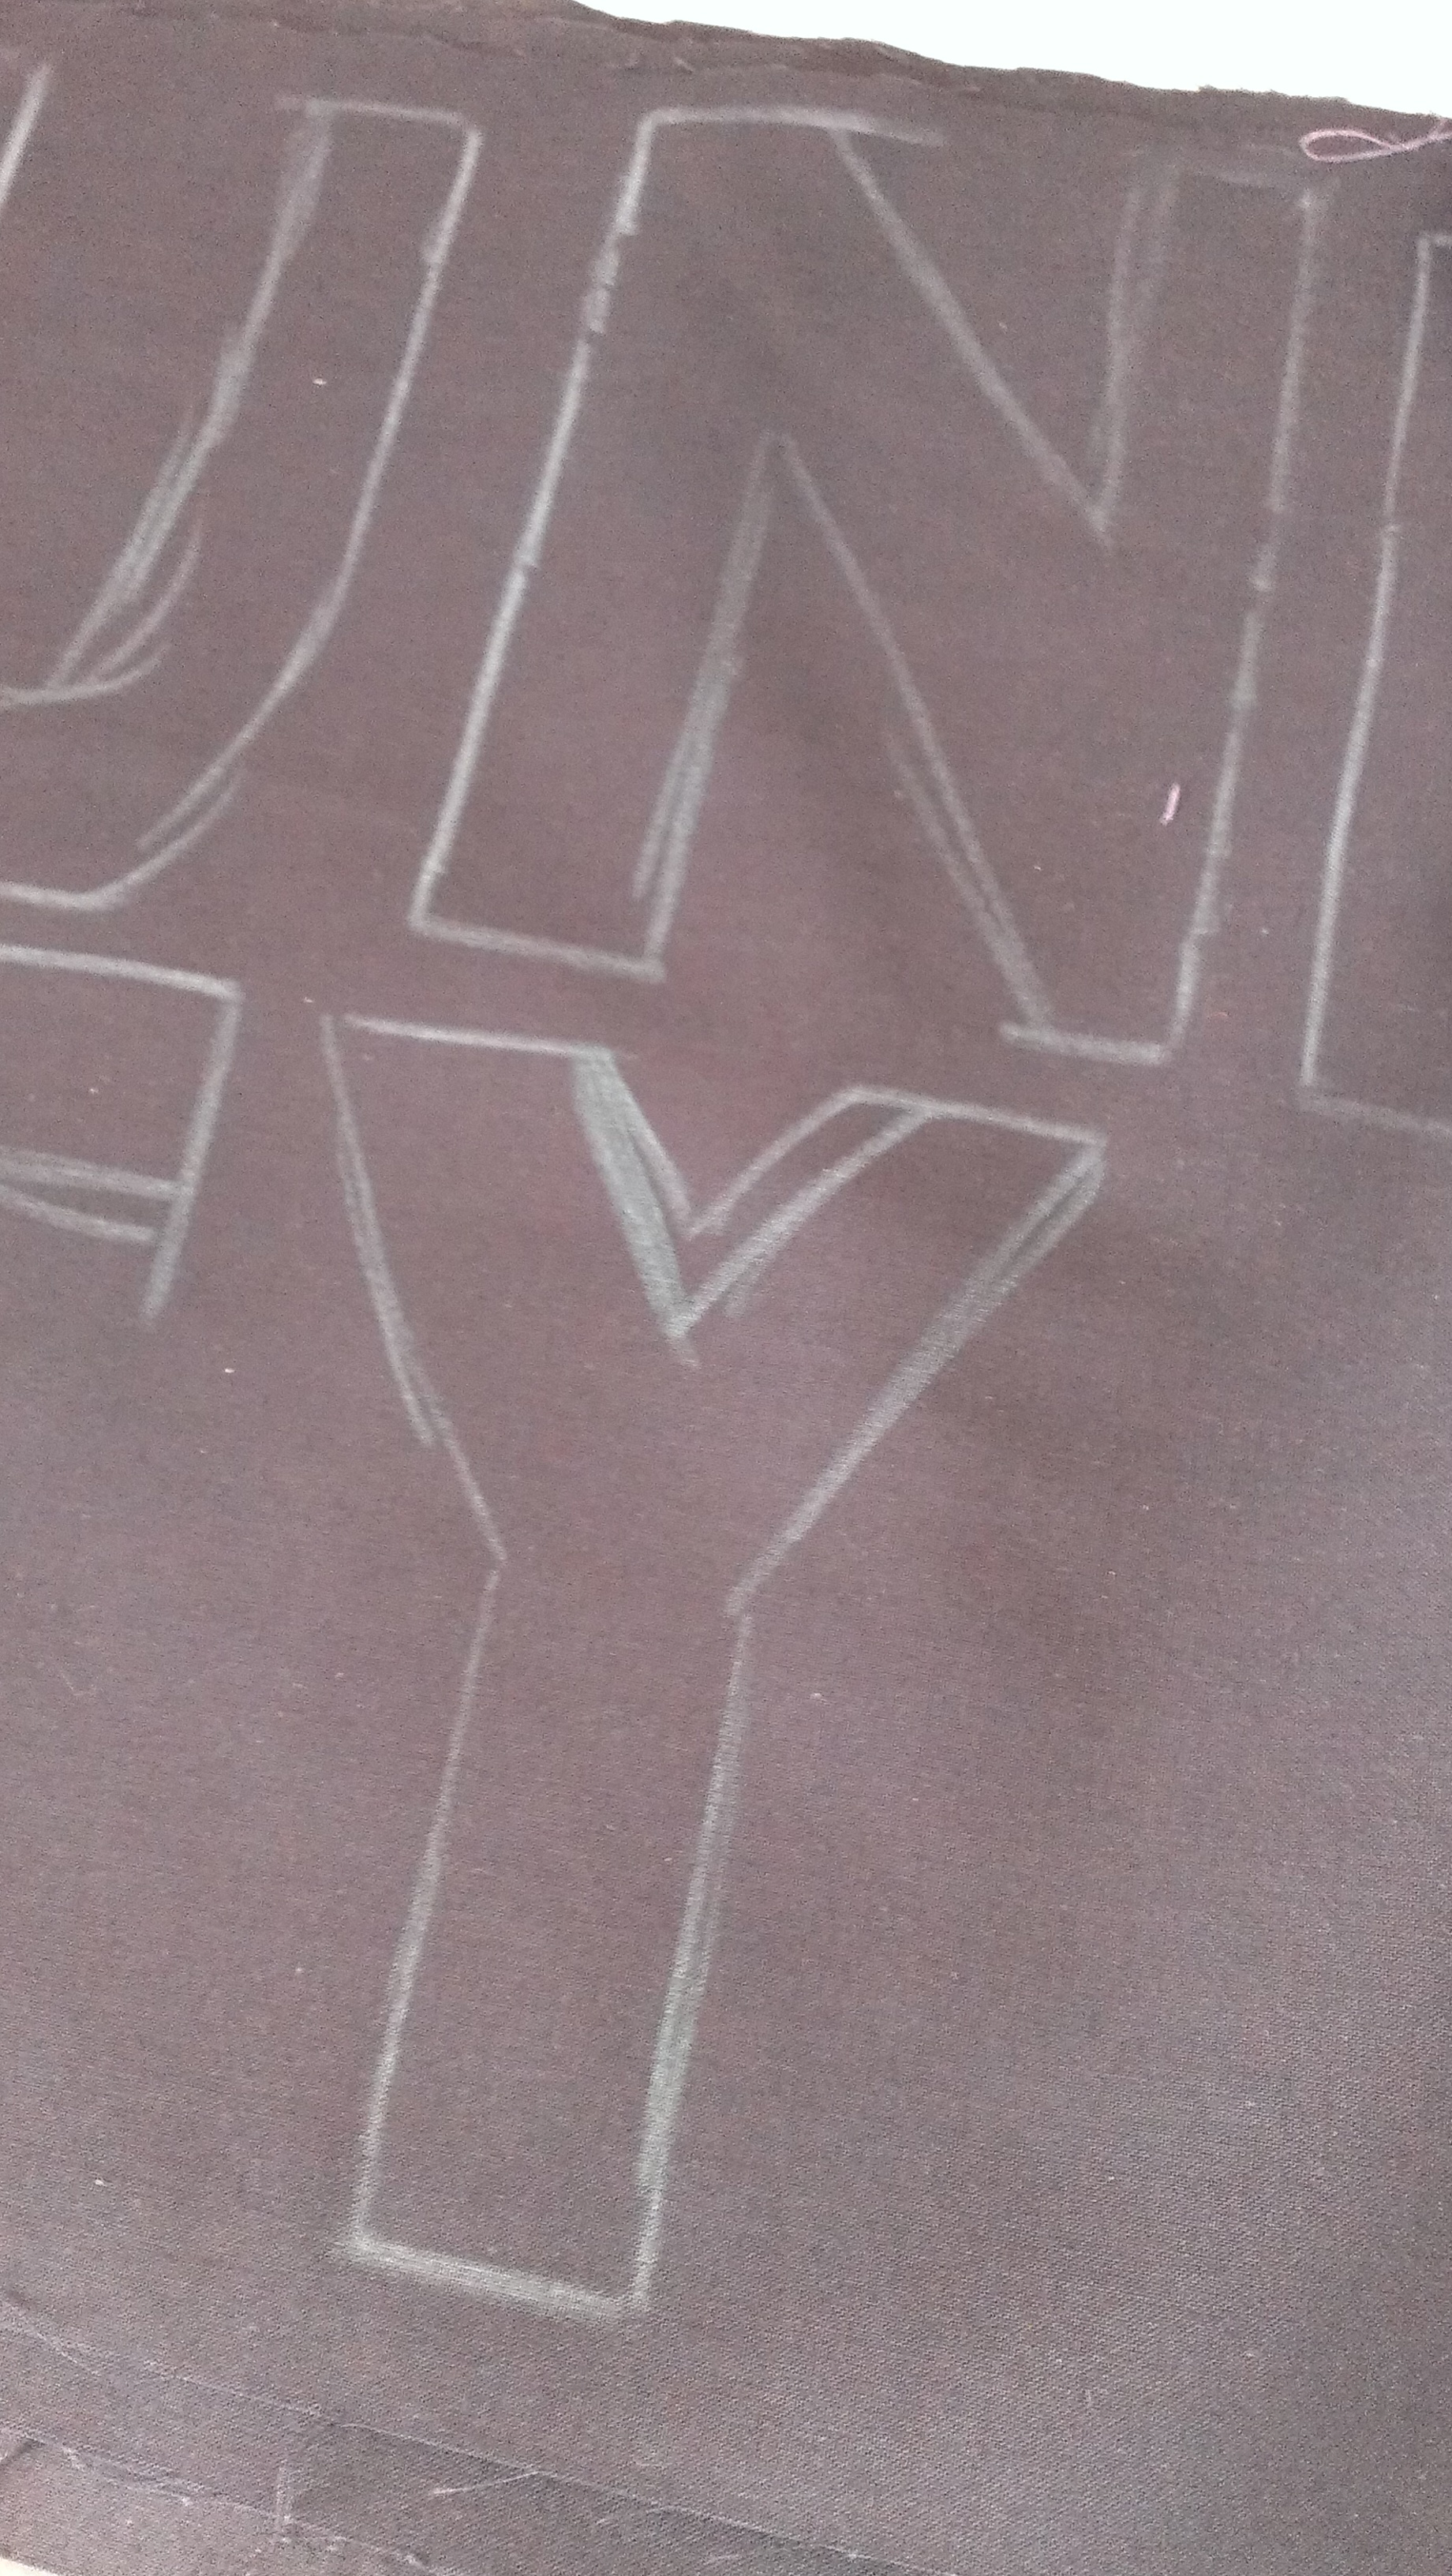
Then, I pulled out some contrasting fabric for the lettering. I set the window template on it and drew each letter of my message in tailor’s chalk inside the window. Then I cut each letter out with scissors.
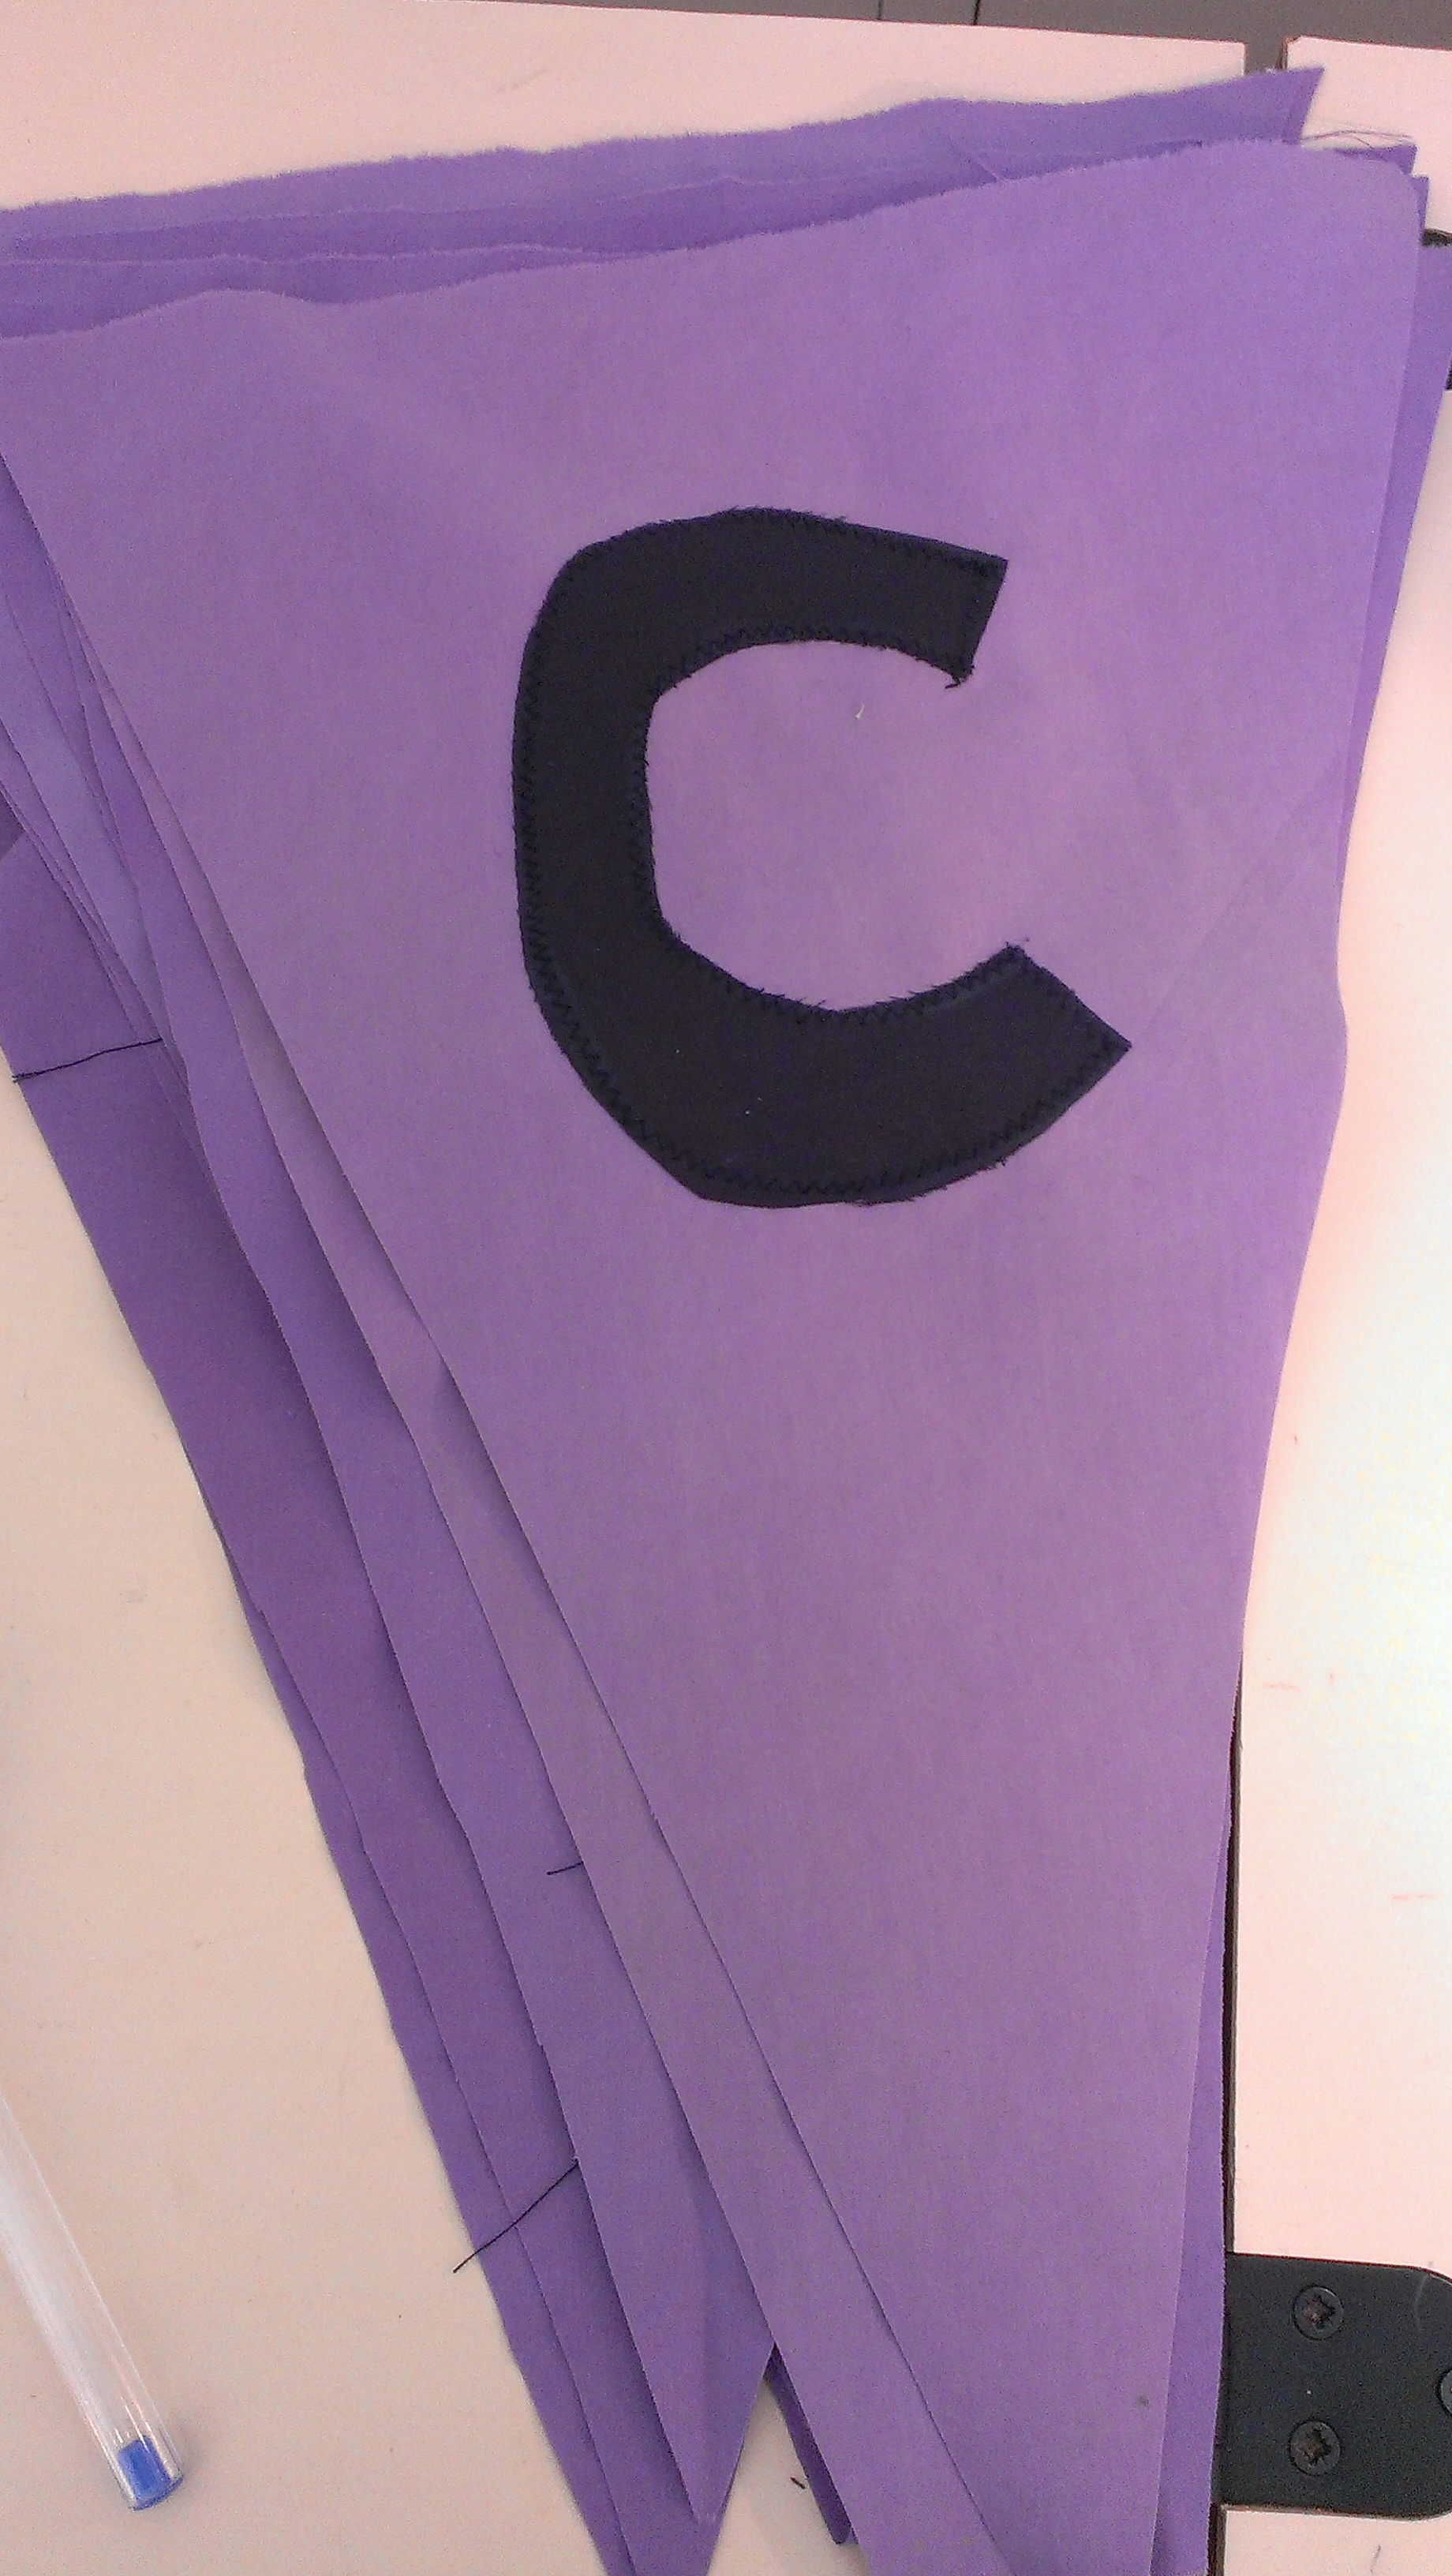
To create the first side of each flag, I set the window template on it and placed the letter inside to get the placement consistent.

Then I pinned the letter in place.

Next, I stitched the letter on using a short, narrow zigzag stitch.
Next step: line up a second, blank, triangle against the one with the letter on it, with the letter sandwiched between the two triangles, (right sides together), and stitch the two long sides of the triangle together.

Trim the tip of the triangle off close to the stitching, and trim the edges near the tip–to make it easier to get a point when you turn your flag right-way-out. Like this (before and after):

Turn your flag right-way-out and push the point out with a little gentle help from a point turner, knitting needle or loop turner (improvise!). Iron each flag smooth and flat.
You can join your flags together with any strip of fabric or even stitch them to thick yarn. I used bias binding. I folded my bias binding in half and stitched the raw (unstitched, unfinished) top edge of each flag inside so that the raw edges were completely enclosed by the bias binding.

Make sure the ends are long enough to tie on, or be prepared to add string/rope/ thread.
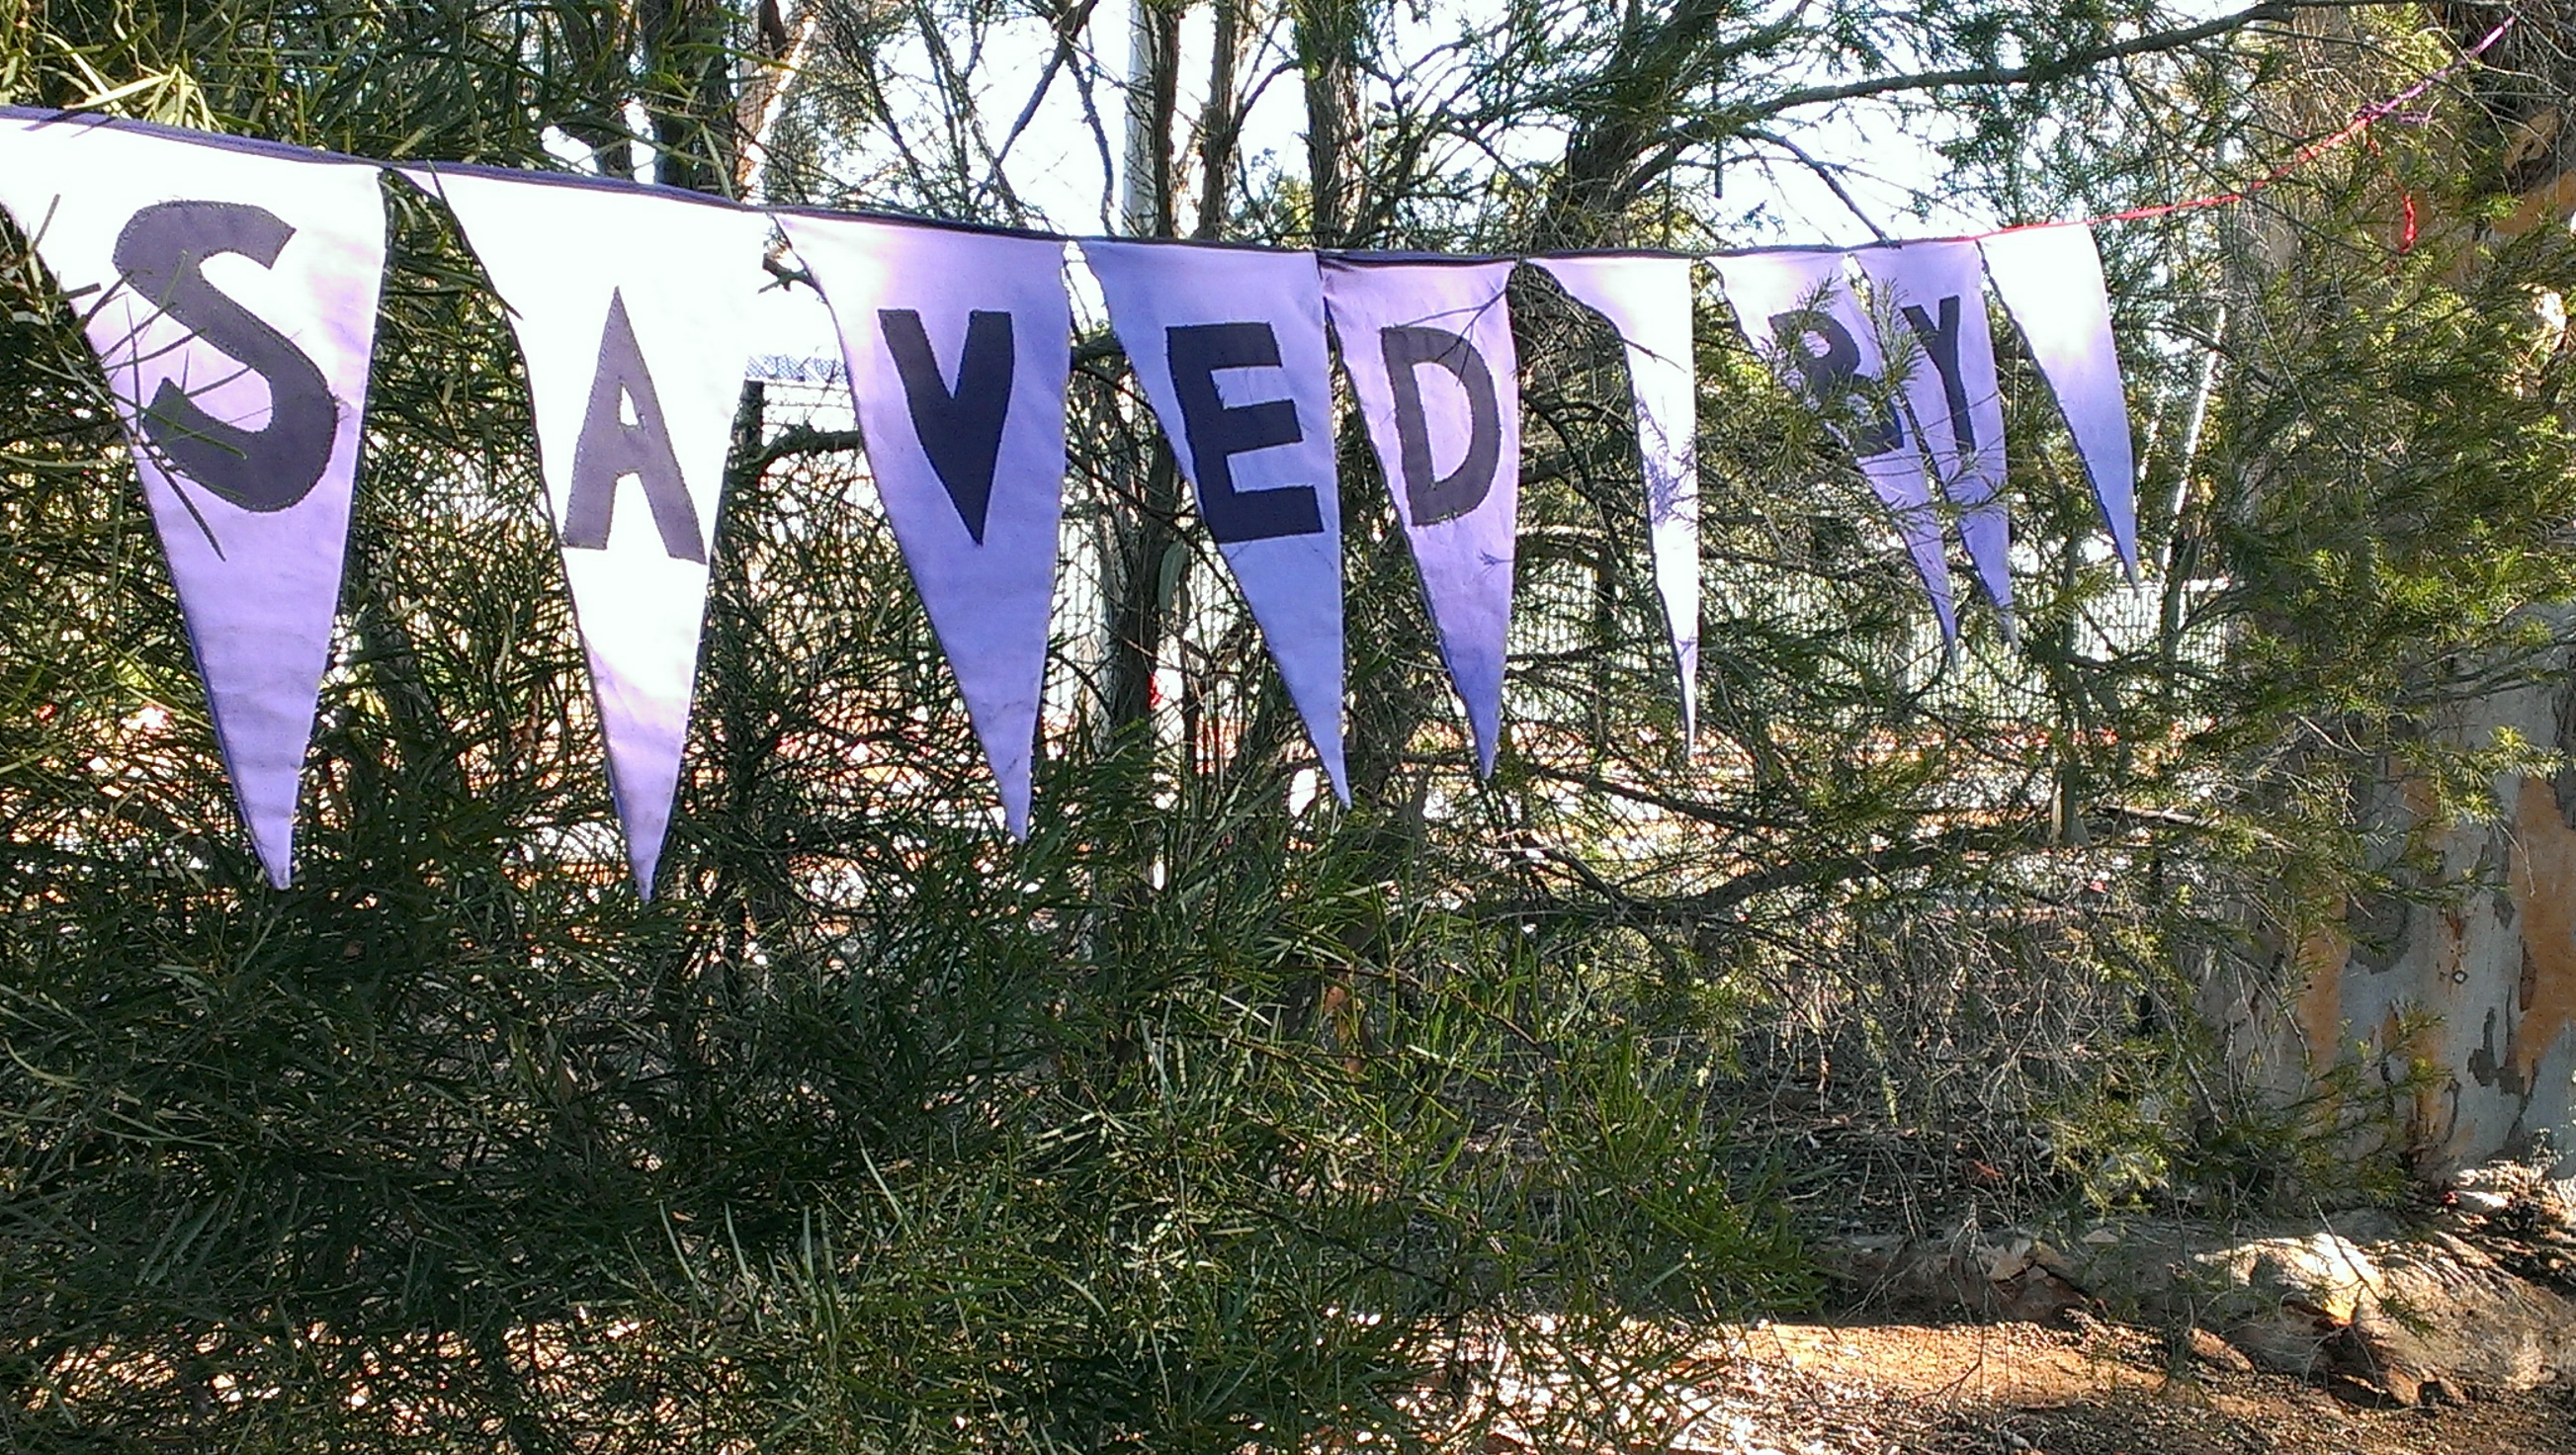
Invite friends and make an event of putting your bunting on display…

Pingback: A Community Celebration | Local & Bespoke
Thank you brilliant explination helped me greatly.
LikeLiked by 1 person
You’re so welcome! I hope you enjoy your bunting.
LikeLike