
Why buy an ironing board cover when you can make one of your own–from fabric you like–in very little time? I knew it was time when the tip of the iron went right through this (faded and sad) one.
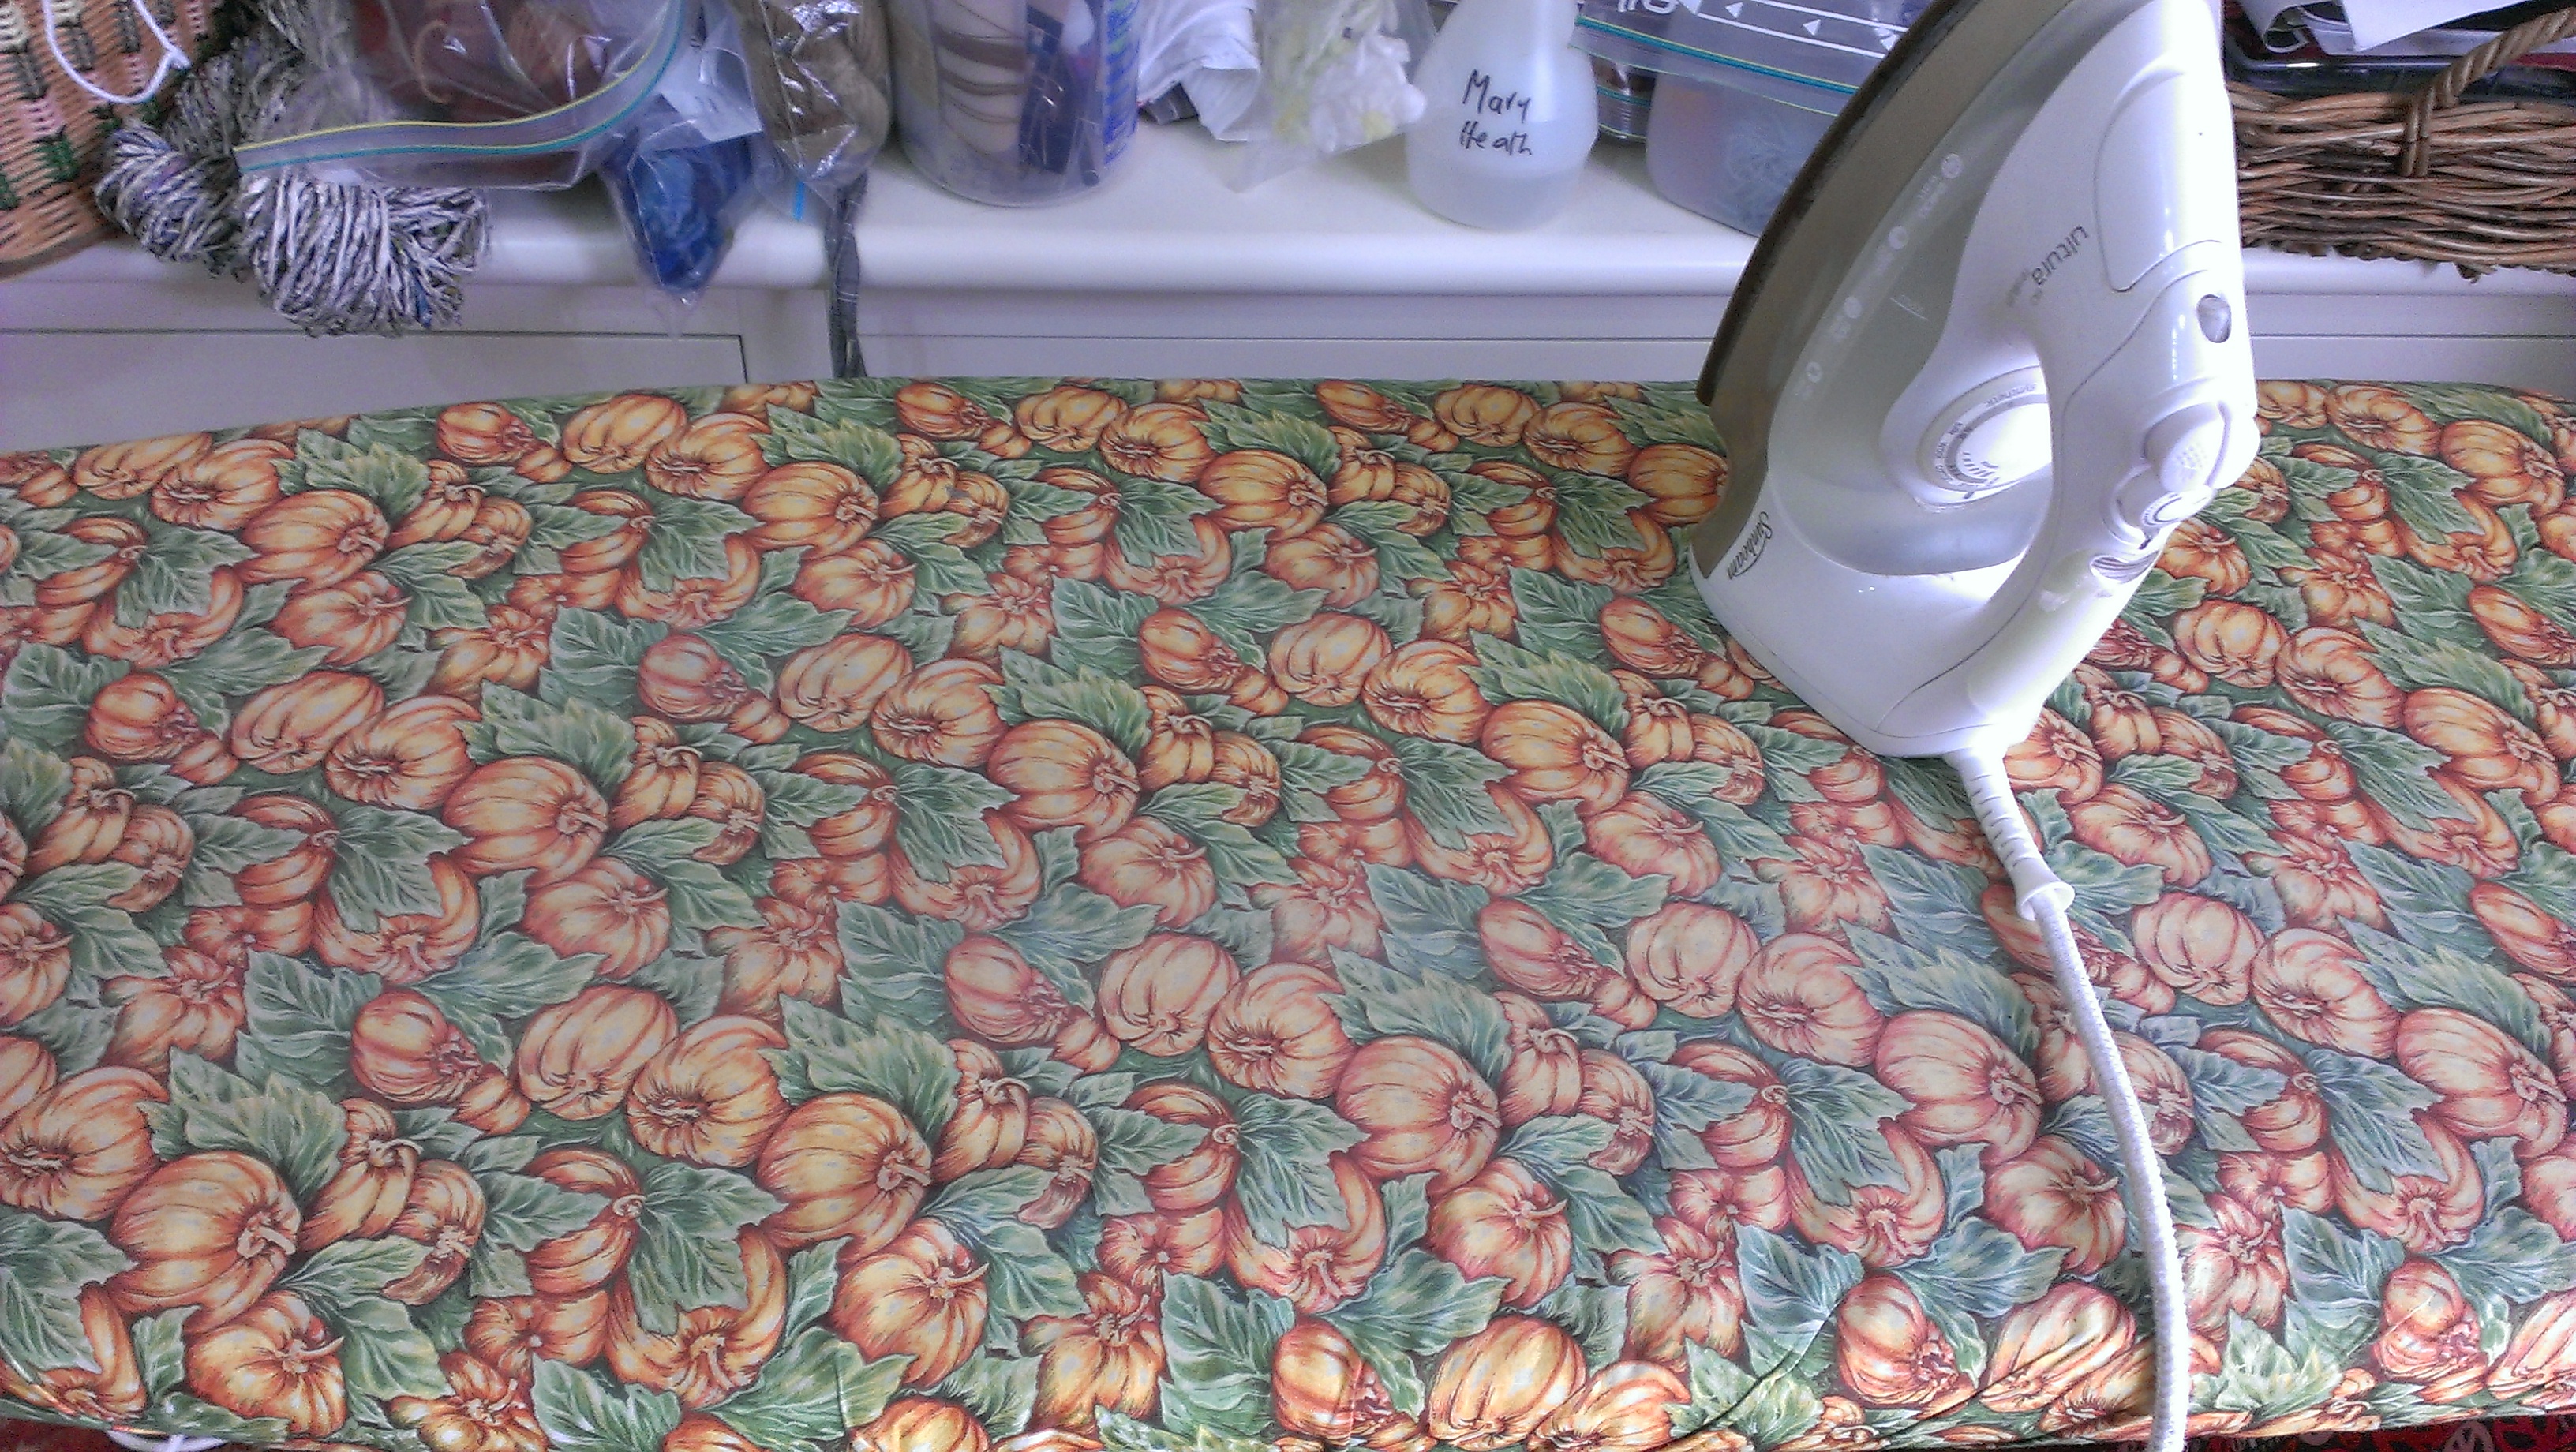
When I pulled it off the board to rip out the elastic and cord holding it onto the ironing board and use them again, I discovered the one below had been in such poor shape I had to mend it to cover over it neatly!

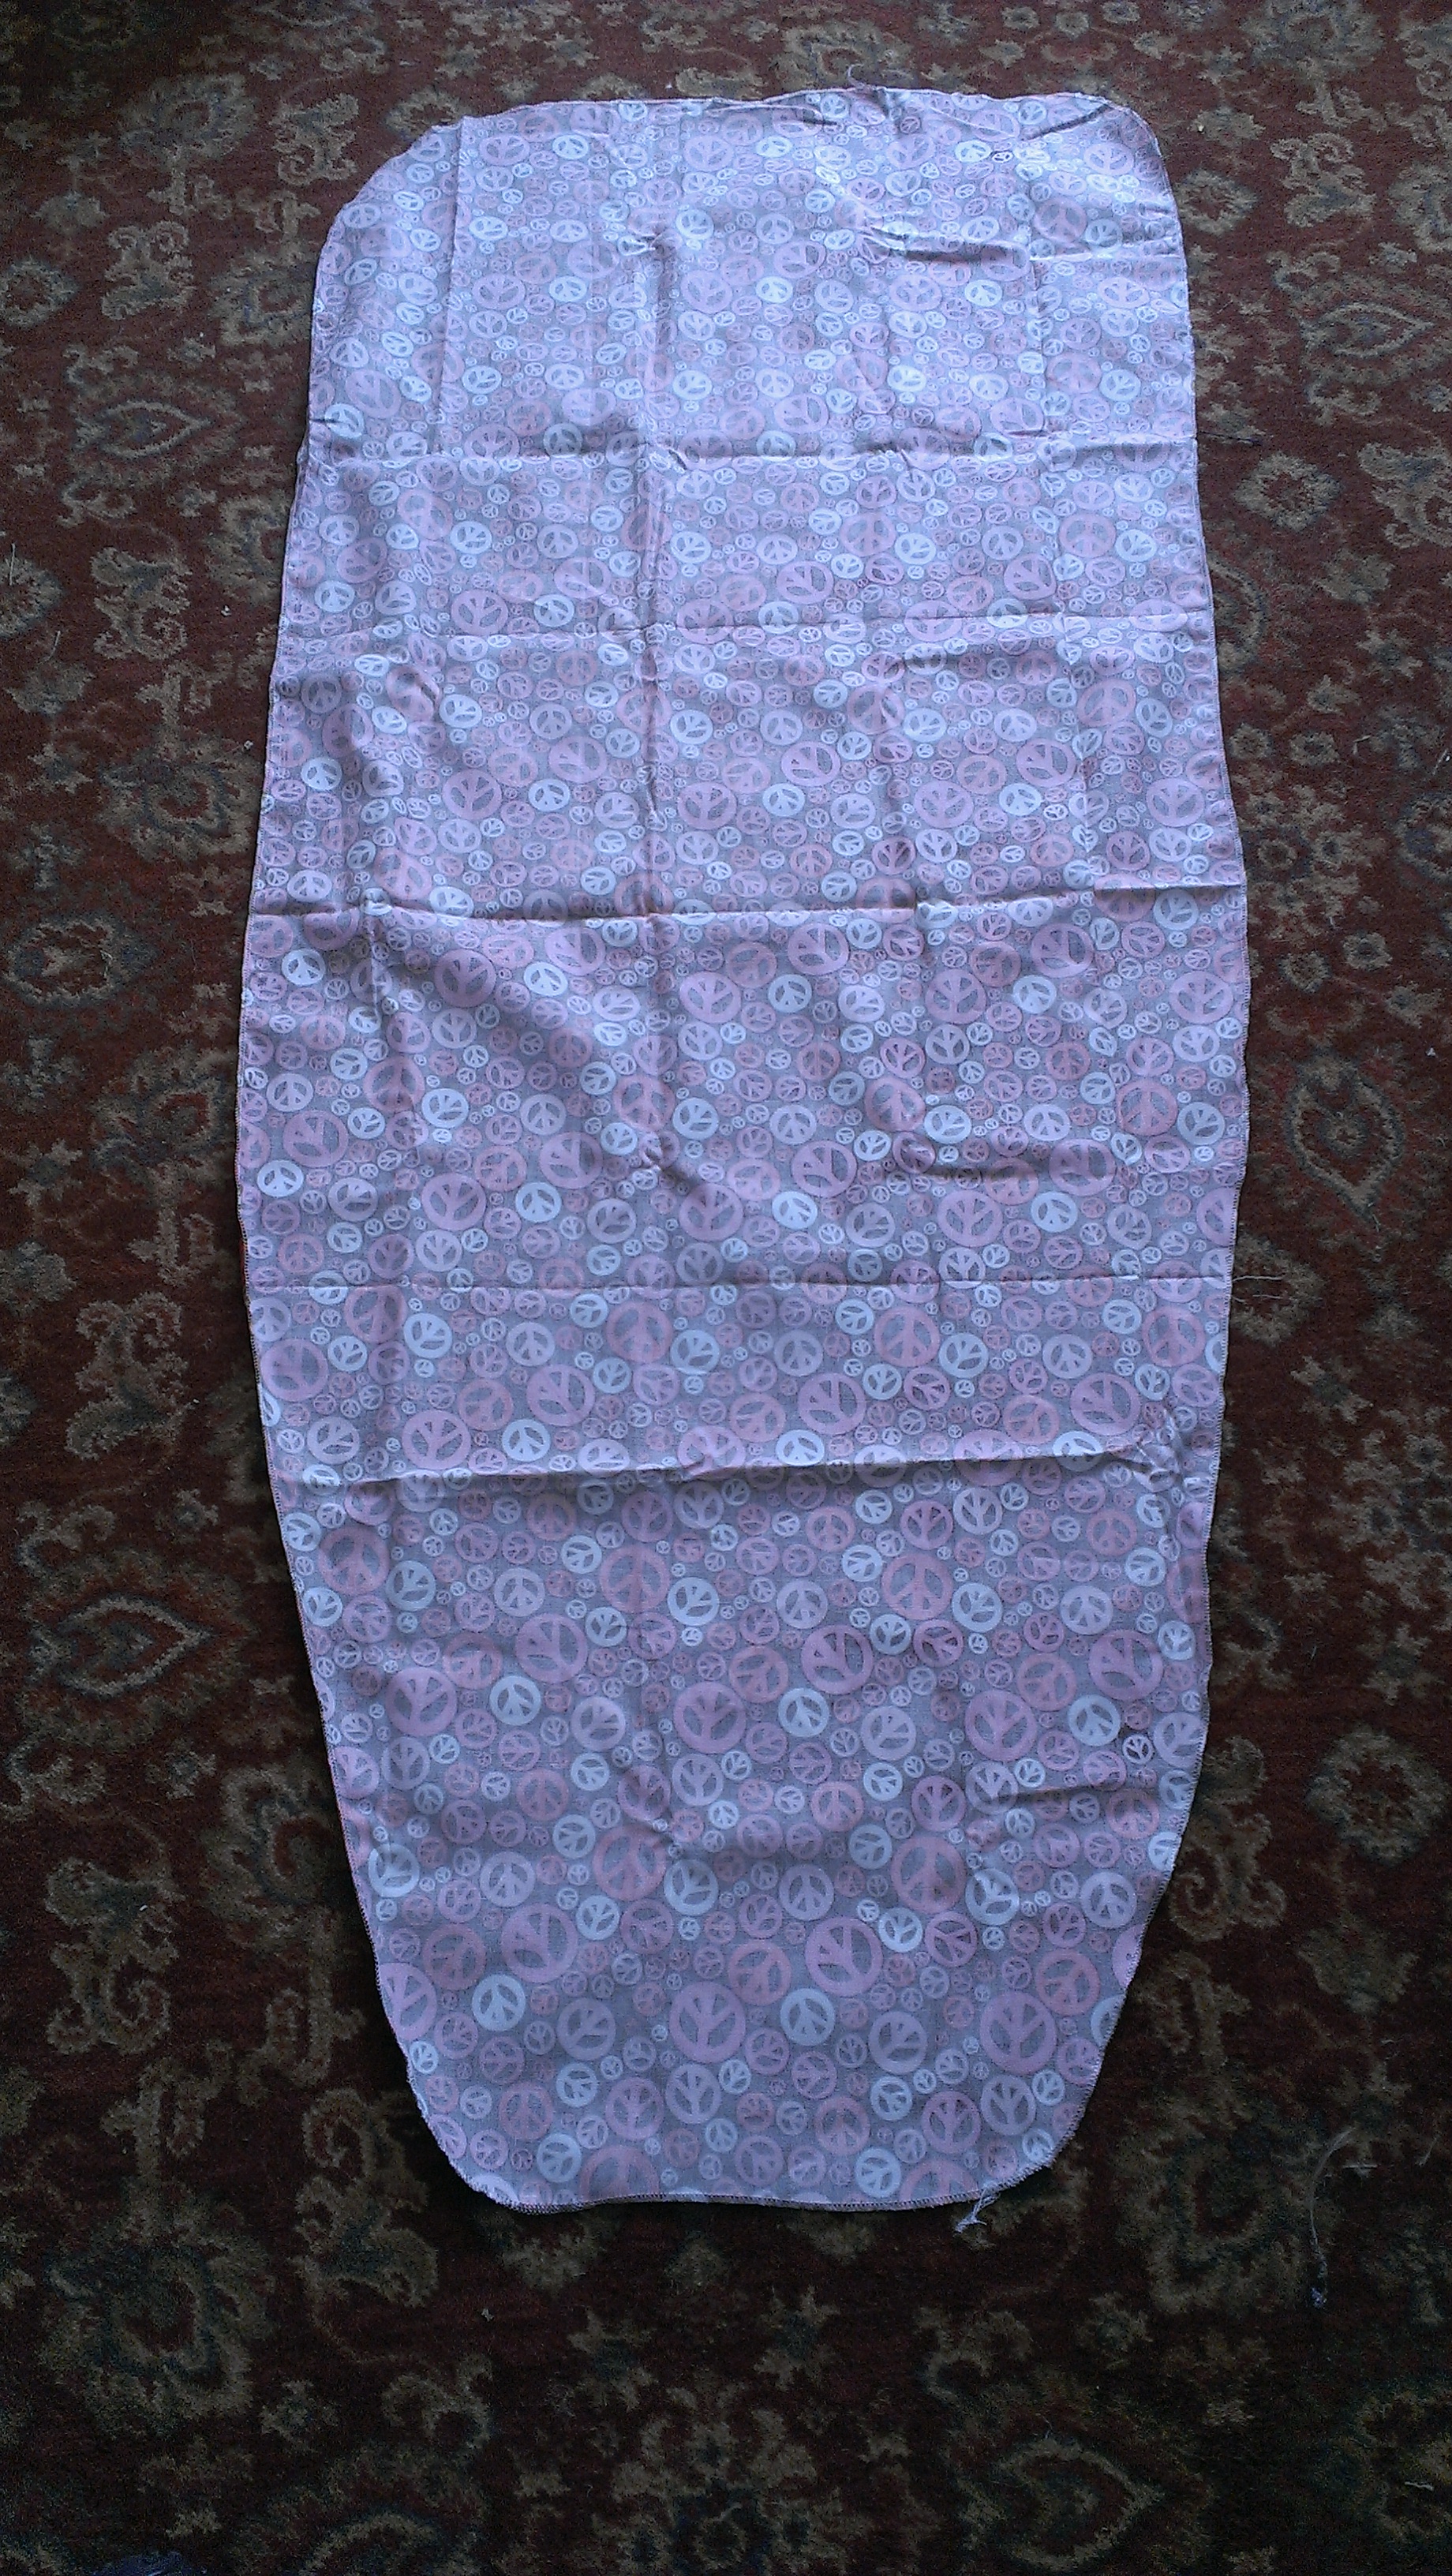
Step 1: choose your fabric. In this case, a gift from a friend who has evidently noticed my peaceable inclinations. I like to use cotton, and I like not to pre-shrink it if that is an option, as having it shrink onto the ironing board is helpful. Unlike having your newly sewn jeans shrink and become too short and tight, despite having pre-washed the denim twice–but let’s not talk about that–clearly I don’t know anything about it.

This is the time to figure out whether you want any upgrades. If the metal edge of the board creates grief in your ironing life, now is the time to find a padding layer. This board has several old covers on it for softness, and also has a padding layer of the ugliest woollen fabric I have ever seen, which I inherited from someone else’s mother. It has vastly improved my ironing life despite being unseen. I would never willingly wear anything made of that combination of green, red and black–perhaps my friend’s mother reached the same conclusion and that is why it came to me.
Step 2: Trace your pattern. I use the complex method of upending the ironing board onto the fabric, tracing around it with a nice allowance all round and cutting out.

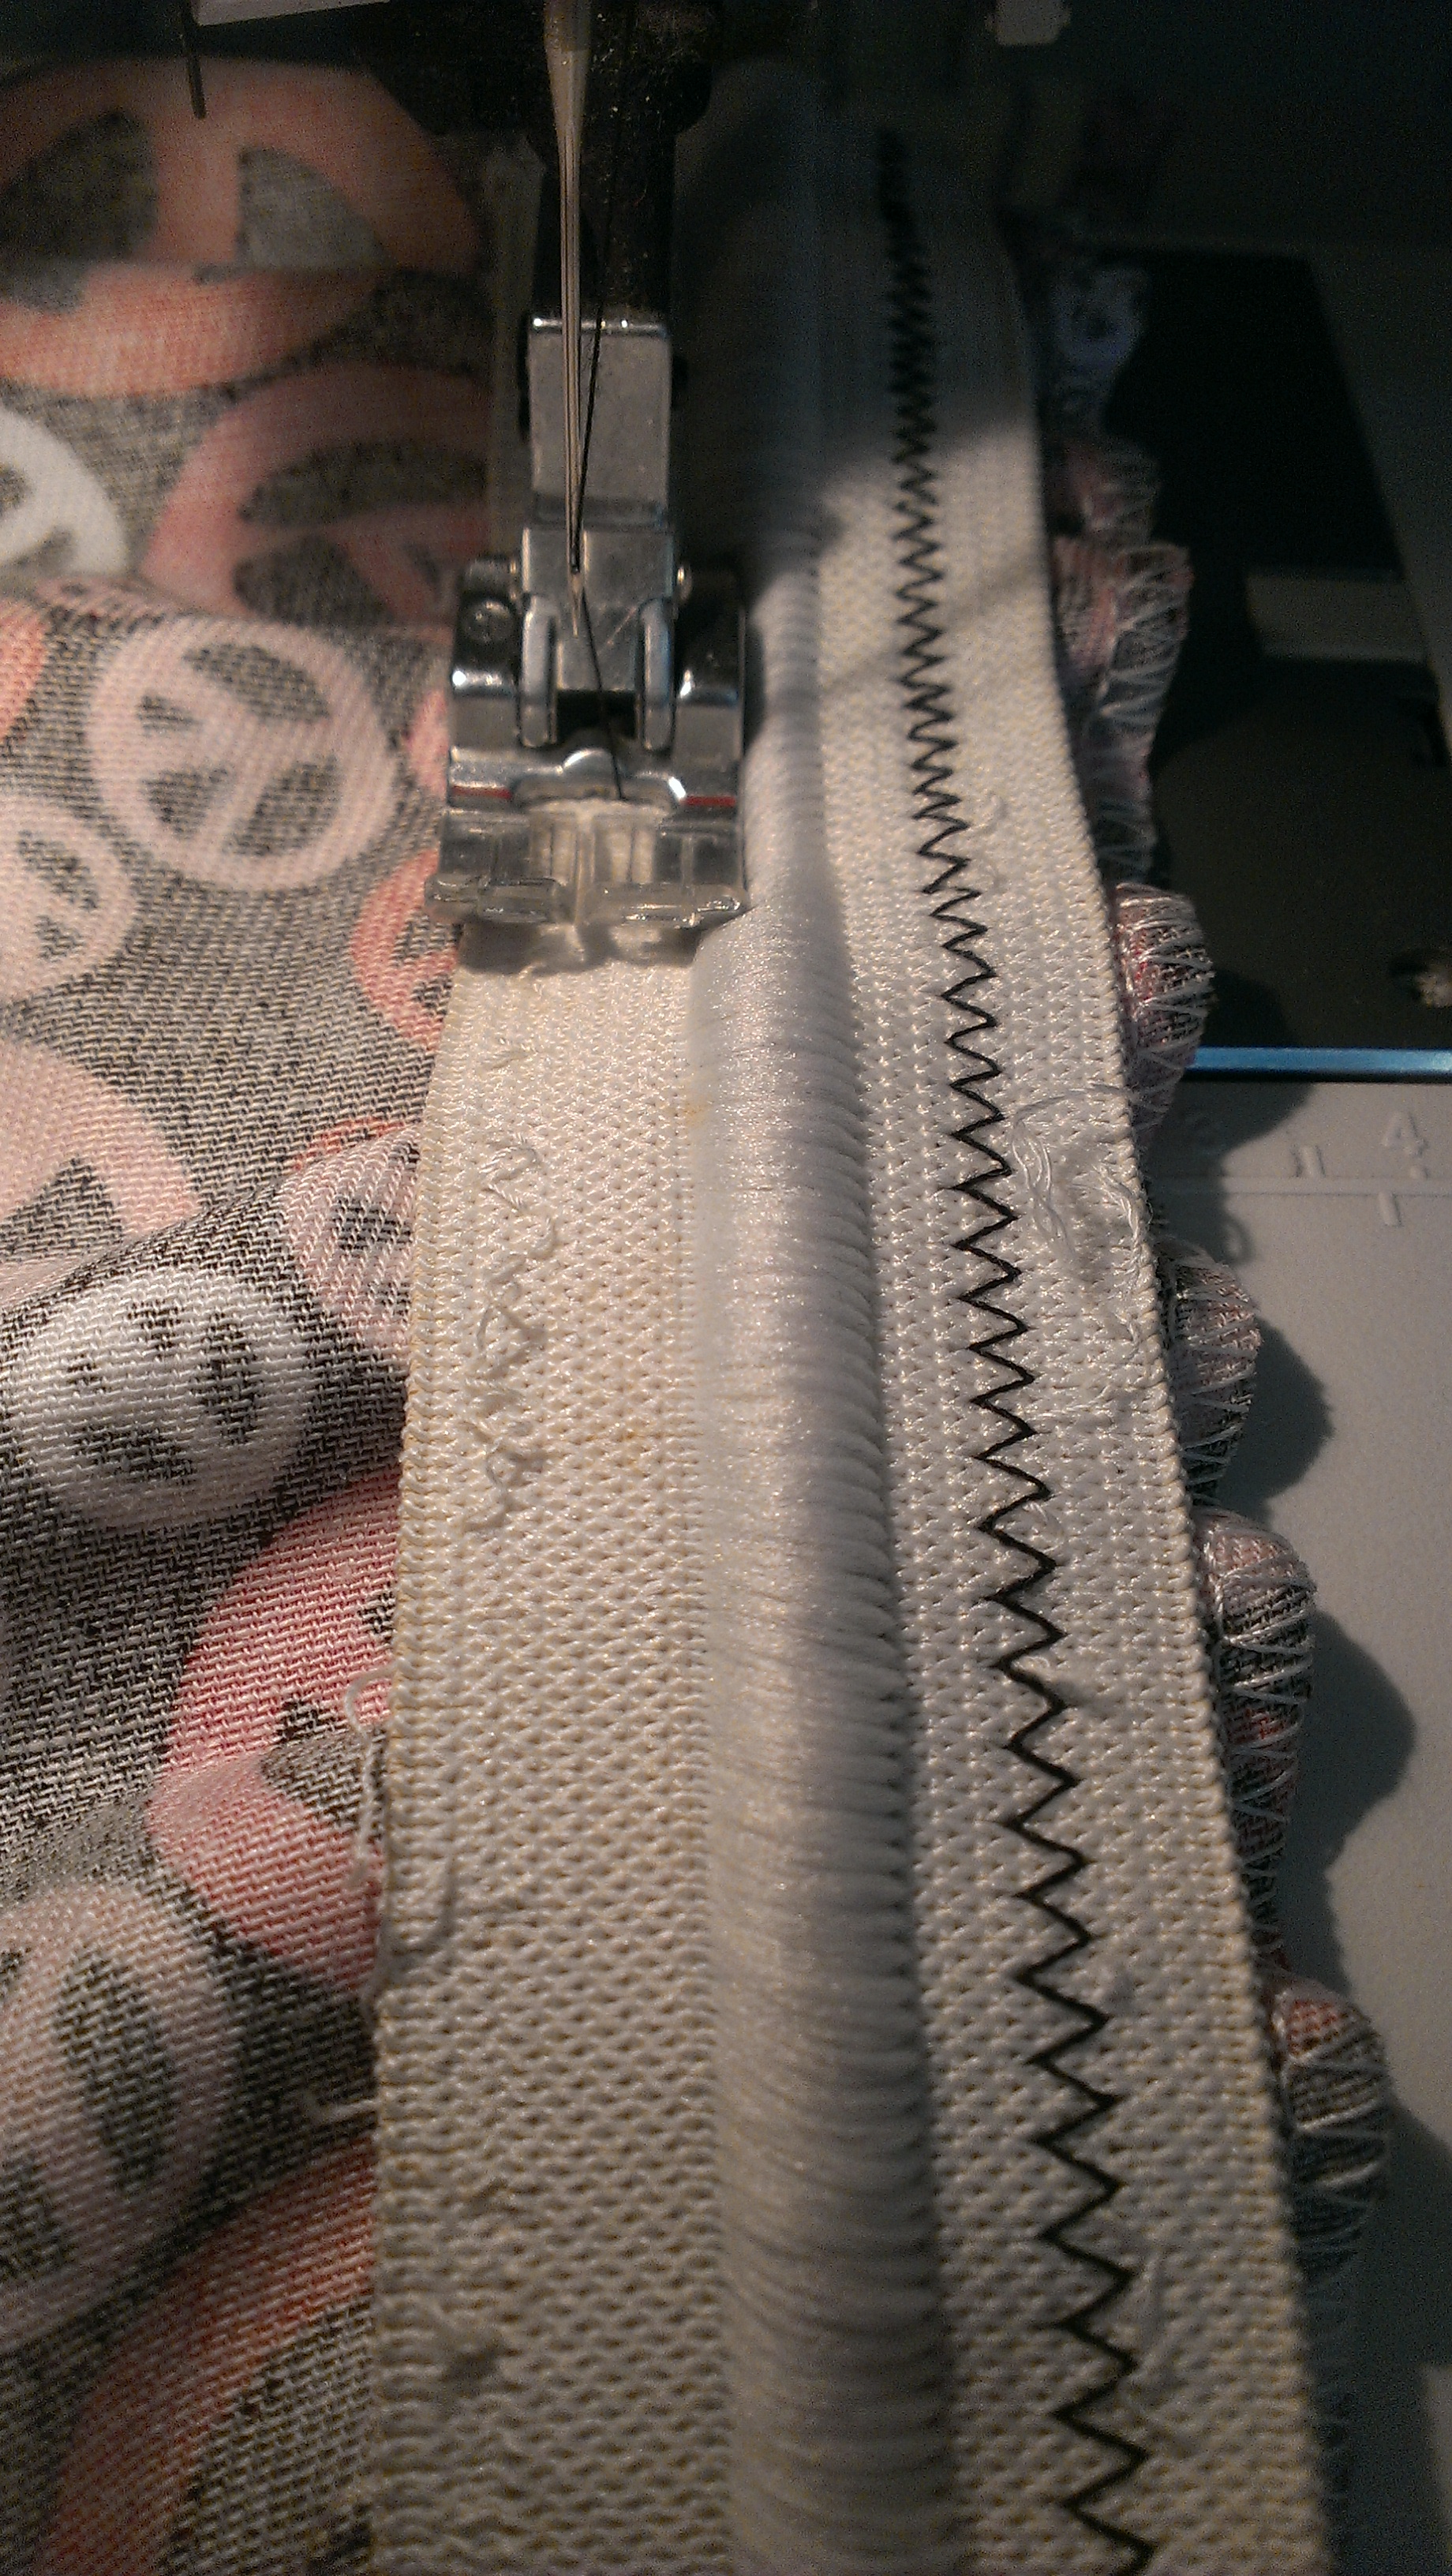
You can either sew a casing all the way round the edge (in which case you need to cut generously enough for this to be possible) or sew on something that will allow you to tighten the cover over the board by some other method. In the past, I sewed a casing and threaded a piece of twine through it, which works. Having discovered a large quantity of elastic with a cord running through the middle in an op shop years ago, I have been using that instead, and it also does the job. Here it is freshly ripped off the old cover and ready to be applied to the new.

Step 3: Finish edges, if you like. I overlocked mine.
Step 4: Sew casing for twine/cord or apply alternative. Here I am sewing on my elasticated cord thingummy by mood lighting. This may look rough and ready–and it is–but this will not be visible when the finished item is on the board and I have other things to do 🙂
Step 5: Get the whole thing nice and wet. Here is a worked example in my bathroom handbasin. It only needs to be damp, so wring it out and prepare to apply to your board.

Step 6: Tighten and coax into a nice smooth edge, tie the ends securely, –and you’re done!


It must be the year for it. Mine was renovated earlier this year with a beautiful off cut from Ikea – a really heavy duty cotton drill. This fabric will make ironing a bit cheerier.
LikeLike
Which, let’s face it, will always be welcome! I love how I am always among fellow DIY folk in the comments!
LikeLike
This is my next diy project. My ironing board cover died last year. Ahem, shows you how often I iron…
LikeLike
🙂 I don’t rate ironing as entertainment either!
LikeLike
Pingback: Blog Hop Around the World | Deep in the Heart of Textiles