Most ridiculous pyjamas ever?

I am planning a pair of pants for a spectacularly slender and tall 7 year old.  A person needs pants in winter!  But especially when the person is growing fast–fit needs to be right too.  So rather than start straight in with denim or corduroy or whatever might be lurking warmly in my stash, I decided to try a pair of pyjamas, because the pyjamas of the past have left a pretty interesting legacy.

IMAG0061

This is a New Look pattern of the 1980s by the look of the happy children on its front cover, which I clearly scored at some op shop or other. I started out with it and a pair of pyjamas that fit the intended recipient, and adjusted as I went.  Nothing complicated, just having a go at getting the basics right.  Zebra print on one leg, cats on a blue background on the other…

IMAG0062

Dinosaurs up the inside back leg to complete the picture!  I am sure there is a good deal of competition for the silliest PJs ever, but this pair are on my list!  So now I wait to see if they fit, and whether these just serve their function as a test garment or become part of the wardrobe for chilly nights…

10 Comments

Filed under Sewing

From old garments to new bag

I have been making a bag from two pairs of old pants.  One, a pair of second hand jeans, and the other, a pair of linen pants styled for the 1980s that I found in an op shop.  Before I leaf-printed them, they were pale green.  At first I didn’t like the effect, but it has grown on me.

IMAG4601

As much as the print, I think what made me want to turn them into a bag was the back pockets.  They are glorious pieces of construction. I love a good pocket.  The 3/4 jeans feature unusual pockets for jeans, too.  I don’t think I ever owned jeans with a welt pocket before.

IMAG0004

I cut feature sections for the outside of the bag which included the button-down pockets.  The jeans pockets went on the inside panels.  Then I pieced the rest of the garments together to create the straps and lining.

IMAG4605

It has been a feature of my sewing career that as I’ve moved away from sewing with fabrics gleaned from all kinds of places free or as cheaply as possible out of sheer necessity–into sewing for pleasure and having the capacity to afford to buy lovely fabric…. I continue to love sewing recycled fabrics.  Shirts made from linen tablecloths and flourbags.  Quilts from recycled garments.  Bags from all manner of fabrics.  I especially love retaining beautiful seaming and details like pockets into a new application.

IMAG0027

Every time I make one of these my beloved makes the case for me/us keeping it.  It’s funny, but flattering!  I haven’t decided yet if this one stays or goes to a new home.

IMAG0029


8 Comments

Filed under Leaf prints, Natural dyeing, Sewing

Indigofera Australis crop of 2014

Last year, I tried a cold vinegar process on some indigofera australis. The result was very pale blue, but just the same, blue, especially on silk and linen.  I thought this time I’d stick to silk.  I also found a direct dyeing method described online and decided to try it out on my indigofera australis.

IMAG4610

My friend and I stripped the leaves from the stems and into the blender they went.

IMAG4622

Pretty soon we had finely mushed leaves.

IMAG4624

I tried both the  vinegar method and the direct dye method with no success to speak of, even after repeated dippings.

IMAG4627

Remember that the wool on the right of each sample card has been mordanted with rhubarb leaf, so wasn’t white to begin with.

IMAG4648

Well, I thought I had nothing to lose by leaving the leaves and the liquid to sit for a few days and trying again, so I reunited the pulverised leaves and the two dye baths.

IMAG4651

I thought I’d try hydrosulphite, the last resort in case of indigo failure, in my case.  I warmed the liquid and strained out the leaves.

IMAG4654

I have recently received a Ph meter as a gift, so I aimed for 10.5 and added washing soda in solution until I reached it.  The result was a striking yellow.

IMAG4657

However… absolutely no blue whatsoever, not even an improvement on samples I thought I might overdye for improved colour.

IMAG4659

Time of harvest?    User error in the process?  The Ph meter isn’t properly calibrated?  The thermometer is out of whack (it certainly didn’t agree with the one on the Ph meter, so I knew one of them must be wrong–and I now know it was the thermometer)?  I have no idea, honestly.  I’ve decided to leave my one Japanese indigo plant to keep for seed…

10 Comments

Filed under Dye Plants, Natural dyeing

Opening some jars and filling others…

Once upon a time, I used to make ginger beer, recycling glass beer bottles for the purpose.  We had some with us one time years ago when I was travelling by (even-then-antique) Kombi.  We stopped at a wonderful national park, near Hattah Lakes.  There was a long walk in intense dry heat.  We walked much further than we planned, perhaps having failed to fully understand the map on the sign before setting out.  The water in the lakes was so low that we eventually realised we were not seeing eels in the lake, we were seeing the spines of large fish as they swam in water so shallow that it was barely as deep as the fish were tall.  We got back to the Kombi, and since we’d been walking for hours, and we were on holiday, opened up the back of the van and lay down on the bed for a nap.  We’d been there a little while when there was an almighty bang.  We sat up pretty quickly, because to our untrained ears, it sounded like a gunshot.  There were no other people in sight and only one car in the distance.  All fell quiet.  No dramatic action.  Eventually realisation dawned on one of us, and the three way (gas–electric–car battery) fridge was opened.  Inside it were the remains of a bottle of ginger beer which had exploded under the pressure of its own contents, sprayed though the vegies and suchlike.  Three cheers for the fridge keeping the glass shards safely contained.  Long story short–all bottles of ginger beer stashed under the bed were emptied right there and then, and I never put ginger beer in glass again, except once the lid was off!

IMAG4581

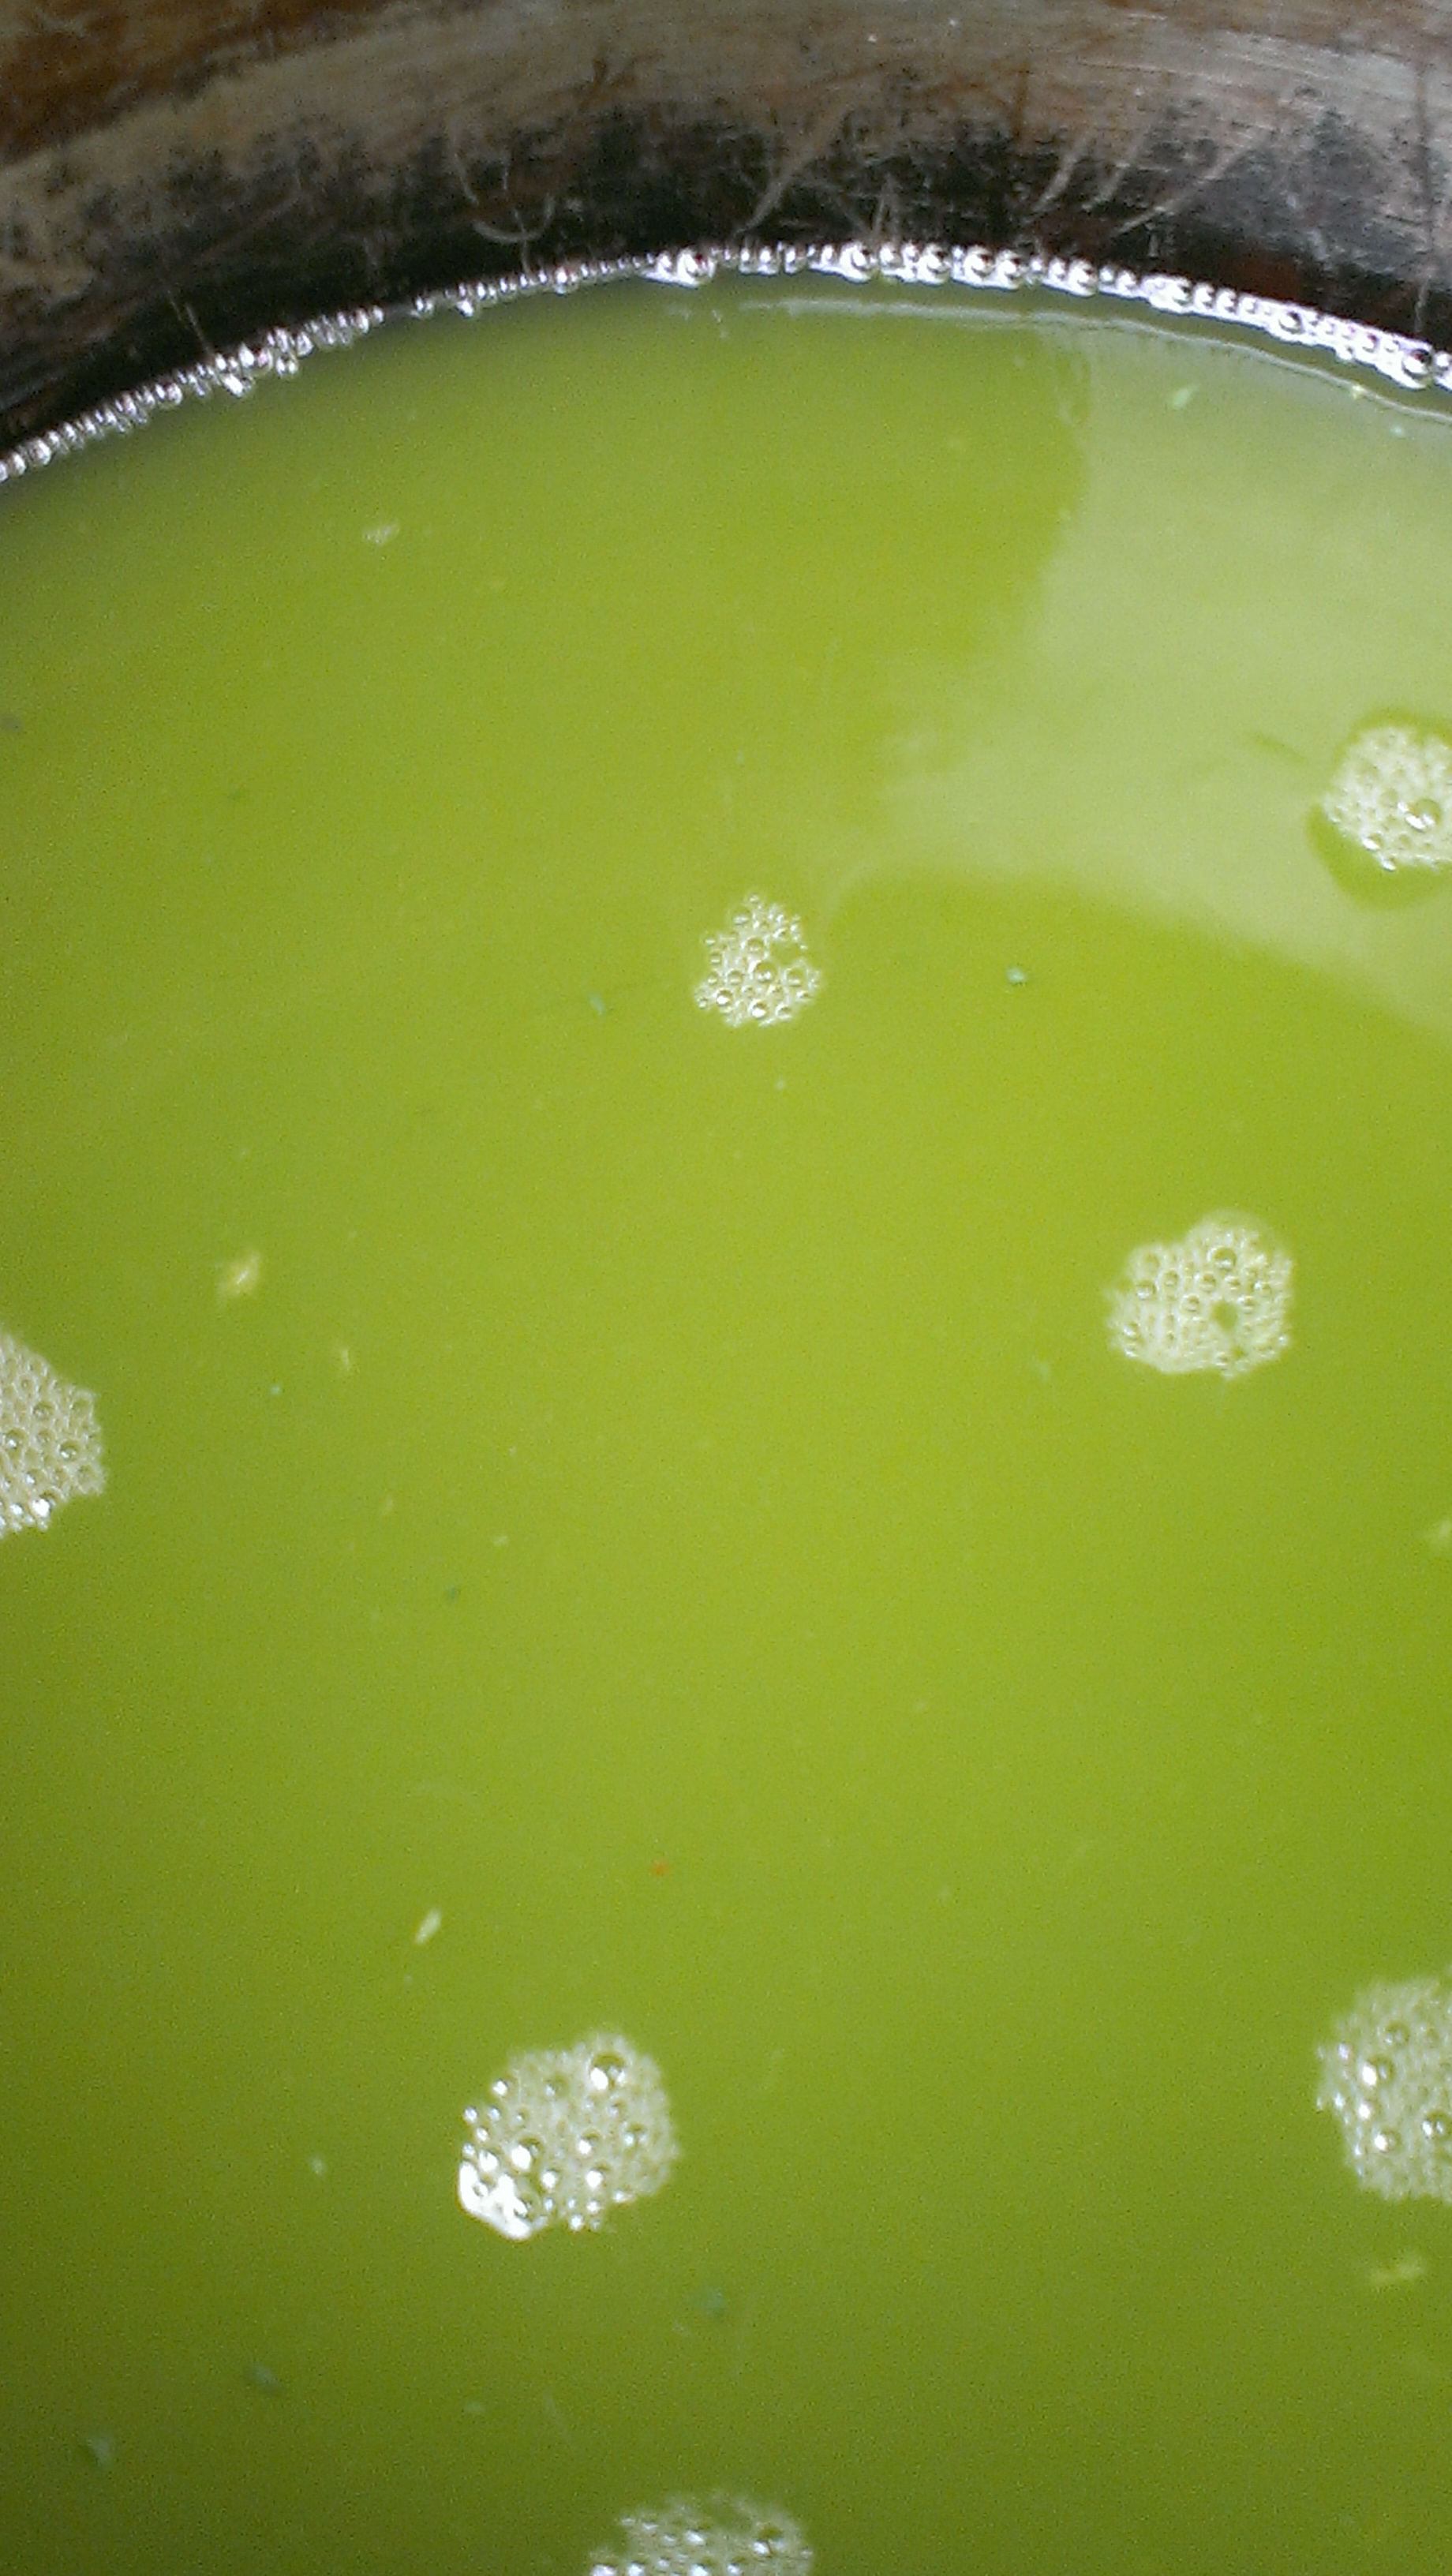
In case you can’t tell, this is a sideways introduction to my circumspection about the state of my steeping jars of dyestuff.  I’ve had some difficulty getting a good seal with with the Stuff, Steep and Store method.  The first time,  I think I raised the temperature too quickly.  It’s a vice I’ve been known to indulge in (or a problem I’ve suffered from, depending on source of heat) when preserving fruit, too.  I resealed some jars and took additional steps to ensure a good seal.  But several of the lids began to dome up again (or just plain leak). This one (pelargonium petals) leaked, as you can see.

IMAG4611

Luckily I had stored it on top of another jar.  Ahem.  So much dye lost!

IMAG4613

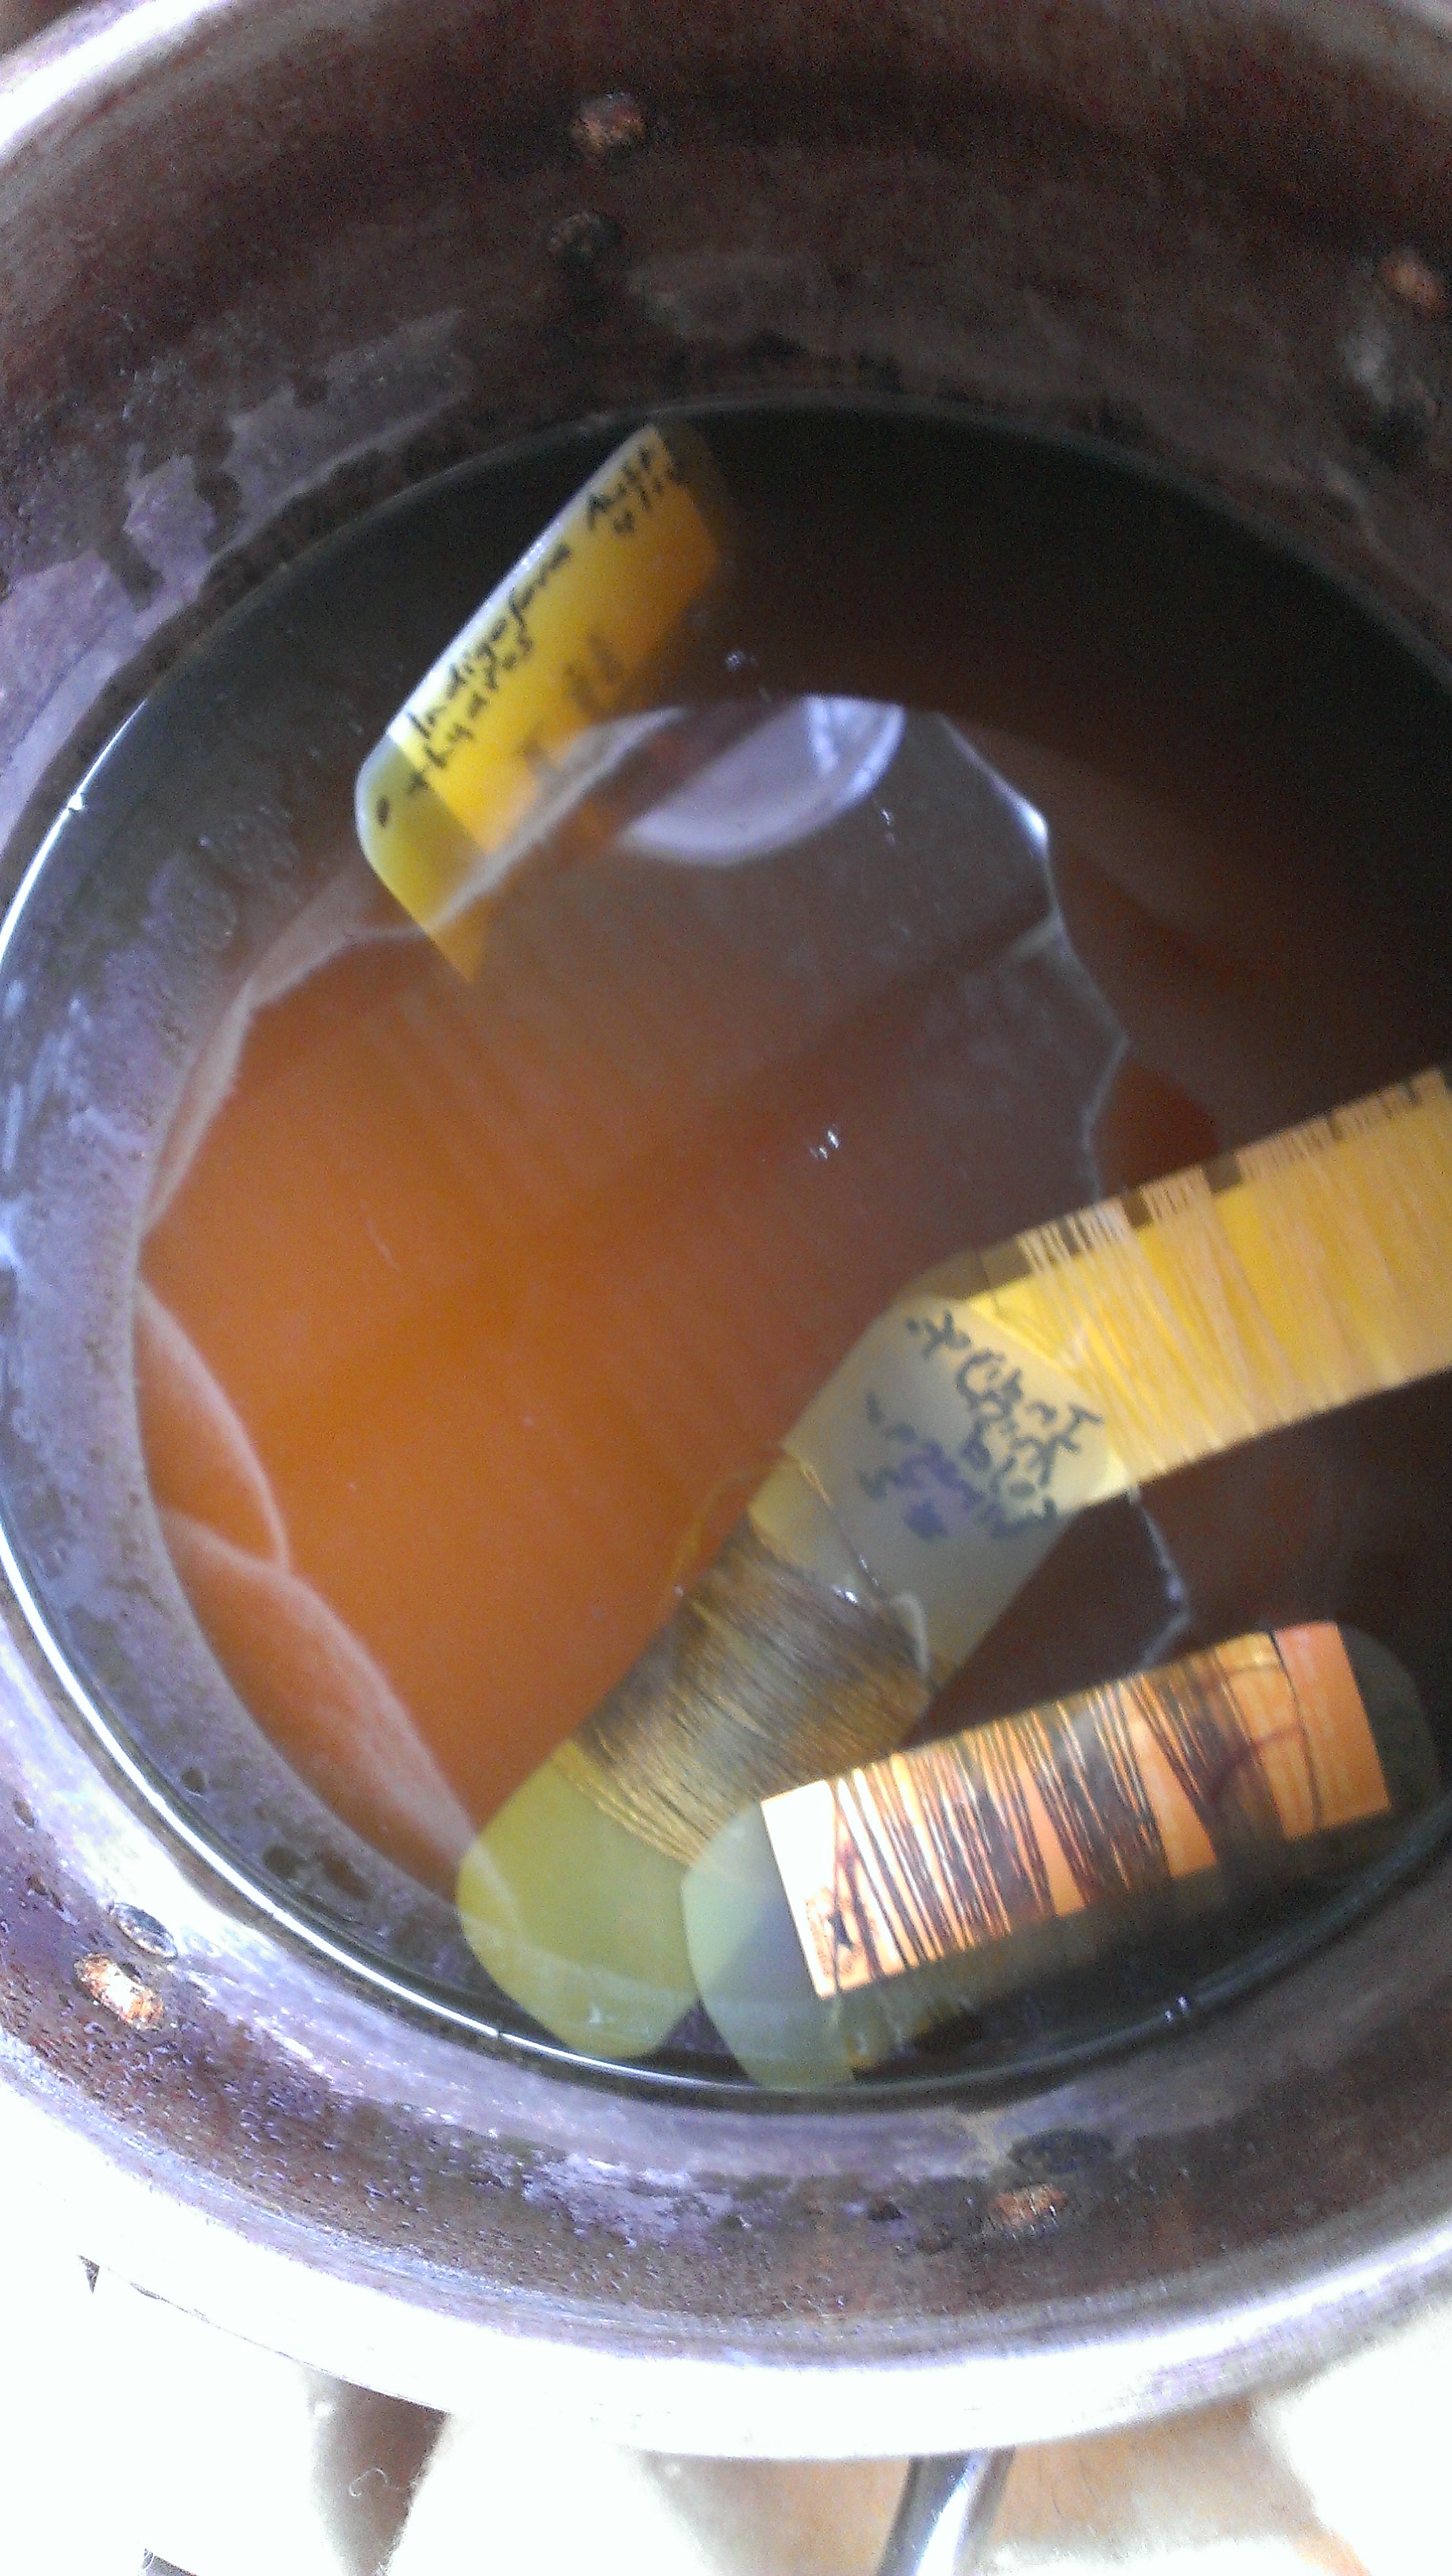
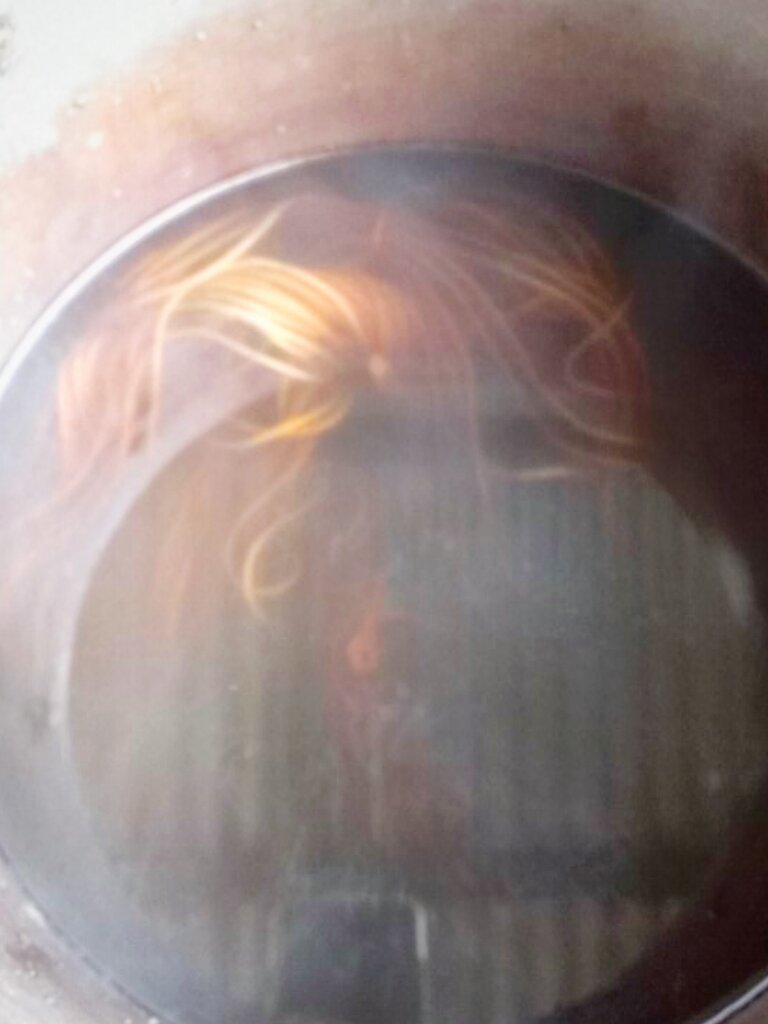
The very reverse of a vacuum seal (which is the intention), all of this suggested to me the contents were fermenting.  Perhaps the lids were damaged.  Perhaps my thermometer was actually faulty… I went off and checked when I had this thought on the weekend.  Yes, the thermometer was faulty–the little glass blob that should have held it in a fixed position had clearly broken away unnoticed, allowing the whole business part to slide down by about ten degrees.  So… back to the drawing board.  I am glad I didn’t use that thermometer for preserving peaches and plums!  The jars of fruit all came out just fine, which leads me to think that Stuff, Steep and Store should work for me, as it undoubtedly does for others.  Clearly I can manage a vacuum seal under favourable circumstances.  The good news on my jars of dye is that it looks like I got colour even though these jars haven’t steeped as long as I planned.  Here they are wet from their baths… and not smelling especially fermented.

IMAG0068

From left to right, pelargonium petals (greyer and less blue than the image);  dyers’ chamomile,  brown onion skins, and E Scoparia exhaust dye bath on various silk threads.  Since it’s my patience and my thermometer and not the method that are at fault… I decided to try again.

IMAG0046

From left to right (below): red hibiscus flowers, dried prunus leaves and fallen flowers from an unusual, purple-leaved hibiscus I found almost at the end of its flowering season when I visited the Himeji Japanese gardens on the weekend.  Each with vinegar, sea water, silk/cotton thread and aluminium foil.  Wait and see!

IMAG0081


7 Comments

Filed under Dye Plants, Natural dyeing

The unbearable cuteness of stranded colour knitting

IMAG0009

After all the three-ply colour spinning there has been around here, I started to itch to use those colours in knitting. I settled on these, the Tingvoll slippers by Kristin Spurkland. I began them before I went to Melbourne in March.  I found that knitting them over breakfast in  a cafe in Melbourne triggered a conversation every single day, and usually with another keen knitter.  It made me feel right at home, even though I was far from home and essentially, I was in the cafe because there was nothing for breakfast in the cupboard where I was staying!

Even the soles are cute.

IMAG0013

I knit these in Corriedale.  Yes, Malcolm the Corriedale.  The orange is dyed with eucalyptus, and the yellow with my mother’s coreopsis flowers.  While I was in Melbourne, I found myself frustrated by how slowly it was all going and how hard I was finding it to read the charts.  In the learning zone I was in spending my whole day at a workshop–I started to explore.  By the time I was flying home I had found that I could knit withe one colour in each hand–picking the yellow (‘European style’ as some call it here–yarn in the left hand) and throwing the orange (‘English style’, as some call it here–yarn in the right hand).  Best of both worlds!  I love that phenomenon: learning one new thing opens the doors to learning others.  Delightful.

IMAG0010

They are smaller than I had hoped, which just shows I settled on this wool and this pattern with no real thought for sizing and not much attention to the instructions.  Clearly it would be a good idea for me to quit spinning finer than I like to knit!  I think they are destined for a small child of my acquaintance.  She is a fine appreciator of hand knits.  Her Dad says when he told her I might be knitting her slippers, she was ‘beside herself!’ Apparently she likes the felted clogs I knit him so much she tries them on a lot, even though he has some of the largest feet I’ve ever knit for…

15 Comments

Filed under Knitting, Natural dyeing

Unidentified Eucalypt sample of the week

My attention was caught by another eucalypt in the parklands.  It was the colour of the flowers that attracted my interest.  I don’t remember seeing it in flower before.  Something about this purplish shade of pink caught my eye.

IMAG4635

The tree itself was rather unprepossessing at a distance.

IMAG4634


It seems to be managing to grow despite having survived multiple insults and lost limbs if not its entire primary trunk at some point in the past.


IMAG4636


On the other hand, this had clearly created an opportunity: the hollow at the base of the trunk had been chosen as home by bees, who were flying in and out the whole time I was watching (they would be the small blurs in the photo).

IMAG4639

I took a small sample and really…  this tree is safe from me.  The alum mordanted sample gave a good brown and the no mordant sample, a pinkish shade of tan.

IMAG0001

Leave a comment

Filed under Dye Plants, Eucalypts, Natural dyeing

Let there be string!

Making string from scrap fabric is so simple and pleasurable (and satisfies my love of using up every last scrap so well) that I’ve found myself making more string this week. I have been thinking, since Second Skin, that it is not so much that I come from the zero waste school of sewing as that I come from the austerity school of sewing.  I do draft so as to avoid creating waste, and I watched my mother dothis as a child, often starting with less fabric than her pattern called for.  Then I take all the remnant fabric from previous projects and turn it into something else, even if this requires a lot of patchwork.  Little of what is left beside my overlocker is wide enough to make string, even. When I tried carding ovwerlocker waste into batts a while back, most of it fell out because there was so much thread cut so short!

IMAG4603

Anyway… I’ve been turning a pair of jeans and a pair of linen pants into a bag, and although that process will use almost all the fabric in each (since I’m piecing together even relatively small sections), there are some scraps left.  I cut them all to suitable widths for string making.  It began with this little pile.

IMAG4597

By later in the week, I had three lengths of… well… cord?  Light rope?  Very shaggy string?

IMAG4641

I’ve been creating small banners for trees in our local neighbourhood, and so string–cord–rope will come in handy.

IMAG4644

There’s a plan for these banners… involving other people… and brought into being by the enthusiasm of my fairy godson.  I’ve made several so far from a calico sack I scored from a local business, together with recycled eco-printed fabrics and eucalyptus-dyed embroidery threads.  On the inside, the interfacing is a set of damask napkins which saw their glory days long ago and have been rendered threadbare by long use.  My mother-out-law sent them down to Adelaide last time my sweetheart visited her.  I hope she’ll approve of this way of using them!

IMAG4643


16 Comments

Filed under Craftivism, Sewing

Dyeing red with dandelion… or not!

It was a day for harvesting…

IMAG4569

…and a friend from the Guild had given me a booklet from the Brooklyn Botanical Gardens which described a method for achieving magenta with dandelion (taraxacum 0fficinale).  As I’ve said before, rumours on this subject are many but claims of a result are few, and better dyers than myself have been defeated (at least temporarily) by the challenge of obtaining any shade of red from dandelion.  The booklet came from the stash of an older woman who was giving things away, and dates to the 1960s.  I have to say the method sounded improbable to me, but I love to use my weeds, and magenta is promising!  I am happy feeding weeds to my hens or my friends or even my compost, and dyeing is another good use.  I gathered up all I could find with roots attached, since the recipe called for cooking the whole plant for two hours.

IMAG4568

Well, my friends, the mystery of how red was ever obtained from dandelion was not ended by this experiment.  It wasn’t much of a try-out for my rhubarb-leaf mordanted yarns, either!  I don’t see any change from the pre-dyeing colour of any yarn on my sample card.  Has a crucial step (like a mordant) been left out of the process?  Is this yet another case of user error on my part?  I simply don’t know.  But if any reader does know–I am all ears!

IMAG4607


16 Comments

Filed under Natural dyeing

Rhubarb leaf and alum mordants, hot and cold processes

Way back in December I was thinking about hot and cold mordanting processes.  I decided on an experiment inspired by a post by Leena at Riihivilla which led in turn to a blog called From Silk Road.  There, Jarek shows experiments with solar mordanting over 28 days, and one of the mordants he is using is Himalayan Rhubarb. Mine is the good old fashioned European eating kind… but perhaps the same principles could be applied?  Jenny Dean certainly describes cold mordanting with alum and I have tried that previously with success.    I was also curious about the findings of Pia at Colour Cottage.  She has undertaken some experiments with rhubarb leaf mordant here and here and found it made no difference to dye uptake or lightfastness.  So disappointing!

I started with 1100g rhubarb leaves (and stewed the rhubarb with orange juice to go with waffles… mmmm).  Way more rhubarb leaf than necessary for the job, I think.    I have no way to know if I am even using the same rhubarb as Pia… but I decided to err on the side of plenty of rhubarb leaf and not committing a huge quantity of yarn. I created two, 25g skeins of Bendigo Woolllen Mills alpaca rich ‘magnolia’, left over from some past workshop I ran.  One was subjected to the classic heat treatment in rhubarb leaf solution (45 minutes on a bare simmer), left overnight to cool down and rinsed out.

IMG_0013

The other went into a glass jar for a solar treatment, which was quite hot at times.  It went into the jar on 16 December and our first 40C day of the year was scheduled for the 18th. I created two more skeins and mordanted them in alum, one using the hot process and the other packed into a bucket with a lid in the sun.  Here is the solar mordant rhubarb jar (and some iron soaking in vinegar water on the left), in December.  They’re sitting on a concrete surface with a concrete wall behind them.  I’m trying for thermal mass in a sunny spot.

IMG_0008

Things being what they are (by which I mean I have been too busy to think much about this experiment), I took the yarn out on 13 April 2014. Here it is before removal.  There was a little layer of mould stuck to the lid, for those who are wondering.  In retrospect, this would have been a great application for Stuff Steep and Store.

IMAG4571

Here is the yarn after removal from the rhubarb leaf solution.  I’d call that a dye and not only a mordant!

IMAG4573

Here is my solar process alum-mordanted yarn after similar neglect for the same period of time.

IMAG4572

Finally: my full selection dry and ready for use: no mordant, alum applied with heat, alum applied through solar process, rhubarb leaf applied with heat, rhubarb leaf applied through a solar process.

IMAG4590

2 Comments

Filed under Fibre preparation, Natural dyeing

Craftivist pennants and another handspun hat

There have been some small moments of crafty completion in the recent period of day job overwork. The ‘thanks for cycling!’ bunting, which had been ripped down, was replaced after mending by a group of friends one sunny afternoon.

IMAG4425

Proper attention was paid to all its hanging particulars by willing fingers….

IMAG4426

And there has been still another Turn A Square made from the remainder of a skein of luscious handspun yarn.  Here it is, modelled by a particularly willing bowl.

IMAG4414

The distinctive crown shaping of this pattern is so simple, yet so effective. 

IMAG4411

Upcoming public holidays may prove more viable crafting time than recent weeks have done… and I am looking forward to it!  I have plans!


Leave a comment

Filed under Book Review, Knitting, Neighbourhood pleasures, Sewing