Tag Archives: cotton

Drawstring project bags

These are the bags that really started the party.  Fully lined drawstring project bags.

2015-03-29 16.52.37

Recycled suit linen with E Scoparia print; linen with an Australian designed print; cotton printed with prunus leaves and maple leaves.

2015-03-29 16.52.29

Indigo prints from the indigo dyeing day last year… paler prints went into the linings.

2015-03-30 11.49.03

While I was on indigo prints I used up the last of my own indigo dyed fabrics making this.  And finally, a gratuitous photo of a bee enjoying a street tree in flower taken on my way to a lunch meeting.  Glorious!

2015-04-01 12.16.21

4 Comments

Filed under Leaf prints, Natural dyeing, Neighbourhood pleasures, Sewing

Respect the garden

My latest attempt to protect the plants that have so far survived in a patch of nearby public land is not a very extensive  one.

2015-03-29 15.00.50

Just one pennant that says ‘please respect the garden’.

2015-03-29 15.03.17

I have tried to give it flutter factor by adding all the little triangles of eco-printed fabric cut from the binding on my last quilt.  Meanwhile, I’ve embarked on an extended programme of propagating plants for the neighbourhood public spaces.

2015-04-05 14.43.40

I’m trying out taking cuttings of this saltbush. We’ll see how it goes. I read honey could help them take root.  I couldn’t see it doing any harm, so I am trying it out.

2015-04-05 14.43.44

The main action is still creeping boobialla.

2015-04-05 14.53.36

Pruned back and ready to go.  I followed up by trying pricking out ruby saltbush.  Fingers crossed this will multiply the effective number of plants from those that germinated late in summer.

2015-04-05 14.58.41

And then I might have enough plants to try re-planting some of those that have been squashed by cars under my little pennant.

2015-04-05 16.25.24


2 Comments

Filed under Leaf prints, Natural dyeing, Neighbourhood pleasures

An outbreak of bags!

It started with one piece of fabric that came wrapped around a birthday present, that I wanted to use as a feature (I haven’t done that yet).  Then I thought maybe some of the green fabrics could become bags. They did.

2015-03-29 15.14.30

One of the green prints was a screenprinted cotton that I bought at a garage sale.  It was next to the swirly screen print in the two bags on the left below. More green scraps kept getting pulled into bags as I went.

2015-03-29 15.13.58

Then  the chicken print.  Too cute to leave in the cupboard, too small for a big project.  I made two bags.

2015-03-29 15.11.24

Then the peace symbol print.  I have been loving it as an ironing board cover… and now it’s two bags as well.

2015-03-29 15.12.05

It just seems like some kind of frenzy I get into once in a while… turning abandoned bits and bobs into useful bags that can find happy new homes.  I have now done for all of the non fusible interfacing, and all of the antique fusible interfacing… and am considering never acquiring interfacing again, although most of what I have has come without my asking for it.  So some small dent is appearing in the stash!  At least four bags already have new homes, including the one made from leftover ‘very hungry caterpillar’ fabric from a shirt or two I made… apparently it frisked out of the house so quickly there was no time for a photo…

2015-03-29 15.11.35

6 Comments

Filed under Sewing

Another leafy quilt!

2015-02-20 10.12.23

I am surprised to be able to say this, but I have finished another quilt.

2015-02-10 08.59.55

In December, I was rather inspired  by a comment on the blog from Susan, who put me onto GiveWraps–Australian craft bloggers advocating for the Japanese tradition of wrapping gifts (and everything else, it seems to me) in fabric.  The Needle and Spindle versions are patchworked together in a very lovely way that is an excellent fit with what I like to do.

2015-02-10 09.01.29

I have been trying to use recycled wrapping paper or making bags for gifts to go in for years… so I was rather inspired by the GiveWraps idea and immediately began patching together yet more bits and pieces.  However, ususally I patch leaf prints with other leaf prints, and prints with other prints and plains.  The GiveWrap idea somehow had me mixing them up in a rather liberating way.

2015-02-10 09.01.17

In this case, I patchworked together leaf print offcuts with leftover pieces of garments that have become bags, scraps of sarong leftover from making pants, details from a pair of shorts that finally came apart and scraps from the previous quilt, as well as stash fabrics.

2015-02-10 09.01.36

It went really well, and soon I had two squares the size of the only Japanese wrapping cloth I own.  It’s a generous size, almost a metre square.  We often use it as a tablecloth on a coffee table.  I laid my two squares out on the floor side by side and immediately thought–almost a single quilt there already!

2015-02-10 09.01.46

I had plenty of leaf printed fabric to make the back and the binding. This is the back.

2015-02-20 10.13.25

Admittedly, machine sewing the binding on became a wrestling match between me and the sewing machine, and in the end the machine had to go into the repair shop.  The last little section was sewn on a friend’s machine, and now I have been sadly parted from my machine for weeks.

2015-02-10 08.59.01

This time, I actually did make the binding with the wonderfully beautiful slanted seams t5hat create less bulk in the next step.

2015-02-10 08.59.23

Partway through hand stitching binding to back, a friend who is a tailor and teaches sewing gave me a tip about sliding my needle along the inside of the folded edge of the binding as I handstitched down the binding, so that went extra well too.  Second picture of the binding because… I am proud of actually doing the proper thing with the binding for the first time!  So, from this…

IMAG0956

To a finished quilt.

2015-02-20 10.14.22

I even embroidered a little panel with a dedication and the date, as this is going to be a gift for my fairy goddess-son.  A finer appreciator of a handmade item would be hard to find, but he is blessed to be sharing his life with, and being brought up by, two such fine people.  Soon it will be his birthday.  How to wrap the quilt???

13 Comments

Filed under Leaf prints, Natural dyeing, Sewing

Quilt finished at long last!

It has been a long time coming, but toward the end of my first burst of holiday time I finally got a proverbial wriggle on and made some serious quilt progress. I have created a series of blocks that each showcase leaves from a specific eucalypt, and embroidered the name of the eucalypt onto the block with eucalyptus-dyed silk thread. Who knew I had it in me?  I thought I had decided against embroidery as a child, never to go back.  I tracked the old posts on this project because I wondered just how long I have been working on this quilt (or not working on it, which is the routine case, of course!)  Just between you and me, this post in July 2013 is my first intimation on the blog that this project was in my mind.  Blocks sitting waiting for courage here.  Blocks finished here.  Sashing attached with help from a visiting friend here. Dyeing the border here.  Back finished here.  Finally, it was assembly time!  Here is the back, pinned out flat on the floor, wrong side up.

2015-01-03 14.38.04

I love the wrong side.  Of most things. The back is made of a mix of recycled, inherited and thrifted fabric.  Next, the minimal batting option for women of a certain age in a warm climate: an ancient flannellette sheet, well past its prime.  It’s hard to tell it was ever blue now.

2015-01-03 14.56.57

The top, pinned out over the rest, is made of stash black fabrics and a mix of recycled and thrifted fabric again:

2015-01-03 16.05.14

All layers pinned together, I decided on machine quilting, coaxed by a friend. The quilting part has never gripped me.  My last quilt was tie-quilted and not really ‘quilted’ with stitching much at all. Clearly the patchwork is my main interest, and the dyeing, of course.  Then, time to make the binding.  There were plenty of leftovers.  I made metres of binding and followed the instructions in Block Party by Alissa Haight Carlton and Kristen Lejnieks.   As usual, with less precision than the authors suggest might be warranted.  Just the same… here it is, kept tidy until stitching-on time…  Second Skin was right behind the ironing board, and seemed perfect for multiple reasons…

2015-01-03 16.44.04

I do understand bias binding, and there are places for it, but I can’t see the point when binding a straight edge, so I went with on-the-grain binding and contrary to the instructions, sewed seams straight across at 90 degrees (okay, it creates less bulk to use 45 degree seams–that part, I concede). I made an exception when I had a moment of curiosity and finished with a lovely 45 degree seam–seen under sewing-machine-mood-lighting below.  Because who needs seams that match?  Maybe next time I’ll give all the binding that treatment, you just never know.  I followed the instructions for mitred corners.  Simple and effective!  Much better than my own past efforts at reverse engineering without instructions.  Done!

2015-01-04 16.57.11

Apart, that is, from the metres and metres of hand stitching required on the back.  And here it is, midsummer!

2015-01-04 16.59.16

But all such jobs come to an end, and now, finally, I have a quilt I love.  I am surprised by how much I like the embroidery.  It just glowed in the sunlit window the day I tried for pictures.

2015-01-14 15.24.40

I like all those blocks with their Latin names and motley prints.

2015-01-14 15.53.07

And I like its all-over-leafiness and the nicely bound edge.  I expect this quilt will be a companion for many years to come, and this is such a happy thing!

2015-01-14 15.25.10


24 Comments

Filed under Leaf prints, Natural dyeing, Sewing

…because there can never be too much plant-protective bunting

I have been tidying up the bunting we set up to protect recently planted and small native plants as I pass, adding a few pennants and re-tying after wind and rain.  I am surprised it has lasted so long.  But there are other plants in need of protection.  A woman had a long chat with me as we each tried to figure out what to do about cars parked in ‘the garden’, as she put it, in another nearby newly planted patch.  She confided that there was bunting across the way and it was wonderful and effective and she wished there was some in her street.  I confessed I’d made it and explained how in answer to her questions.  She asked for some.

2015-01-14 17.11.08

We discussed the council and what we might be able to do. I encouraged her to call them.   In the end, I made some more bunting.

2015-01-14 17.48.01

It’s low-fi bunting, this.  I have made some that is labour intensive and lovely, but in the case of bunting that suggests people should stop going where they feel entitled to go–through experience I have learned that sometimes metres of it will be ripped down and vanish in a single night.  I’m not up for that when I have spent a lavish amount of time and care.  This is bunting made from scraps, with minimal effort.

2015-01-14 17.48.08

I cut fabrics to shape, and then sew onto recycled string.  Here, two strands of cotton yarn from an unpicked second hand jumper.  I dyed them years back, inadvisedly, but here they are, coming into their own.  The fabrics include a second hand napkin, what is left of a thrifted sheet (considering most of it became a shirt for a friend years back), remainders of a bag made for my mother, little bits from the cupboard, a panel from a thrifted skirt…

2015-01-14 17.12.16

I piece together little bits, and don’t worry about grain and such.  They just need to flutter in the breeze and offer a tip that this is not a parking bay.  Drape is not a big concern!

2015-01-14 18.26.18

My very patient beloved agreed to come and help me put it up.

2015-01-14 18.41.26

And here we are, admiring our handiwork as the sun goes down and passersby come past with their dogs, too polite to ask. As you can see, the plants we are trying to protect are still small.  Those that haven’t already died must be hard to see from a car.   There is still another spot near here where people park… so there may yet be more bunting!

6 Comments

Filed under Craftivism, Sewing

The after party: indigo exhaust

The indigo vats got another look with a view to exhausting them a couple of days after the recent big event.  I prepared a little more fabric (ah, holidays).

2015-01-01 13.18.26

The fructose vat seemed in order but I thought it might be exhausted.

2015-01-01 11.19.29

The first dip confirmed this. Well, we’ve been discussing this in the comments… but this was the conclusion I drew on the day.  The fabric was very pale even when wet.

2015-01-01 14.11.09

Reheating and adjusting Ph and adding more colour run remover produced spectacular results on the colour run remover vats.

2015-01-01 14.42.36

I adjusted the Ph for one vat to suit cellulose fibres and re-dipped my calico samples several times.

2015-01-01 15.16.19

Happy results!

2015-01-03 17.05.03

The other I adjusted to suit wool.  In with some pale, spotted polwarth (cream and tan).

2015-01-01 14.56.52

During…

2015-01-01 15.32.44-1

After…

2015-01-01 16.08.55

There still seemed to be colour left in the vat so I entered a lot of grey crossbred fleece.  The last, overlooked bag of Macchiato the Mongrel.  I think he was named a mongrel partly because, you know, crossbred.  And partly because he ate the neighbour’s pea crop and had to be found a new home.  Thus capturing both meanings of this word in Australia.

2015-01-01 17.24.43

I’ve been spinning the deep blue result with delight since.  This is quite a coarse fleece, but I have just loved spinning every bit of it, and one of Macchiato’s humans brought me another fleece a while back… so once I’ve washed it, I can go again with all that pleasure.  Most of the first fleece went to a friend of my beloved’s who wanted to knit a jumper from it.  I don’t know whether she ever did, though!

2015-01-14 15.14.28

6 Comments

Filed under Fibre preparation, Spinning

Summer Indigo 2: Dyeing and the colour run remover vats

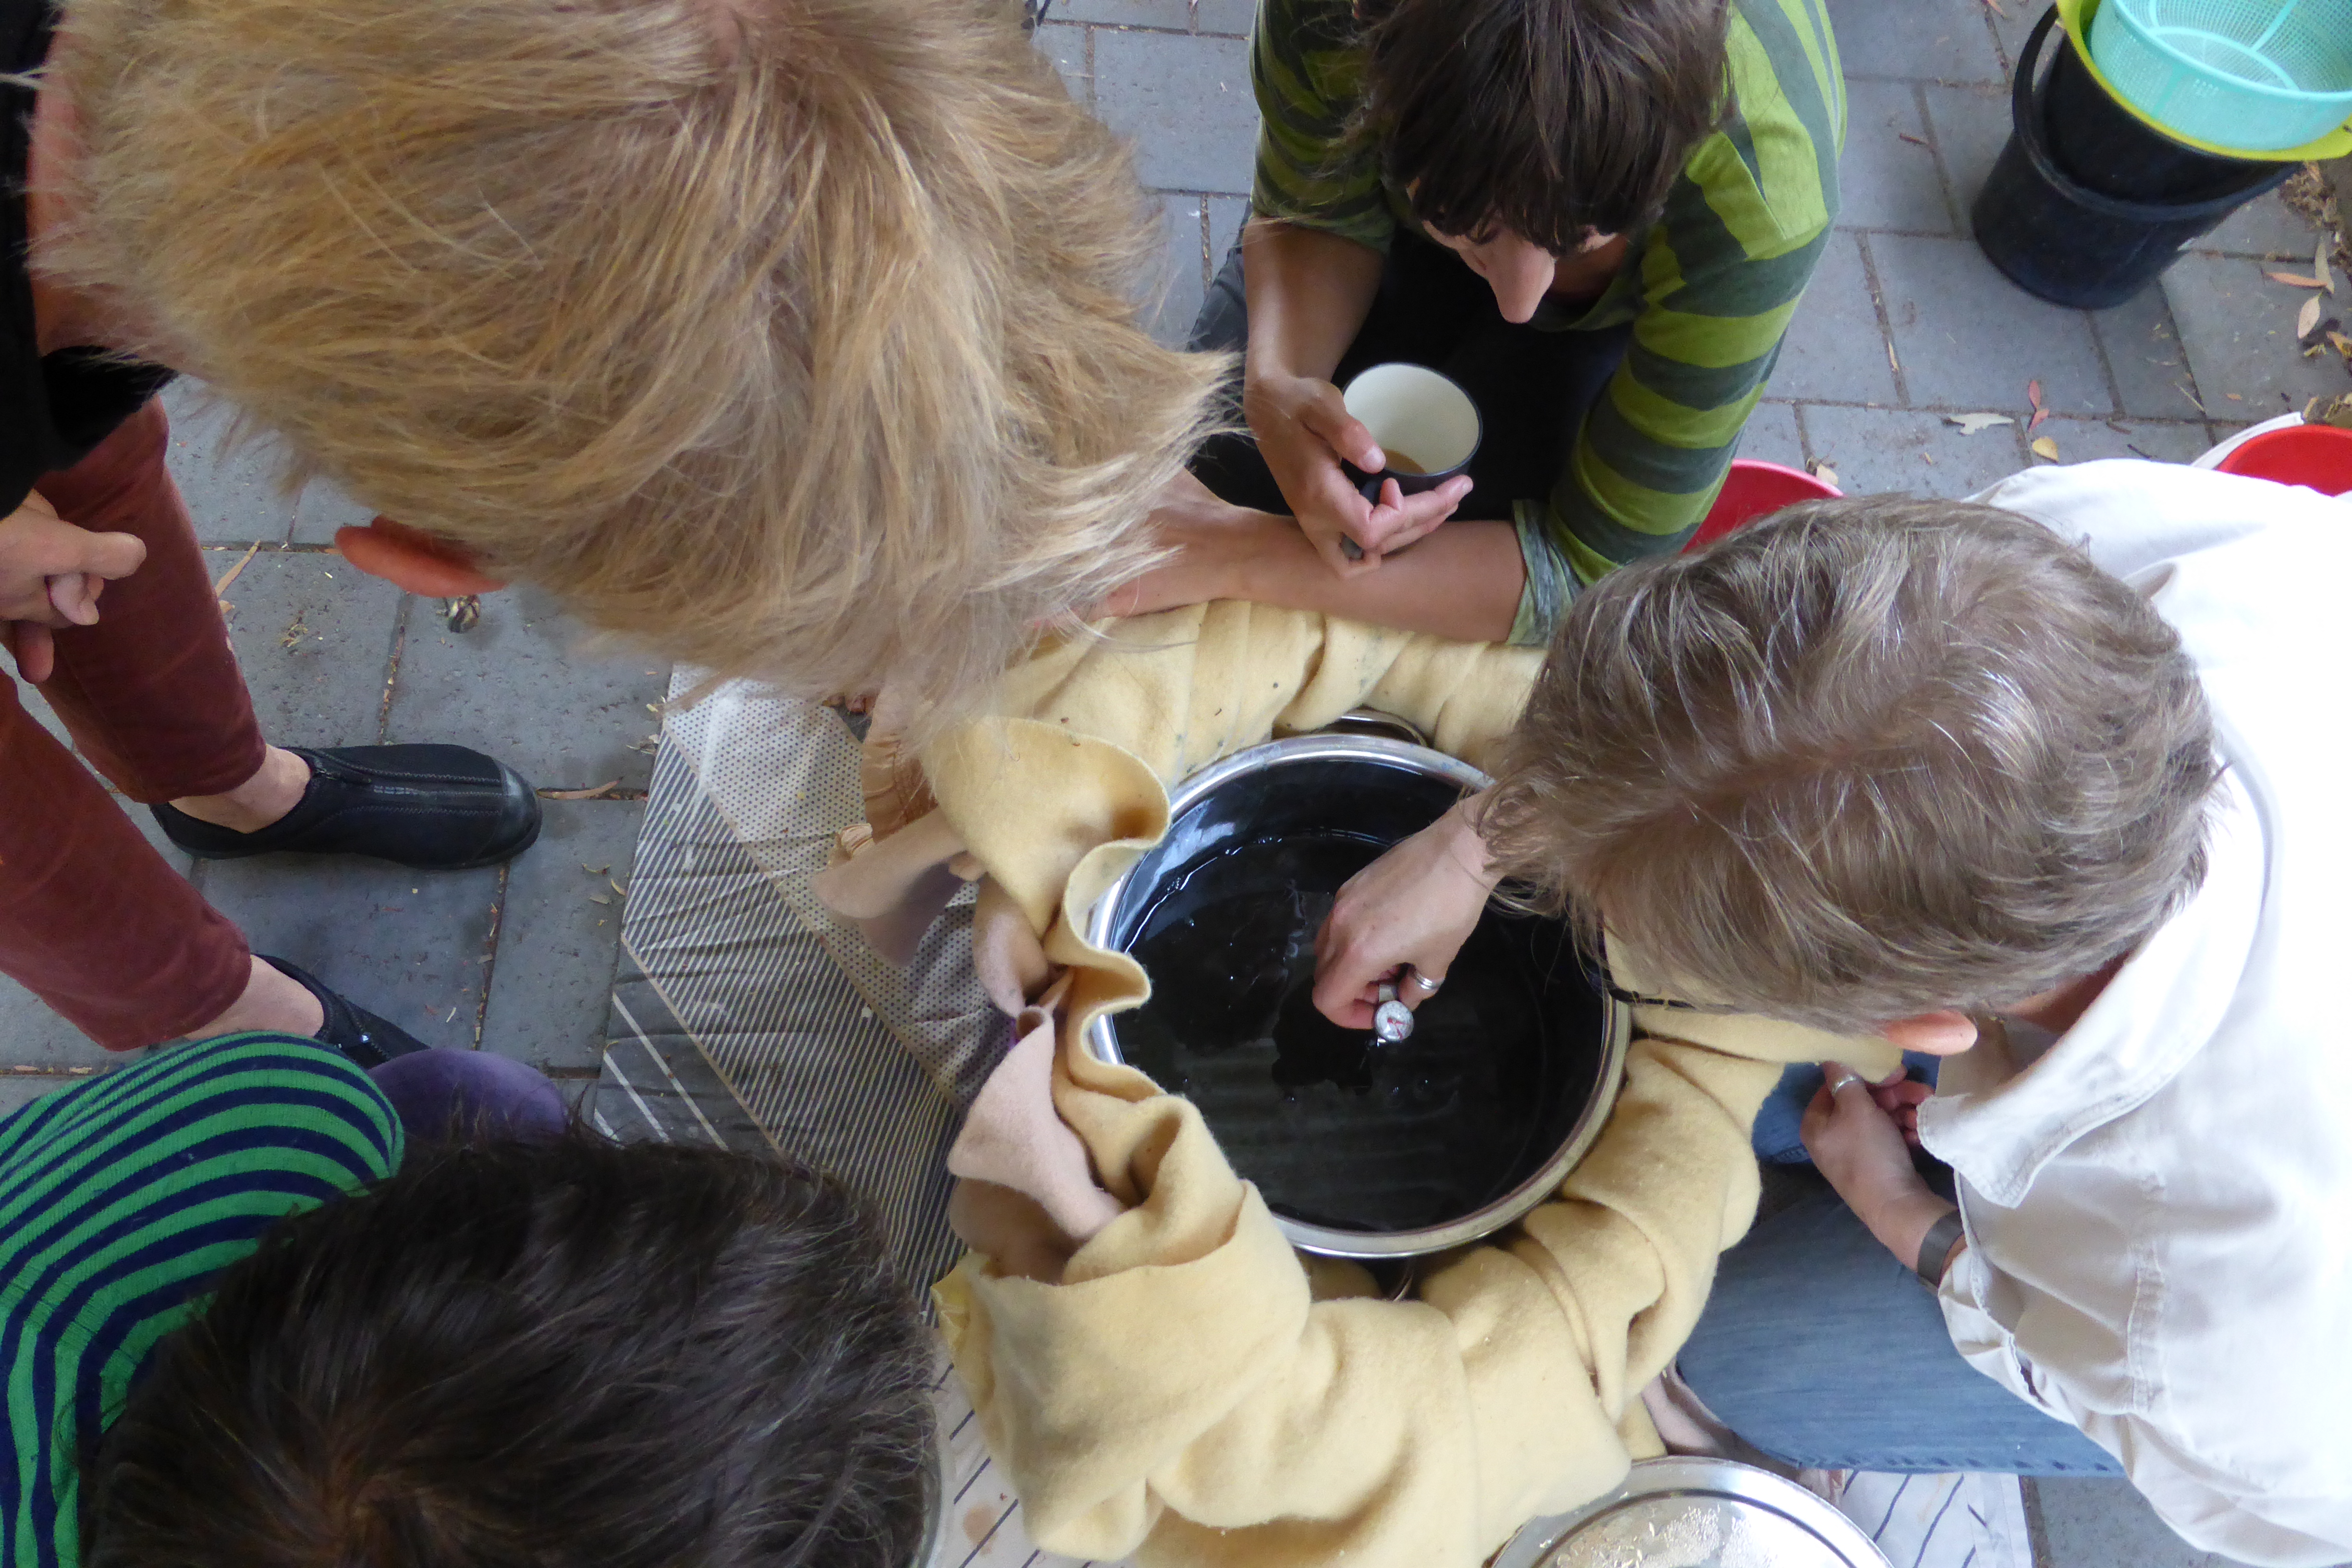
When the big day arrived, I had more company than initially expected, with two of our beloved friends staying with us and keen to try indigo, and more coming over.  I have to say, I am intimidated by indigo and it was a holiday project that kept me nervous, planning this indigo dyeing day.  What if it didn’t work out?  What if my ignorance trumped my effort? What if people were bored? What if nothing worked and people’s things were ruined?   The funny thing about fret is that so often it has me focused on myself and my overdeveloped sense of responsibility, and that’s neither sensible, nor fun, nor realistic.  How could I even temporarily forget how wonderful my friends are, in the face of fret?  Everyone who came knew at least some of the other folk and it was such a generous and friendly gathering.  One of my near and dear spent the day taking photographs, so a big thanks to her for those that follow…

2014-12-29 11.27.43

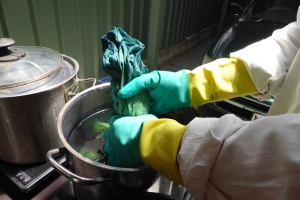
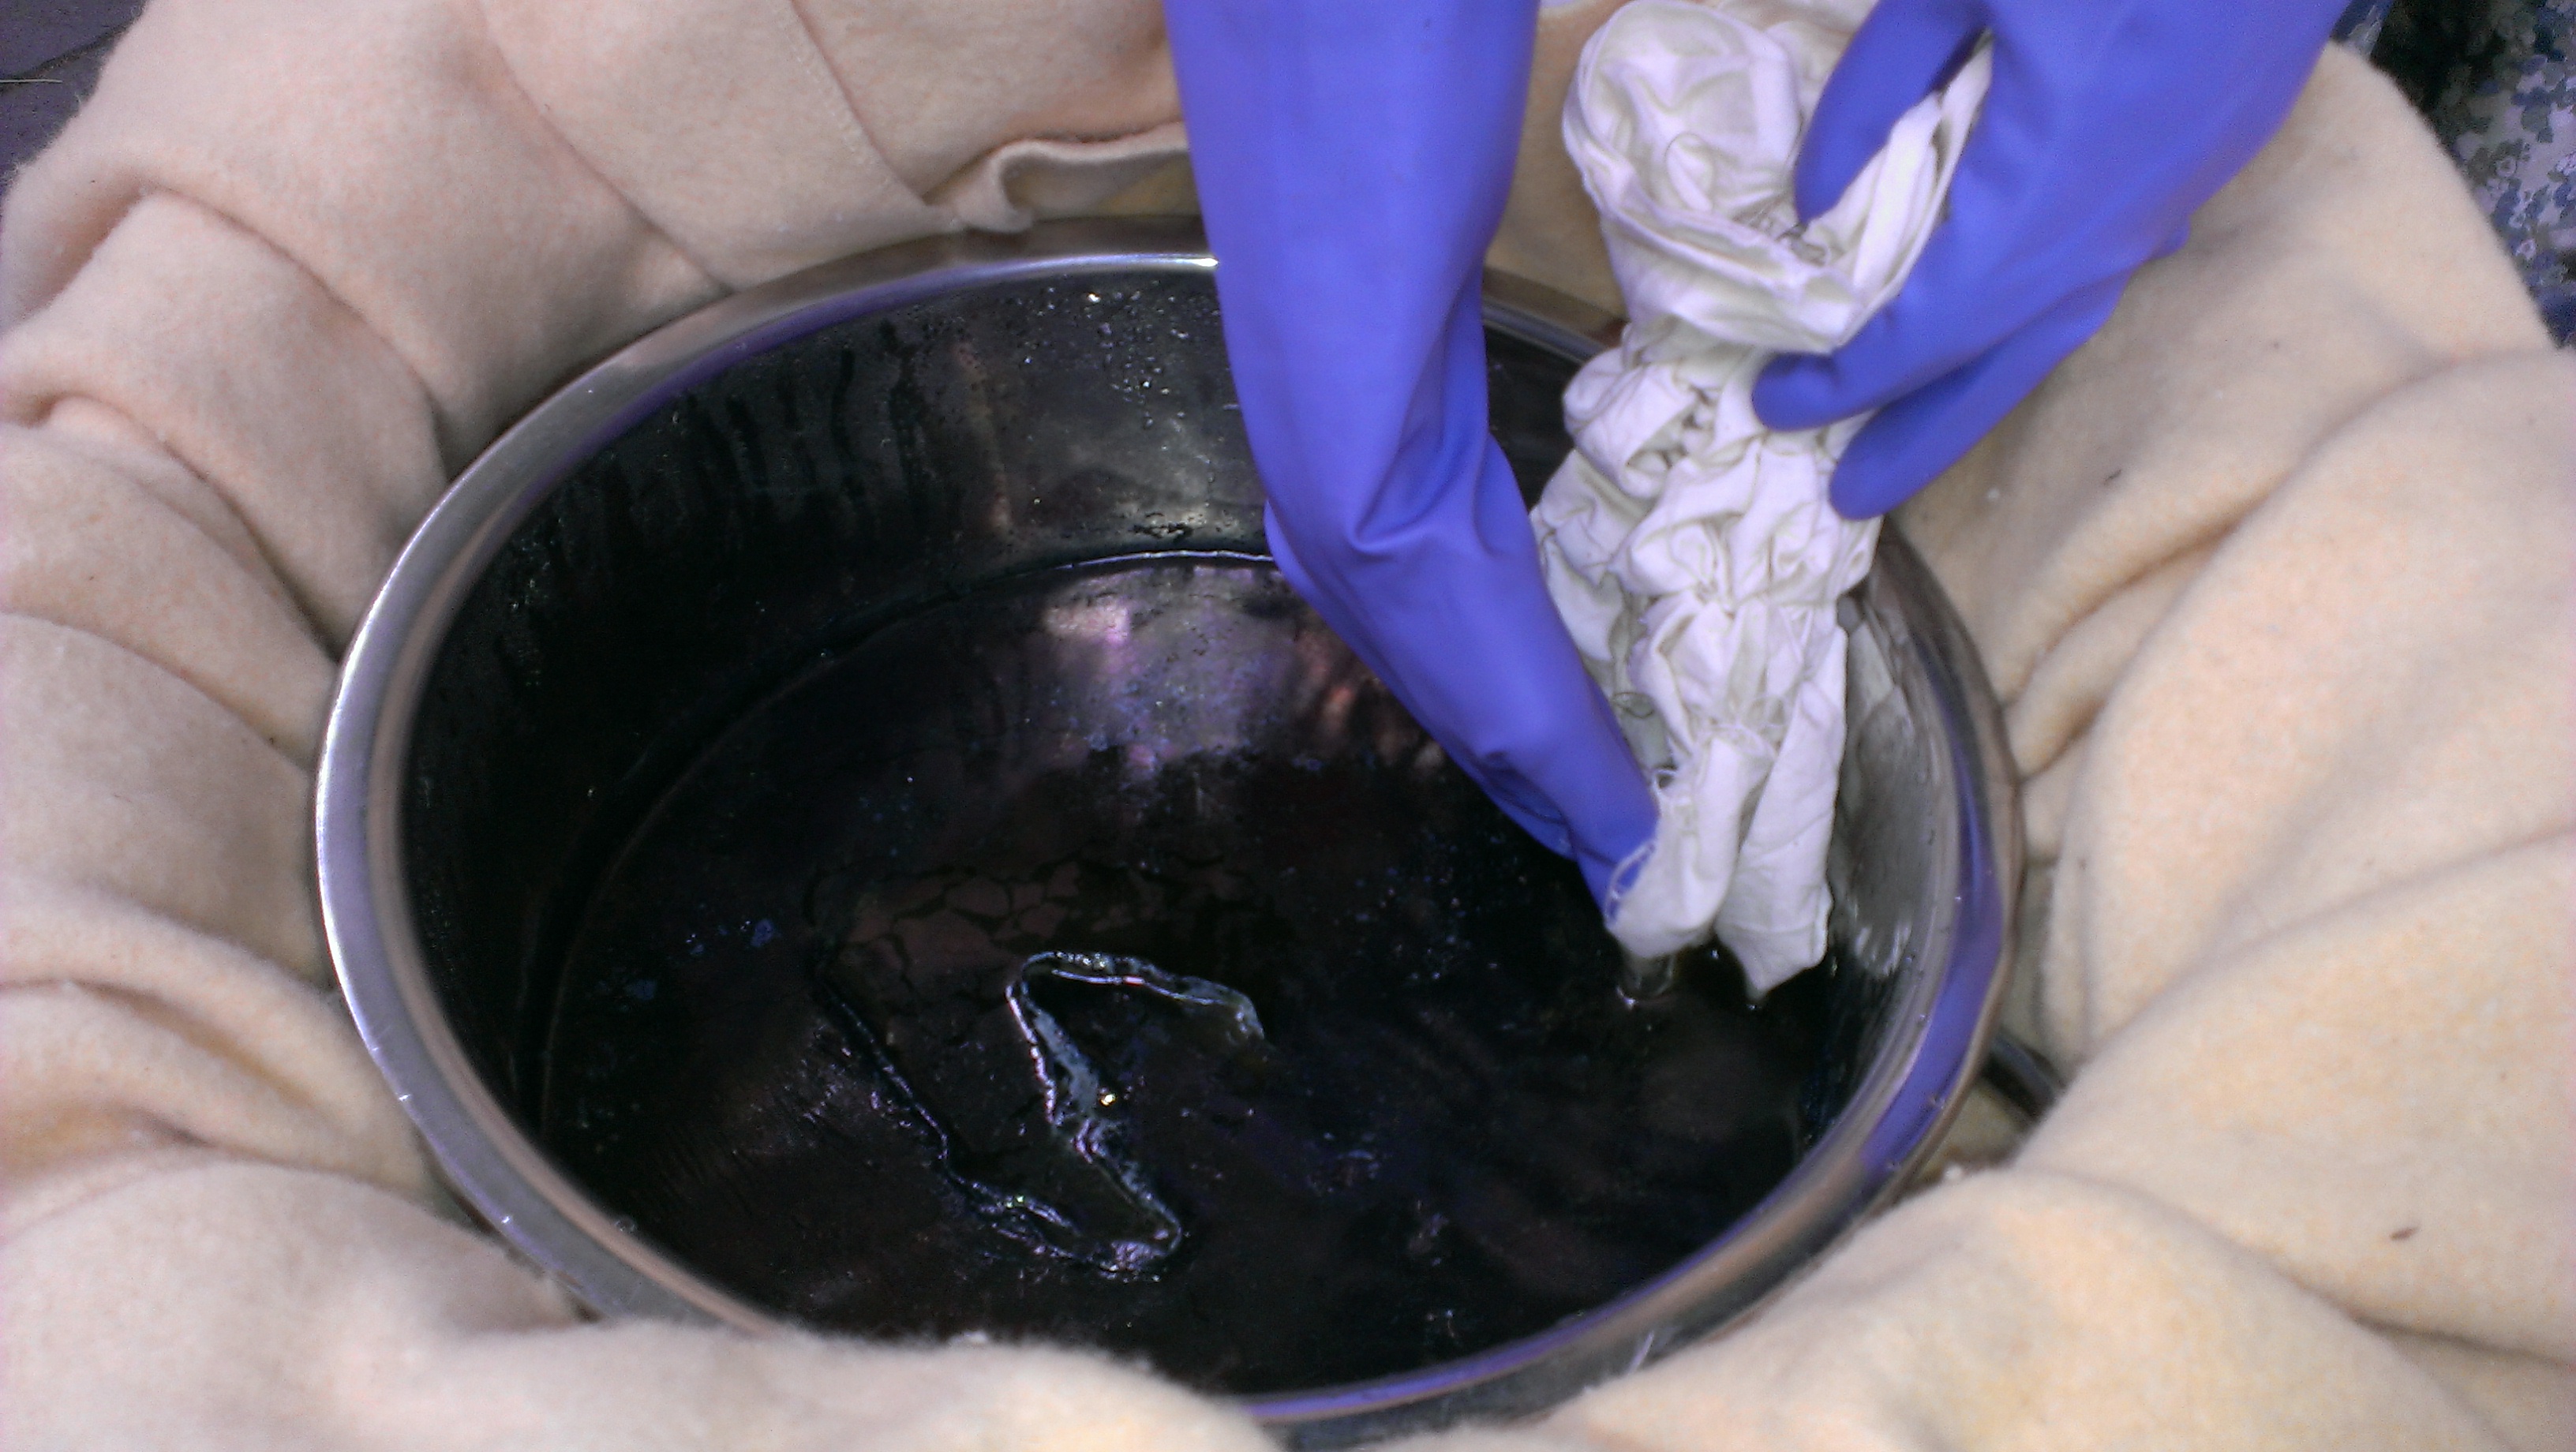
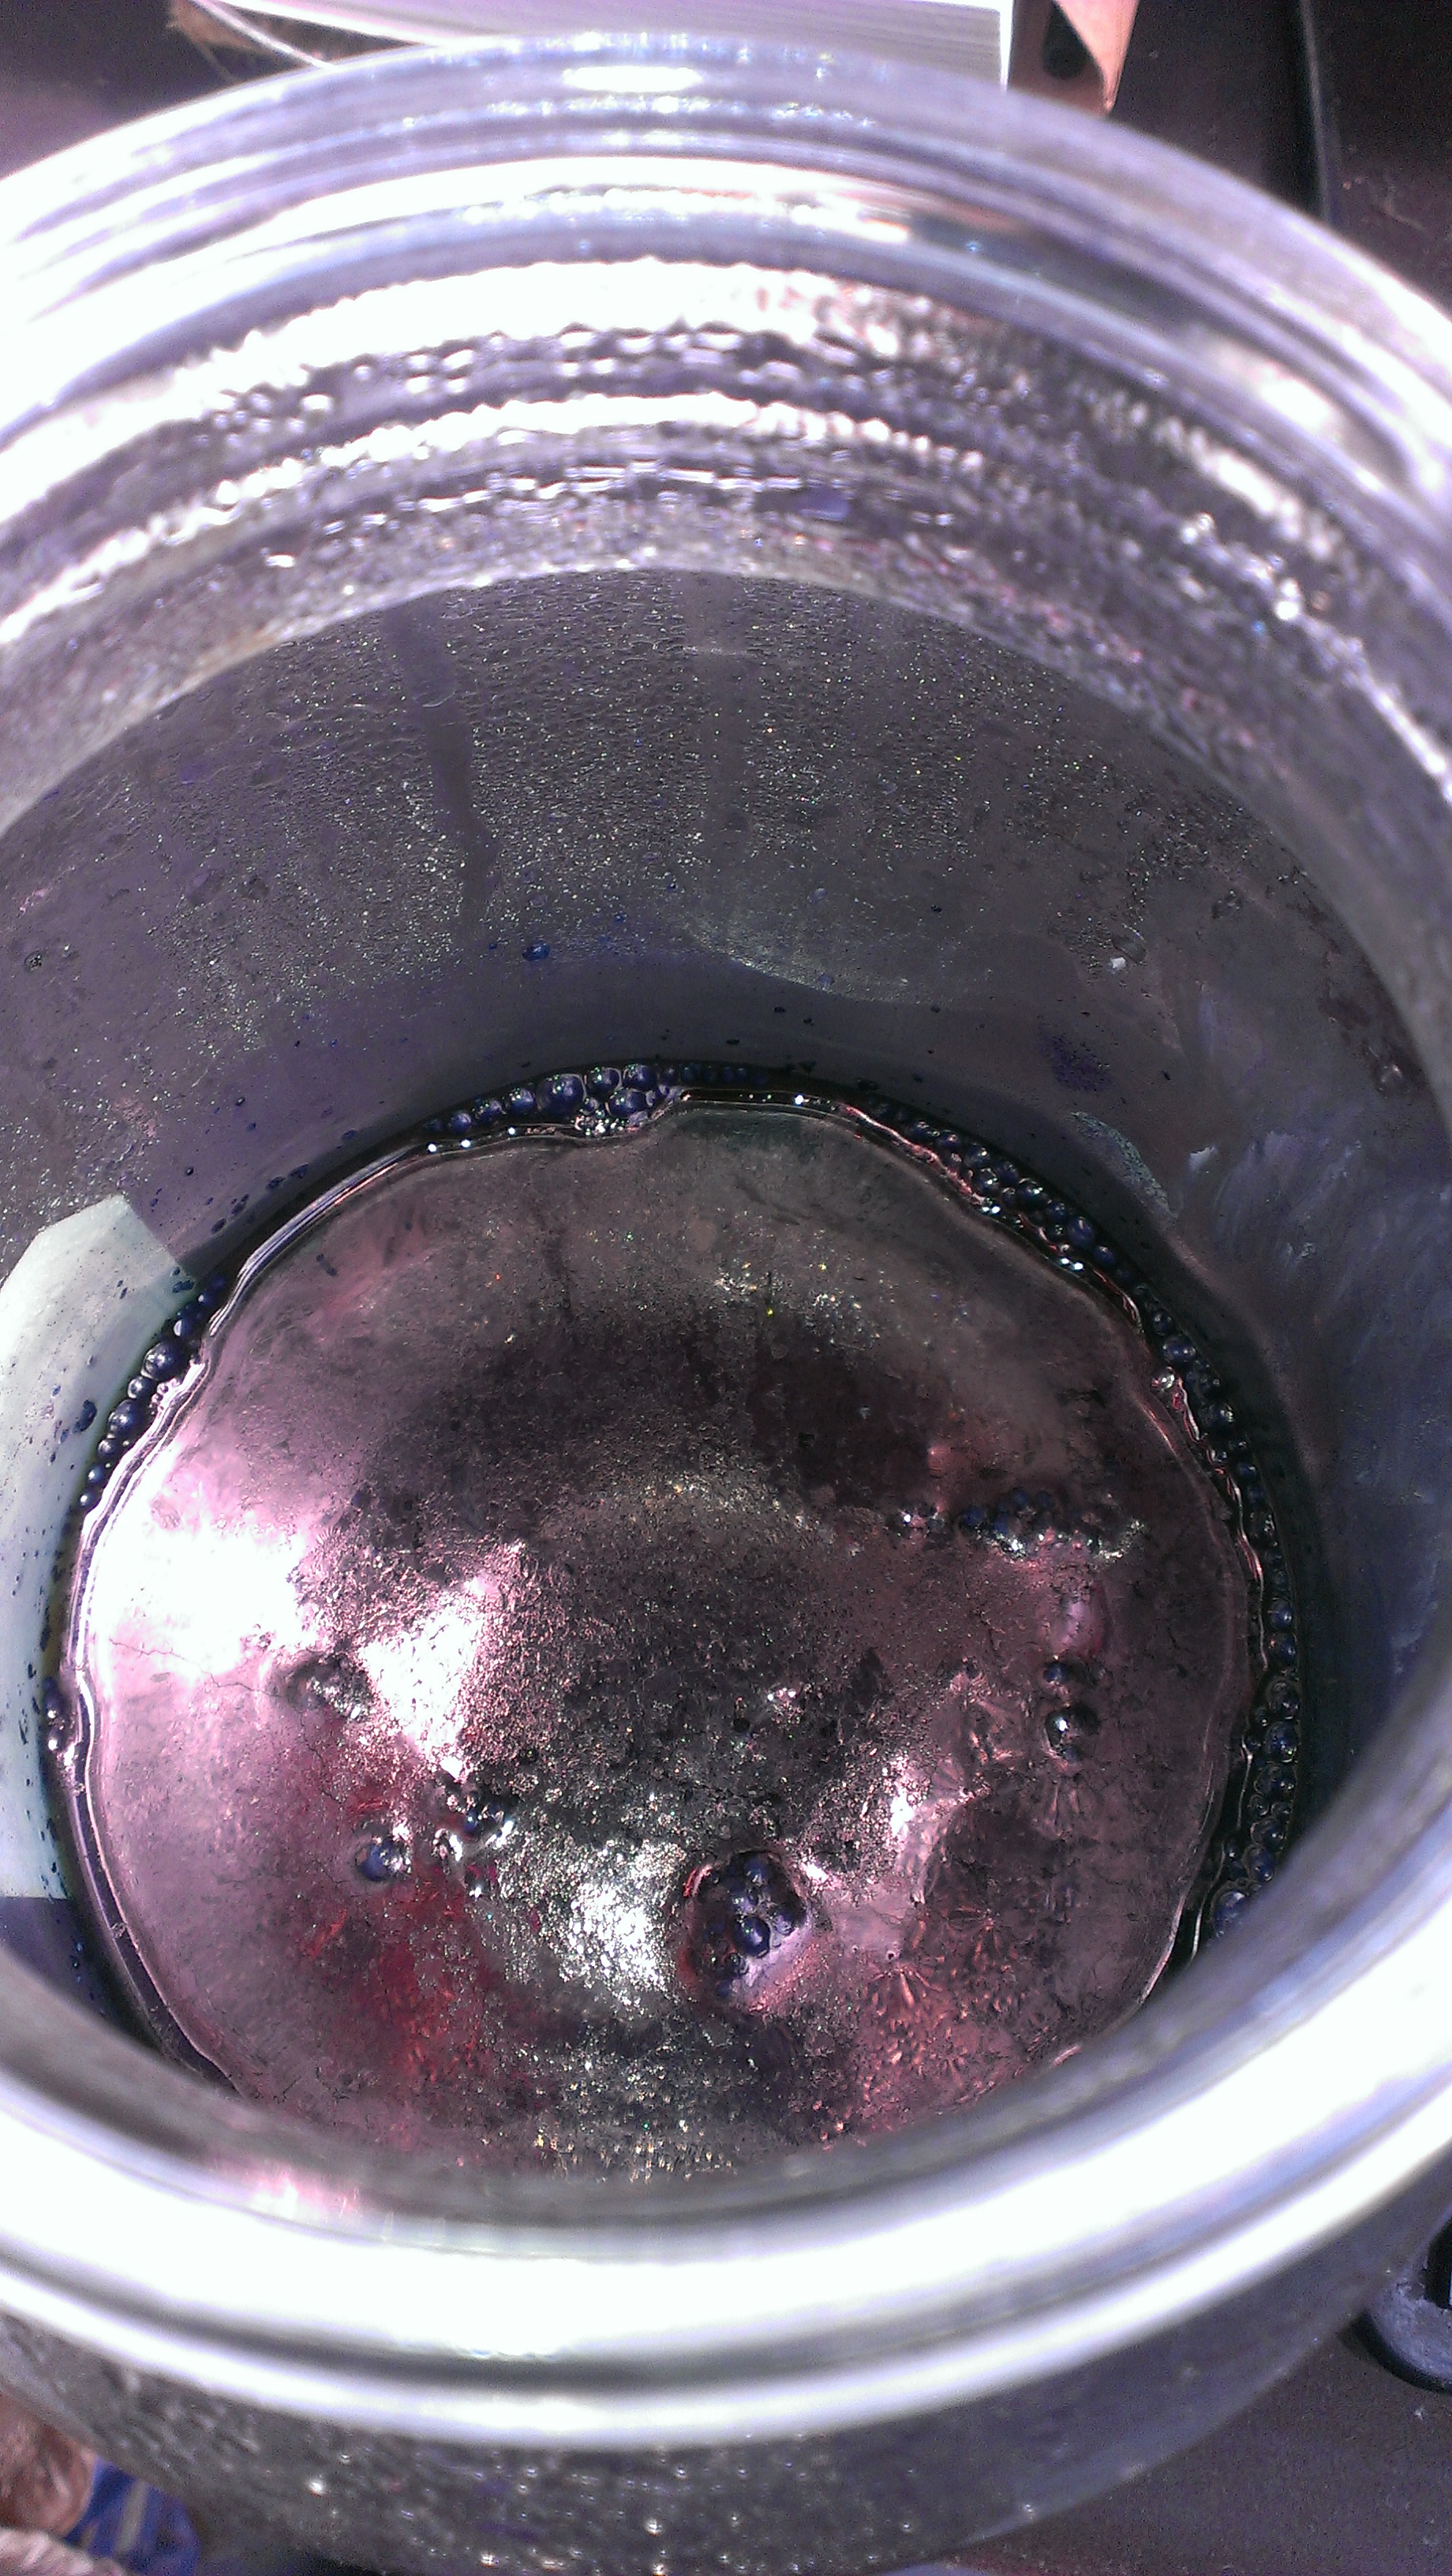
We practised our skills at getting fabric into and out of the dye without adding needless oxygen.

P1020572

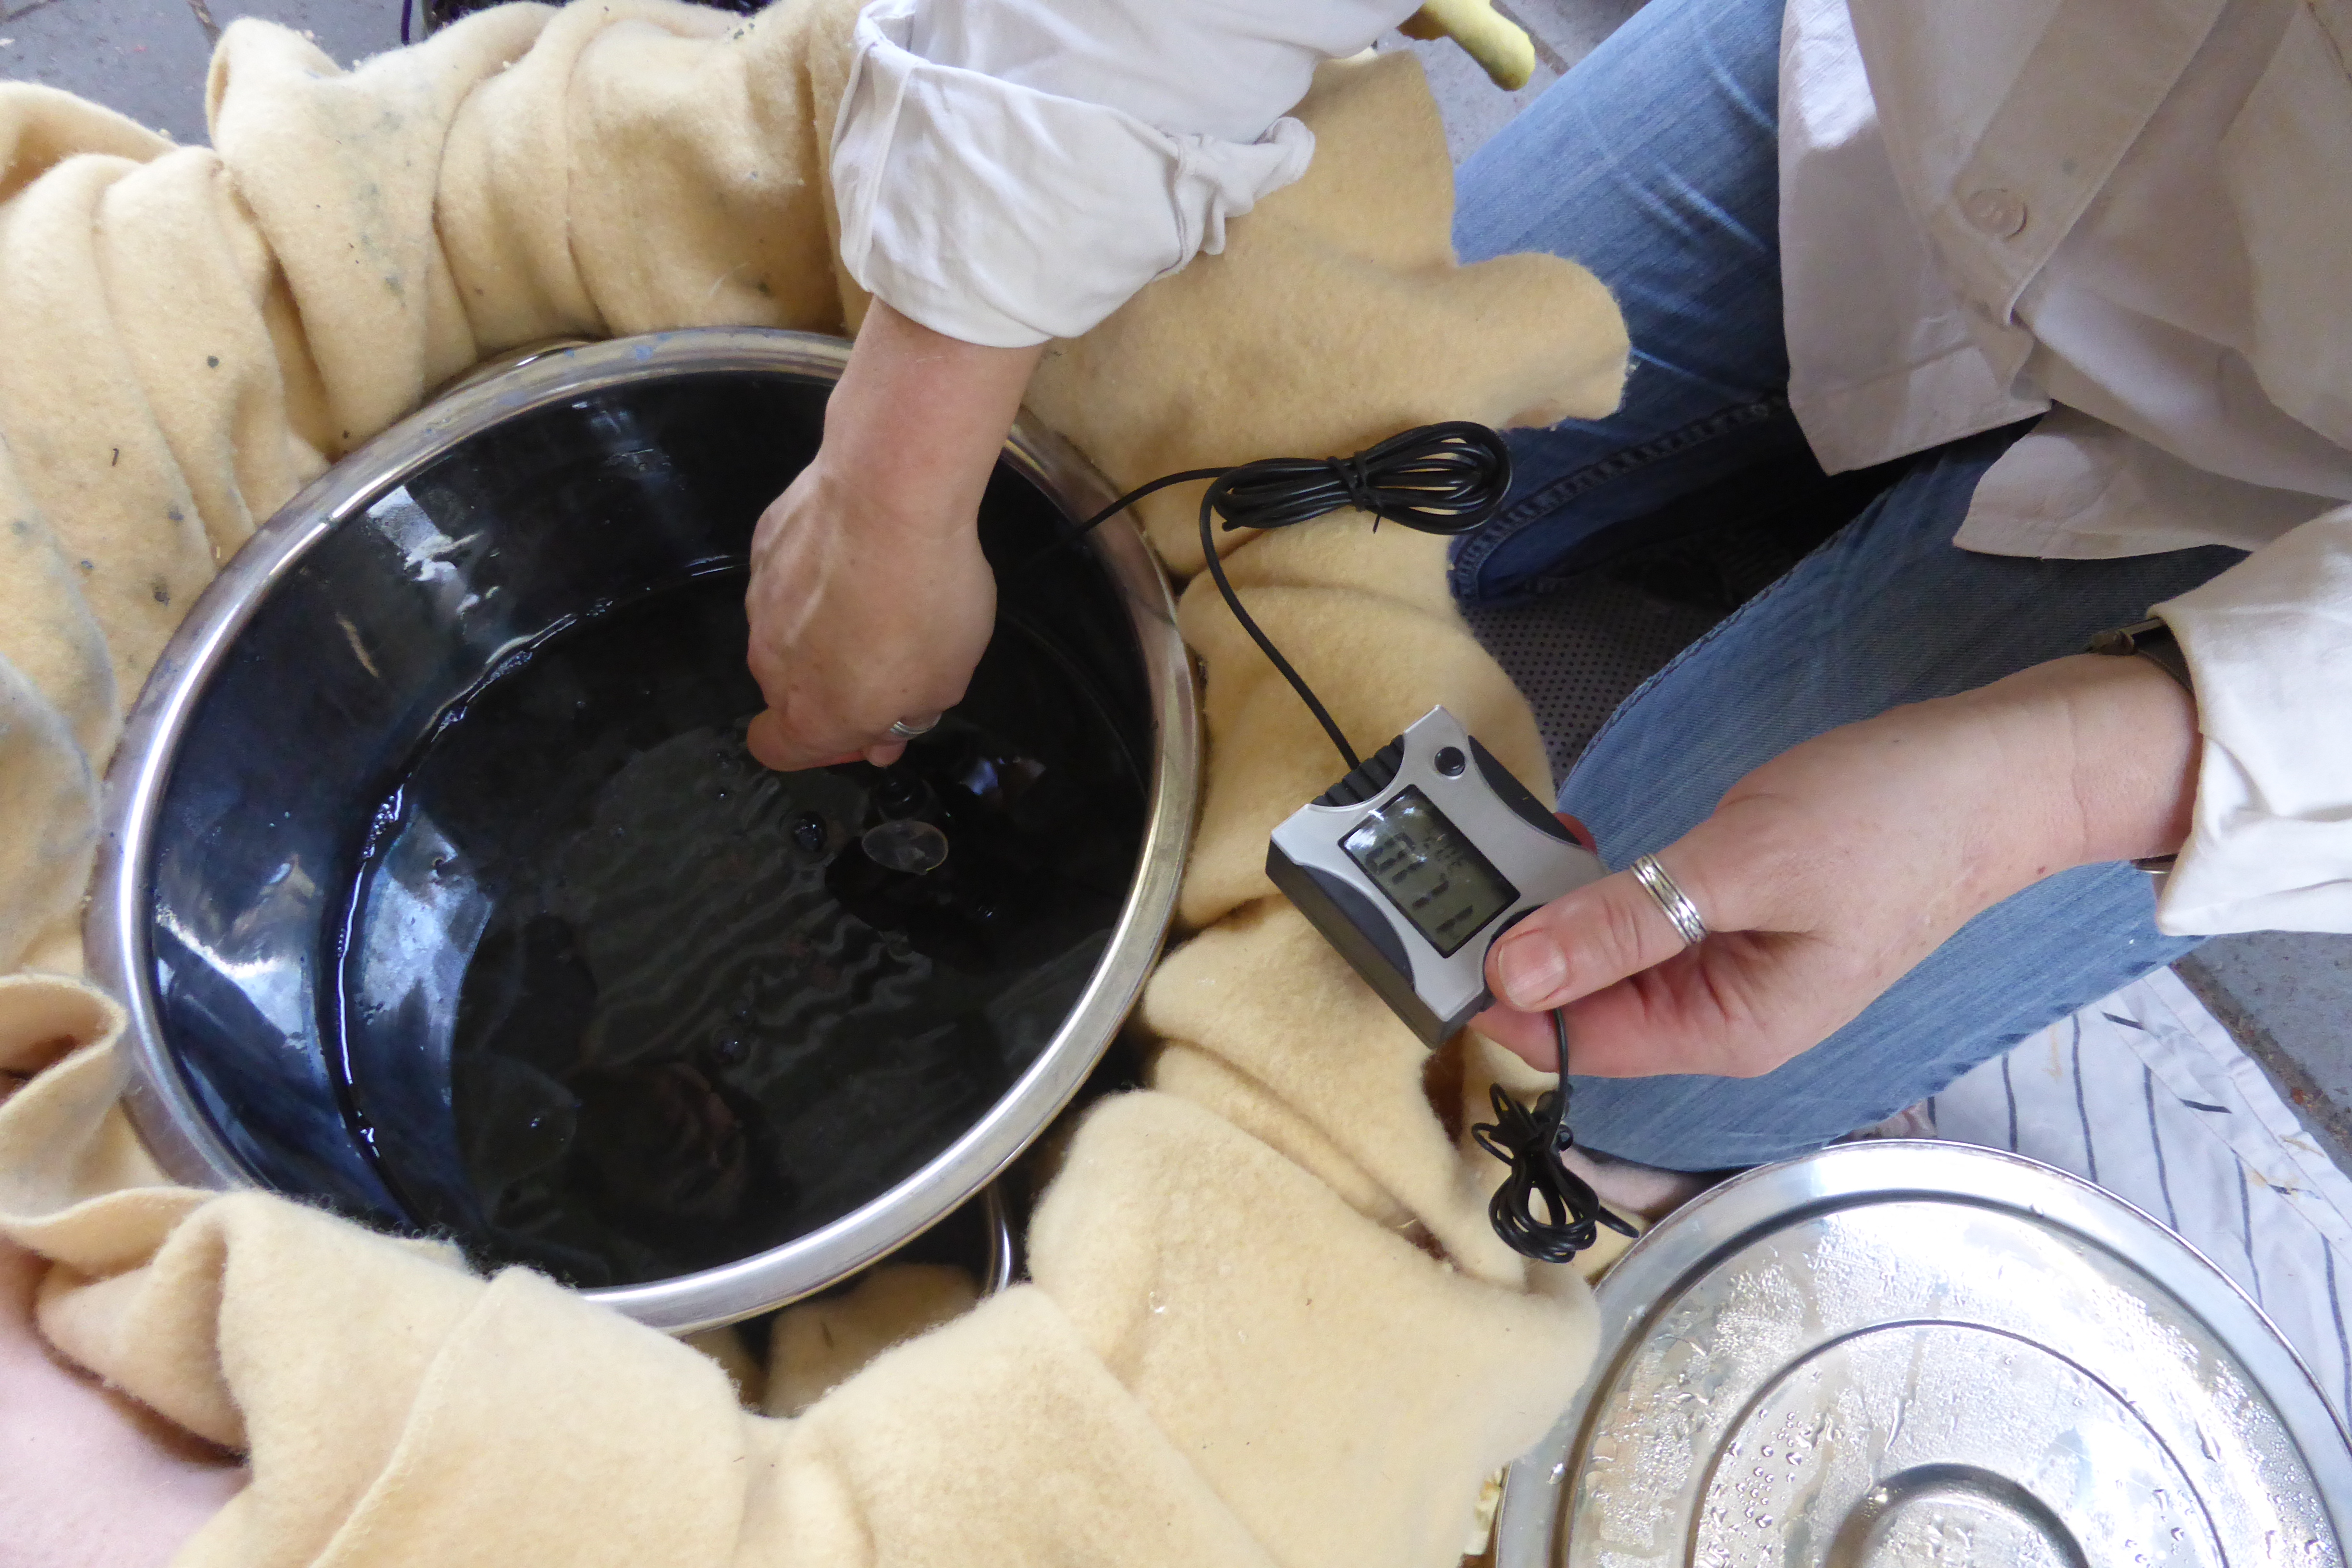
This time I had a dependable thermometer and used it!

P1020569

I also now have a Ph meter.  My dear Dad asked what I wanted for my birthday last year and when I said I wanted a Ph meter but wasn’t sure where to get one he had the answer!!!  You don’t know him, but eBay, my friends, is the answer to a shocking number of things for Dad…

P1020547

There wasn’t just the fructose vat.  I have decided that aiming for fermentation and fructose vats is a good long term goal for environmental, health and all kinds of other reasons (pure curiosity, for a start…) and I am growing woad and indigofera australis and Japanese indigo.  However, I have decided that in the interim, colour run remover (mostly sodium hydrosulphite) can rescue failures in my judgment and experience and save wastage of indigo. Since I have some synthetic indigo, I decided to use that in any hydrosulphite vats as it may not be so suitable for fermentation or fructose vats.  There was a lot of fabric when everyone piled in–so I set up two hydrosulphite vats and was delighted not to need to use hydrosulphite to troubleshoot the fructose vat.

P1020626

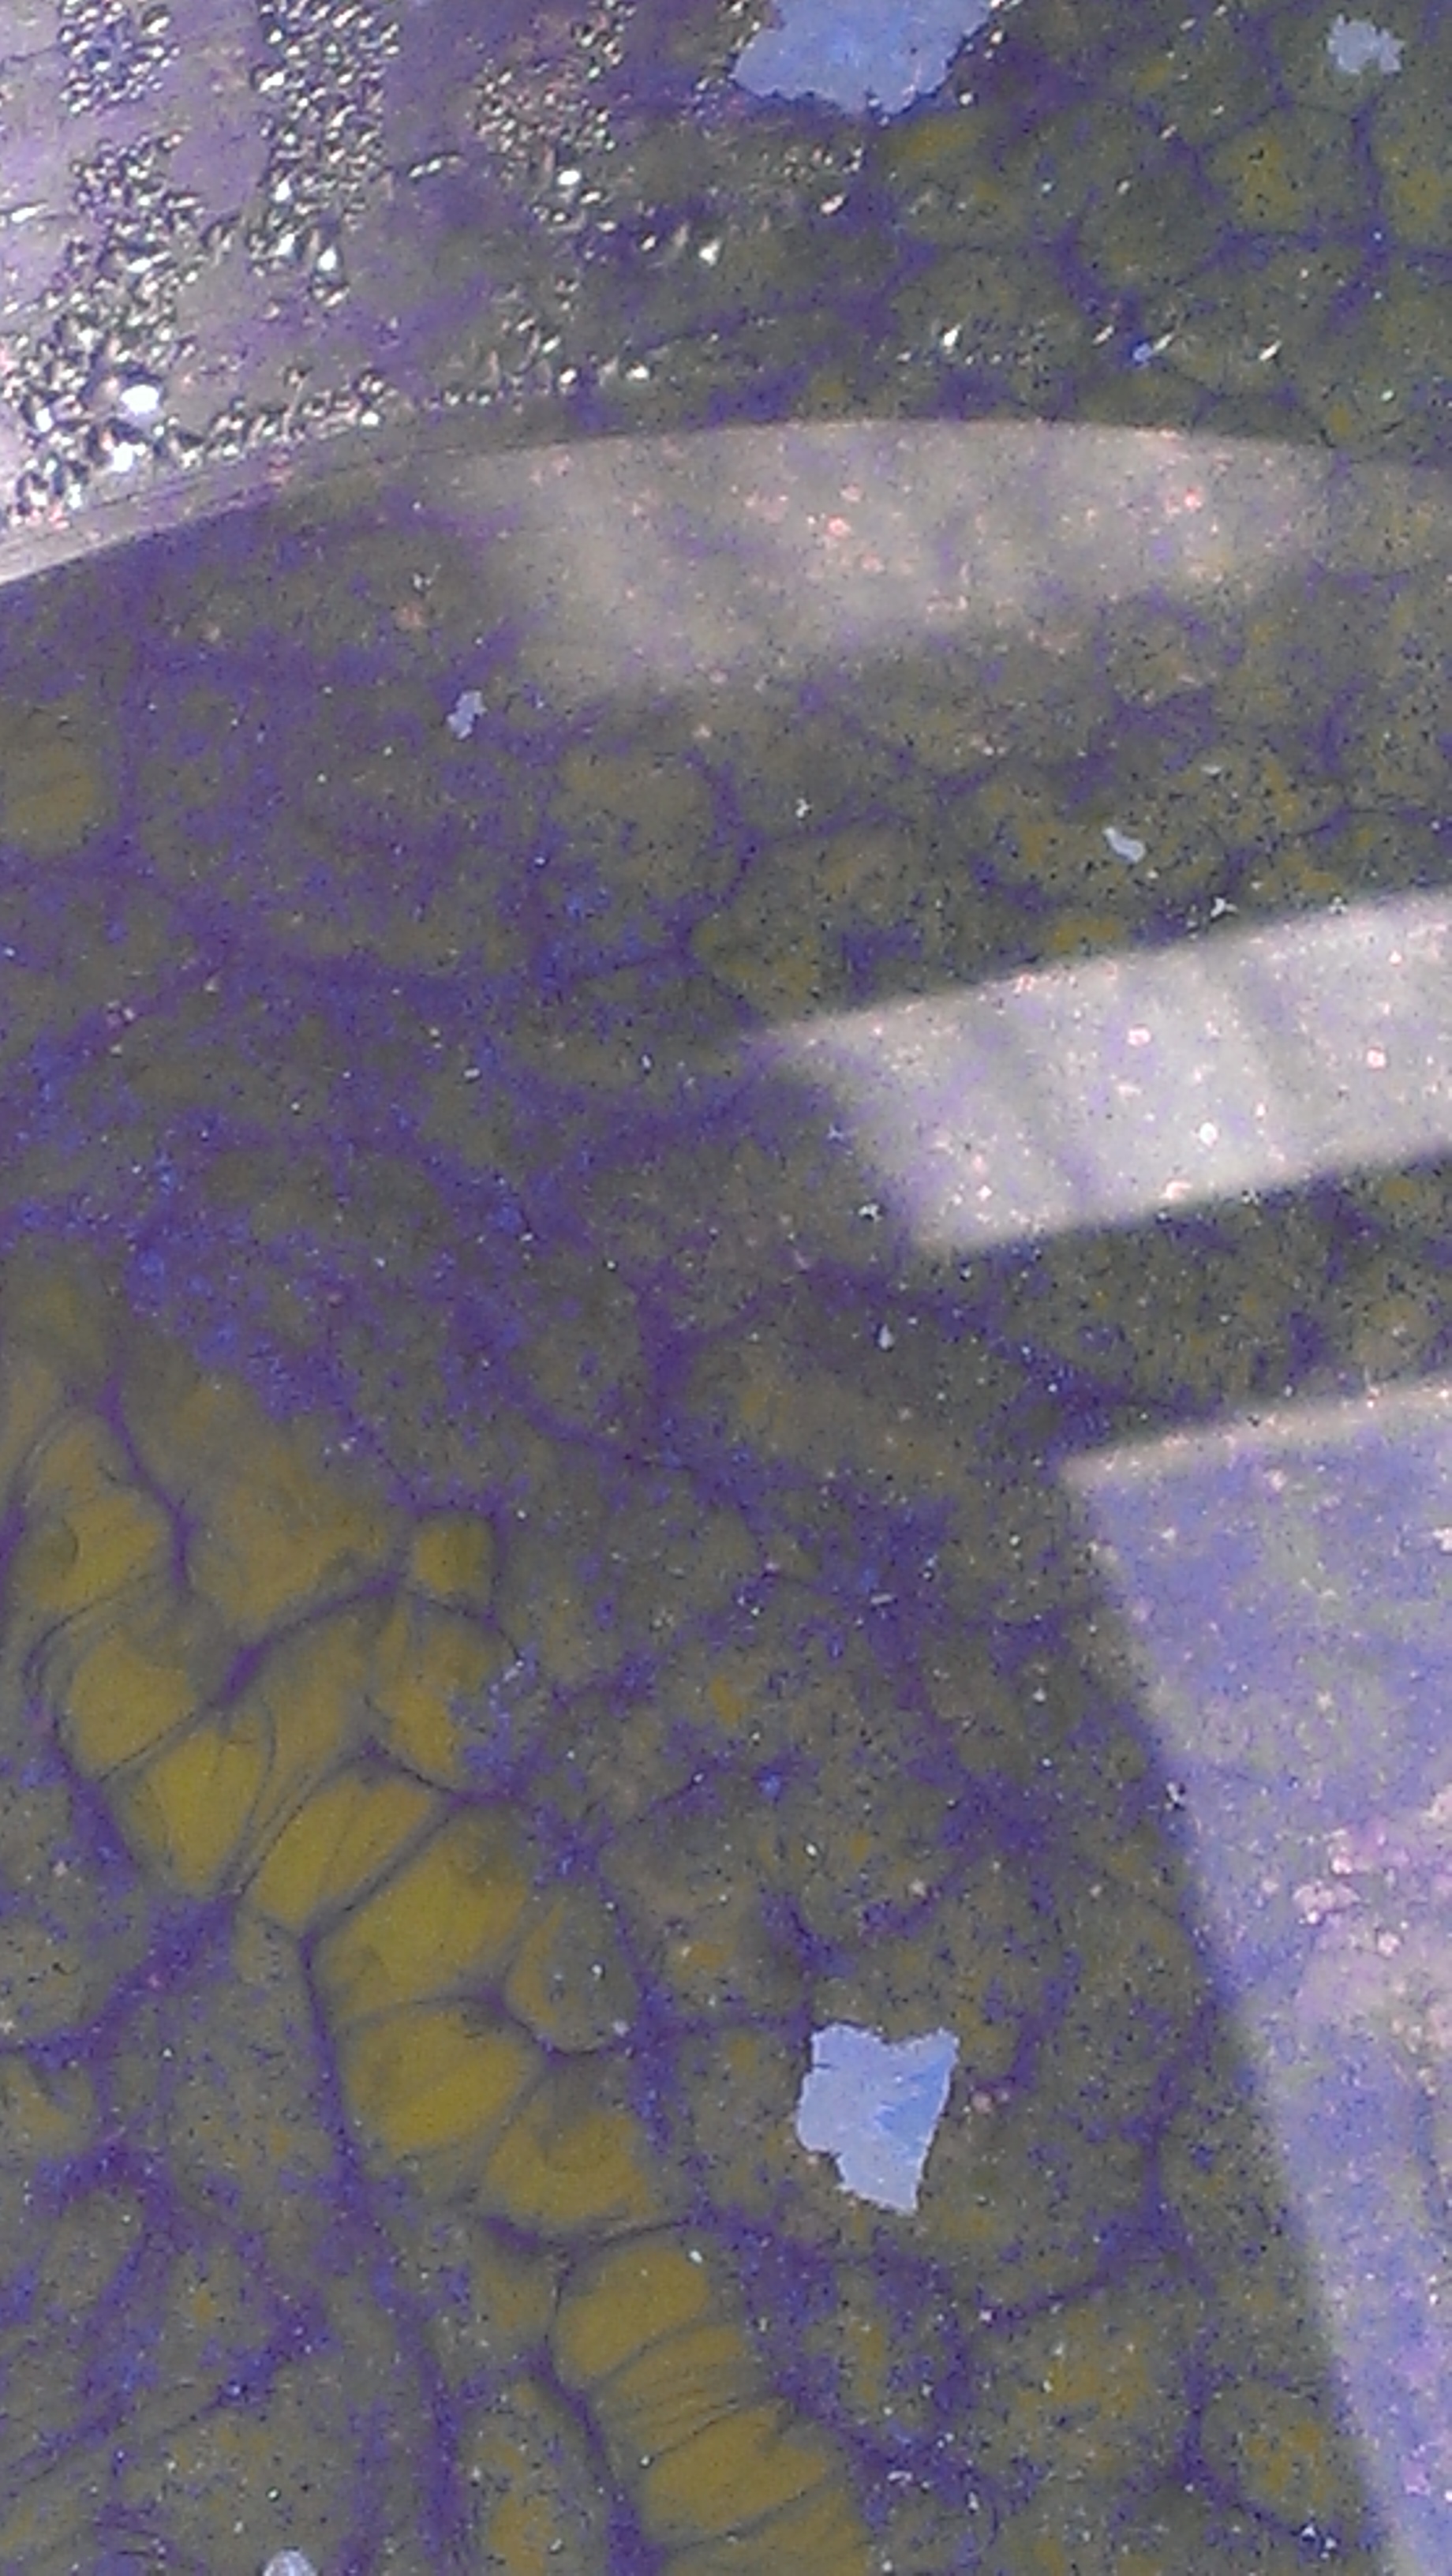
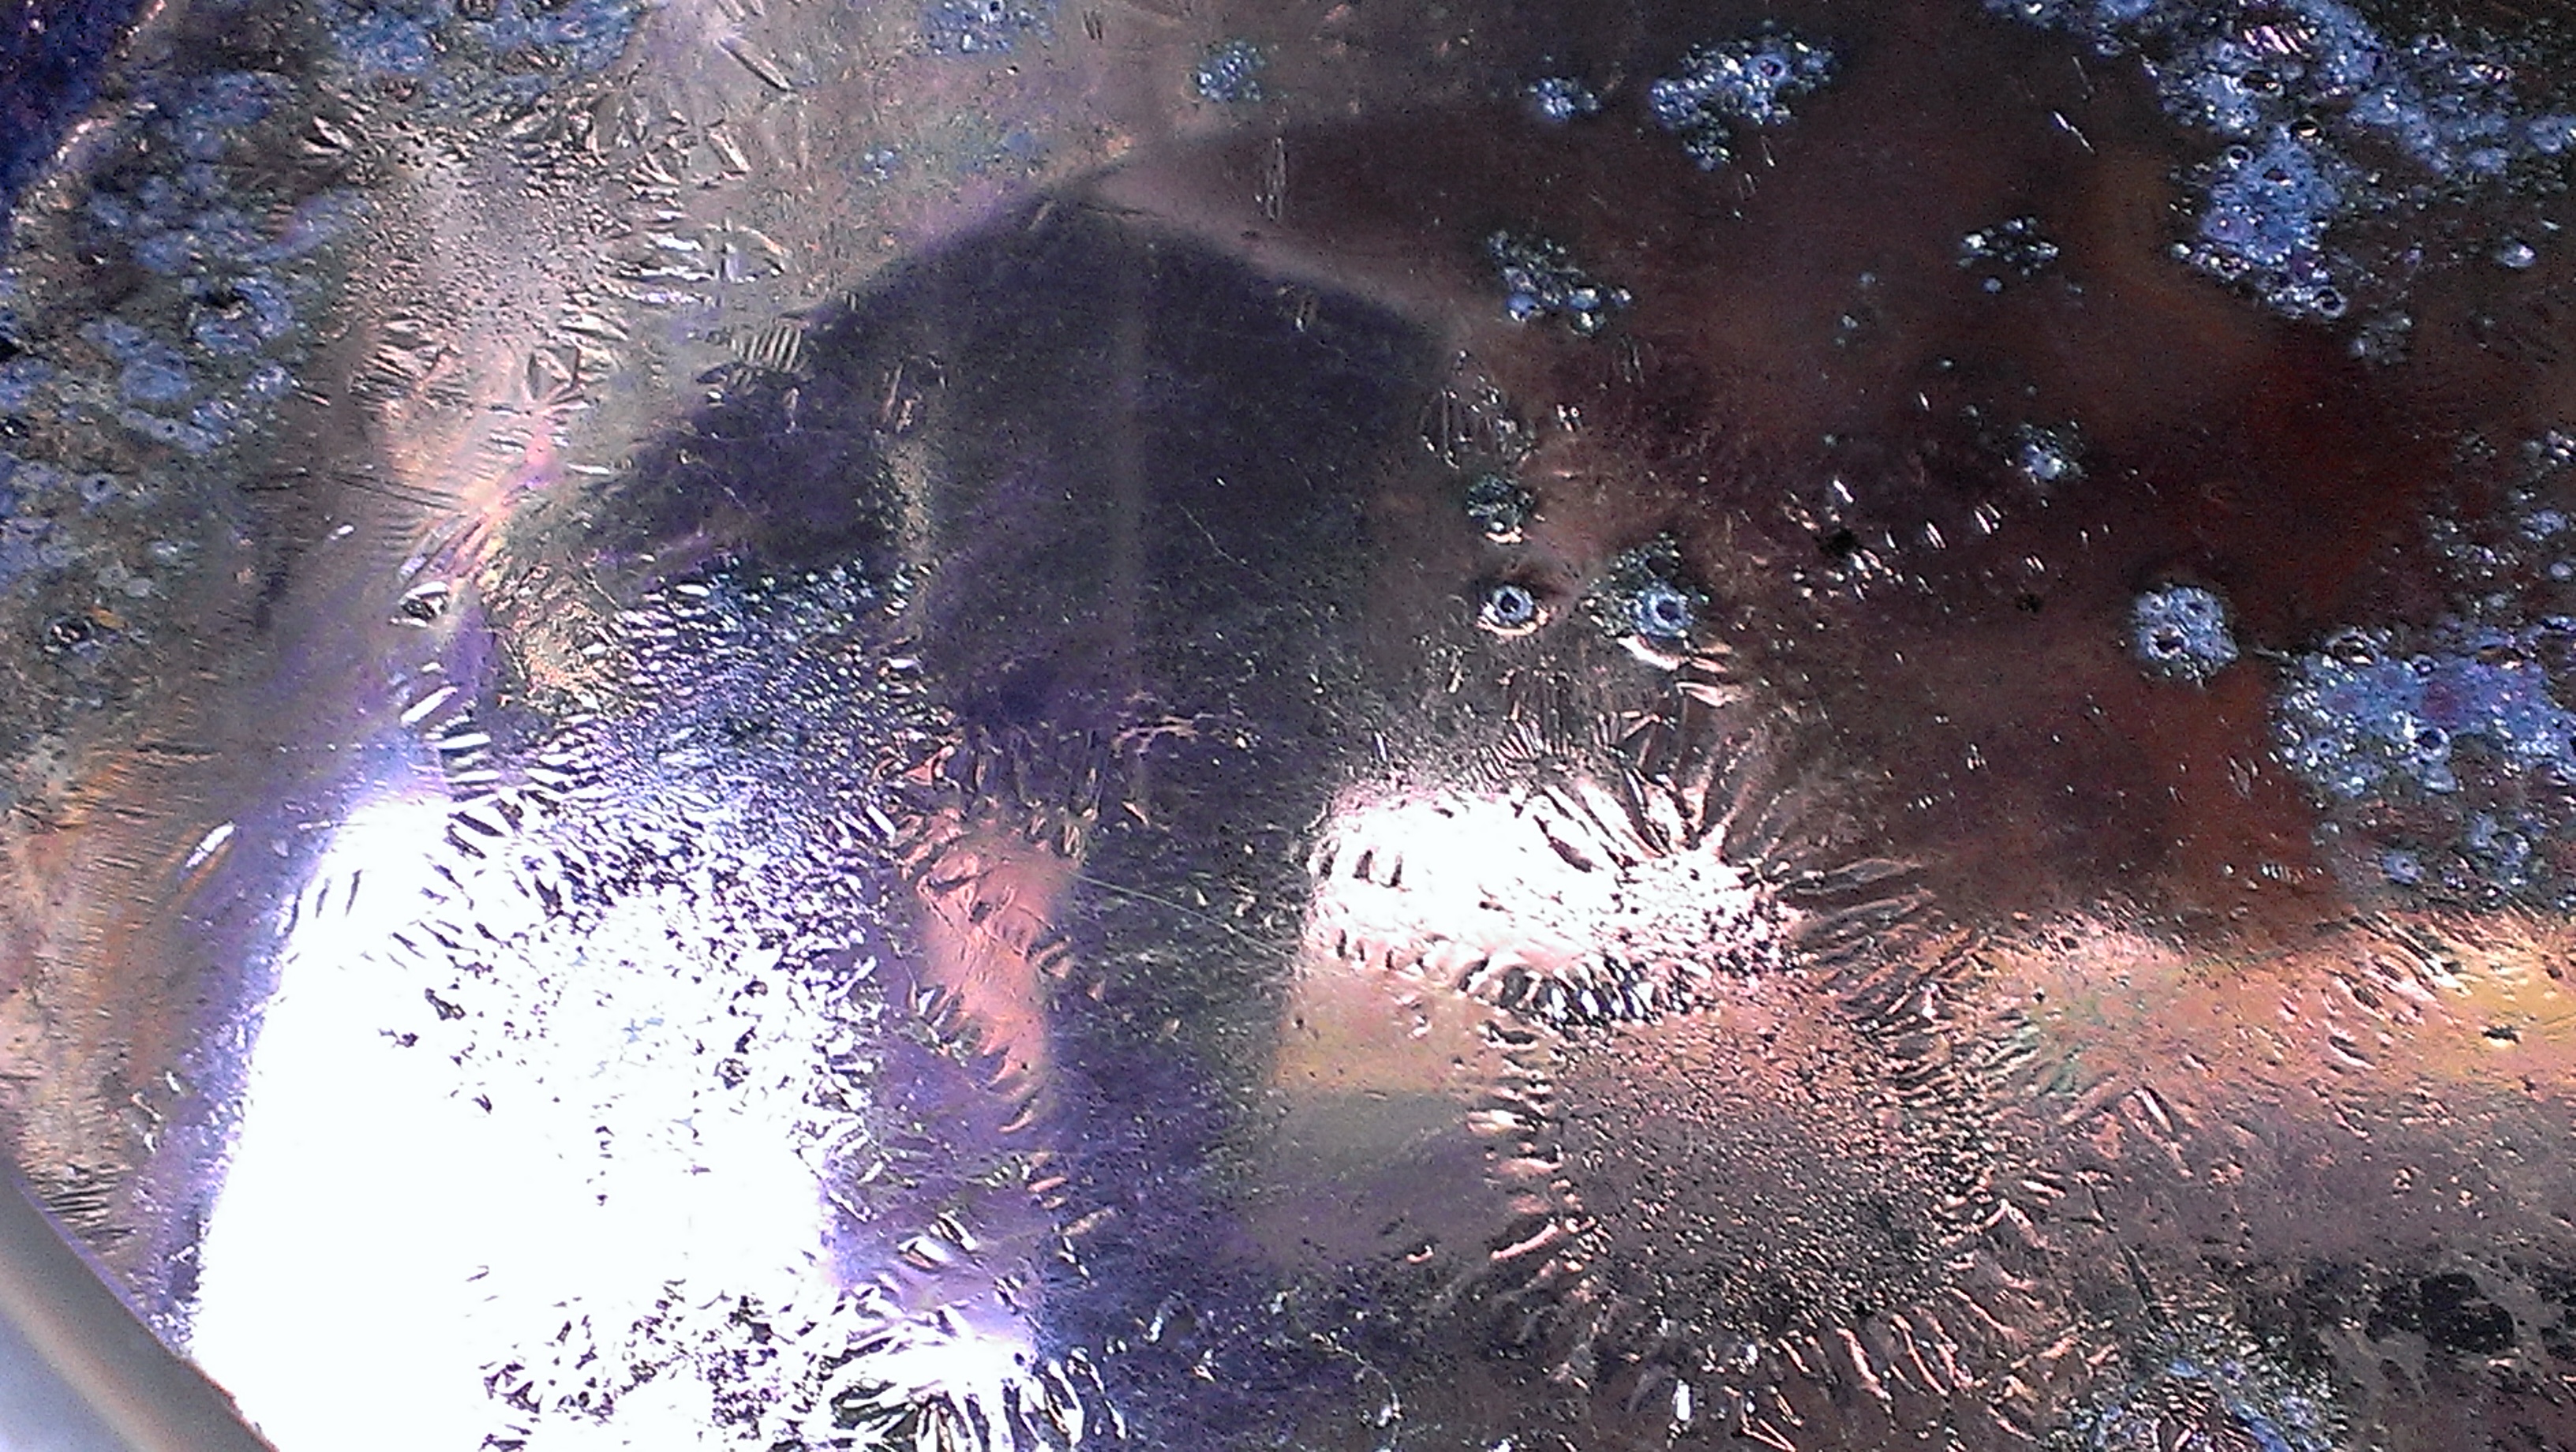
This is something-or-other coming out of one  colour run remover vat quite yellow and beginning to turn blue as the air strikes it.  For these vats, I tried Jenny Dean’s recipe for a colour run remover indigo vat from Wild Colour.  It worked really well and uses washing soda, a much milder alkali than some proposed in other books. It’s also designed for colour run remover and not pure hydrosulphite–and that is what I had.  The fructose vat smells MUCH better!

P1020646

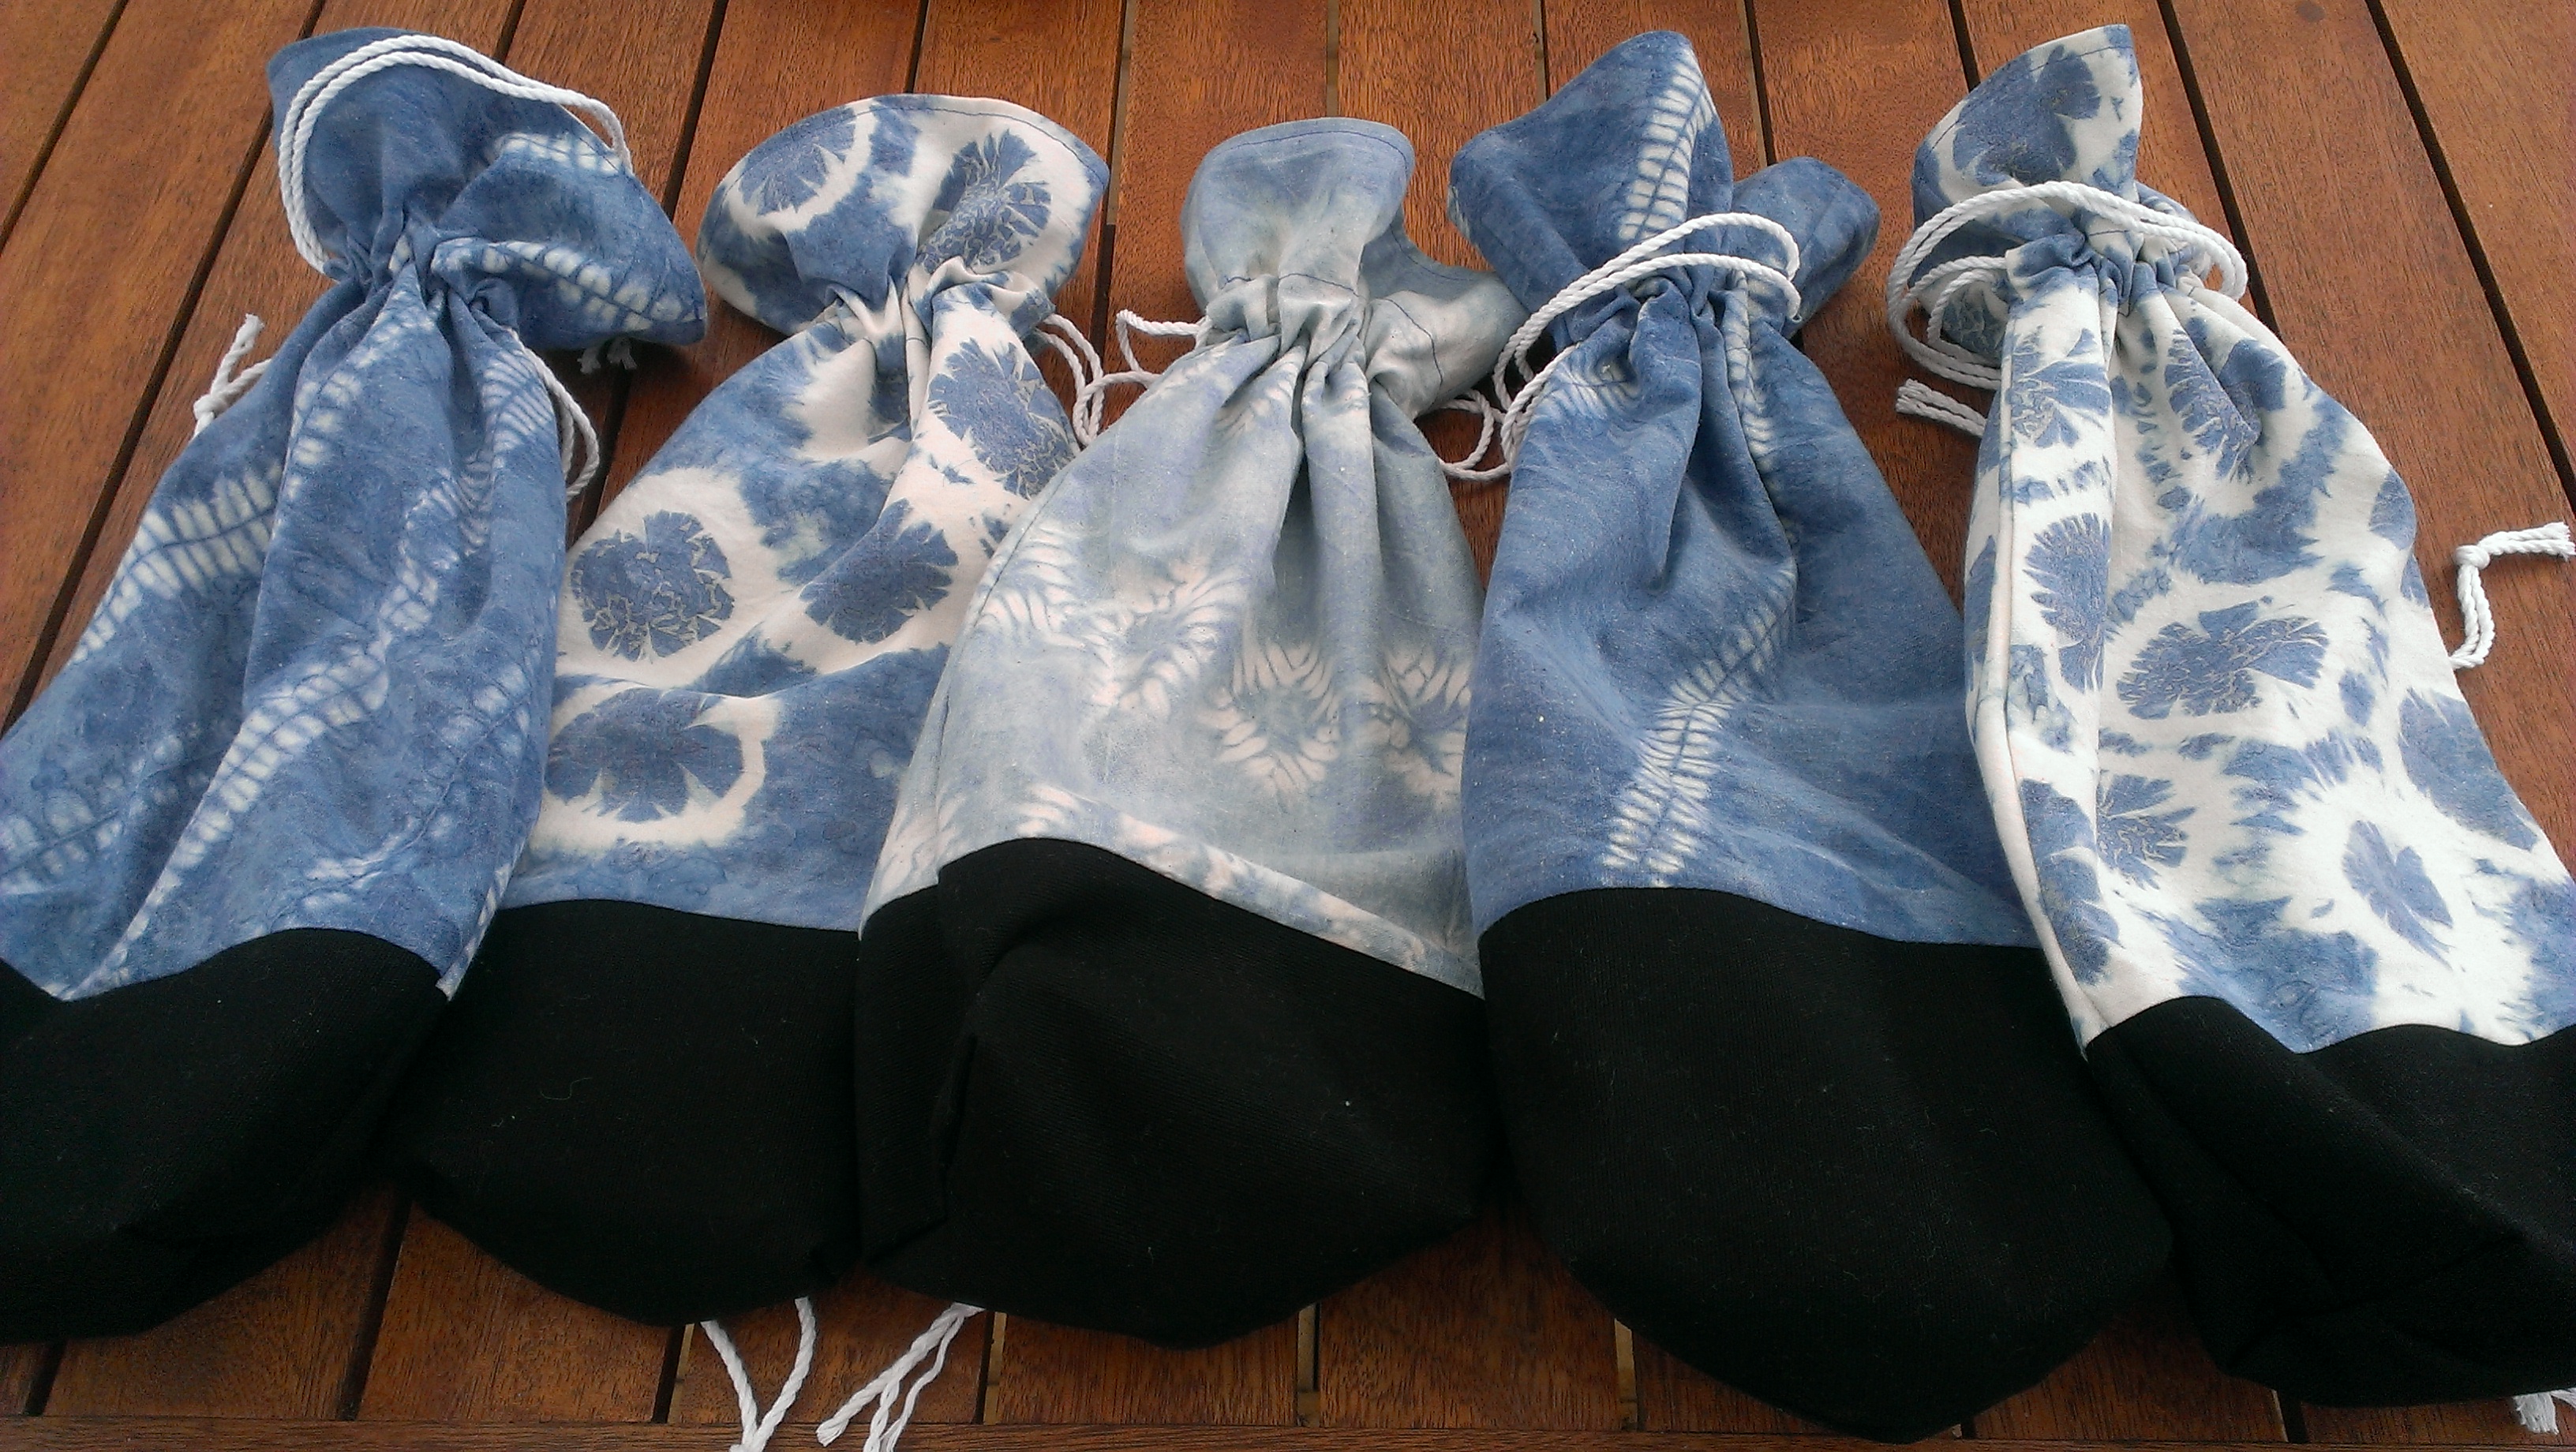
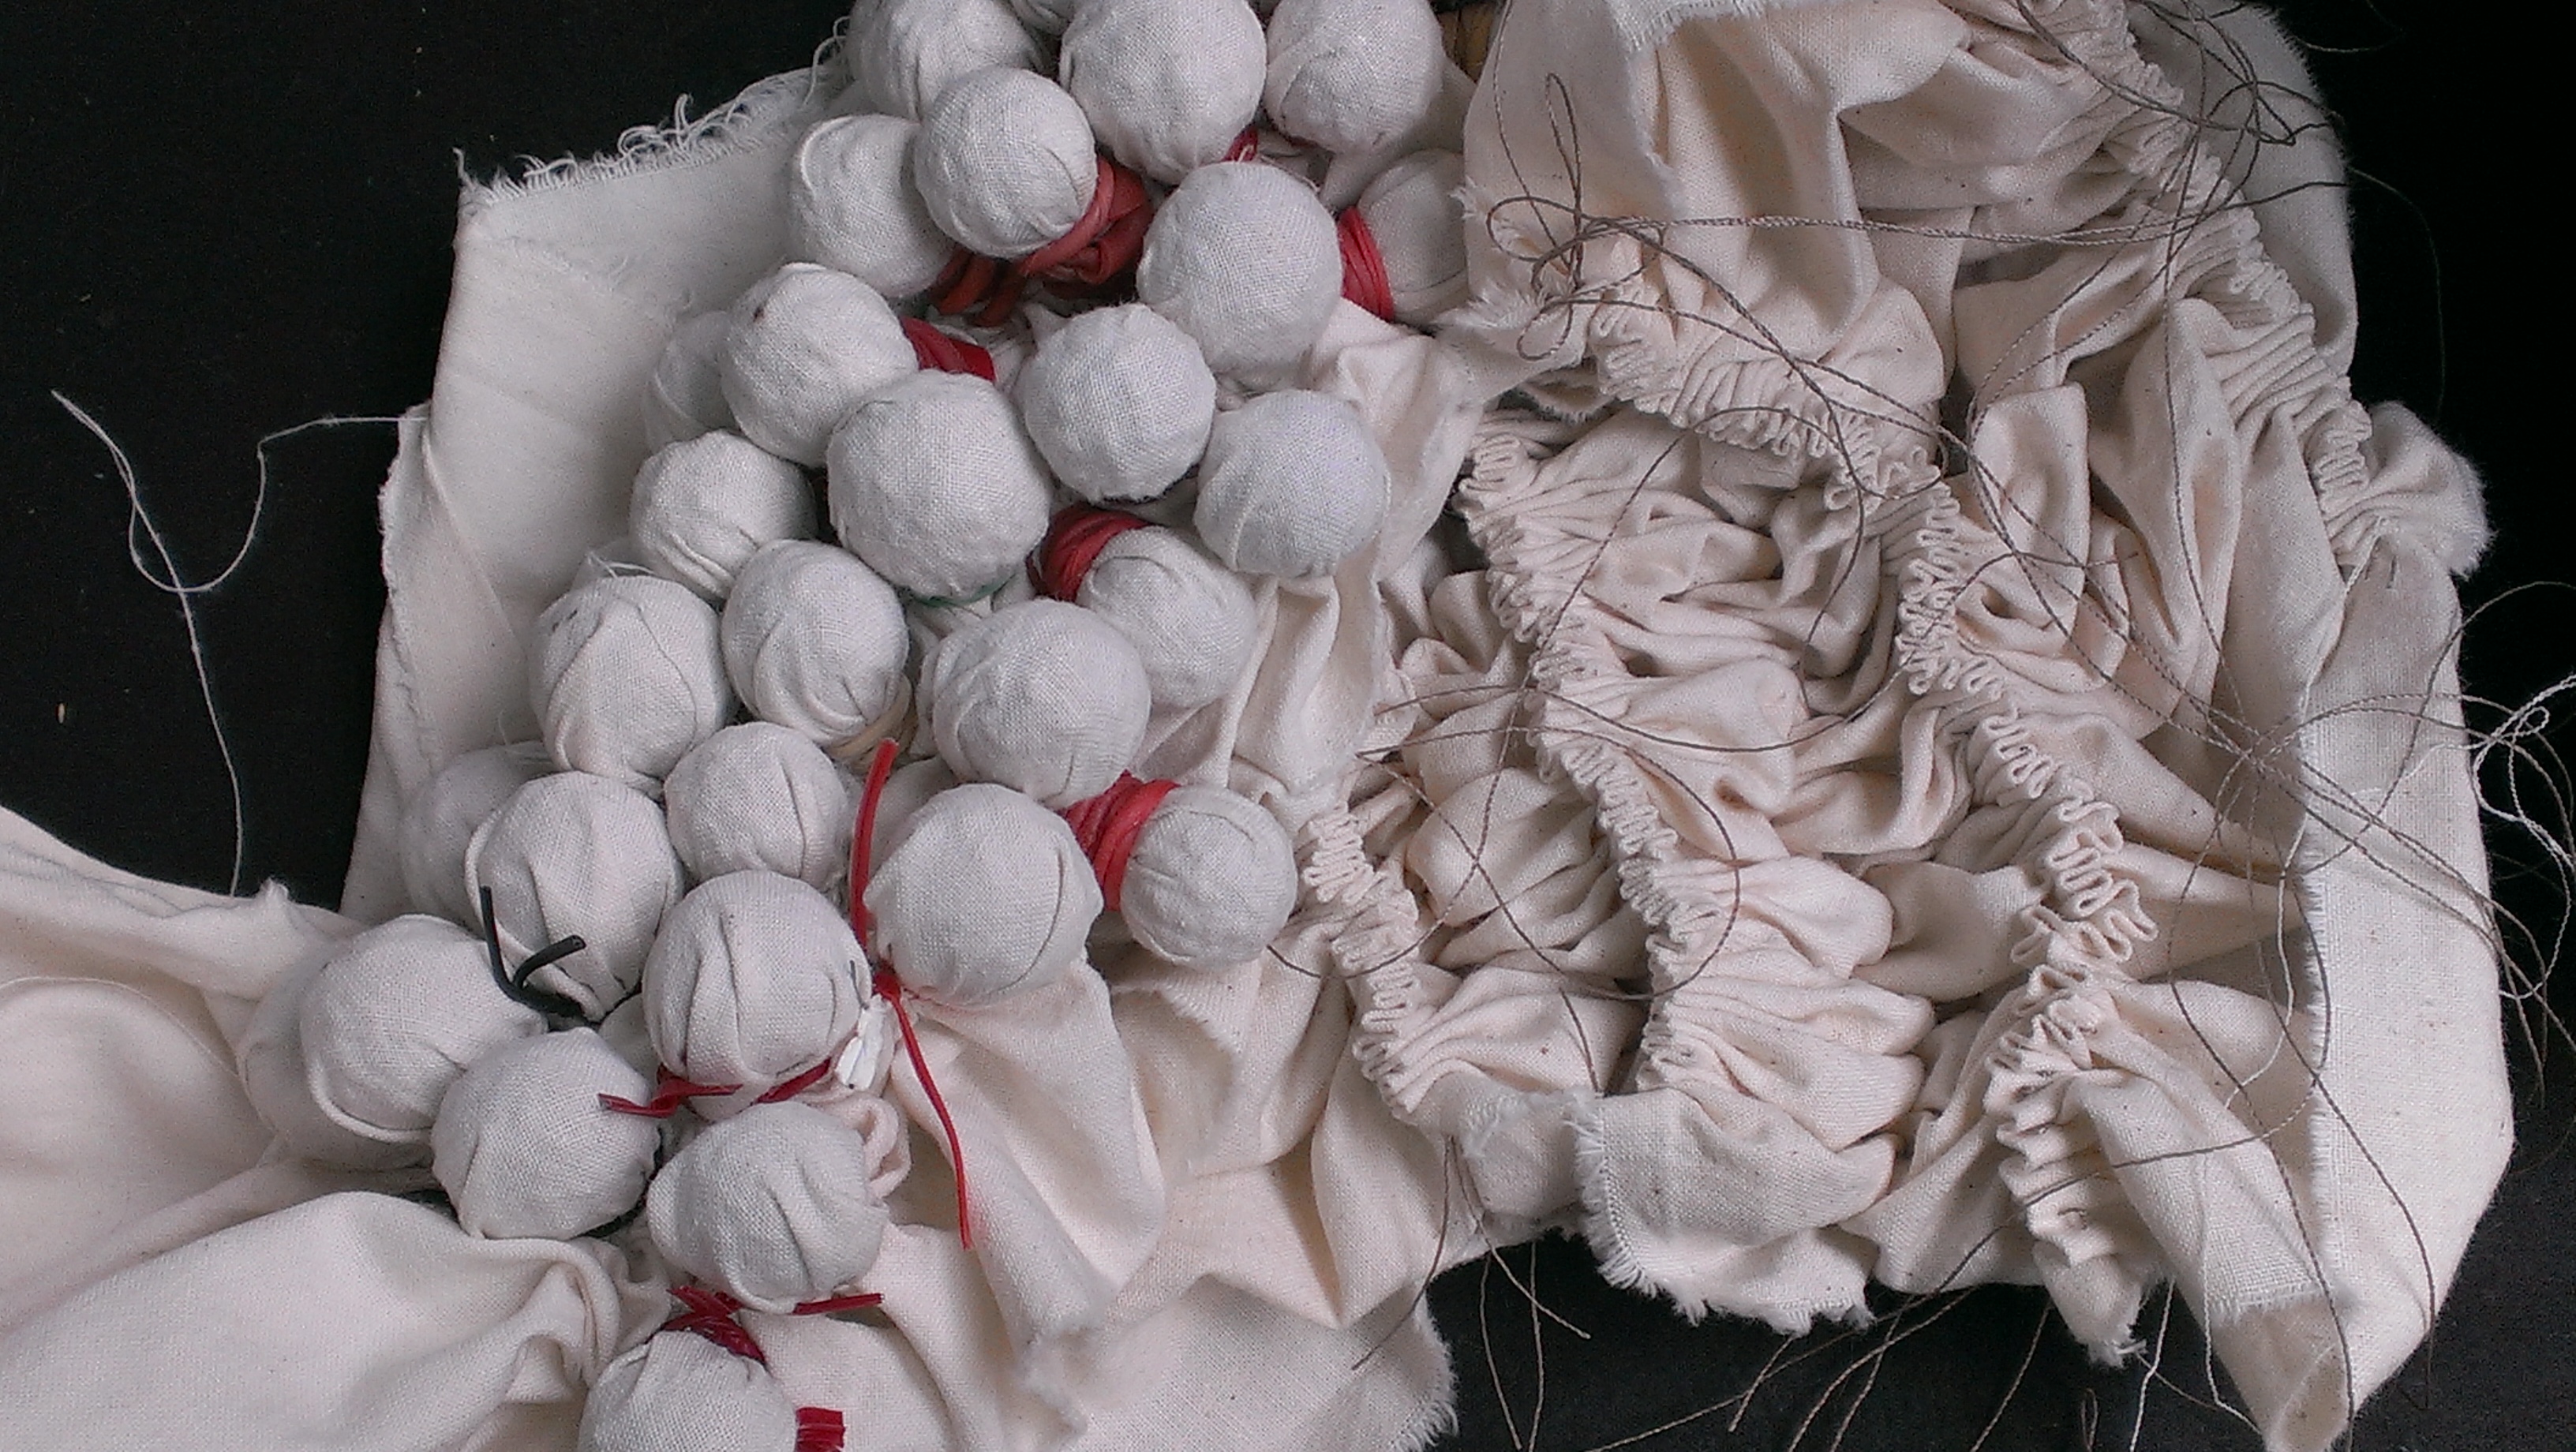
I love this process of transformation!  The best item of all for this effect was a pair of pants tied around a length of garden hose.  It was long enough to be yellow at one end, green in the middle and various shades of blue as it slowly emerged from the pot.  My friends had been out researching techniques for resist–so there was stitching, wrapping, bundling, string, thread, rubber bands–and even wax resist, some applied with a biscuit cutter and some freehand.

P1020640

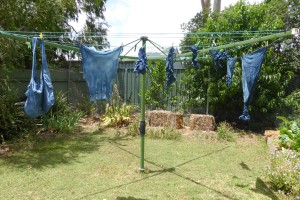
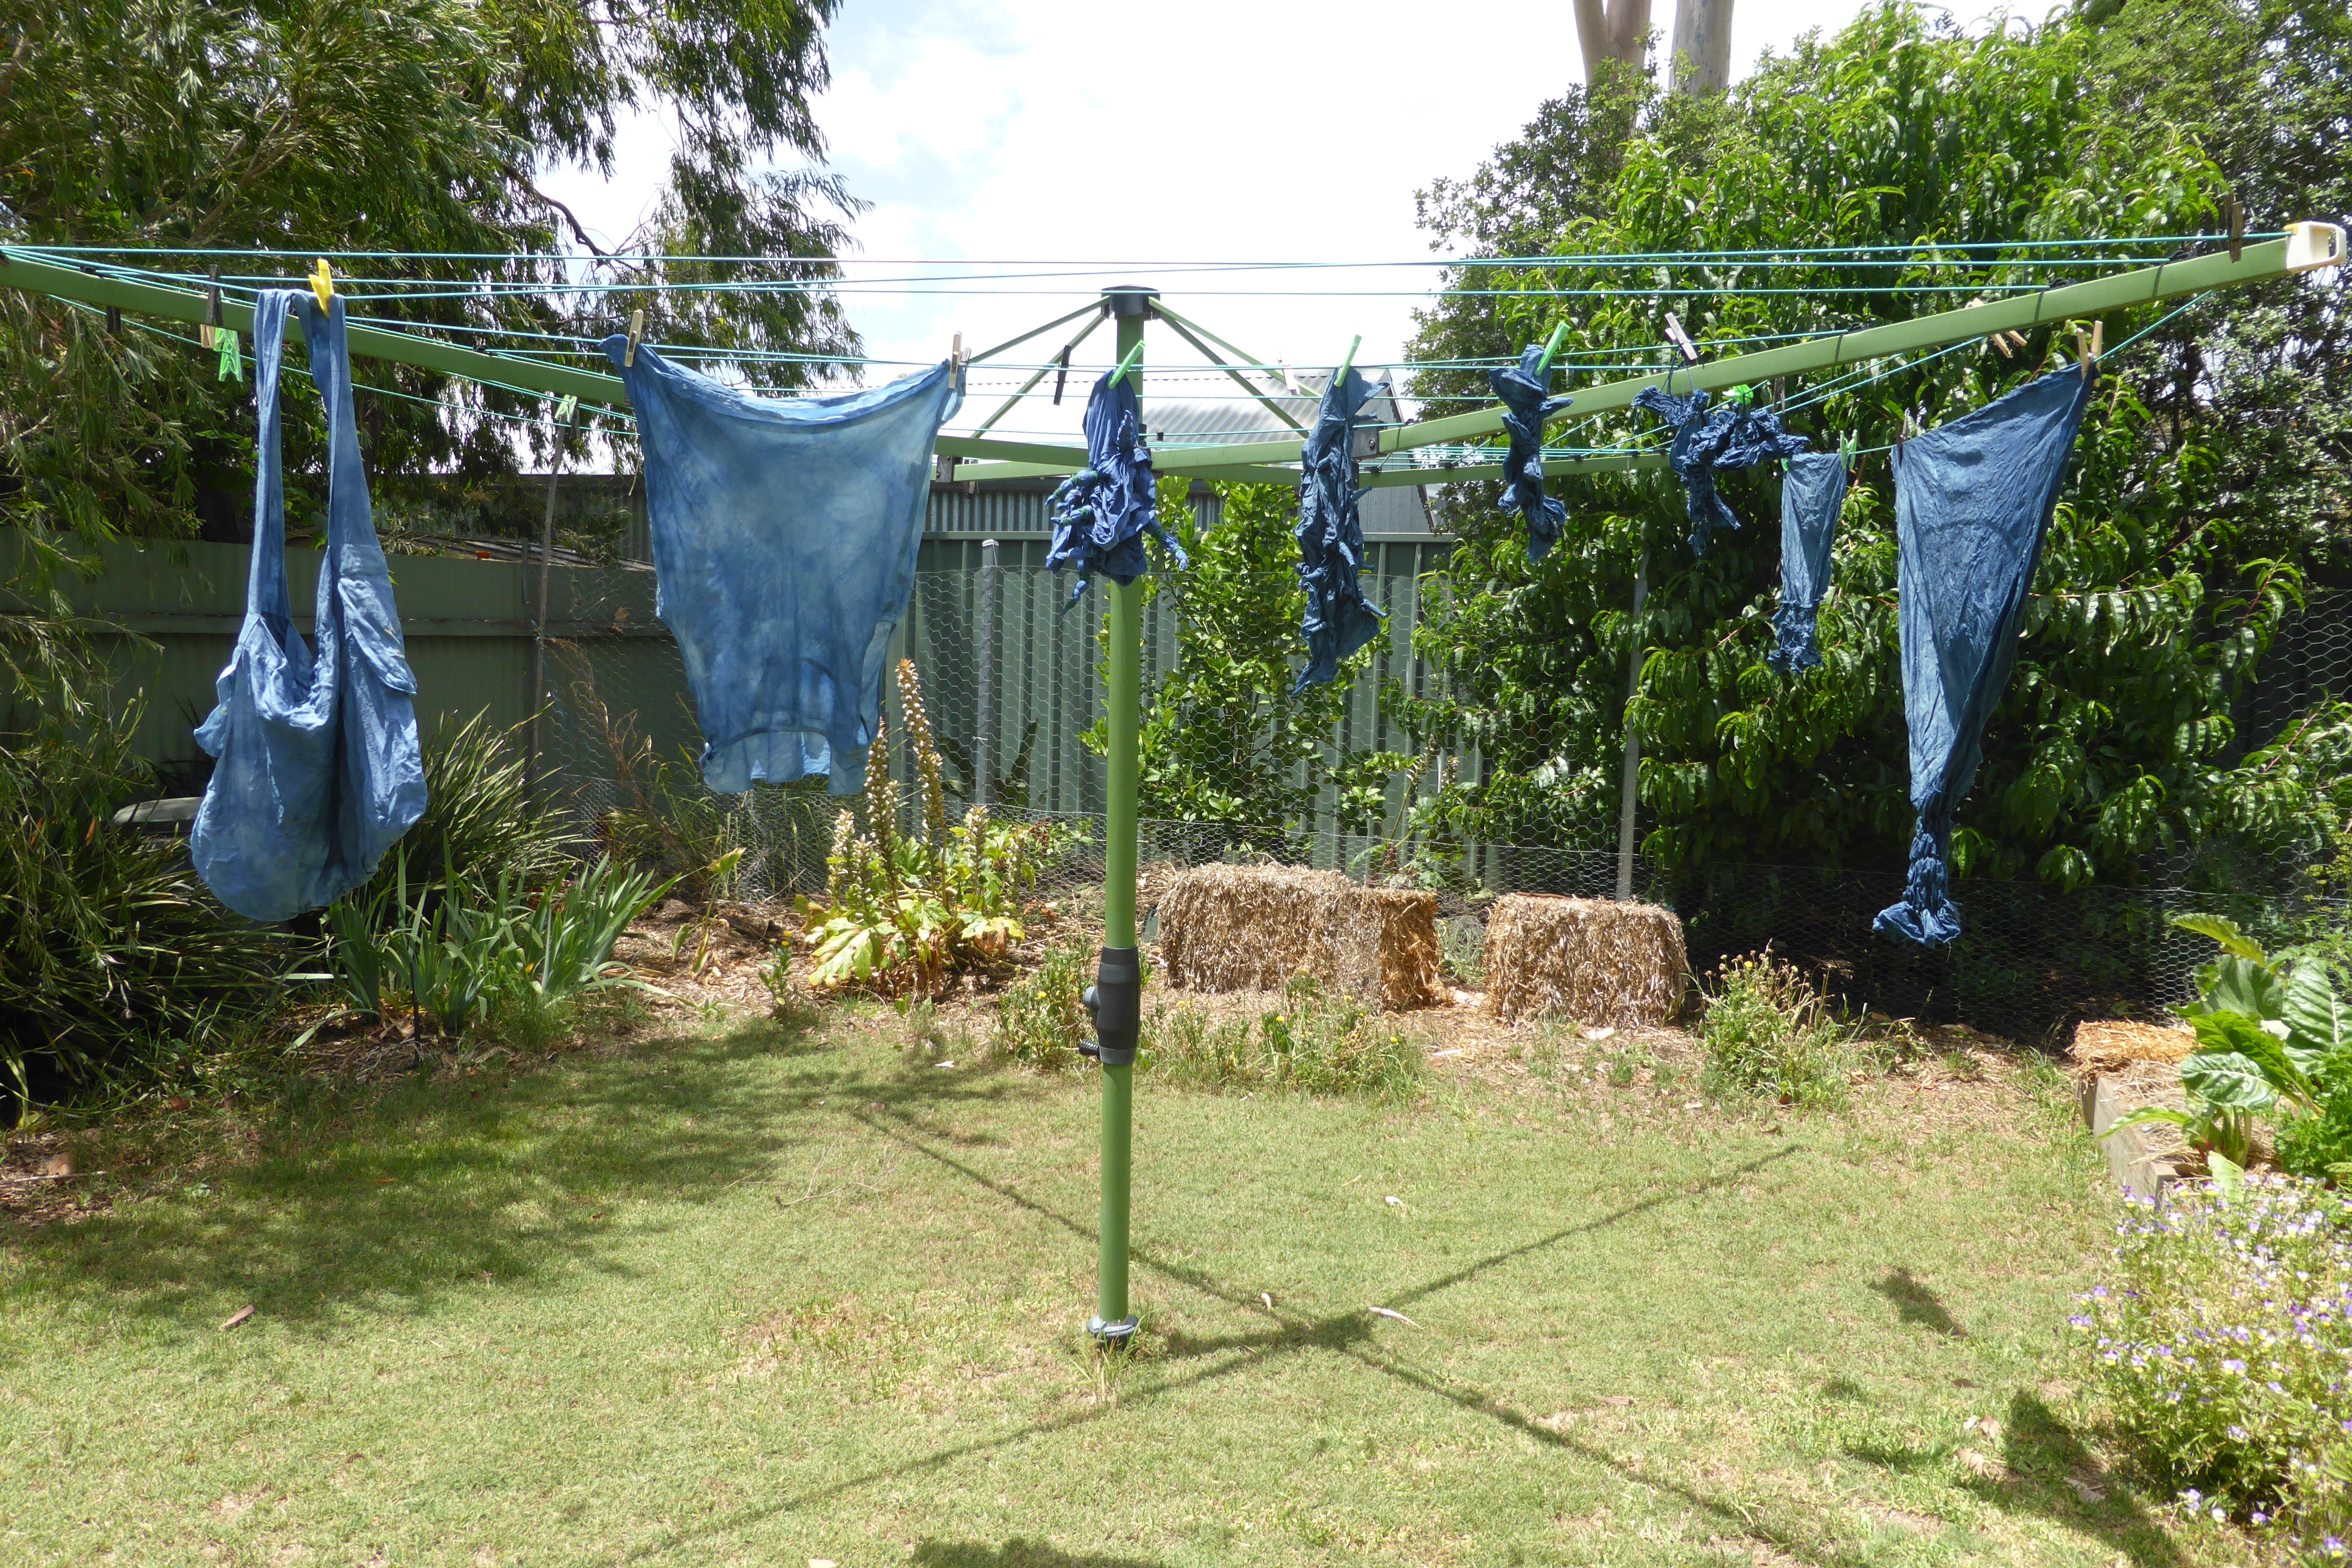
With three vats going, and regular monitoring of temperature and Ph and so on, the scene at the clothes line kept changing.

P1020617

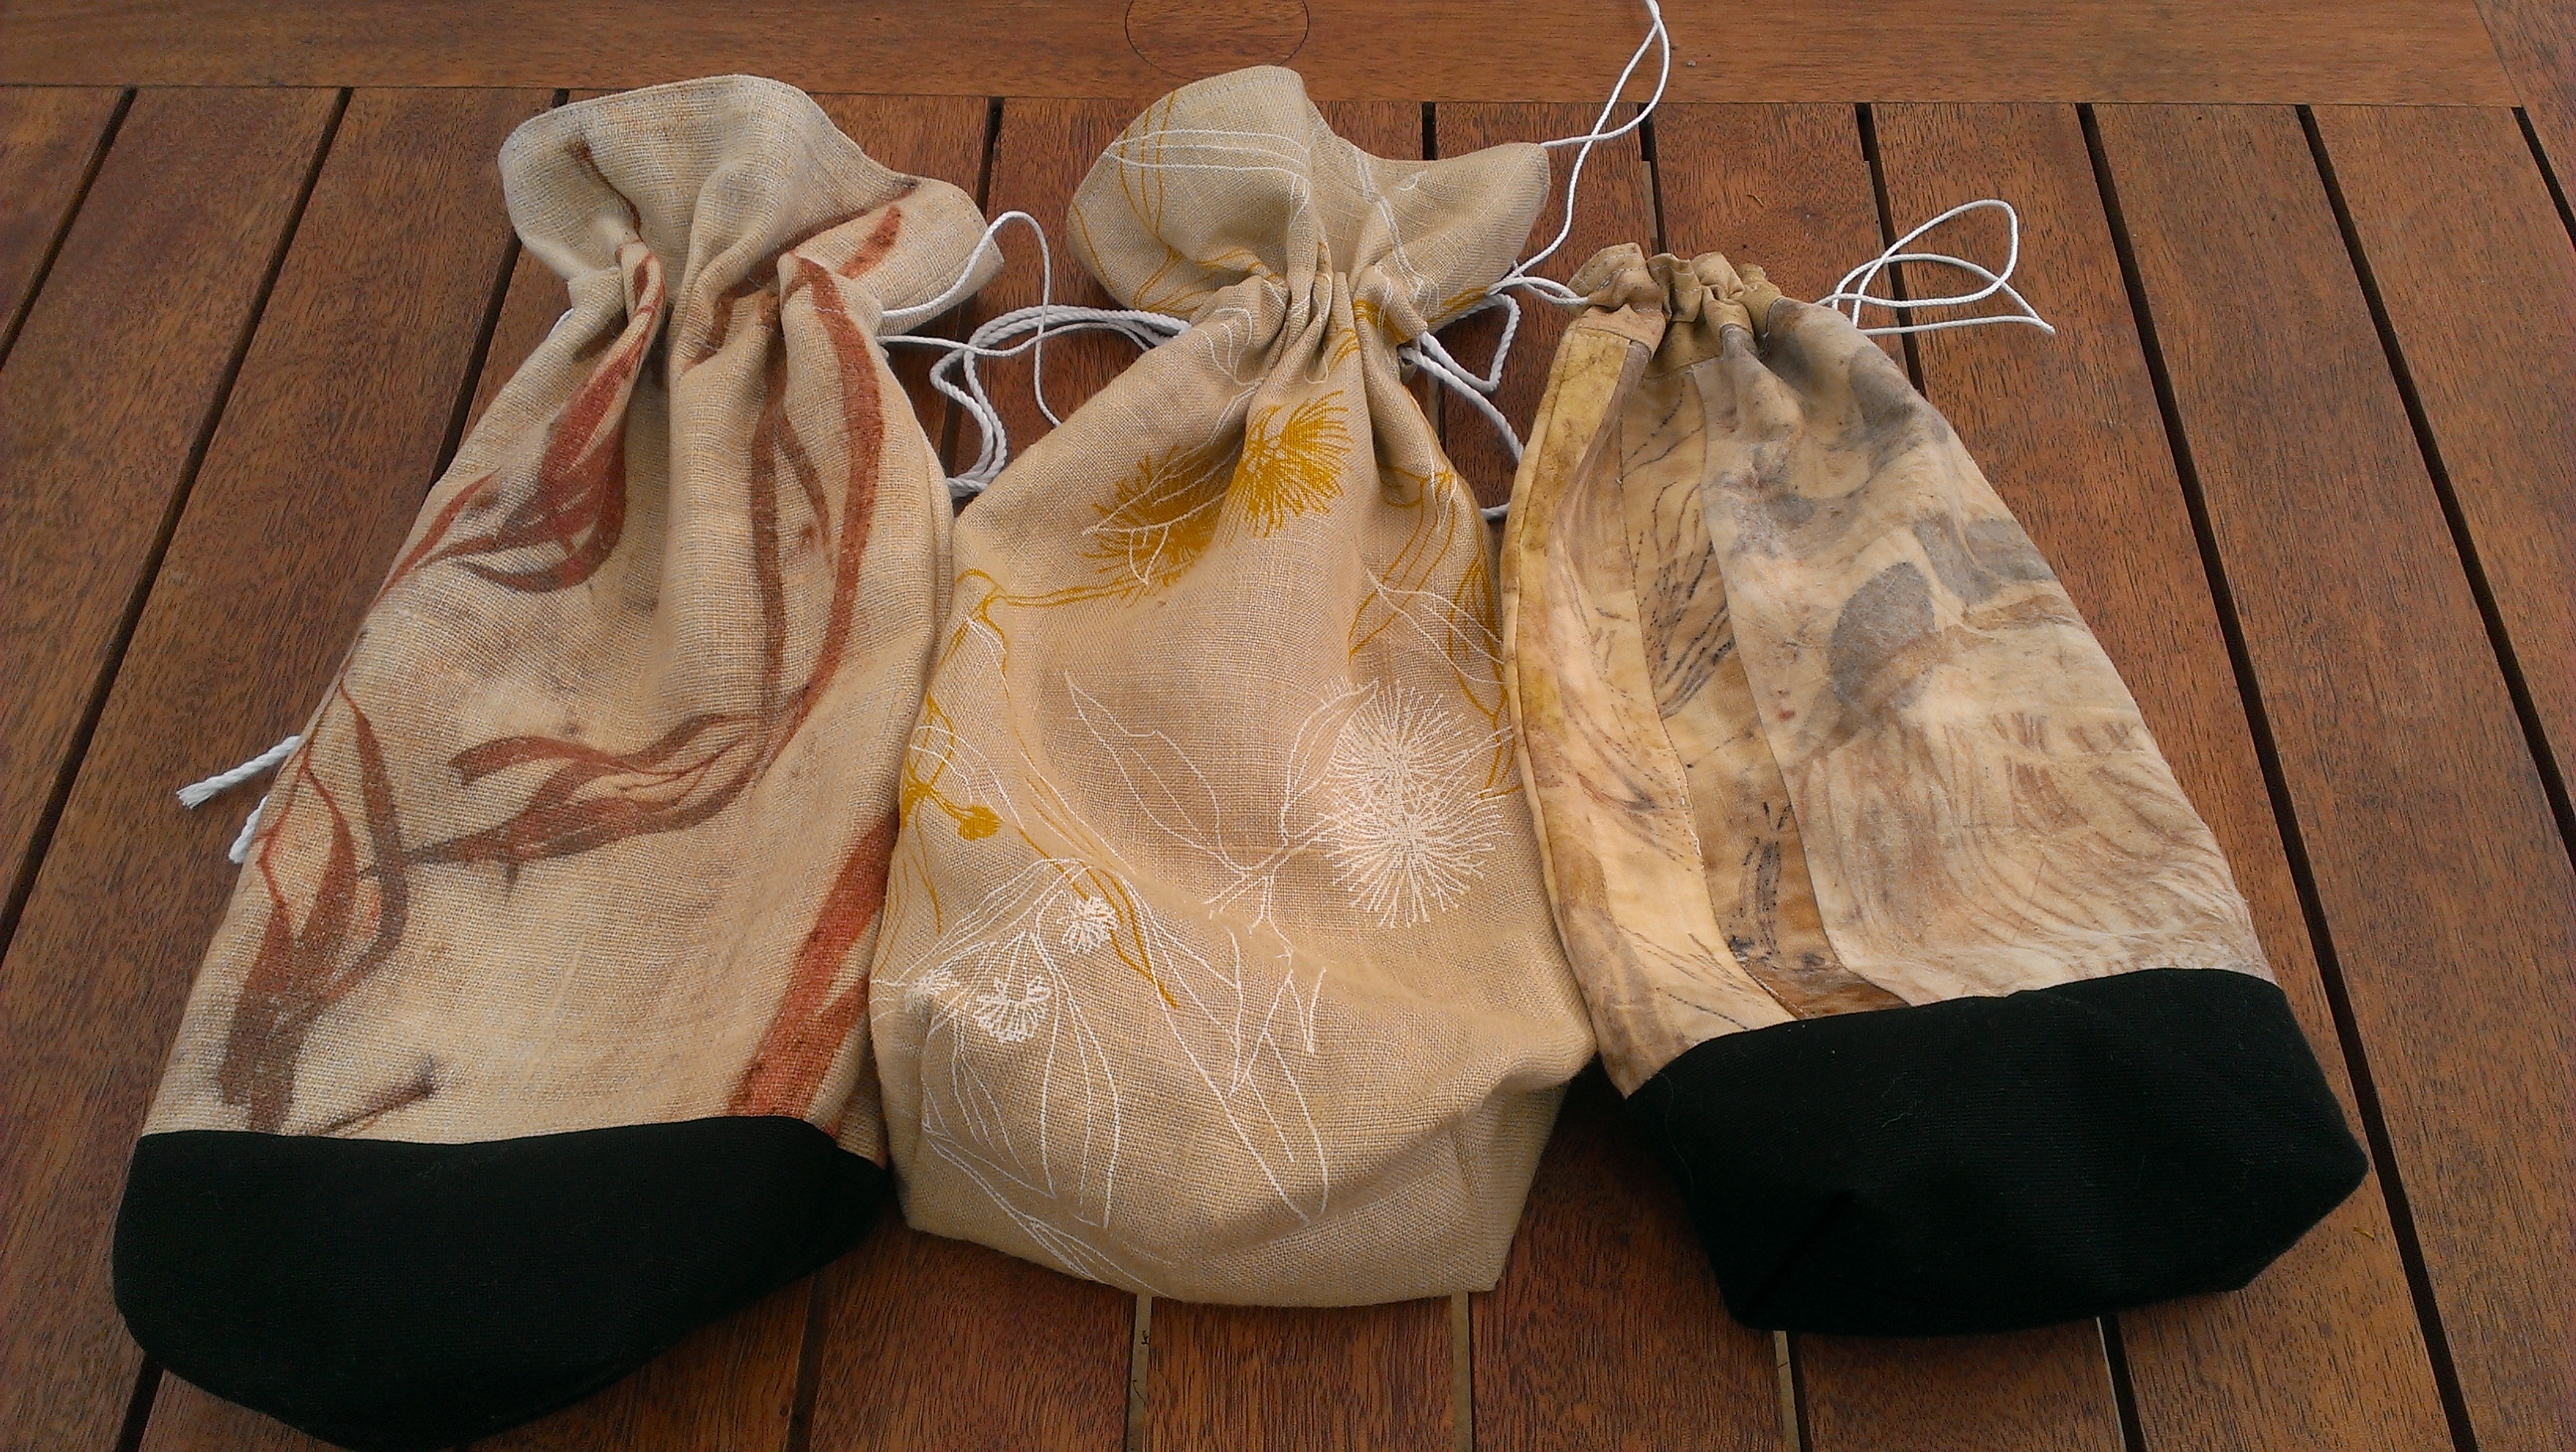
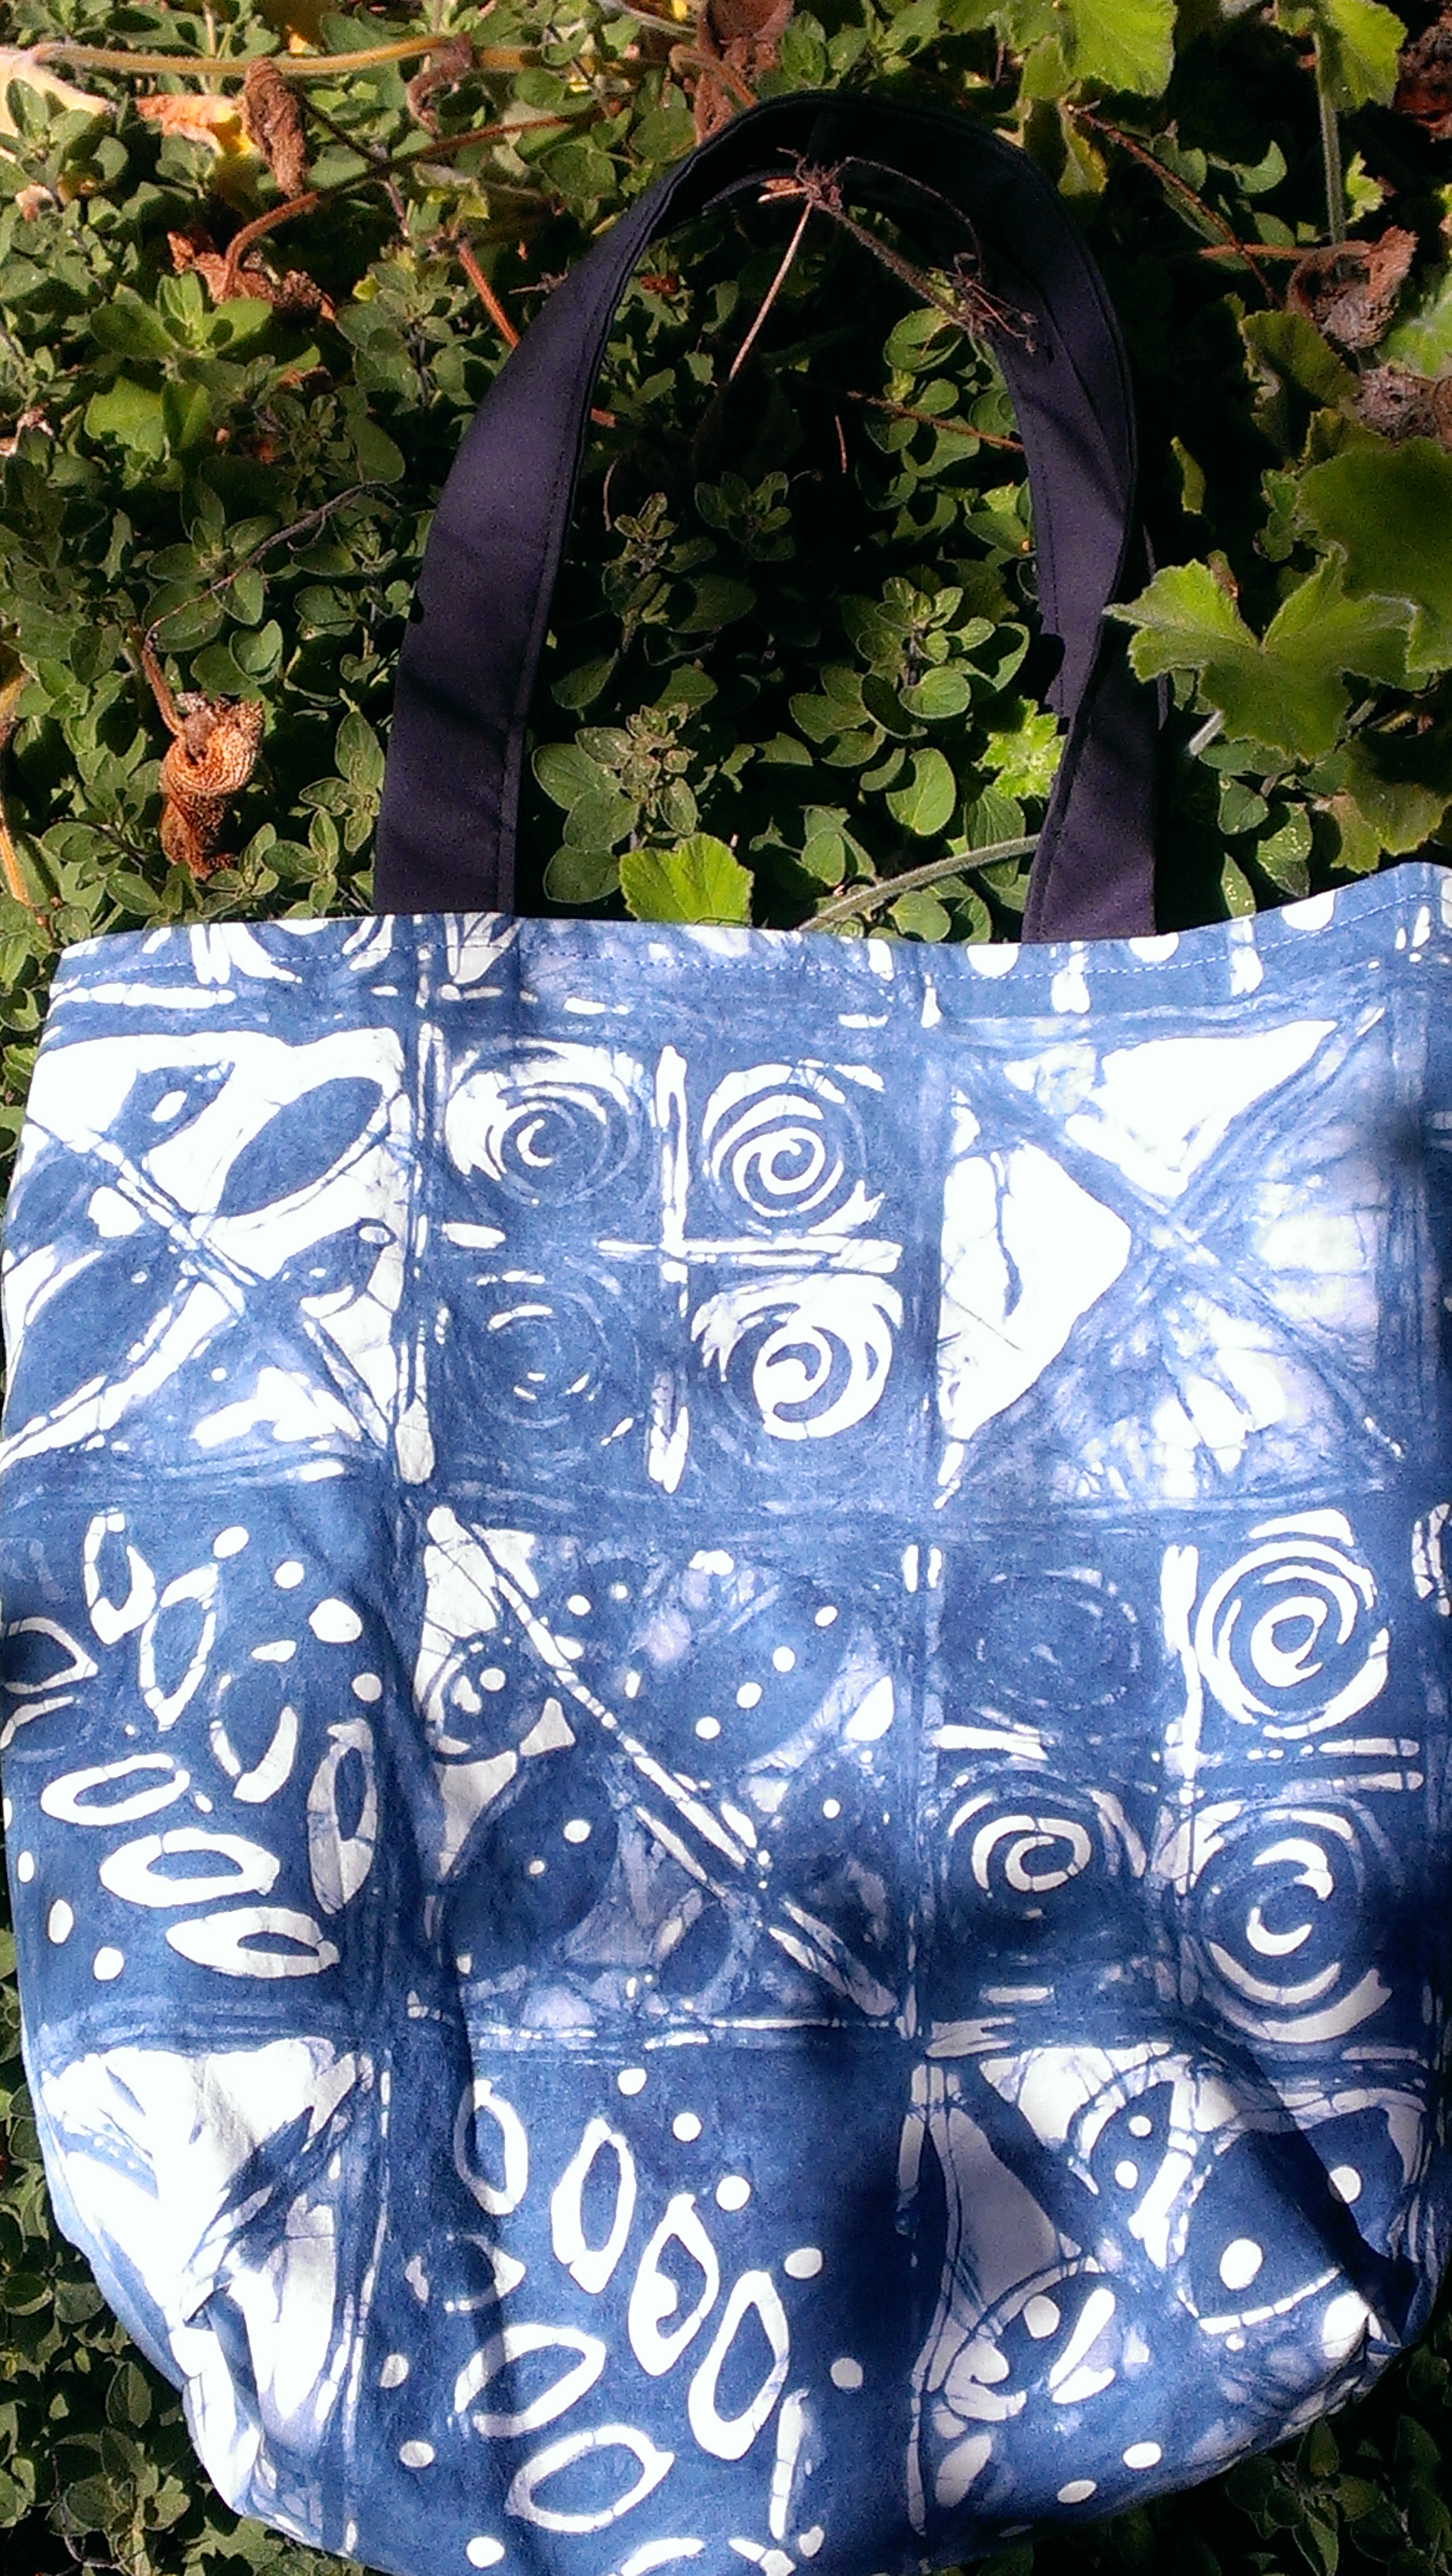
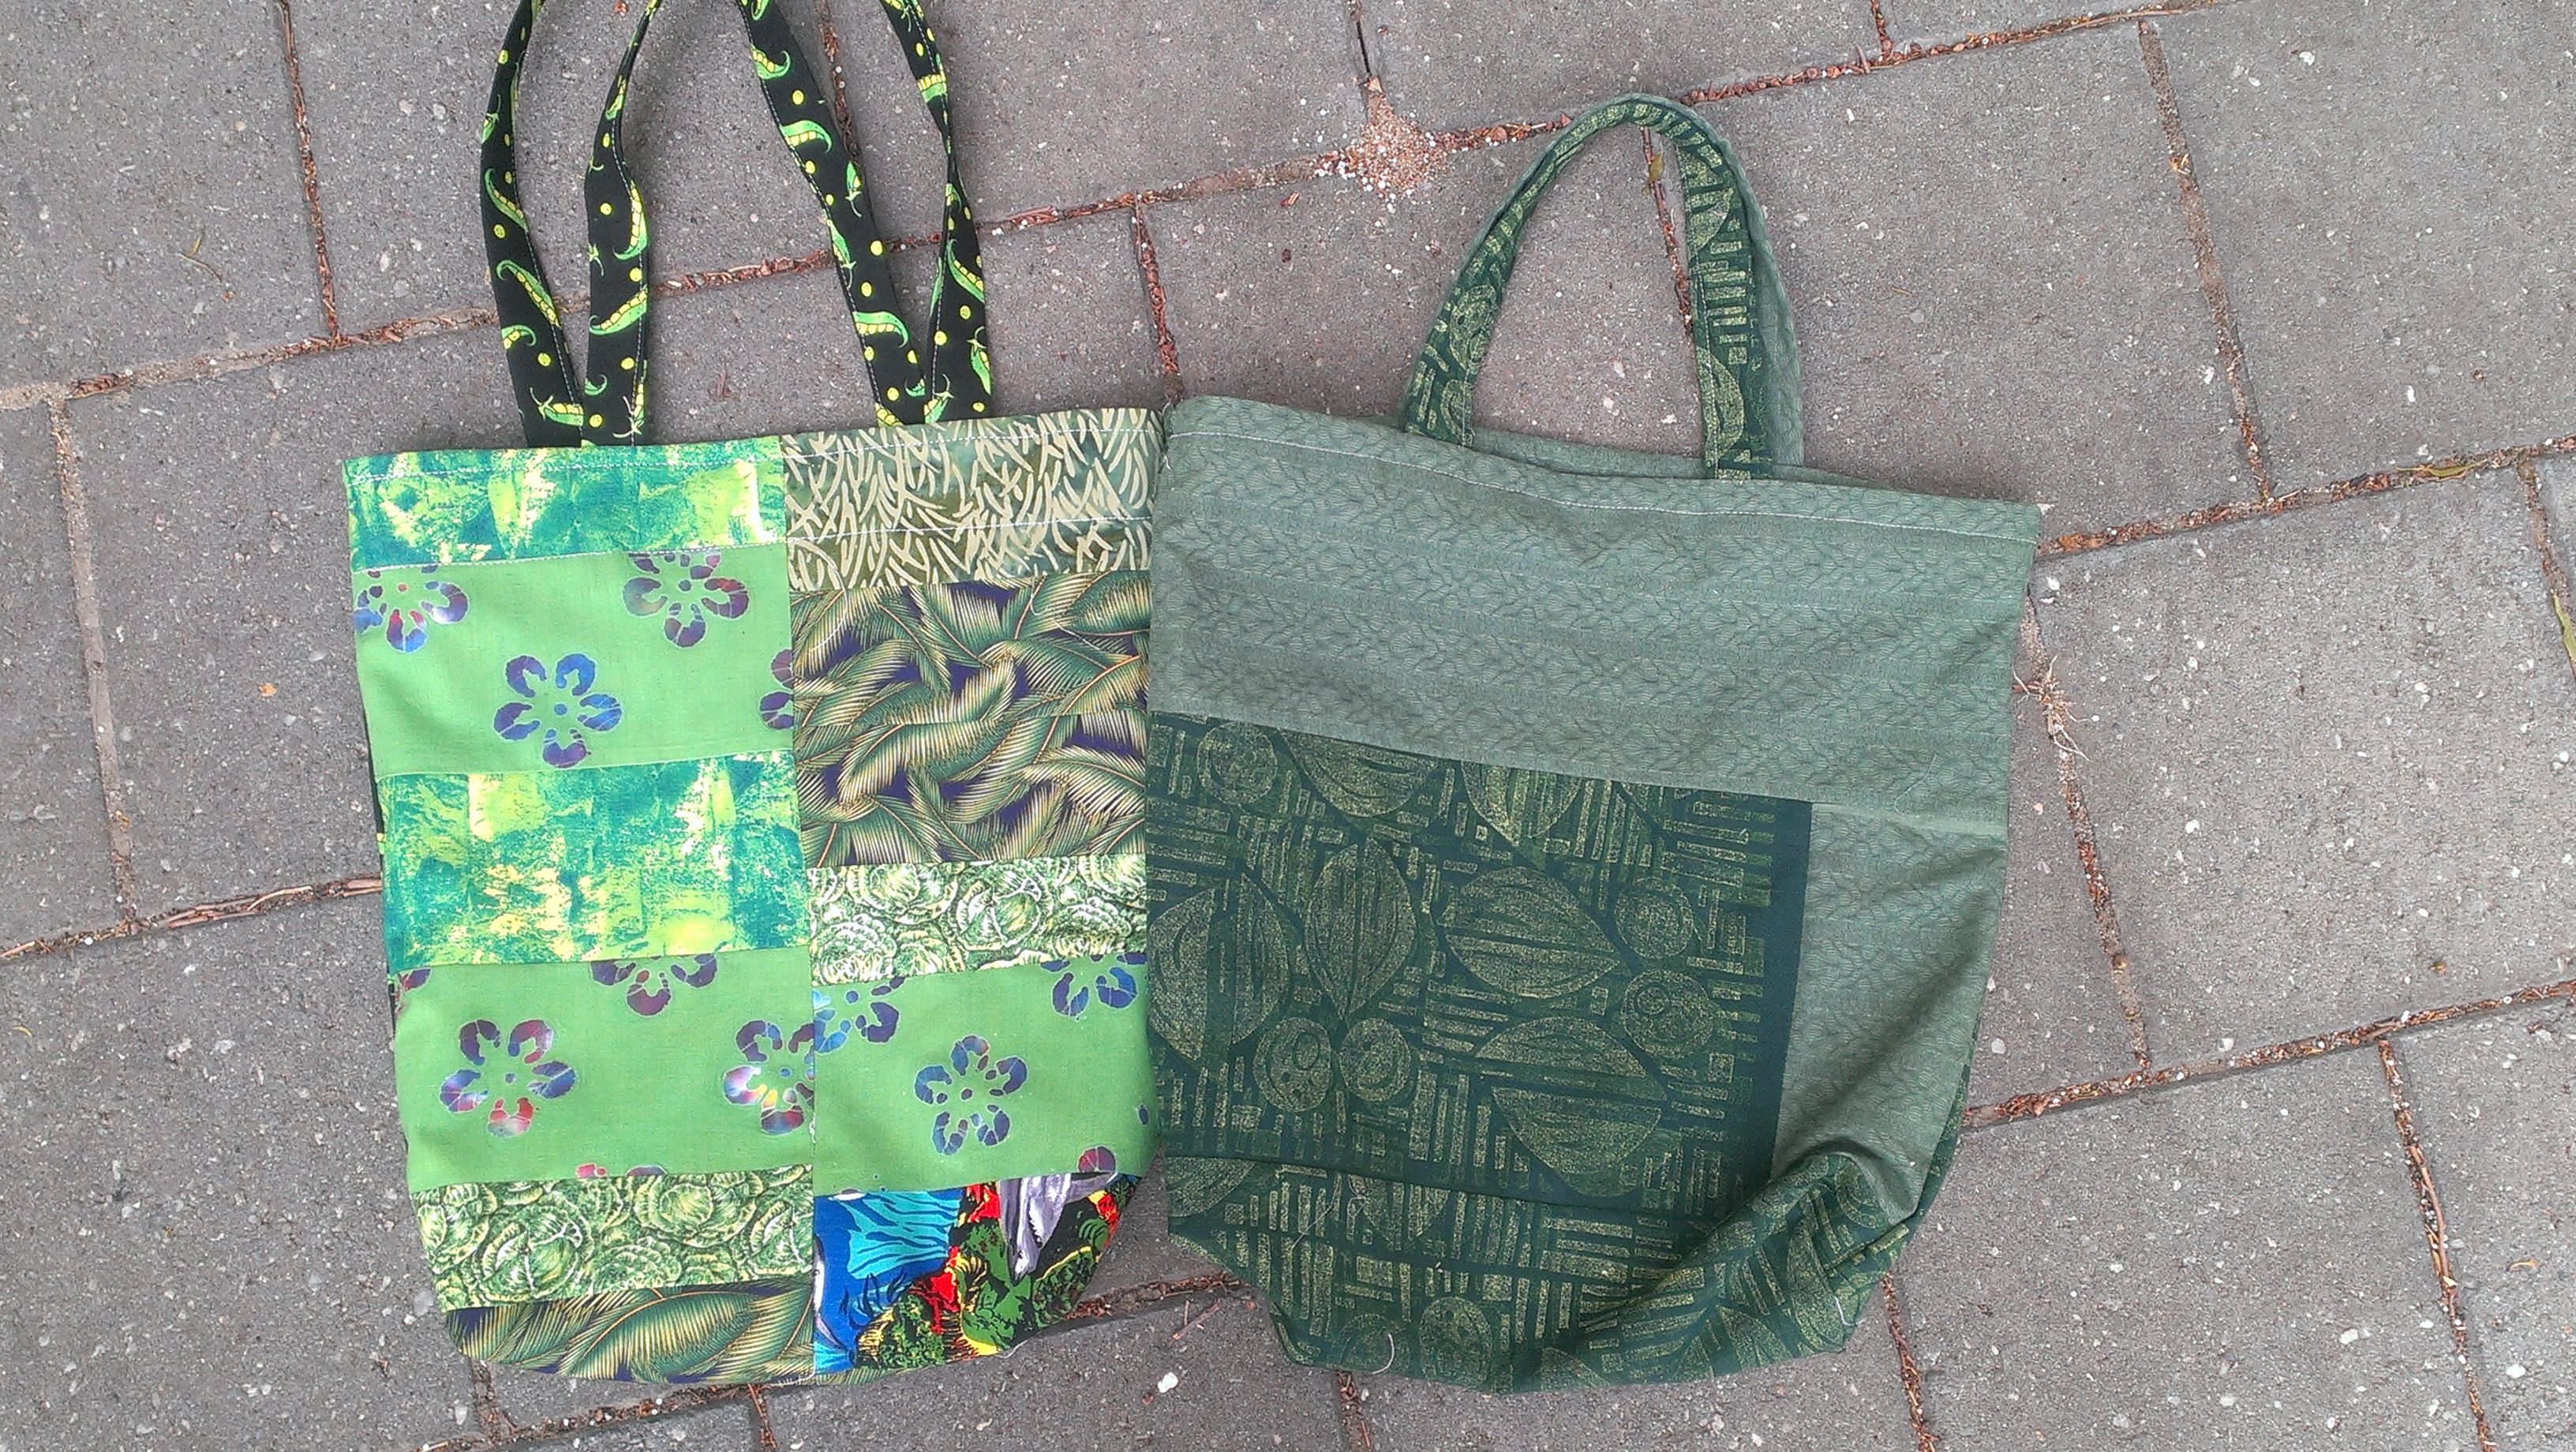
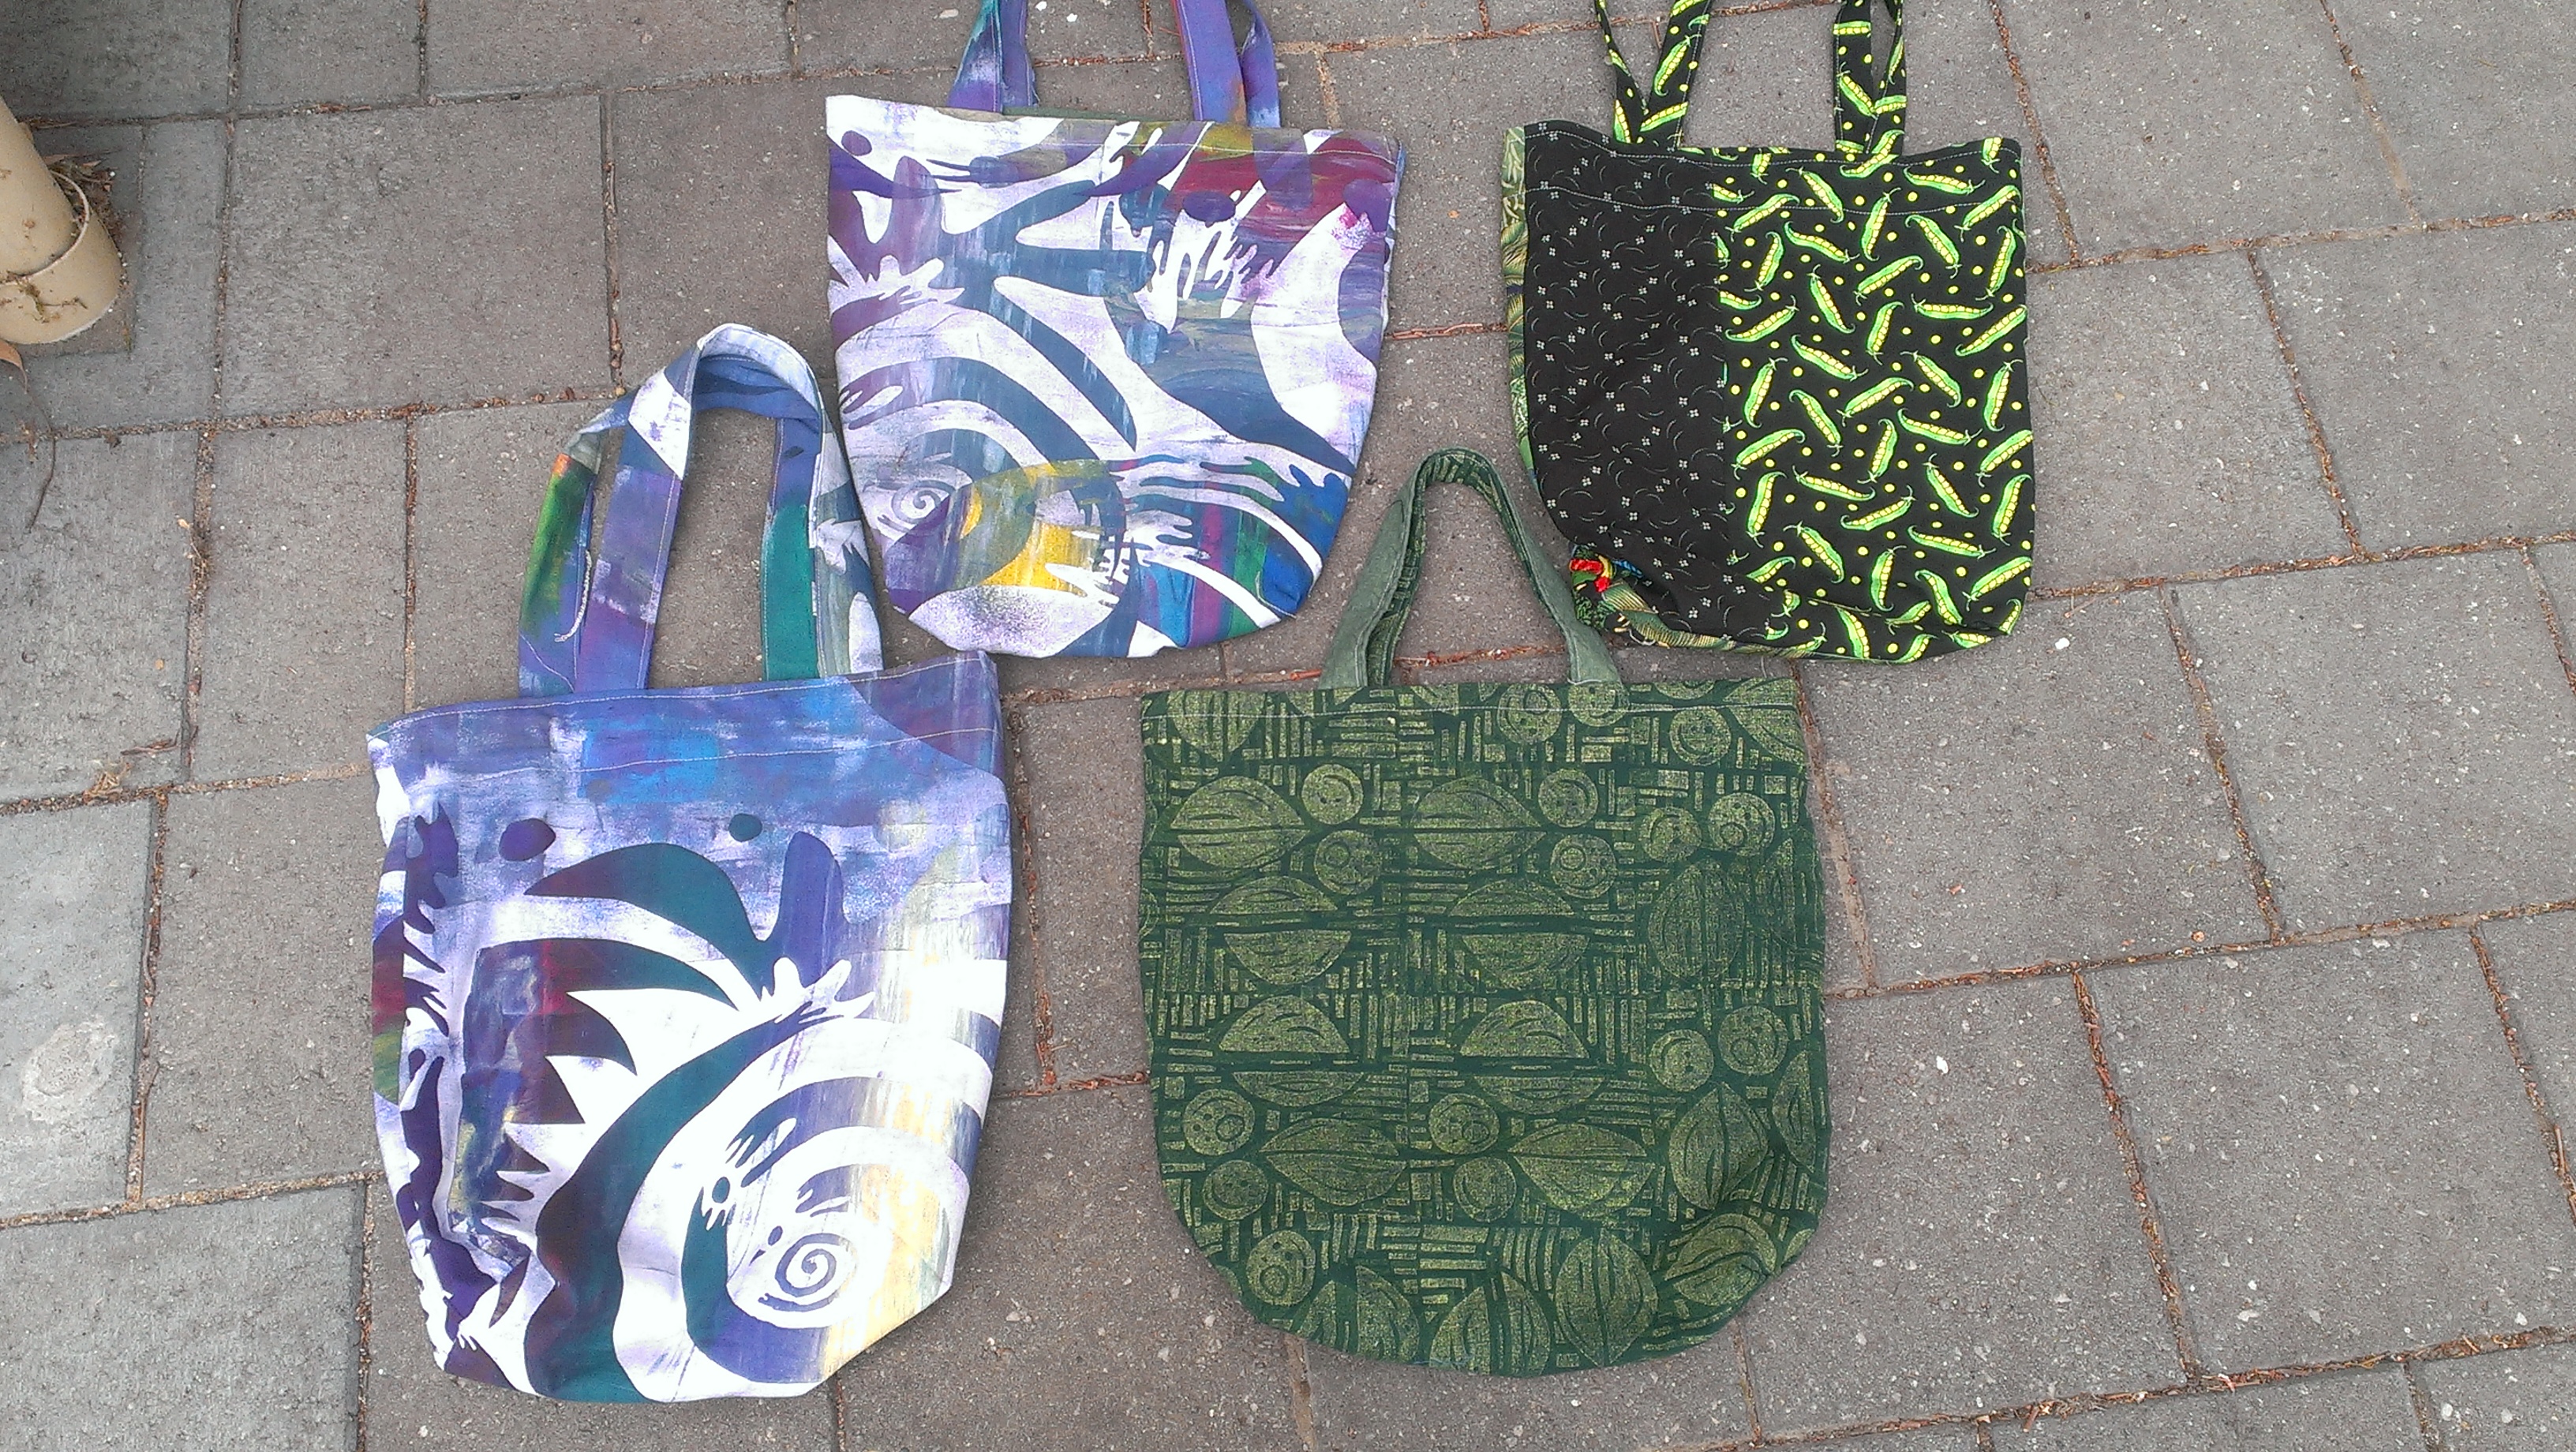
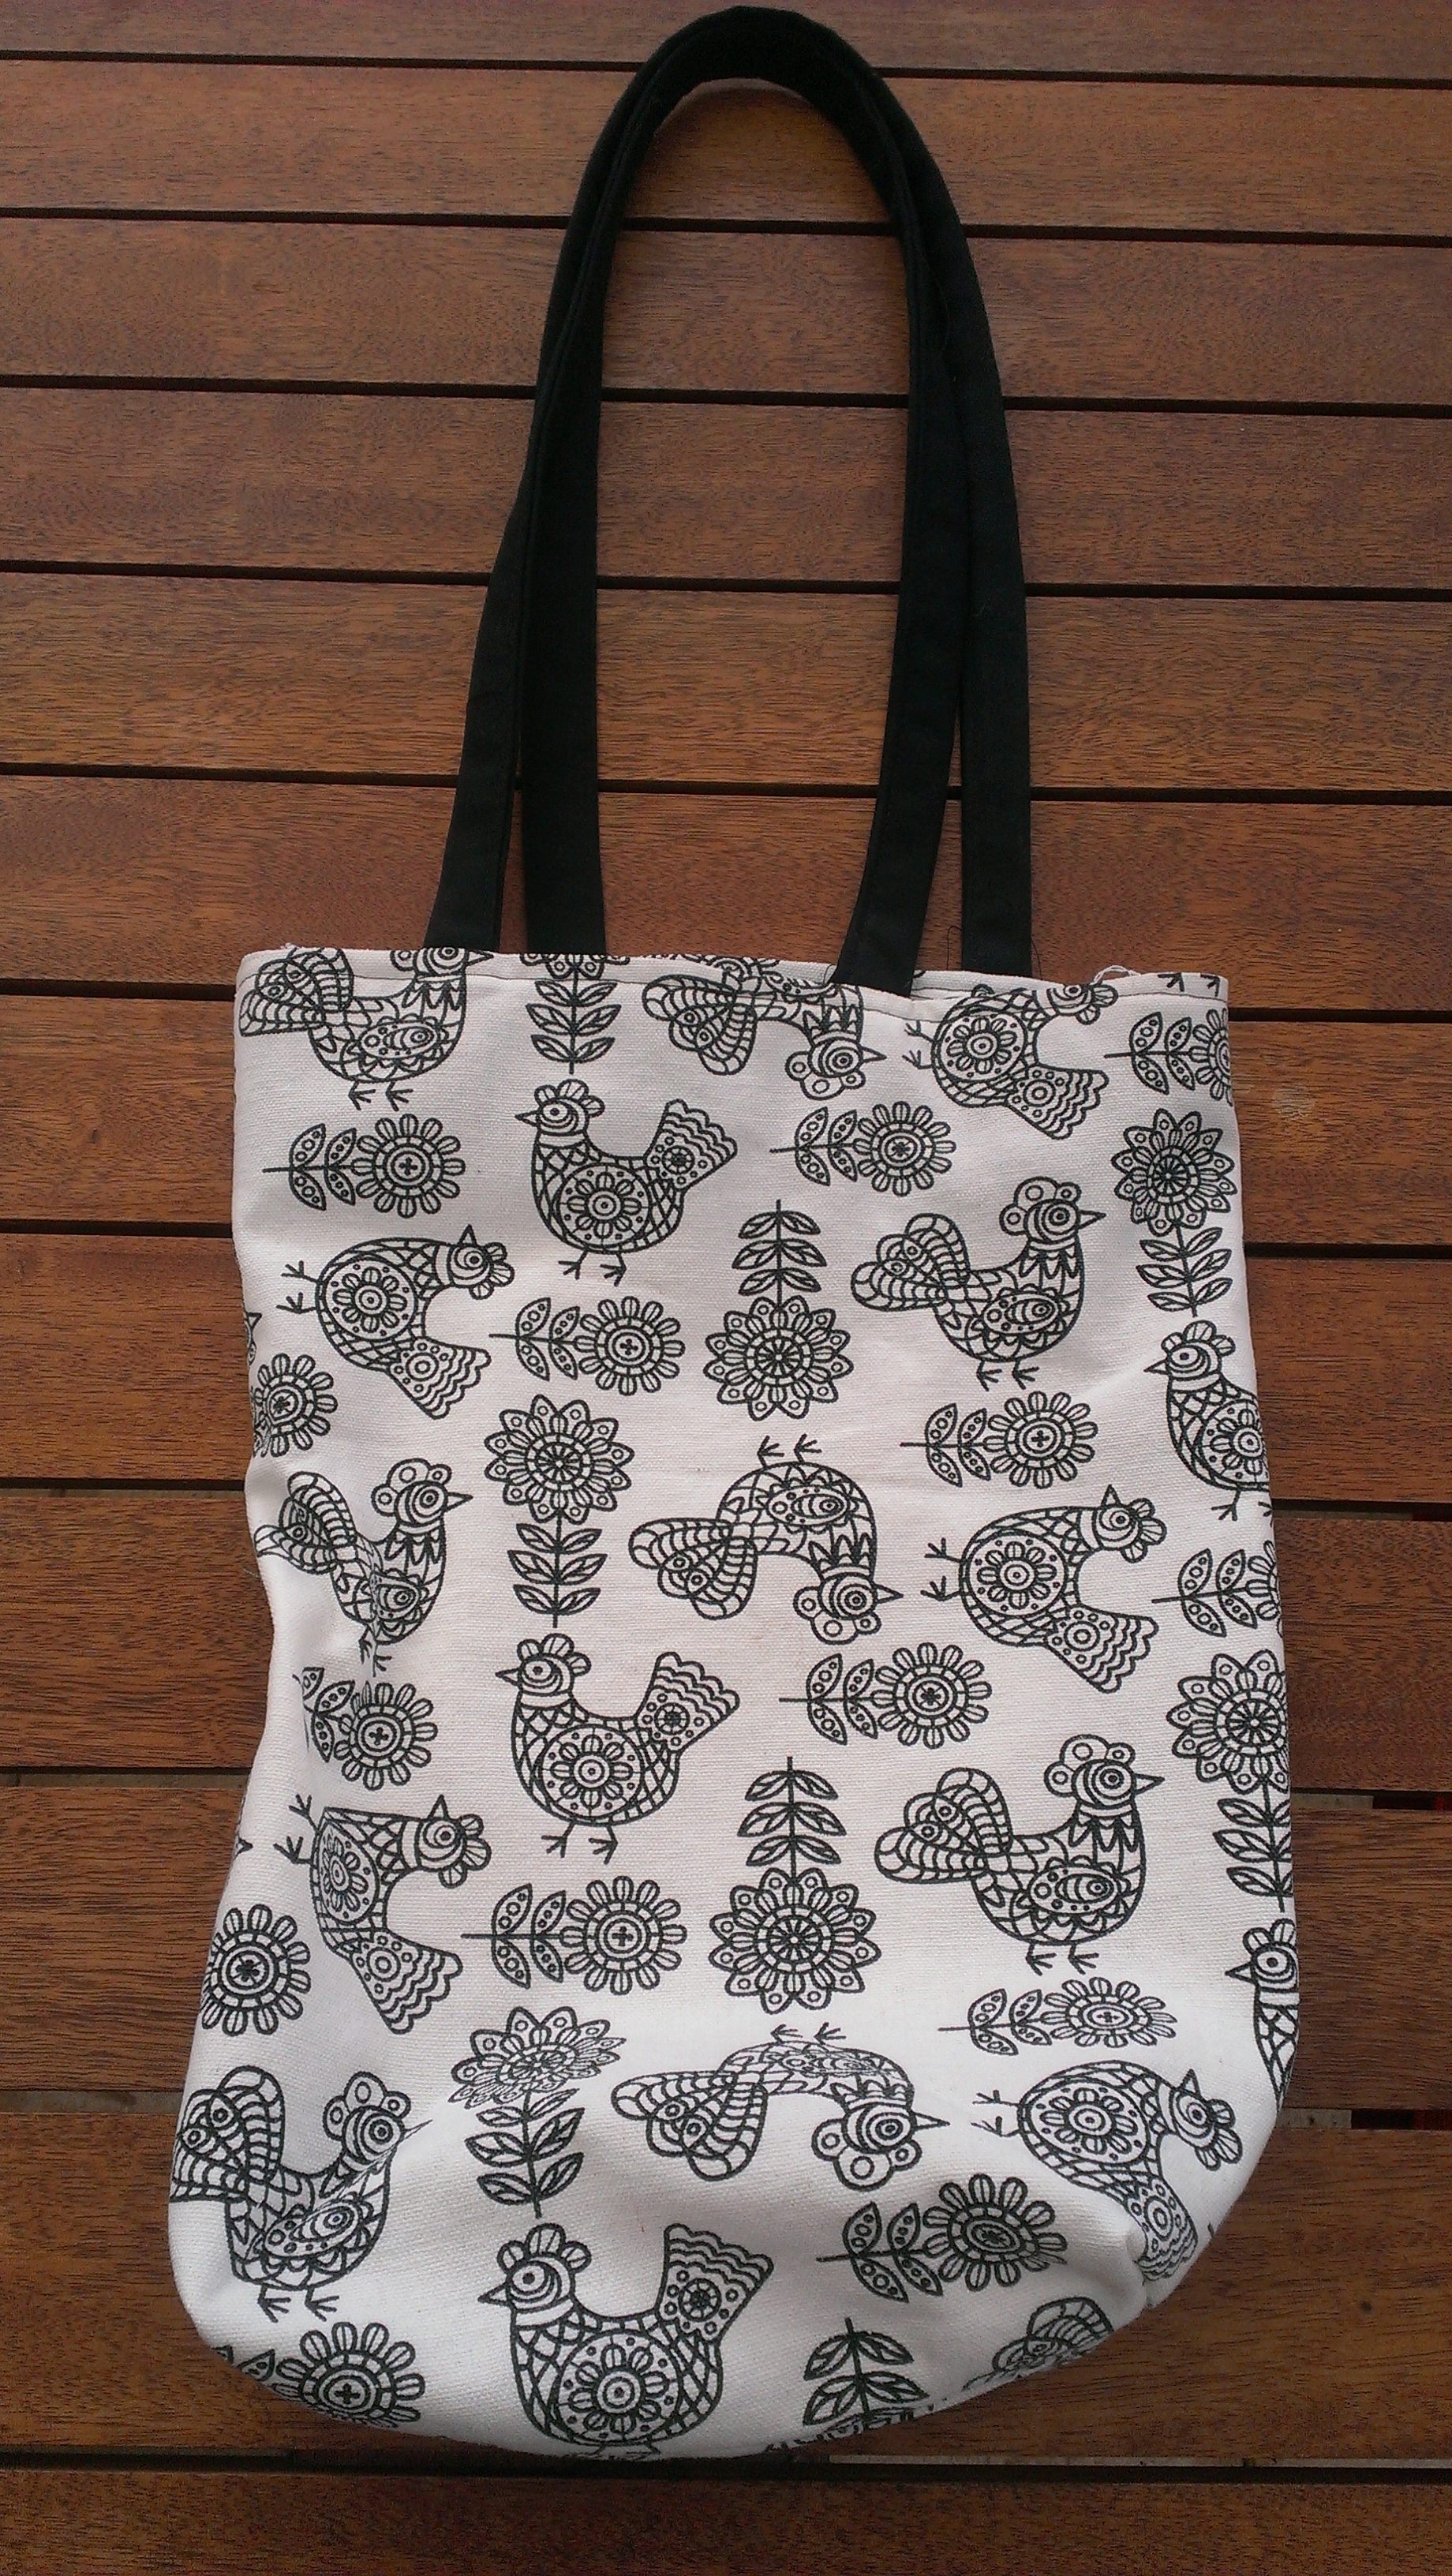
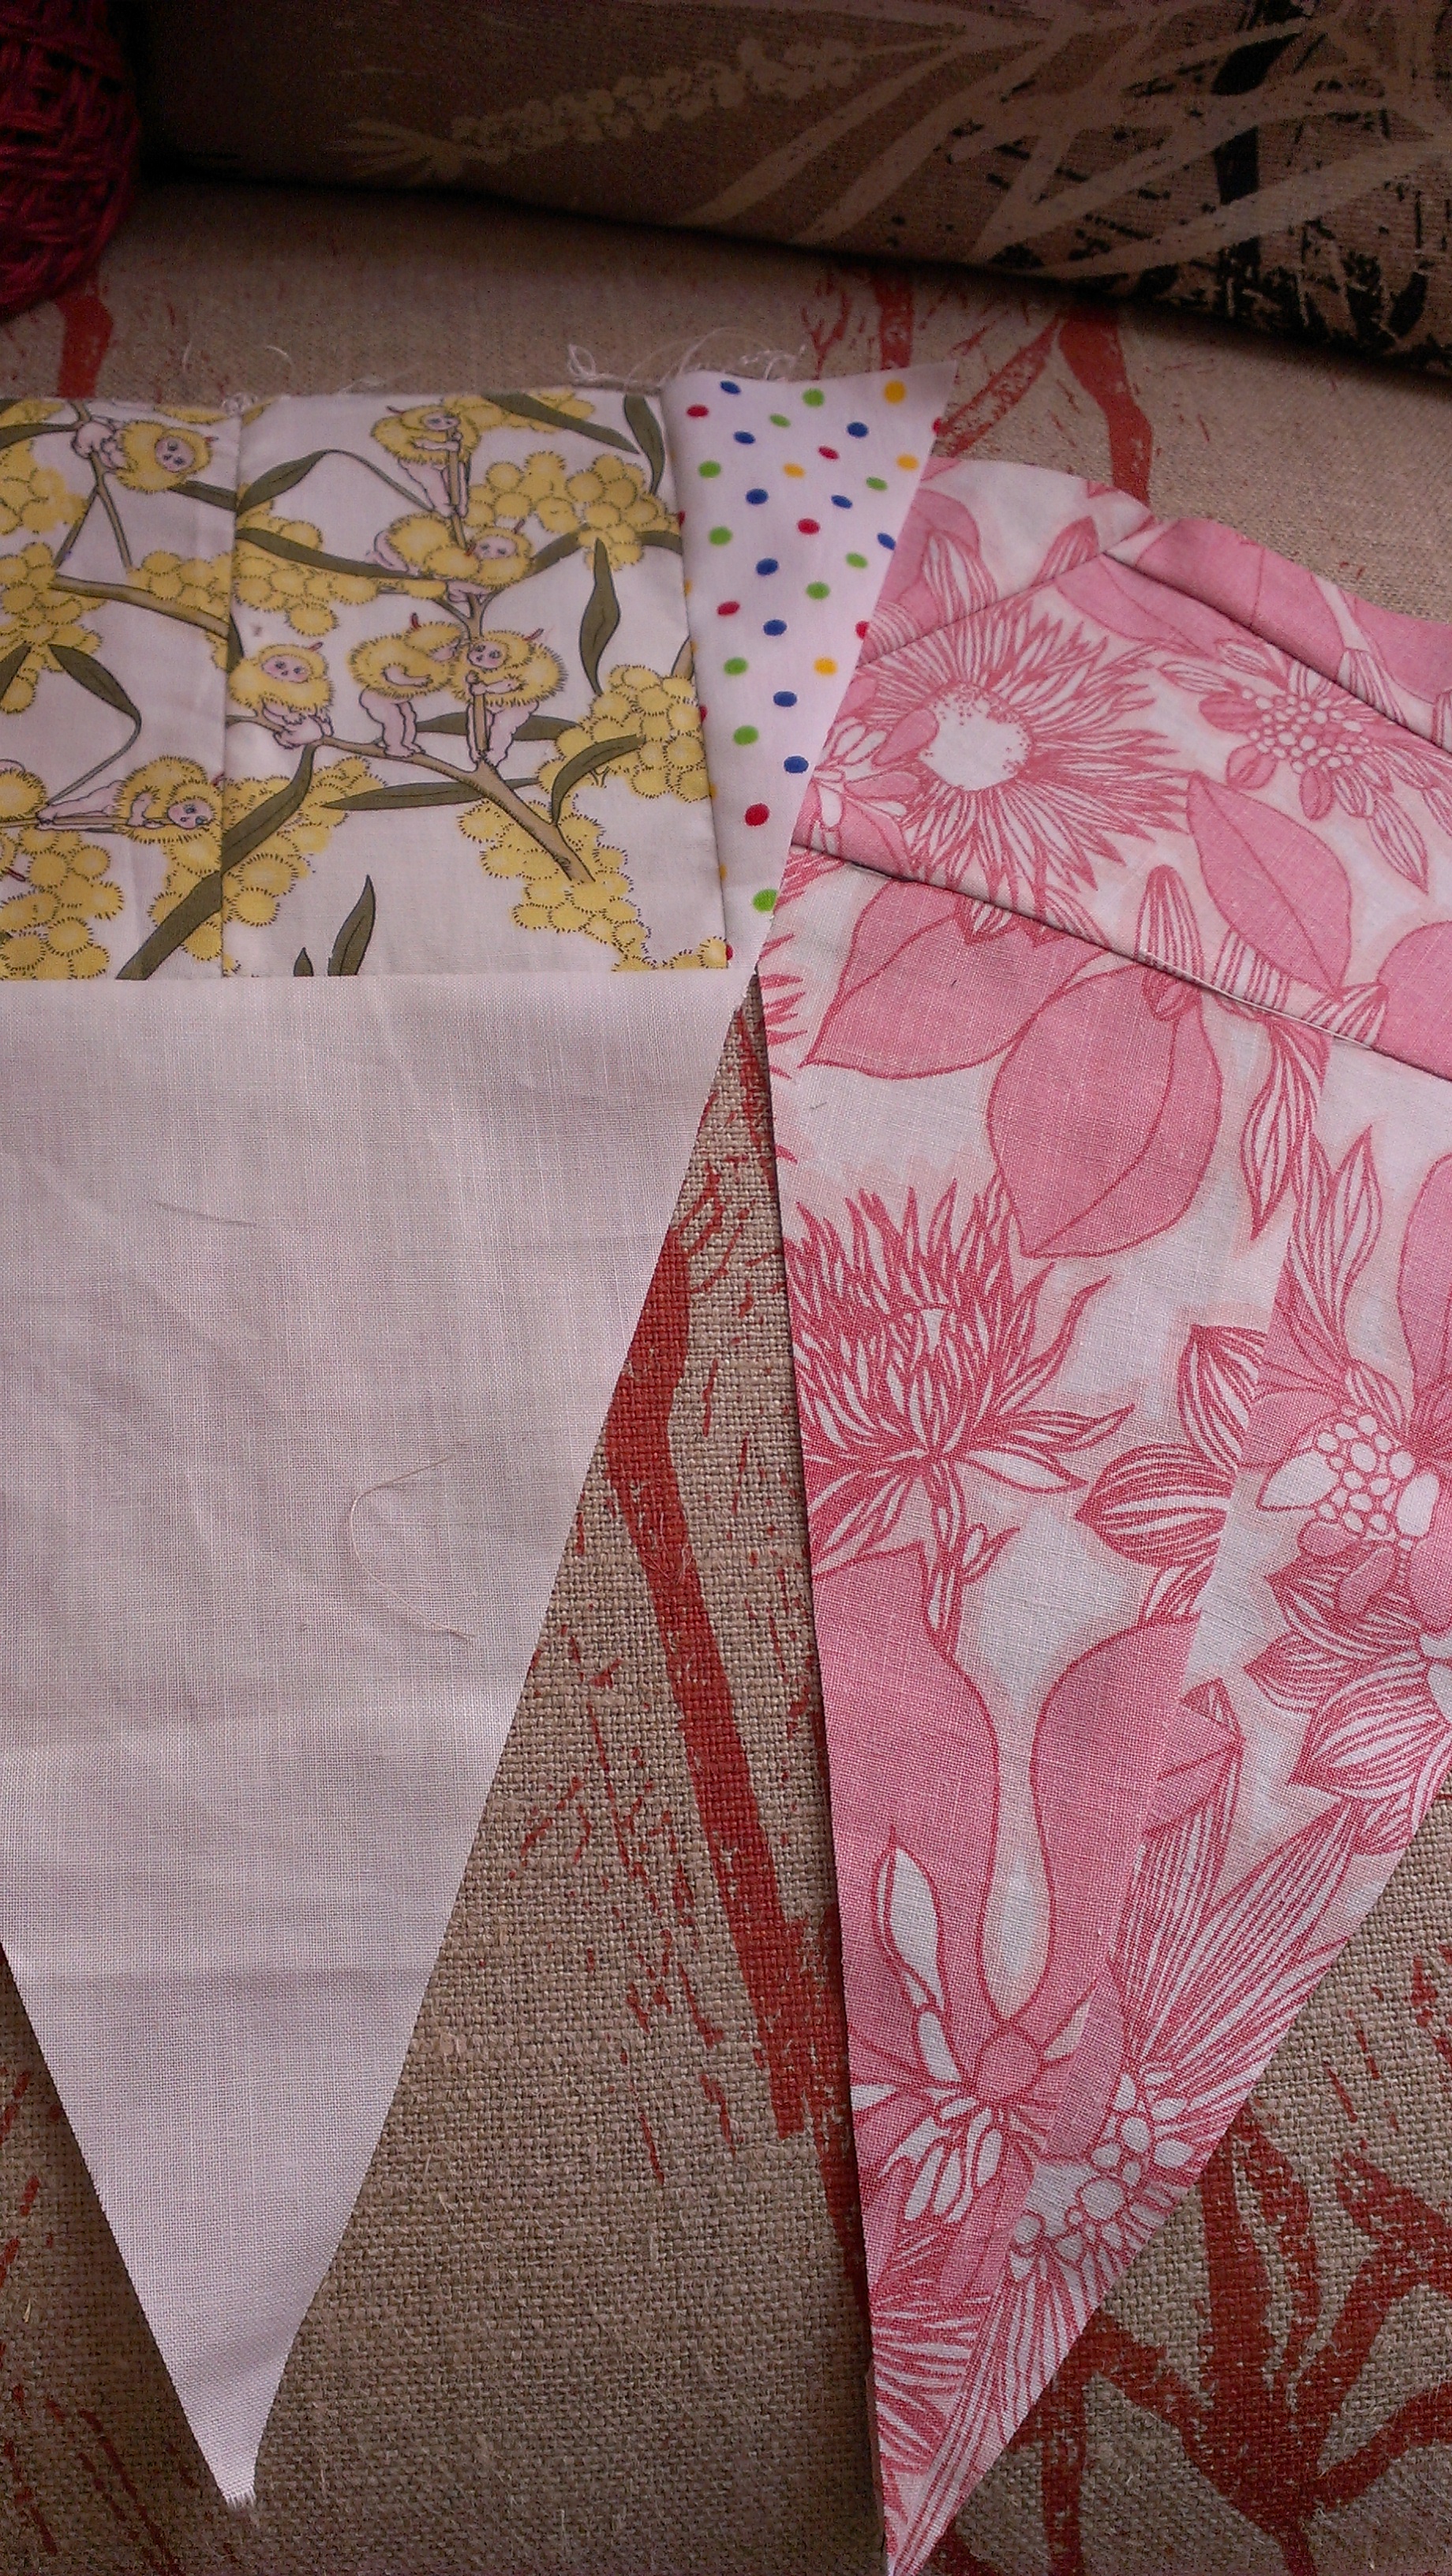
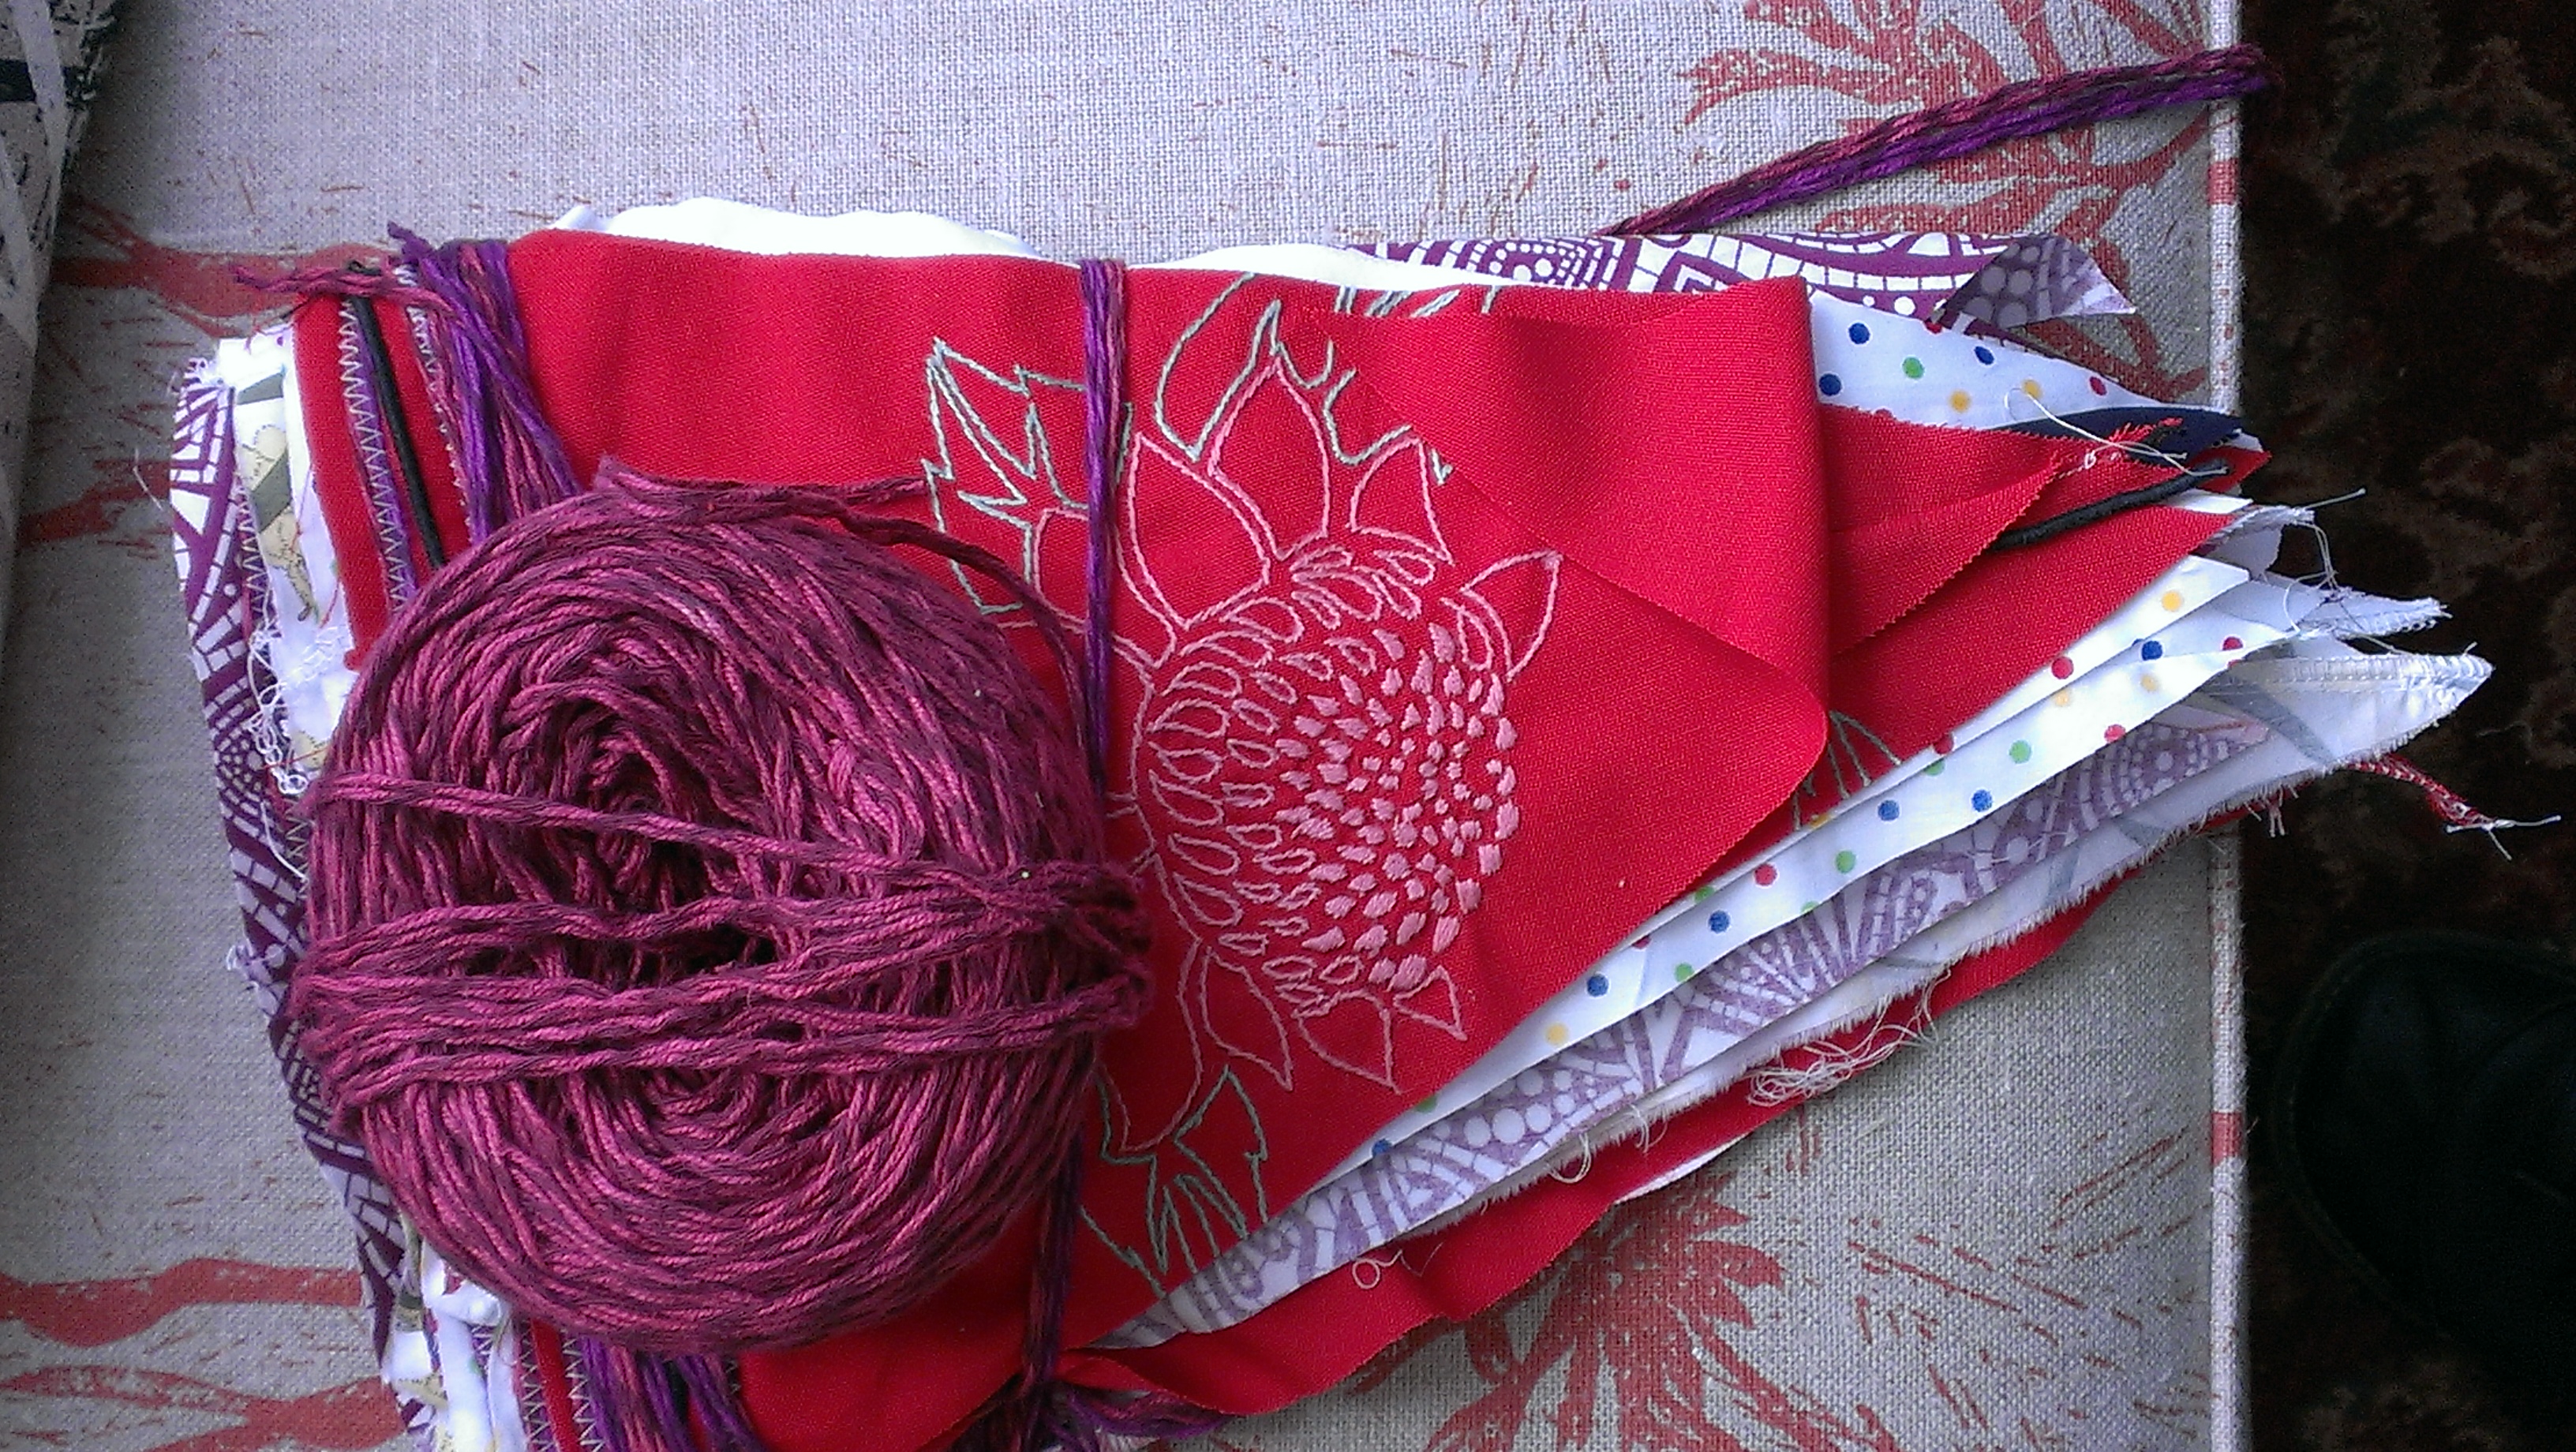
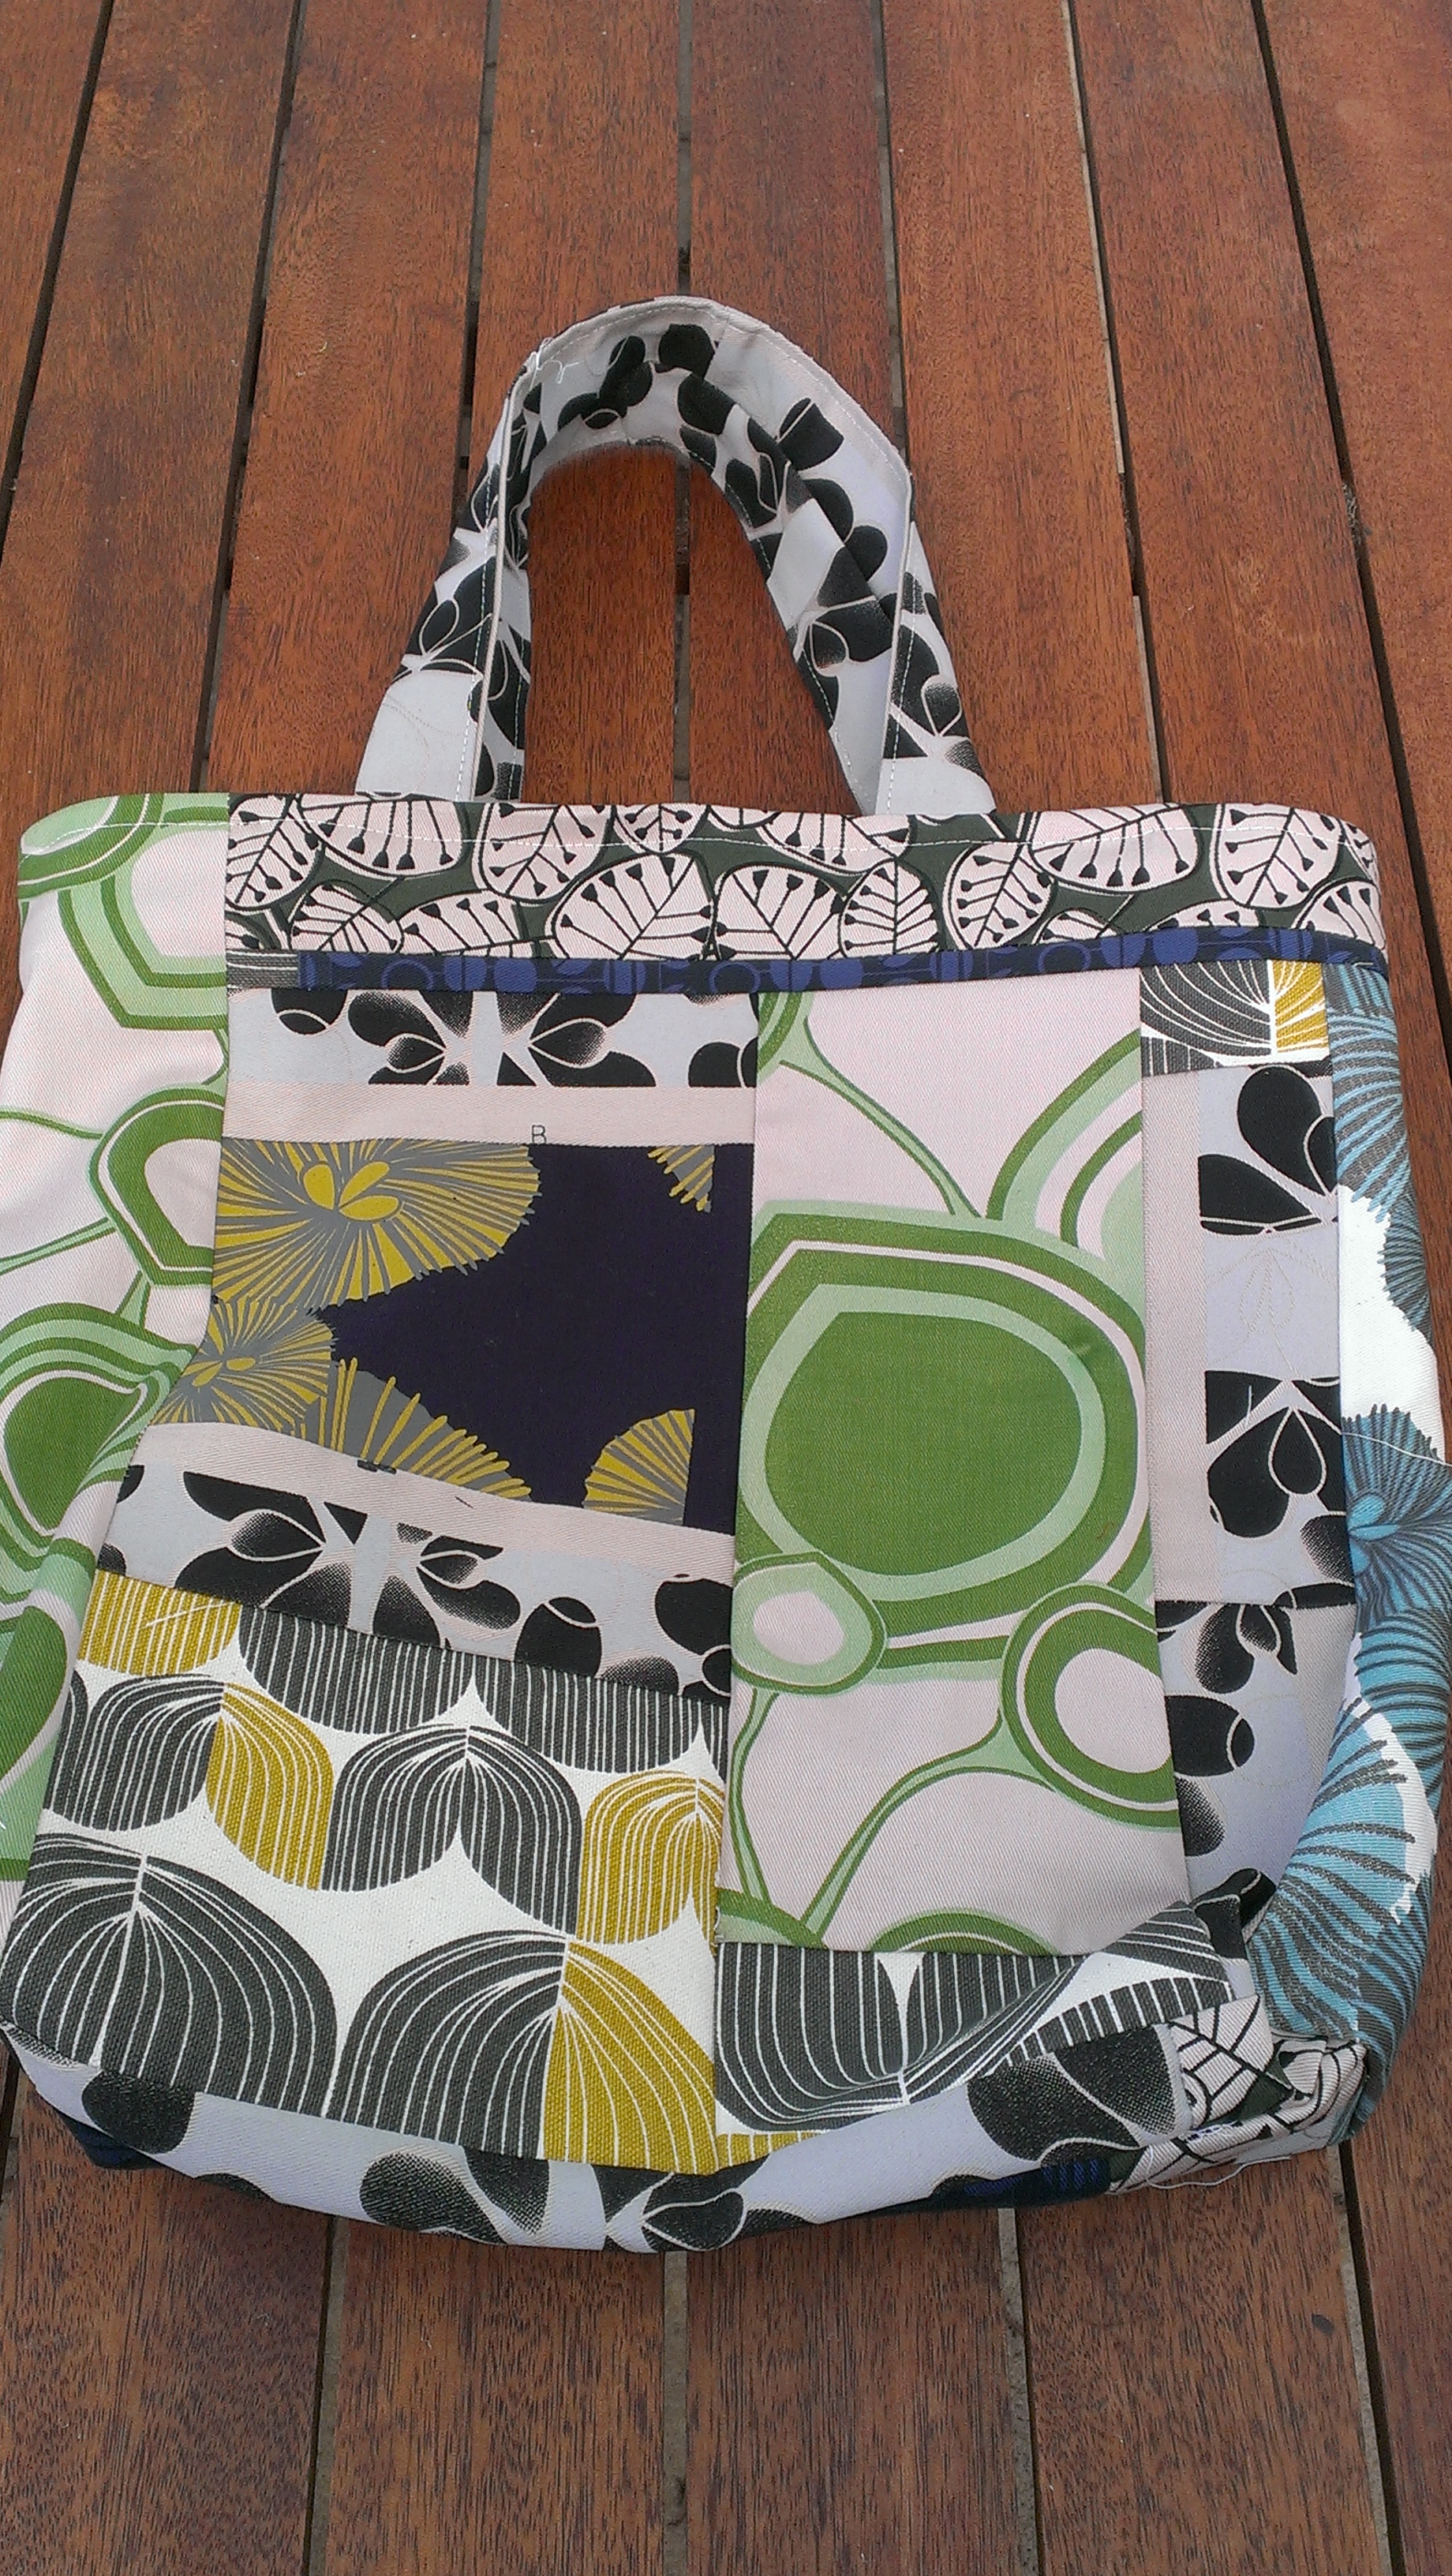
There were whole-garment makeovers, a purpose made bag, scrap fabrics, an opportunistic bag makeover and the pieces for a pair of pants yet to be made.

P1020619

The shades kept changing–wet to dry and dip to dip.

P1020578

…Until finally we had done all we could do and time to head to our various homes started to arrive.  Then there was a lot of undoing and exclaiming… and I’ll save that for another post!

18 Comments

Filed under Natural dyeing

Summer Indigo 1: Preparation of fructose vat and fabrics

I’ve had indigo on my mind (oh, and on my fingers, too!).  I’d been planning a summer indigo dyeing day with a bunch of locals–and there are folk at the Guild who want to try indigo too.  I was keen to try the fructose vat again.  My last experiment with the fructose indigo vat involved some errors on my part… so I decided on treating it (and all other indigo vats) as a learning experience and trying again. I love the idea of being able to run an indigo vat without using sodium hydrosulphite, and I also love the idea of being able to use local fruit and even the leftovers from jam or other uses of fruit to prepare a vat, thus wasting nothing.  This is what the fructose vat has to offer… So, I took up Maiwa’s instruction sheet for Michel Garcia’s fructose vat, and began.  I am just so delighted to have access to Michel Garcia’s wisdom on this subject.  You can see the instructions as a blog post here or a downloadable pdf here.

2014-12-28 12.45.25

I decided to make a starter: beginning with a concentrated solution first and adding it into the larger vat later. The instructions on hydrating the indigo with marbles in a plastic jar are just such genius… so I started there. I also decided to start the day before I planned dyeing with my group of friends–this was one part of the instructions I missed last time.  Soon my strong solution was ready. Freshly mixed:

2014-12-28 12.59.59

And then… the magic started!

2014-12-28 16.55.39

I mixed the starter into the larger vat and then contrived a very sophisticated system for overnight: a very big bucket with a towel and my two woollen dye blankets inside for insulation, then the vat.  Wrapped for the night!

2014-12-28 18.56.38

Next morning… it all looked rather fabulous!

2014-12-29 10.42.12

In the meantime, I’d been plying my needle during various festive gatherings.

2014-12-26 14.17.52

Can you see the half-circles in the half-light?

2014-12-25 17.25.43

I read Vivien Prideaux’s A Handbook of Indigo Dyeing and tried out some of her ideas in a rather less precise manner than she proposes.  Essentialy, I decided that anything I could prepare to dye in advance was a bonus and precision was the least of my concerns.  her ideas were very helpful.

2014-12-25 16.21.24

I had so much calico from my most recent inheritance I really just stitched whenever I could find time and interest…

2014-12-25 15.12.16

And piled up a little stack of fabric in preparation.

2014-12-25 15.09.28

13 Comments

Filed under Natural dyeing, Sewing

Solstice bag extravaganza

As alert readers may have noticed, from time to time I get onto a theme and just keep going.  Bags are one such recurring theme, and in the quiet time on this blog a lot of bags got made. You have only seen the first few.  It went on to become what I whimsically refer to as ‘a bag jag’.  I am susceptible.

2014-12-14 16.51.02

I started on scraps that were on the floor and scaled up to long saved remnants and fabrics bought as offcuts, garments saved for re-use… and from there just kept going.

2014-12-14 16.50.52


Why not use some of the bark cloth curtains?  What am I saving them for?  What about those bits purchased at the  op shop?  That rolled up set of print scraps I picked up at a garage sale one time?  Why not interface the openings with the scrap canvas I collected  when I used to dumpster dive that canvas place on the way home from work?  You get the picture.  Before long there was this.

2014-12-14 16.51.43

Then I made more and some went to be Hannukah and Solstice and Christmas gifts so quickly they were not even photographed.  In the end I decided to go for it and just kept making with a view to taking them to my friends’ solstice party/picnic/clothes swap/pinata in the park.  It was a fun thing to do, and a fabulous evening as always, it made me smile to see some folks’ surprise that someone had made them just to give away, and I now have none of these bags left, and a marginally smaller stash of fabrics!

6 Comments

Filed under Neighbourhood pleasures, Sewing