Tag Archives: mend and make do

#MenditMay: Beyond darning

I have a dear friend whose entire family are facing some very tough times.  I’d been wondering what I could do that might bring some comfort to her, and then I had an idea.  I knew she had a cardigan that had belonged to someone she treasured, and that it was showing signs of long wear and lots of love.  So I offered to mend it for her.  She chose some yarn and on some quiet nights last week I set to work.

IMAG1584

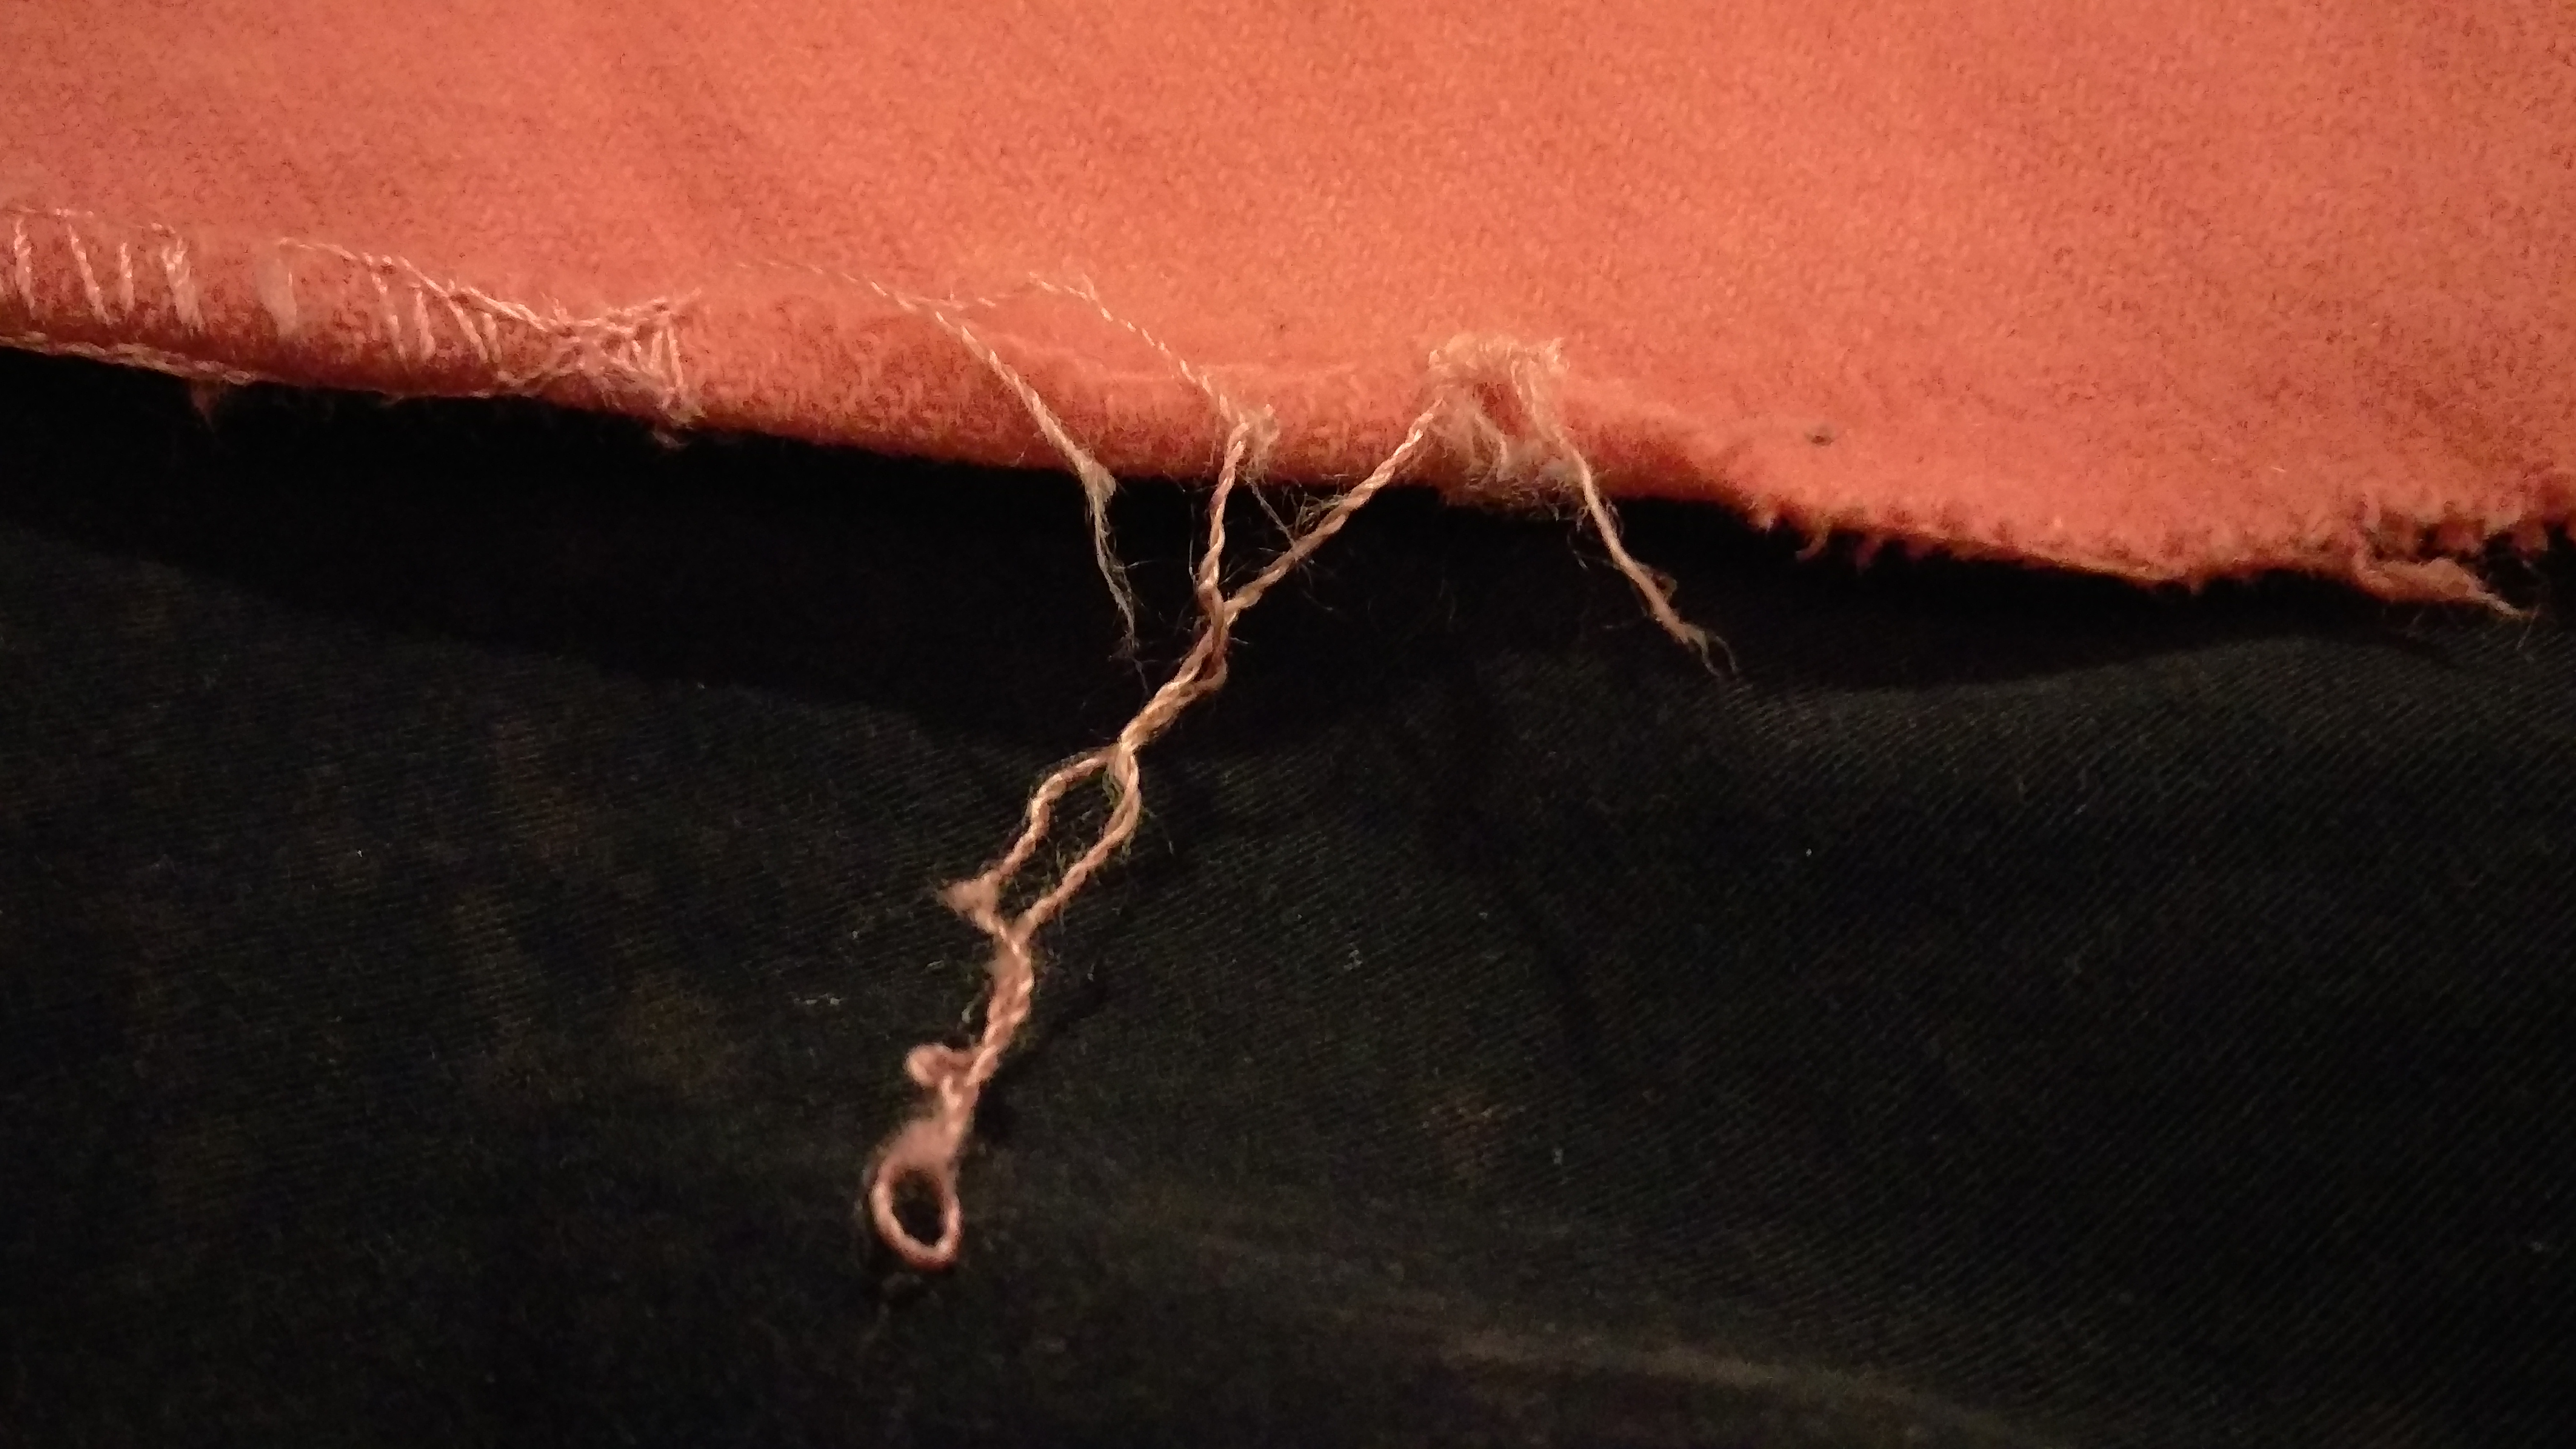
Darning is always possible, but sometimes it seems barely adequate to the task, and the result is unlikely to be pleasing.  I have darned holes bigger than this, but I did cover some of them with leather elbow patches afterward!

IMAG1586

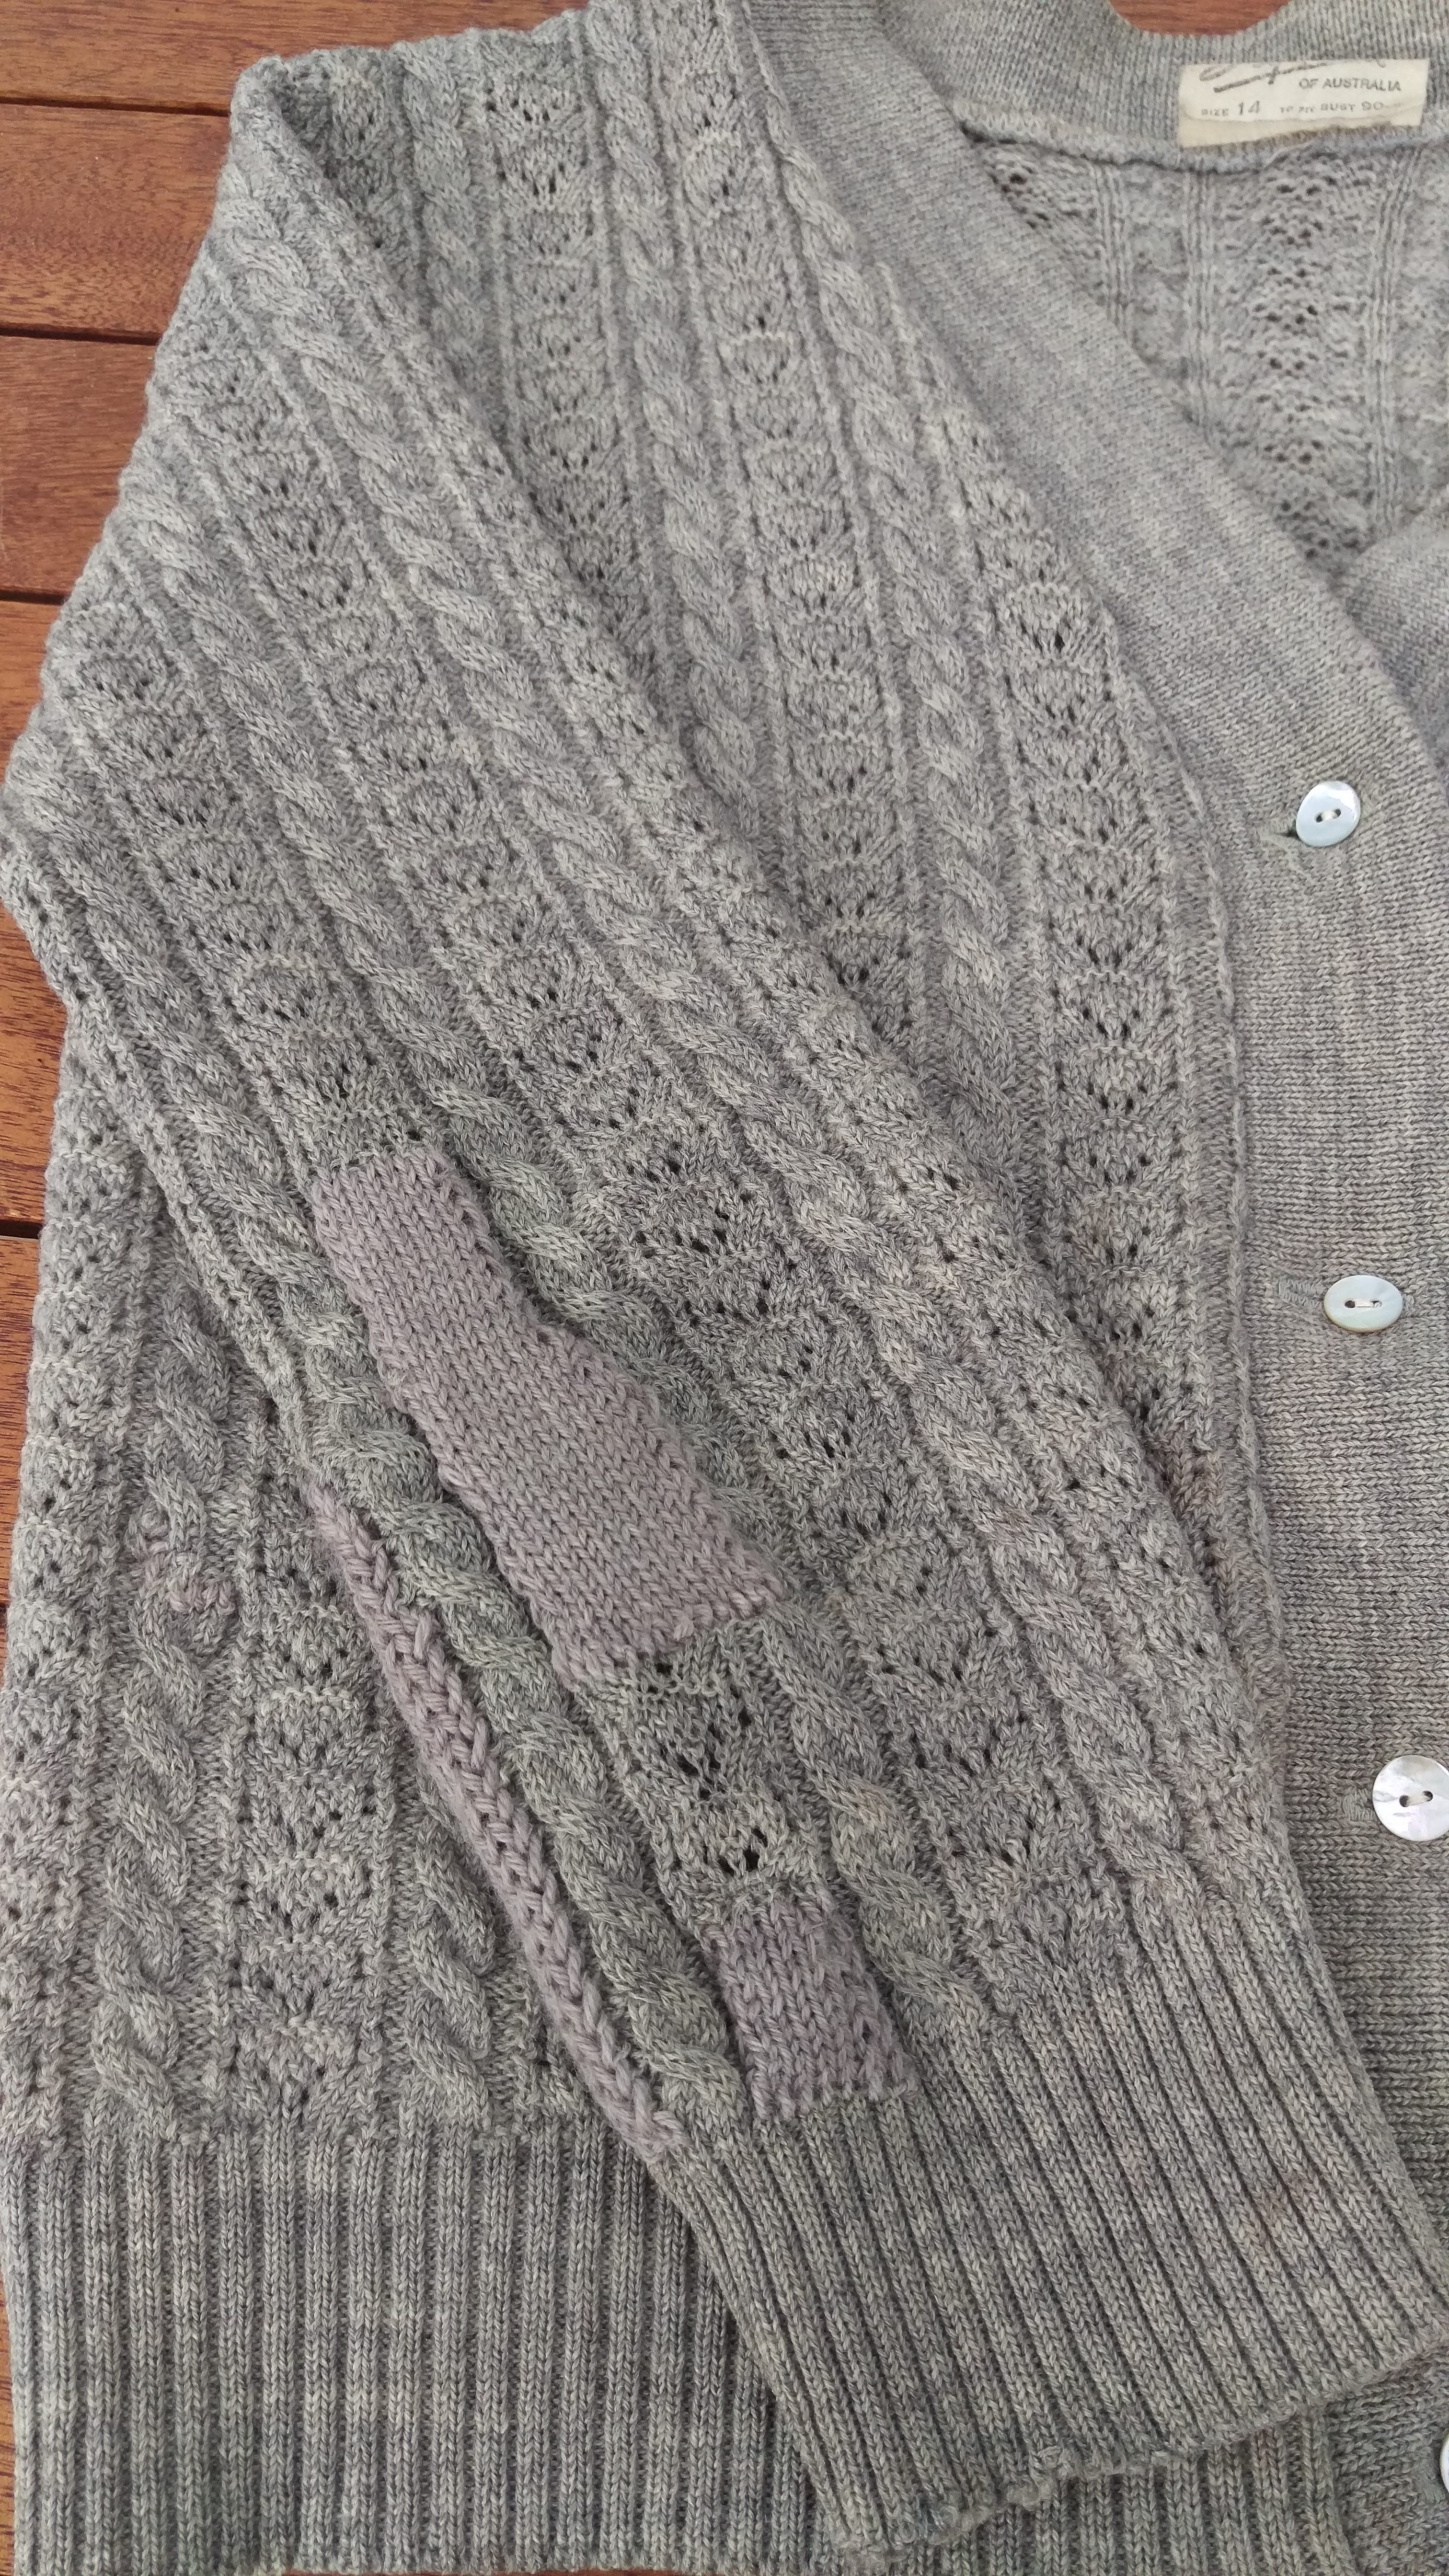
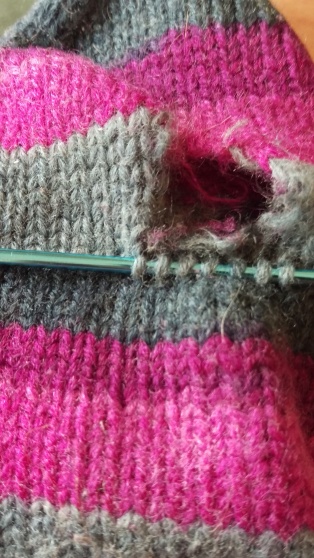
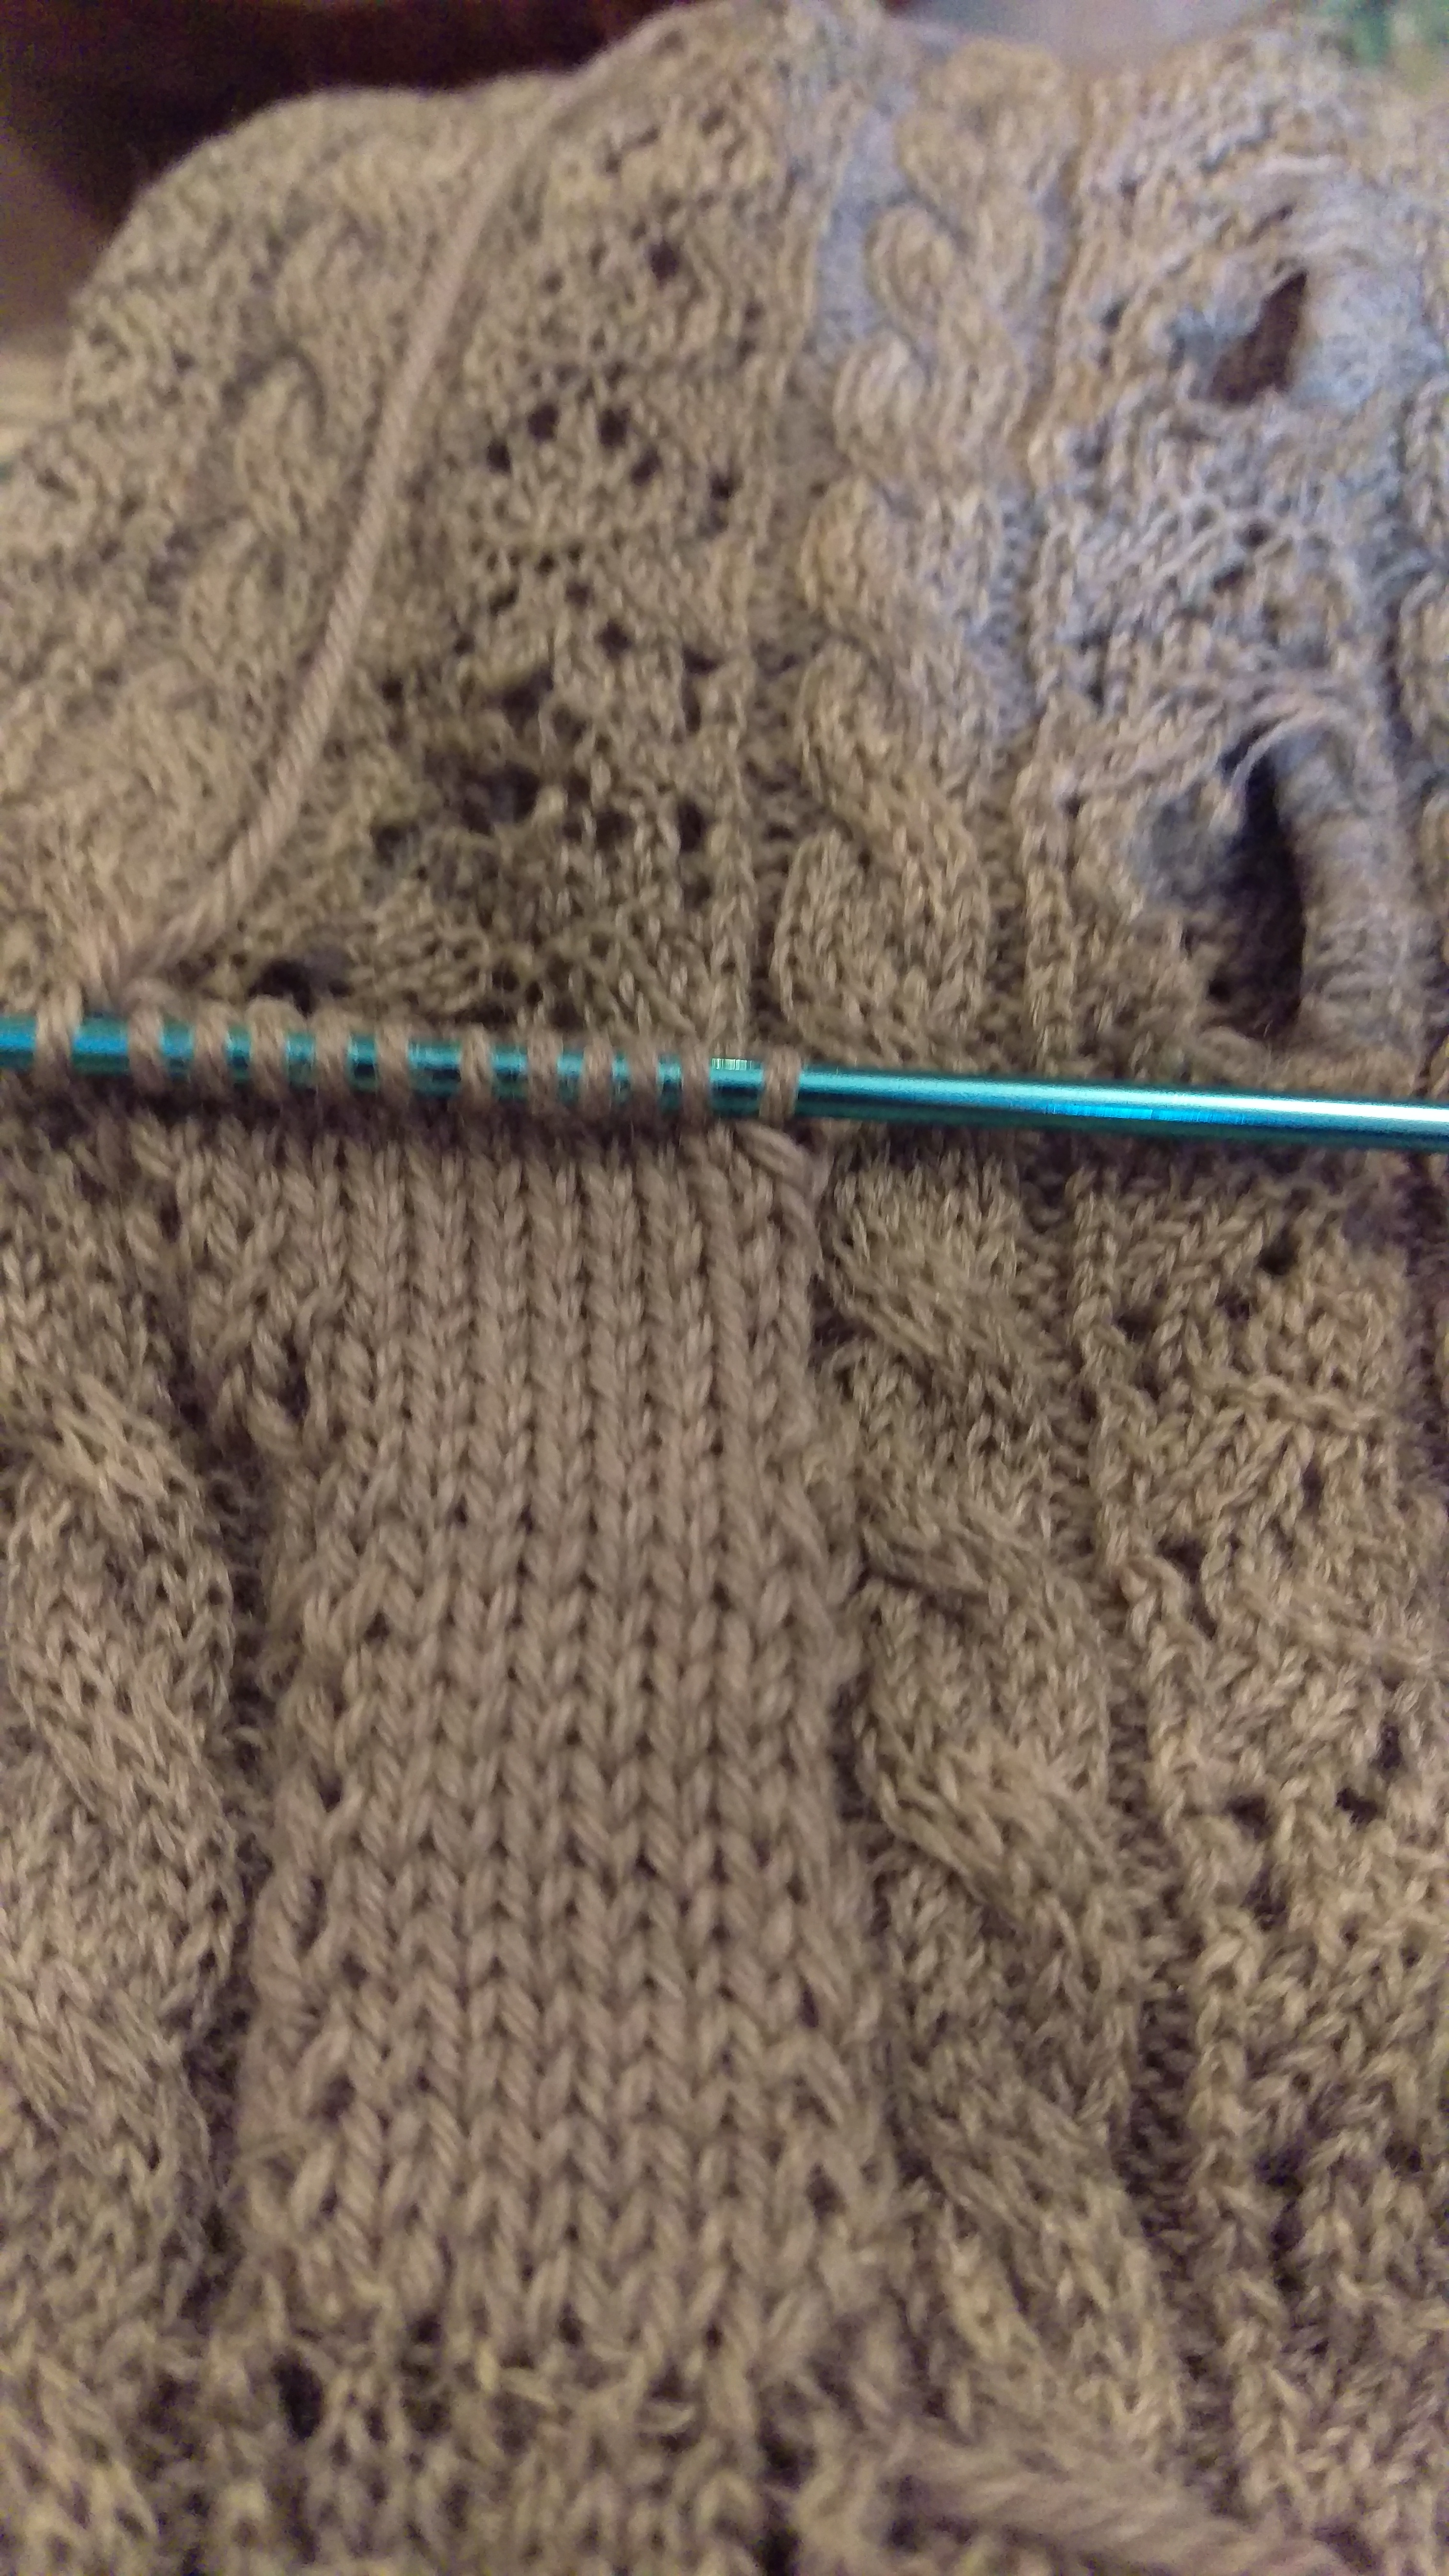
In the end I decided knitting in patches was a better idea.  I used needle and yarn to stabilise runaway live stitches.  Then I picked up some stitches, as you can see above.

IMAG1590

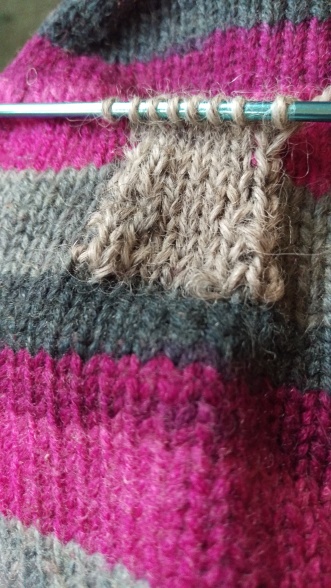
In a couple of spots I darned first and then picked up stitches.  See the woven section above the knitting needle?  Then it is really a process of knitting along and purling back, knitting two together at each side with a patch-stitch and a picked up strand from the garment.  There were some places where I added extra stitches or cast some off as I passed.

IMAG1588

One sleeve got several patches.  I tried different ways of casting off (binding off) and decided hand sewing the stitches down was the smoothest finish.

IMAG1602

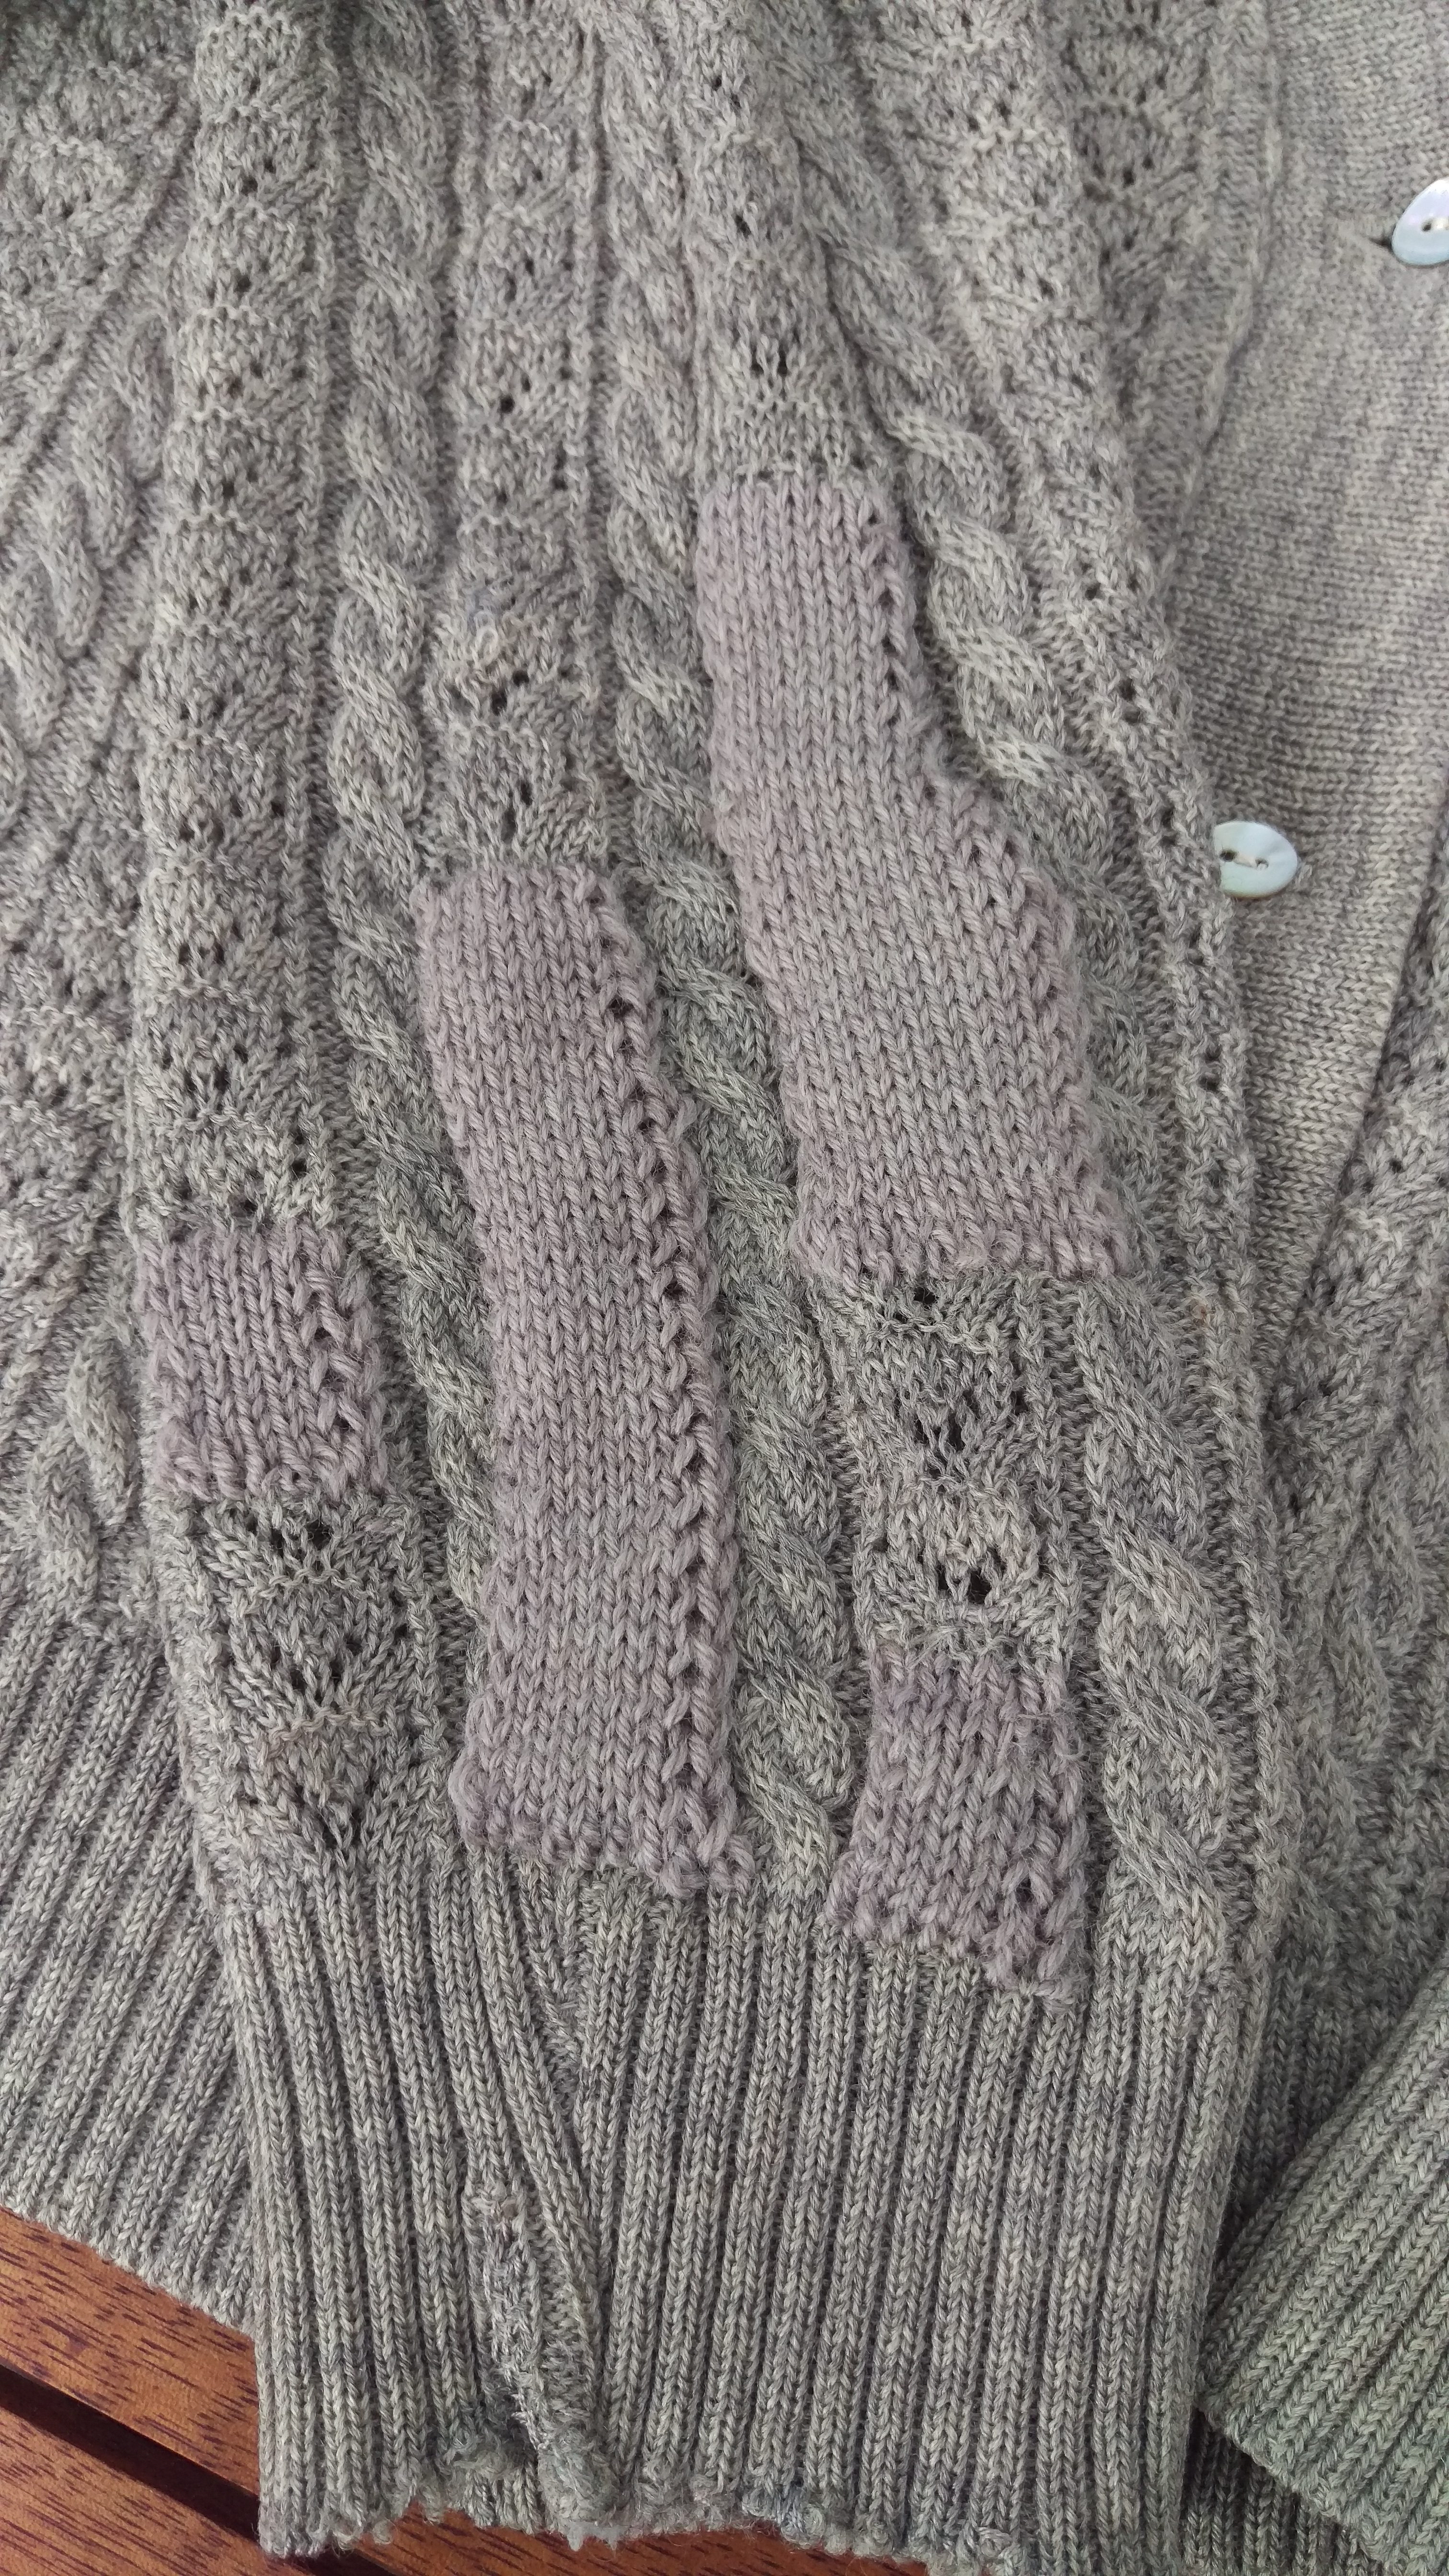
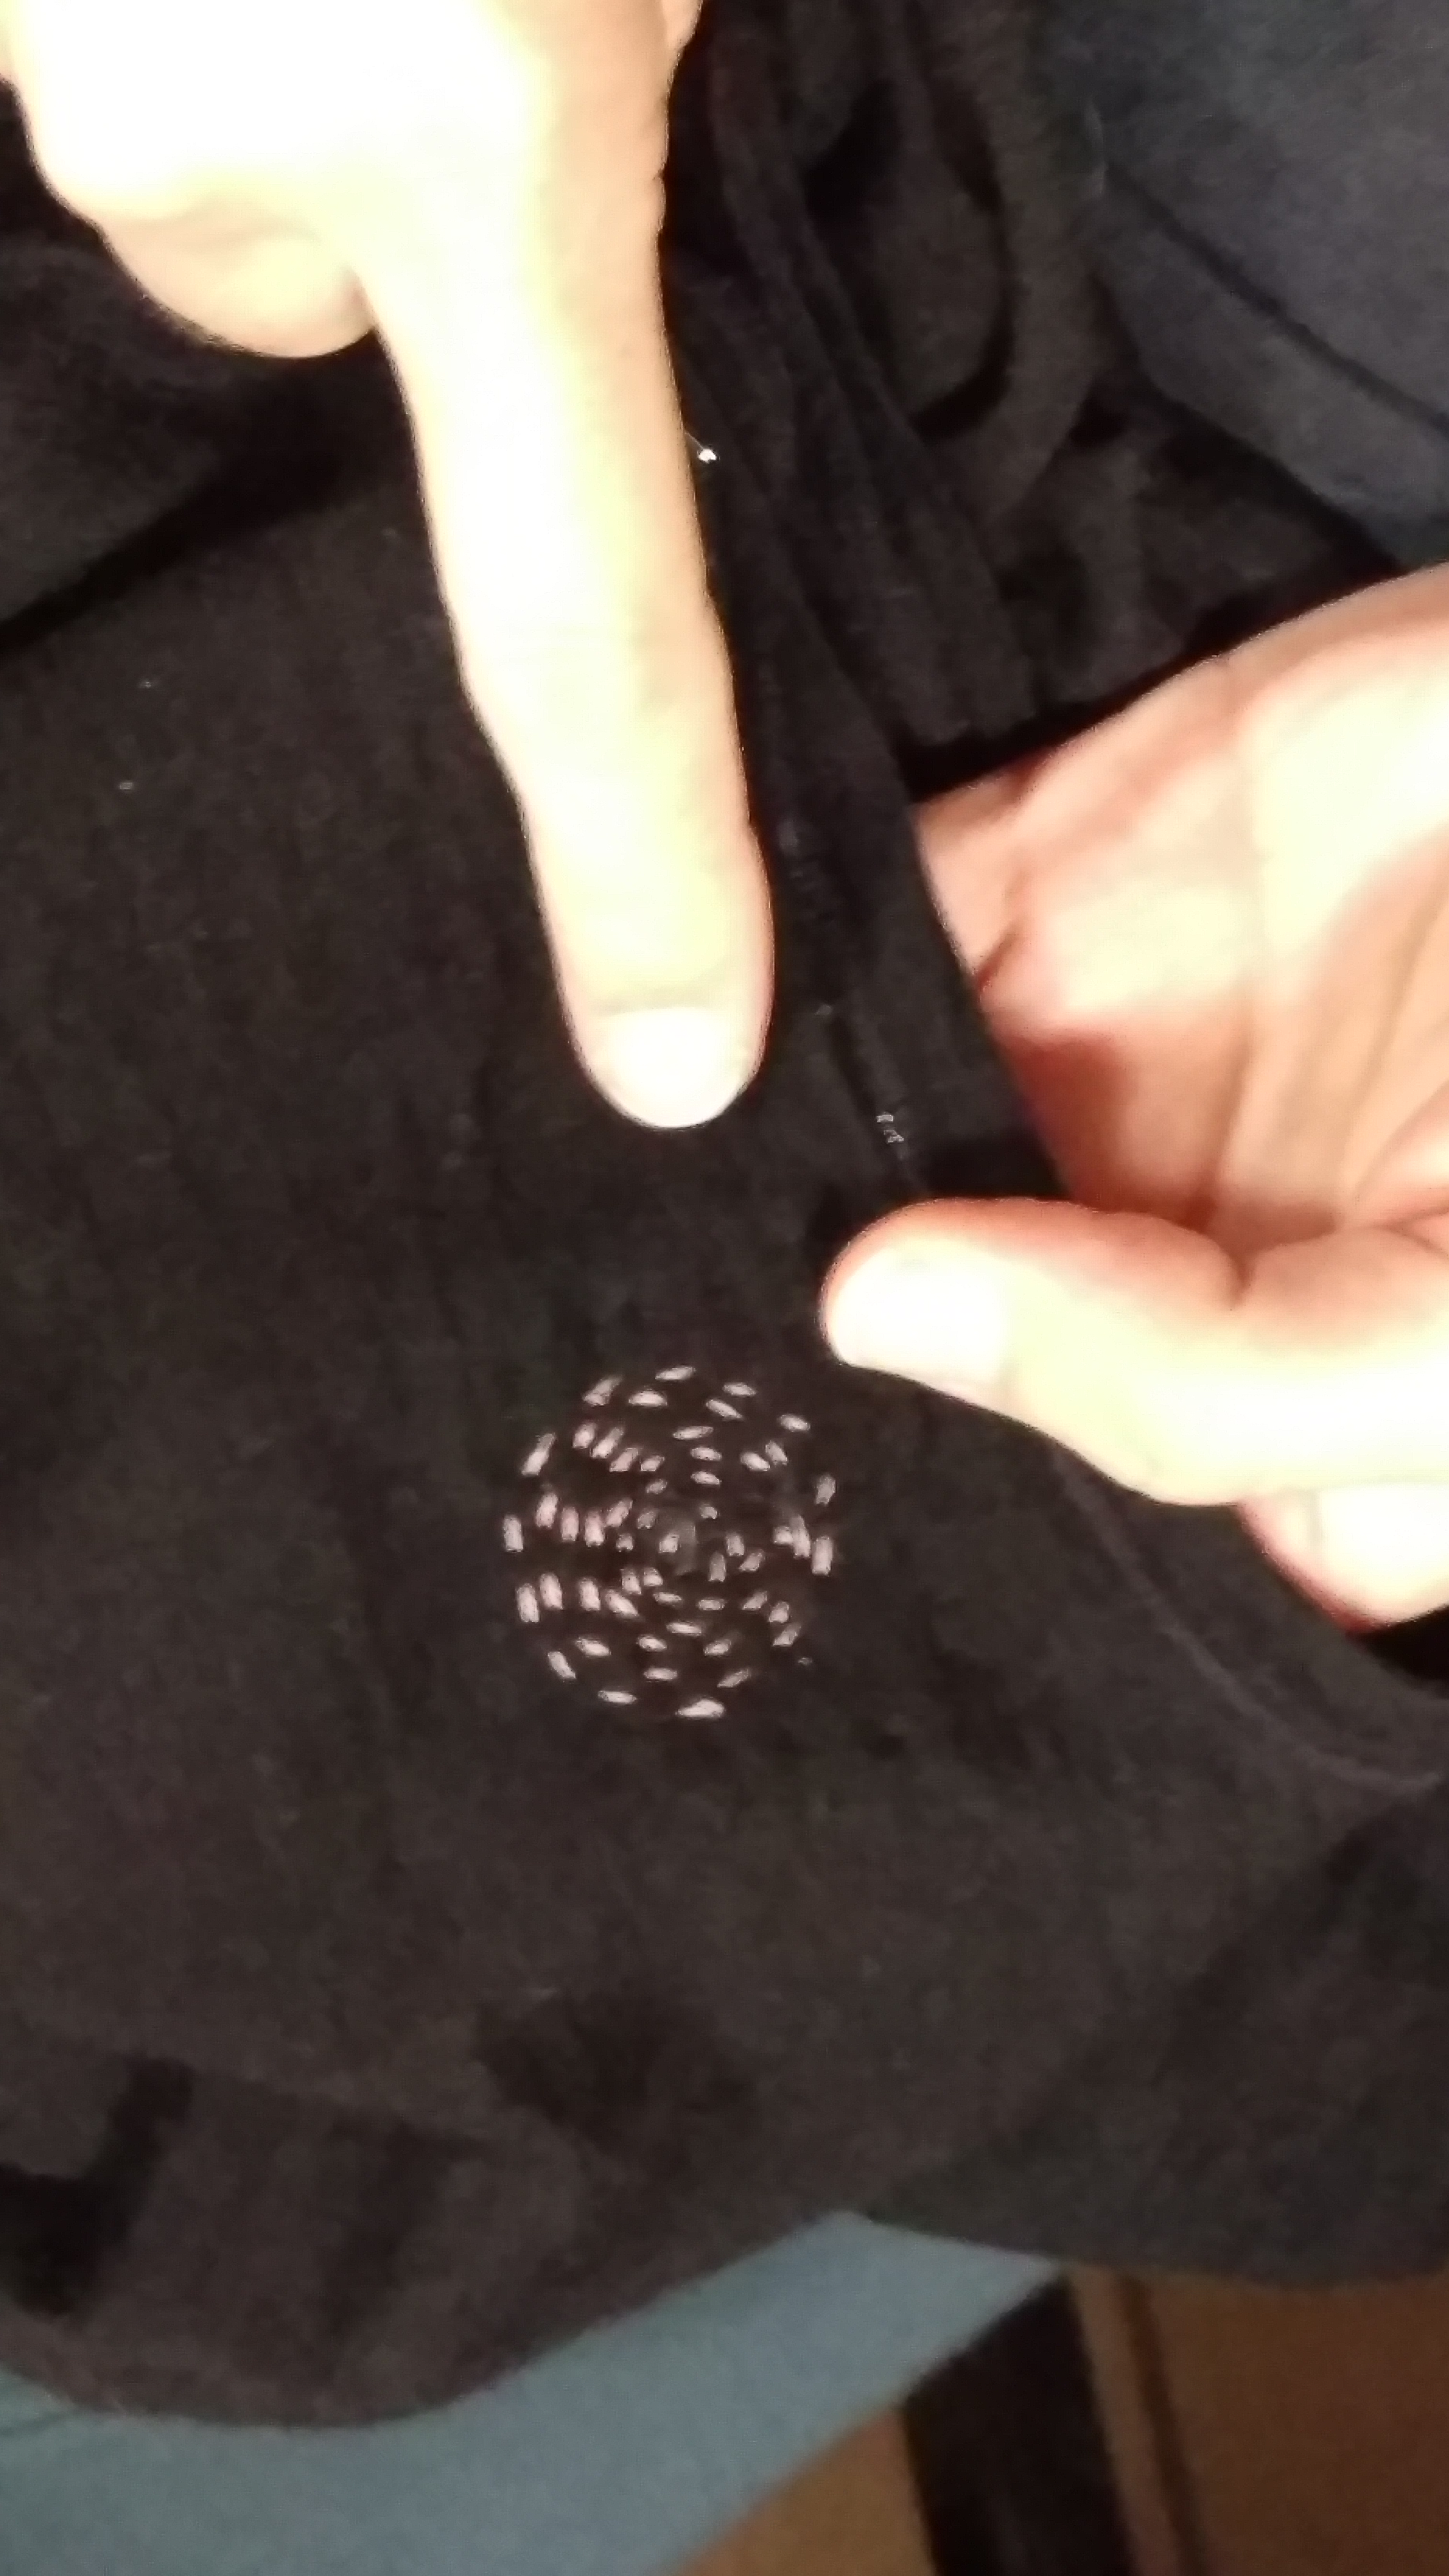
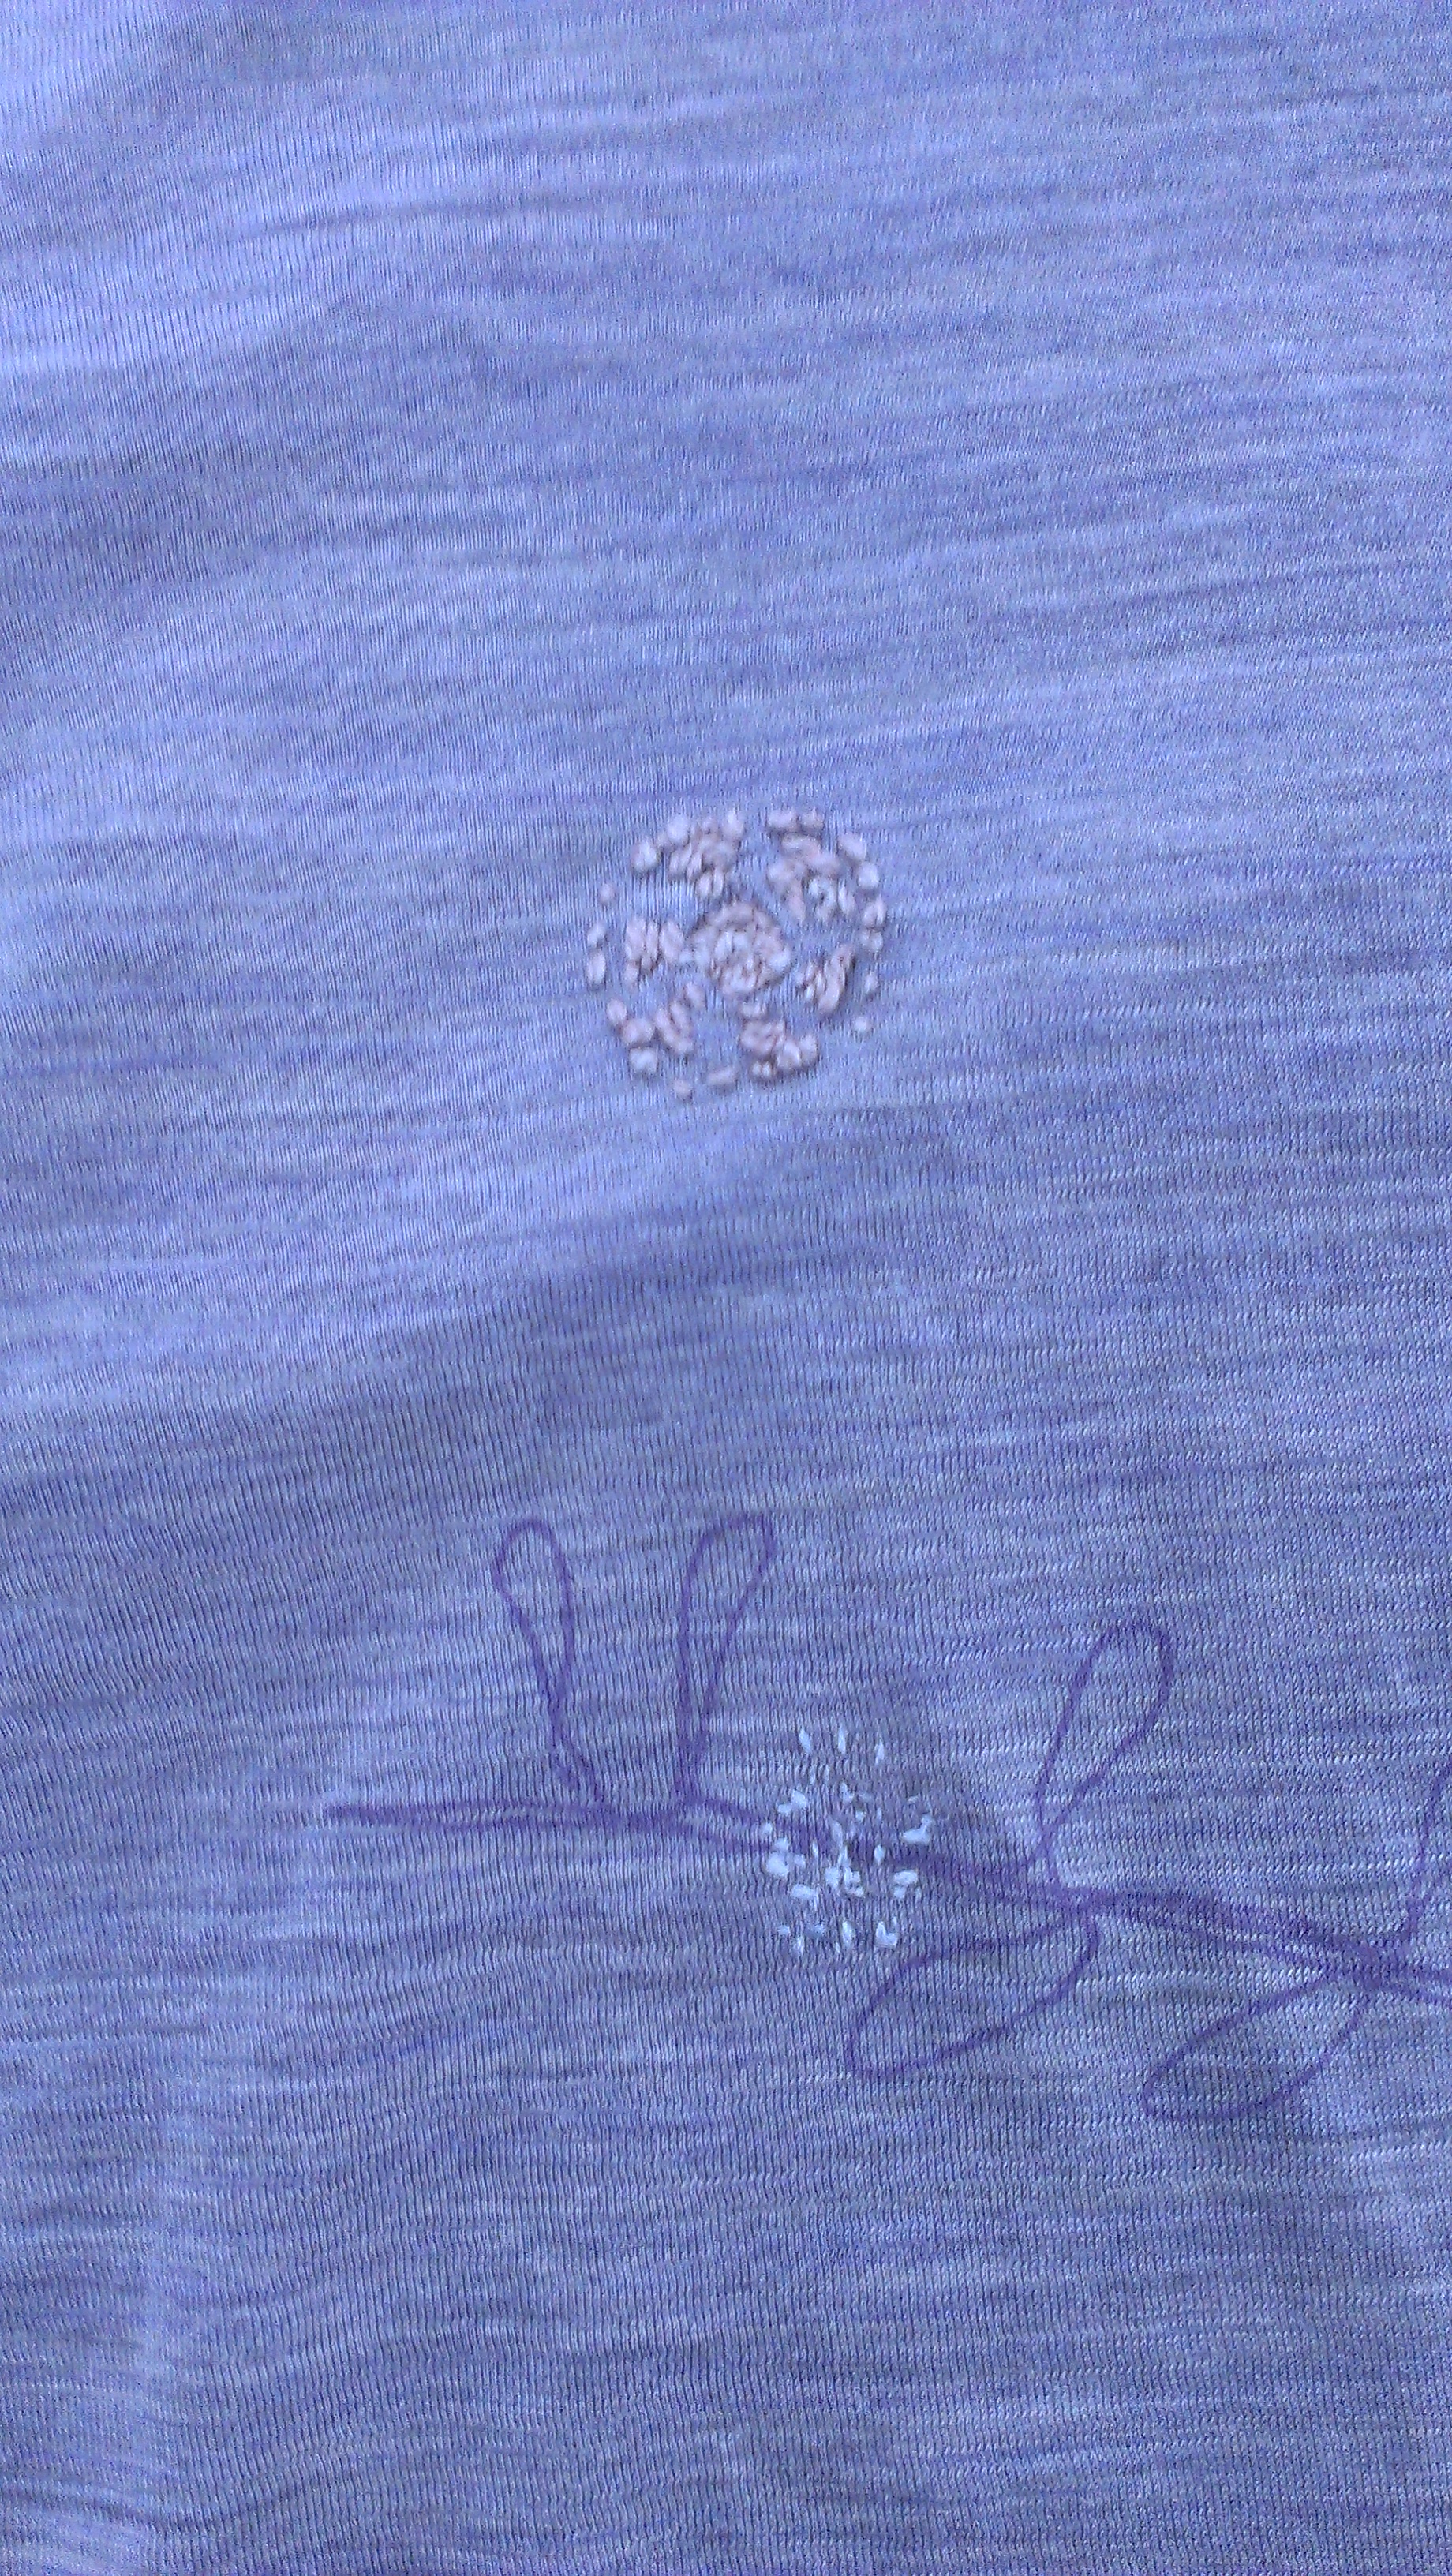
There were smaller places where I did small darns or just trapped live stitches so that ladders could not spread further.

IMAG1592

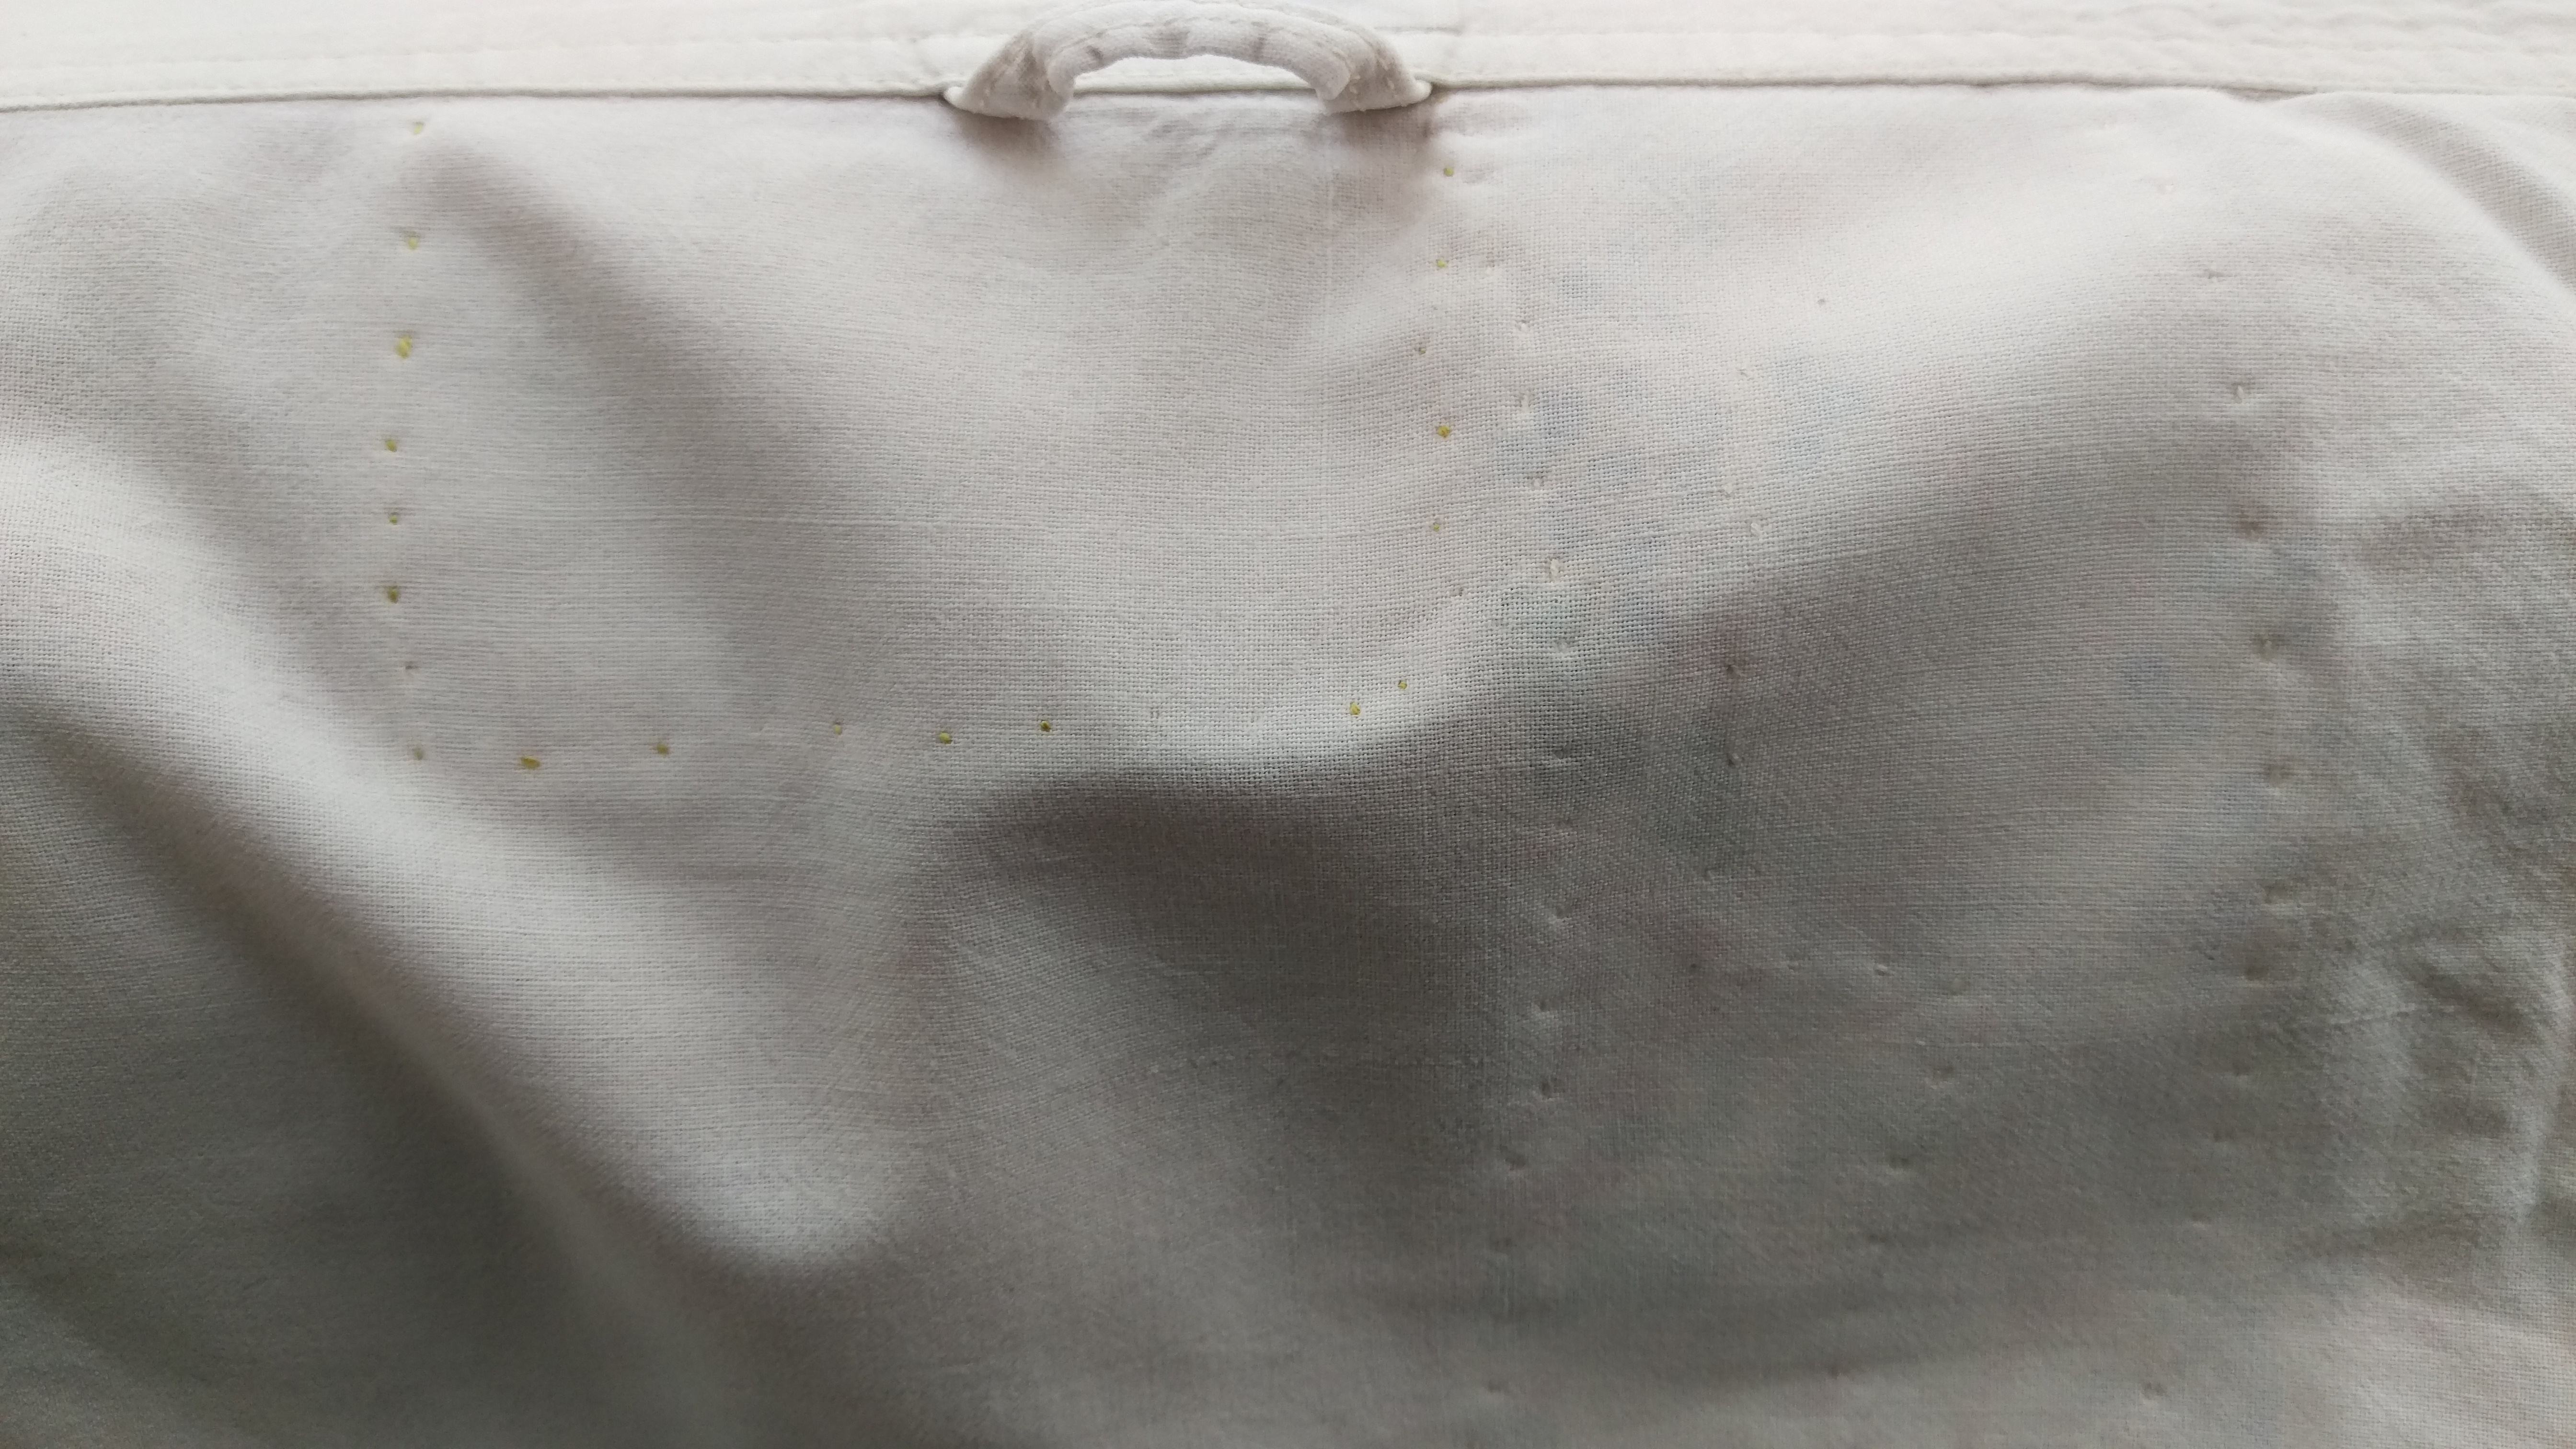
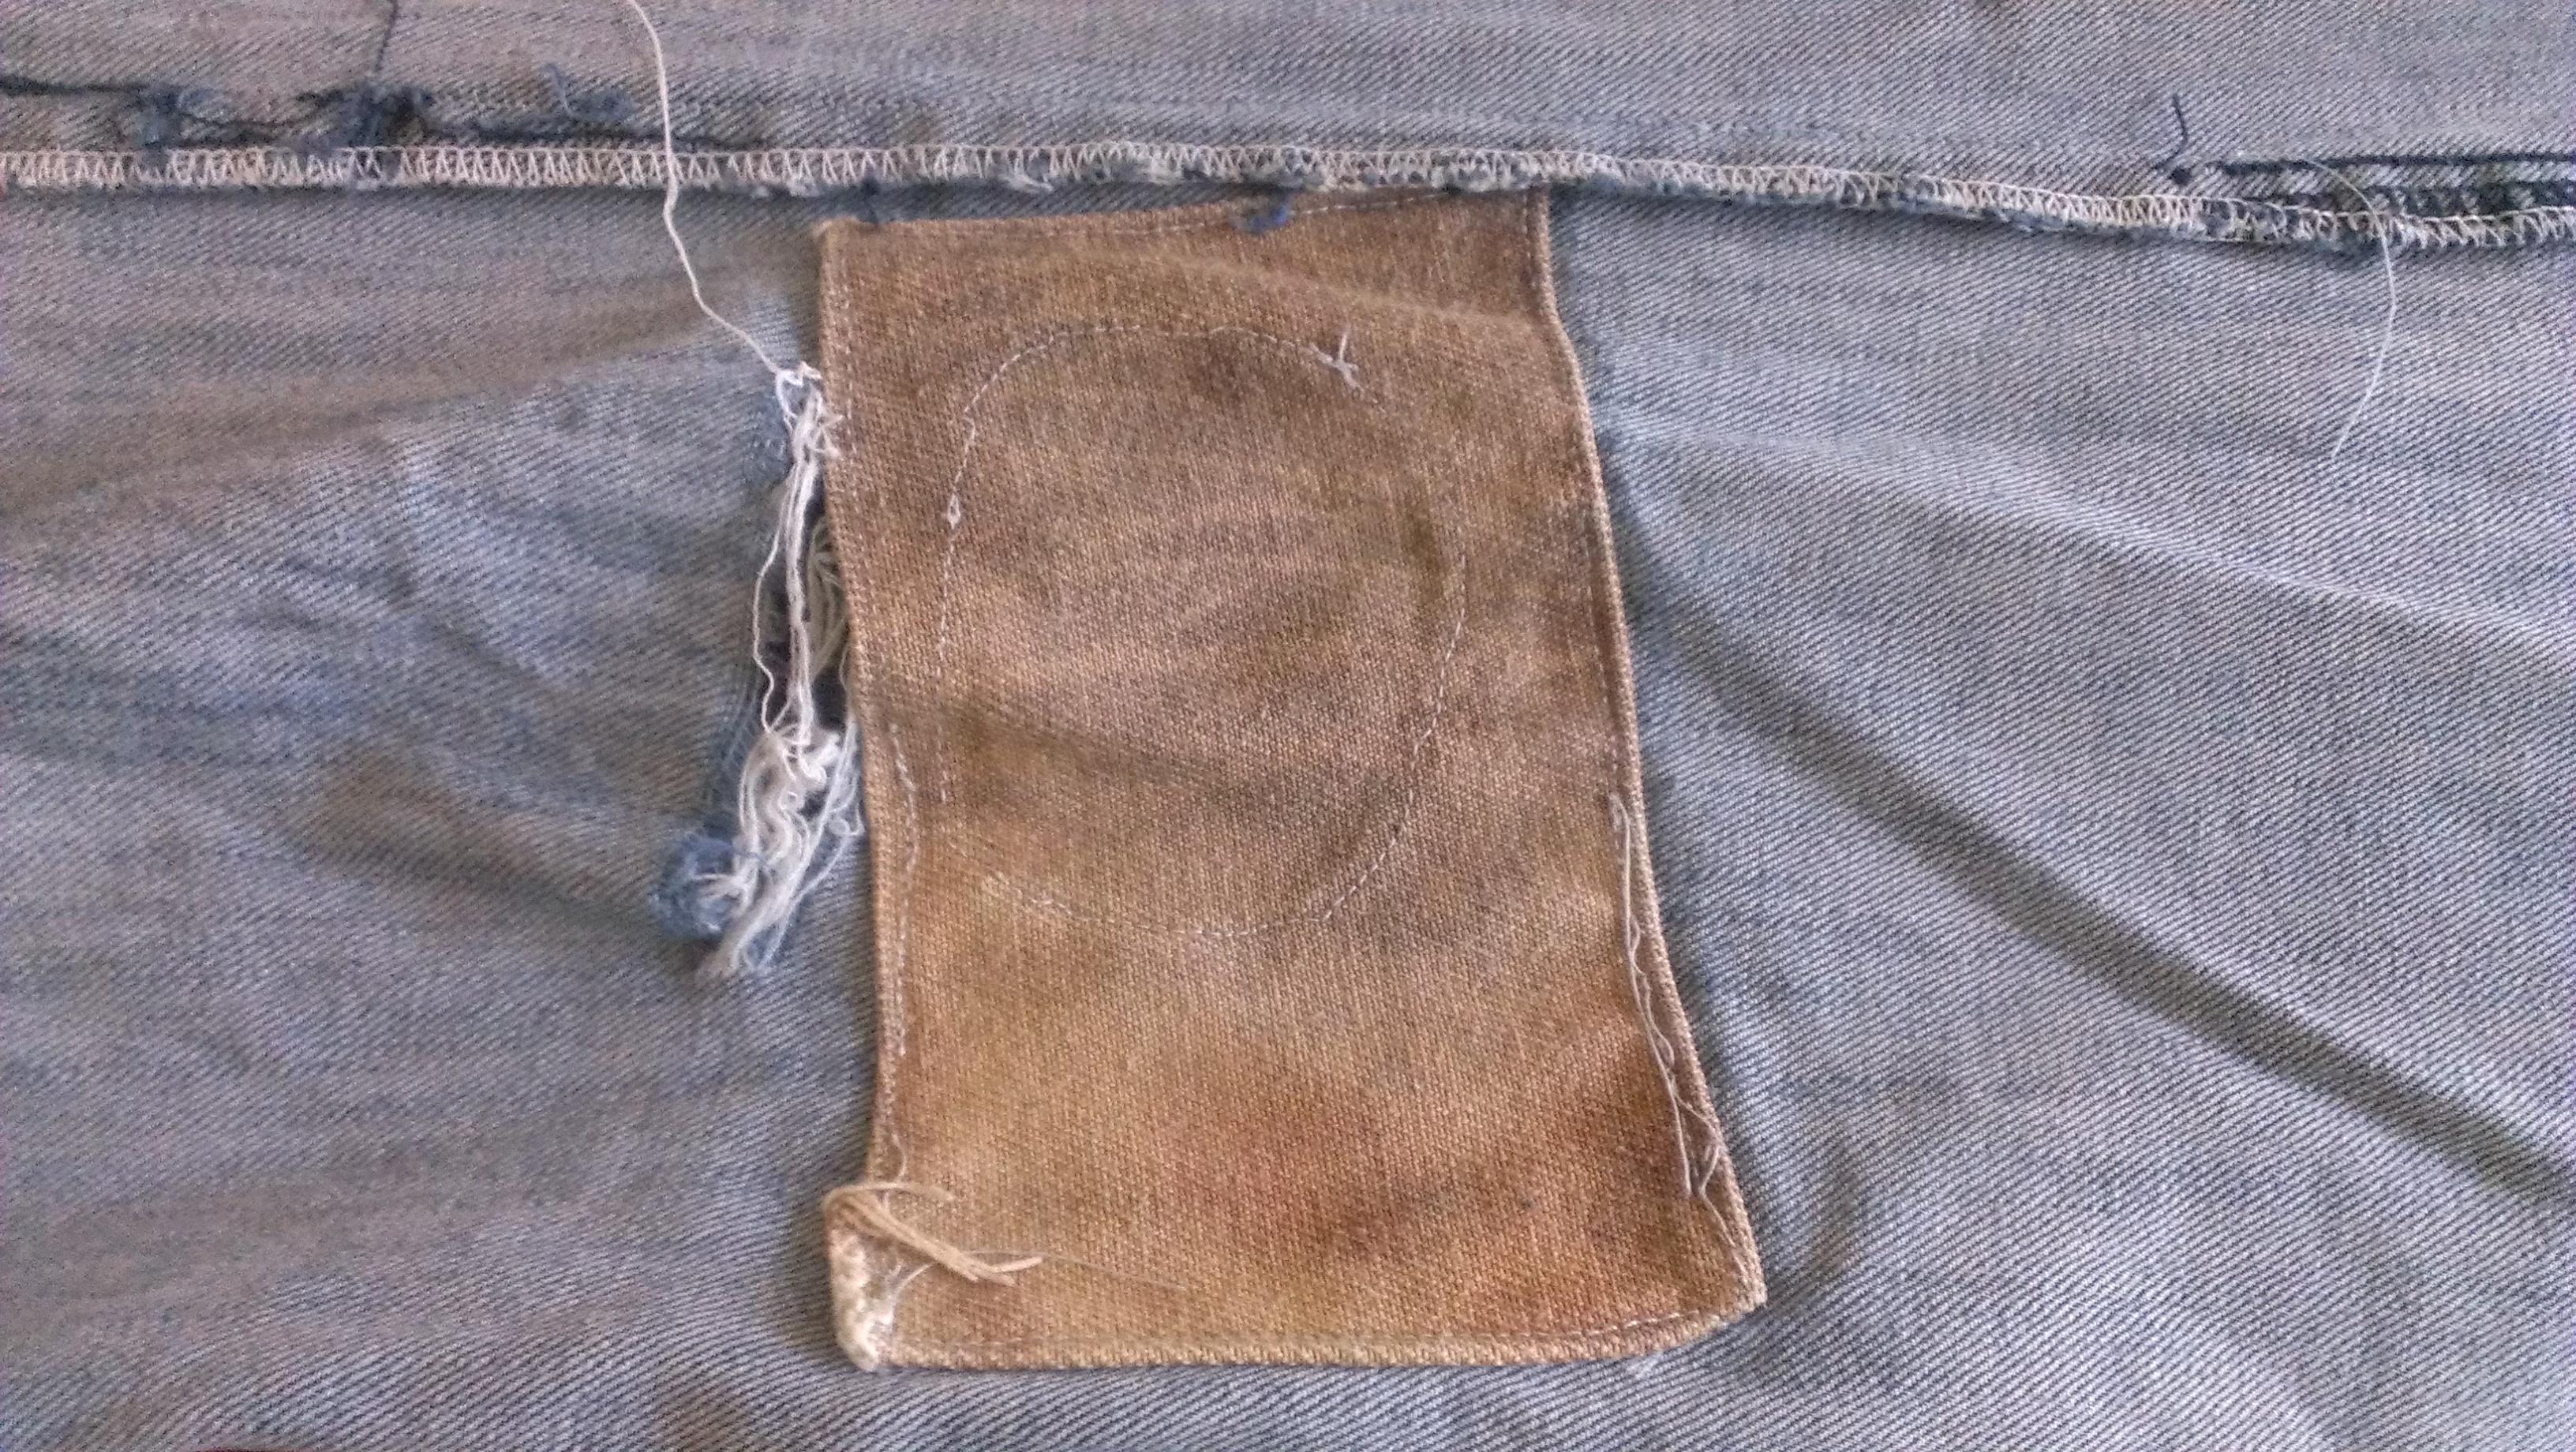
On the cuffs, I considered a few options before settling on using some of the silk thread I dyed with Japanese indigo.  The grey was pretty much perfect here and I was able to use a fine enough needle to stop the stitches that are unravelling going further.

IMAG1594

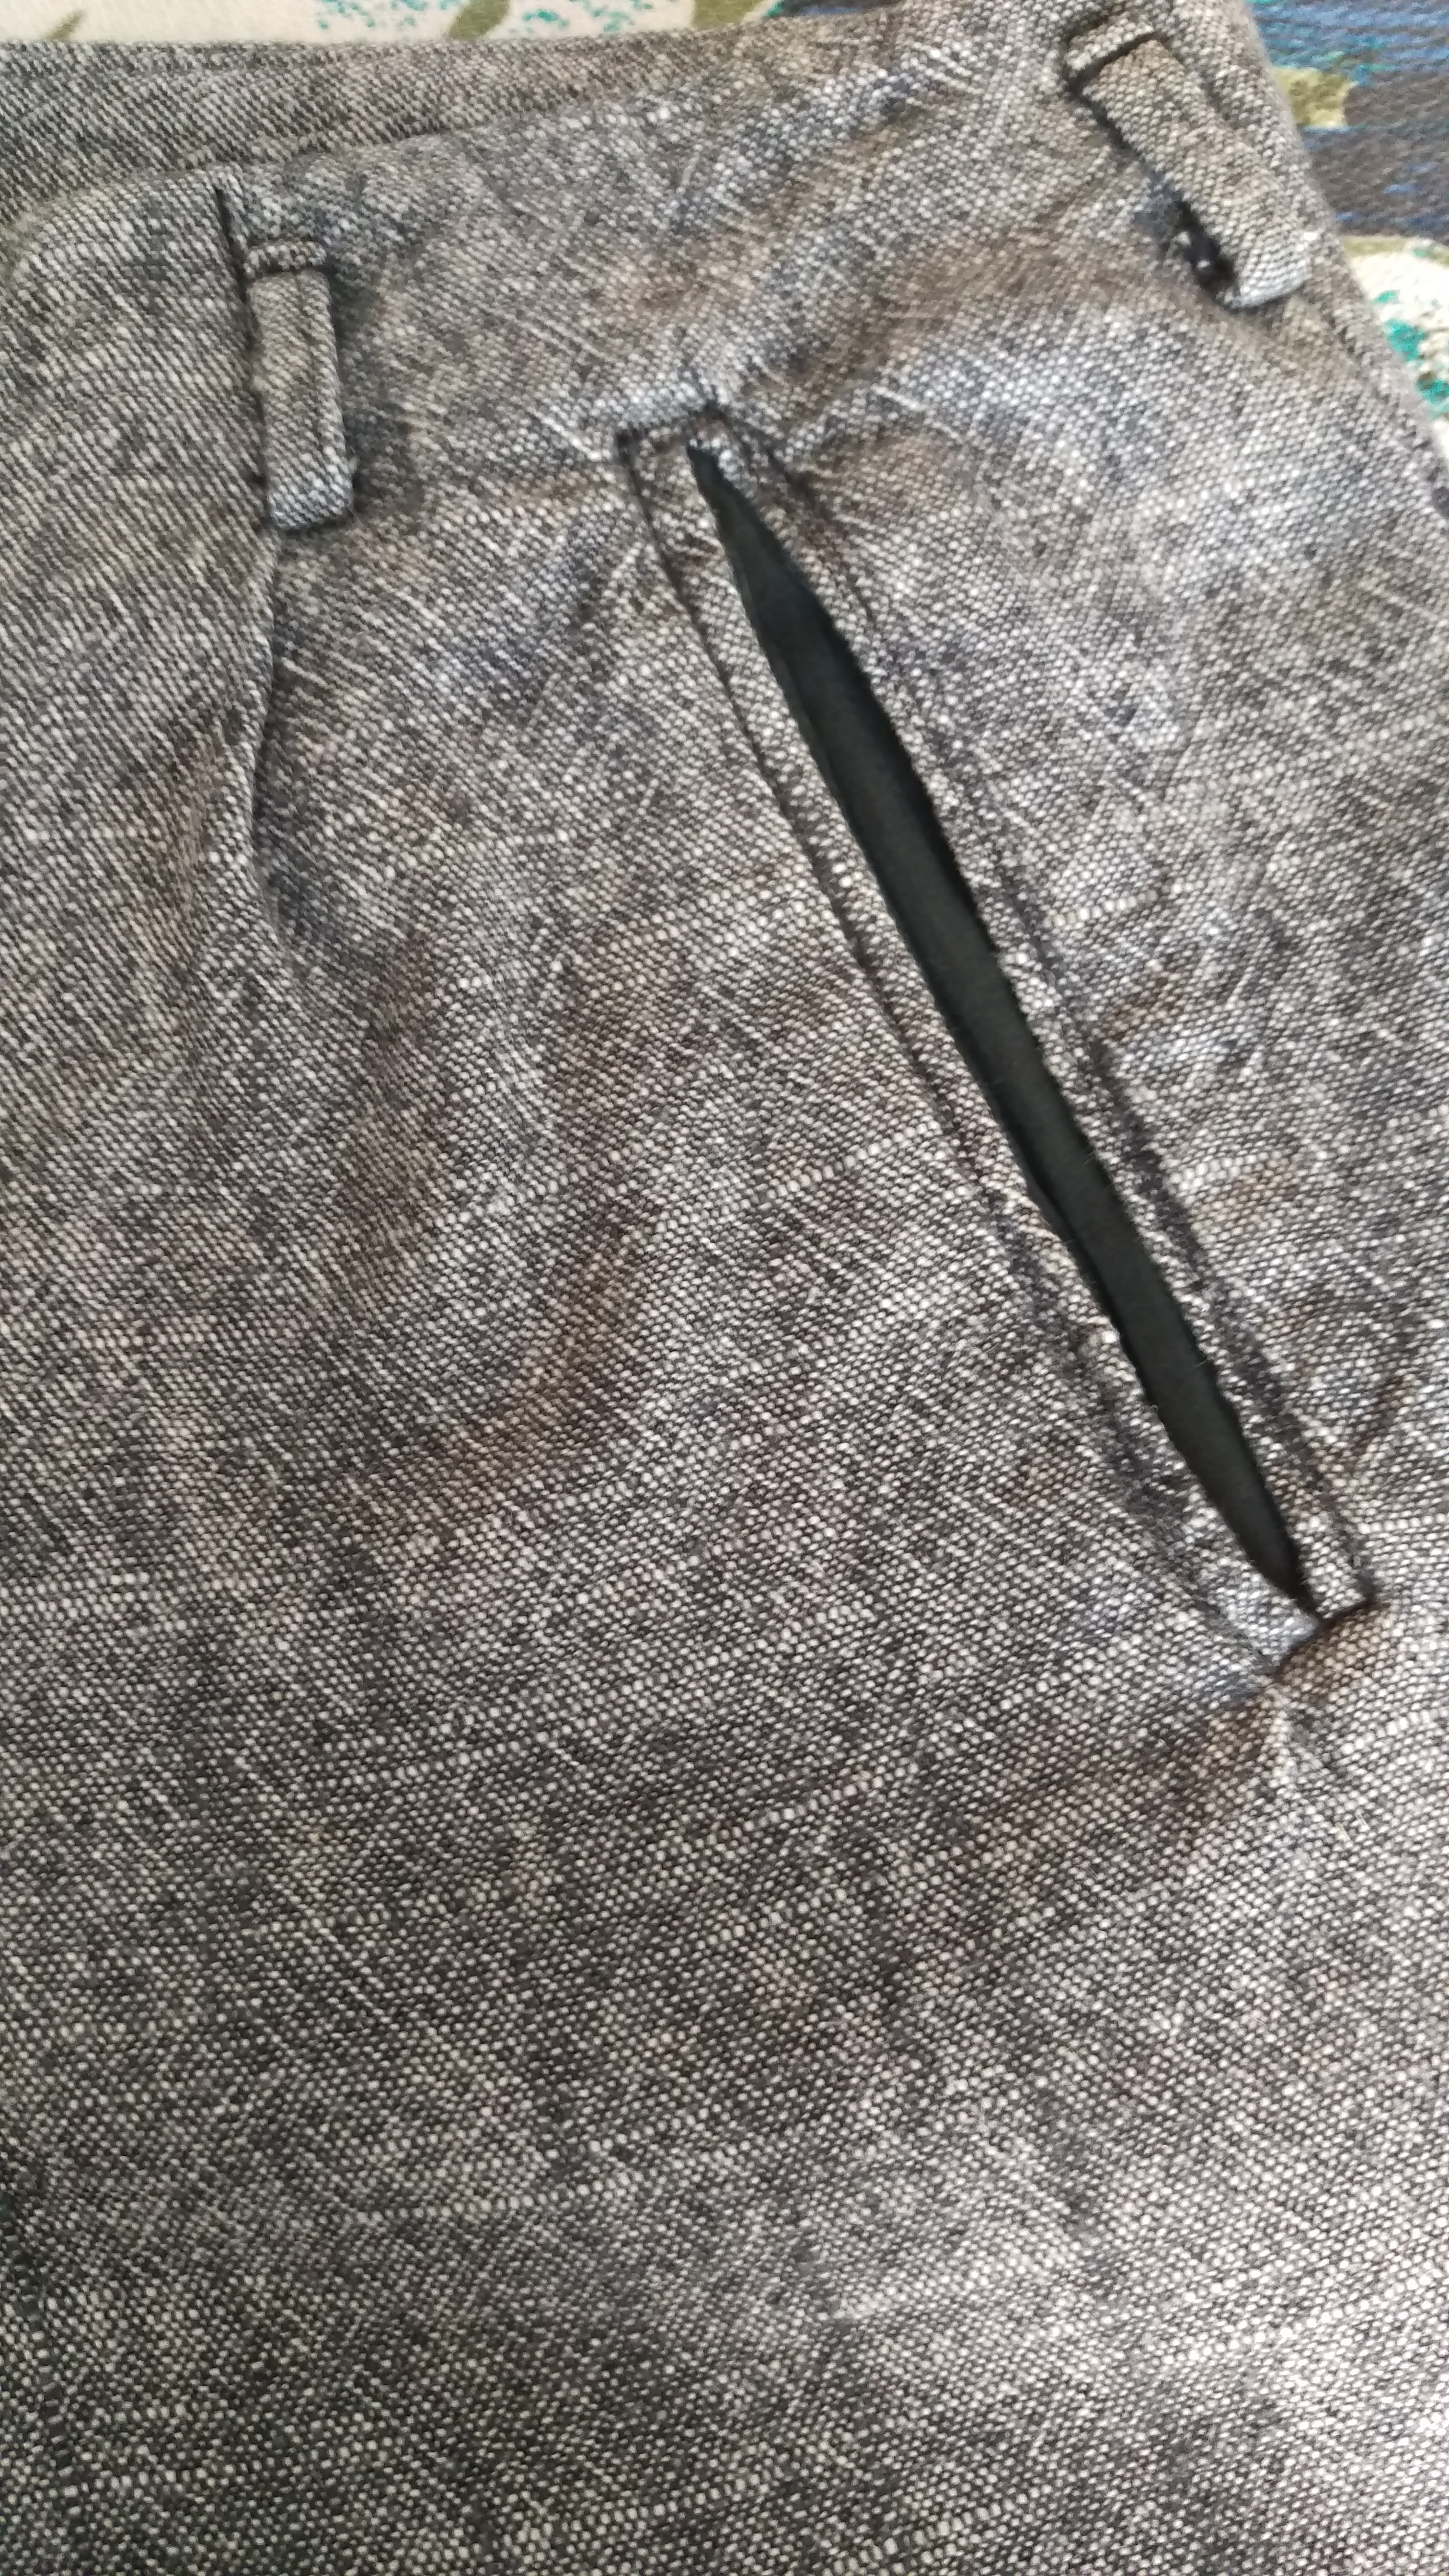
There were four buttonholes but one button.  I couldn’t match it, so I sewed on four that have come off some other garment.

IMAG1598

Because a cardigan can be worn open, I concealed the ends of the stitching, with the initial knot and the tie off under the button rather than on the ‘wrong’ side, where I would happily tie them off on a shirt.

IMAG1599

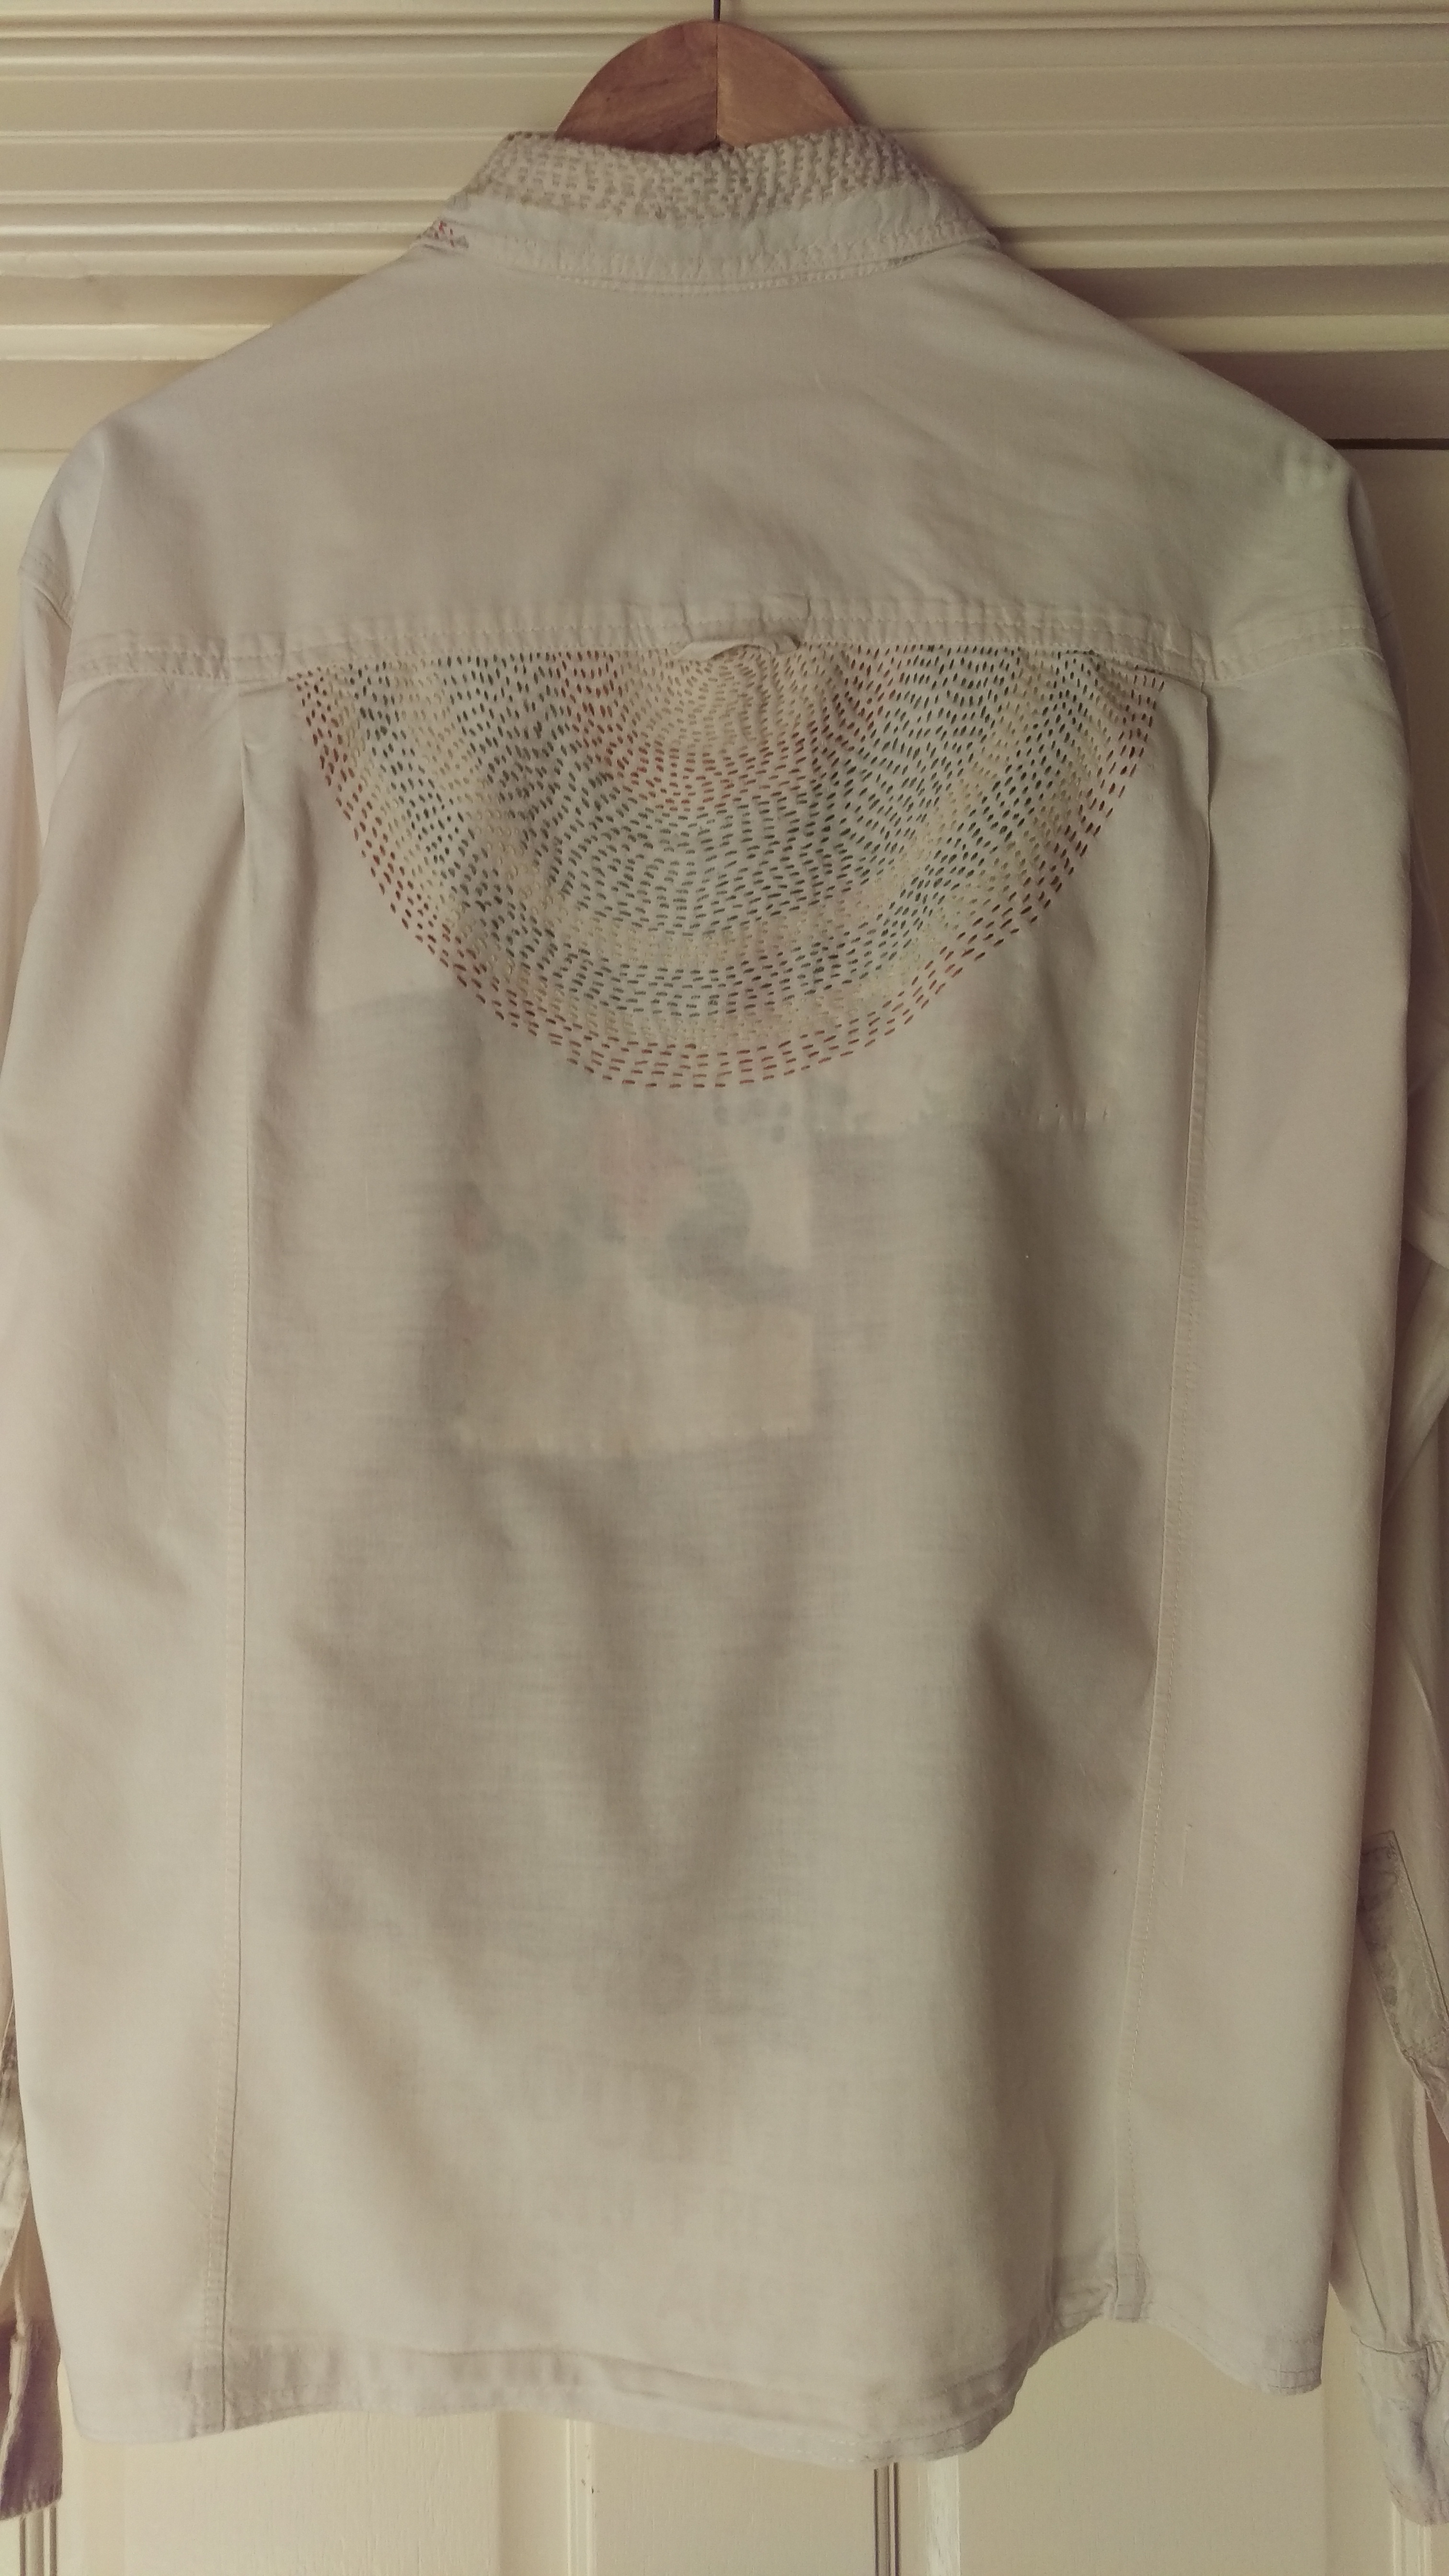
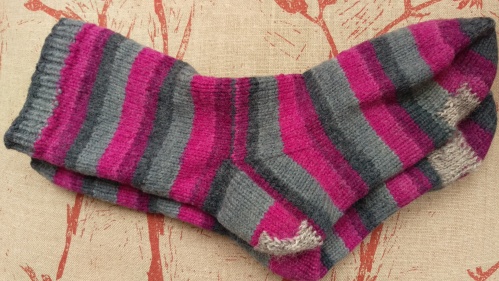
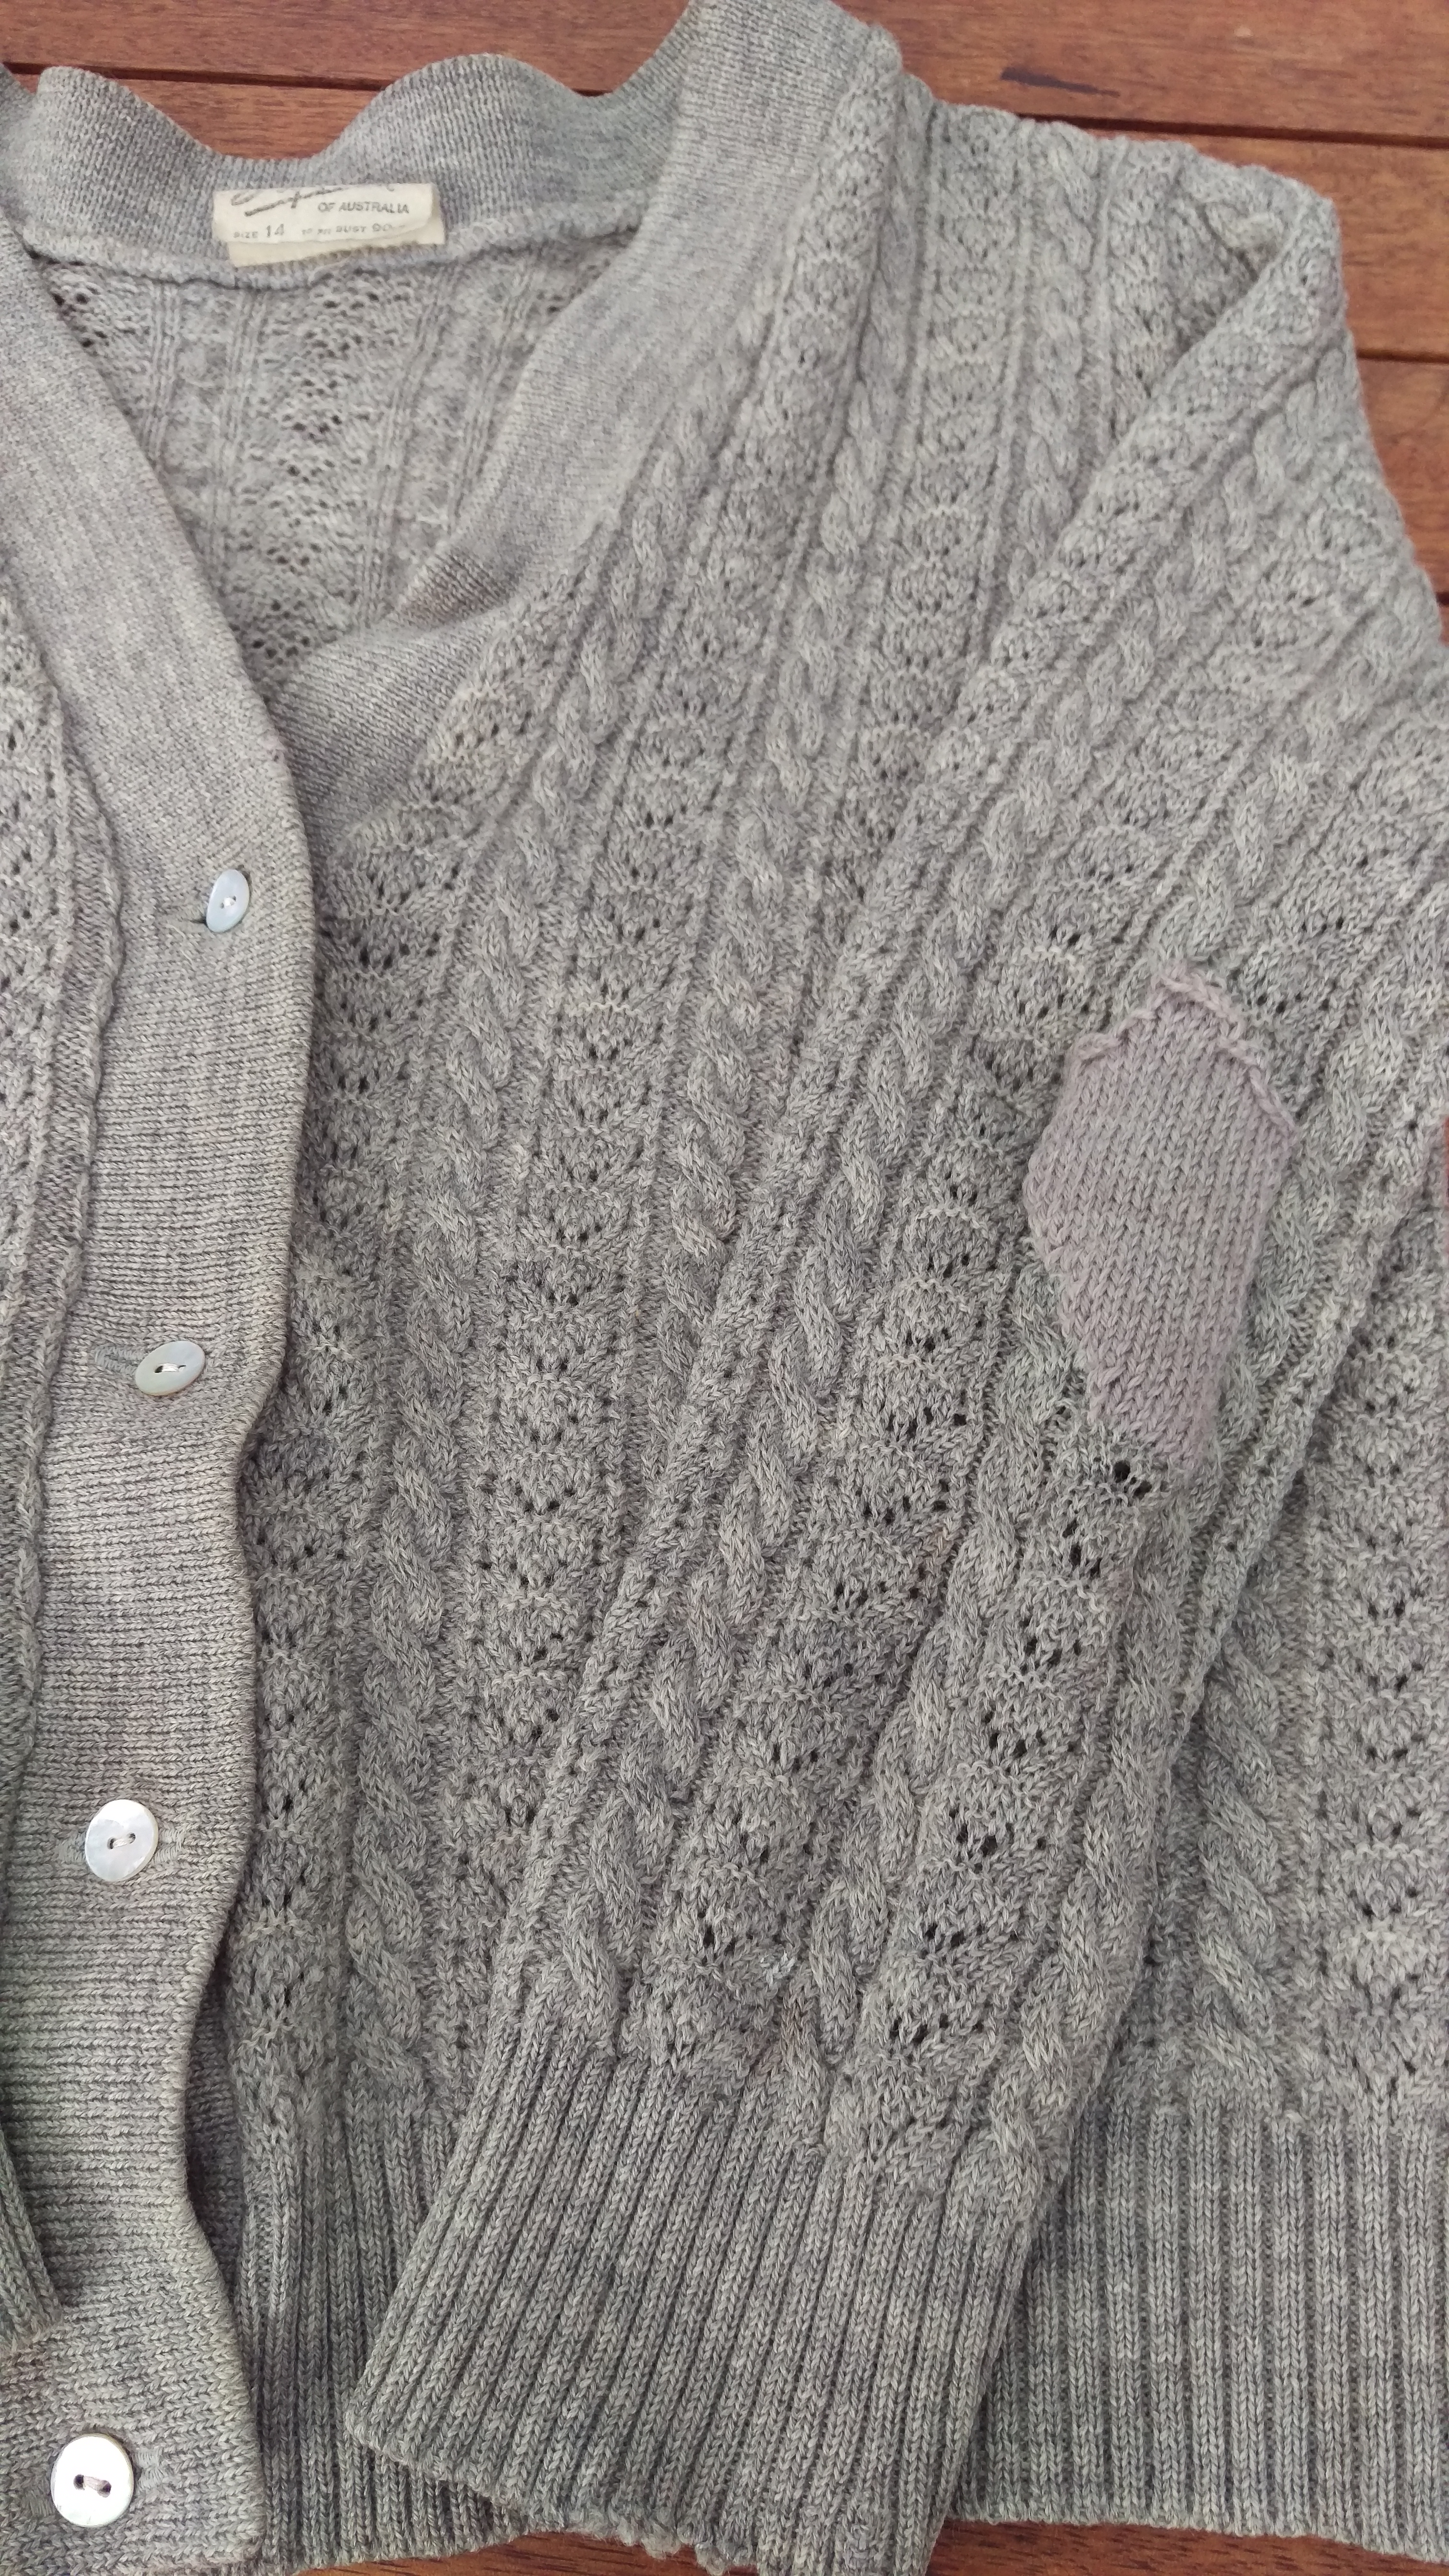
And here it is.  Visibly mended but in a way I hope will mean this treasured cardigan will have an extended life providing comfort and warmth to my friend through times good and bad.

IMAG1601

I know my friend is surrounded by the love and care of many friends and her family too.  I’m lucky to be among them.

IMAG1600


18 Comments

Filed under Knitting, Sewing

#MenditMay Mending sewing machines and more

2016-05-14 15.28.54

This sewing machine was found in a shed.  It was unwanted by the new resident, so it came to me for cleaning, oiling and a look over.  You see it here with some of the upper casing removed to allow lubrication. It is now on its way to new users in the Anangu Pitjantjatjara Yangkunytjatjara lands. Meanwhile at our place, the threadbare flourbag shirt got some more patches added.  Here, the glue stitching I mentioned in my last post holding them in position.

2016-05-14 11.26.19

Here, the inside view.

2016-05-14 11.32.17

And here, the finished–for now–view of the back.

IMAG1604

Threads dyed with pansy, dyer’s chamomile and eucalyptus.

IMAG1605

I took up my friend’s jeans.  I feel like I have almost got top stitching denim sorted!

2016-05-14 17.41.39

Top tips: use a jeans needle.  If using top stitching thread, thread the needle by hand (should you have any other options, don’t use them); and leave ordinary thread in the bobbin. Use a 4mm stitch at least.

2016-05-12 11.27.07

Buttons replaced in position and stitched down so they don’t get away. I had to laugh when one button fell off at work the day of the second mending workshop!

2016-04-26 19.46.29

And another sewing machine cleaned, oiled, tested and ready to go to its new owners.  My grandmother lived in a country town where getting your machine serviced was not easy to arrange (cost may have been an issue too).  She was a fearless tender to her own machine and those of all her friends and told me many times that cleaning and oiling fixed most troubles.  So I am in her footsteps here, but in this case with a manual to guide me.  I took this machine apart and oiled all. the. places.  It really whirs along! It is now headed to asylum seekers who have been released from increasingly notorious conditions in detention on Nauru, who were tailors in their country of origin and will make great use of this well maintained machine.  It came to me because I was working on the mending kits and a lovely volunteer in an op shop asked if I could re-home a machine she knew needed to find a new home. I feel sure its new use would please the original owner very much.

8 Comments

Filed under Natural dyeing, Sewing

#MenditMay: Mending fine machine knit clothing

More and more contemporary clothing is knit in a very fine gauge by a machine. It is entirely possible to darn it by hand as you might a hand knit, but it is very difficult to match the gauge of the original fabric. I sometimes darn with embroidery thread, using a single strand.  Sometimes I darn with machine sewing thread. In each case, the garment might be made of one fibre while the thread is made of another–but at least the darn will be less obtrusive if that is your goal, and the hole will not continue to grow larger as the knit fabric unravels.

2016-05-12 20.39.30

I recently snagged this fine cotton cardigan on a protruding nail.  Ouch!  I decided against darning it and chose to patch my torn sleeve.  This is a method I have been using a lot for threadbare sections or places where holes are small (and sometimes where there is more than one).  It will also work for larger holes and you can choose a matching patch or a decorative contrast as you see fit.  I like to make a patch that is larger than the hole.  There will be no puckers around the damaged section and any stresses placed on the mend will be distributed more widely. So here is the hole and the patch I selected (cut from a t shirt in the rag bag at our local Sustainability Centre). This method will make the patched area stretch less (or become incapable of stretching), and this has to be considered when deciding whether to use it.

2016-05-12 20.41.08
I begin by tacking the patch into position on the inside of the garment, checking carefully each time I change direction to make sure that I am not pulling the patch so it cannot lie flat.  I use a running stitch, taking a tiny stitch on the outside and a longer stitch on the inside.  I learned this approach from Jude Hill, a textile artist who uses it to hold layers of quilt fabric together.  She calls it the glue stitch: and has a tutorial you might enjoy here.  I have just adapted it to mending. Jude Hill’s work revealed to me that I had not been able to escape learning running stitch as involving stitches which are all of equal length.  As soon as I had that thought (with her help), so many things opened up! It’s important to make sure all the edges of the tear are stabilised, and that the edges of the patch are stabilised too.  I tend to then create a network of stitching so that the patch is stitched on to the outer fabric all over its surface.

2016-05-12 21.17.37

Pretty soon, there is your hole, mended.  If all the cloth is still there, you can stitch the torn section down over the patch, as I have here, and have almost none of the patch fabric on show.  I am sure this is visible mending, but it isn’t mending that draws the eye.  Perfect for this garment.  Happy mending!

3 Comments

Filed under Sewing

#MenditMay: Loving up a lining

2016-05-05 13.12.37

My generous friend India Flint gave me this coat. I would never have chosen it for myself, and if I had been the one to find it second hand, I would have been too scared to throw it in a dye pot.  India suffers from no such shyness (and there are good reasons for her confidence, of course!)  I love it.  It is a gorgeous fabric with wool content but cashmere too, and the edges have been picked out in a fine, shiny thread, by hand.

2016-05-05 13.13.08

I think India sewed a new button on, or moved the old one.  The thread looks like it met Eucalyptus at some stage, and is in two subtly different colours.  The coat is lined with silk.  It is like wearing a big snuggly hug.  I find I take it out when the day holds particular challenges, even on days when it might not be cold enough to wear it, because it has comfort factor. I took it on a very challenging hospital visit last year even though I never put it on!  I patted it on the long trip out and home again.

2016-05-05 13.12.53

The back has a wonderful set of resist marks from a nice rich dye pot.  In short, this coat is a treasure.  A treasure with  a history in which it has been loved and worn by other people, found by India in a suitably romantic location in the US, dyed and then gifted on to me!  And now, it needs a little love from me.

2016-05-05 13.13.26

The lining is coming away below the neck line.  Those two peaks are an interesting detail at the inside centre back.

2016-05-05 13.13.32

Clearly the armscyes were the most vulnerable place in the lining.  They  have been restitched by hand, in several different threads.

2016-05-05 13.13.48

This one has a thicker thread and a different, bolder stitching strategy.

2016-05-05 13.14.34

And, there is a label explaining that the garment has been made under fair labor standards.  I wondered whether this was a reference to union labor, or something else.  It took a little google-fu but in the end it turned out that this is a union label from the National Recovery Board for Coats and Suits, used 1938 to 1964.  This coat was made before I was born! According to my online source, ‘The National Labor Relations Act encouraged growth in stateside unions to create more jobs during the economic crisis of the ’30s. The Coat & Suit Industry union was born out of FDR’s New Deal Coalition.’ This label was used by the International Ladies’ Garment Workers’ Union and there is a wonderful online history which details some of their labels as well as so much more.

2016-05-12 10.45.23

And so, to mending it back into good shape so that it can go on keeping me warm and being its lovely, touchable and glorious self.


18 Comments

Filed under Natural dyeing, Sewing

#MenditMay Mending workshop

Just Mend It - jpeg

Last night the second mending workshop went off at our local hub, The Joinery, supported by the Adelaide and Mount Lofty ranges Natural Resources Management Board. Diane from the Adelaide Sustainability Centre did a wonderful job of organising.  She has more events coming up!

2016-05-11 19.39.16

The first workshop was a cosy, small affair with two mother/daughter teams who worked on learning to darn, mending torn jeans and hemming some pants.  It was just delightful to watch their mutual support and love for each other as well as their mending skills.

2016-05-11 19.18.44

The second workshop brought in quite a crowd of lovely people and loads of garments in need of buttons, hems, patching, darning, seam repairs, zippers, and repairs on rips. There was a lovely warm atmosphere as we set to work repairing the efforts of moth larvae and the impact of hard work and long wear on clothes that are practical, treasured or simply available to be practiced on.

2016-05-11 19.43.15

The mending kits went to happy new homes.  It was wonderful to see those needle cases opened out and people figuring out which needle to use for which job.  I got to share the joy of ‘magic eye’ or ‘self threading’ needles with people whose eyesight isn’t up to needle threading for the moment. Several people worked on their jeans and one generous reader was working on her daughter’s partner’s jeans.

2016-05-11 19.44.36

There were patches plain and fancy (this one has a decorative silky top layer and some denim patching underneath doing the heavy work). Some people were working on their very first mends but several had aspirations to make their own clothes.

2016-05-11 19.49.41

One lucky person had been to a workshop with India Flint and was wearing some beautiful plant dyed clothes she had made, while she had others well-worn and ready for repair.

2016-05-11 19.48.35

There were some much-loved garments in for mending.  It was a real pleasure to be in the company of other people who like to make things last!  There were some strategy conversations about how to make special things go further.

2016-05-11 19.53.02

There was fancy mending too.  Here, a patch from a worn out black t shirt has gone on the inside of a merino top, with some decorative stitching holding the layers together.  No one will ever recognise this as mending… and I think there will be more spirals to address other places where wear and moth larvae have done their work.

2016-05-11 19.53.20

Here, some great pants from the op shop are being taken up by a new wearer who is not the same height as the previous owner.

2016-05-11 19.55.27

People learned darning, decorative patching, patching that won’t show so much and how to wax thread.  It turns out I know a simpler way to replace a button than some folk had figured out for themselves, and there were people sewing buttons onto leather as well as people sewing statement contrast buttons on with alacrity.  Some of my friends came along.  And, I got to meet some lovely blog readers for the first time! Thanks so much to everyone who came and made it a great night.  If you’re looking for guidance, please do go to my directory of mending tutorials.  Happy mending!

10 Comments

Filed under Craftivism, Sewing

Above and beyond darning

On a recent visit, my daughter brought with her a pair of socks I knit for her 7 years ago (!)

2016-02-13 10.42.07

There was a reason for their (sheepish) return.  Three big holes.  She says she might learn to darn when she retires, and not to give up on her in that department.  I remember these socks.  I am pretty sure I ripped the wool from a recycled jumper, and it was my first effort at making my own self striping yarn.  I made two pairs, the other pair in purple and blue and grey shades.  The skein went from one end of the hall to the front window of the house between two chairs.

2016-02-21 15.59.39

These are big holes, and I had no matching yarn.  I promised visible mends and decided not to darn. Instead–picking up stitches and knitting a patch, knitting or purling two together at the edges where the yarn was still sound.

2016-02-21 16.22.29

Then sewing the last round of stitches down with a darning needle.

2016-02-21 16.37.29

Here it is again–on the heel!  I did a little shaping and then decided it might be best just to let it conform to her foot in wear…

2016-02-21 17.07.58

And here we are with some handspun fleece from ‘Viola’ in crossbred natural grey filling the breach…

2016-02-21 17.37.25

Fingers crossed that Viola is up to the task.  One thing you can say about socks full of holes is that they have been well worn and much loved.  These somehow have a velvety quality that is quite pleasing.  I am surprised that recycled yarn has been up to this amount of wear!  And now–they can be returned to their owner by mail in time for winter.  I hope she’ll have some more years of enjoyment…

2016-02-22 11.24.05


18 Comments

Filed under Knitting, Sewing

Summer festival of mending 3

I have a rather lovely woollen blanket that came to me from a op shop (thrift shop) years ago.  It came with a lot of little holes that haven’t stopped it being a great warm blanket.

2015-11-08 22.19.19

I have had it in mind to mend them or embellish them for years.  This time I have actually done a little mending.

2015-11-08 22.29.28

I even blanket stitched some of the unravelled edges.

2015-11-08 20.16.10

Well.  Someone enjoys it!  She is a visitor who spent some weeks with us but has now been on a road trip to her new home in Tasmania with her usual people.

2015-11-01 08.55.49

It did seem funny to be mending a woollen blanket when we are verging on summer… I give you a local eucalypt in full bloom!

2015-11-07 14.19.20

1 Comment

Filed under Eucalypts, Sewing

Summer festival of mending 2

I followed all that mendbroidery up with replacing the pocket bags on a pair of pants I made, apparently in 2010 (there is a cryptic note in my notebook but no fabric scrap stapled beside it).  They are Vogue 2698, though I have no aspiration to the studied ennui of the model on the envelope, nor her slenderness.  I butchered the welt pockets when I made these pants, and haven’t made a welt pocket since!  Just the same, there are some nice touches, like the home made bias binding made from recycled ties. I went all out on some of the finishing.

2015-11-05 16.07.47

The pocket bags were made from one of my grandma’s many scarves.  No one wanted them after she died.  So I took her scarves home and have since used them for all kinds of things. I am not close to running out, and years have passed.

2015-11-06 16.26.15

She had some real commitments in fashion of which her dedication to scarves worn with a gold coloured ring to hold them in position at her throat was only one.  In her lifetime she was an accomplished dressmaker and had trained in millinery.  She had made many a lovely outfit as well as curtains and every other household requirement.  In my lifetime, she loved things that didn’t crease above all else.  She adored crimplene from the point of its becoming available (she was an early adopter!) and made herself 100% polyester caftans.  Perhaps some of those long shapeless dresses were even muu muus!  As she lost her sight she kept sewing until it became impossible for her.  Even after she became unable to use her machine, she had a friend thread needles for her and kept a stash in a curtain in her bedroom where they were easy to find with her fingers, for little jobs.  She taught me how to hem a handkerchief when I was a small child and set me to English (paper) piecing with her scraps.  After she went blind, she gave me her overlocker, which I am still using (she’d love that, and expect no less).  She had taught left handers to crochet, and it was a lifetime achievement she mentioned to me more than once.  She had made more coathanger covers from polyester ribbon than anyone else in her town.

2015-11-05 16.08.46

But I digress… The pockets had given way most spectacularly in places. There was nothing for it but a complete rip out and retrofit.  Not my idea of a good time, I confess.  Off with the belt loops!  Out with the pocket bags!  And on and on it went until I had nice, plain, bottle green, intact pocket bags.  The mending doesn’t remedy any of the original defects of the garment, but that’s a pair of work pants for summer I can wear without showing off parts of me that shouldn’t be on display.  I did a quicker, less dramatic mend on the other pair I made the same year to address small holes in the pockets, and that’s some big items off my list.  But there are more, my friends.  There are more.

2015-11-06 15.49.50-1

13 Comments

Filed under Sewing

Bundle of beautification

I am still thinking about the difference between my toleration of ugly but functional things–and observing friends and companions at Tin Can Bay who instead, make everything within reach more beautiful. I have a perfectly functional merino underlayer that is a fairly ordinary shade of mauve, and as I wear it every week at this time of year, I have had it in contemplation.  I finally decided that the time had come, only to find a little ladder.  That was quickly mended with logwood dyed thread.  This picture gives a fair sense of the colour of the garment.

2015-07-21 07.52.25

I have mended this top quite a bit due to the monster season of m*th activity a year or two back.  The darns are in various colours, some quite tasteful.  These ones are still pale blue and pale purple, as they were after early washfastness testing in 2013.  I dyed these threads with plum pine.

2015-07-21 07.52.42

Others are a lot more random!

2015-07-21 07.52.30

Having darned over breakfast, I set out to plant boobialla and saltbush, with a plan about collecting dyestuffs.

2015-07-21 08.04.31

I feel sorry fr these plants going into such sad looking land…

2015-07-21 08.36.39

But I have not lost a single plant in this patch and if they all grow it will make such a difference.  Those that went in a few months ago are much bigger already.  Someone stopped as I planted and said ‘You are such a good public person!’

2015-07-21 08.37.16

Plants in, weeding done, I headed out to this E Scoparia.  It’s a beauty with particularly slender leaves. The people whose fence it overhangs don’t like it tickling their hair as they pass and resent it hanging over their fence.  So hard to understand!  I selectively cut to minimise their struggle with it when I want to use this plant. I make it shorter over the footpath and then trim the lowest hanging parts over their fence.

2015-07-21 08.45.20

Home again, home again!

2015-07-21 08.52.00

The tree is in flower, but the flowers are small.  Love those pliable red stems.

2015-07-21 08.52.48

I settled on a pot full of dried E Cinerea leaves.  This rainwater tank finally has rain in it again.

2015-07-21 08.54.50

Then for the bundling part…  I always think I’ll be neater this time, and then make the usual scruffy bundle.

2015-07-21 09.08.43

Some time later, the leaves have  had  a head start and in goes the bundle.

2015-07-21 15.45.33

Well, I think this is an improvement!  Here is the front.  The logwood didn’t really survive the dye pot very well, which works. The eucalyptus dyed threads have stayed their previous colours, but now blend in. The indigo dyed thread is still blue!

2015-07-24 09.37.35

And this is the back.  No regrets from me!

2015-07-24 09.37.47

22 Comments

Filed under Eucalypts, Leaf prints, Natural dyeing

A spot of mending

Sometimes by the time you start to mend, the whole garment has started to fail.  or perhaps it is just that my threshold for deciding a garment is no longer suitable for work is higher than some other people’s!  I mended my gardening jeans a while back… and they ripped again above the patch.  This is an argument for a bigger patch to begin with, but time travel is complicated.  So I mended the jeans again.

2015-03-17 08.45.19

I guess I mended them 9 months ago. Not all bad.  And there is a reason my favourite jeans have been relegated to the garden.  Anyway… I decided to just extend the patch.   I ripped out the simple side seam (–not the flat felled one with all that lovely top stitching), ripped the old patch off the inside on the side I needed to extend the patch, ripped the seam joining the part of the patch that shows to the jeans, and stitched a new patch onto the old one.  Rippity schmippity!

2015-03-17 08.33.25

There didn’t seem much point in fussing over making this look chic.  First thing that will happen once it’s done is that I will kneel in the glorious earth.  One of the things I love about having gardening jeans is that I can relish those moments and not shrink from them, thinking of all the times my lovely mother told me not to get my clothes dirty. So, a whimsical egg shaped patch it is on the outside.

2015-03-17 08.49.02

Stitched!  I am so happy to have my machine back.  Sorry about the indoor mood lighting.

2015-03-17 08.51.42

Then, a neatish rectangle, more or less, on the inside.

2015-03-17 08.54.03

And we’re done.

2015-03-17 09.02.23

Sure enough, here I am coming in from weeding and clearing and planting and repotting!  I can’t be letting my favourite jeans go just yet…

2015-03-18 07.56.46

8 Comments

Filed under Sewing