Photo credit: Fernando Goncalves (photographer to social movements in our city)
I have been trying to think about how long I have stepped away from the blog… and there are some things I might just revisit even though they happened some time back! We have continued with Stitch It Don’t Ditch it in Adelaide, intermittently. here, it is hosted by Extinction Rebellion and we are making the connection between fast fashion, textile waste and the climate emergency. Plus, some of us like mending!
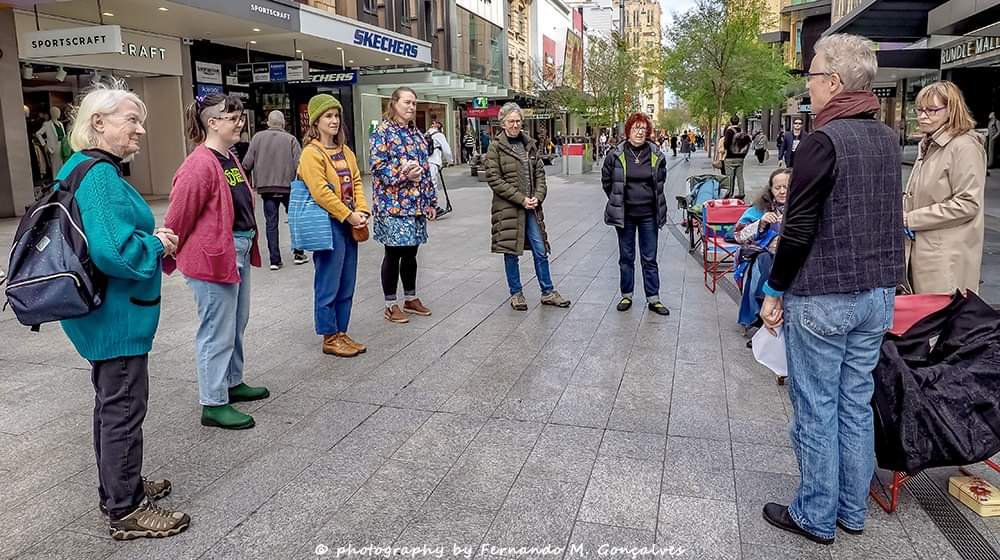
In that first photo, we are gathering, acknowledging the Kaurna people on whose land we are meeting, and hearing from each person in the circle.
This gathering took place in Slow Fashion September; Secondhand September—because we are not the only ones who recognise that fast fashion needs to change and we need to Stitch It Don’t Ditch It!
We know that textiles, and in particular clothing, contribute massively to global pollution and the climate emergency. We mend because we understand that we are implicated in the system of clothes production that produces unfair working conditions globally. We mend because Australia is a place where change is needed, in order for to the human, climate and environmental impacts of fast fashion to be addressed.
Photo credit: Fernando Goncalves
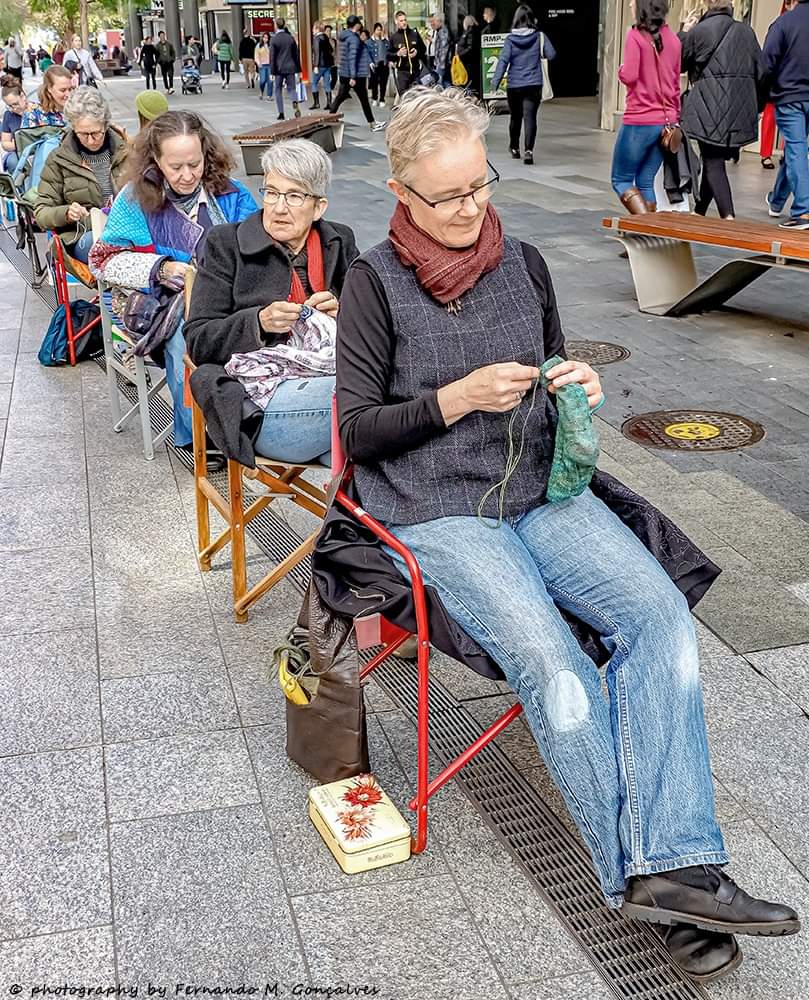
Here we are with our chair banners. We are sitting outside H & M in the main pedestrian shopping mall in our city. I’ve taken to opening this event by saying something like:
We come to mend and to be mended
We come to mend our clothes
And to be mended by the process of stitching
We come to sew on our buttons
And we come to be part of the global movement that seeks to mend our damaged earth
We come to darn our socks
And we come to be mended by the company of others who want to mend the broken system that pollutes our earth and exploits humanity in the name of fast fashion.
We come to patch the tears in our pants
And we come to mend our broken hearts in the company of other fine and compassionate humans.
Photo credit: Fernando Goncalves.
And here we are mending. There are chats with passersby as well. But mostly companionable mending.
I sometimes try to take photos of our grandchild in things I’ve made. It’s challenging on a few fronts–she is a frisky, energetic person with her own agendas and I don’t want to displace them to get a picture. I don’t usually post pictures of people’s faces. And this person wriggles a lot! These are socks I made with the leftover yarn from a pair I made for my daughter. Yes, mother and daughter matching socks!
Having the ice cream Mum promised, at the local shops. I believe you’ve seen this jumper before. I do love that little hand on my thigh!
Investigating something interesting in the chook pen, in a jumper I knit for my fairy-godless-son when he was much, much younger. He has always been a tall and slim human and I knit the jumper to fit his physique. This 4 year old now wears the same jumper, as a dress. I love that friends I made clothes for have tended some of them so well, and thought of me so sweetly, that they are now being used by my grandchild after 2 or 3 other children. In other cases… they have been worn into shreds, which is so good (except that alpaca jumper where my spinning skills were not really up to the challenge)!
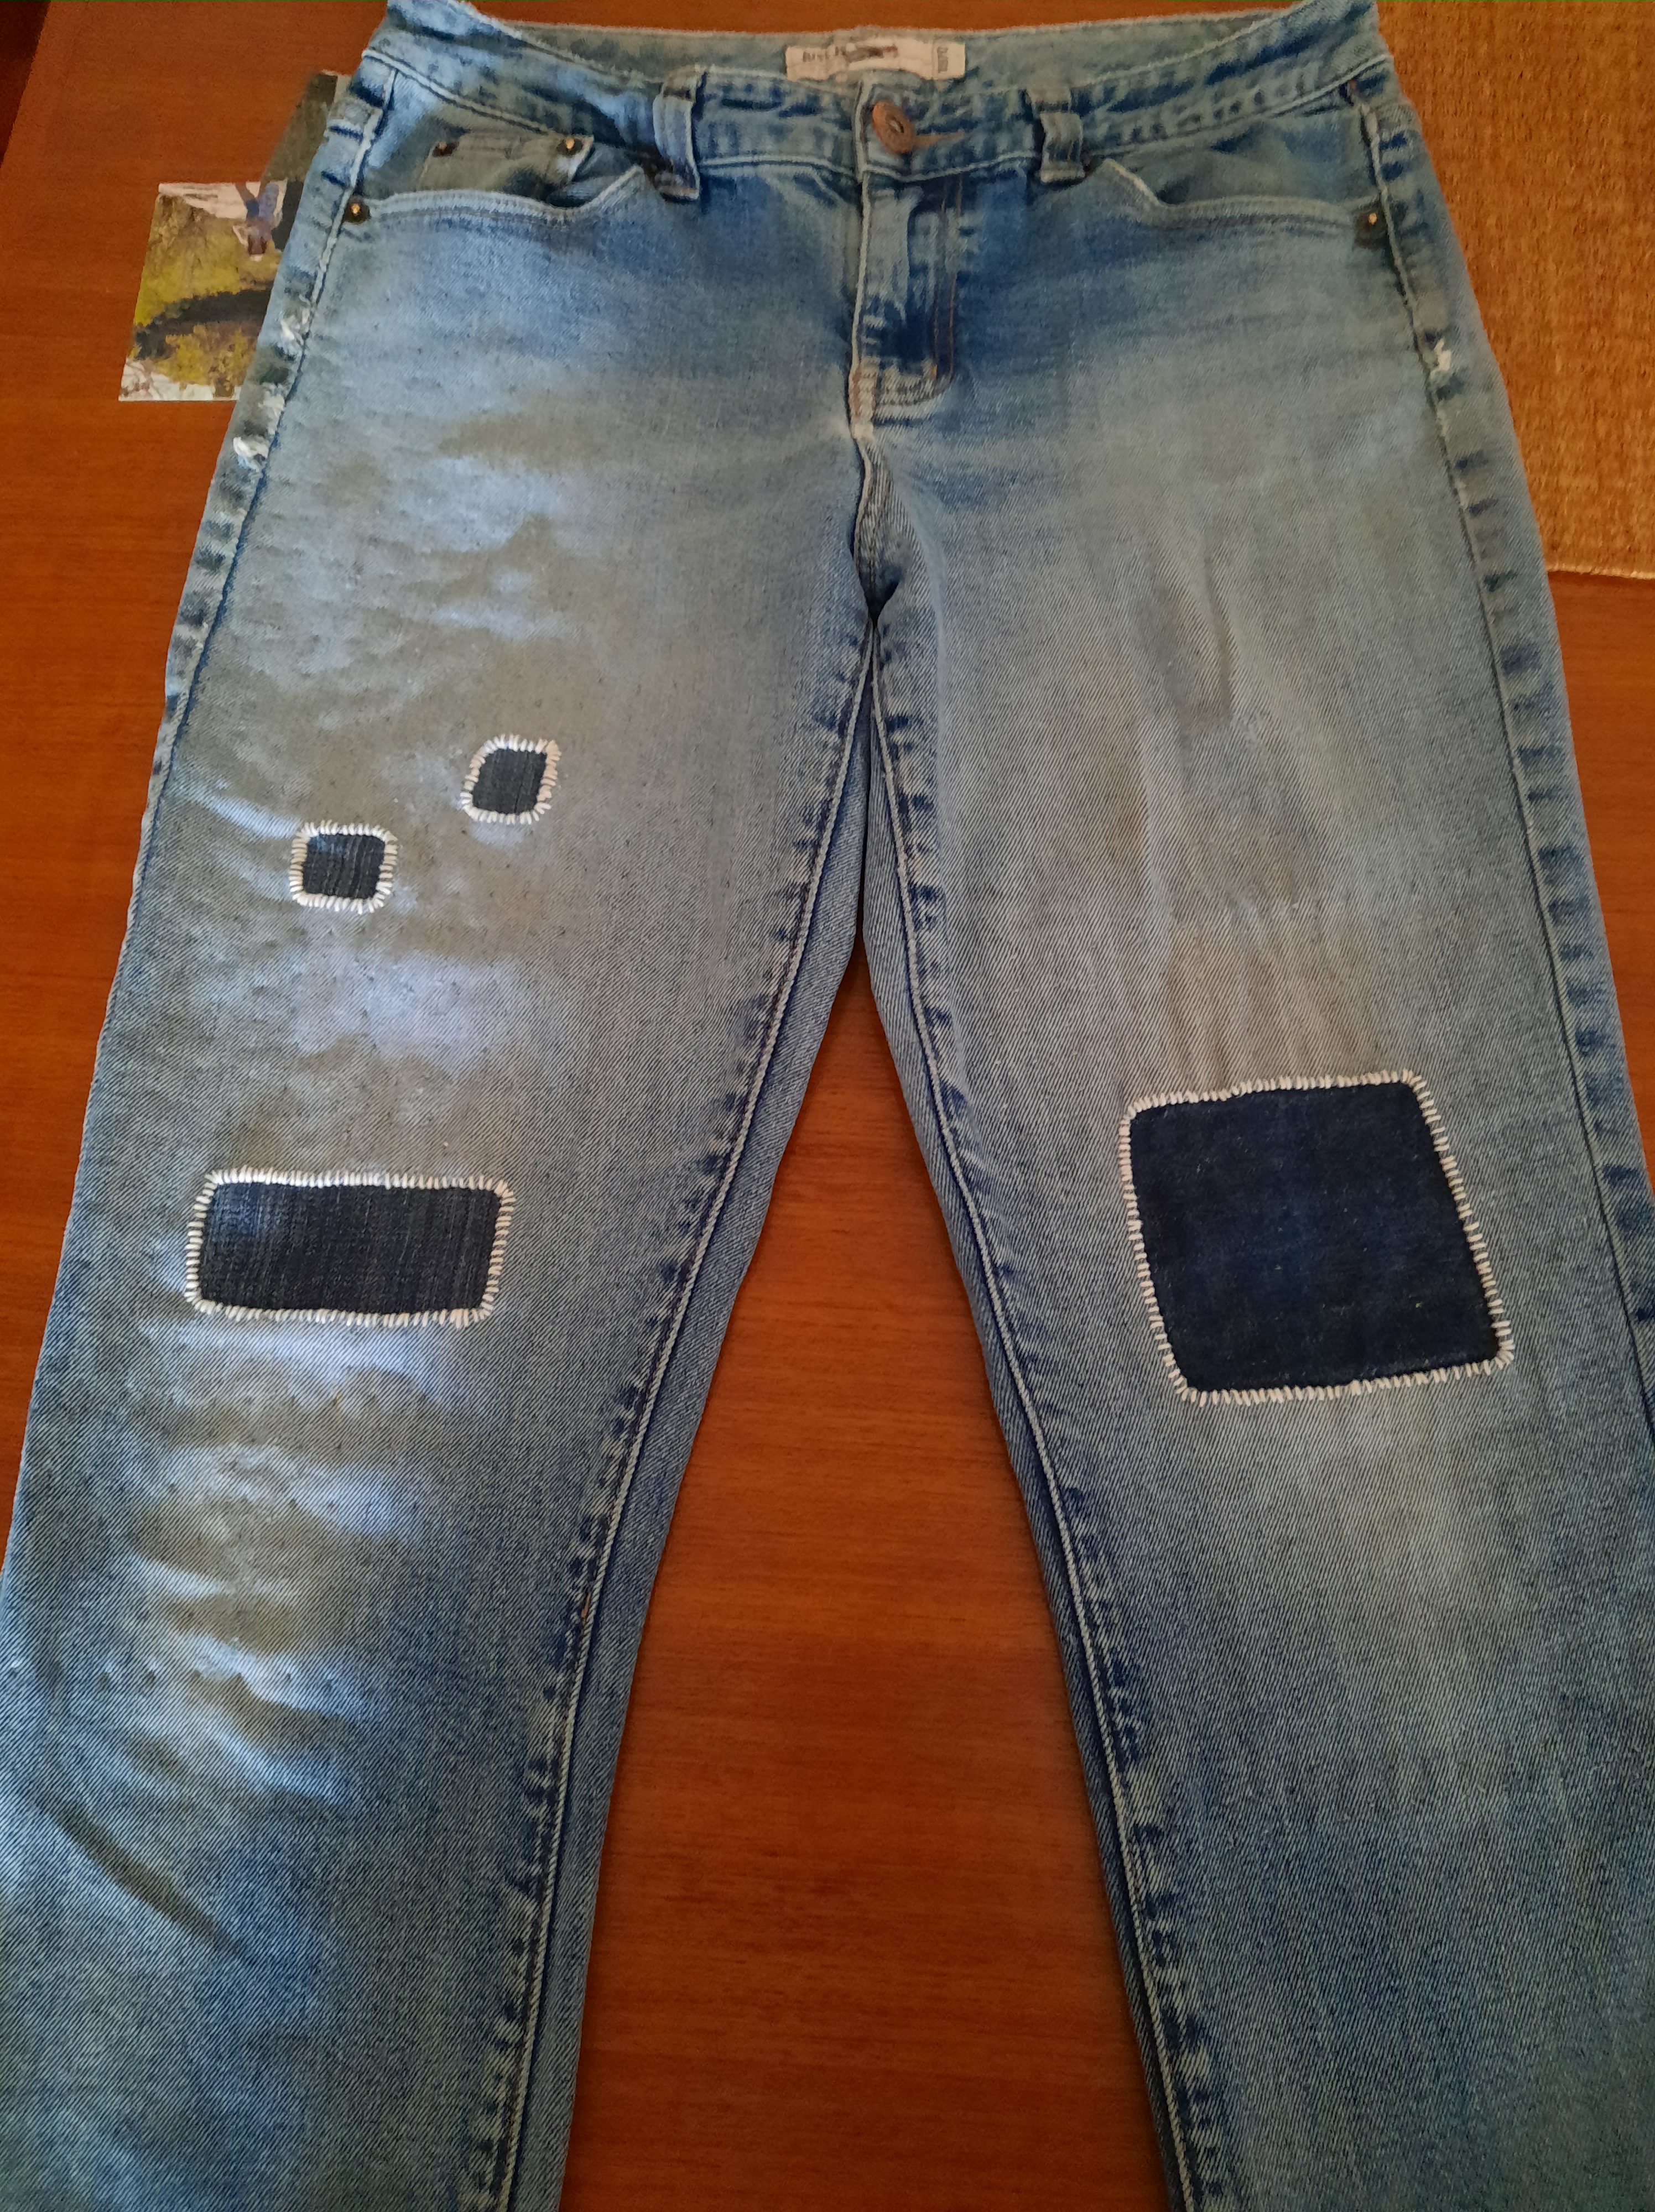
My gardening jeans, out in the garden, where the dandelions are.
And this is a cute little frock. Frocks with long sleeves are good for sun protection and hard to find. This one became a firm favourite despite my doubts! Pygmy possums and banksias, what is not to like?
It’s the fish hat! And here is a bonus eucalypt for your enjoyment.
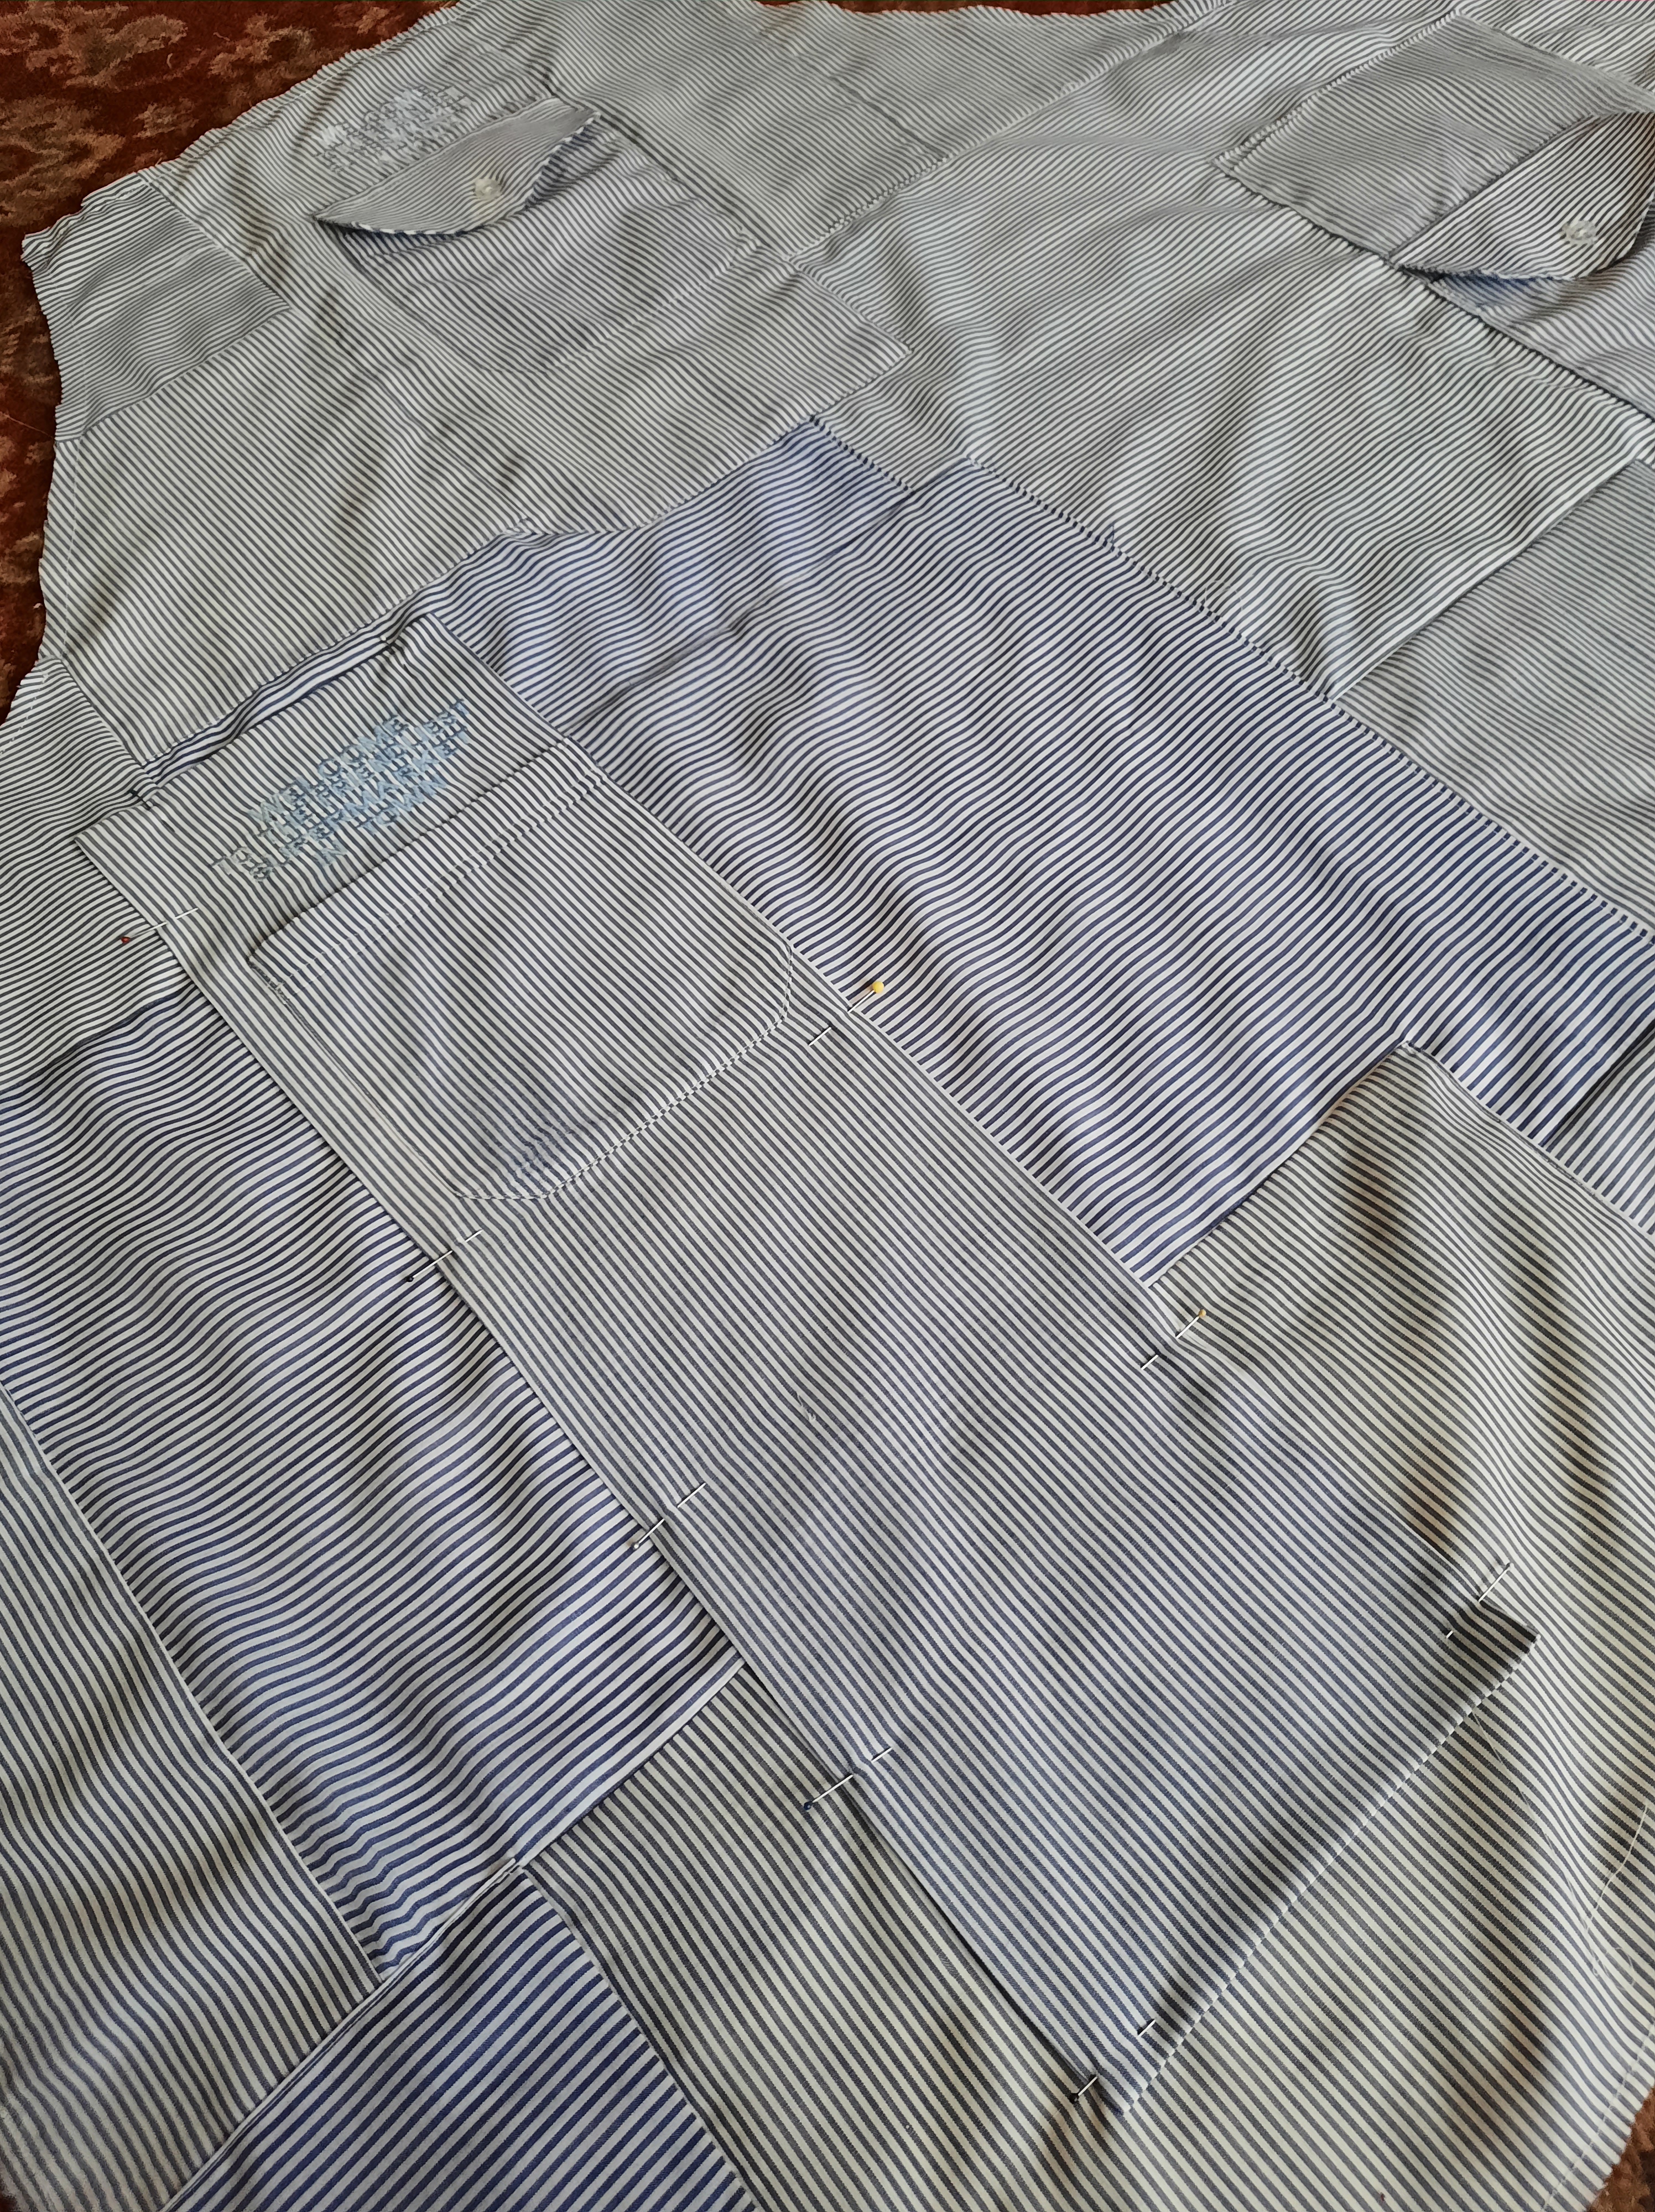
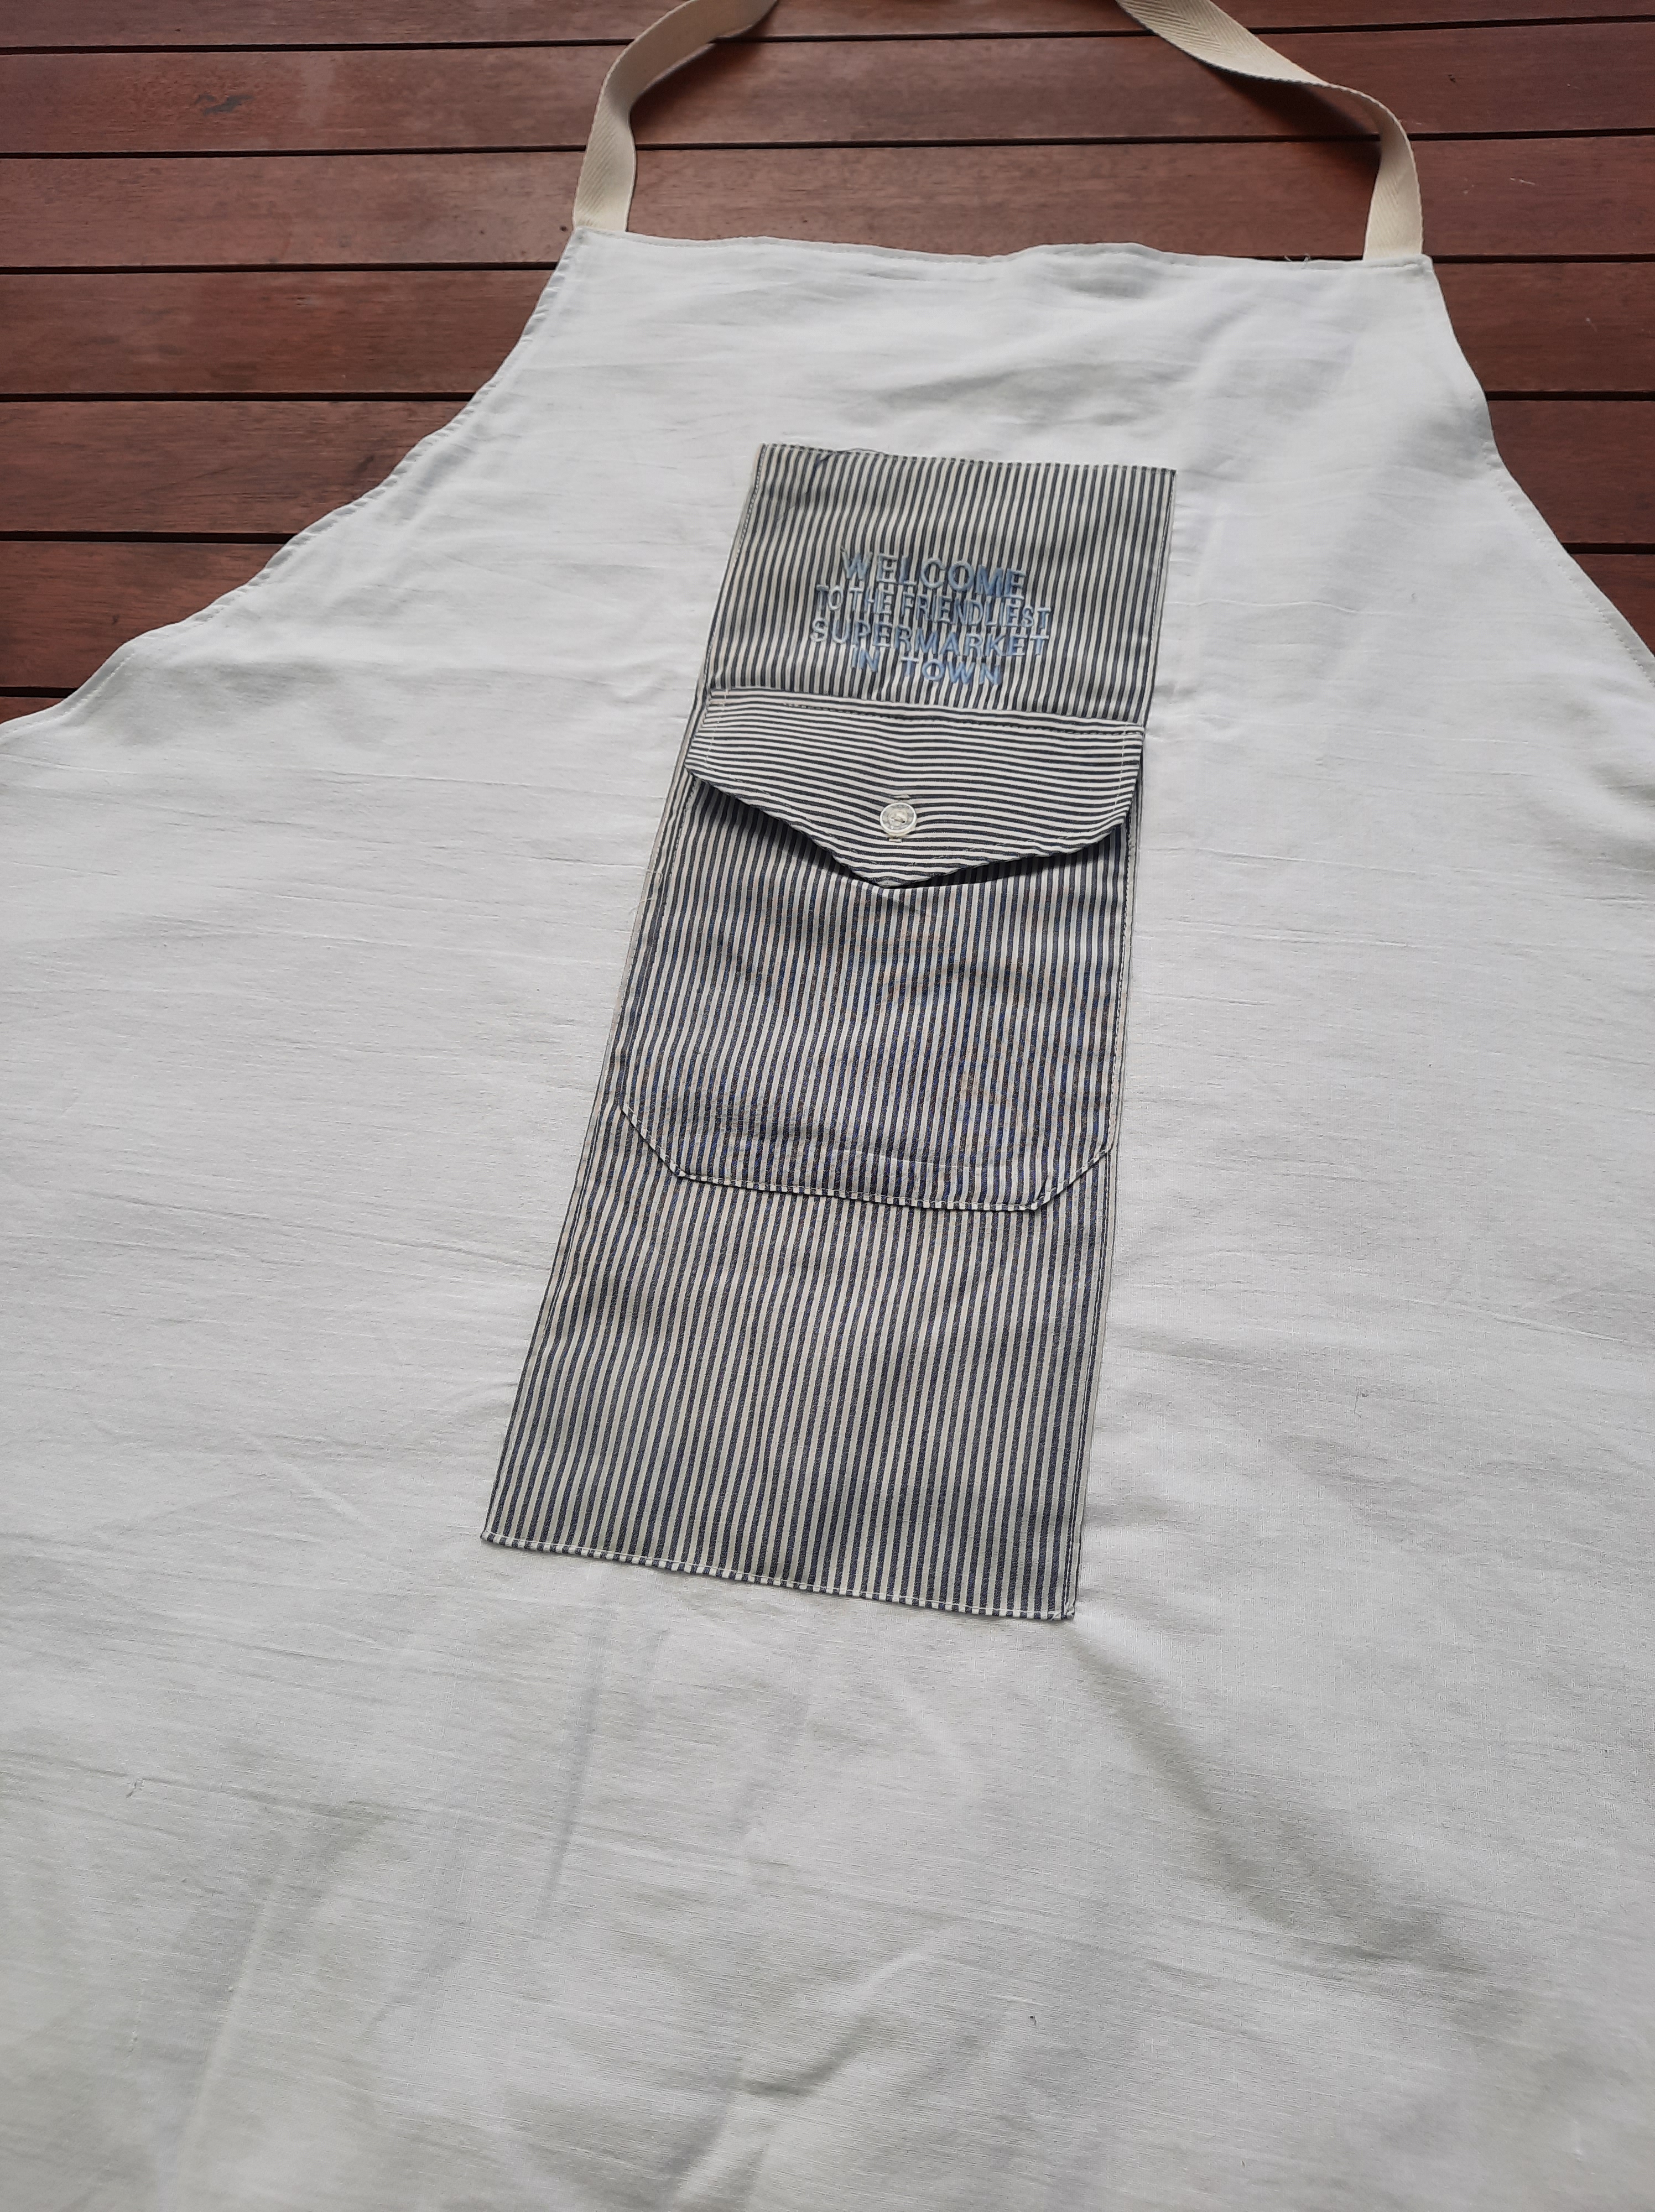
I have posted before about my friend: grieving the loss of her parents, and in possession of all of the textiles from their house of many, many years. One thing there were a lot of, were shirts her parents had worn in the little supermarket they ran in a tiny country town. We agreed I would turn some into a pinny–short for pinafore, in this context meaning an apron that generously covers you up as you work.
I created the front with a patchwork of different shirts, pockets and all.
Of course, I added ties and such. On the inside, another pocket (thank you, India Flint); and a lining made from one of her parents’ sheets. This felt like one of the more satisfying projects from this house full of thrifty folks’ textile trove. I hope it lasts well!
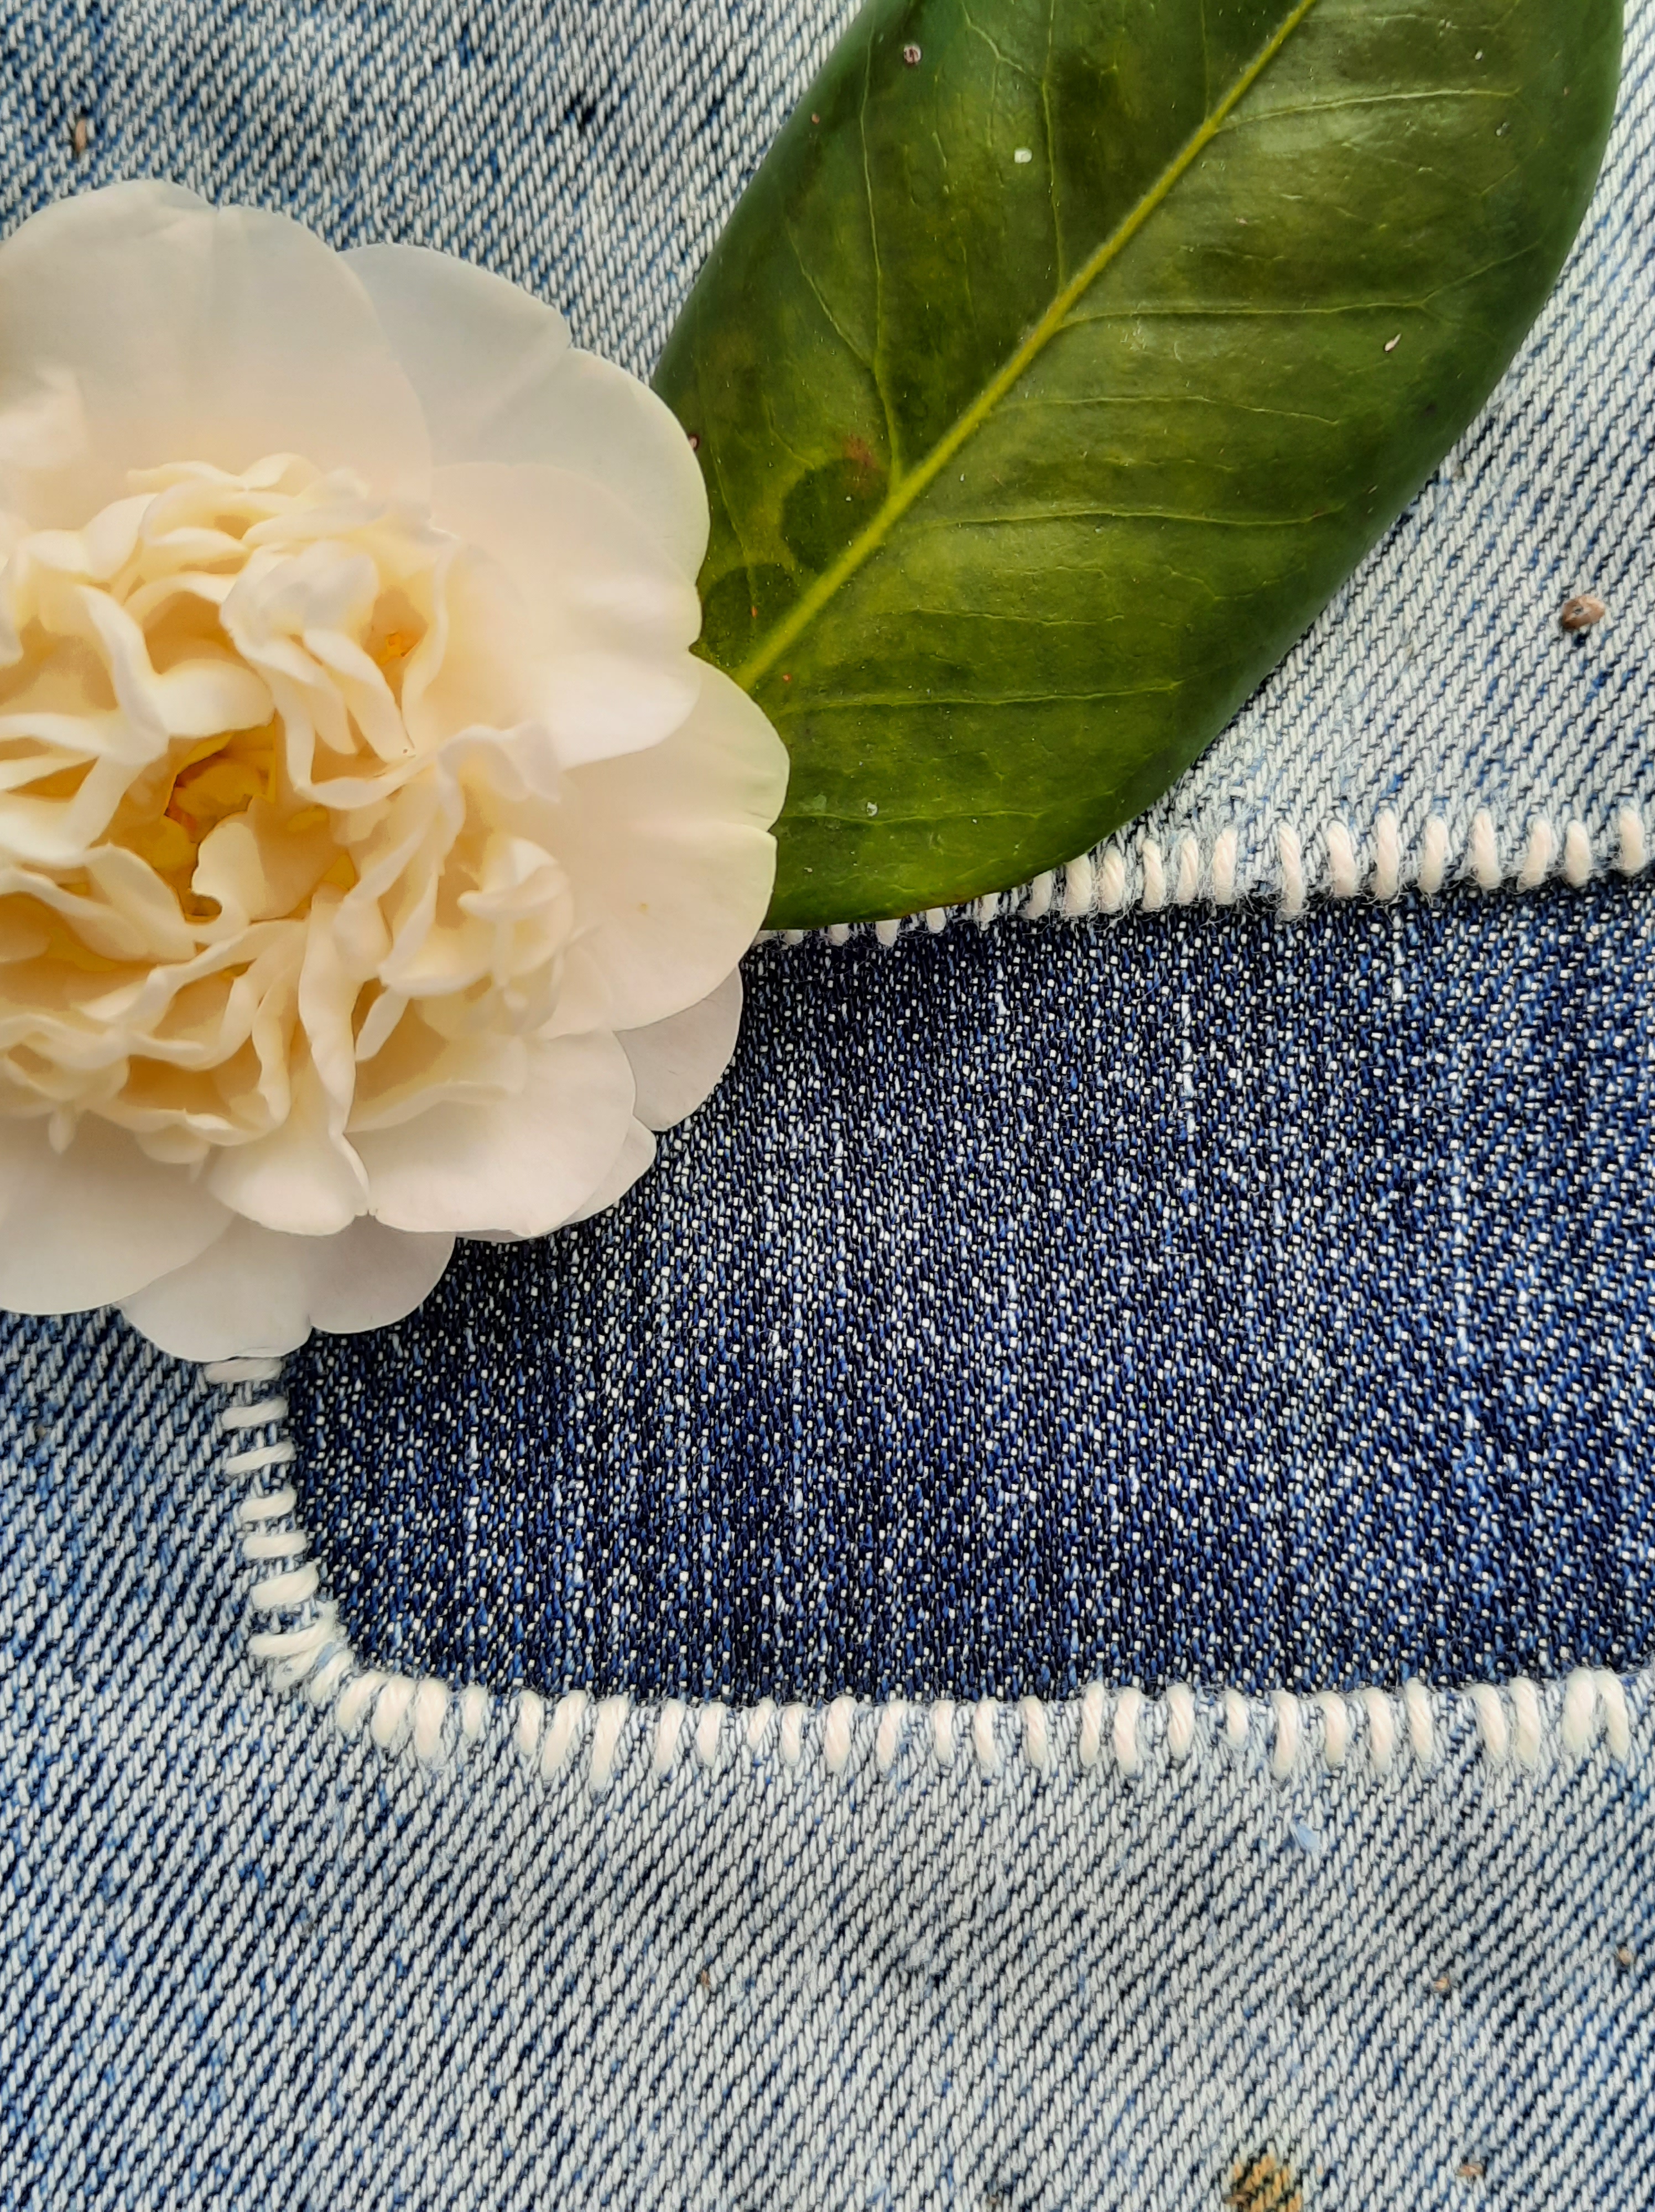
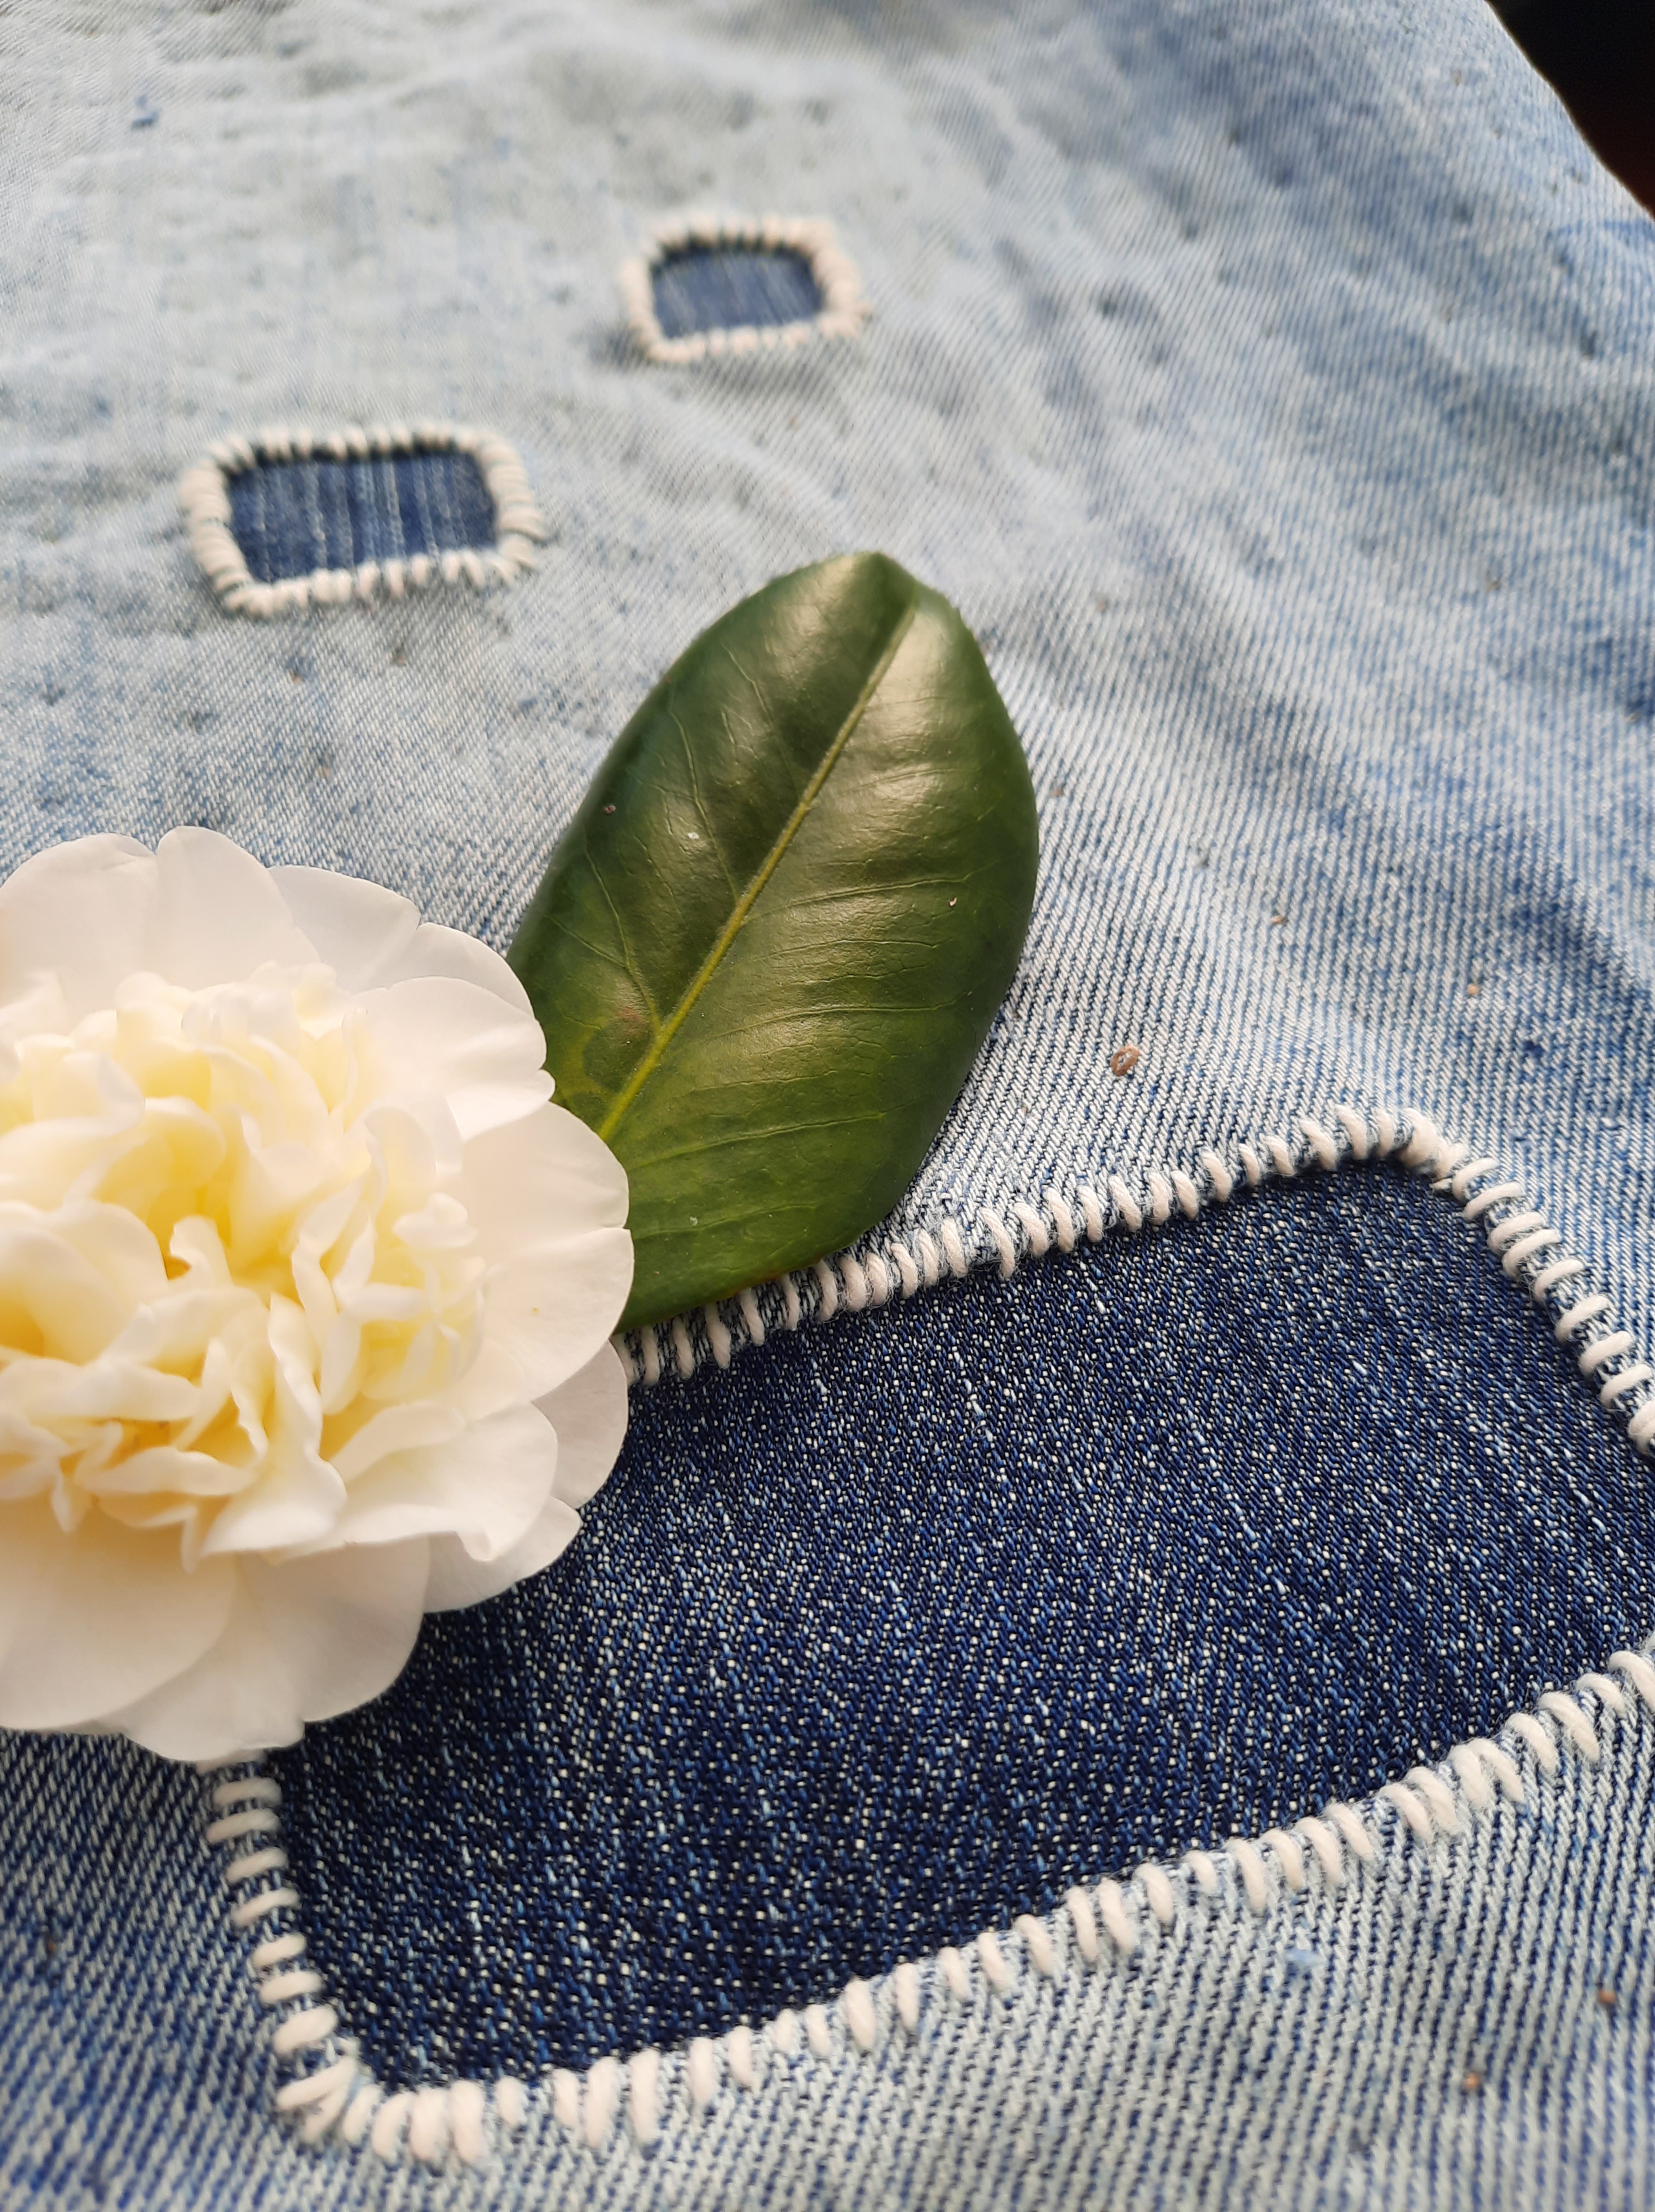
This is a close up of patches I added to my partner’s jeans. I must have had a rush of blood to the head during camellia season…
Here is the less romantic view… and now we return to camellia season, and making something I spent hours doing look more exciting than a pair of very much lived in jeans. Those little spots are tiny (on the outside) stitches keeping the patch in place on the inside. They are made with linen thread that will outlast the jeans.
But wait! There’s more! At this degree of remove, I’m a bit entranced by having wanted a lovely picture of these mends so much I took all of these!
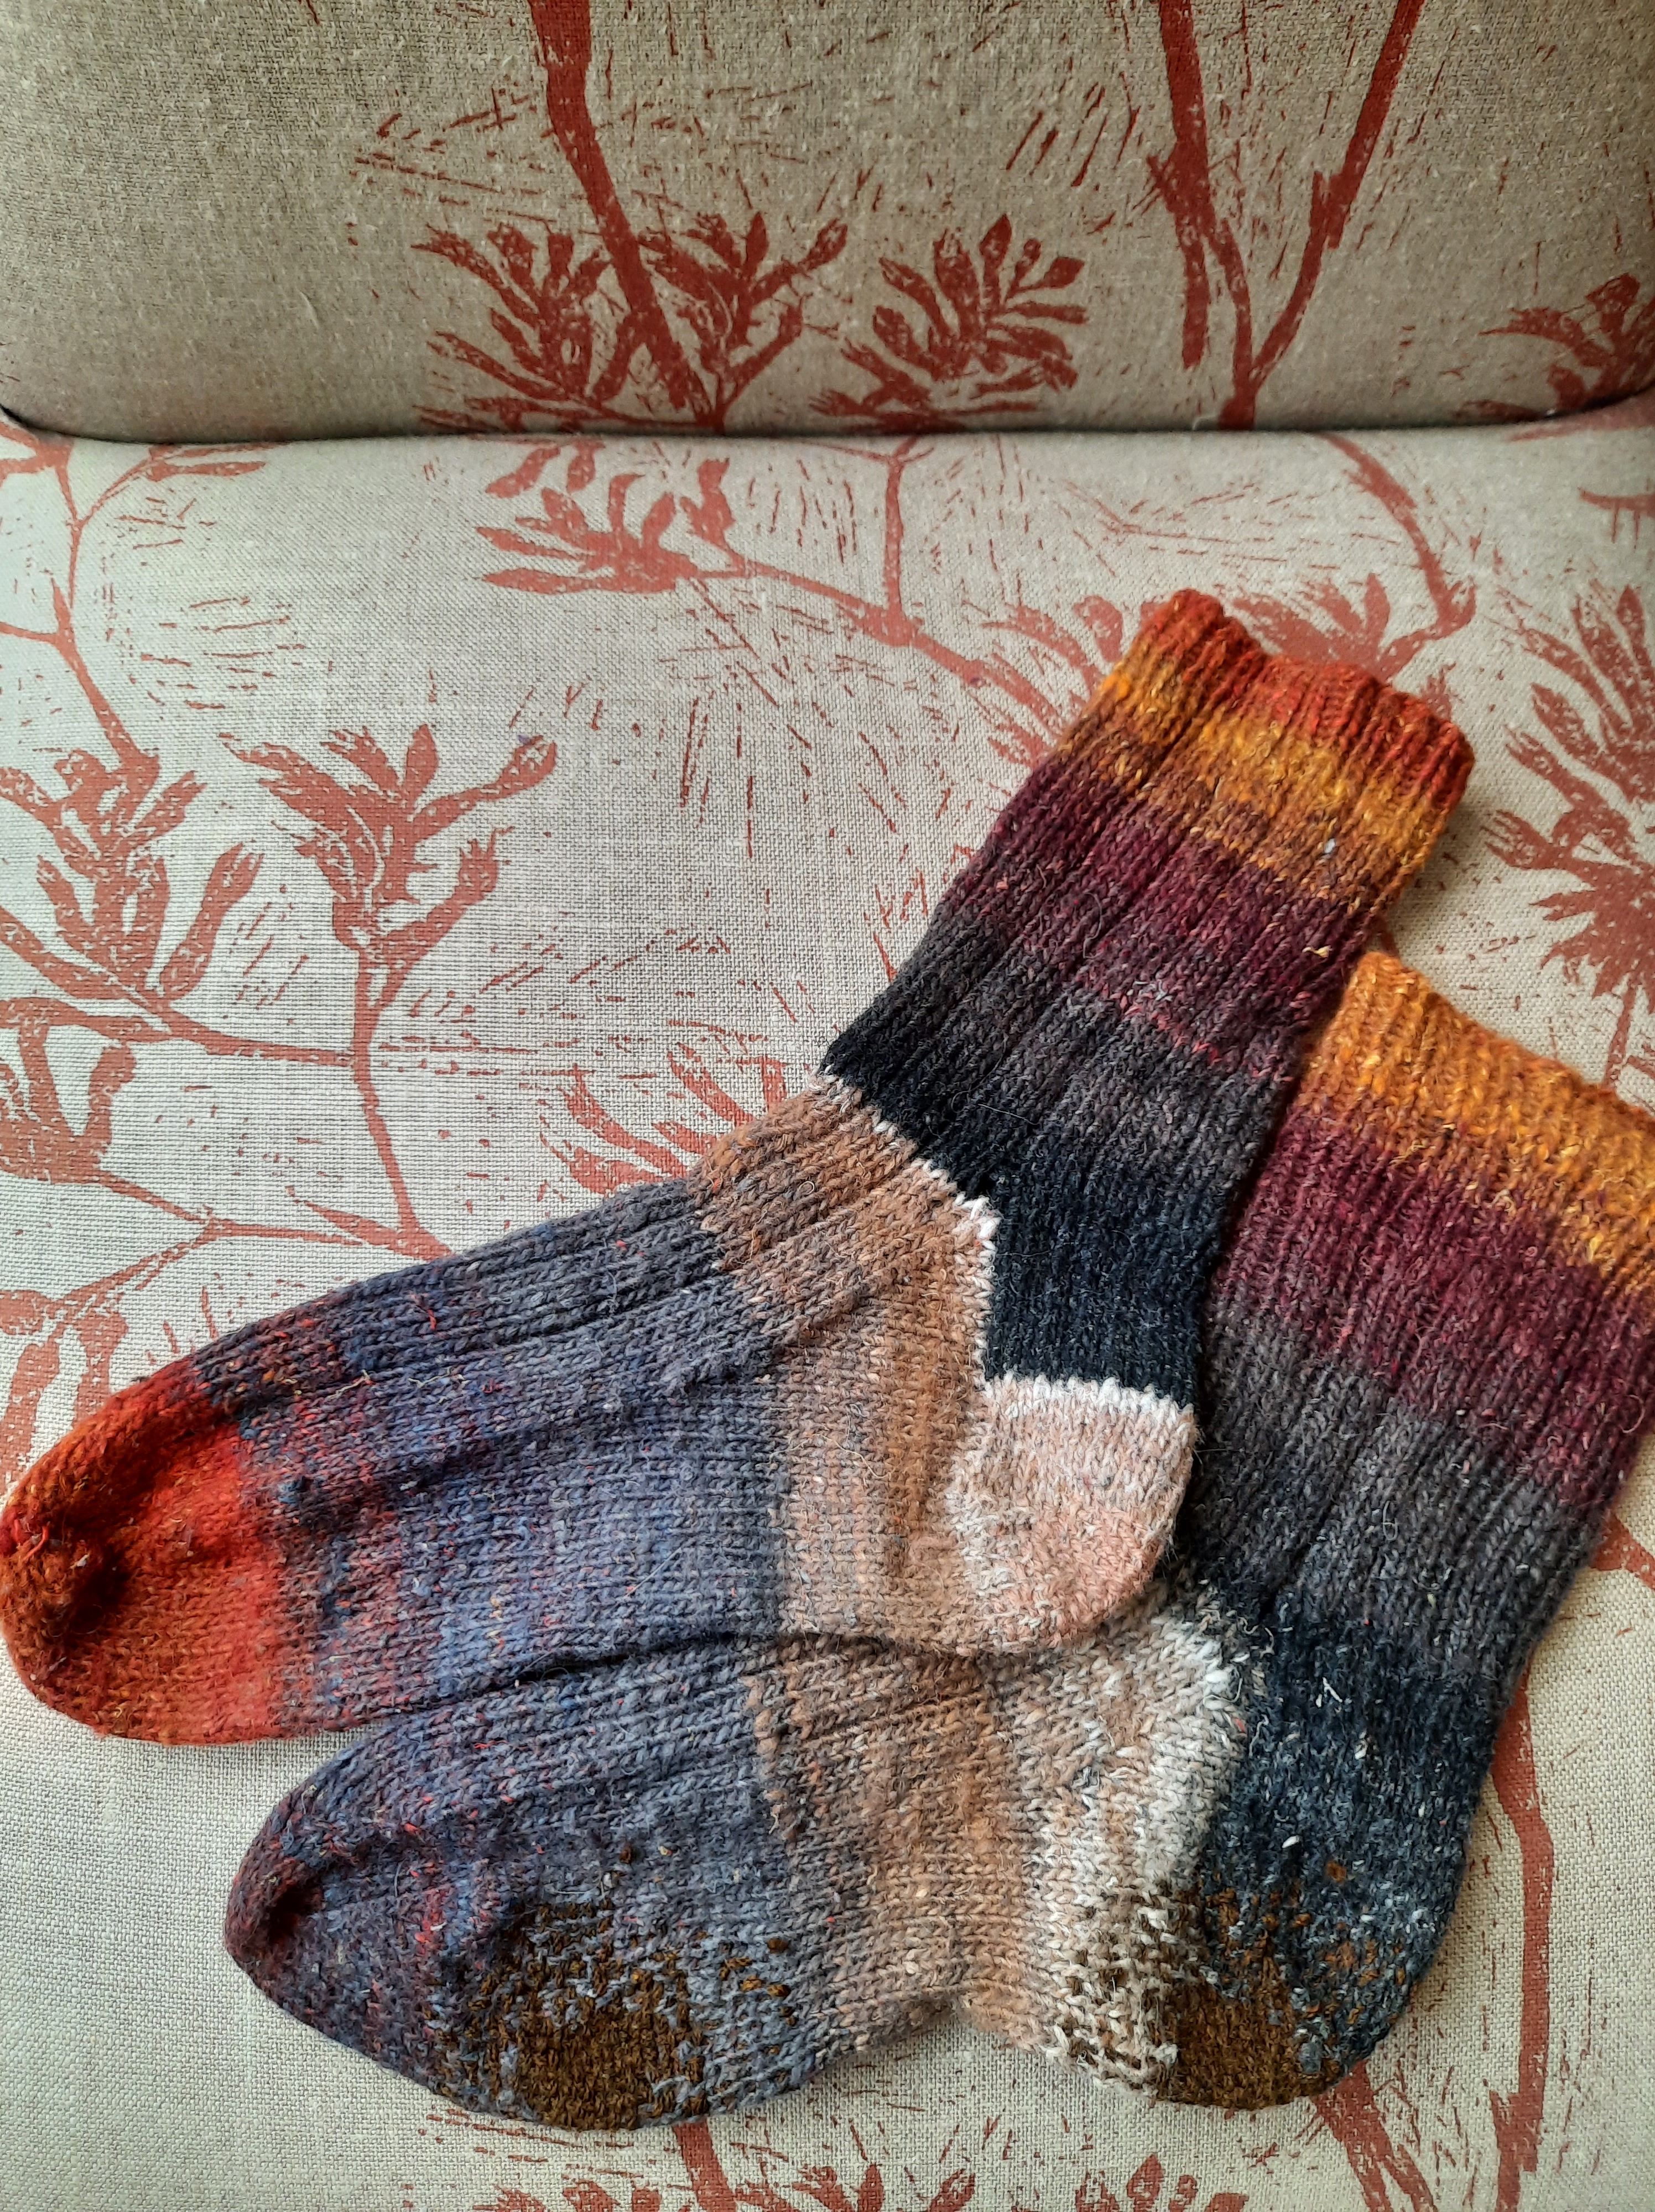
Naturally, sock darning also continues. For my daughter in this case.
Naturally both socks needed mending. And all the original wool is long gone. So these mends are done with whatever seems likely to meet the basic requirements for fibre content and durability–and go close enough, with colour.
Here are the pair.
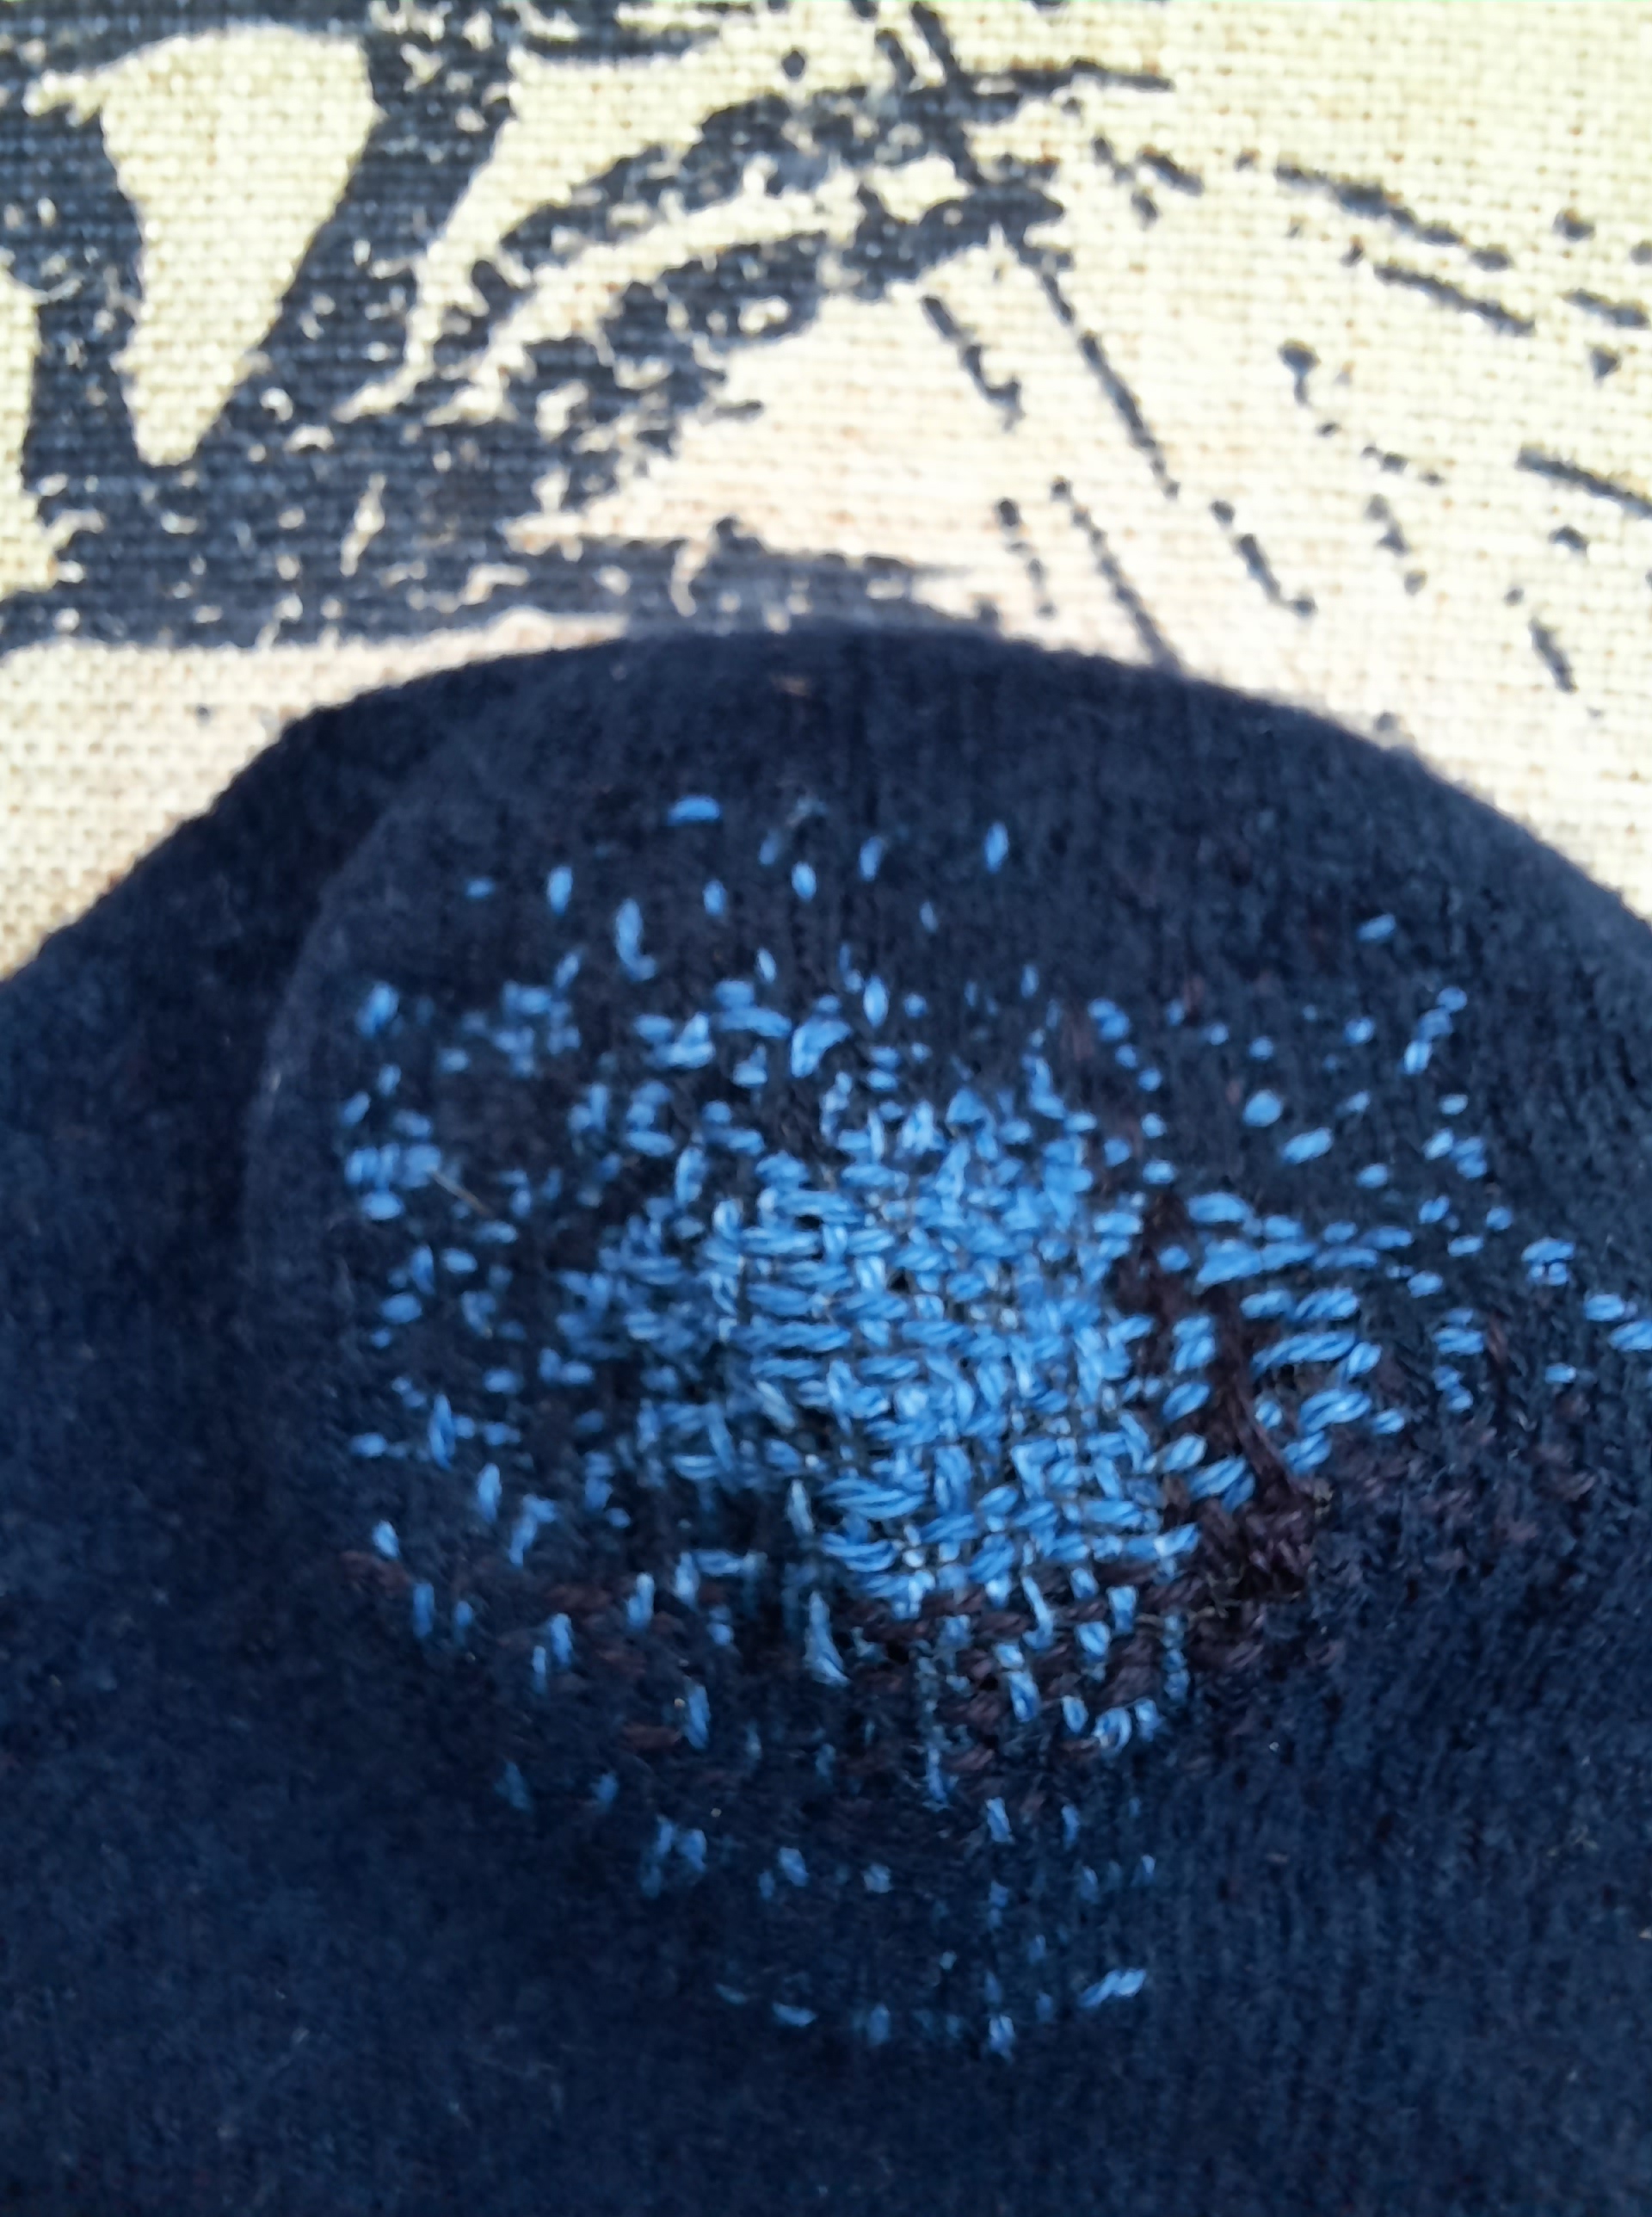
Here is a sock mend I did for myself. These are bamboo fibre socks. Bamboo fibre is not actually a great choice for the environment it turns out–but I have several pairs I received as gifts, or bought myself, before I understood their impact. Really, the idea that these things are individual choices rather than there being industry standards that prohibit pollution is absolute nonsense. *cough* It’s hard to find socks that I can actually wear with comfort these days, so I don’t want to let them go. I’ve darned them with sashiko thread, which is a sturdy, all-cotton option that is thicker than machine sewing thread–meaning I can darn a hole in this lifetime in a machine knit sock and wear it with comfort.
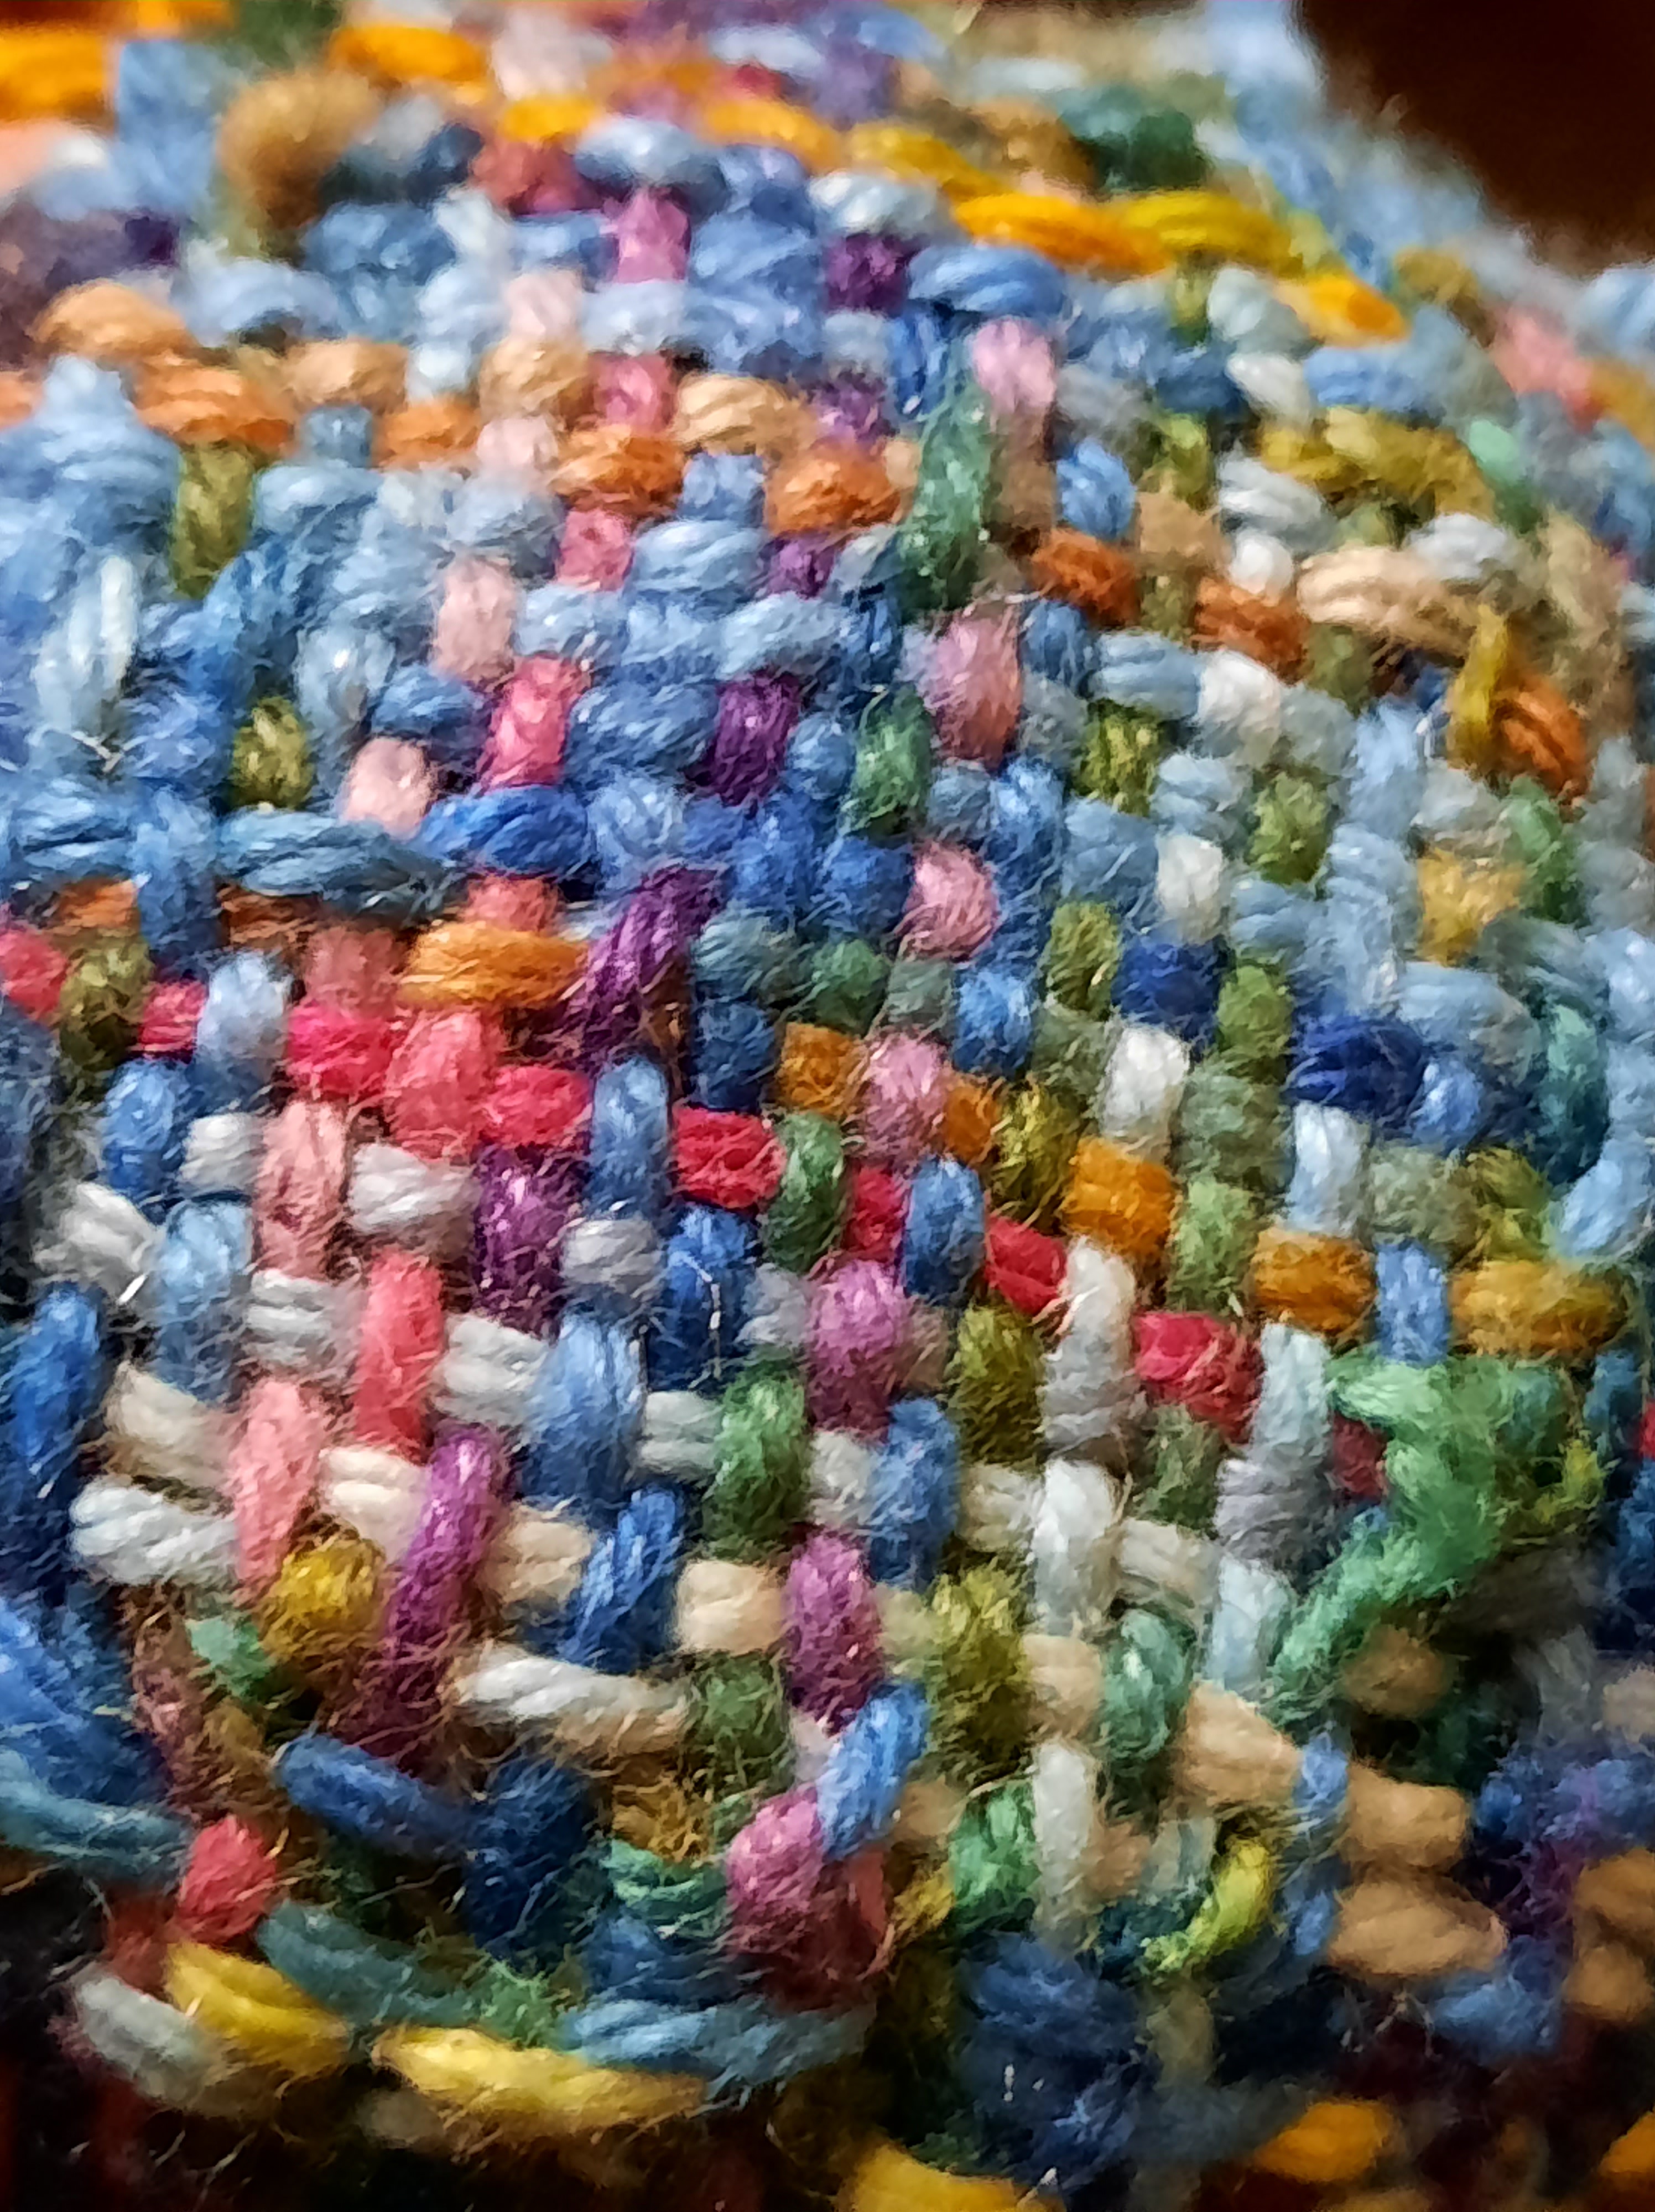
This is a pretty spectacular looking darn (with yarn I made my mother socks from)–but I can’t remember what I was mending here!
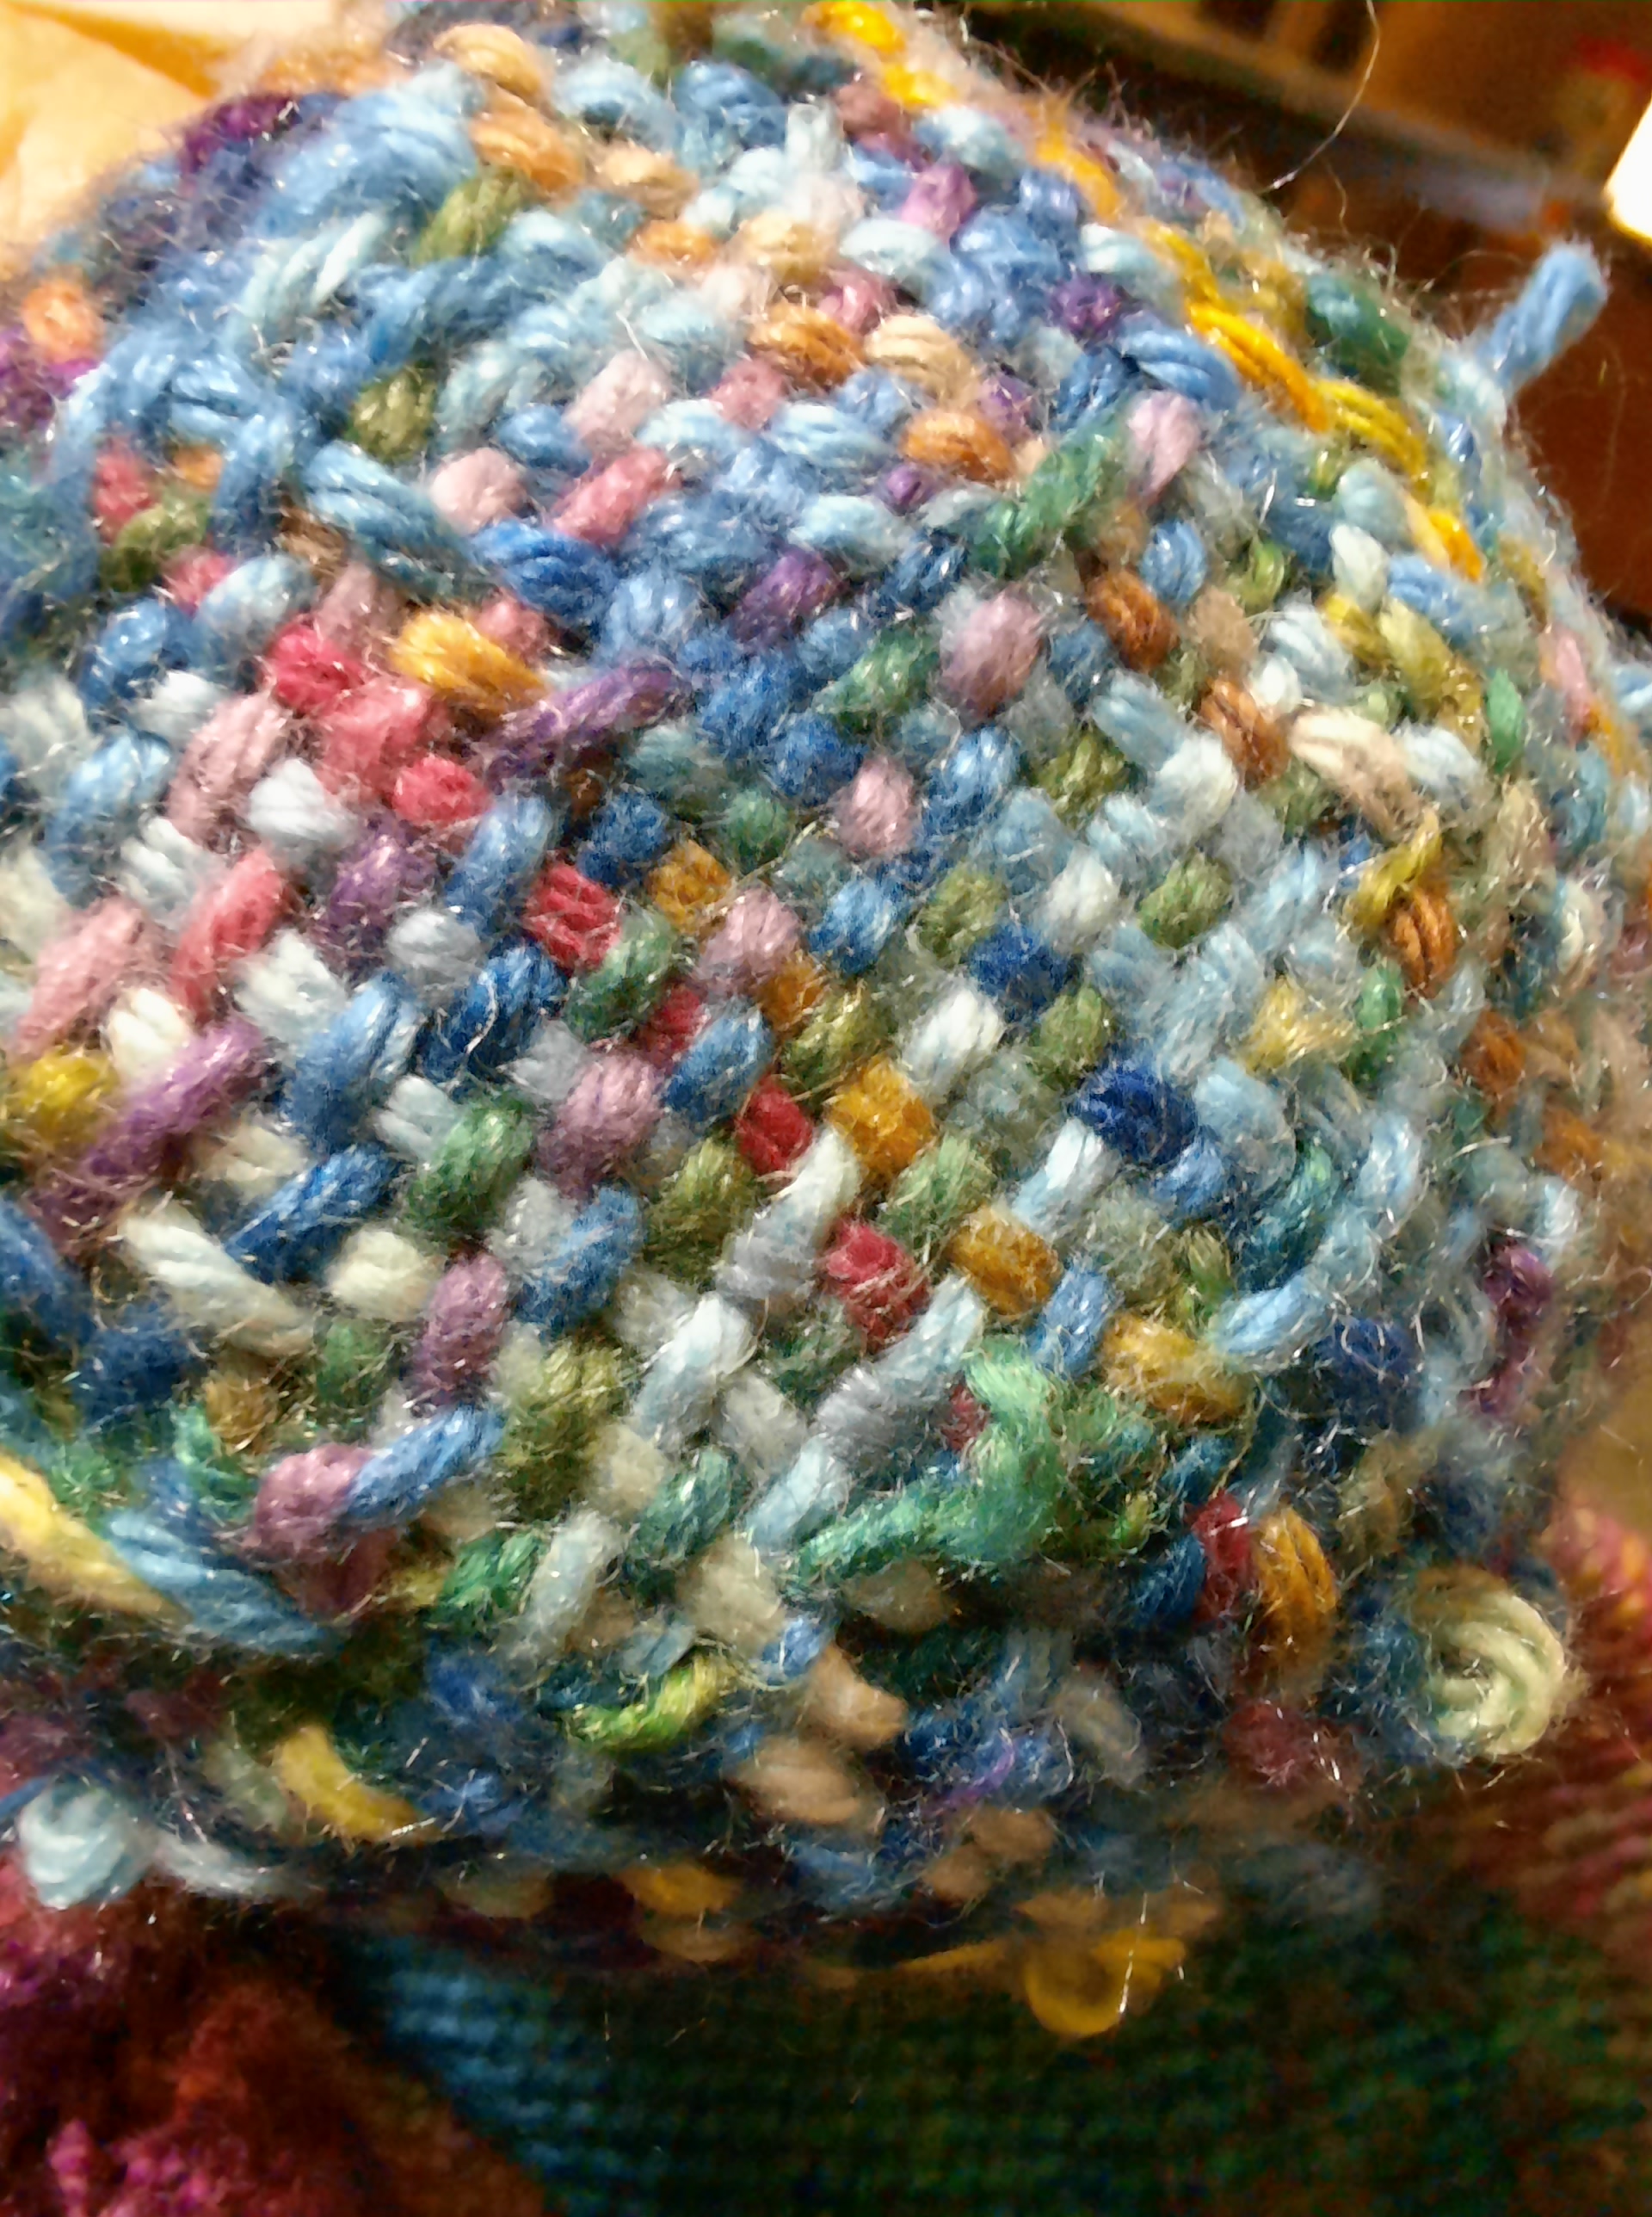
Looking at this image it looks like another pair of my daughter’s socks! This looks like the inside view… and perhaps that is enough mending for now?
…or perhaps there is never enough mending. Keep it up, team!
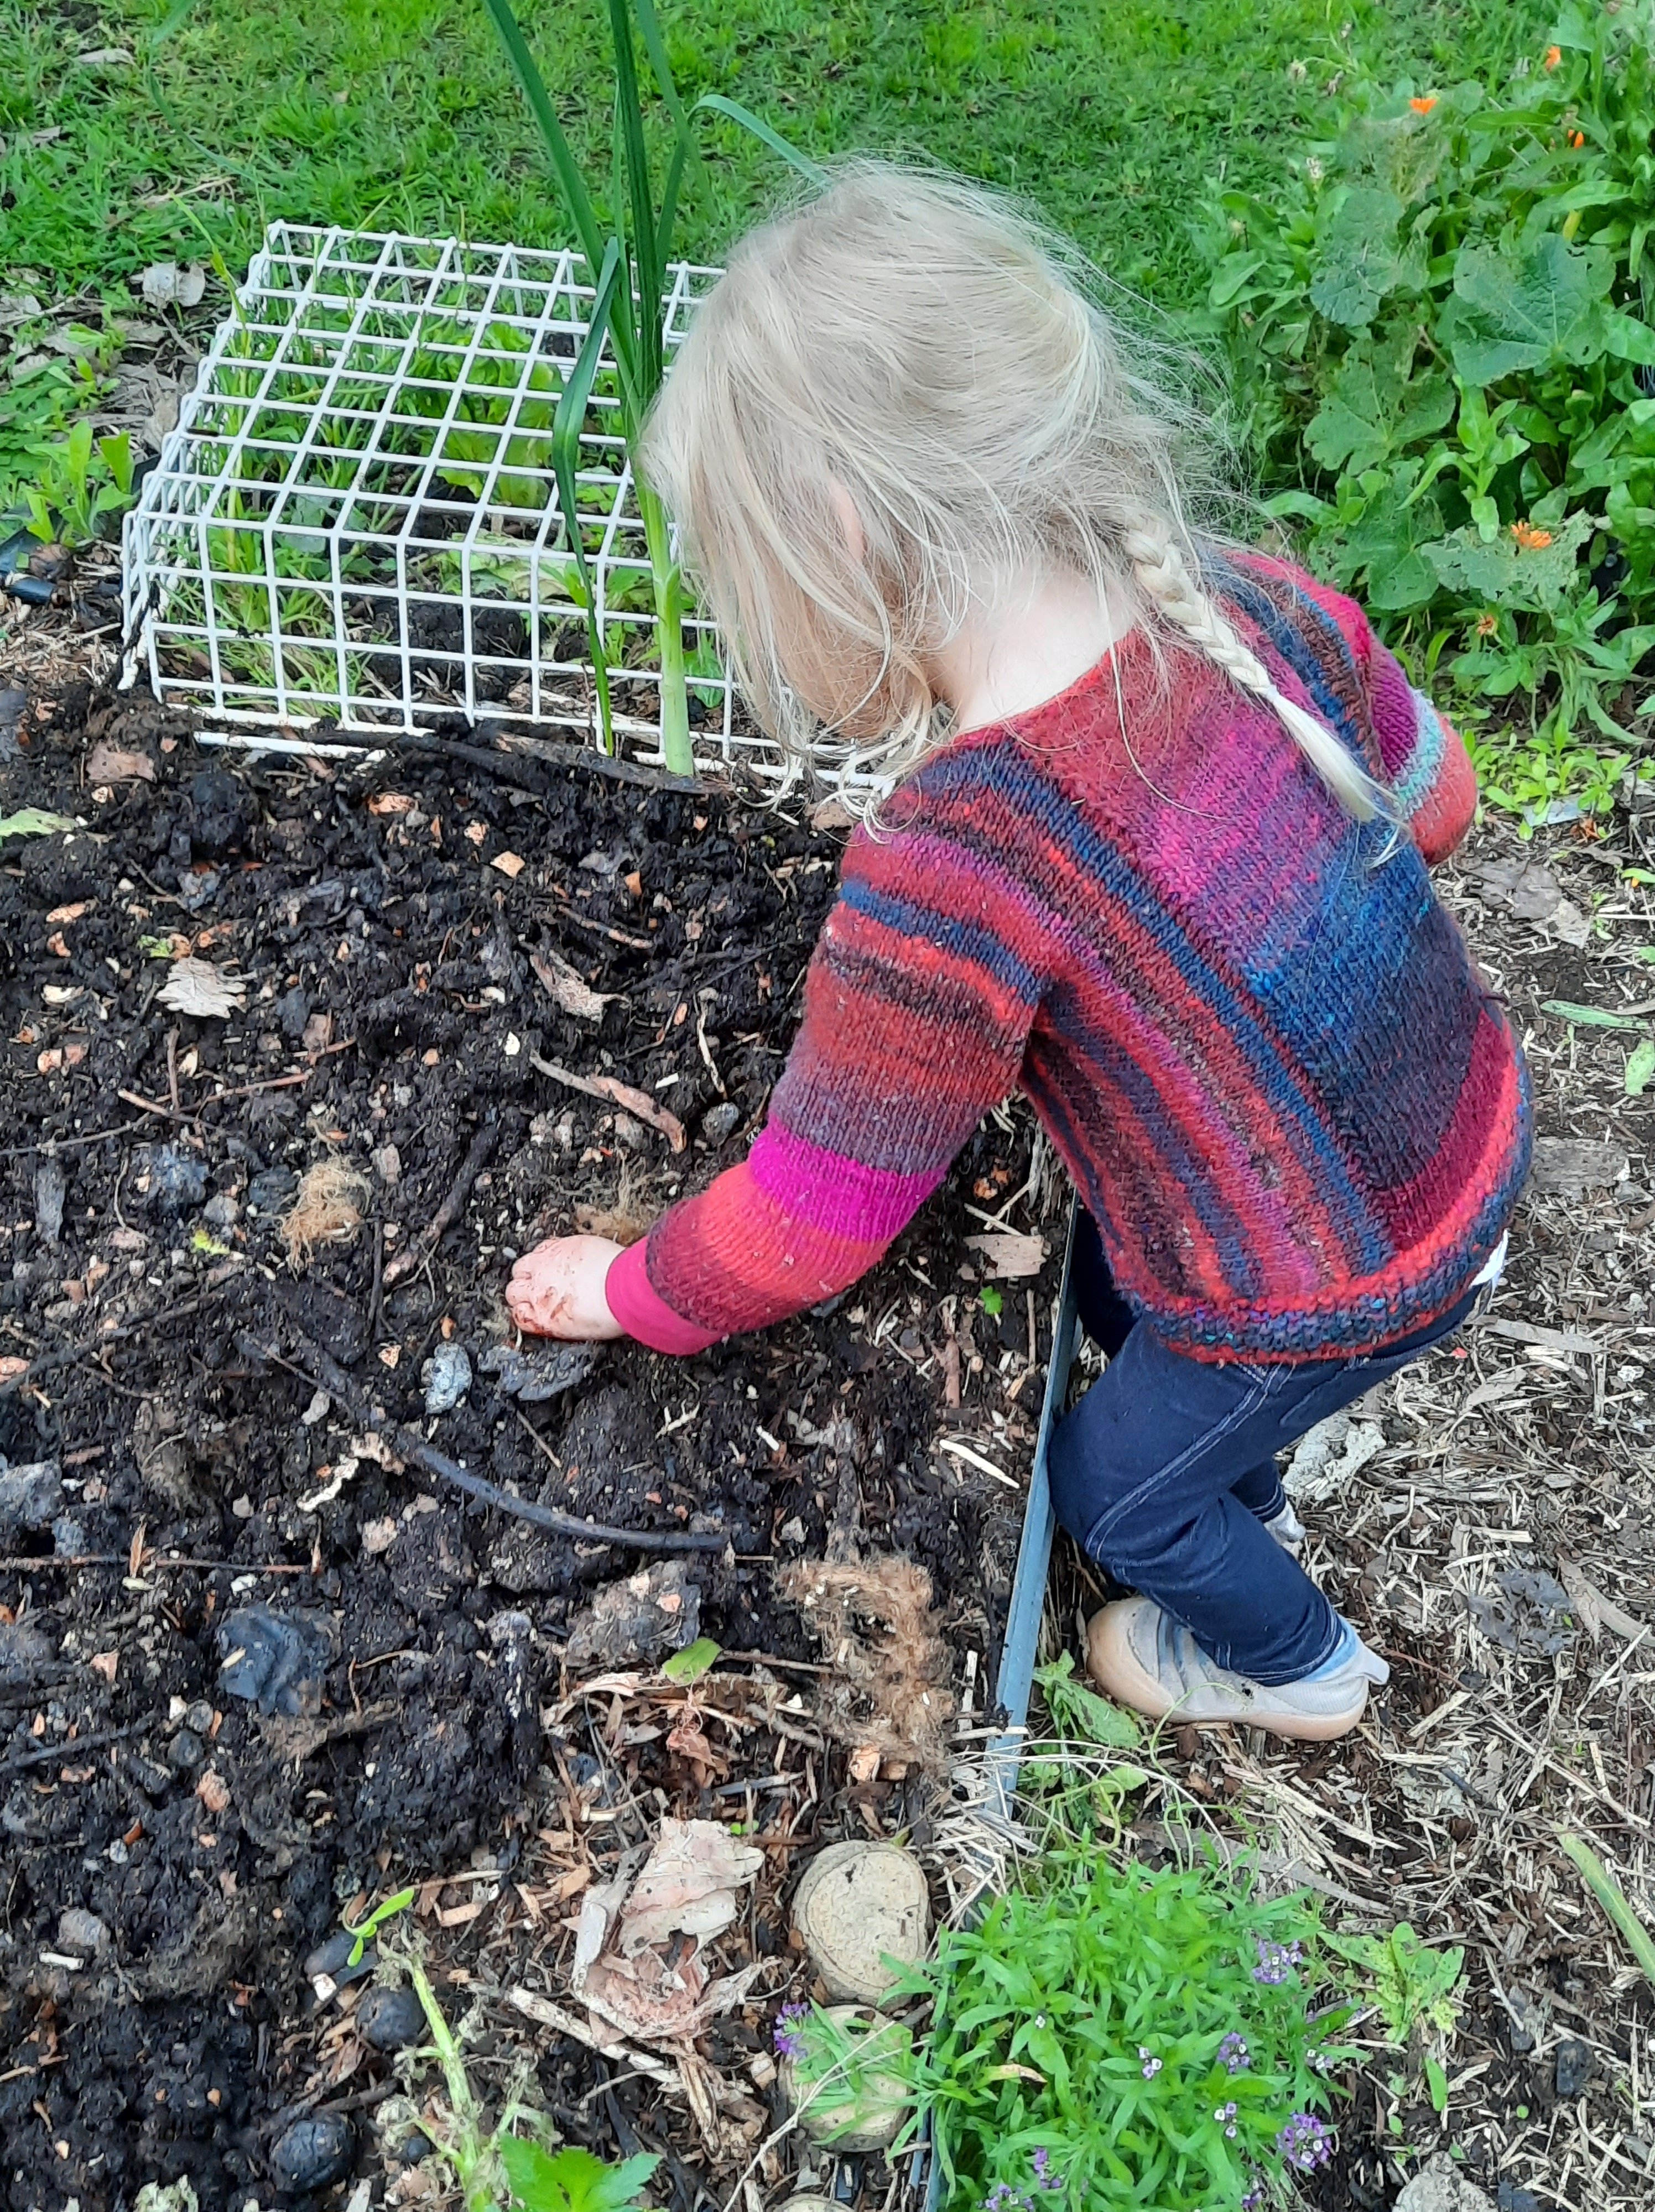
If you have subscribed for a while, you will have noticed me being absent for over 6 months–thanks for sticking with subscribing! I’m looking back over the photos of that period and selecting some that might be of interest. Here is my little love (not so little really!) gardening in a jumper I knit her. I found almost all of this wool in a regional op shop and spent more on the last ball than on all the rest put together. I made two in different colours and they were favourites for a while, now surely outgrown. I think she is investigating worms in the garden here.
Here she is again in her gumboots, mixing up something special in a bucket. I’ve patched her leggings with a contrast stretch scrap fabric sewn in by hand around the edge of the patch and the turned-under edge of the garment. The circle was traced around something dependable, like a mug. It became clear she liked these all the better for the patch, which made my heart sing!
Here is one in a series of hats. I was away from the blog so long I stopped photographing projects in process, and sometimes took no photos at all! I promise that the sewing (etc) still happened! This hat was made from some beautiful Japanese quilting fabric (or maybe it is just quilt-weight?) with scrap cotton drill as the brim interfacing. I bartered the fabric from another participant at a workshop for something I’d made–she had found a stack of glorious fabrics at an op shop. This hat has had a lot of wear–happiness!
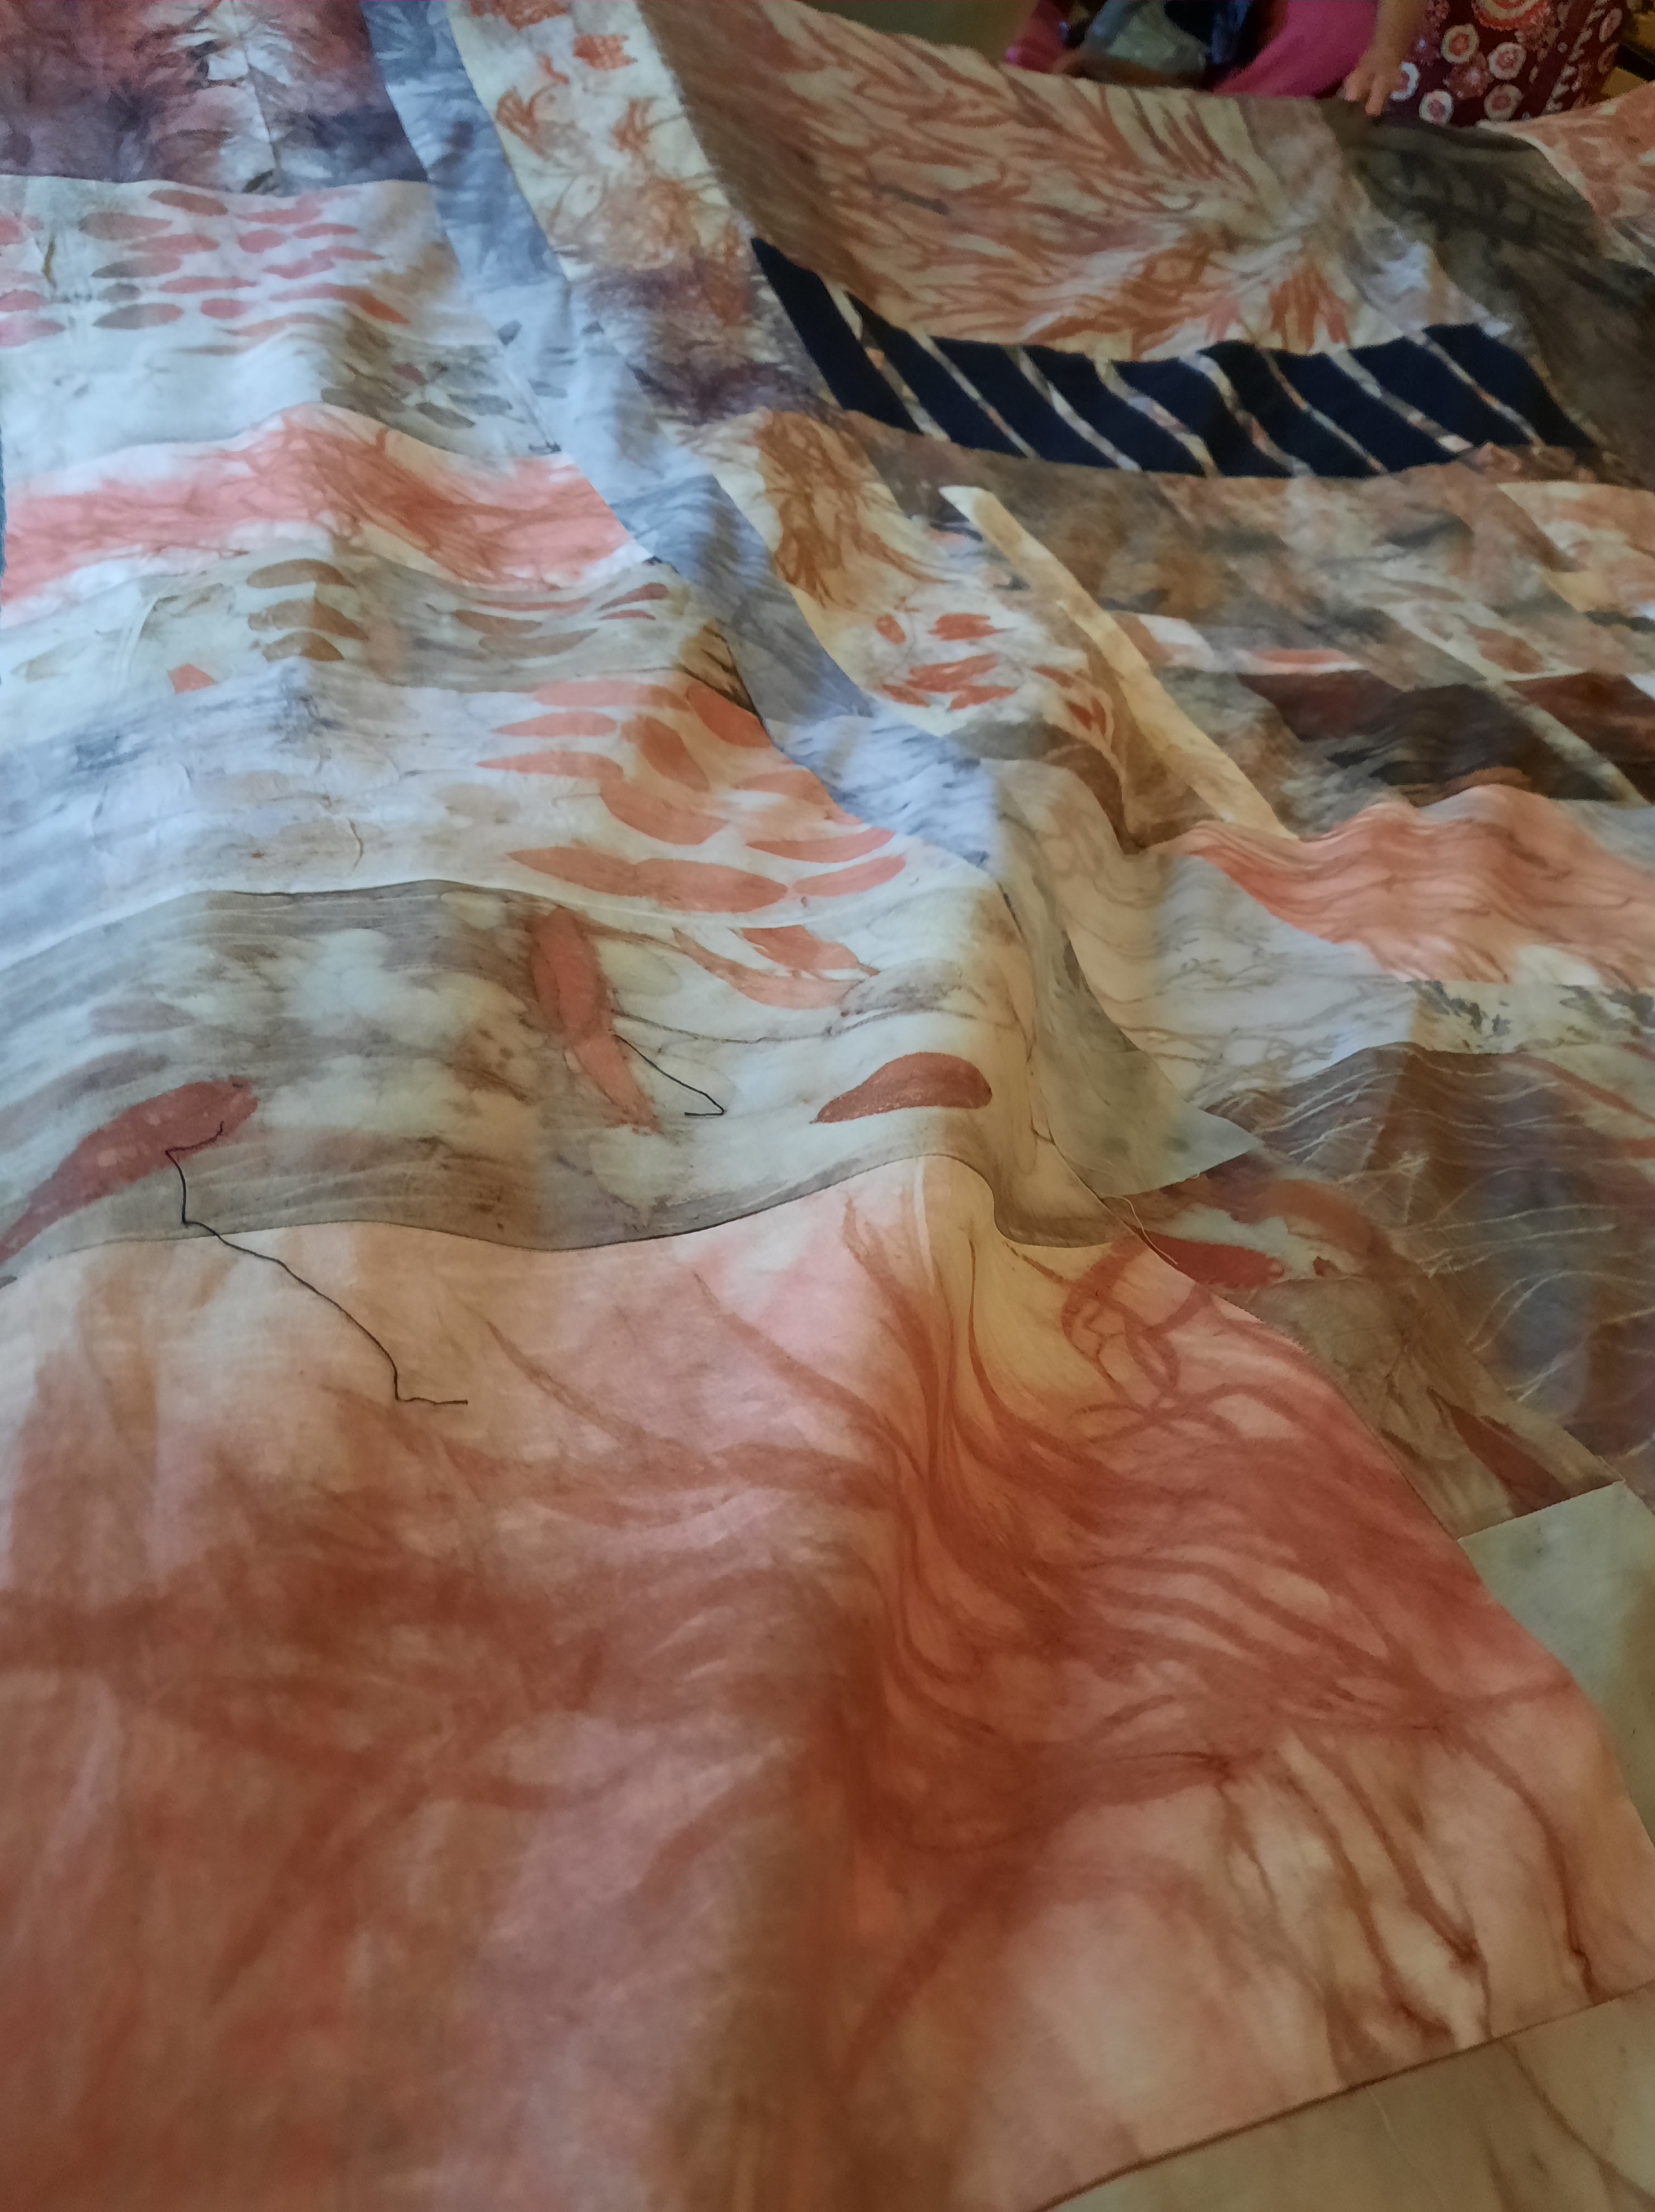
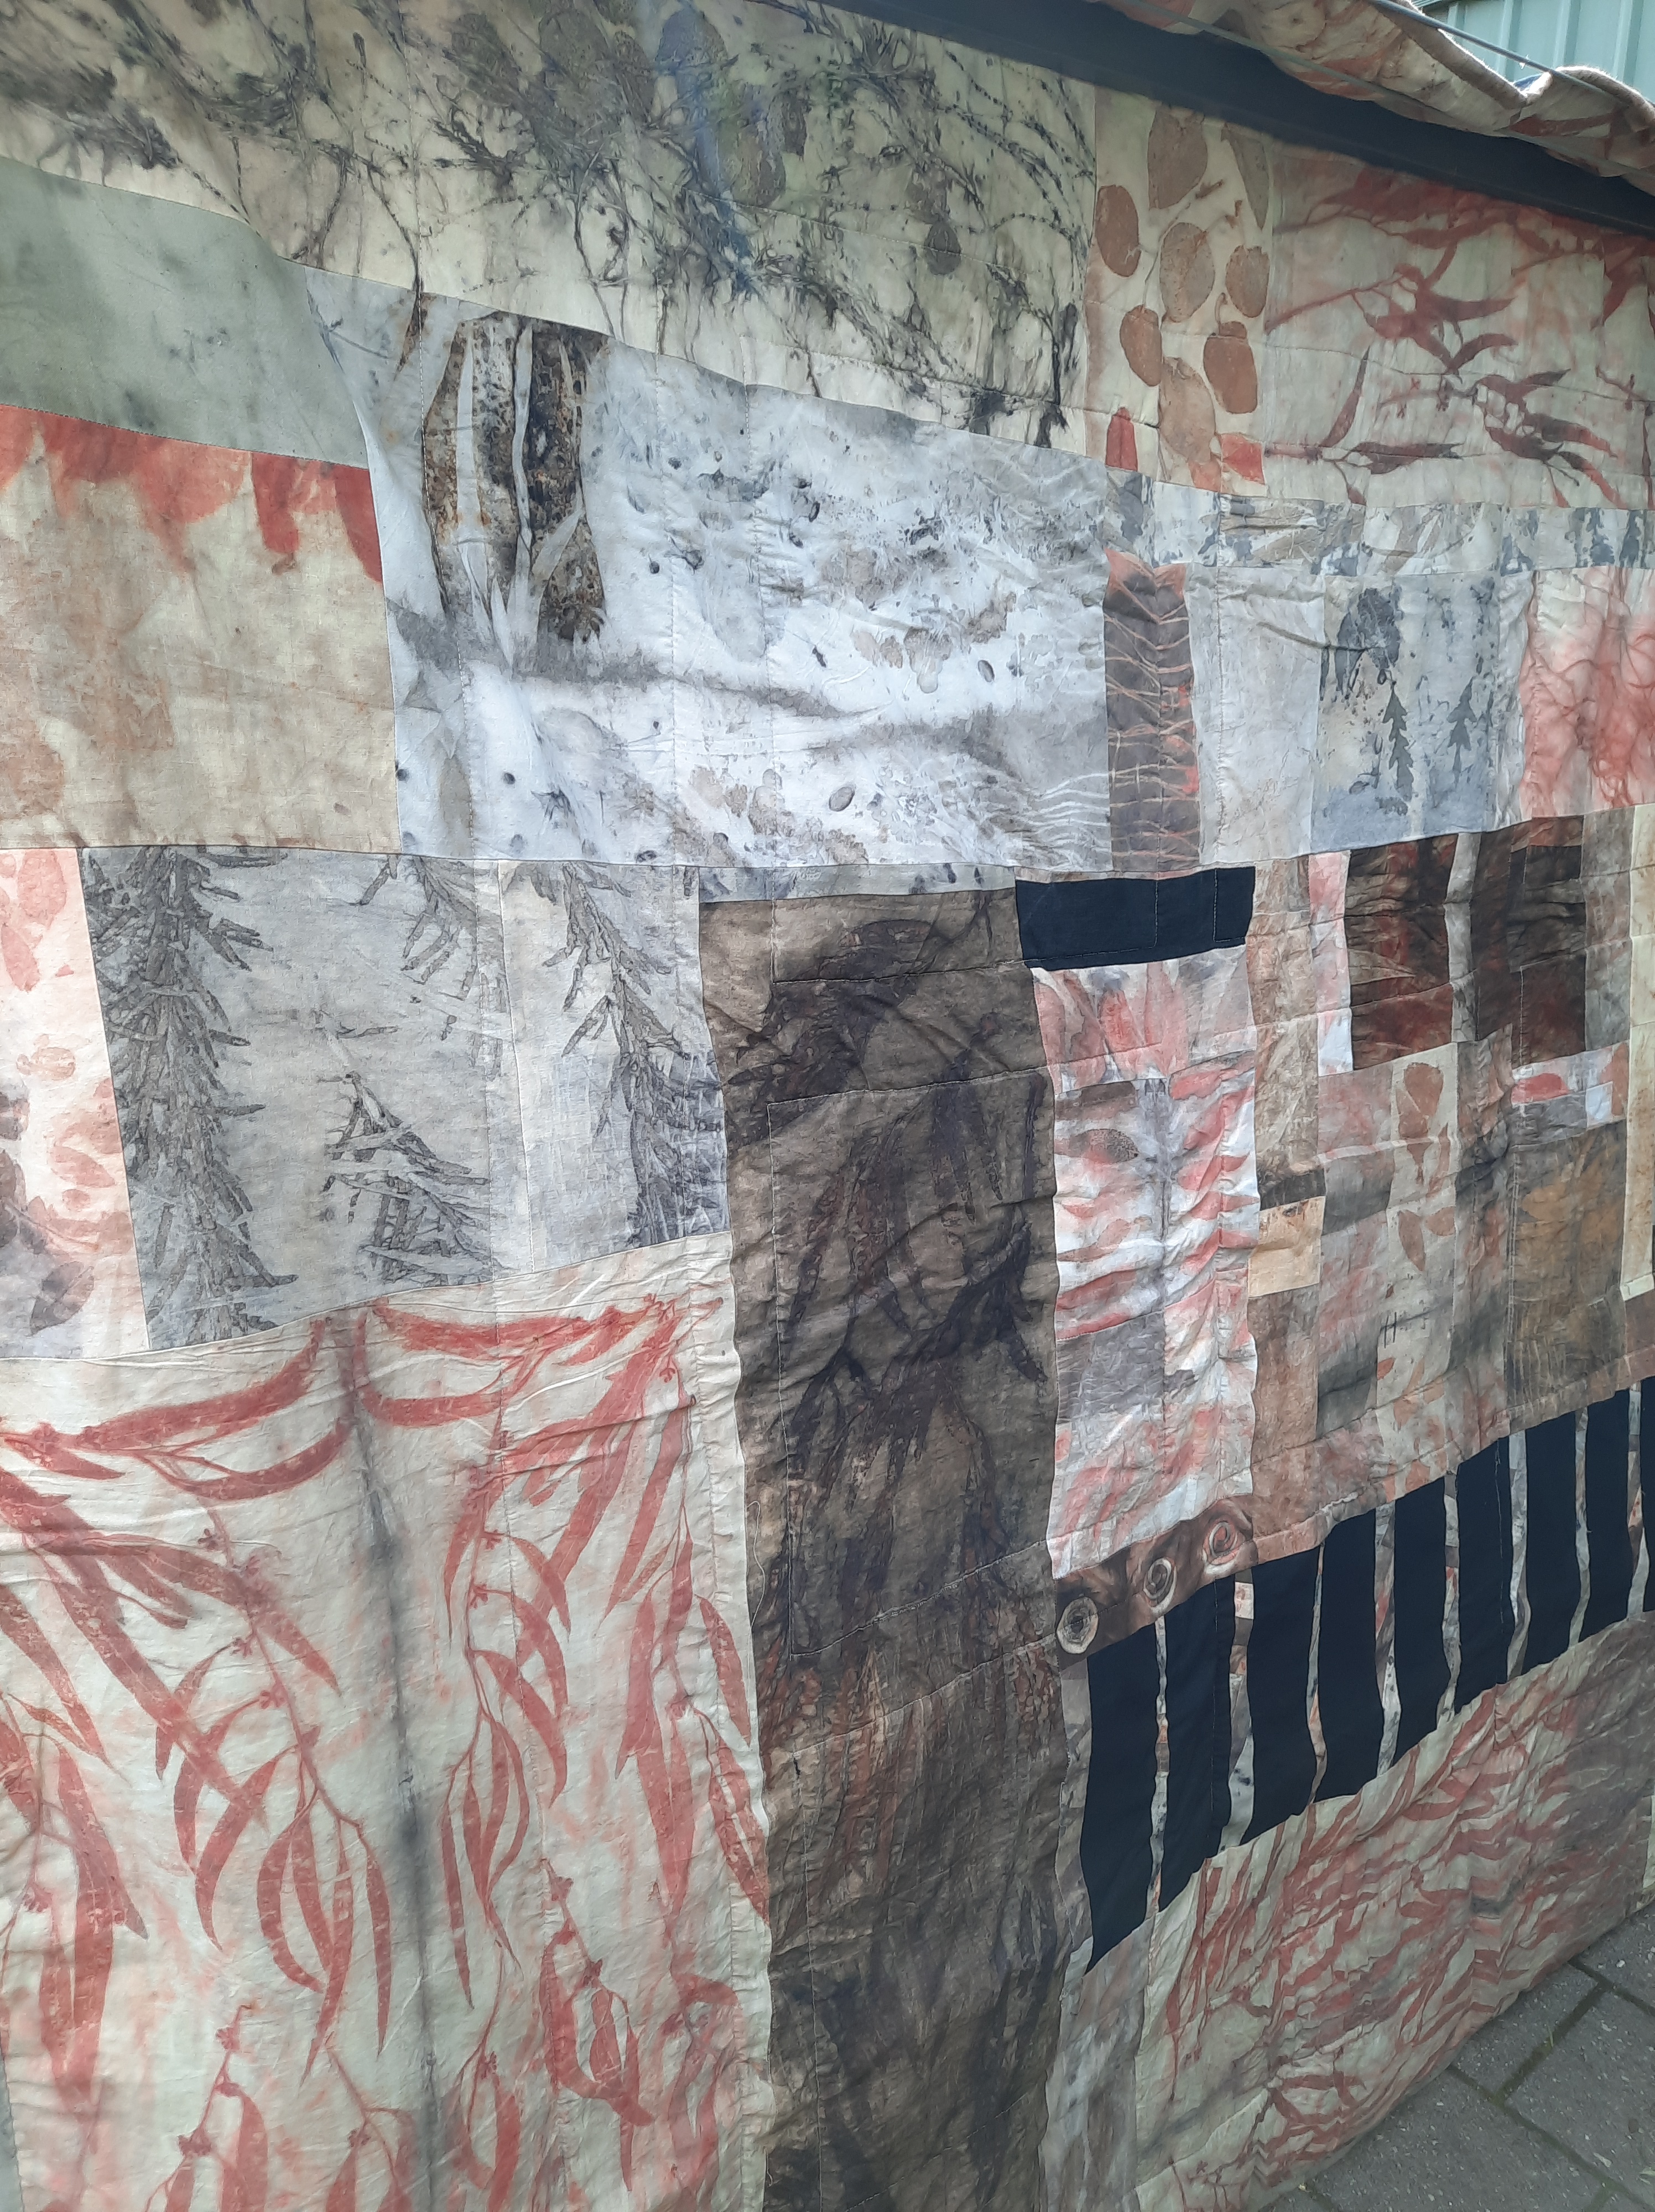
Some years ago, I found that I was constantly creating long, vaguely triangular scraps. Perhaps I had figured out how to use square and rectangular scraps and that was all that remained! At some stage I happened on the idea of creating a kind of swirling log cabin block, foundation piecing it to stabilise grain running every which way.
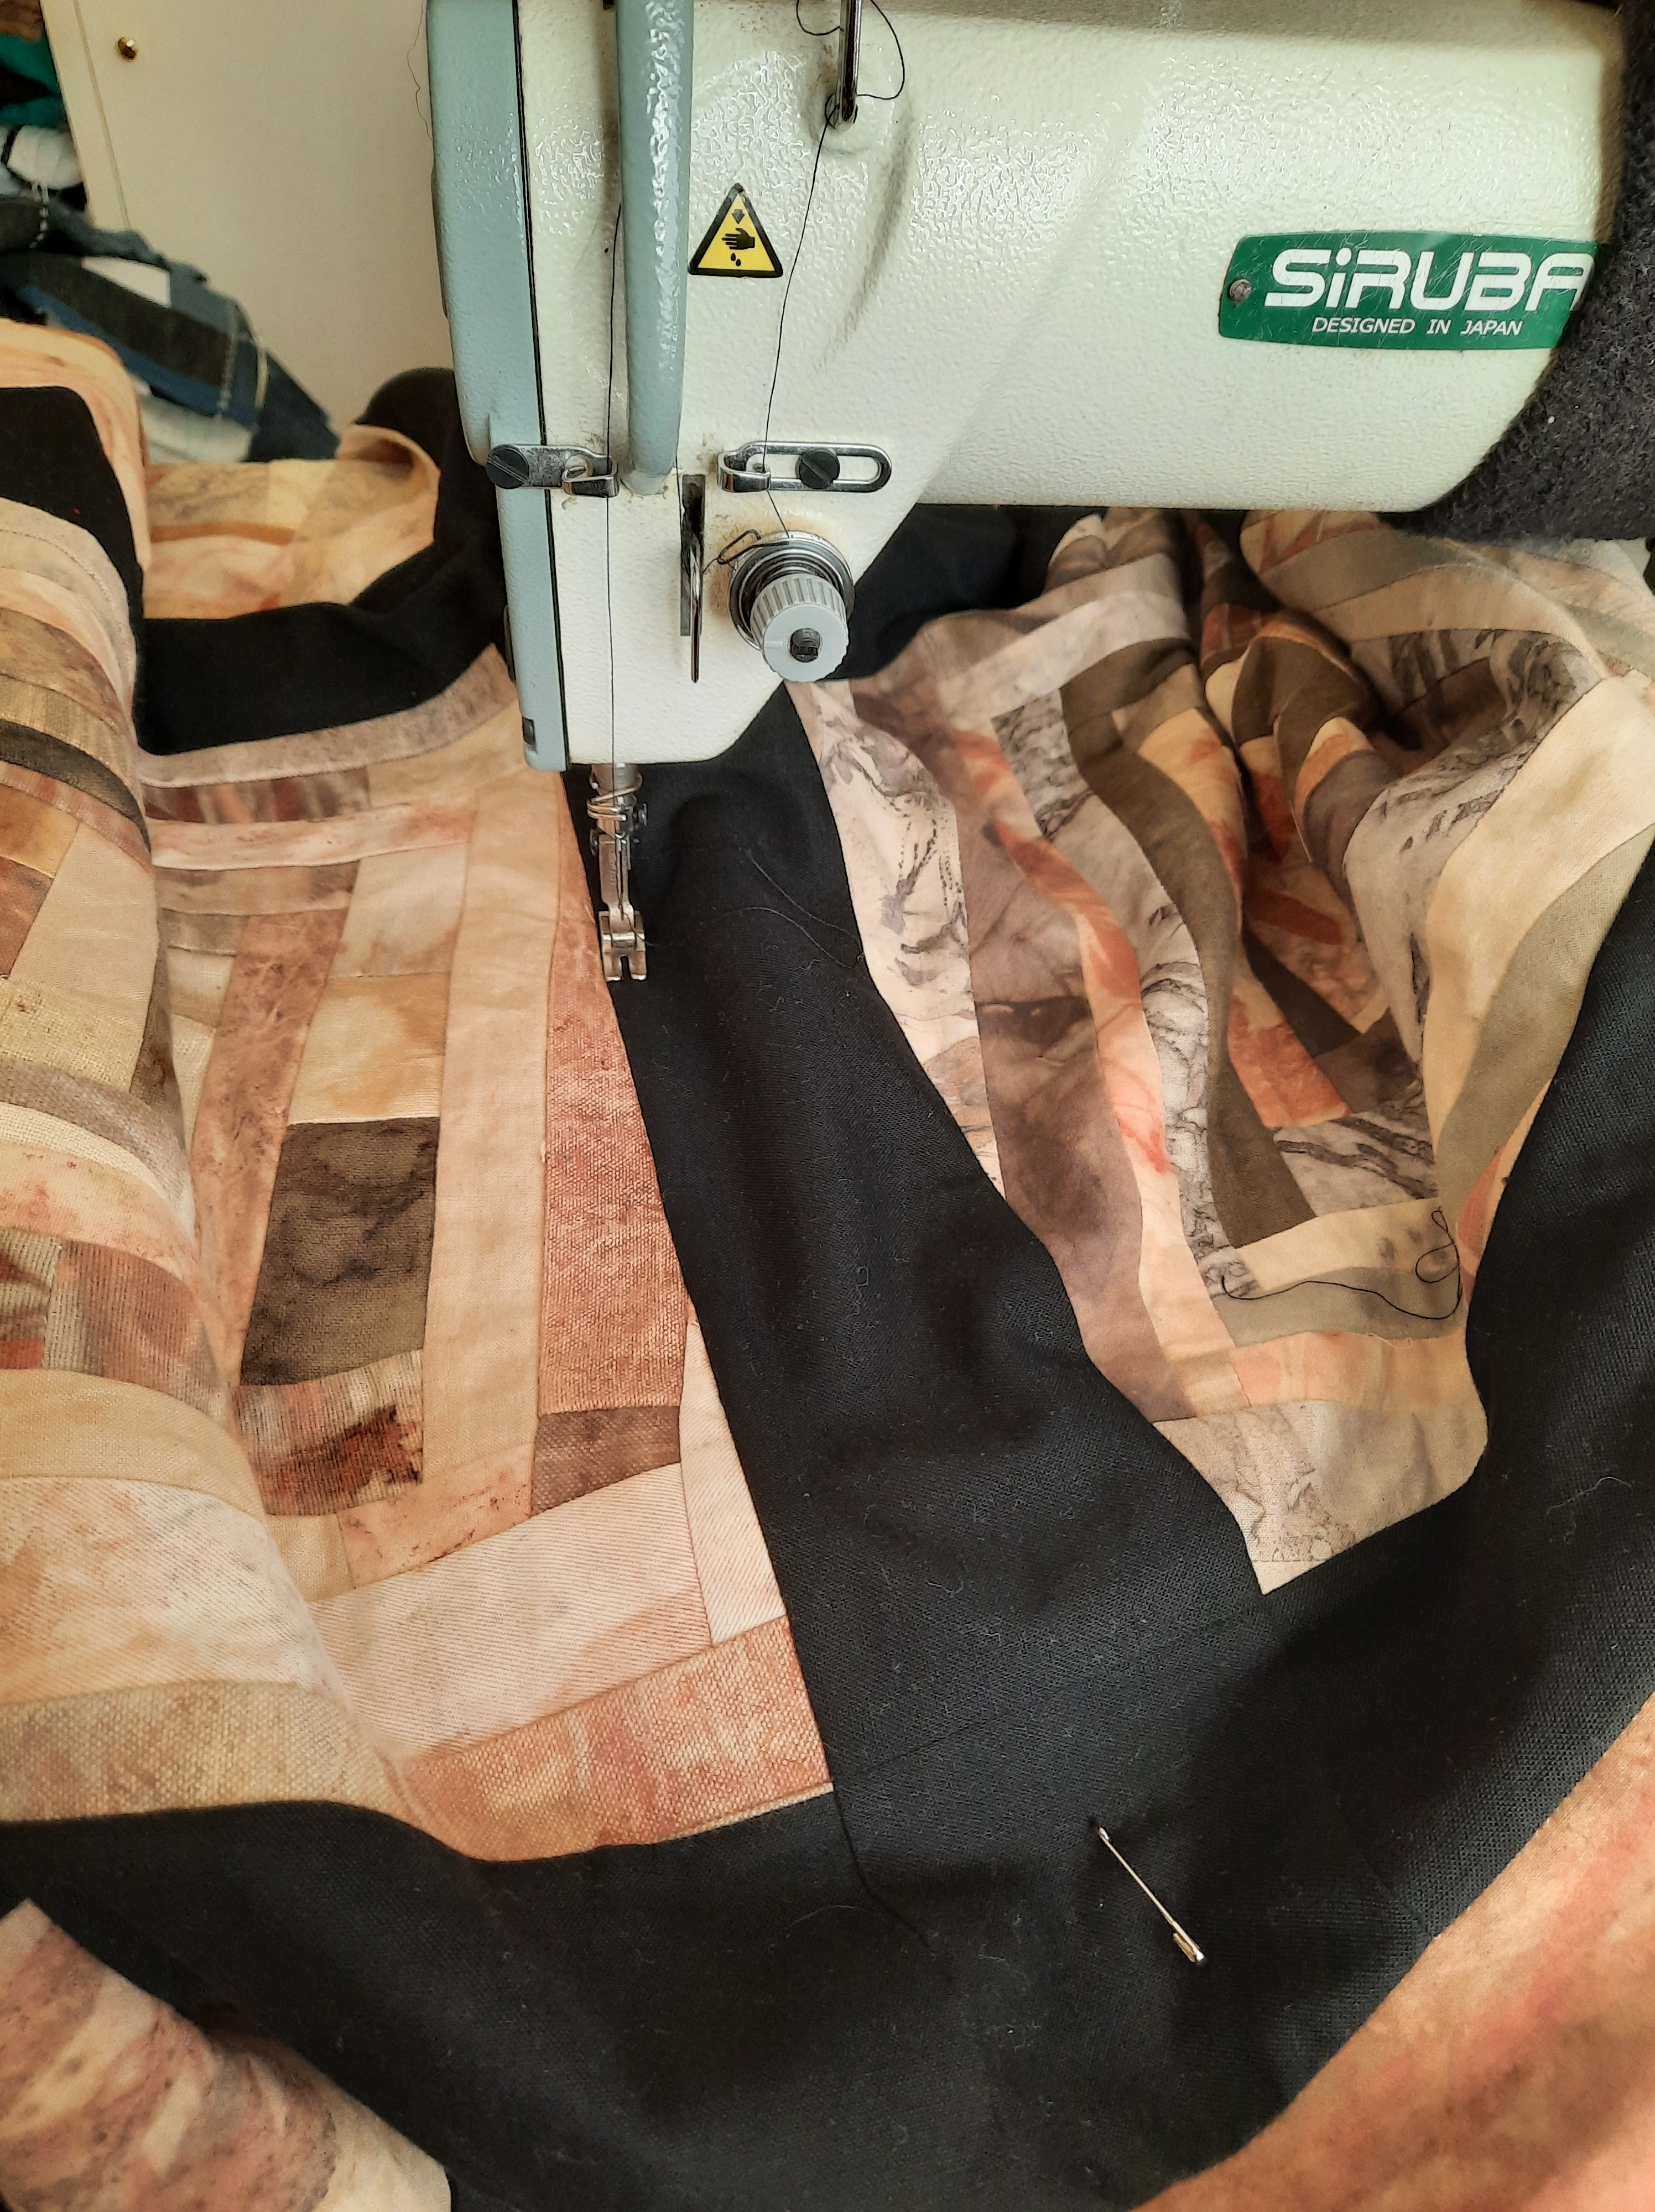
An archaeological dig through the cupboards turned up 7 plant dyed blocks created in this way, with all kinds of tired old fabrics used as the foundation: worn out napkins and a threadbare dressing gown handed on by my mother-out-law stood out as most recognisable. I created 2 new blocks to make up 9 and set to work on creating sashing from all kinds of black fabrics from my stash. There are a lot of different black fabrics here, mostly cottons and all from stash. I have done this kind of crime against quilting enough times to know that I am OK with it!
I trimmed all the black offcuts and those from making all the blocks the same size and began on the back.
It’s a wild patchwork of all kinds of leaf dyed fabrics.
Then the batting. We made an inventory of the high cupboards. This resulted in some lovely manchester my Mum must have handed on going to a happy new home through Buy Nothing, a quilt I made in the 1990s going to my granddaughter, and the saddest of our woollen blankets being selected as batting.
Oops– mood lighting indoors at night strikes again.
I had some trouble getting it quilted flat but in the end I managed something I could live with. I am quietly confident that people who make really neat, accurately pieced and beautifully quilted quilts, do not do some of the things I do when constructing a quilt. But… I end up with something warm and I’ve had imperfect home made quilts on my bed for many years without feeling bad about their imperfections.
Next stop, binding (with strips of plant dyed fabrics), another great use for narrow strips or prints that are just not that scenic.
I gave this quilt to beloved friends who live in Denmark with the disclaimer that this was a big, heavy thing they might prefer not to take home.
They took one look at it and decided yes! They were prepared to wrestle it back to Denmark. And, that the side I thought of as “the back” was, from their perspective, “the front”. I’m so glad they like it!
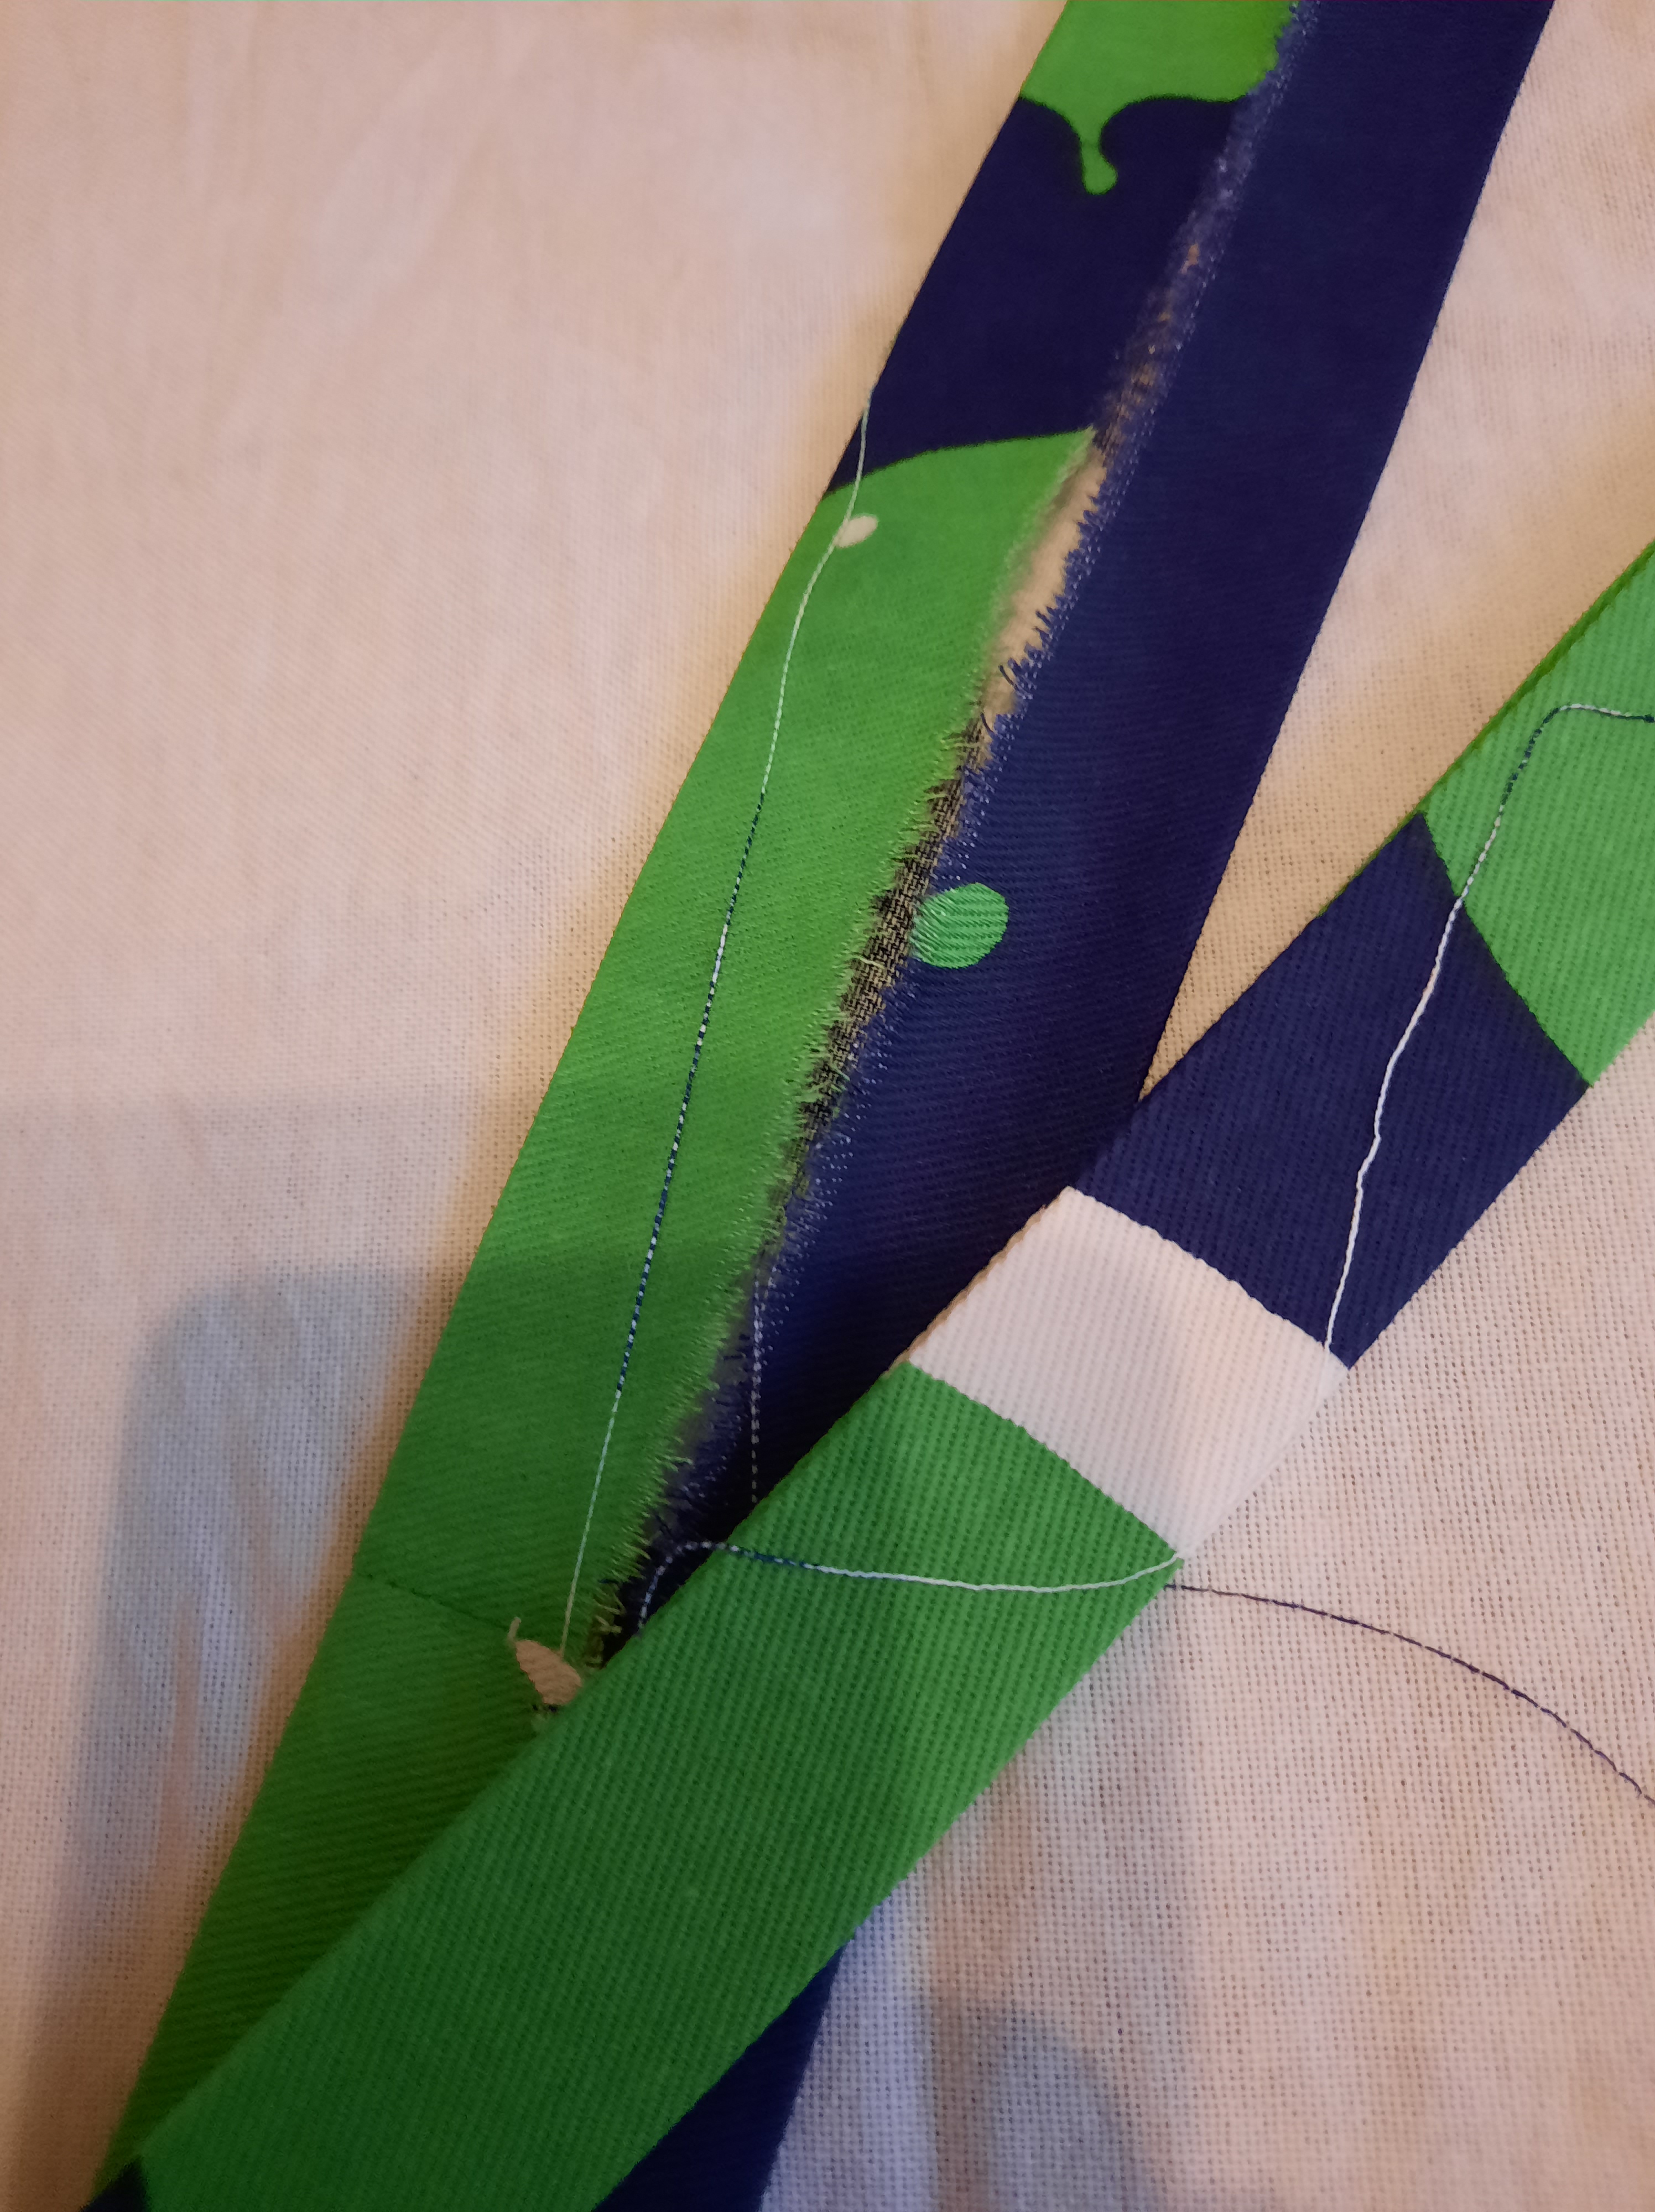
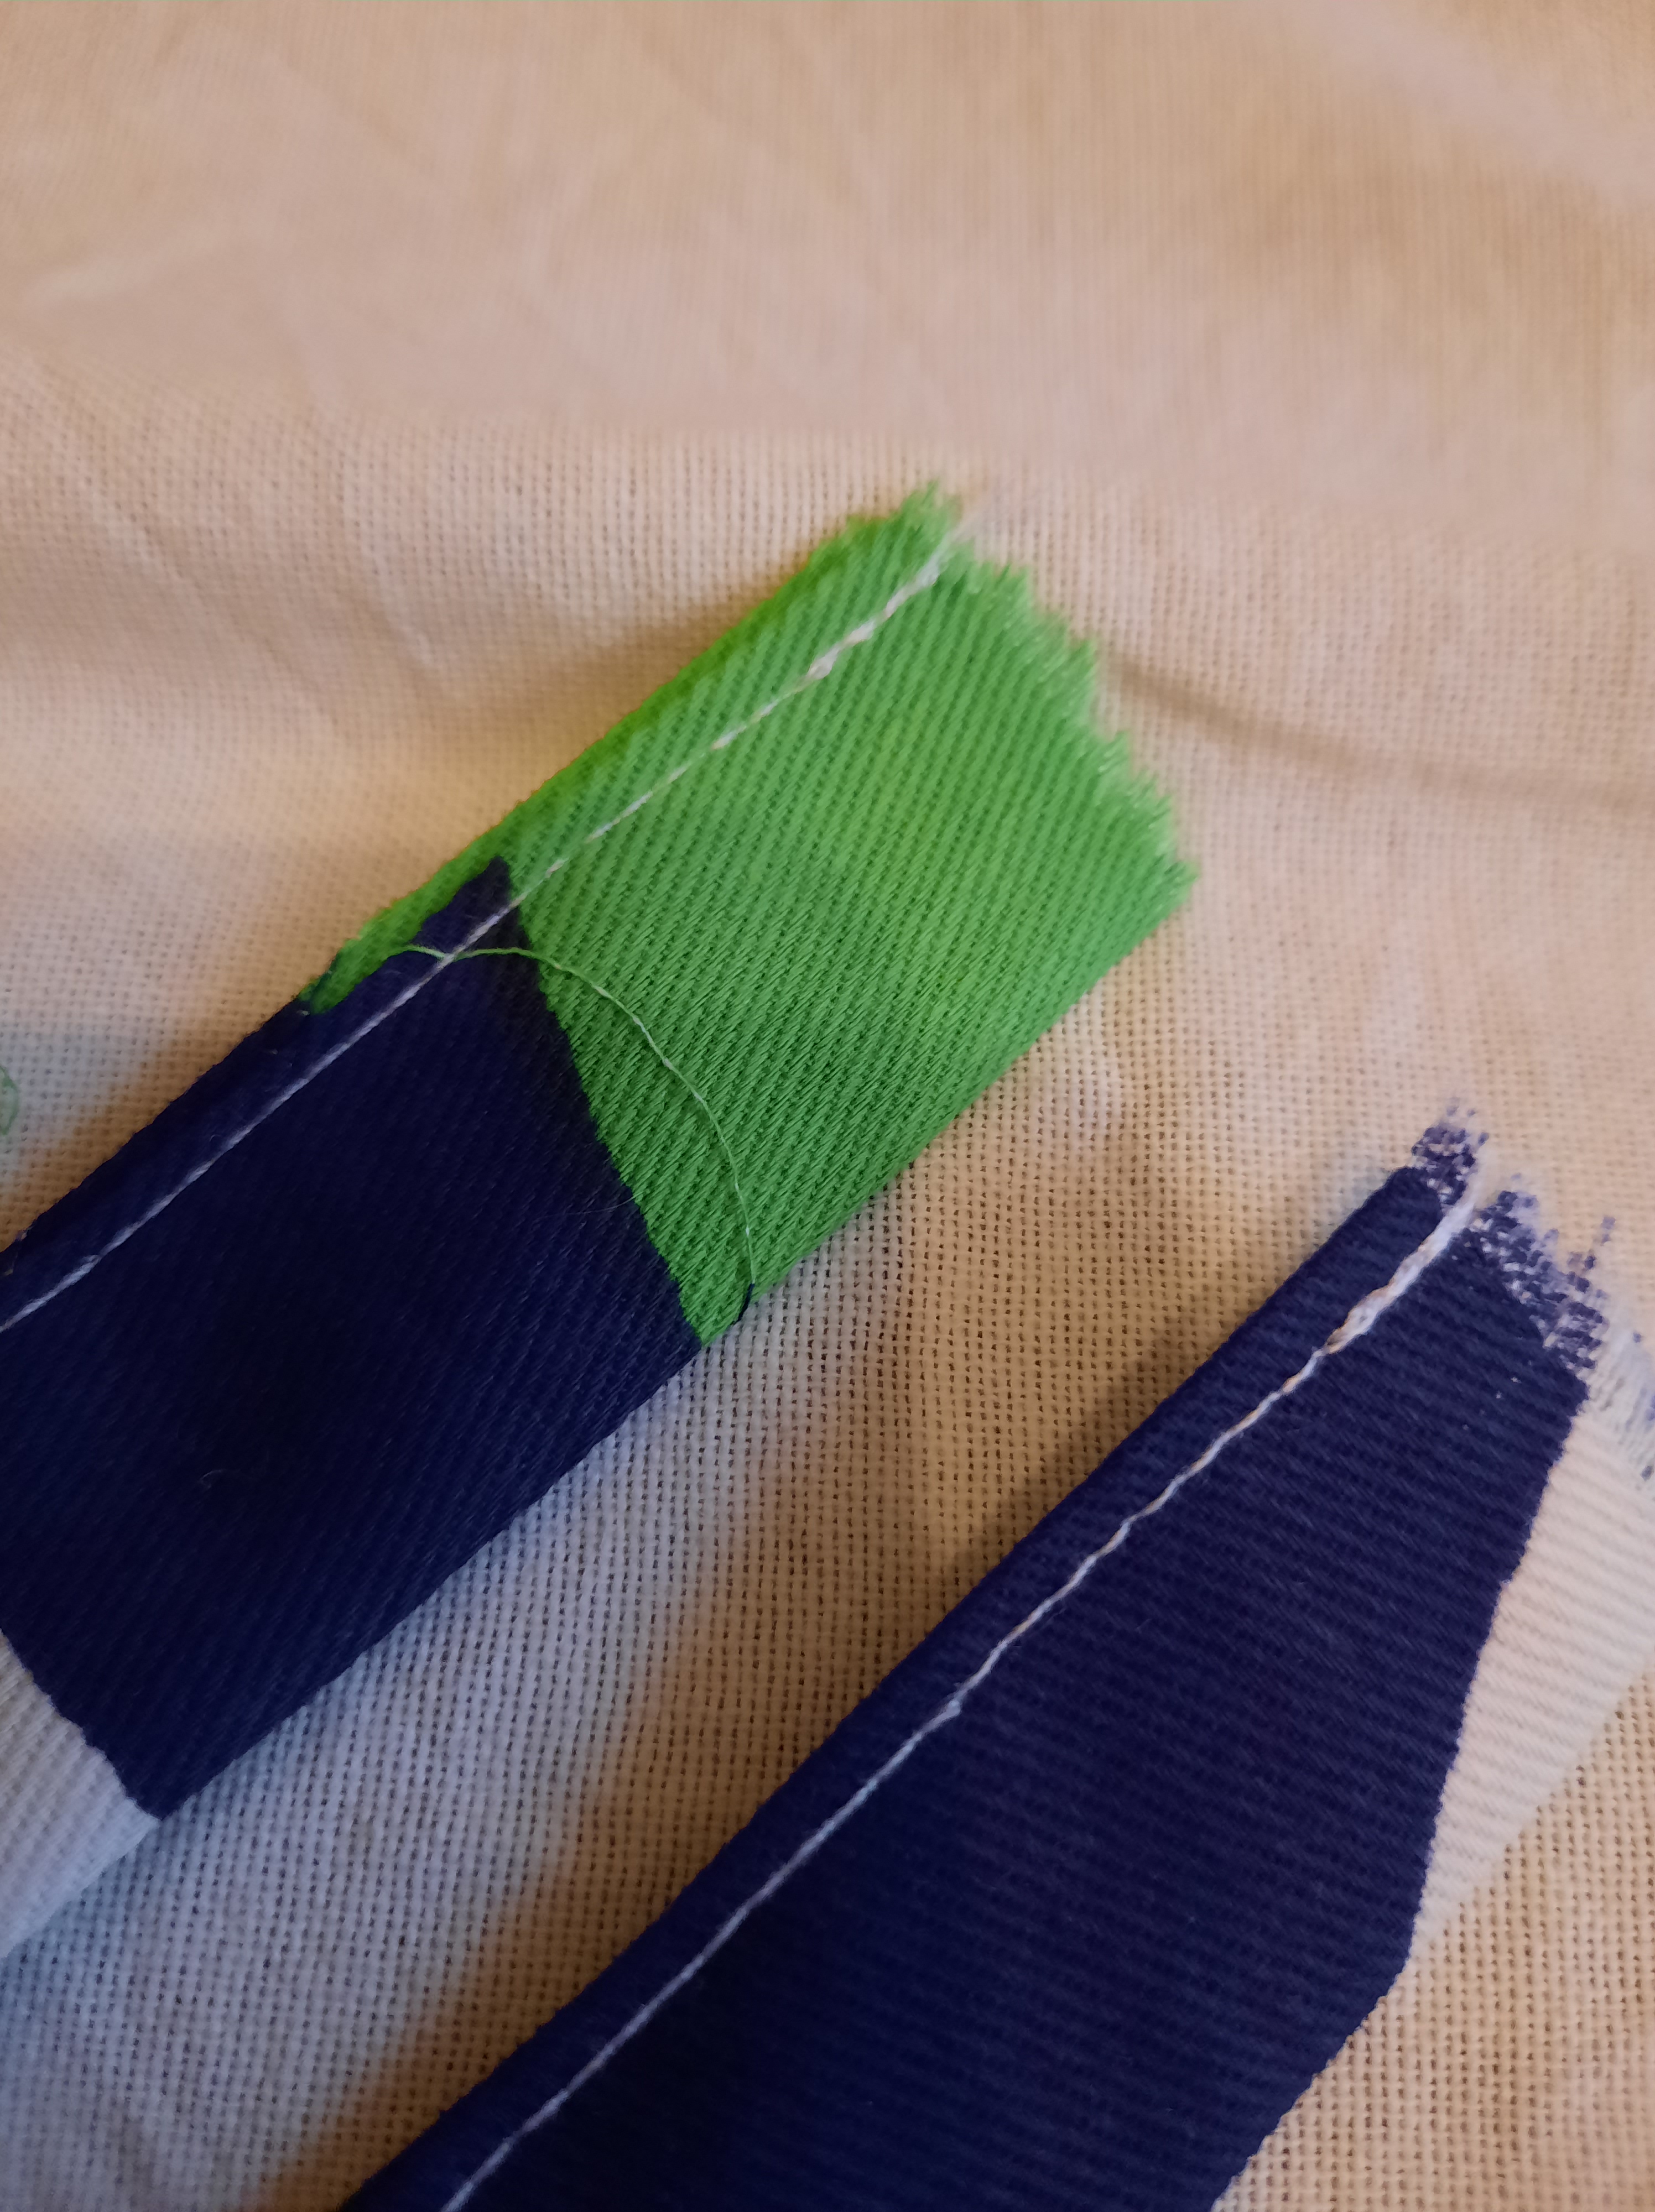
Please read all the information under each heading before you start doing it, to make sure you’ve understood the entire step.
Cut out your pieces
Handles: cut 2 strips 9 cm x 60 cm
Bag: cut 2 rectangles 40 cm x 45 cm (you can make them by sewing smaller pieces together with neat, well finished seams if you like).
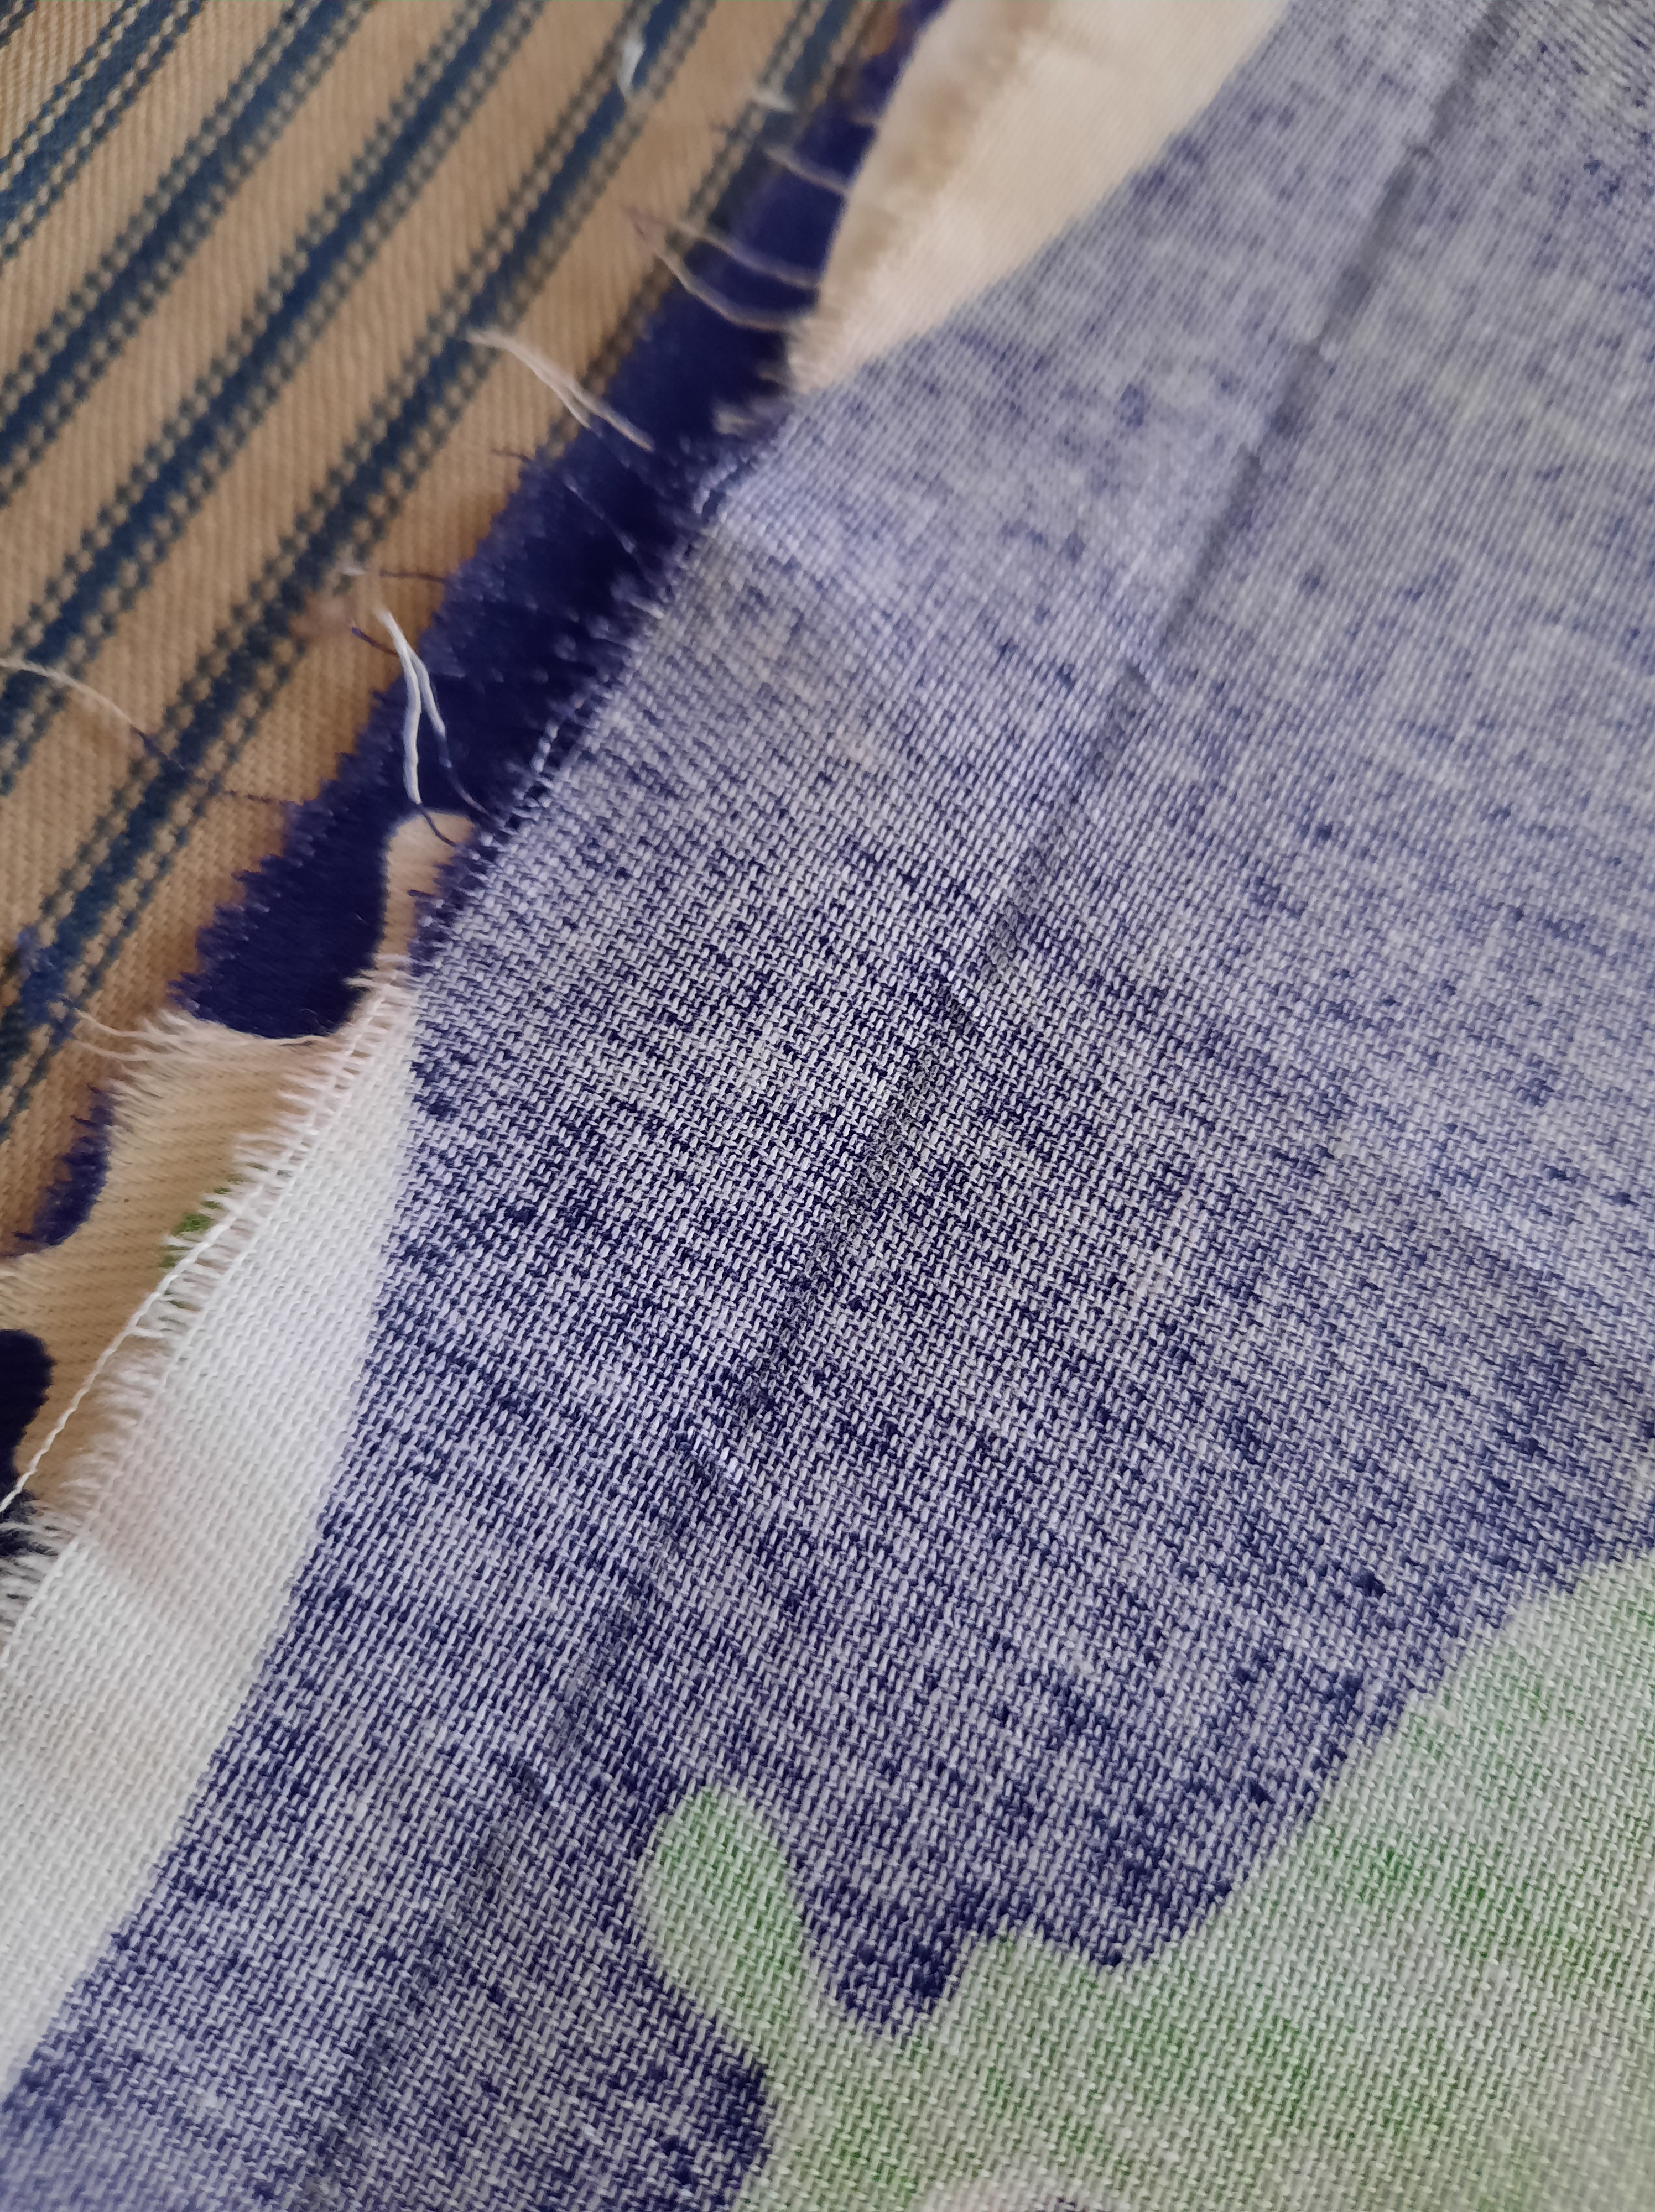
Prepare your patch
Adjust the heat of the iron to your fabric. Cotton can take a high heat and your iron probably has a cotton setting. Polyester needs a lower heat. Try “wool” or “polyester” or “delicates”, whatever your iron has marked on it. If the iron is too cool (remember it takes time to warm up, like a jug coming to the boil), then you will not get a crisp fold that stays in position. If it is too hot, you will find the polyester sticks to the iron. This is the plastic of the fabric melting onto the iron, so stop right away and turn the heat down, giving it time to cool.
Fold all of the edges of your patch to the wrong side and iron these hems into a neat shape. You can put a pencil line where you want to fold, and turn it under so it won’t show when you are finished. Line up the top edge of the lettering with the top and bottom folds.
Sew the patch to one side of the bag
Check the print on the bag to make sure it is the right side up, if it has a one way design!
Centre the patch on one side of the bag. It doesn’t have to be exact.
Pin the patch in place.
Match your thread to the patch.
Start in one corner of the patch, close to the edge of the patch. Look for a marking on the foot (it might be the edge of the foot) that you can line up the edge of the patch with, as you sew. This will help keep your stitching straight.
Sew forward a few stitches, then reverse and stitch back over those stitches, back to the corner. Sew forward again to the next corner. Stop just before the edge. Lower the needle into the fabric, all the way down. Lift the foot, turn the fabric, put the foot down again ready to sew the next edge. Repeat on the next two sides, until you come back to the corner where you started.
Back stitch a few stitches to finish your seam. Trim your threads neatly. You’re done!
Sew the bag together
Stack the sides of the bag on top of each other, with the right sides facing each other on the inside. Check both sides are right way up and the patch is right side up.
Match your thread to the bag.
Start at a top corner, with the needle 1 cm from the edge. You might find there is a 1 cm line on the throat plate of your machine you can line up the edge of your fabric with.
Remember to stitch back over your first few stitches, and to drop the needle when you are 1 cm from the next corner, lift the foot, turn the fabric, drop the foot and set off across the bottom of the bag. Repeat at the next corner, Sew up the third side. Back stitch and trim your threads to finish.
Finish your seam
Choose zig zag stitch on your machine.
Sewing outside the line of your seam, stitch along those same 3 sides. This will prevent the woven raw edge from fraying, so your seam will stay intact after lots of washing and wear.
Turn the top edge of your bag
Draw a line 2 cm away from the top edge of your bag. Turn the edge to the inside of the bag and iron along that line. Now turn again at the raw edge, so the raw edge is completely hidden inside. Iron.
Sew down the turned edge all the way round. Don’t forget your back stitches.
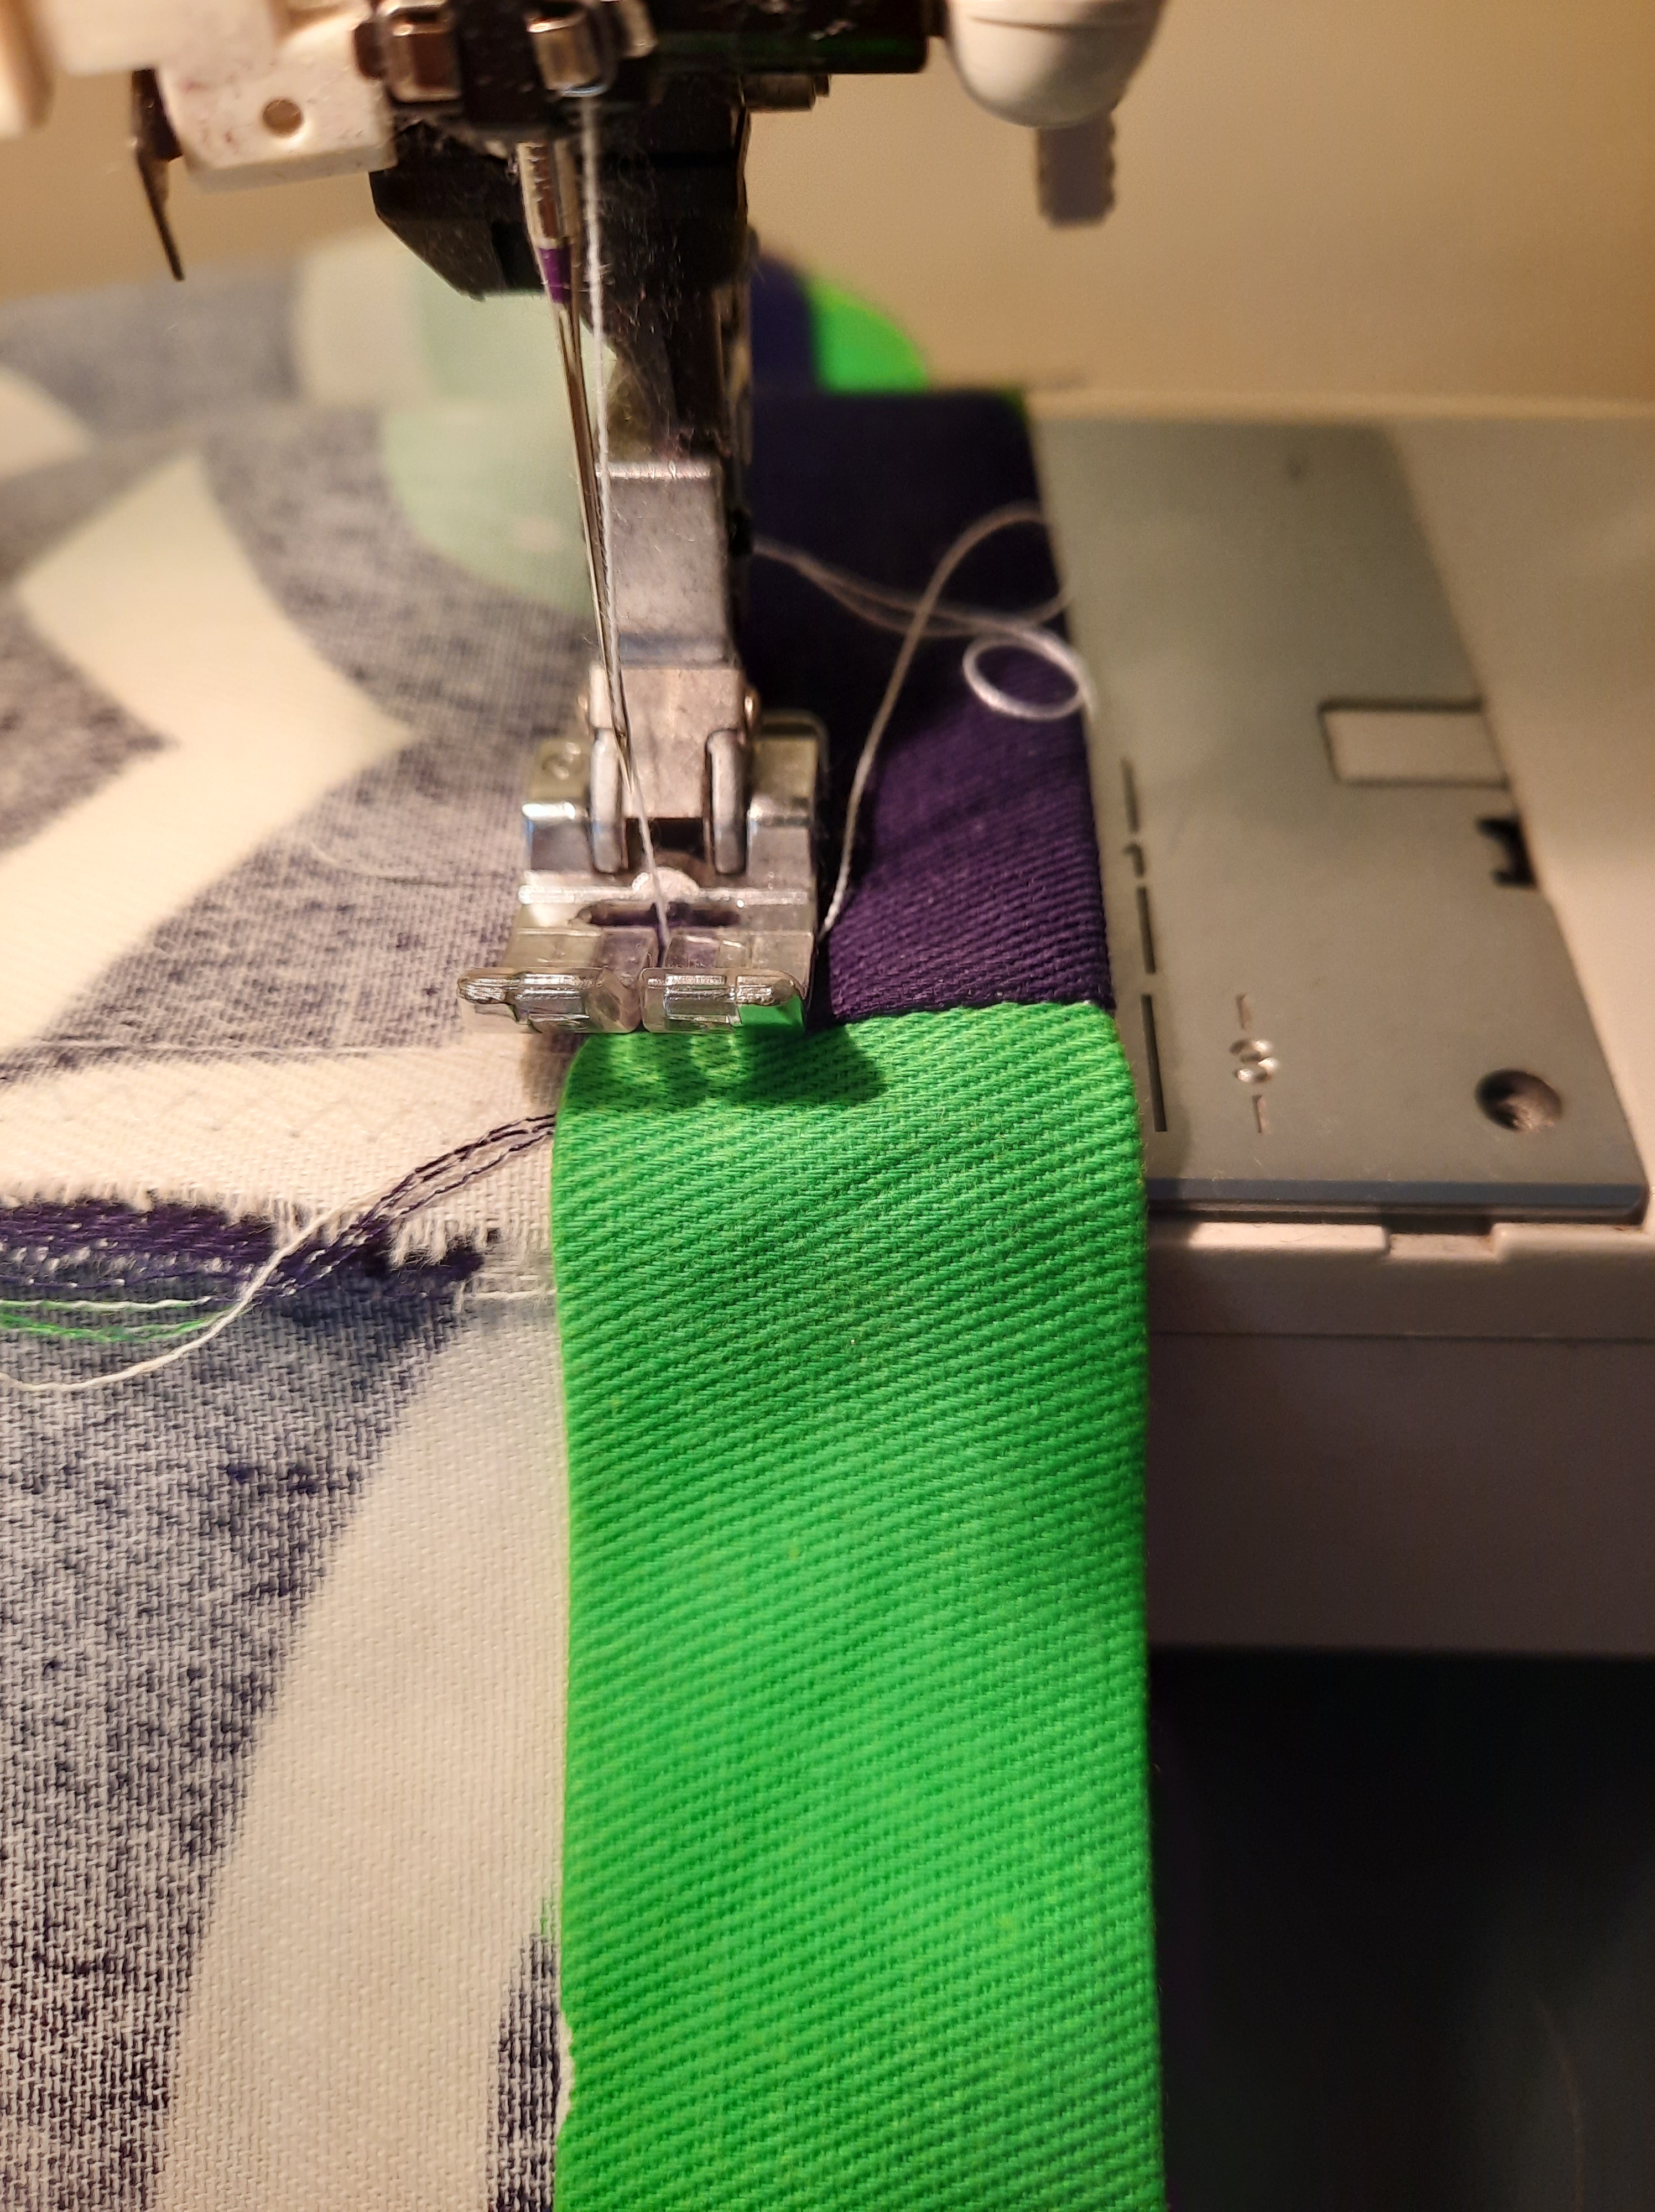
Make your handles
Fold each handle in half, long ways, with the wrong sides together. Open it out again.
Now fold each edge in to that centre crease and iron.
Fold along the centre crease again so all the raw edges are hidden inside.
Sew the edges of each handle together. Remember your back stitches and trim your threads off.
Fold the ends of each handle up by 2 cm and iron it flat.
Sew on your handles
Measure 10 cm from the edge of your bag, and pin your handle 2cm inside the bag, with the handle just inside that 10 cm line. Make sure the folded edge of the handle is tucked in between the handle and the bag so it will be enclosed inside the seam when you sew the handle on.
Pin in place.
Sew a square around the part where the handle overlaps with the bag, to firmly attach your handle to your bag. You will be able to sew along your hem line as one side of the square. Remember to back stitch at the beginning and the end, and to pivot at each corner with the needle in the down position.
Now sew two short lines to create a cross inside your square. This is the part of the bag that will take most strain so we are reinforcing it.
Repeat for all 4 points where the handles attach to the bag.
If you start having trouble sewing at this step, it probably means that the foot of your machine is at too steep an angle to sew effectively, especially at the start of each square. Fold some scrap fabric (or paper or cardboard) to the same thickness as the part you are trying to sew (a “shim”). Lower the needle into the part you need to sew, and then slide your folded fabric in behind the needle, under the foot. The goal here is to level of the foot while you start stitching. Once you start to sew the folded fabric will just fall away: but usually by then you have made a clean start and all is well.
Expansion pack: how to mitre the corners of your bag–TOTALLY OPTIONAL BUT FUN
Turn your bag inside out. Trace a 5cm square at each bottom corner. You can cut a 5 cm cardboard square and trace around it, if it is easier.
Now cut that square out. Open out the corner of the bag, and match up the seam along the base of the bag, and the seam up the side, so that they meet. Pin (or hold in place). Stitch that short seam. Finish the seam with zigzag stitch. Nifty, hey?
Sedge planting in the banks of the local creek continues!
A pleasing number of our previous plantings, which surely run into the hundreds by now, have made it through into the winter wet. Many have been battered a great deal, but they are still there and still alive and in time they will grow.
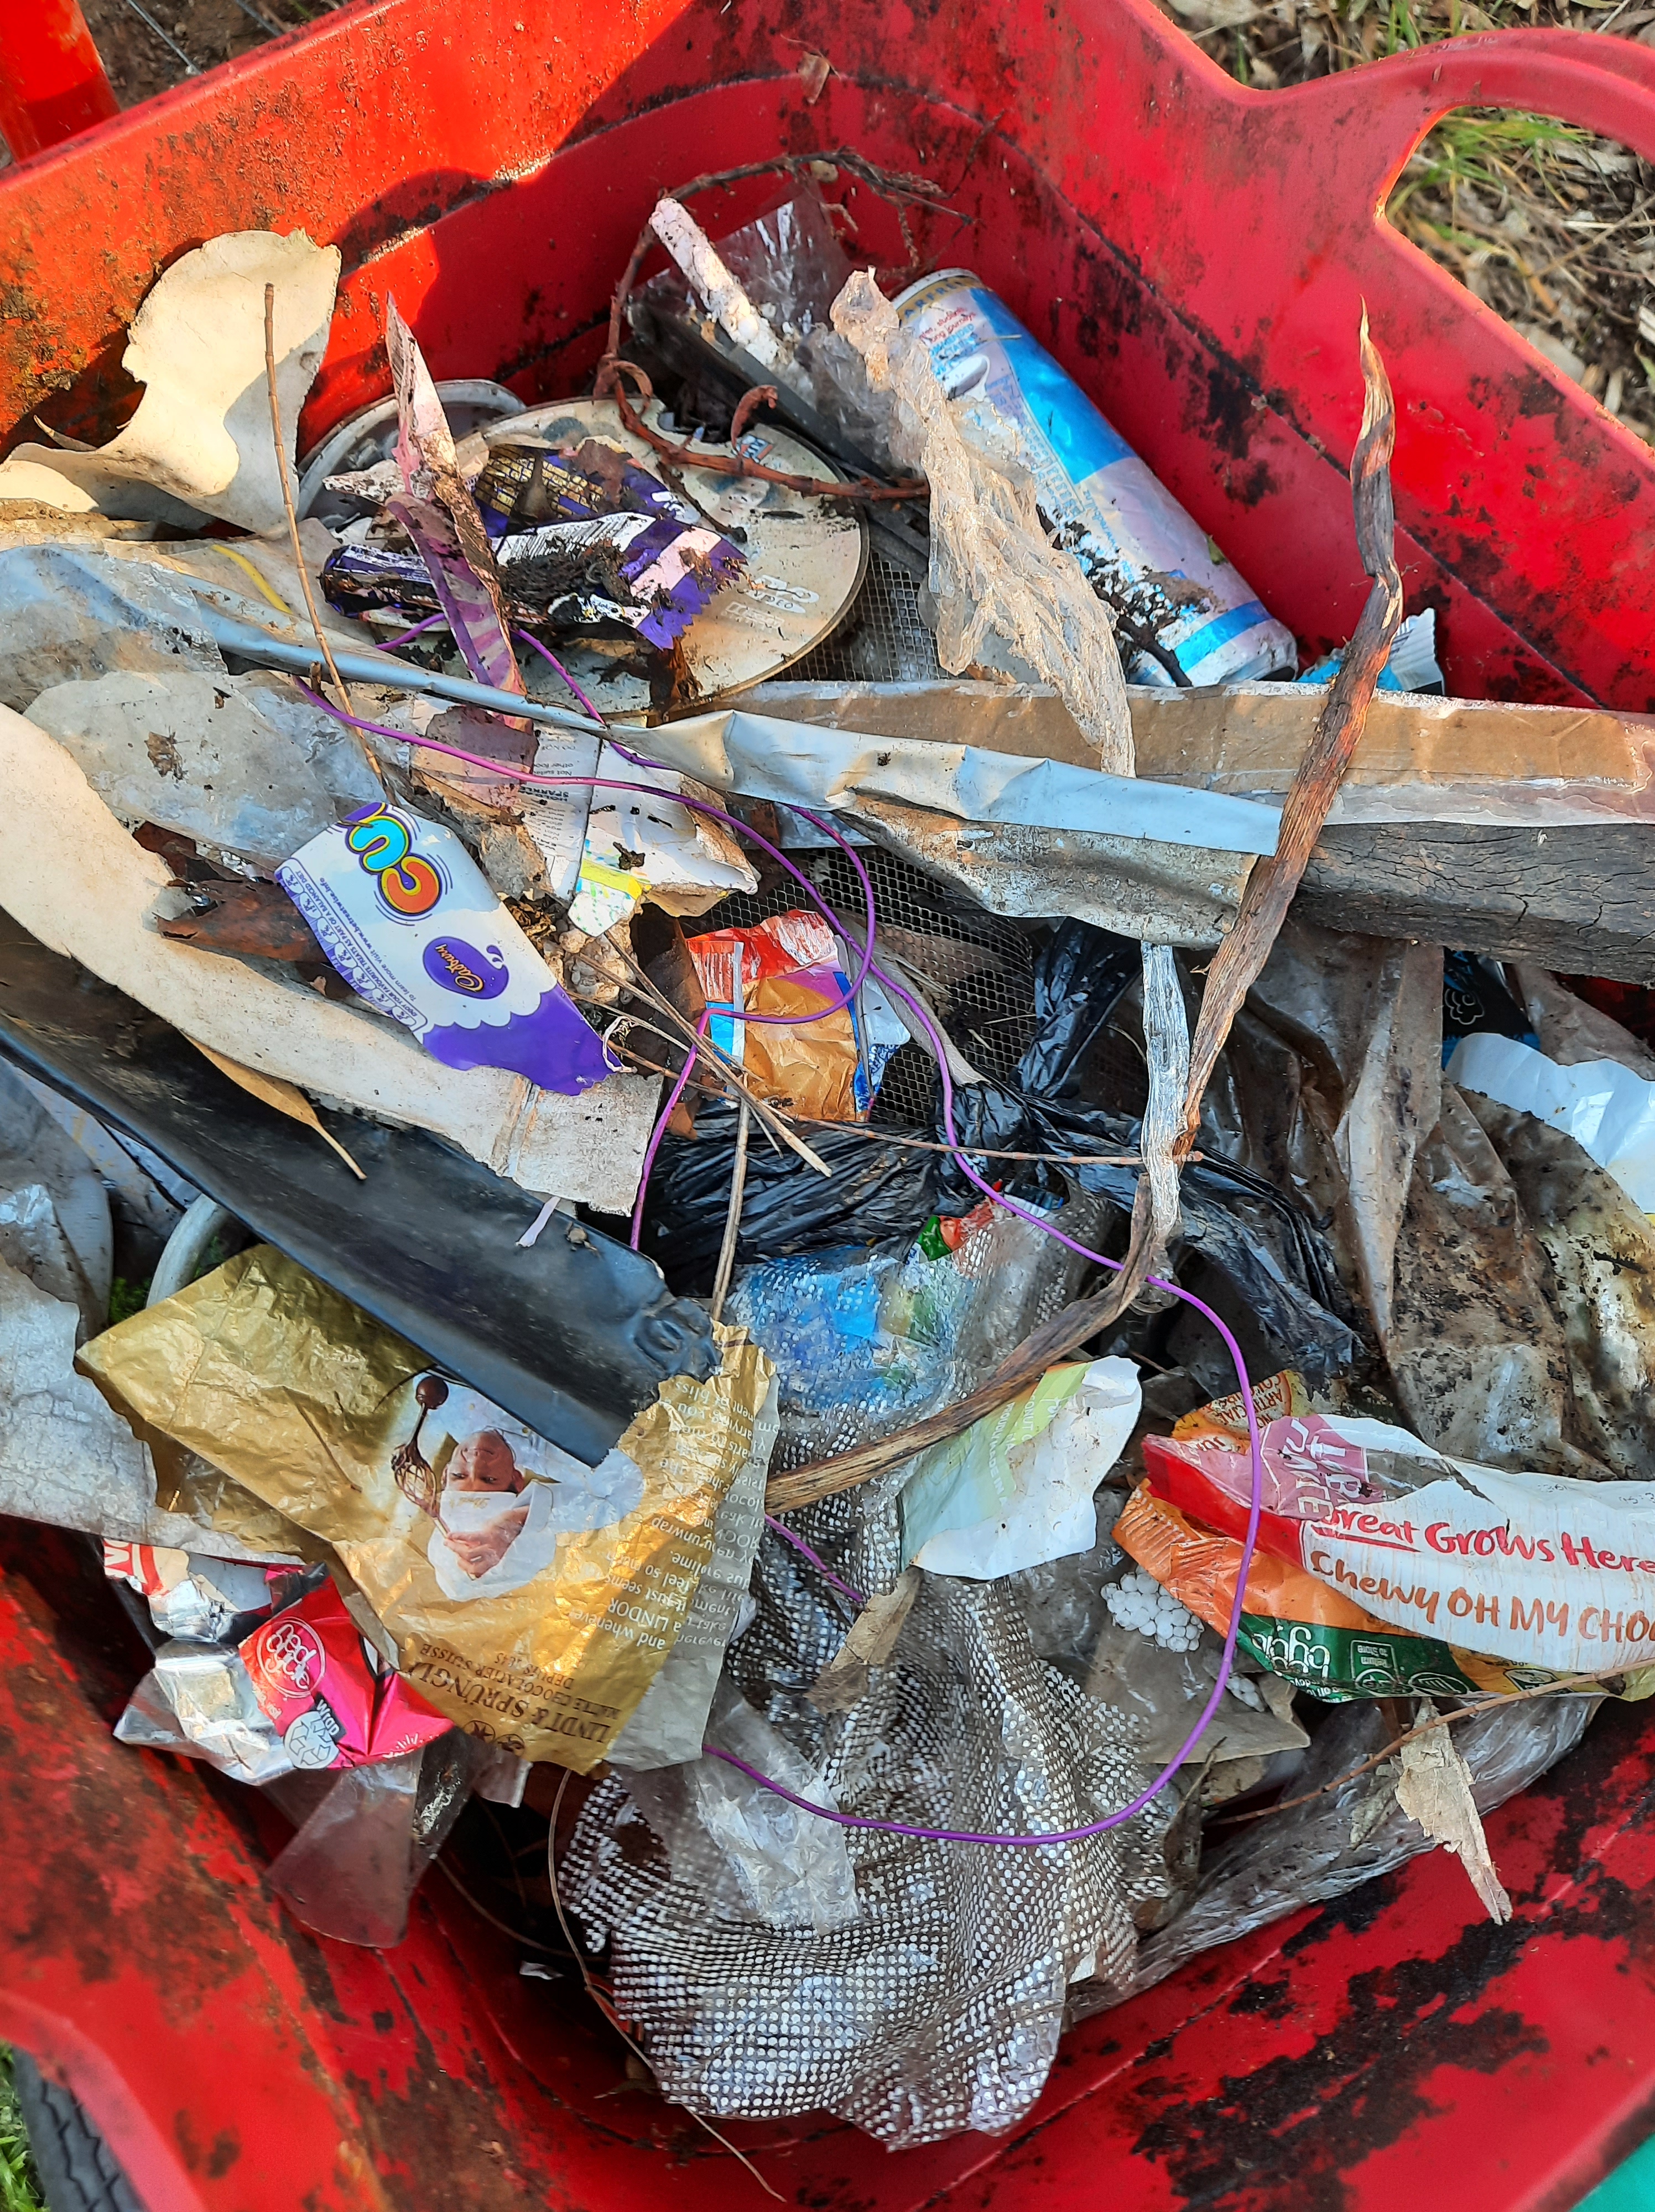
Here I am leaving, having litter picked the creekbed. Fittingly enough my watering can and that green plastic thing that held the baby sedges as they grew in their tube pots–are from hard rubbish too.
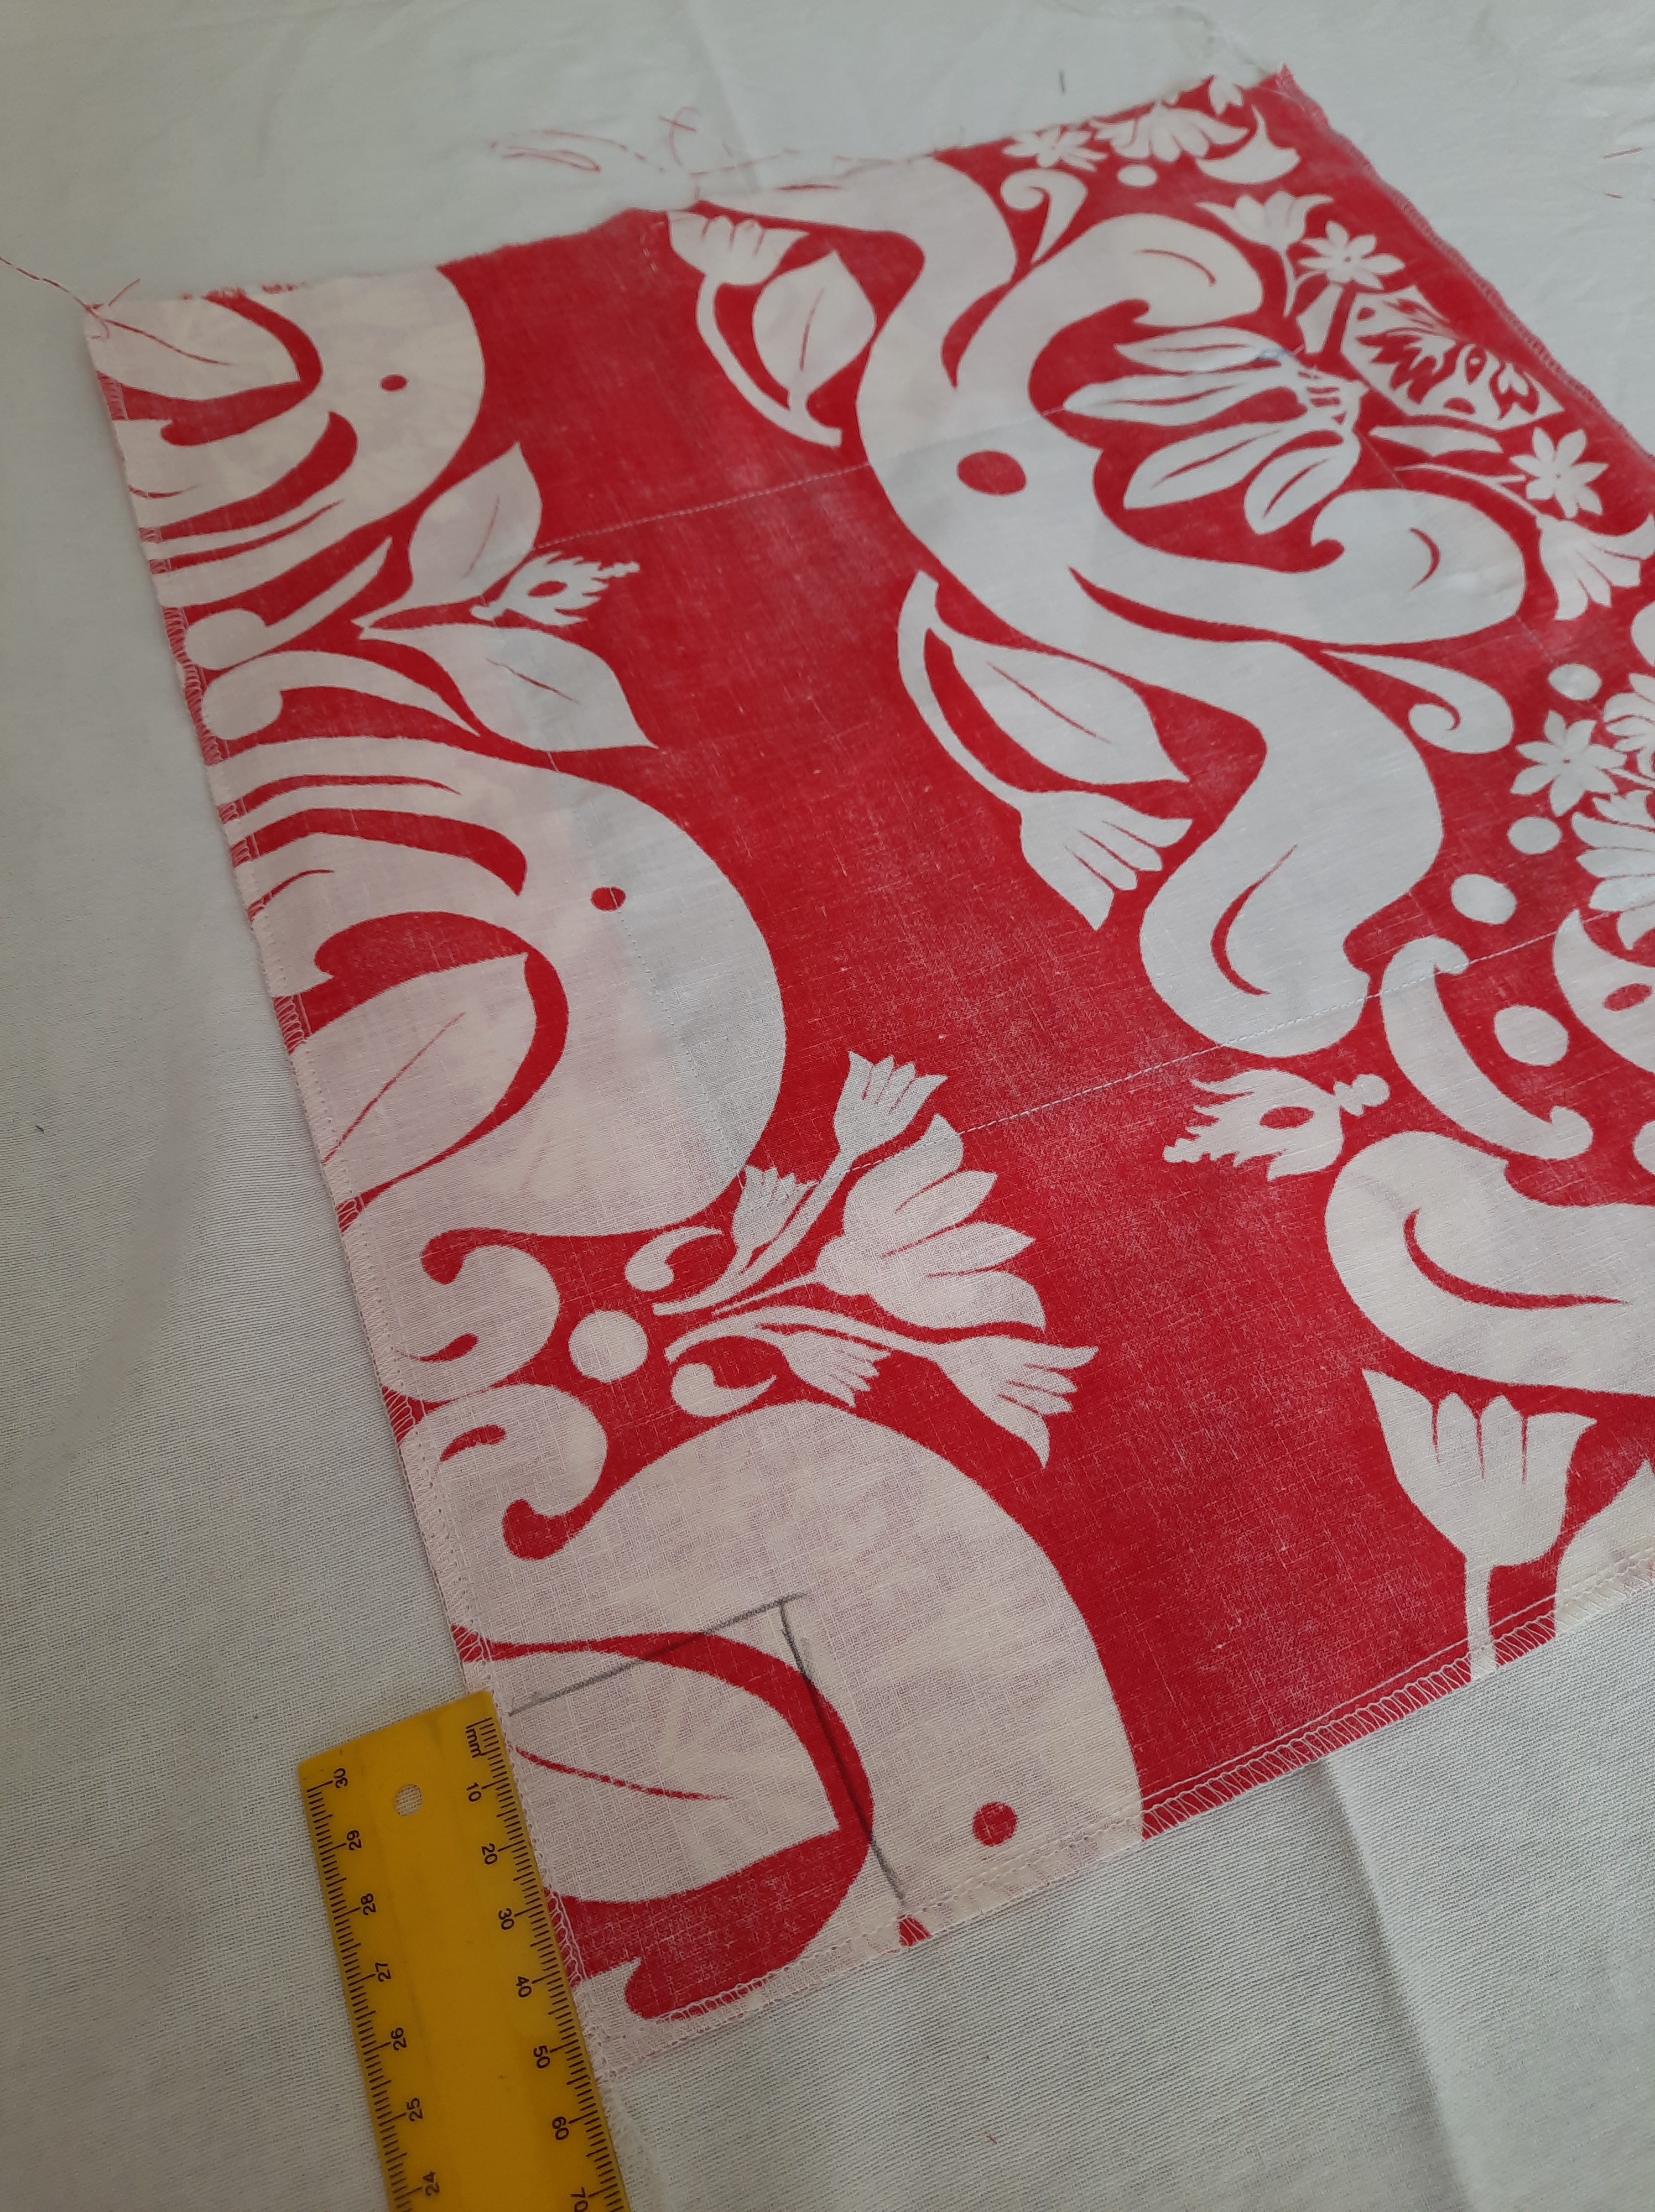
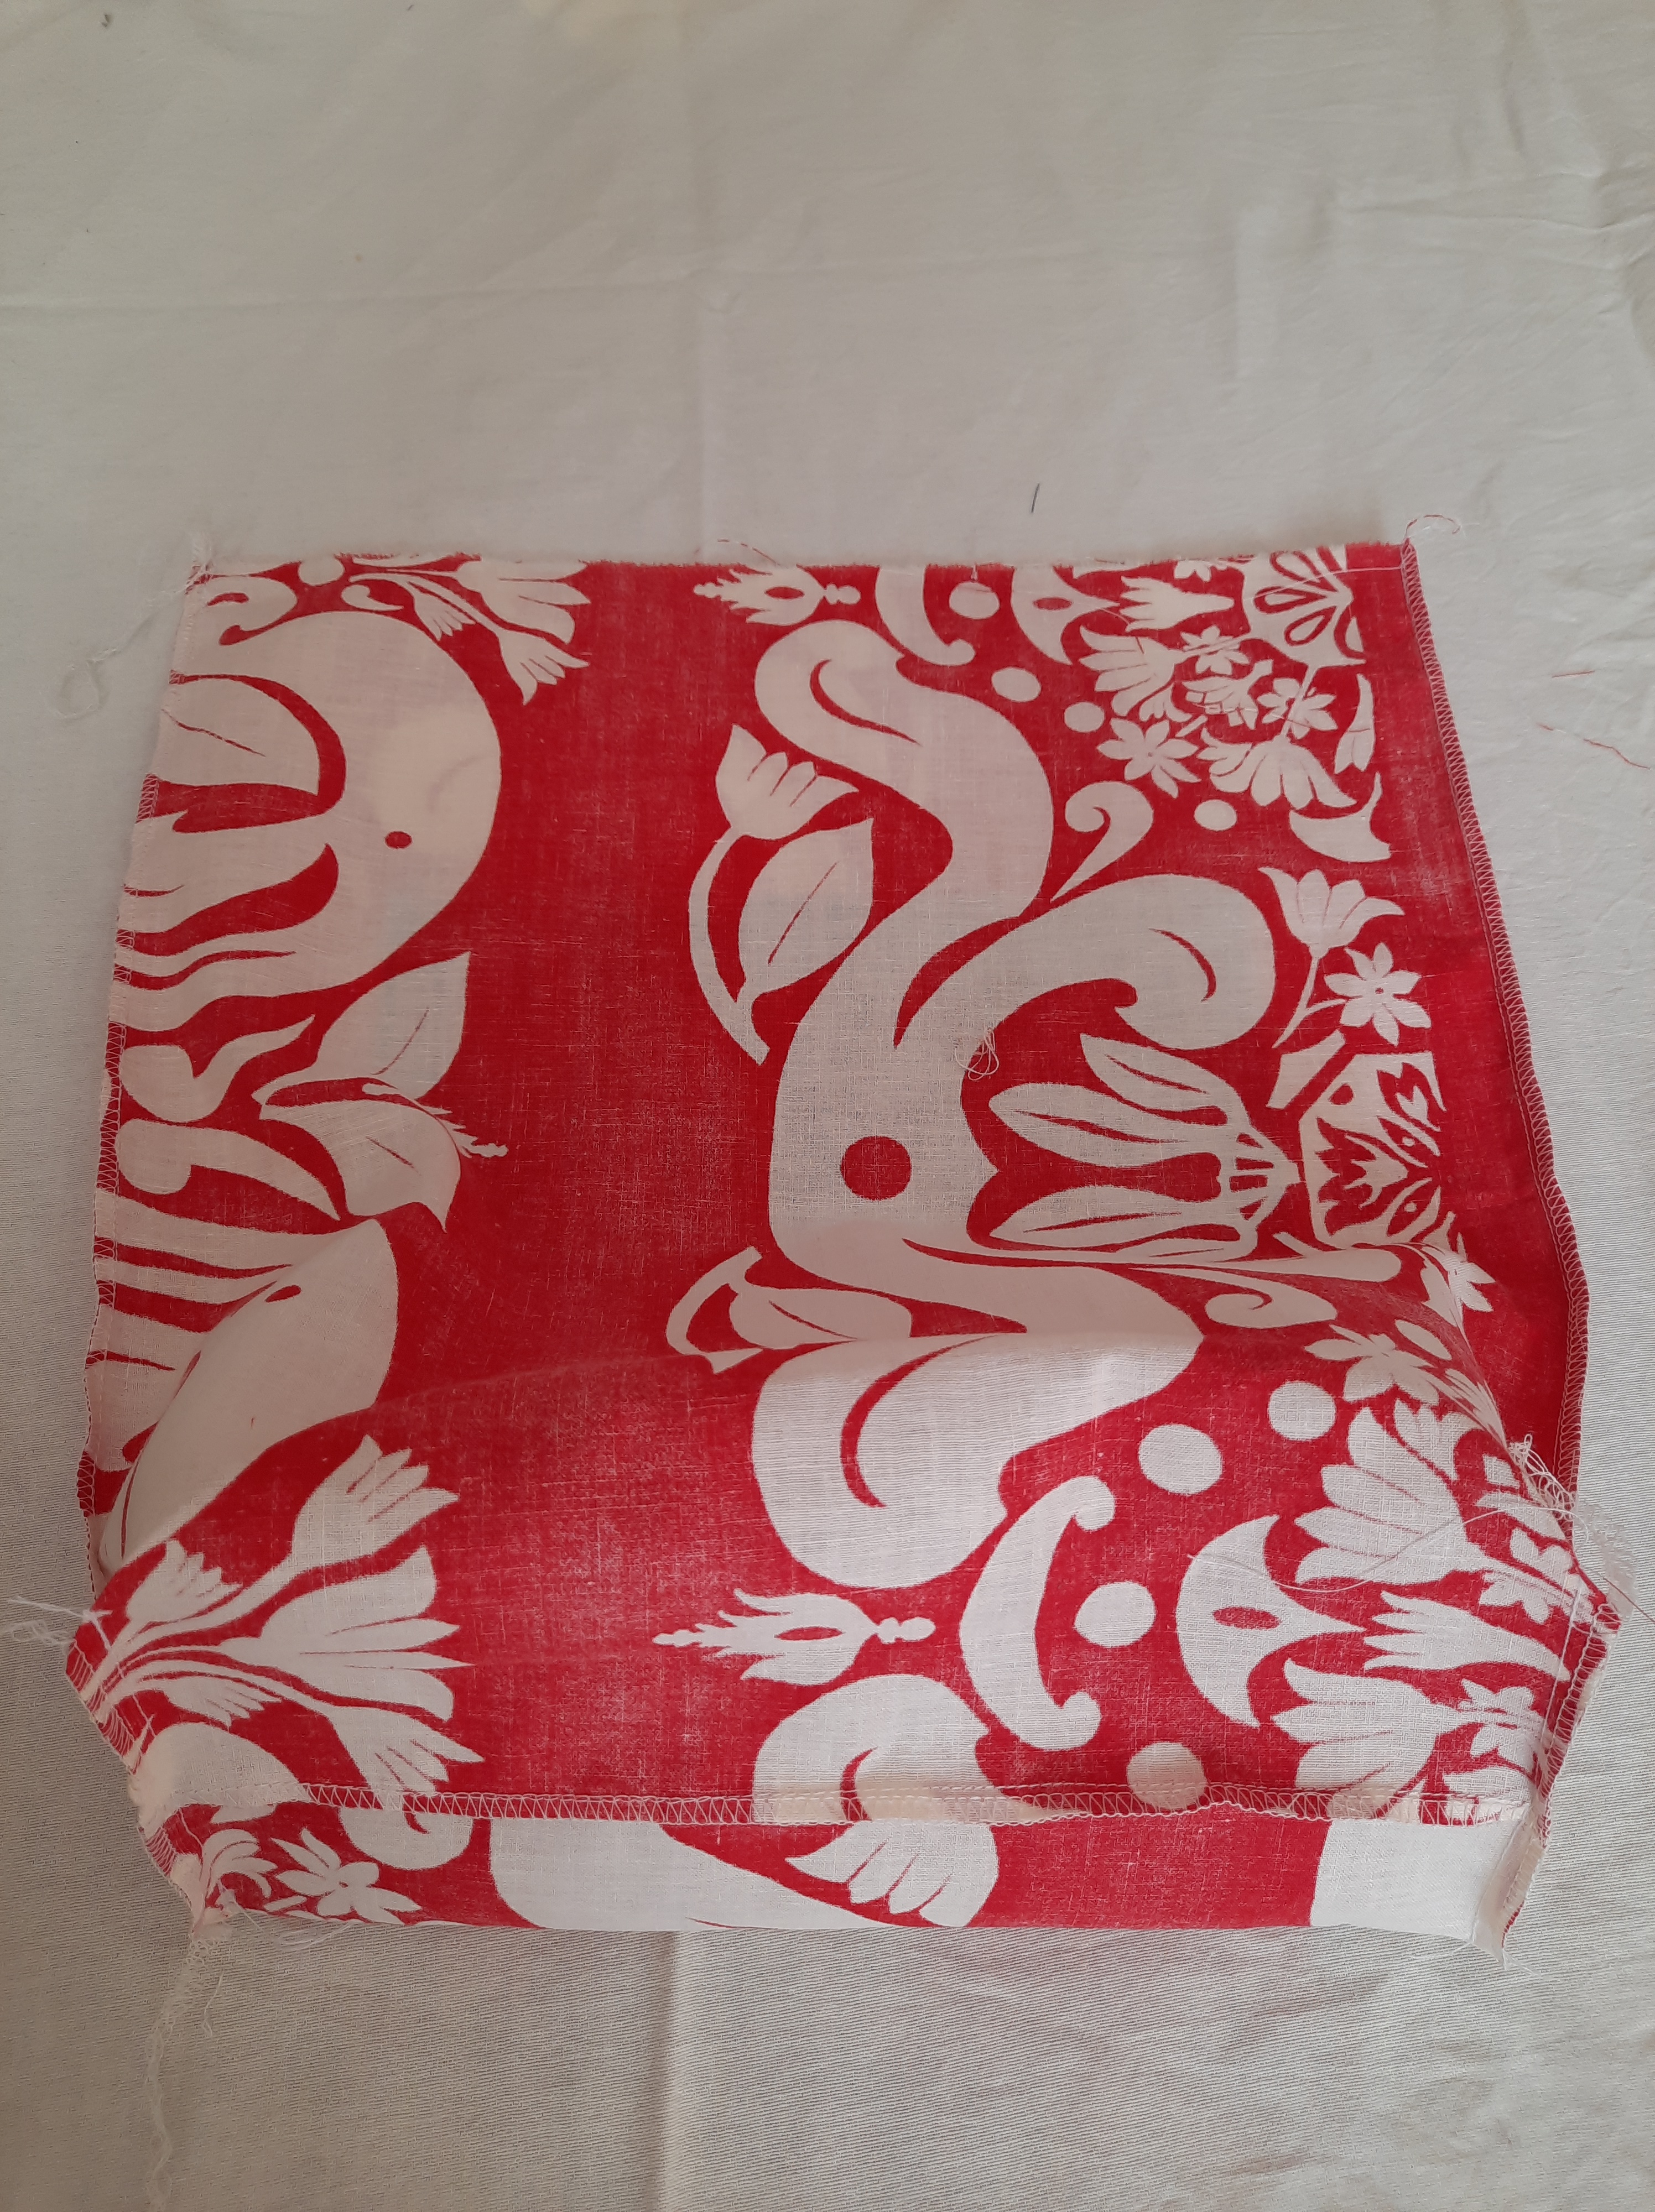
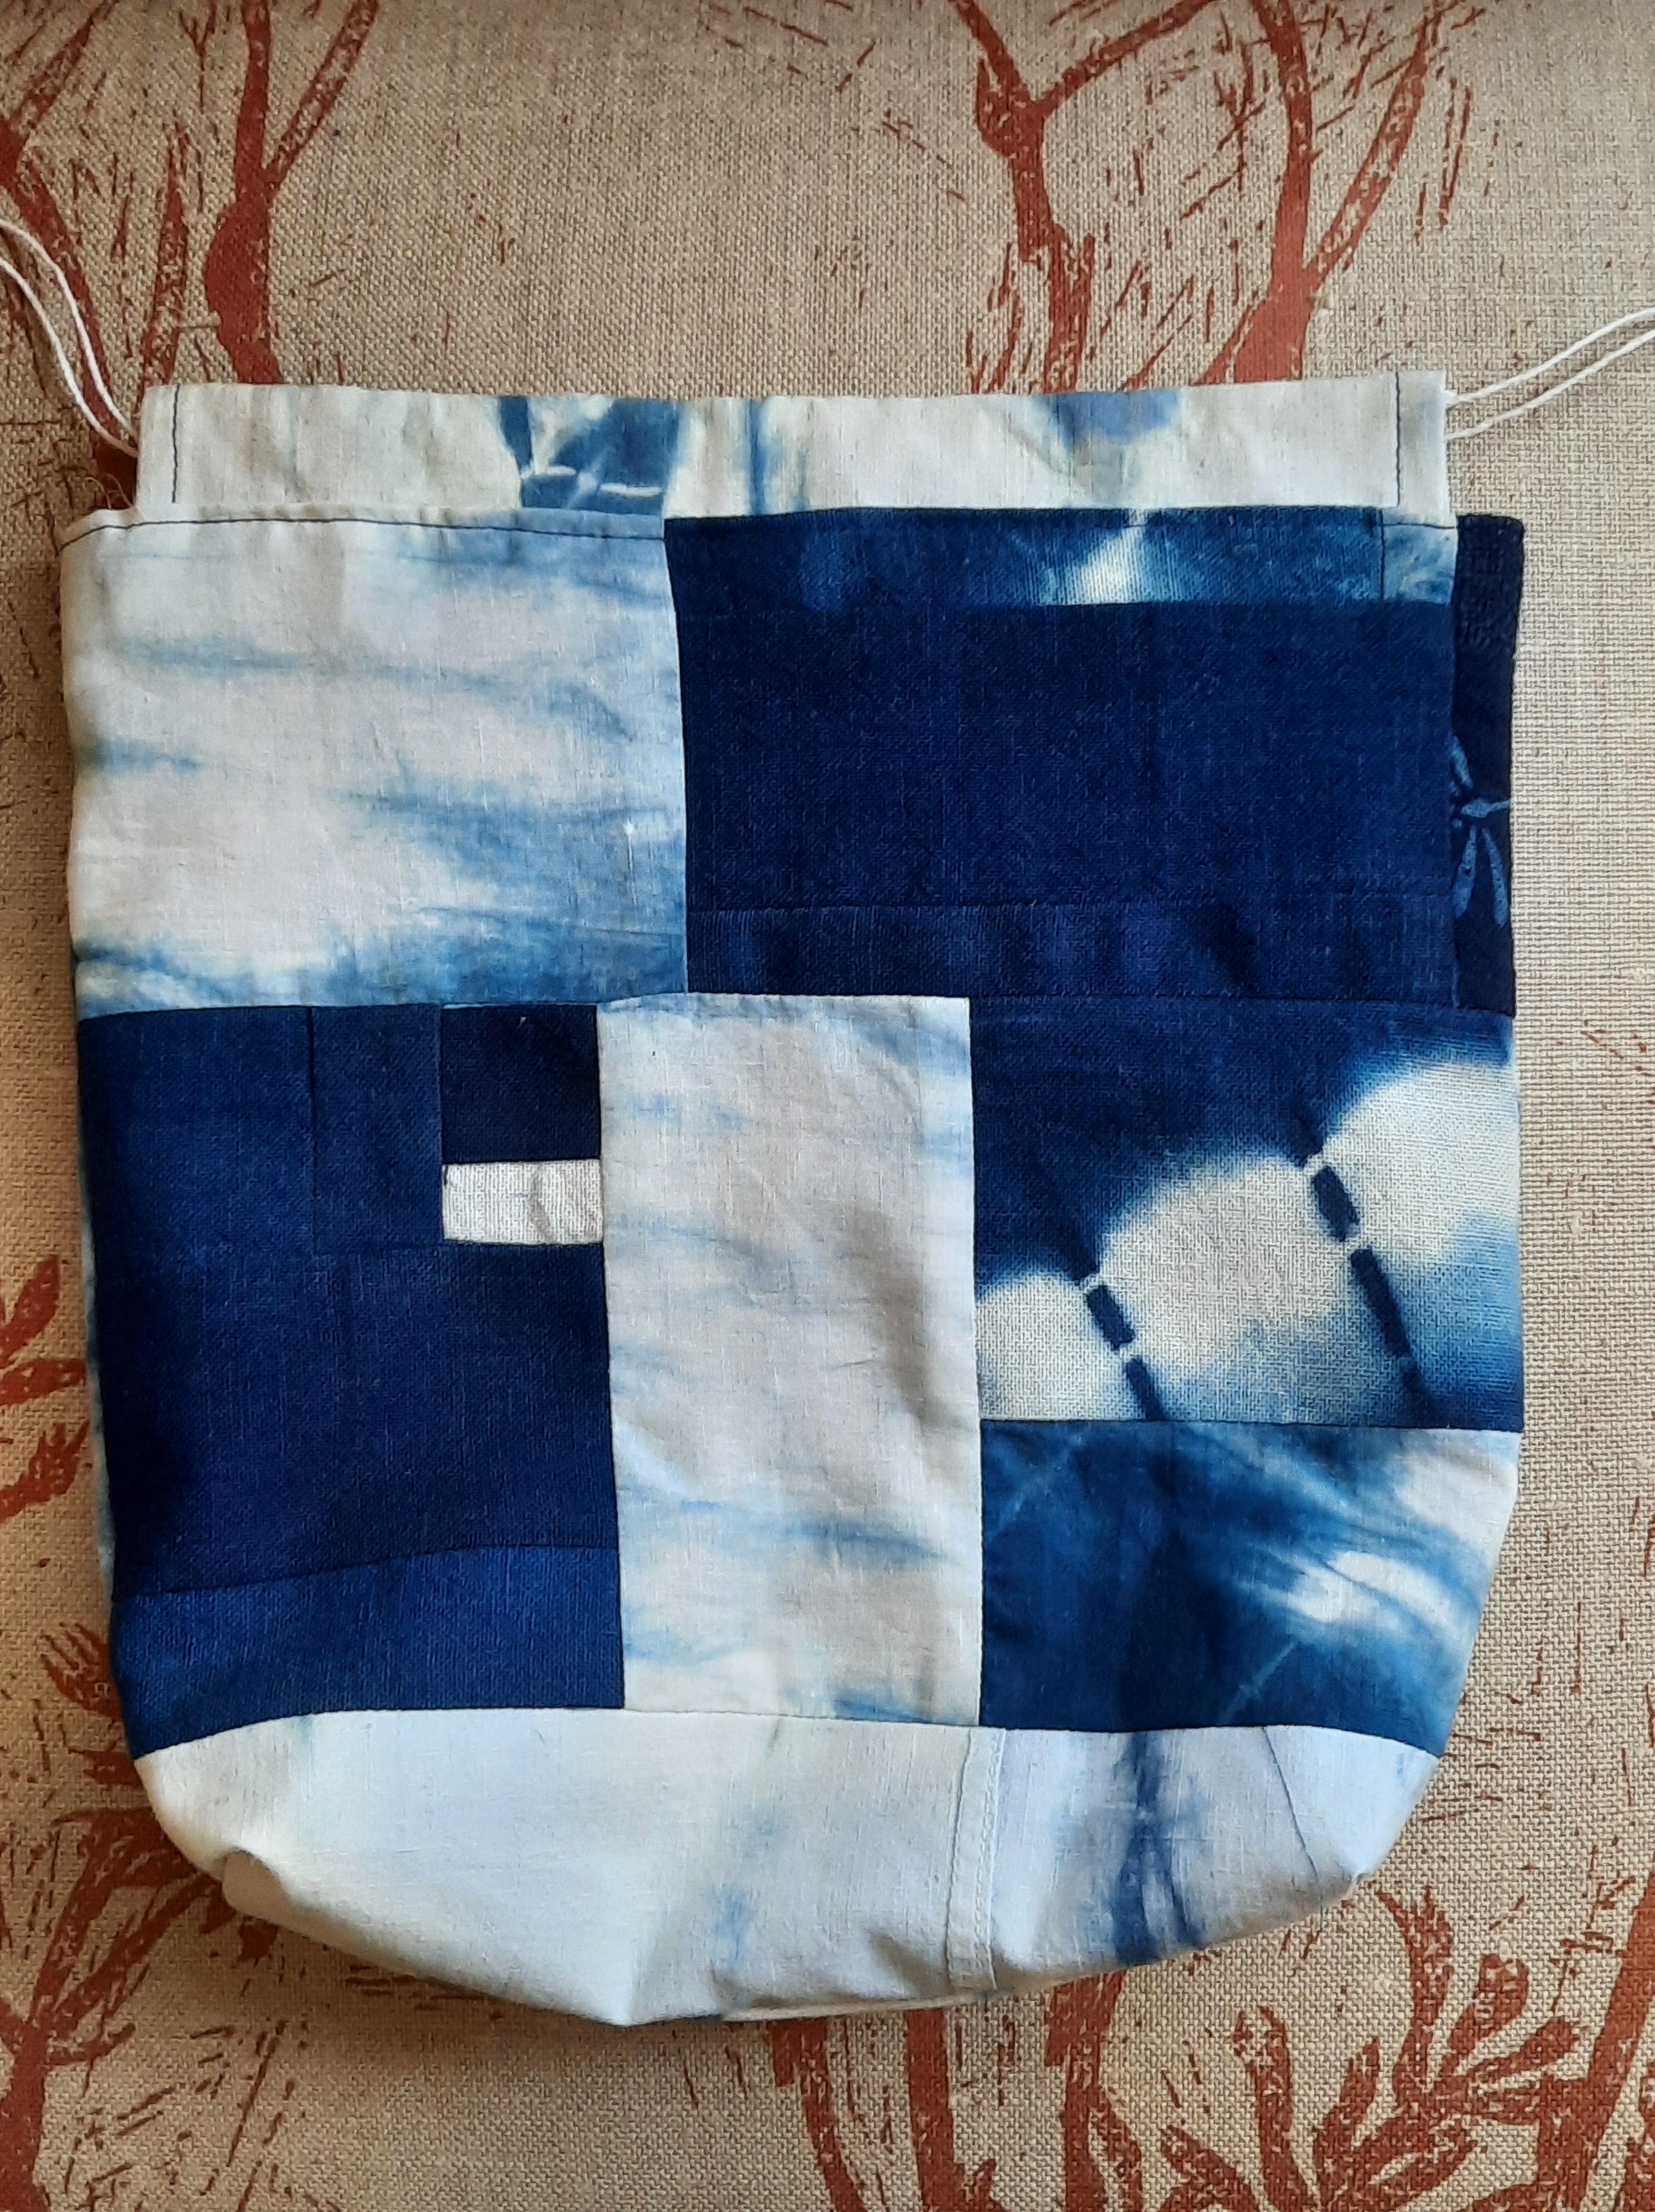
As I’ve been working over my stash of fabrics, little treasures come to the surface. This little drawstring bag is made from the remainder of a bag of small indigo dyed scraps a friend brought back from a trip to Japan some years ago.
I had a piece of fabric with a great mushroom print on it, that I could not resist some time last year. It called out to be made into a bag for a foraging friend. Uh, oh–it was the end of the bolt, so I bought some extra. In the end I made three bags and gave them to the forager, a friend who grows oyster mushrooms at home and someone I met by chance who forages for mushrooms and who is on my partner’s delivery run. We had a delightful conversation touching on their passion for foraging one day, and I decided it was time to make those bags! The last bit of the print because a smaller drawstring bag.
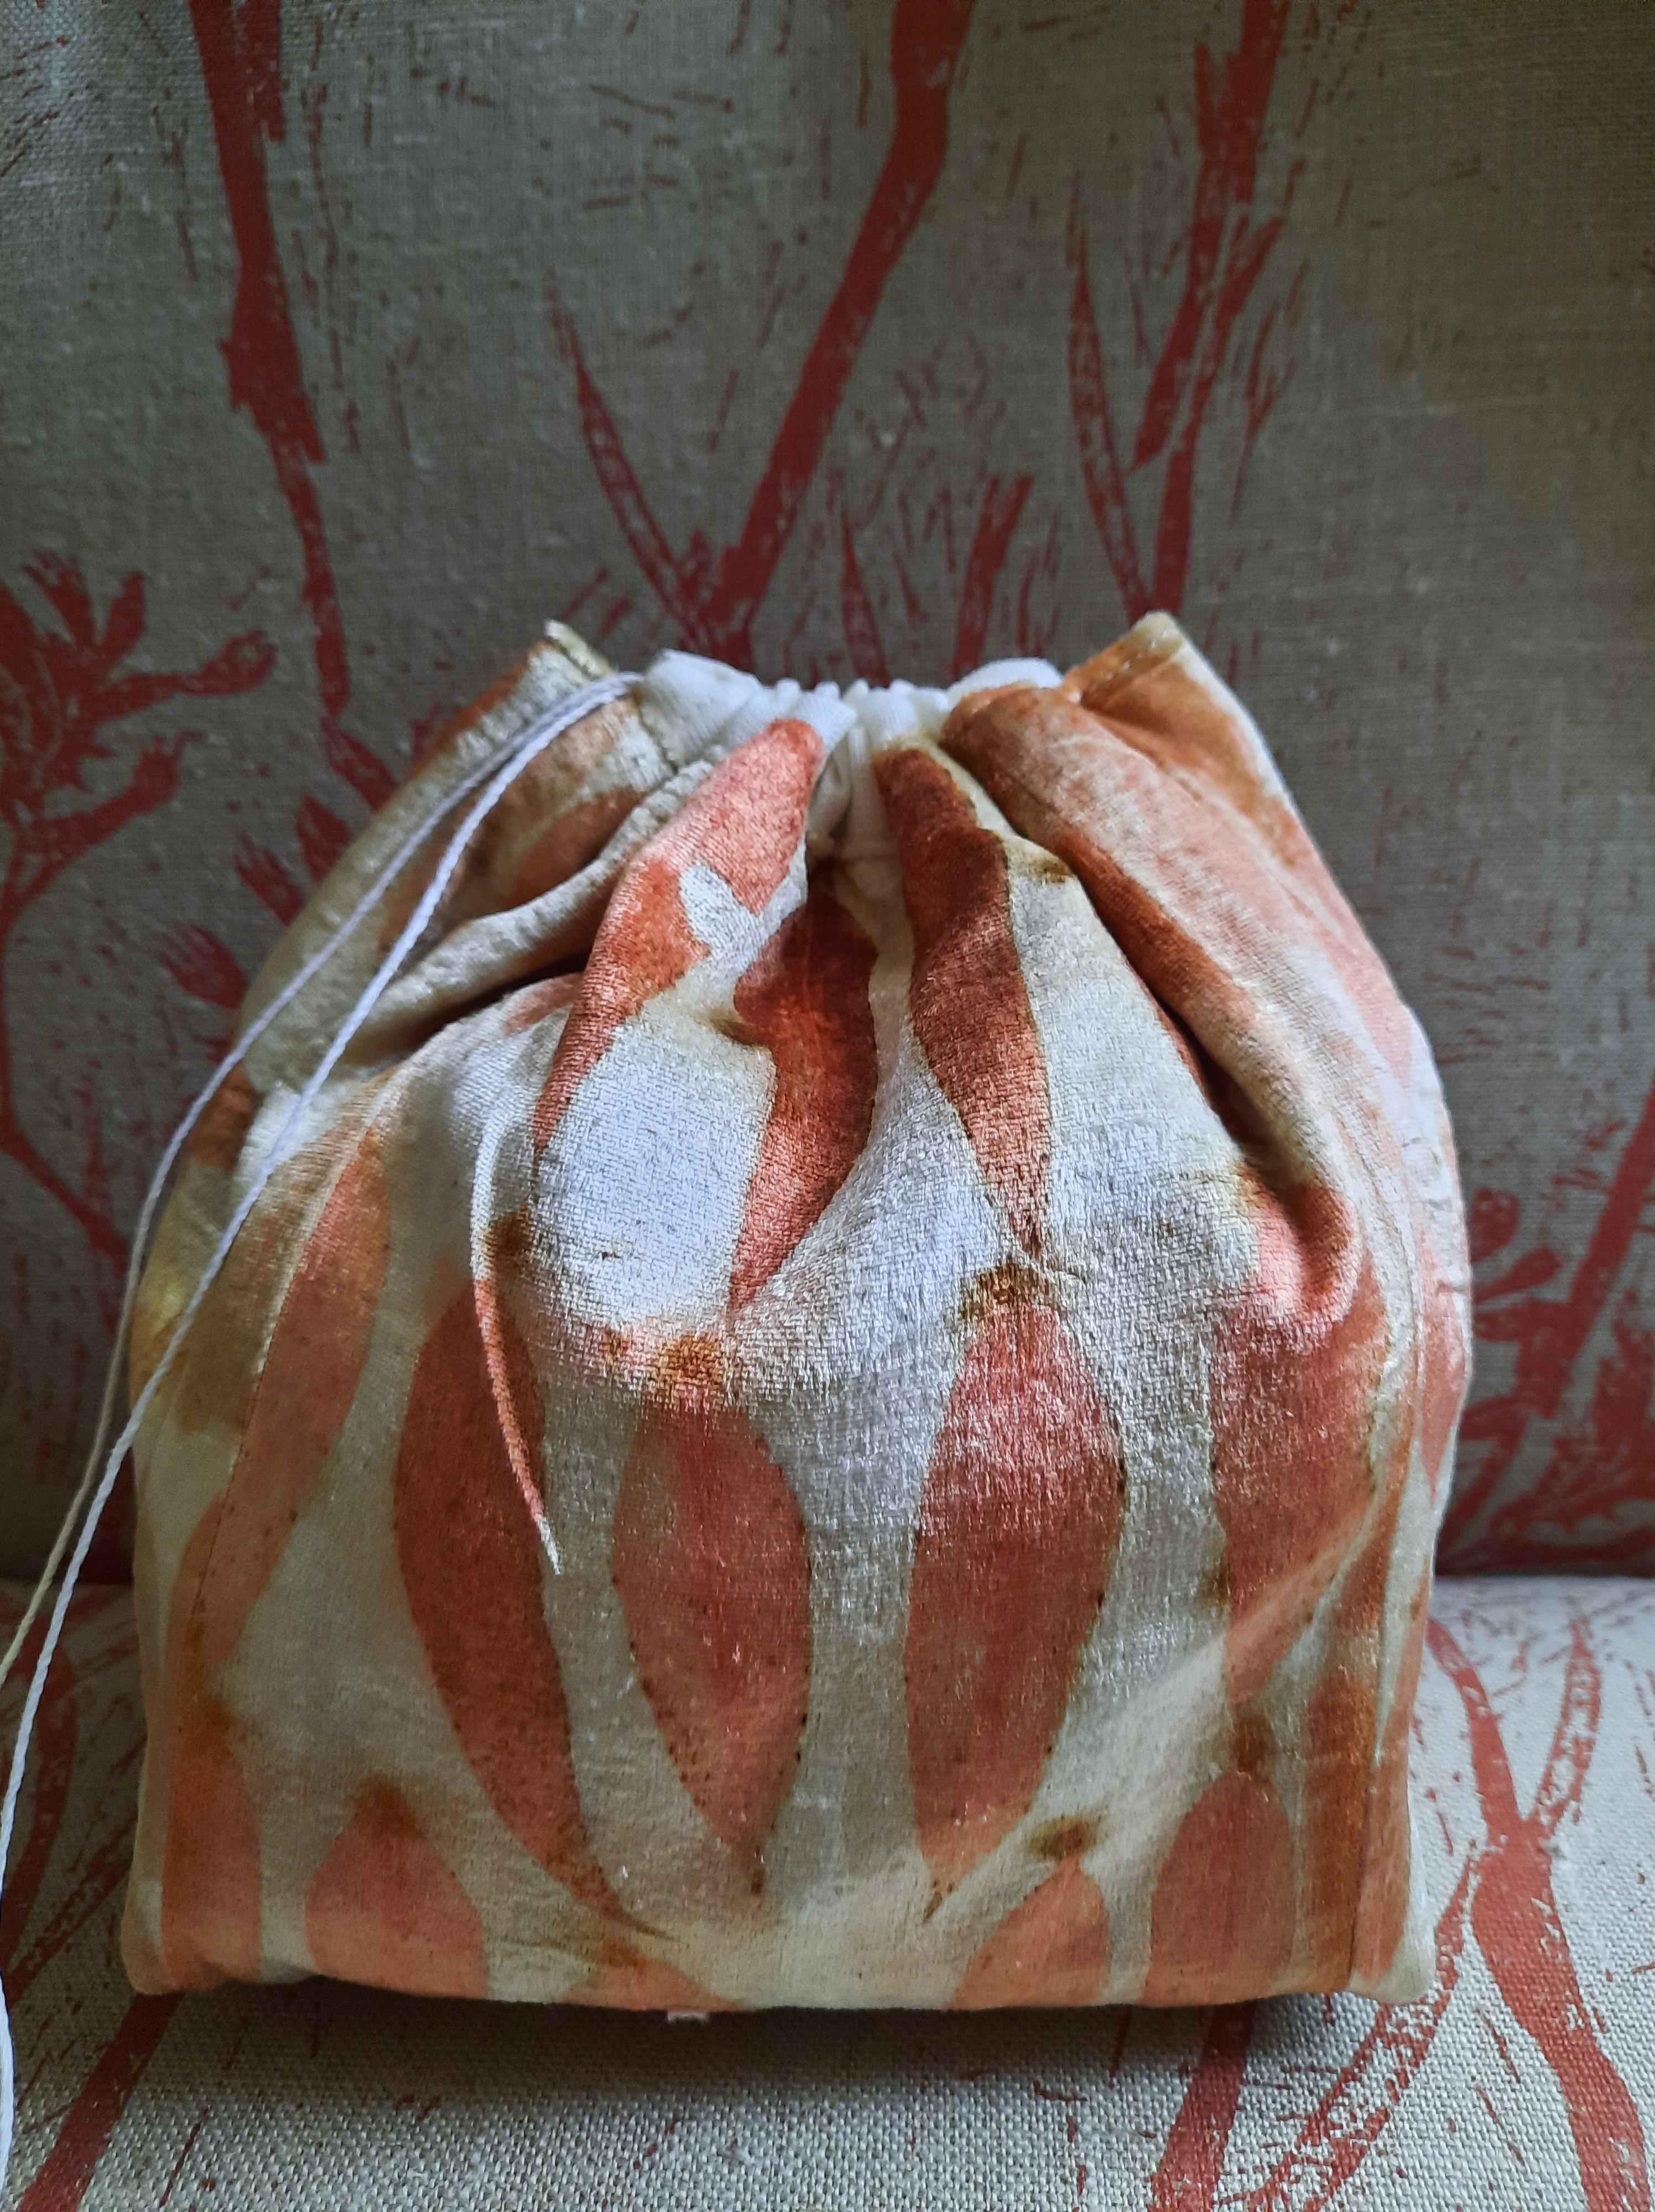
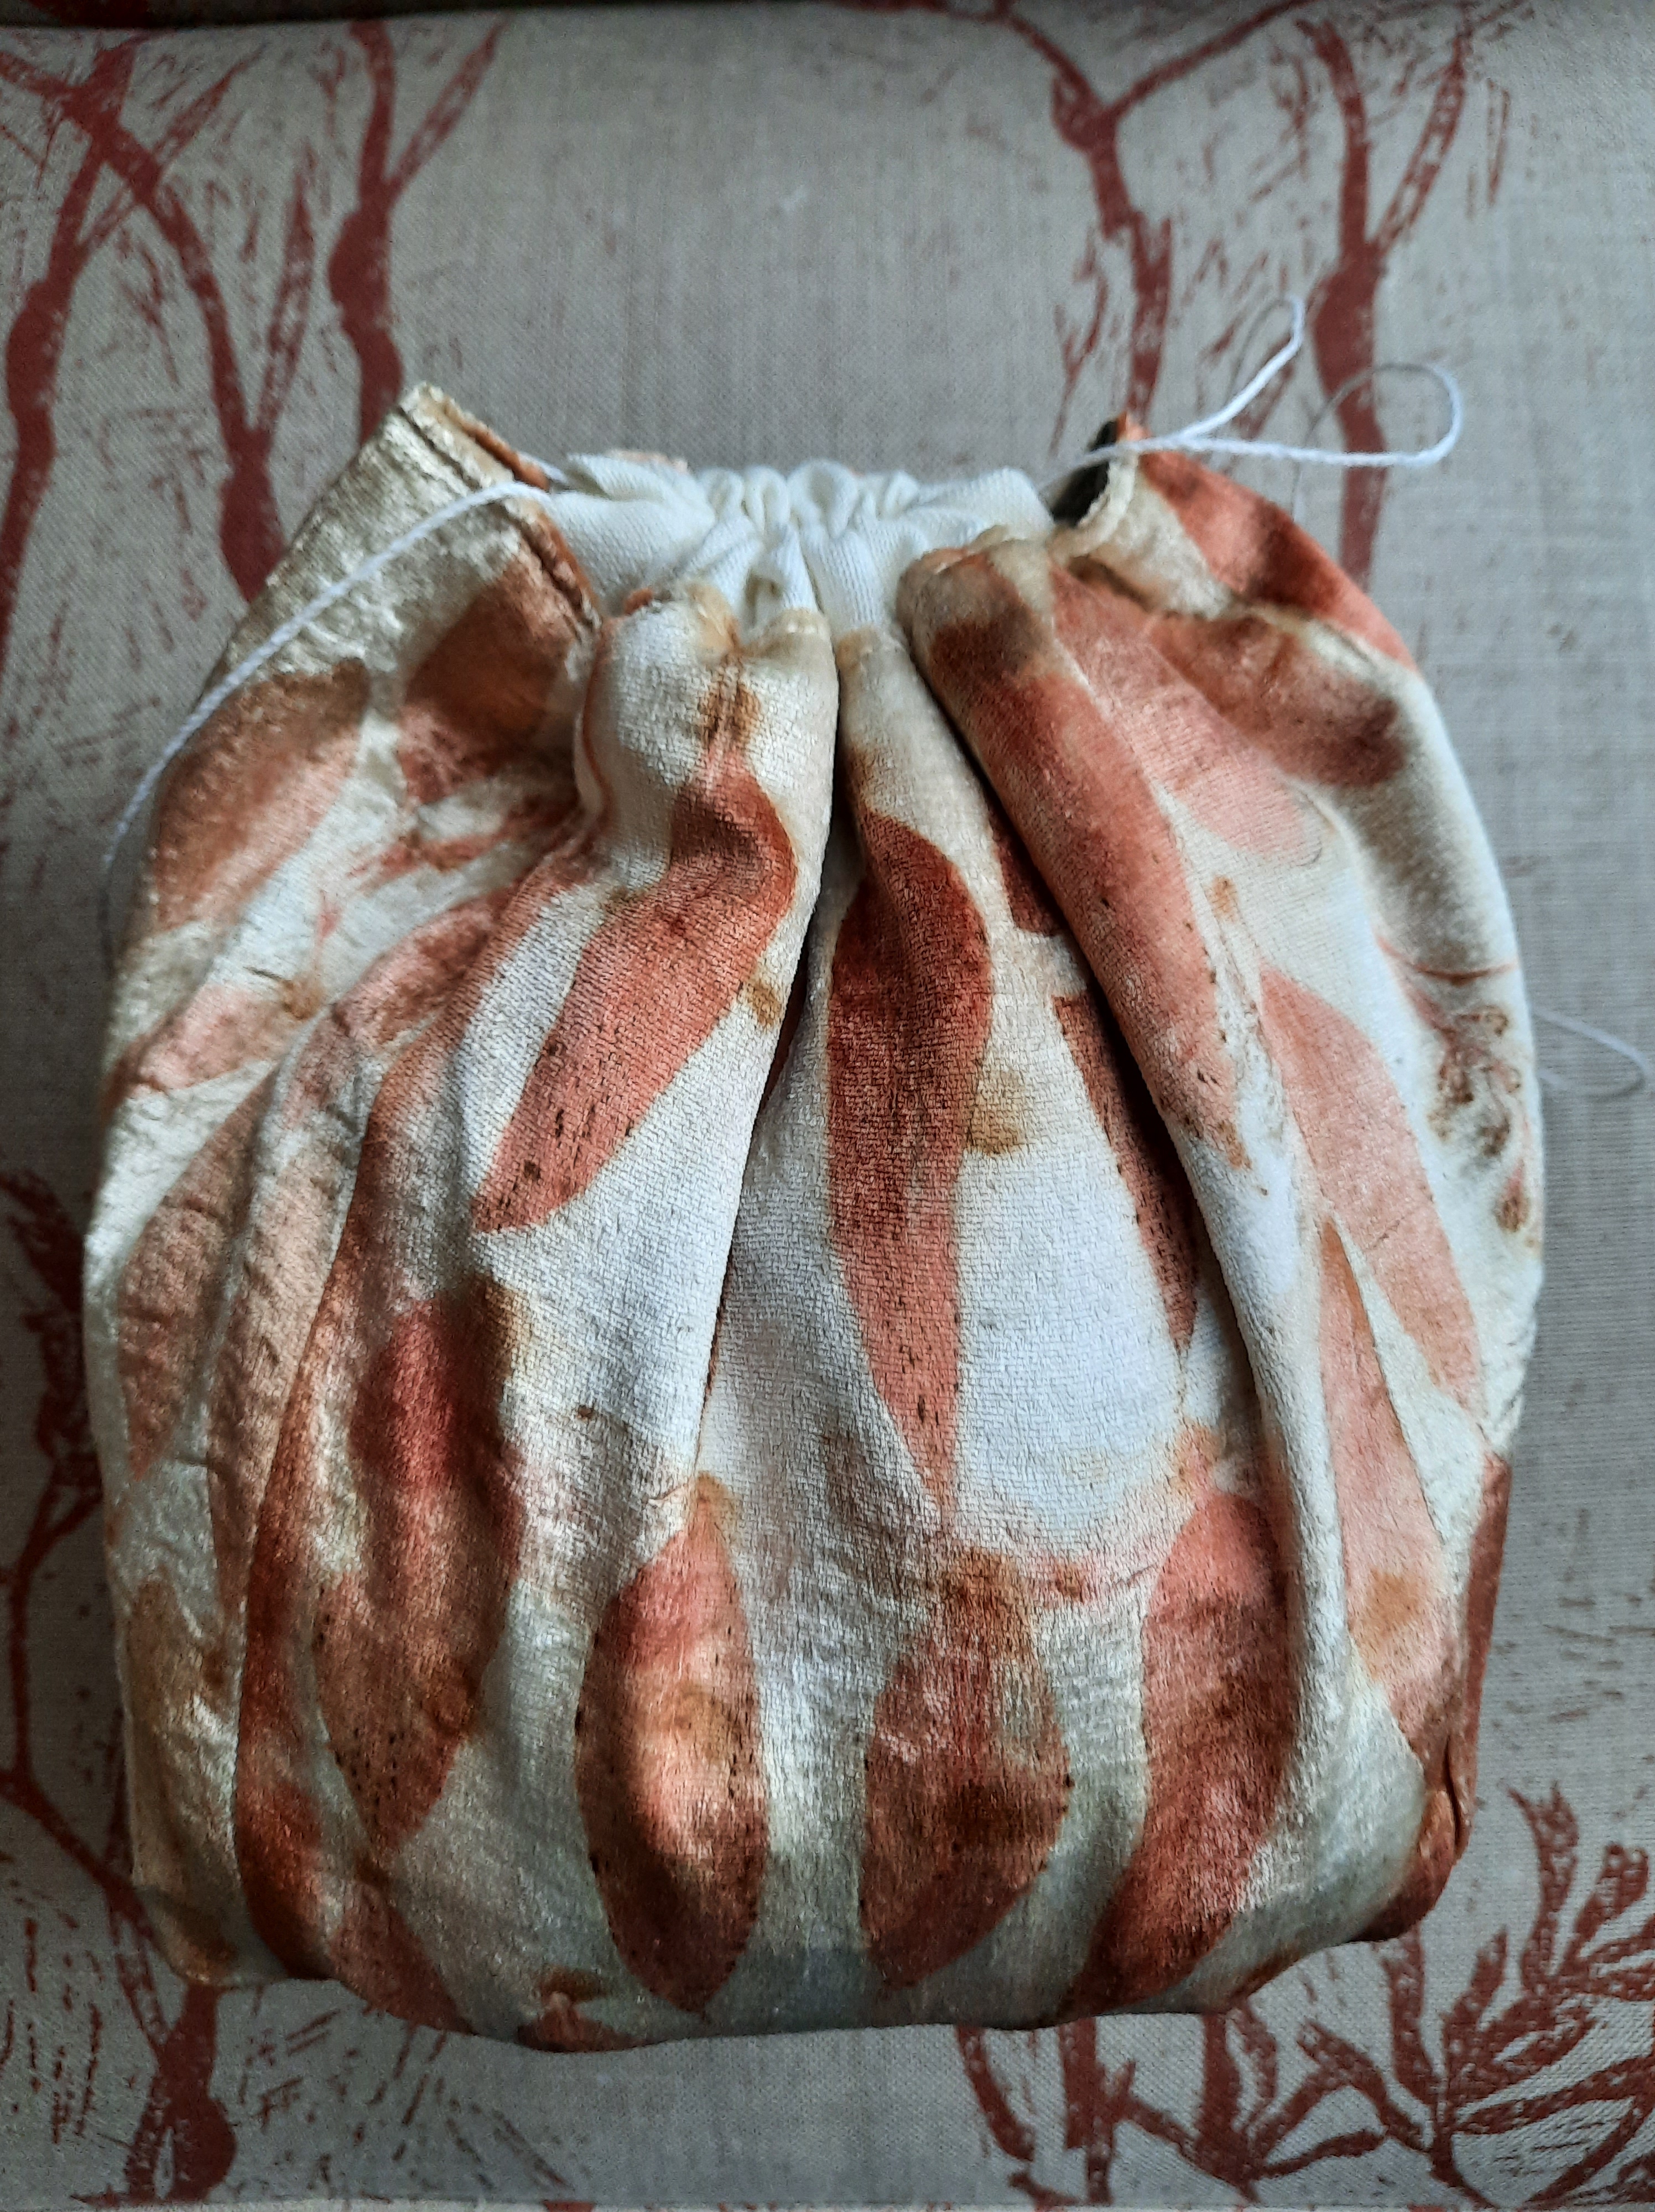
And, I found these rather glorious small pieces of silk velvet from Beautiful Silks, which I dyed with leaves some years ago. I had no idea what to do with them at the time and here we are!
It’s good to find a setting for such beautiful, special (and yet small) quantities of fabric.
In my earlier post, I talked about the holey spencers and how I decided on two strategies for retrieving them. Once I’d decided which were capable of being mended, I took my scissors to the rest, aiming to save as much fabric as I could and give the rest to the worms in the worm farm. They will deal with everything that is organic matter, and leave any petrochemical by products (like nylon thread) on the surface where I can retrieve it for landfill. It’s almost magical, how well worms can sort out the biodegradable from that which will not break down for many lifetimes (otherwise known as plastic).
Then I patchworked together the larger pieces until I was able to create two new underthings.
They are a bit haphazard, since as usual I dyed first and sewed later. But since they are underthings… no one will know unless you tell them!
They are like little woolly maps of the dye trees I especially enjoy in my neighbourhood. These days there are even leaves from our back yard in the mix.
And… I have the smaller pieces saved in a mothproof bag for later patching, which is sure to be needed.