Category Archives: Sewing

Cushion covers

A while back, I had some second hand chairs re-upholstered with a beautiful set of fabrics from cloth. I was in the upholsterer’s shop, faced with an enormity of choices, many of which didn’t look promising.  Then I saw a small swatch from cloth, and suddenly, I was faced with only decent choices, and a manageable number of them. The upholsterer was happy for me to use any of their fabrics.

2014-10-07 07.04.31

Shame about the mood lighting in this photo. Like so many sewing projects, it was finished after dark.  I asked the upholsterer to keep any scraps of fabric, no matter how small, and had plenty left over to make cushions.  I was stuck for a while, not wanting to buy polyfill to stuff them with but not able to think of a really good alternative.  Then it came to me at my local op shop.  I bought these three cushions for a song, laundered them, and gave them new covers.  No more polyfill comes into existence, these items don’t end up in landfill for a whole lot longer, and I get cushions.

2014-09-28 08.32.15

I gave them envelope backs. At first I had made the covers a little too large, so I corrected the sizing to make them suitably plump.

2014-10-05 17.30.17

I gave them nice little mitered corners…

2014-10-05 17.34.10

And now I have mostly small scraps left to turn into something lovely…

2014-10-05 17.58.25

8 Comments

Filed under Sewing

Quilt progress!

The sashing has all been attached to my quilt. I am being a dog aunty, looking  after a friend’s dog for a month.  She wants to help with everything, but especially if it involves food.  Sometimes you just have to check whether there might be food involved.  Other times, rolling on the floor is essential and apparently the quilt doesn’t stand out a special part of the floor.  I have a new appreciation of all those for sale ads on Ravelry that mention pet free homes.  I don’t think I knew one animal could lose so much hair.

2014-09-21 14.56.32

Luckily she is cheerful and good natured.  She has been making friends all round the neighbourhood and leaves our hens alone.  So, I’ve gone from this…

IMAG1011

To this…

2014-09-23 09.05.46

At this point I cut out the border and discovered that I did not, in fact, have enough cotton  eco printed and ready to go.  So there has been some unsuccessful bundling followed by a fresh round of mordanting processes.  The pile looked so big… but some of it is made of fabrics that won’t be a good match… so there will just have to be more dyeing.  Colour me not too sad about this!

IMAG0956

10 Comments

Filed under Leaf prints, Sewing

Week 3 Silkworm Update with bonus Quilt and Gusset updates

The munching goes on.  Stone fruit are in blossom and coming into leaf, the Manchurian pears in our suburb have been snowing white petals and growing leaves… and I live in hope that more mulberry trees will do likewise very soon!  The one I am depending on is fruiting already.  The worms are getting bigger.

IMAG1014

And, I am delighted to announce that confiding in you has moved me to actually do something with my quilt parts.  I have confirmed that I have 20 nicely trimmed panels.

IMAG1007

I chose one of my stash fabrics for some sashing.  It’s black, but you know how it is with mood lighting, like the stuff my sewing machine provides in an indoor setting.  I calculated.  I cut.  I stitched it to two sides of each block!

IMAG1011

Then, a friend came over with her gallabeya-in-progress.  This is a flowing long-sleeved dress for Egyptian dancing (and, no doubt, other purposes depending on the wearer).  It’s a relative of the caftan.  There was a small problem involving ‘a rhomboid gusset’.  I was afraid when I realised that this pattern piece needed to be reverse engineered and that it wasn’t only a matter of inserting the fiddly little rhomboid…. I had agreed to help on the basis that two minds are better than one on almost every day.  With some help from my stash of retro sewing manuals and the interweb, we sorted it out.  The somewhat random prize goes to this YouTube video by Niler Taylor (who clearly knows her sewing) and Gertie’s blog, which I’ve enjoyed before–just in case anyone out there is having a gusset problem of their own!

4 Comments

Filed under Fibre preparation, Sewing

DIY ironing board cover

Why buy an ironing board cover when you can make one of your own–from fabric you like–in very little time?  I knew it was time when the tip of the iron went right through this (faded and sad) one.

IMAG0970

When I pulled it off the board to rip out the elastic and cord holding it onto the ironing board and use them again, I discovered the one below had been in such poor shape I had to mend it to cover over it neatly!

IMAG0973

Step 1: choose your fabric.  In this case, a gift from a  friend who has evidently noticed my peaceable inclinations.  I like to use cotton, and I like not to pre-shrink it if that is an option, as having it shrink onto the ironing board is helpful.  Unlike having your newly sewn jeans shrink and become too short and tight, despite having pre-washed the denim twice–but let’s not talk about that–clearly I don’t know anything about it.

IMAG0969

This is the time to figure out whether you want any upgrades.  If the metal edge of the board creates grief in your ironing life, now is the time to find a padding layer.  This board has several old covers on it for softness, and also has a padding layer of the ugliest woollen fabric I have ever seen, which I inherited from someone else’s mother.  It has vastly improved my ironing life despite being unseen.  I would never willingly wear anything made of that combination of green, red and black–perhaps my friend’s mother reached the same conclusion and that is why it came to me.

Step 2: Trace your pattern.  I use the complex method of upending the ironing board onto the fabric, tracing around it with a nice allowance all round and cutting out.

IMAG0975

You can either sew a casing all the way round the edge (in which case you need to cut generously enough for this to be possible) or sew on something that will allow you to tighten the cover over the board by some other method.  In the past, I sewed a casing and threaded a piece of twine through it, which works.  Having discovered a large quantity of elastic with a cord running through the middle in an op shop years ago, I have been using that instead, and it also does the job.  Here it is freshly ripped off the old cover and ready to be applied to the new.

IMAG0974

Step 3: Finish edges, if you like.  I overlocked mine.

IMAG0977

Step 4: Sew casing for twine/cord or apply alternative.  Here I am sewing on my elasticated cord thingummy by mood lighting.  This may look rough and ready–and it is–but this will not be visible when the finished item is on the board and I have other things to do 🙂

IMAG0978

Step 5: Get the whole thing nice and wet.  Here is a worked example in my bathroom handbasin.  It only needs to be damp, so wring it out and prepare to apply to your board.

IMAG0979

Step 6: Tighten and coax into a nice smooth edge, tie the ends securely, –and you’re done!

IMAG0981


5 Comments

Filed under Sewing

Blog Hop Around the World

Leah from Seattle Spinner has generously nominated me as the next person in her blog hop around the world.  If you’ve stopped by because she mentioned my blog, a special welcome!  For regular readers of this blog who don’t know her… Leah says:

Spin, knit, weave…I LOVE these areas, for a multitude of reasons. … I am fascinated with things that go to the root of who we are–things or ideas that existed before the world of modern technology. Instead of being pastimes, these were things needed for our very survival.

She has an Etsy shop: all proceeds (after costs) go to to support a non profit organization in Peru called Awamaki which ‘is a nonprofit social enterprise that empowers rural Andean women with skills training, connects them to global market opportunities, and enables them to earn an income to transform their communities.’  Such a sensational idea…

And now for my answers to the blog hop questions!

1. What are you working on?

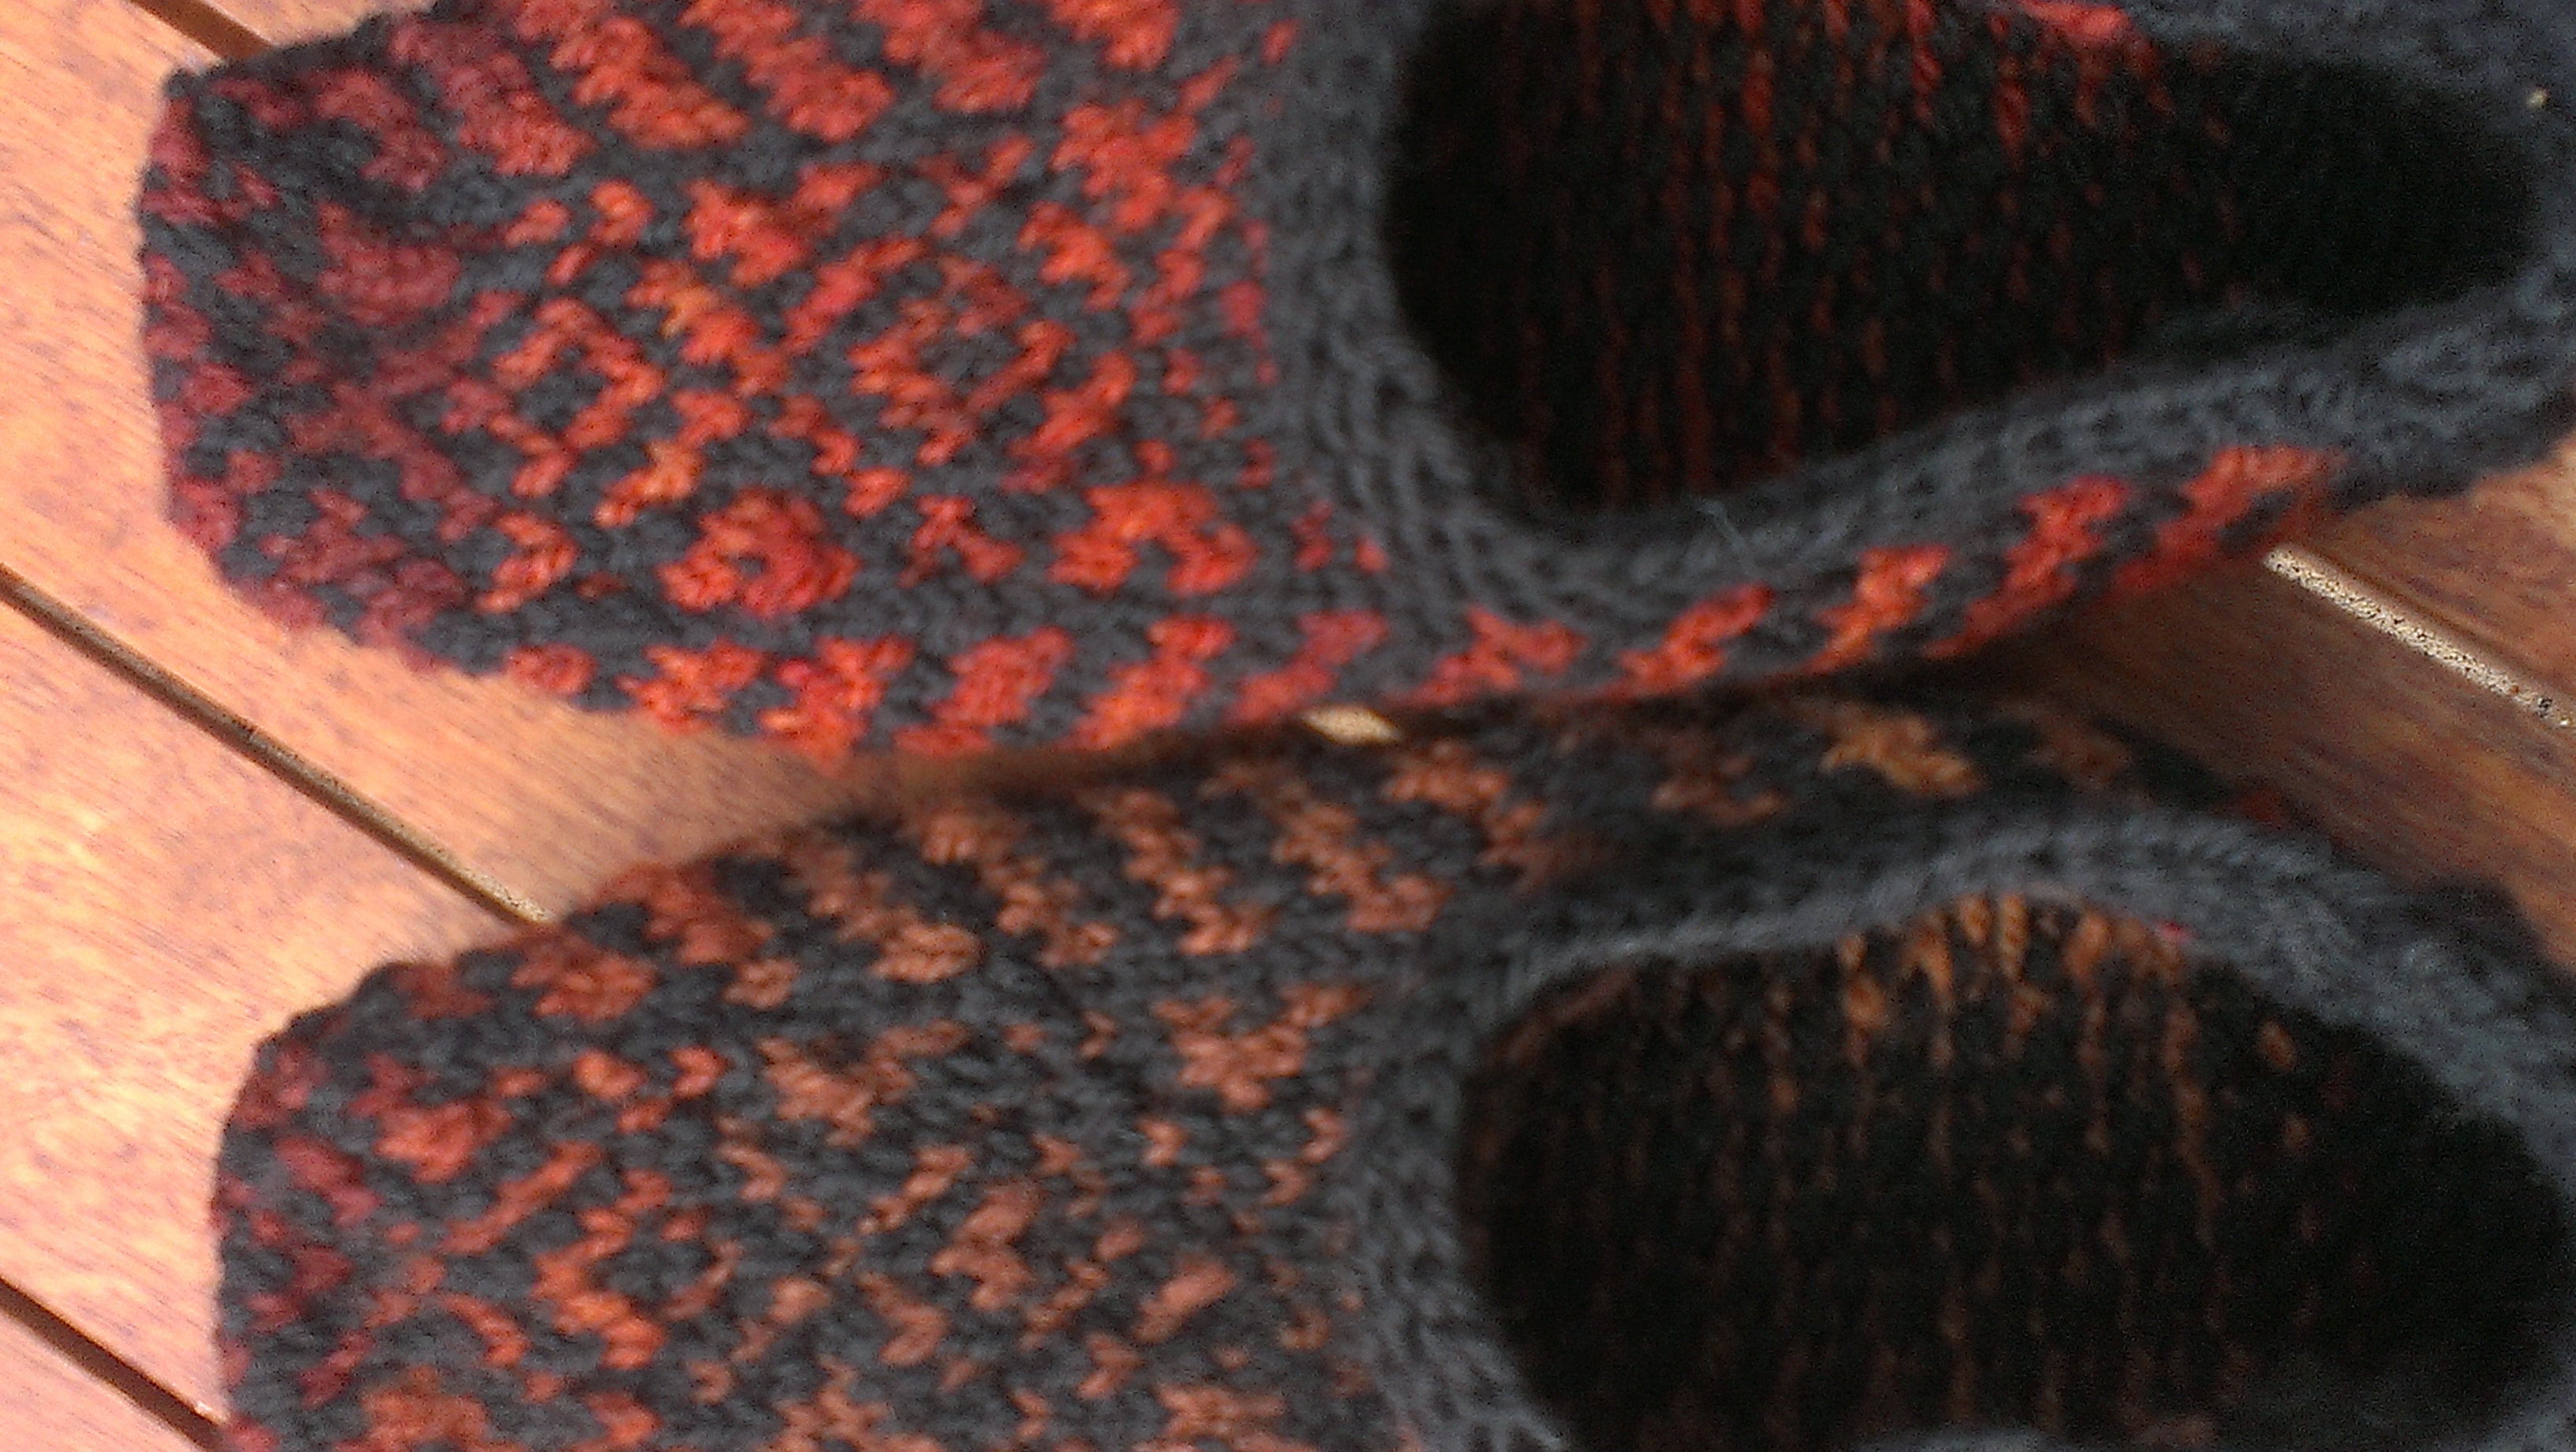
I always have more projects on the go than makes any kind of sense.  Some lie around for extended periods until I can find the right amount of time or mental space to move them forward.  Right now I am knitting a pair of socks… these travel with me on public transport and to meetings.  I am practicing my picking and Norwegian purling, since I think this would be a far more efficient way to knit than the throwing, ‘English’-style knitting I learned first.  I just need to build up some skill by doing it enough…

IMAG0967

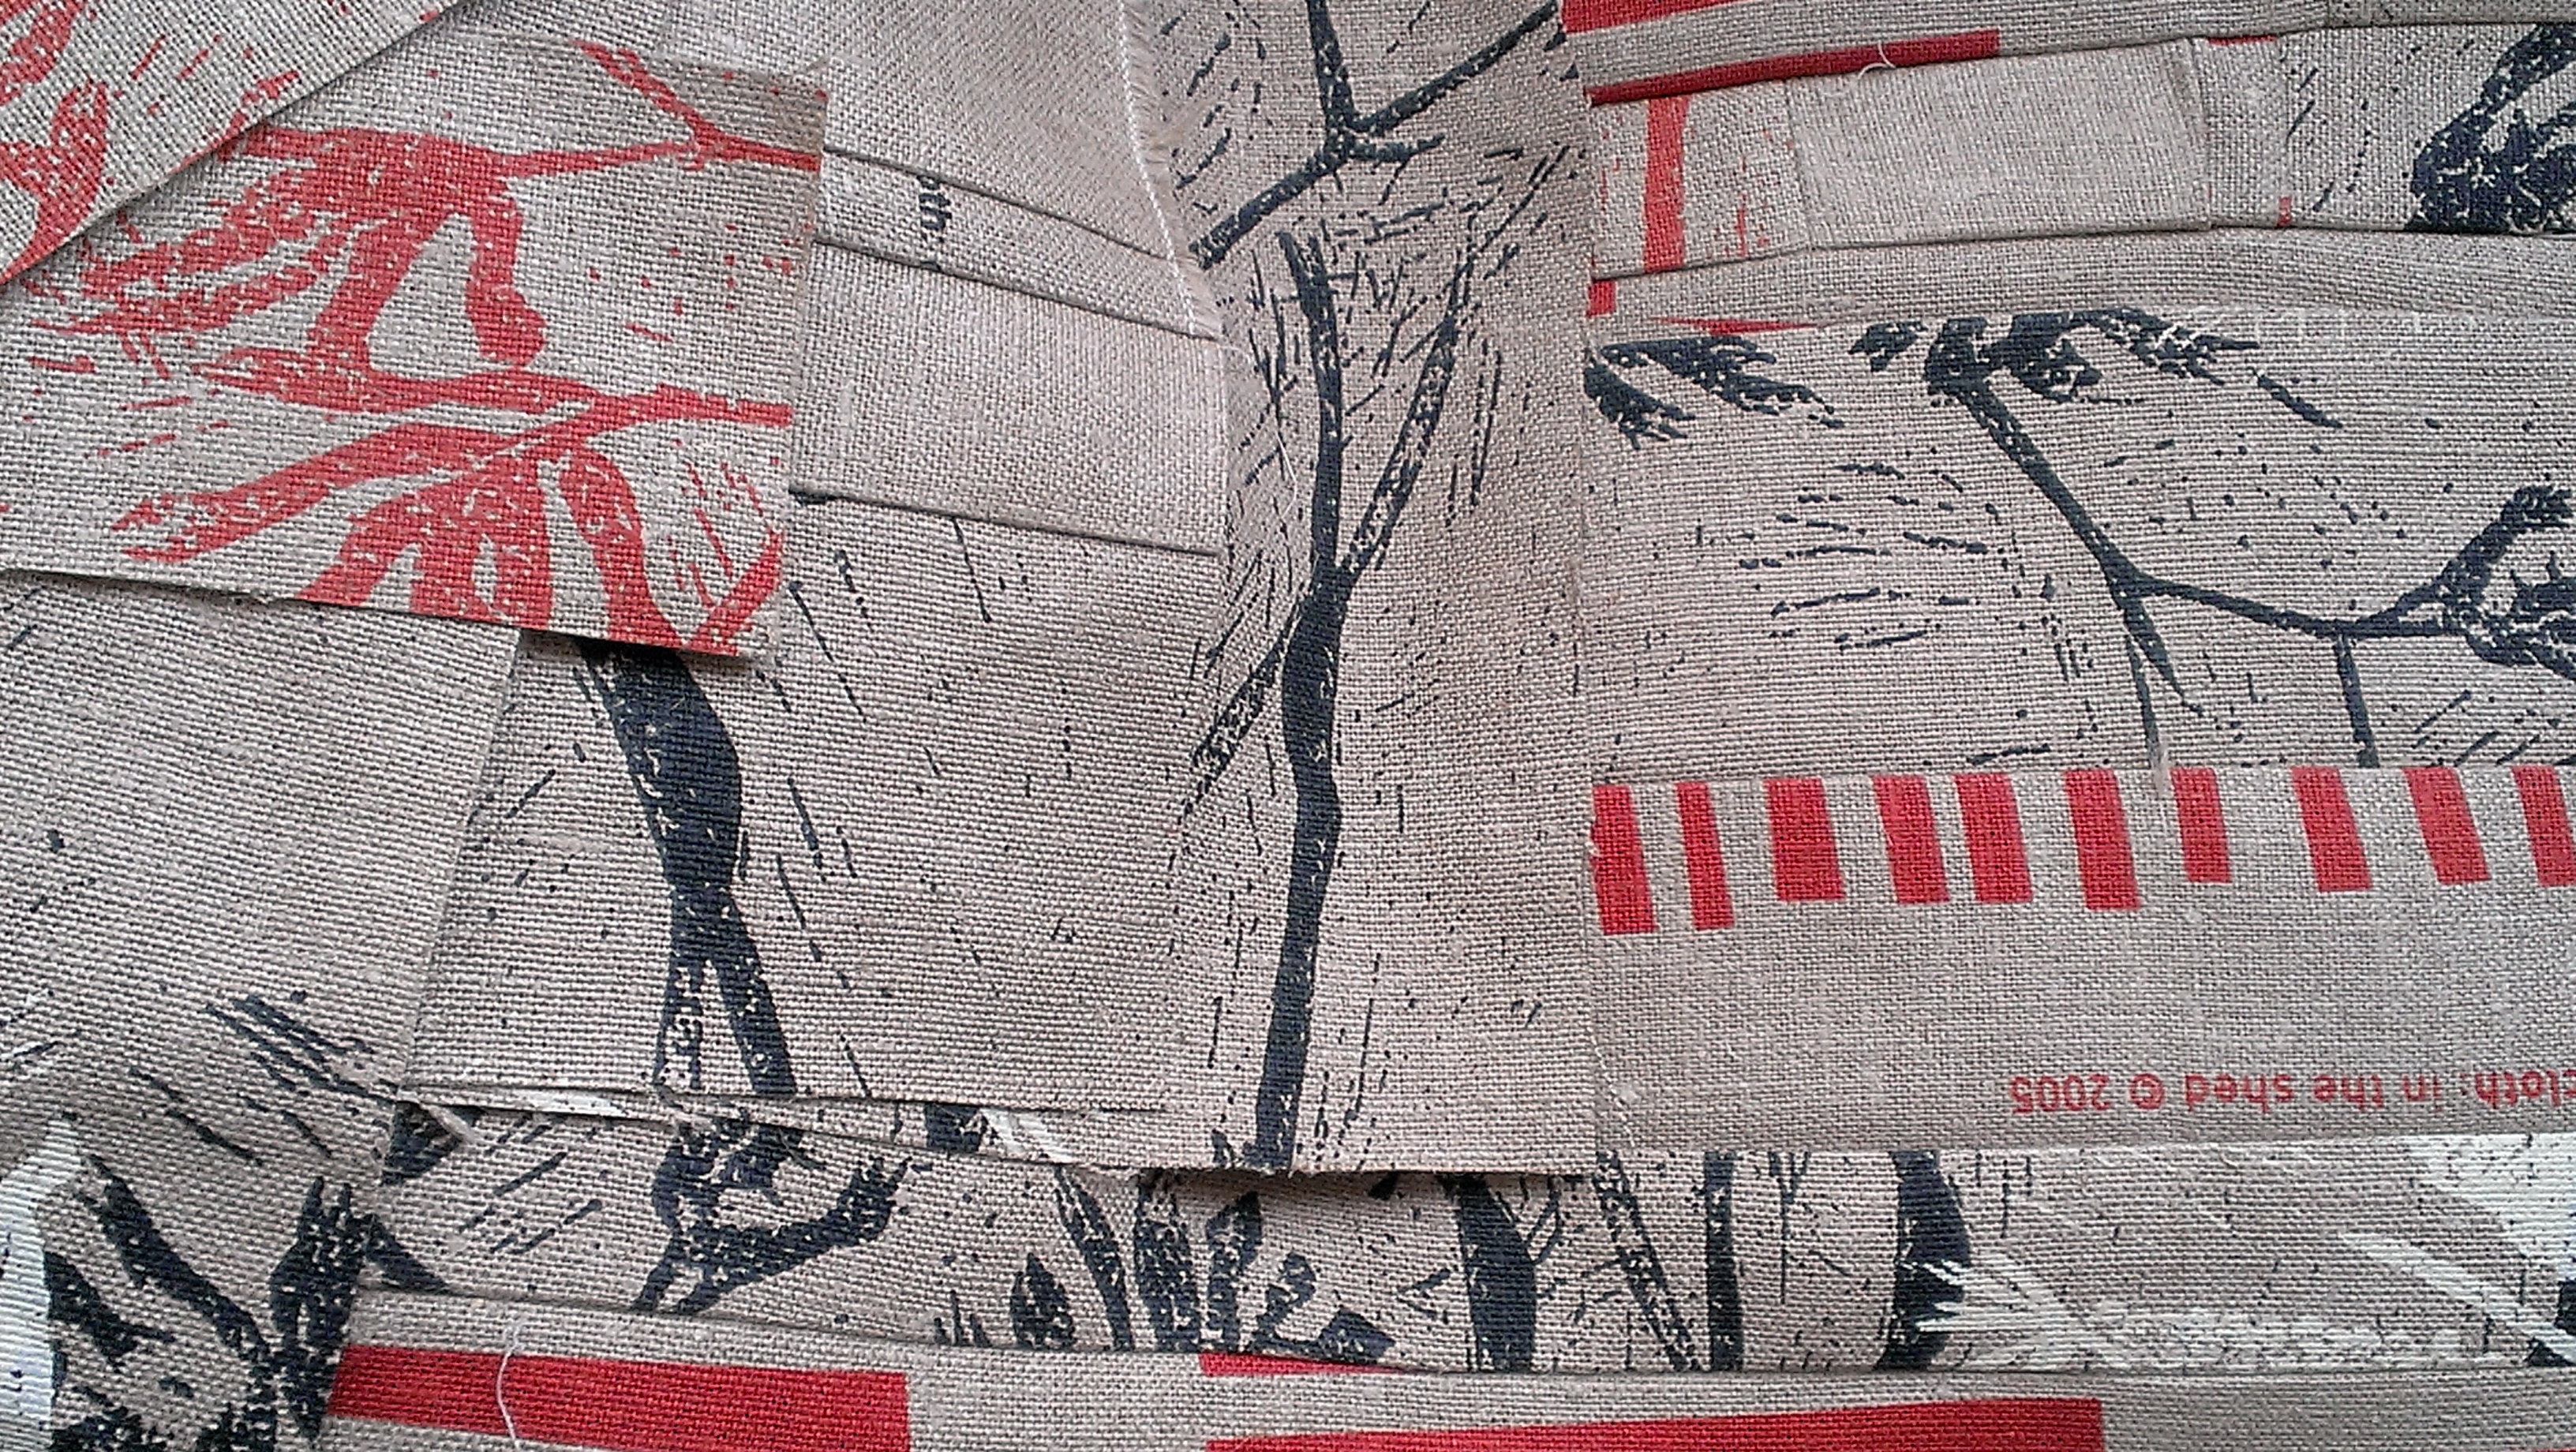
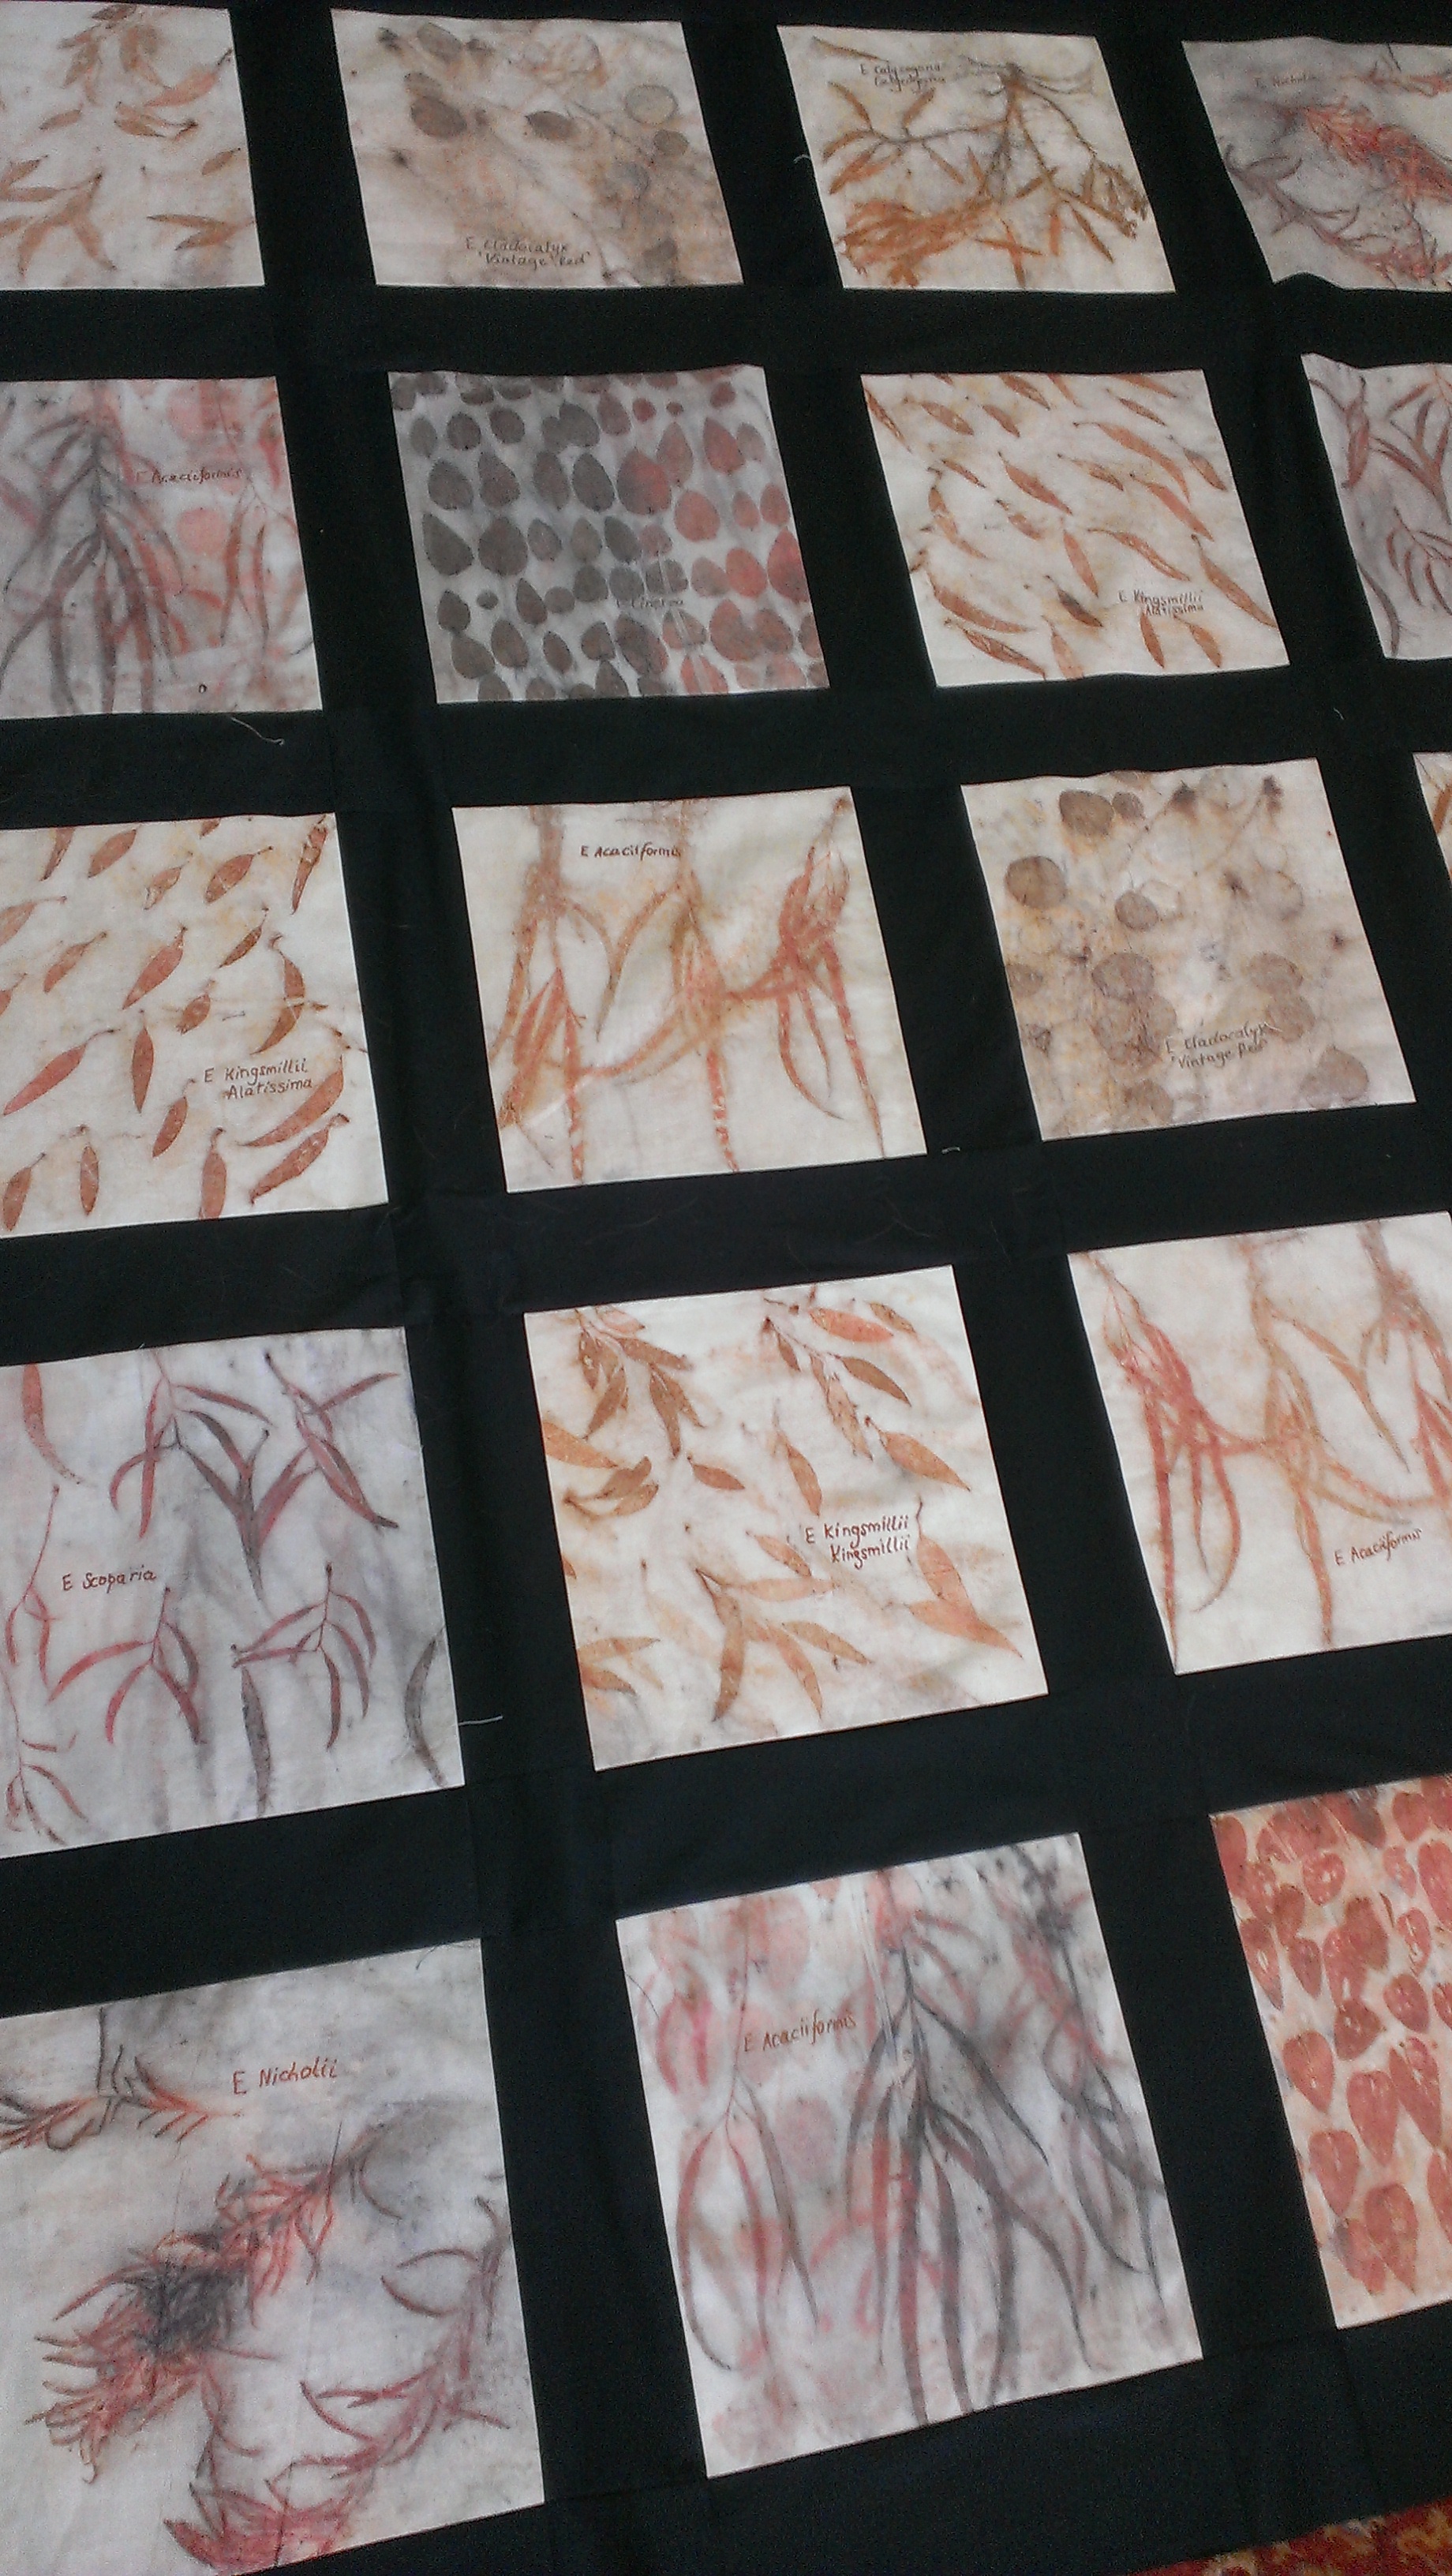
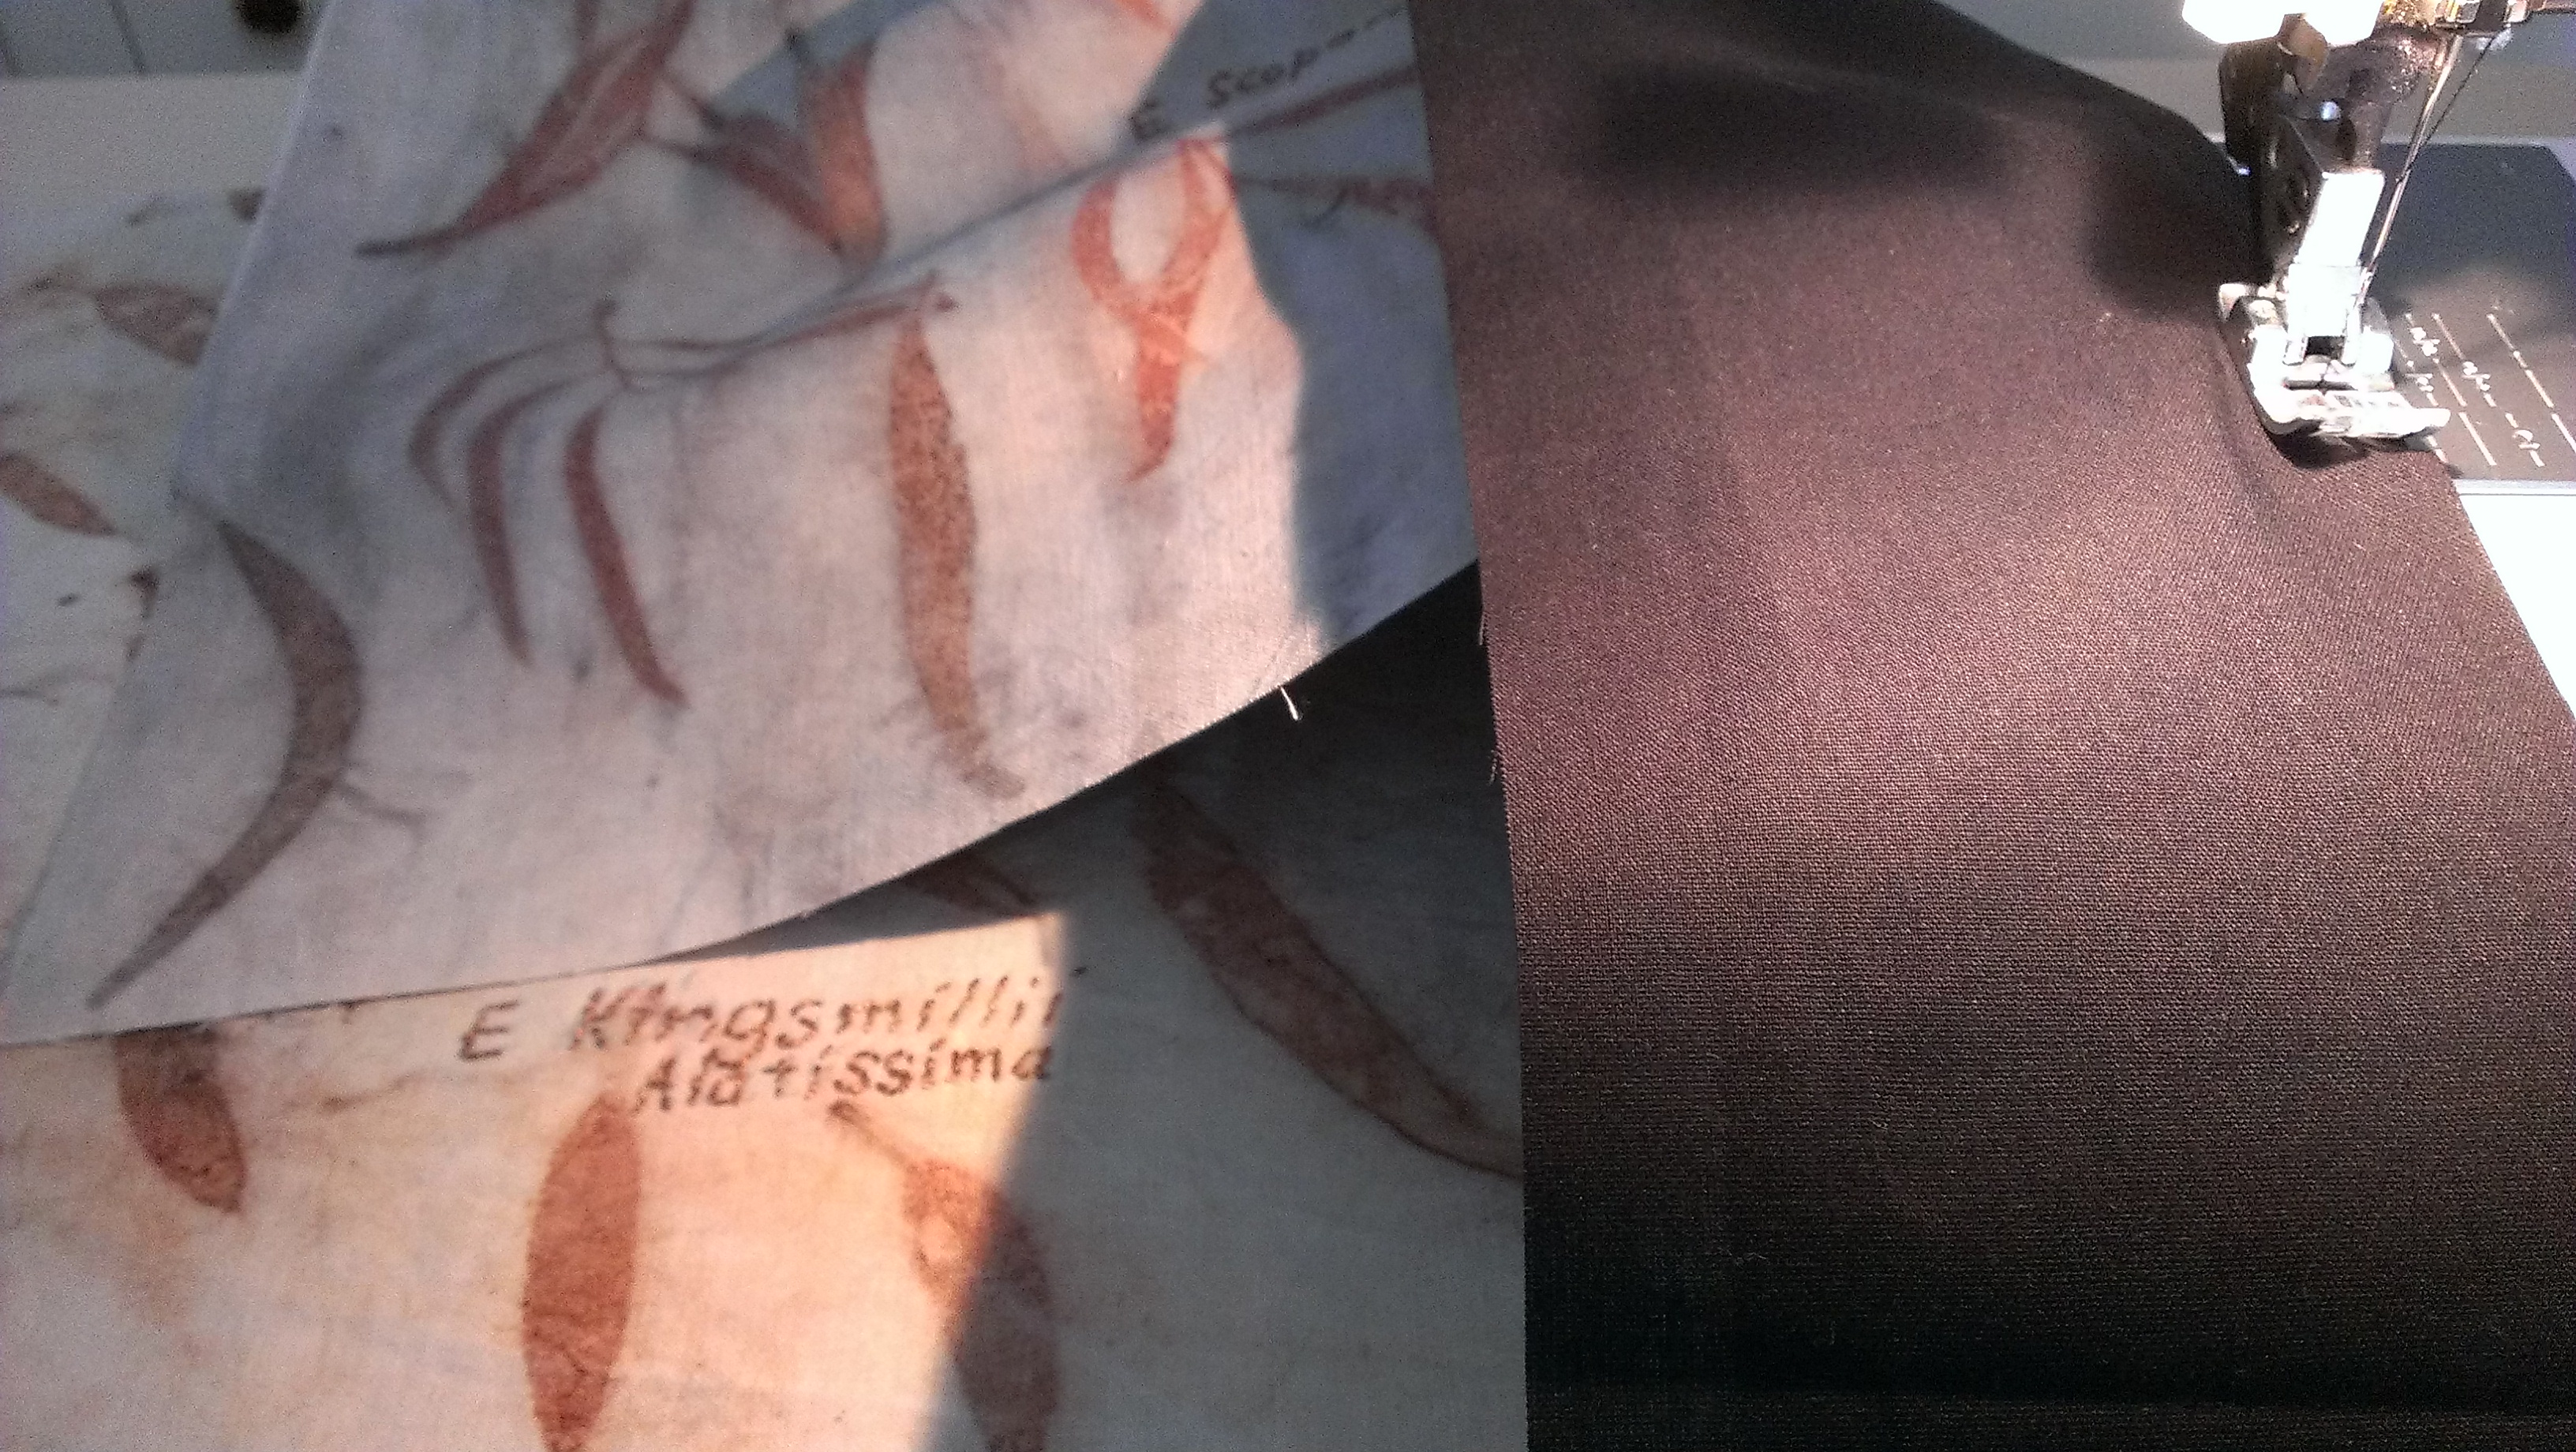
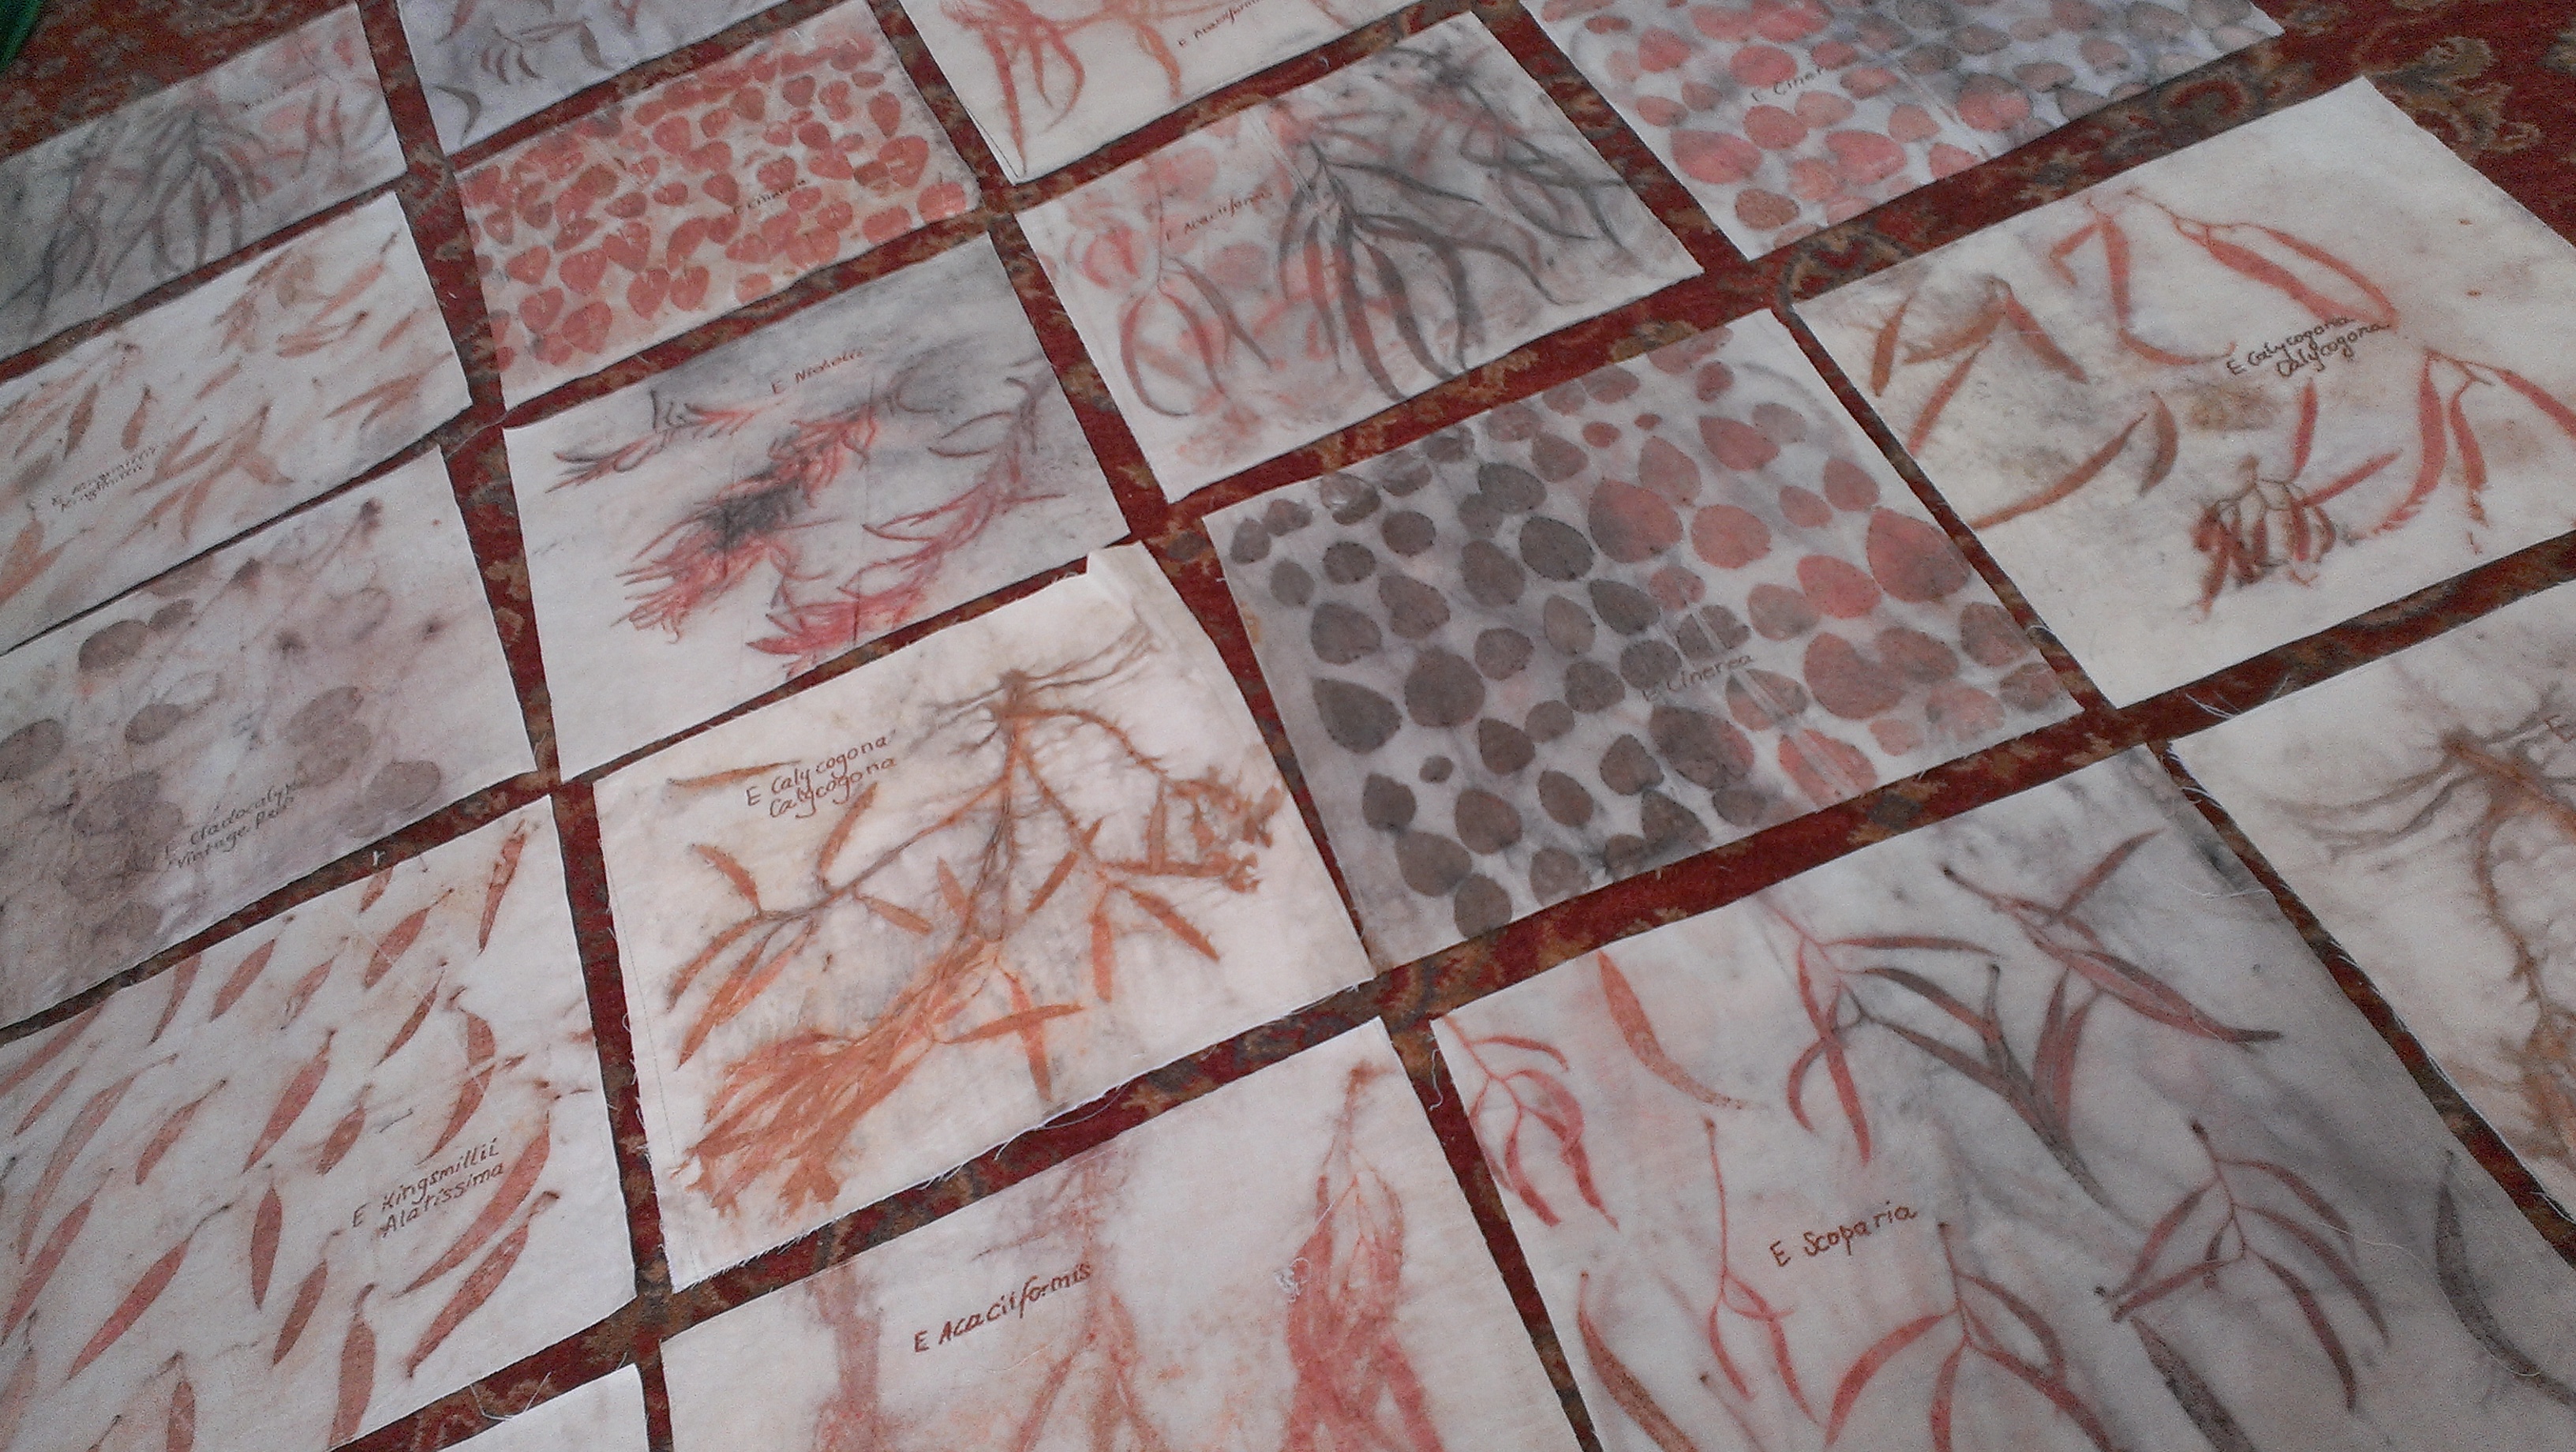
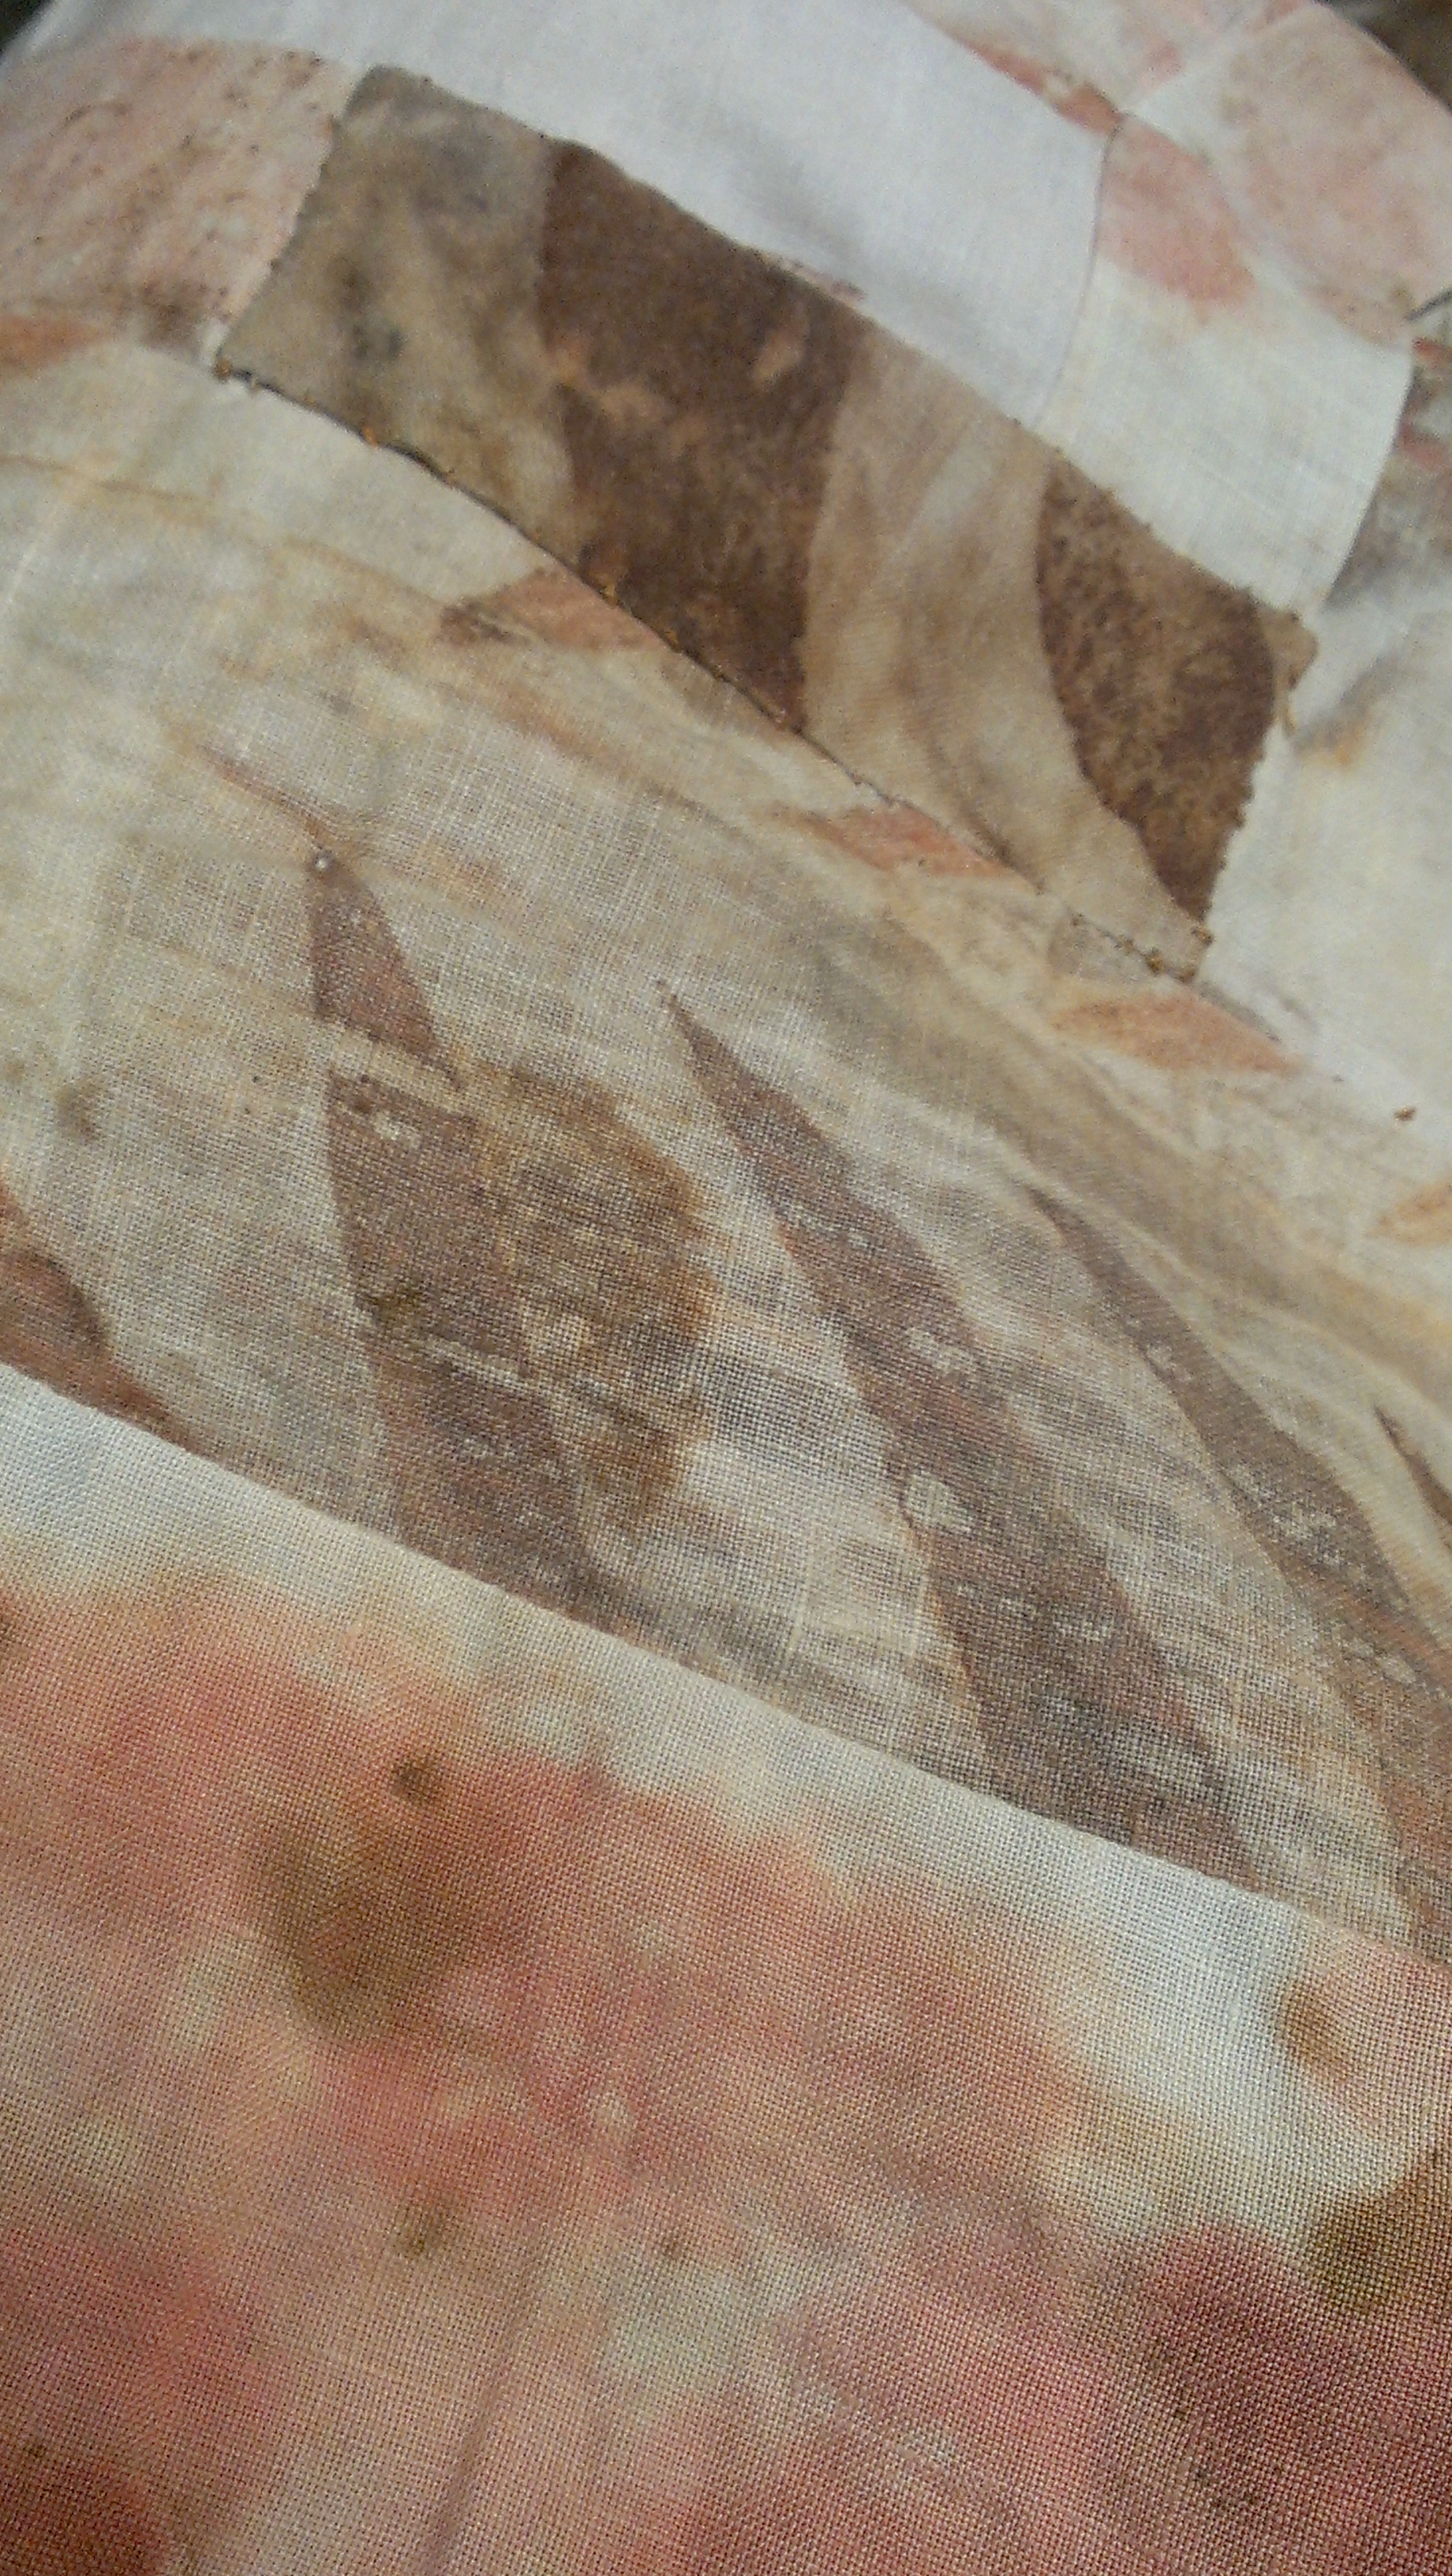
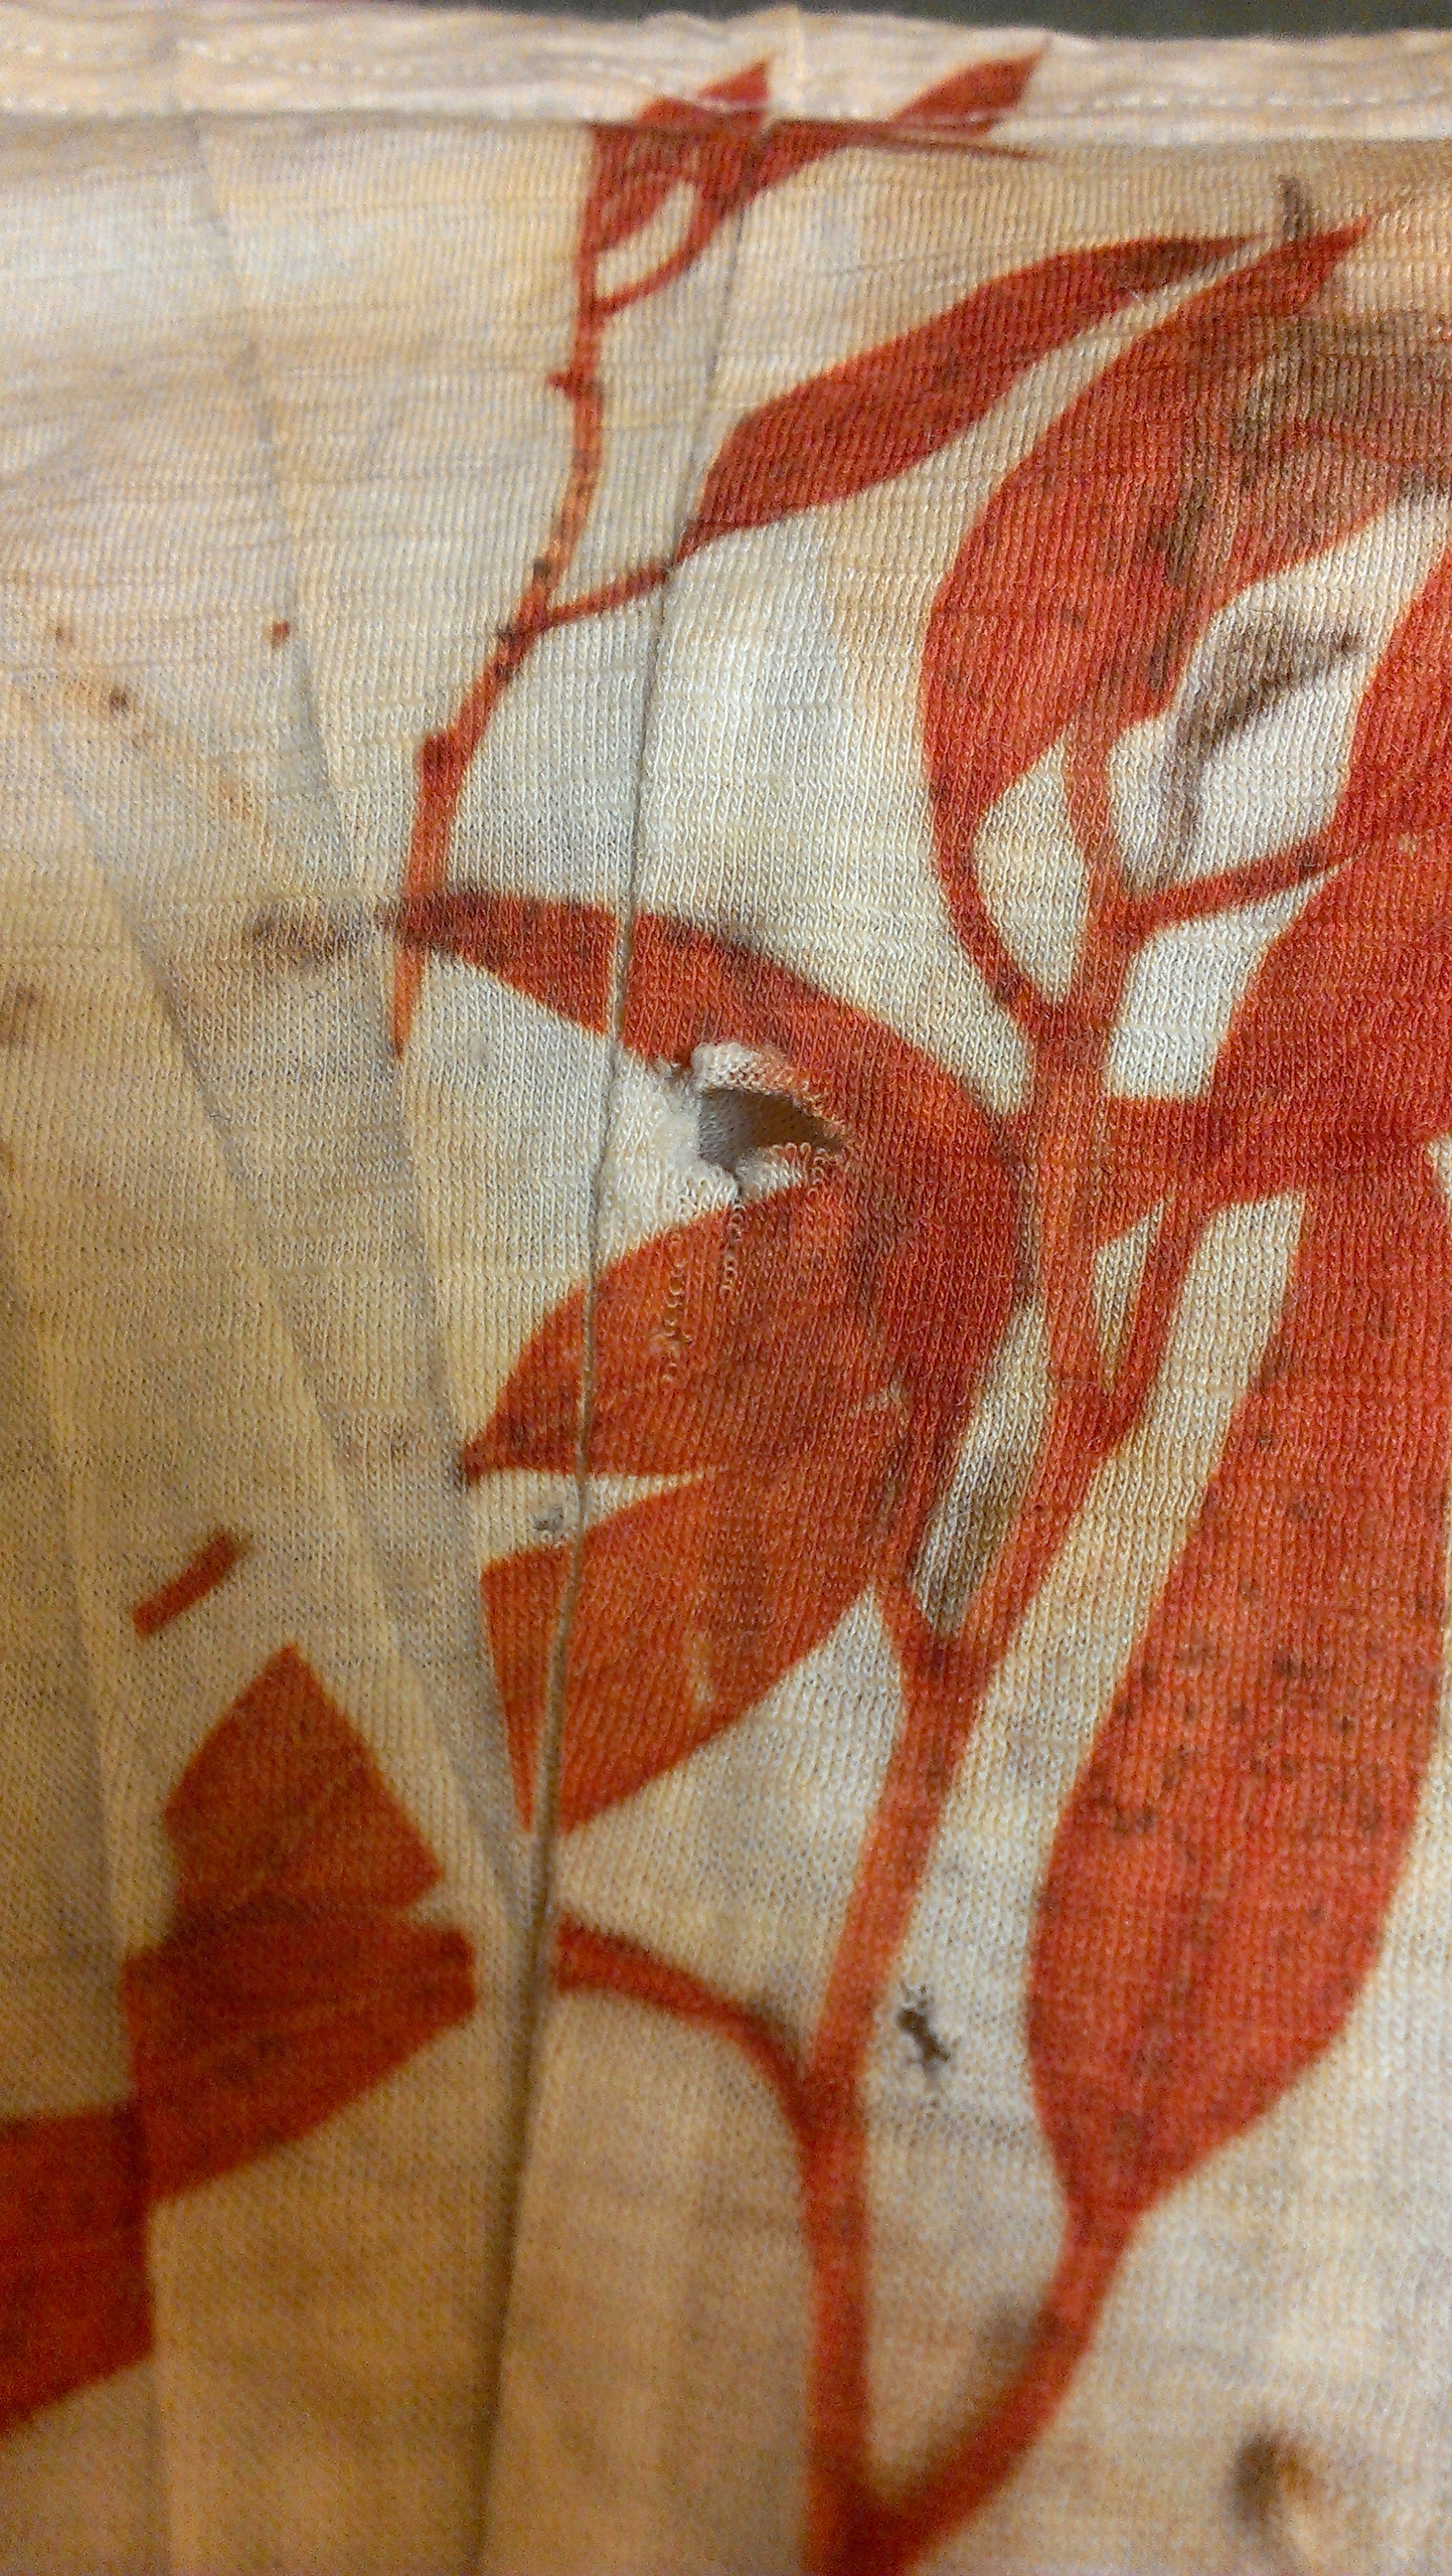
I have a quilt in progress.  Must get back to it!  All the blocks use India Flint’s eco-print technique to showcase a eucalypt species and I’ve embroidered the name of each tree onto the block in eucalyptus-dyed silk.  And stopped, having dyed the fabric for the front and pieced the back… apparently there is something about cutting the sashing I can’t face… or some part of me that thinks I need a week to do it in!

IMAG0959

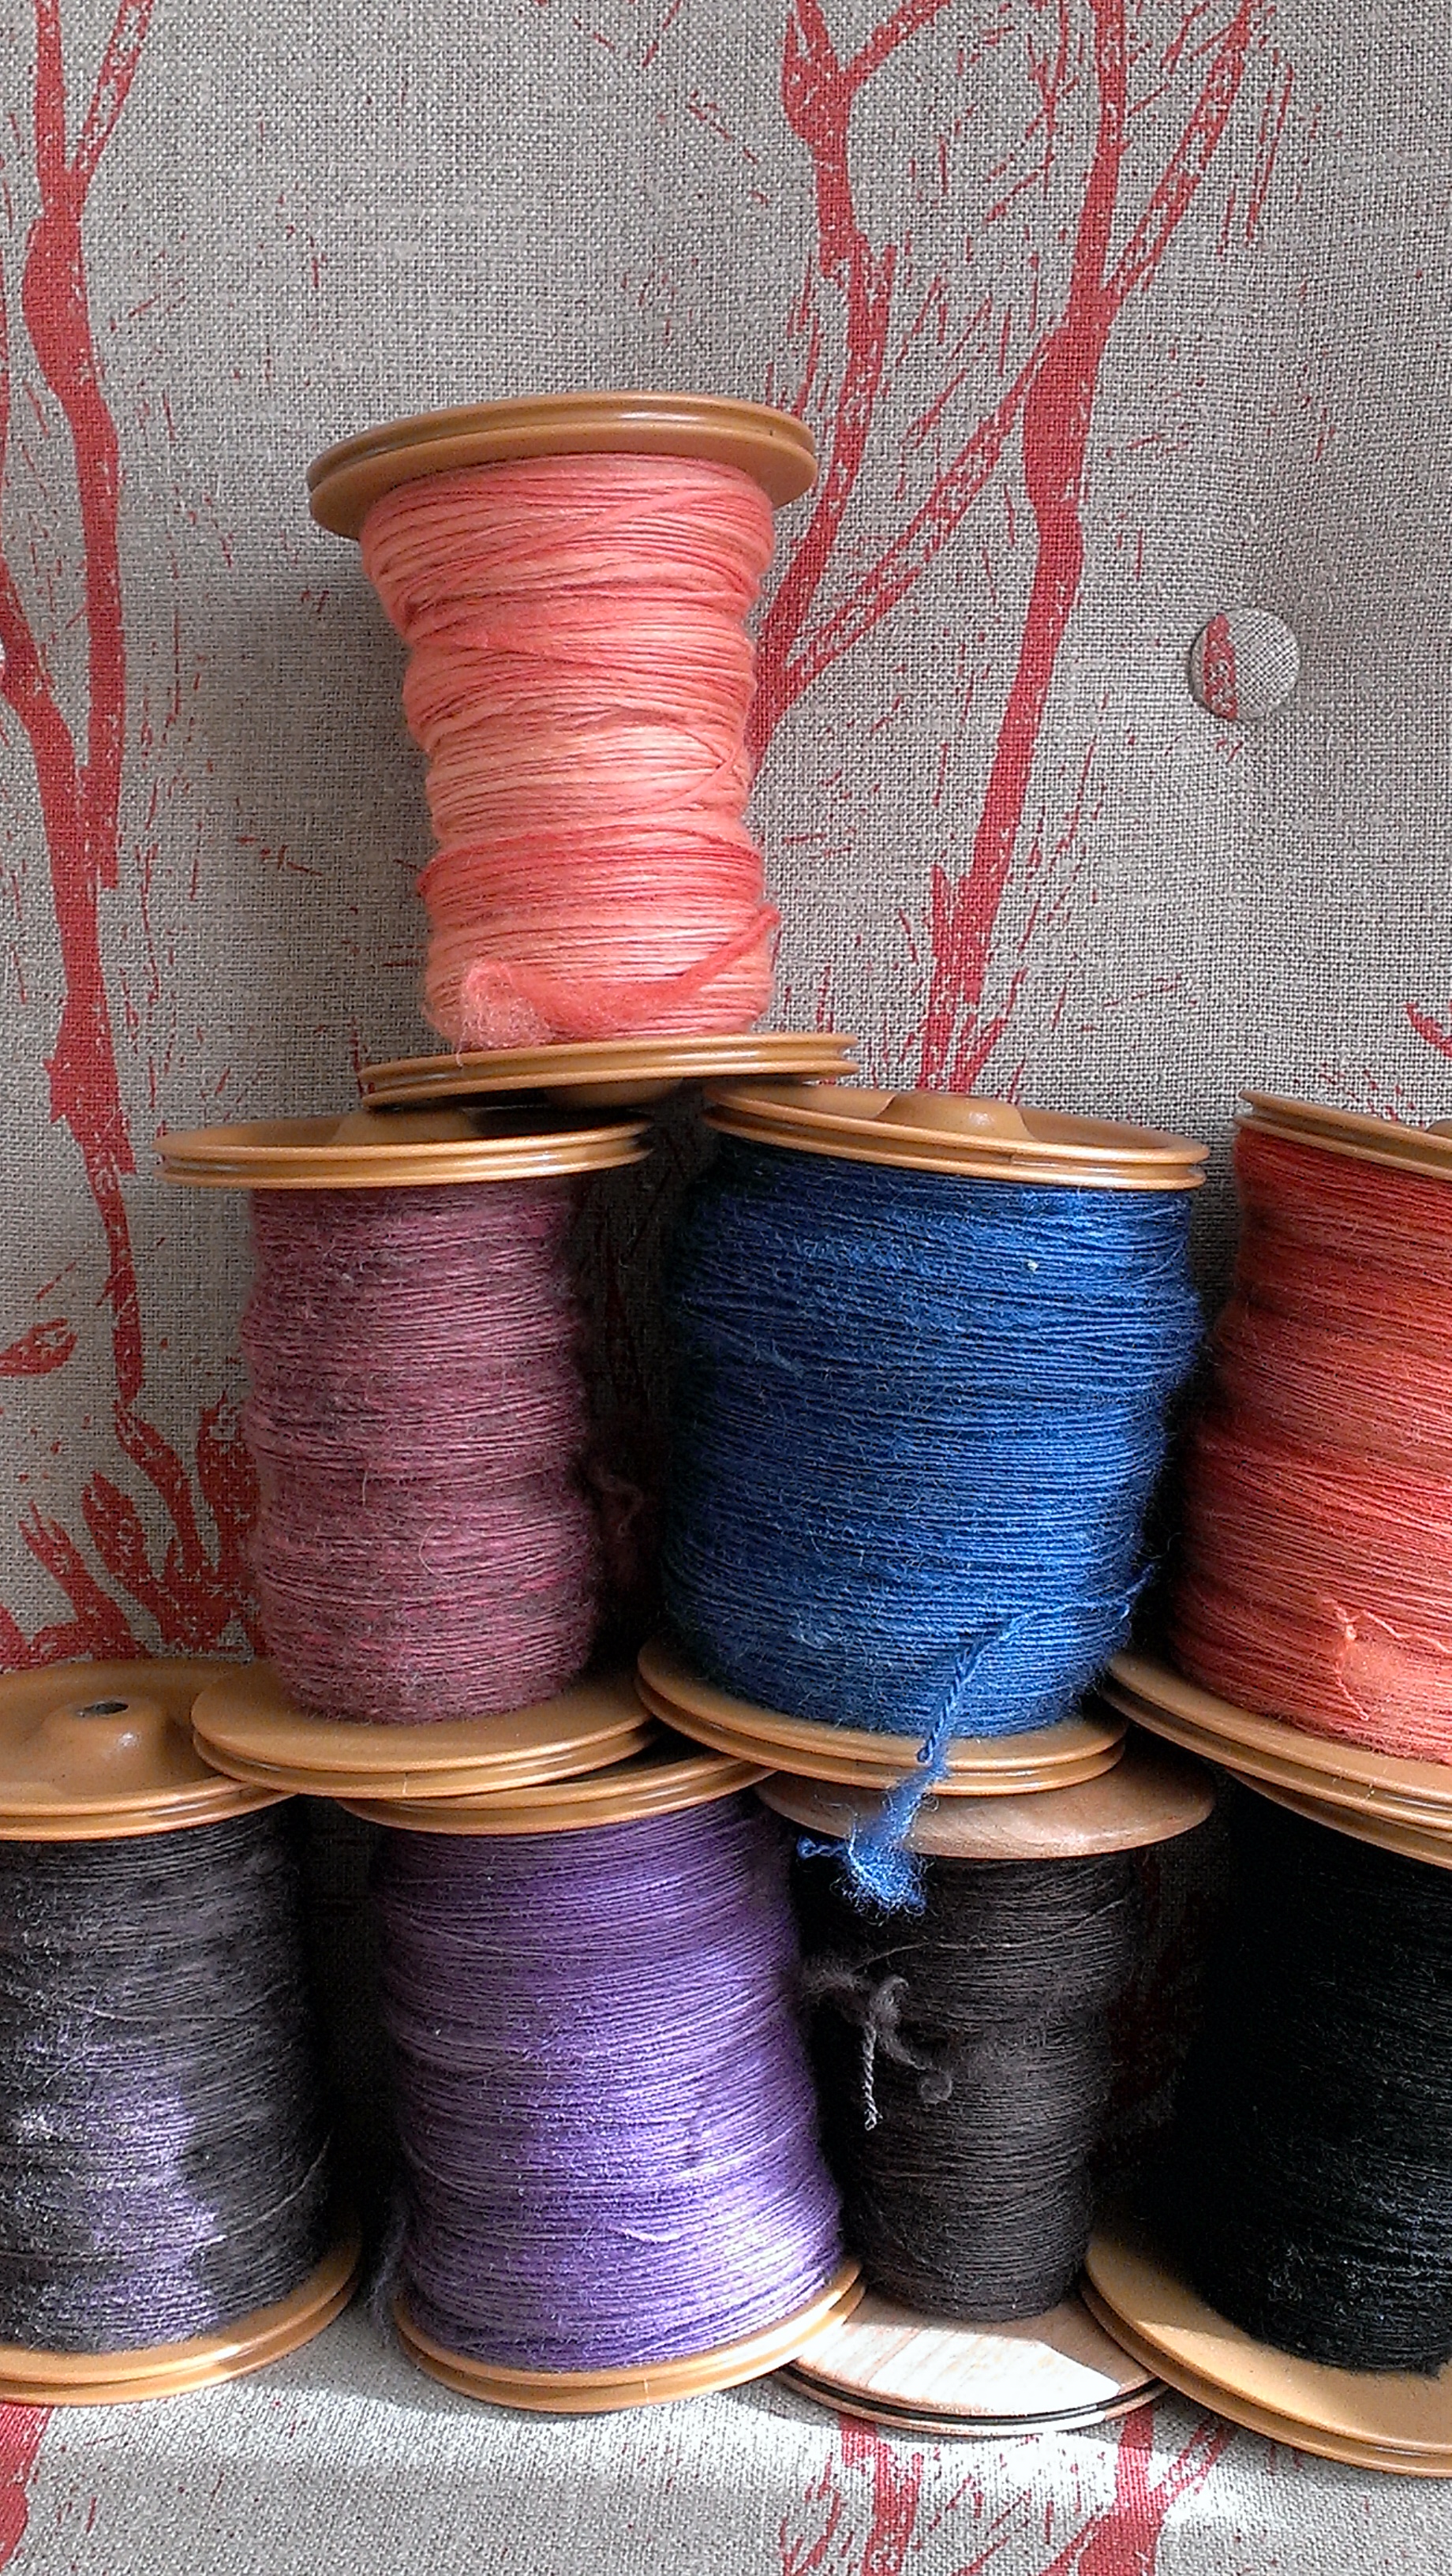
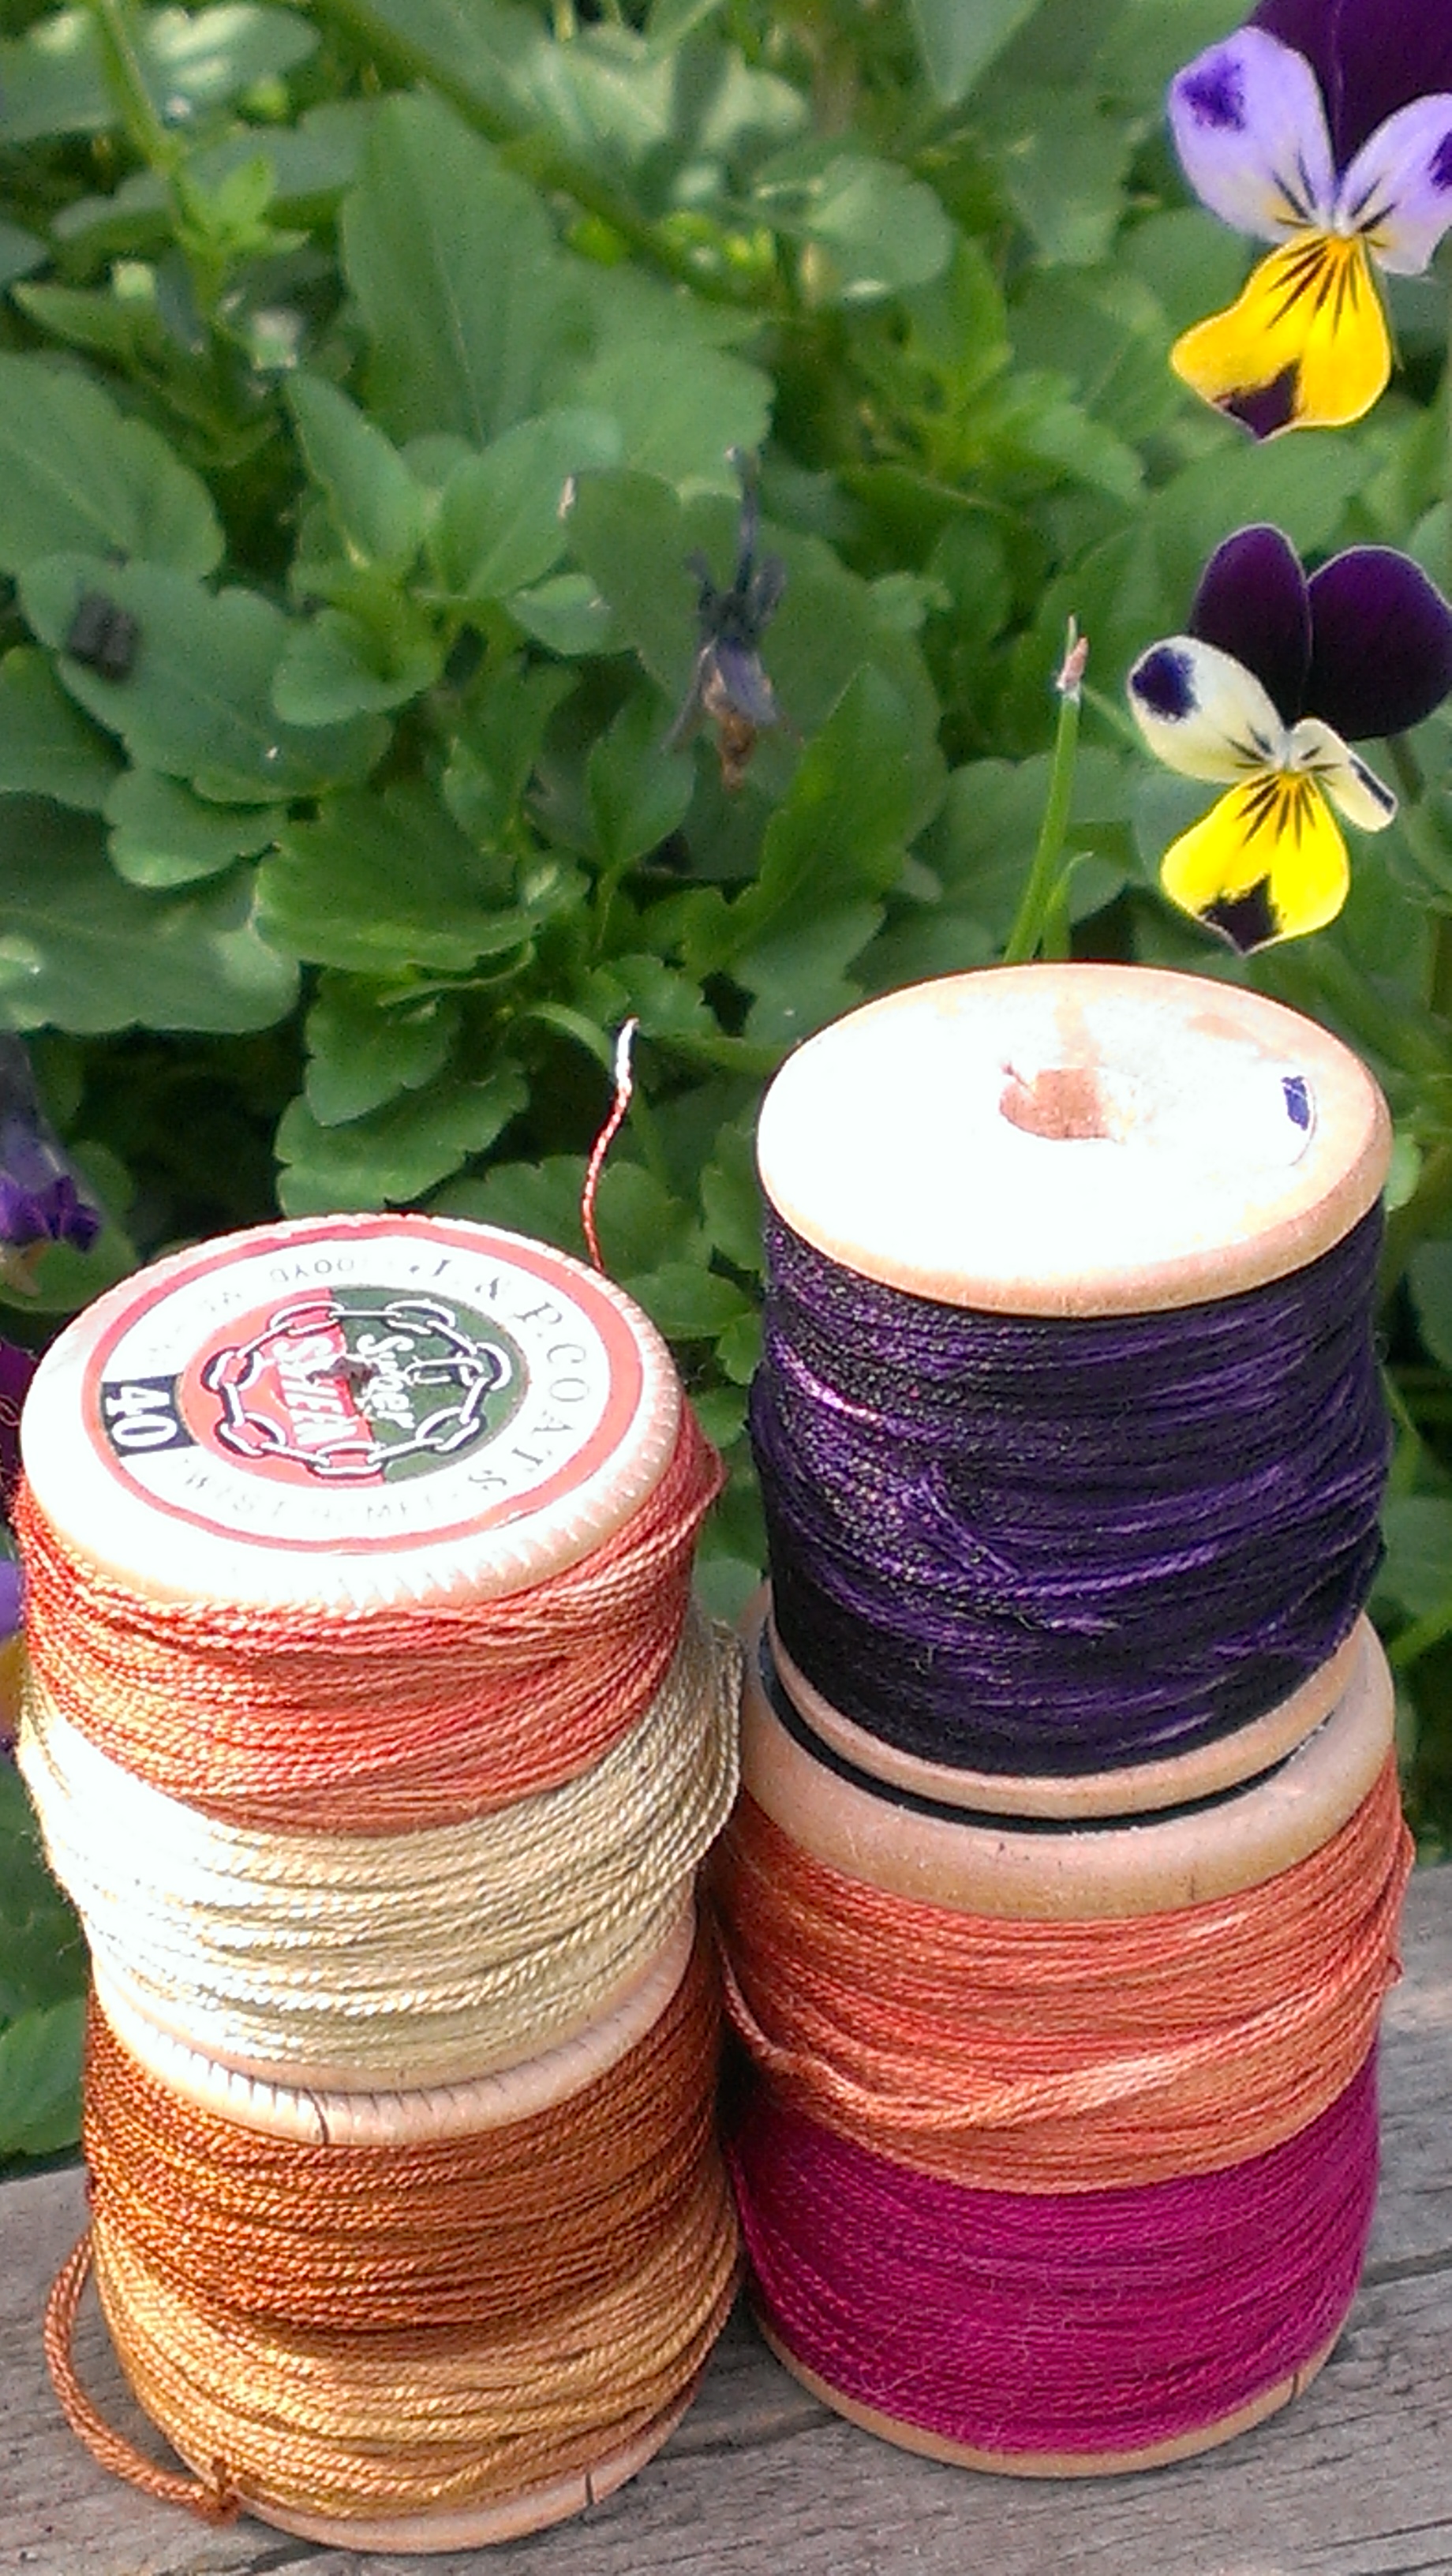
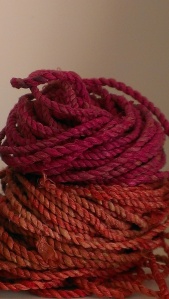
I am spinning a lot, in several different fibres.  I went to a weekend away with members of my Guild recently and carded a lot of naturally dyed wool.  It must be time to do some plying soon!  These colours include indigo, logwood and cochineal. Many came from exhaust dyebaths after a dyeing workshop where I used old dyestuffs donated to the Guild.

IMAG0963

2. How does my work differ from others?

I am not sure it always does!  Over time, I find myself working further and further back along the process of creating things: over some years I went from knitting socks to spinning yarn to dyeing fibre to processing raw fleece and identifying local weeds and trees for dyeing and growing dye plants.  This doesn’t interest everyone.  Yet, I can’t claim to be all about process. I enjoy creating a finished thing that will be of use.  I am less excited about things that are just for display.

IMAG0966

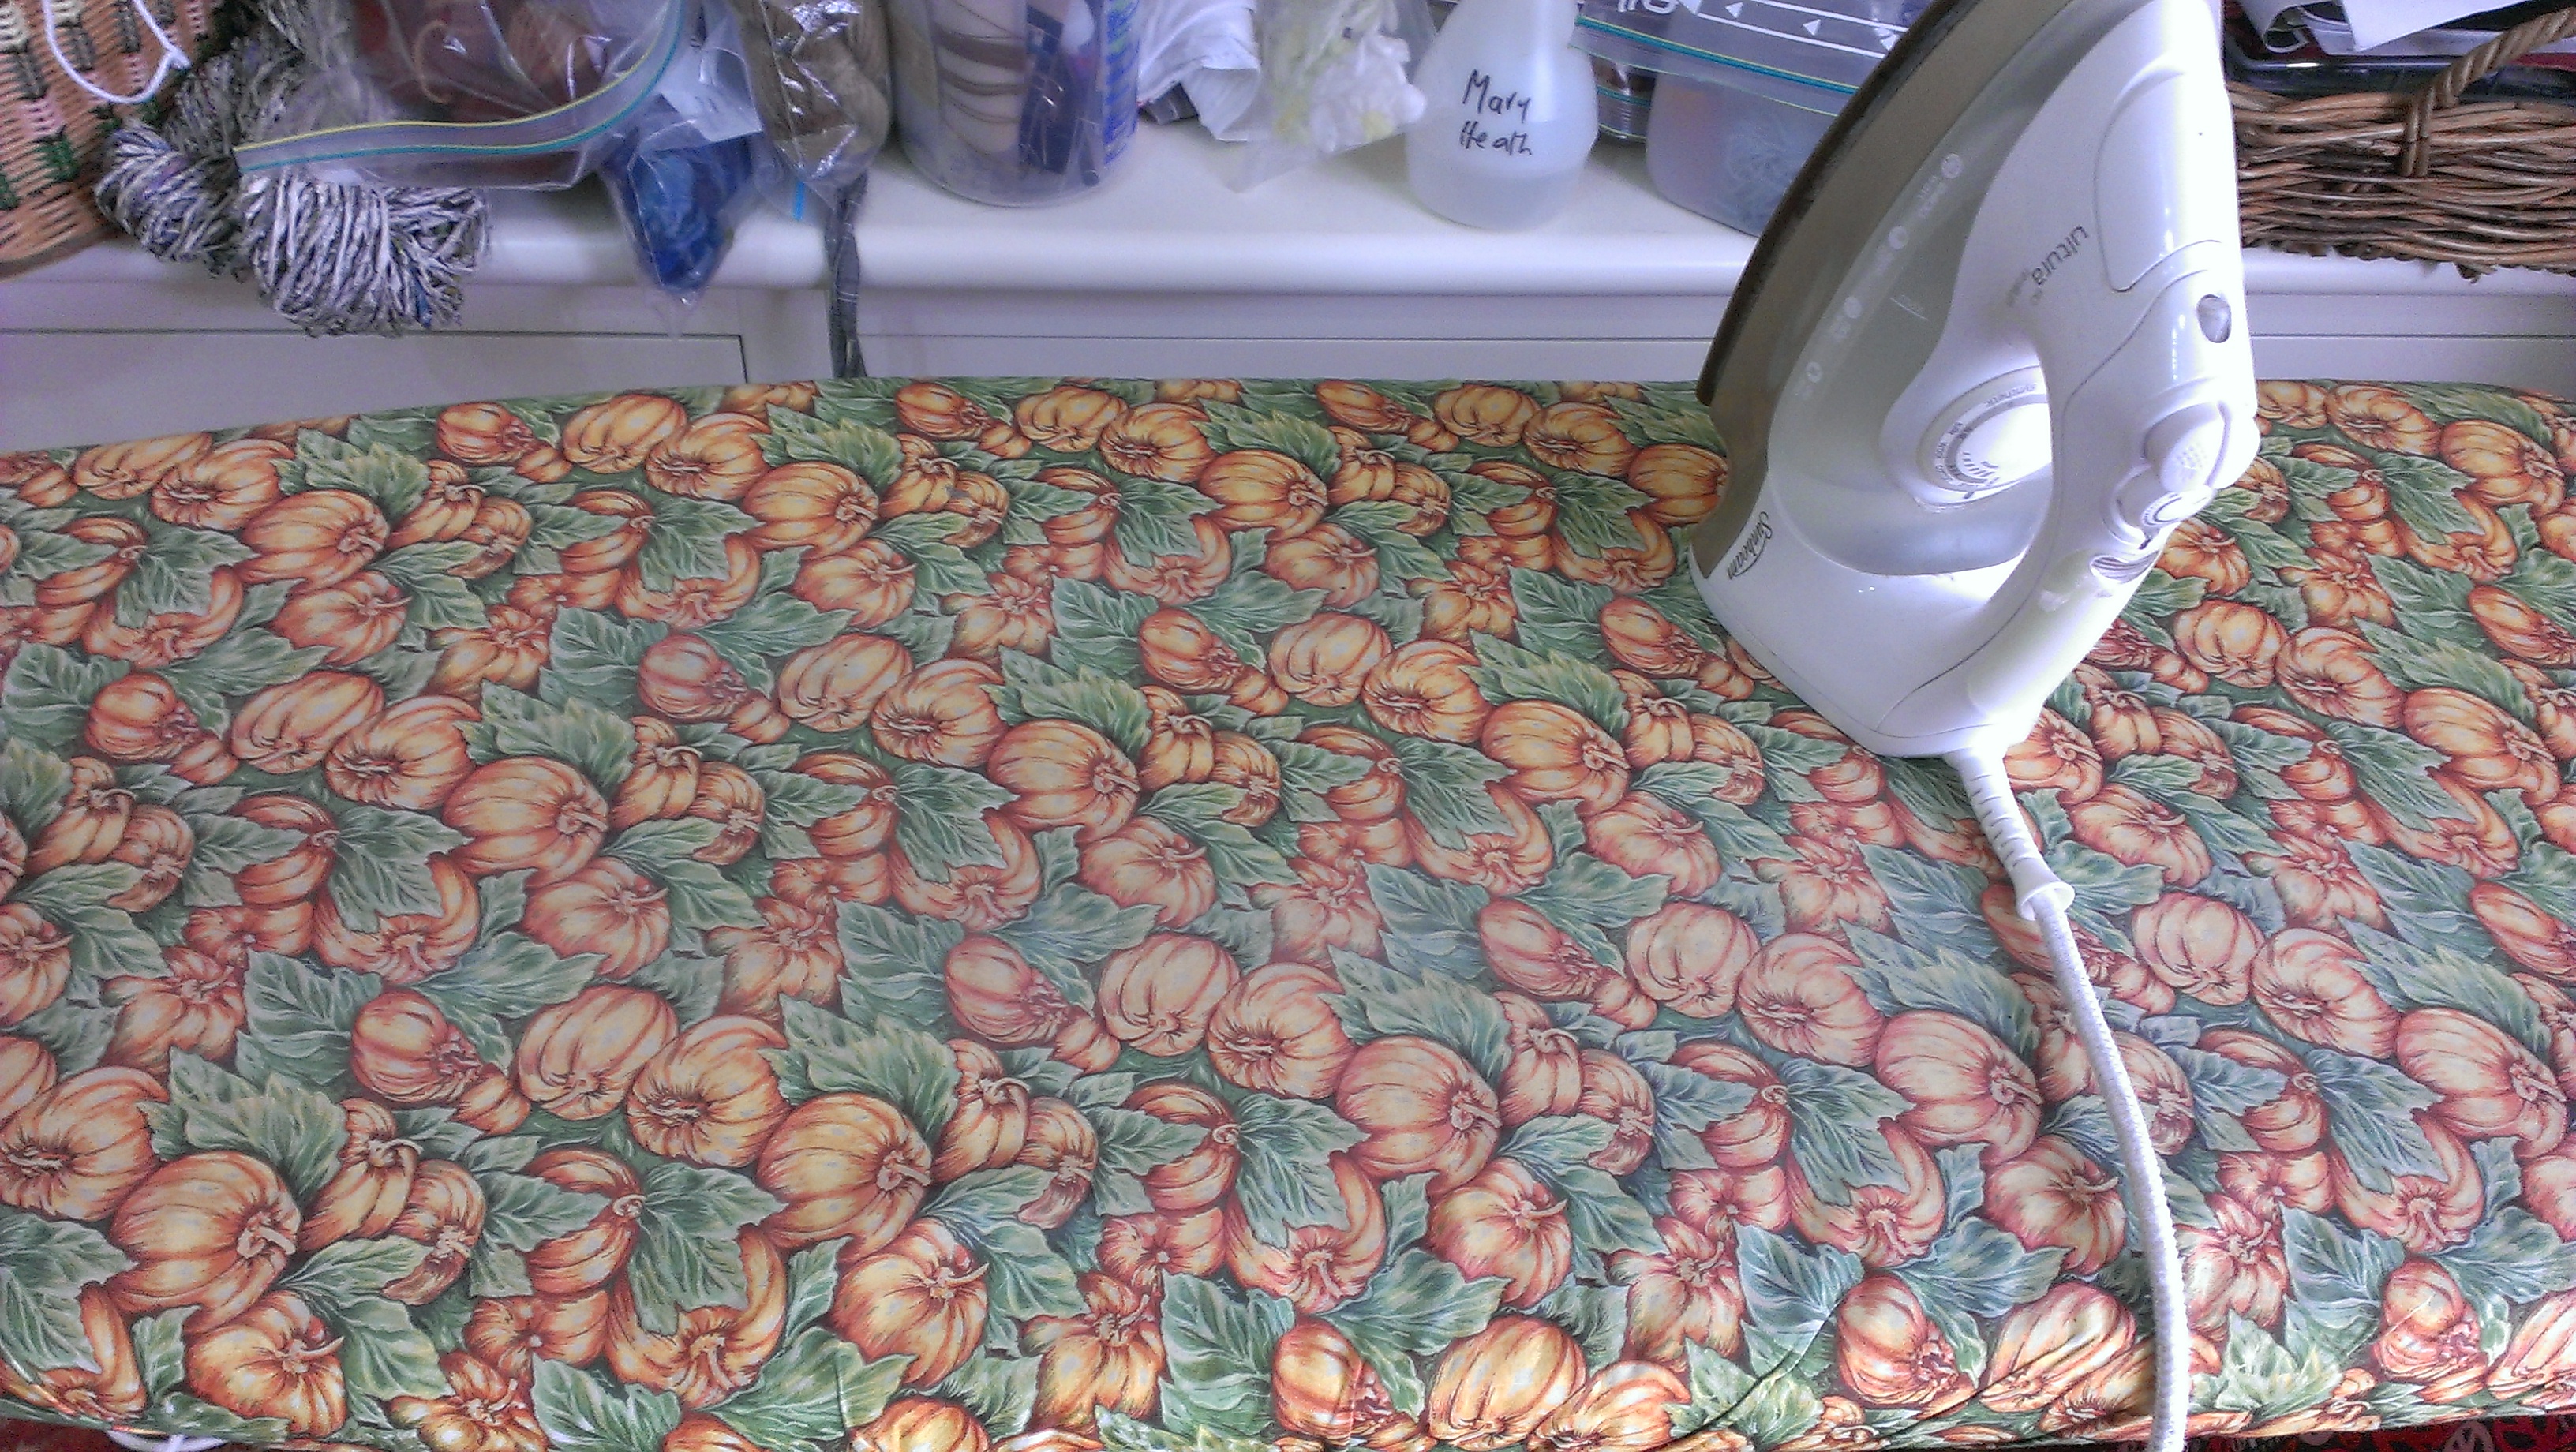
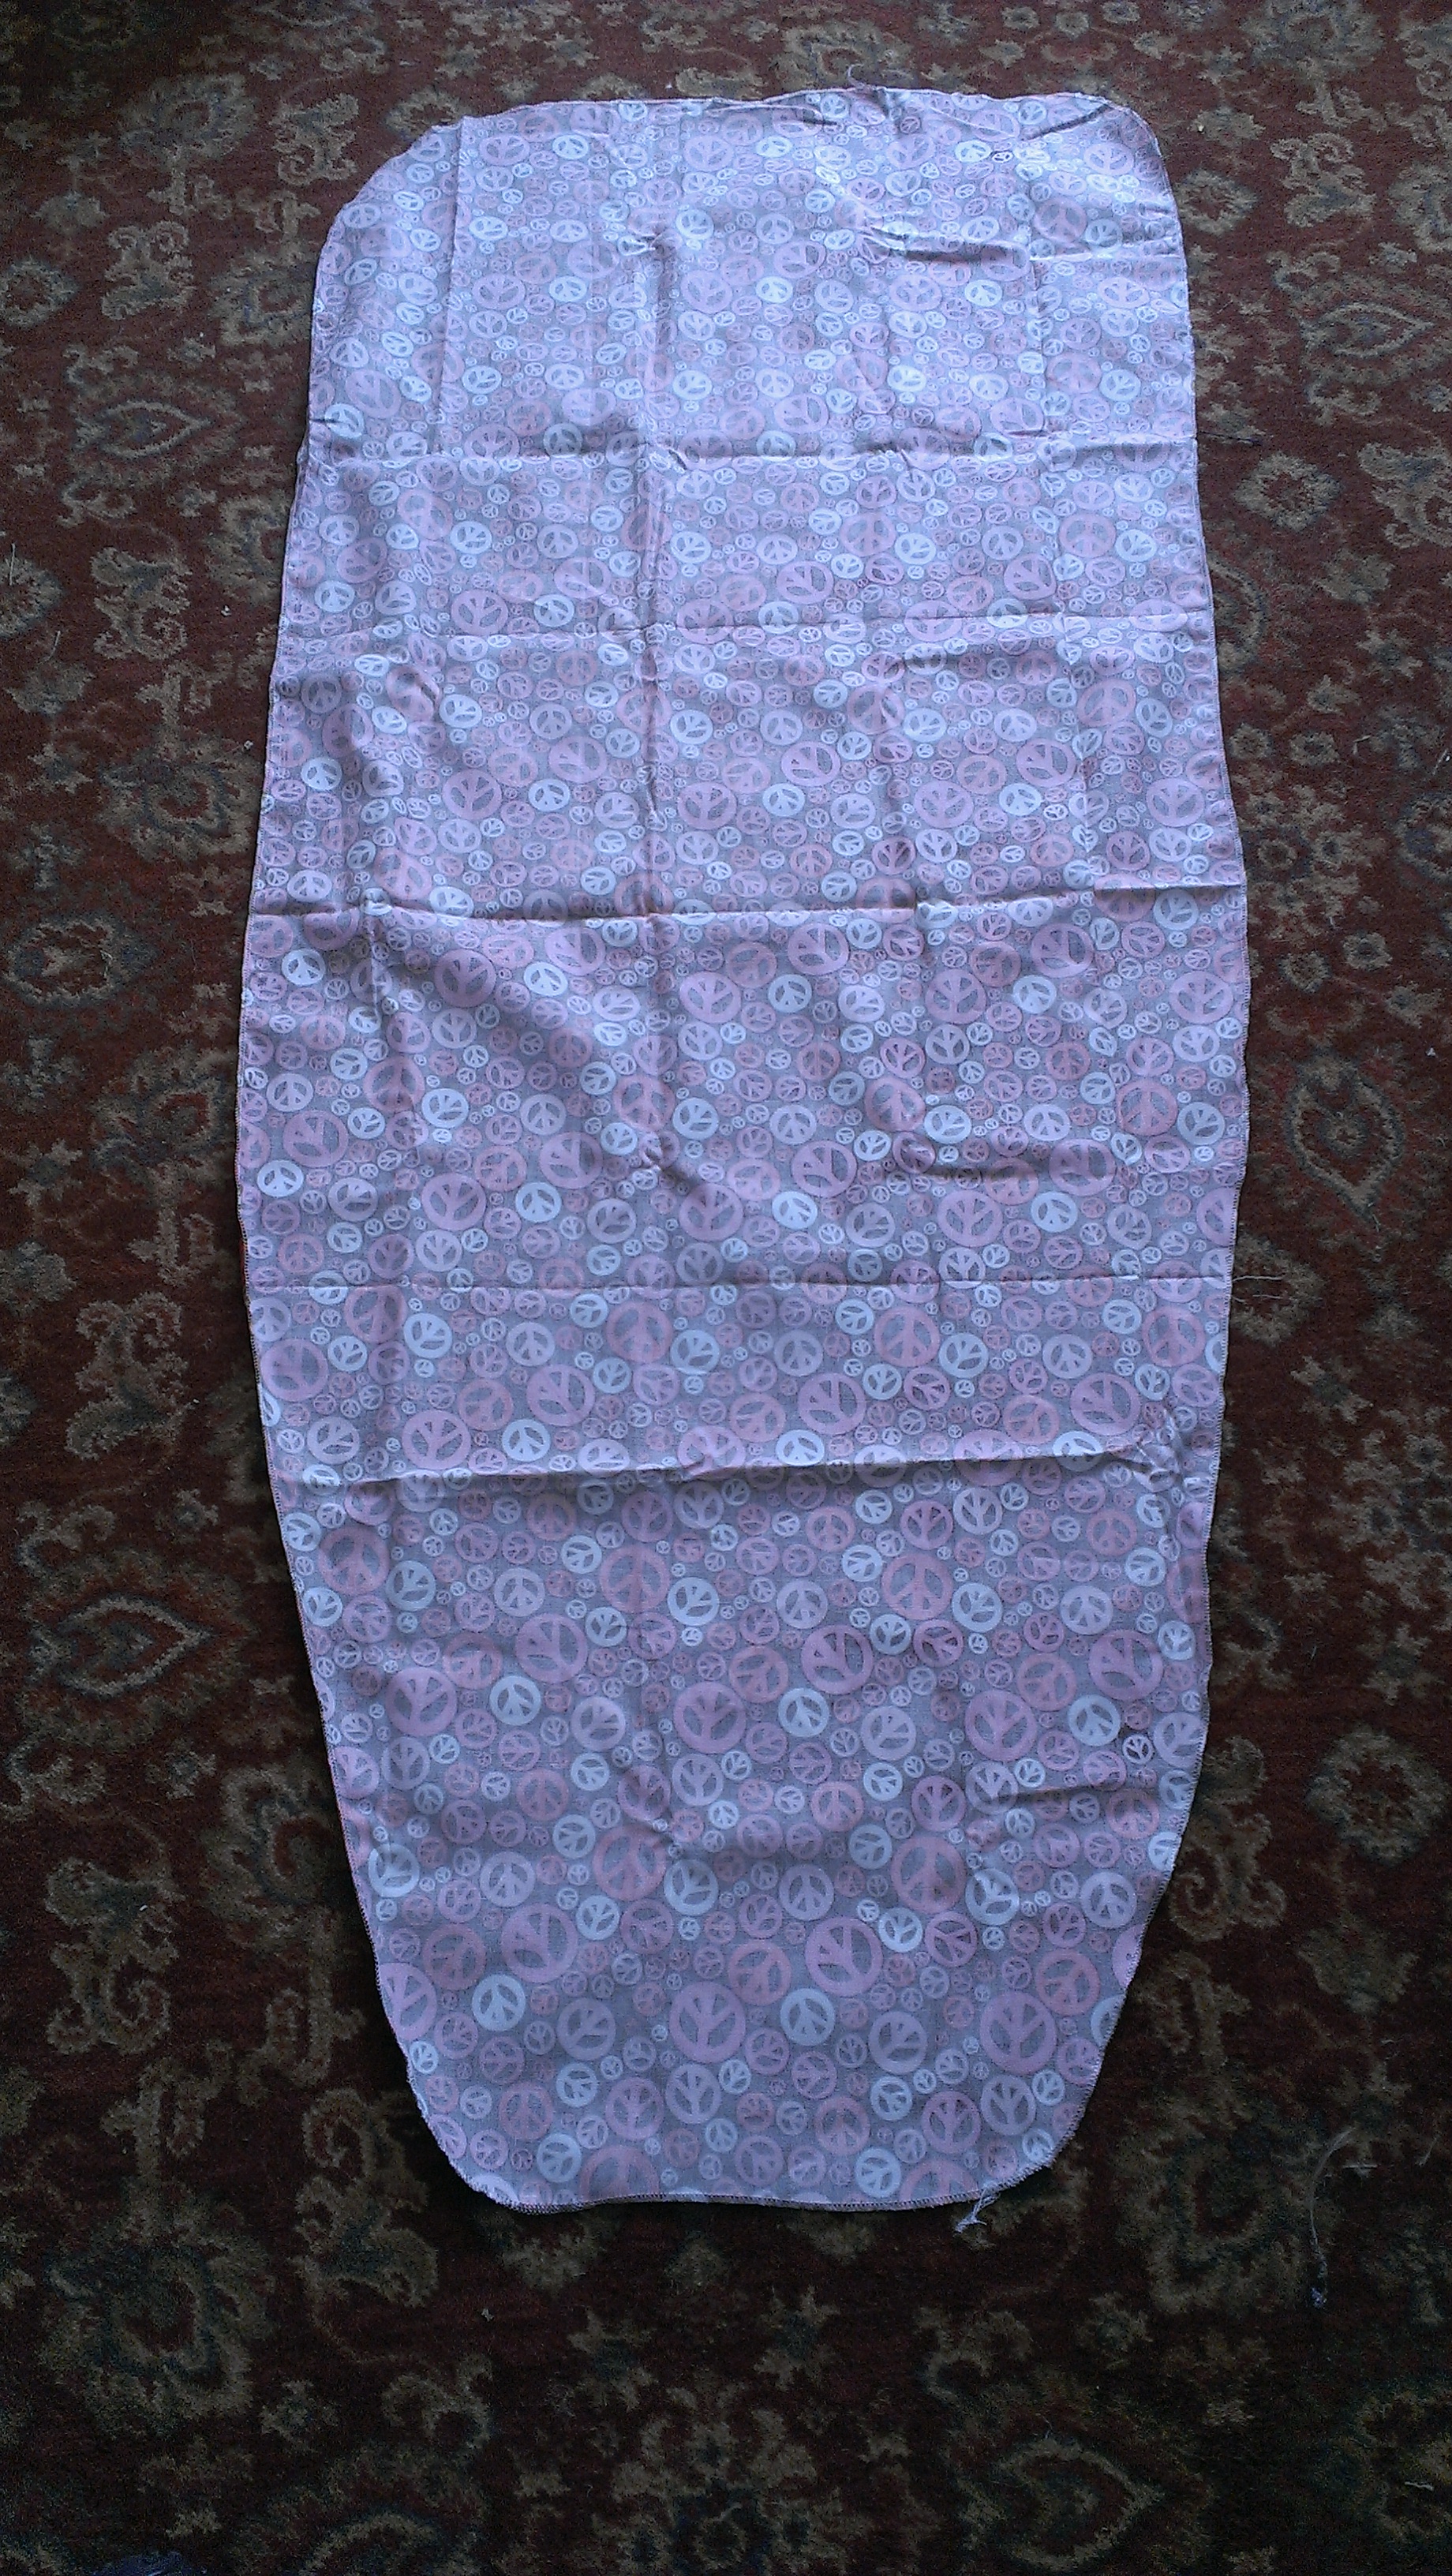
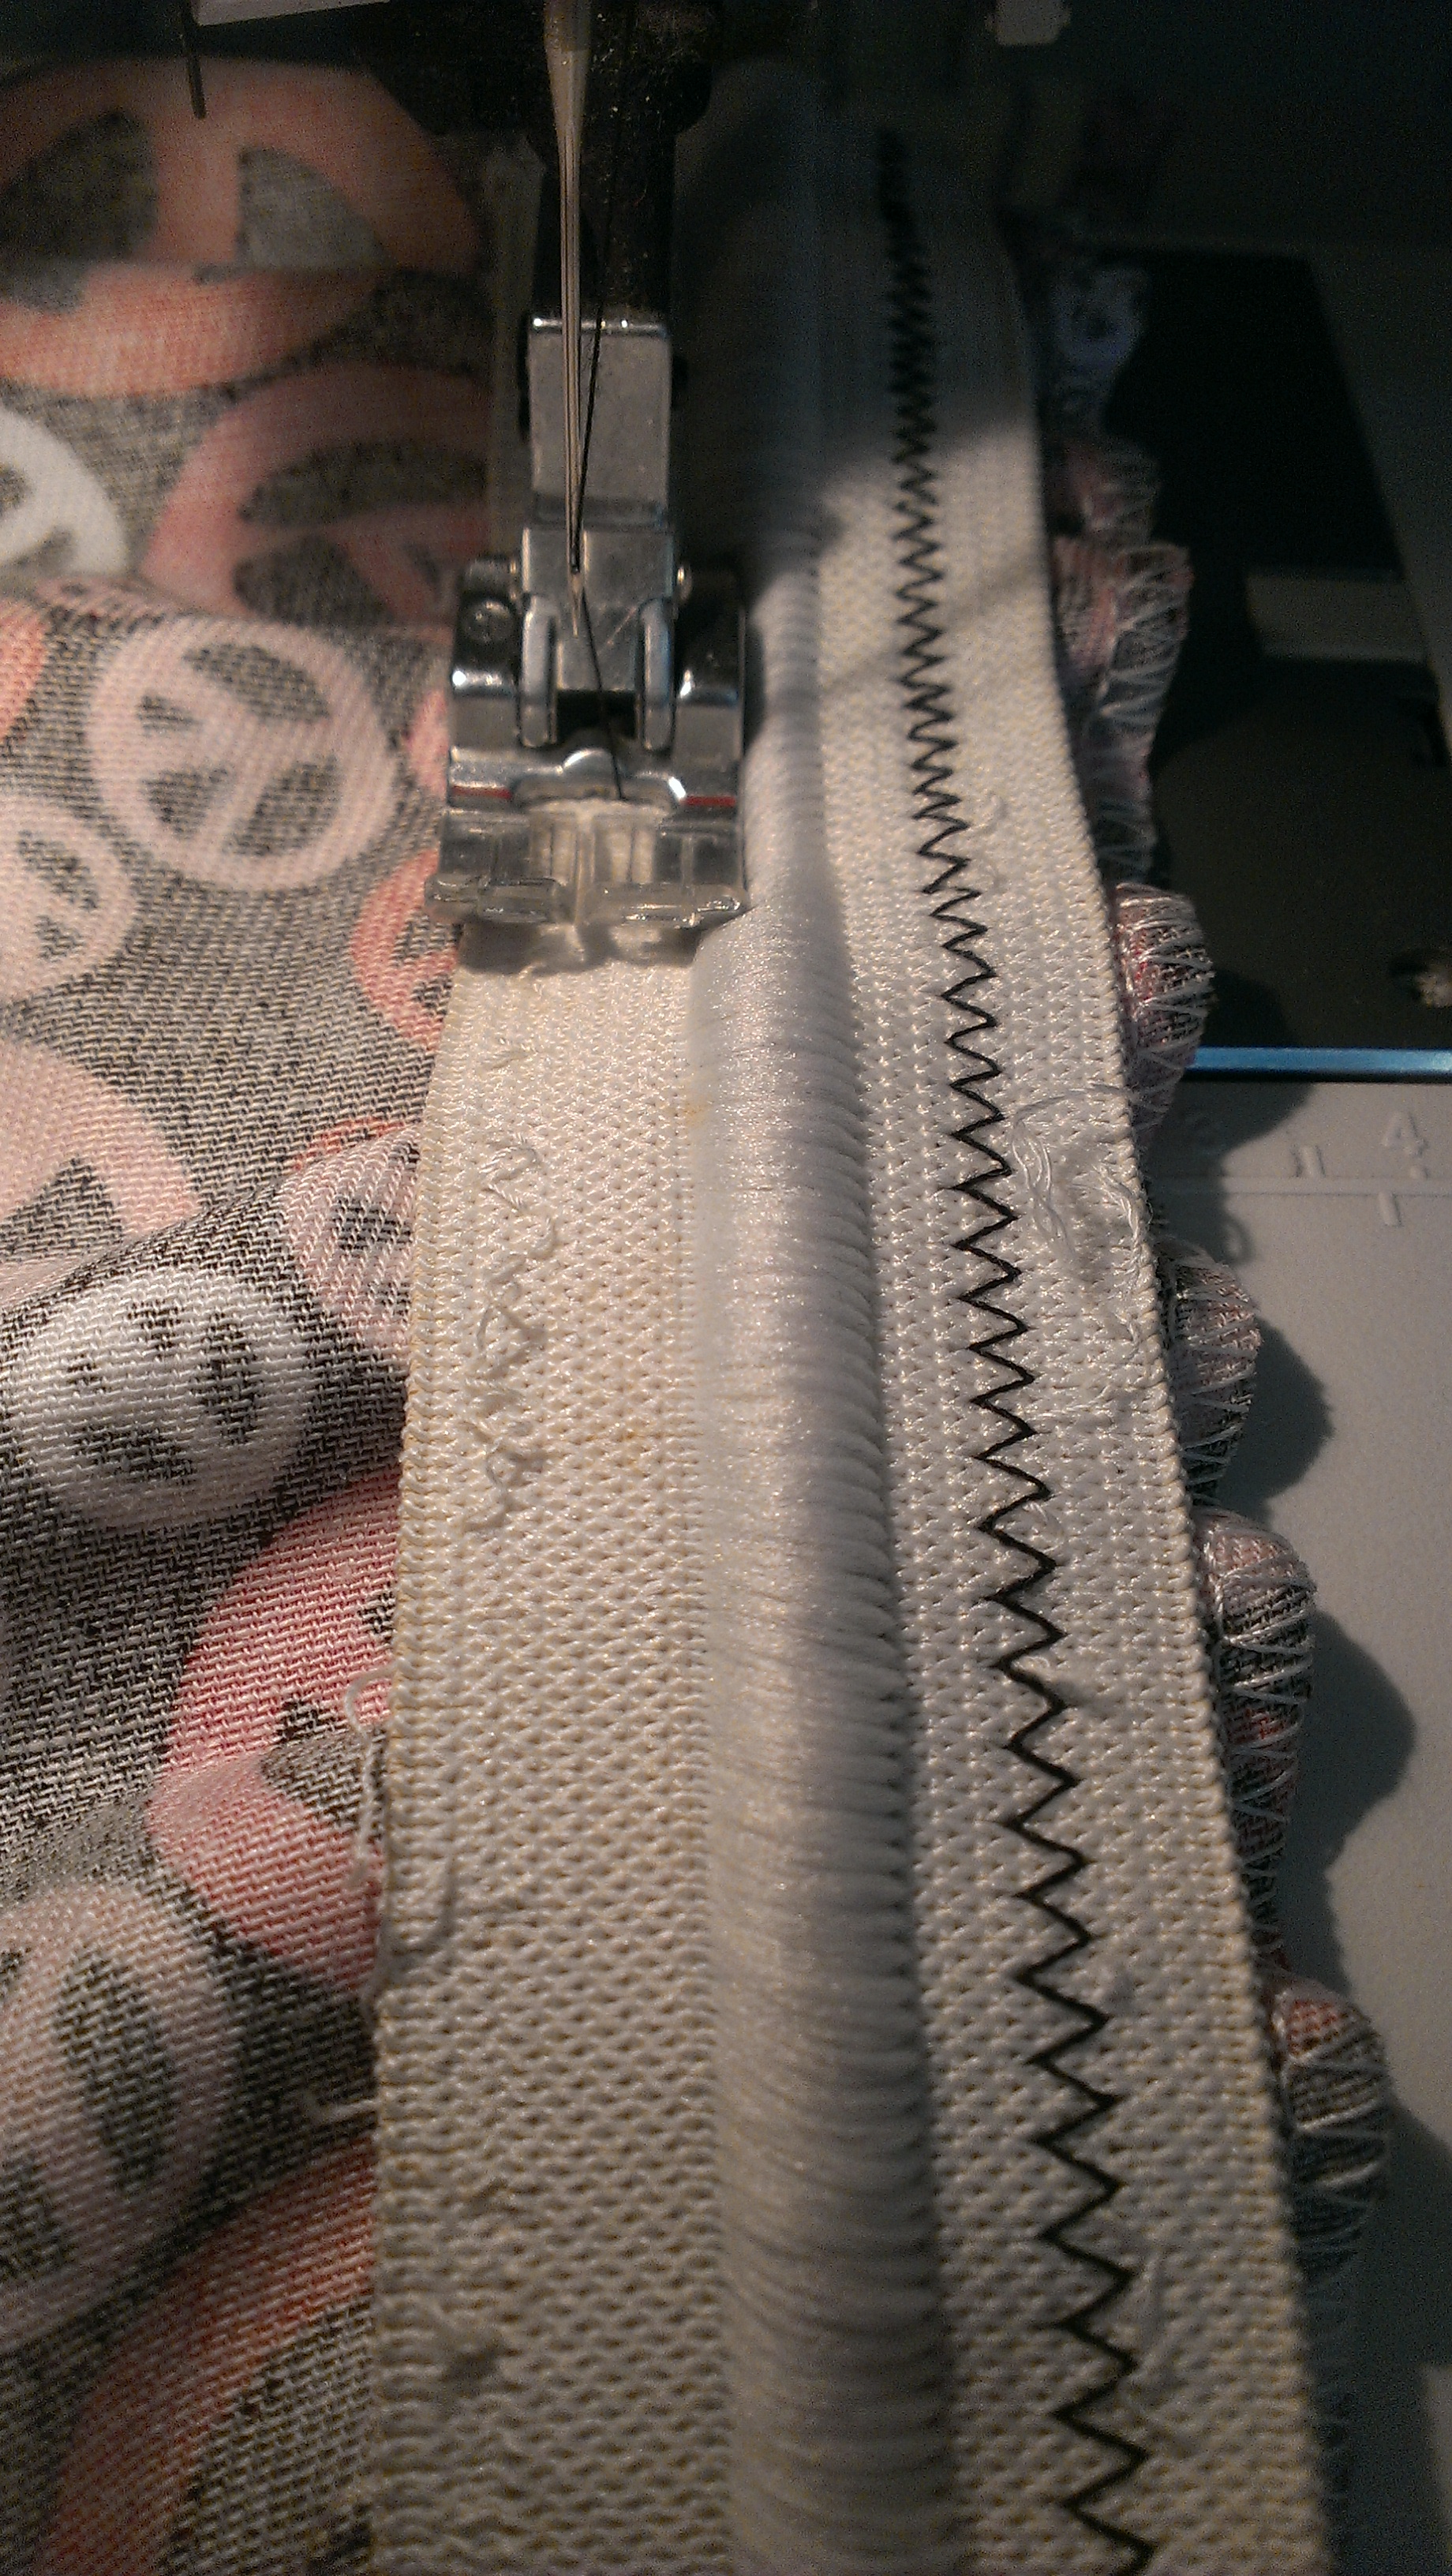
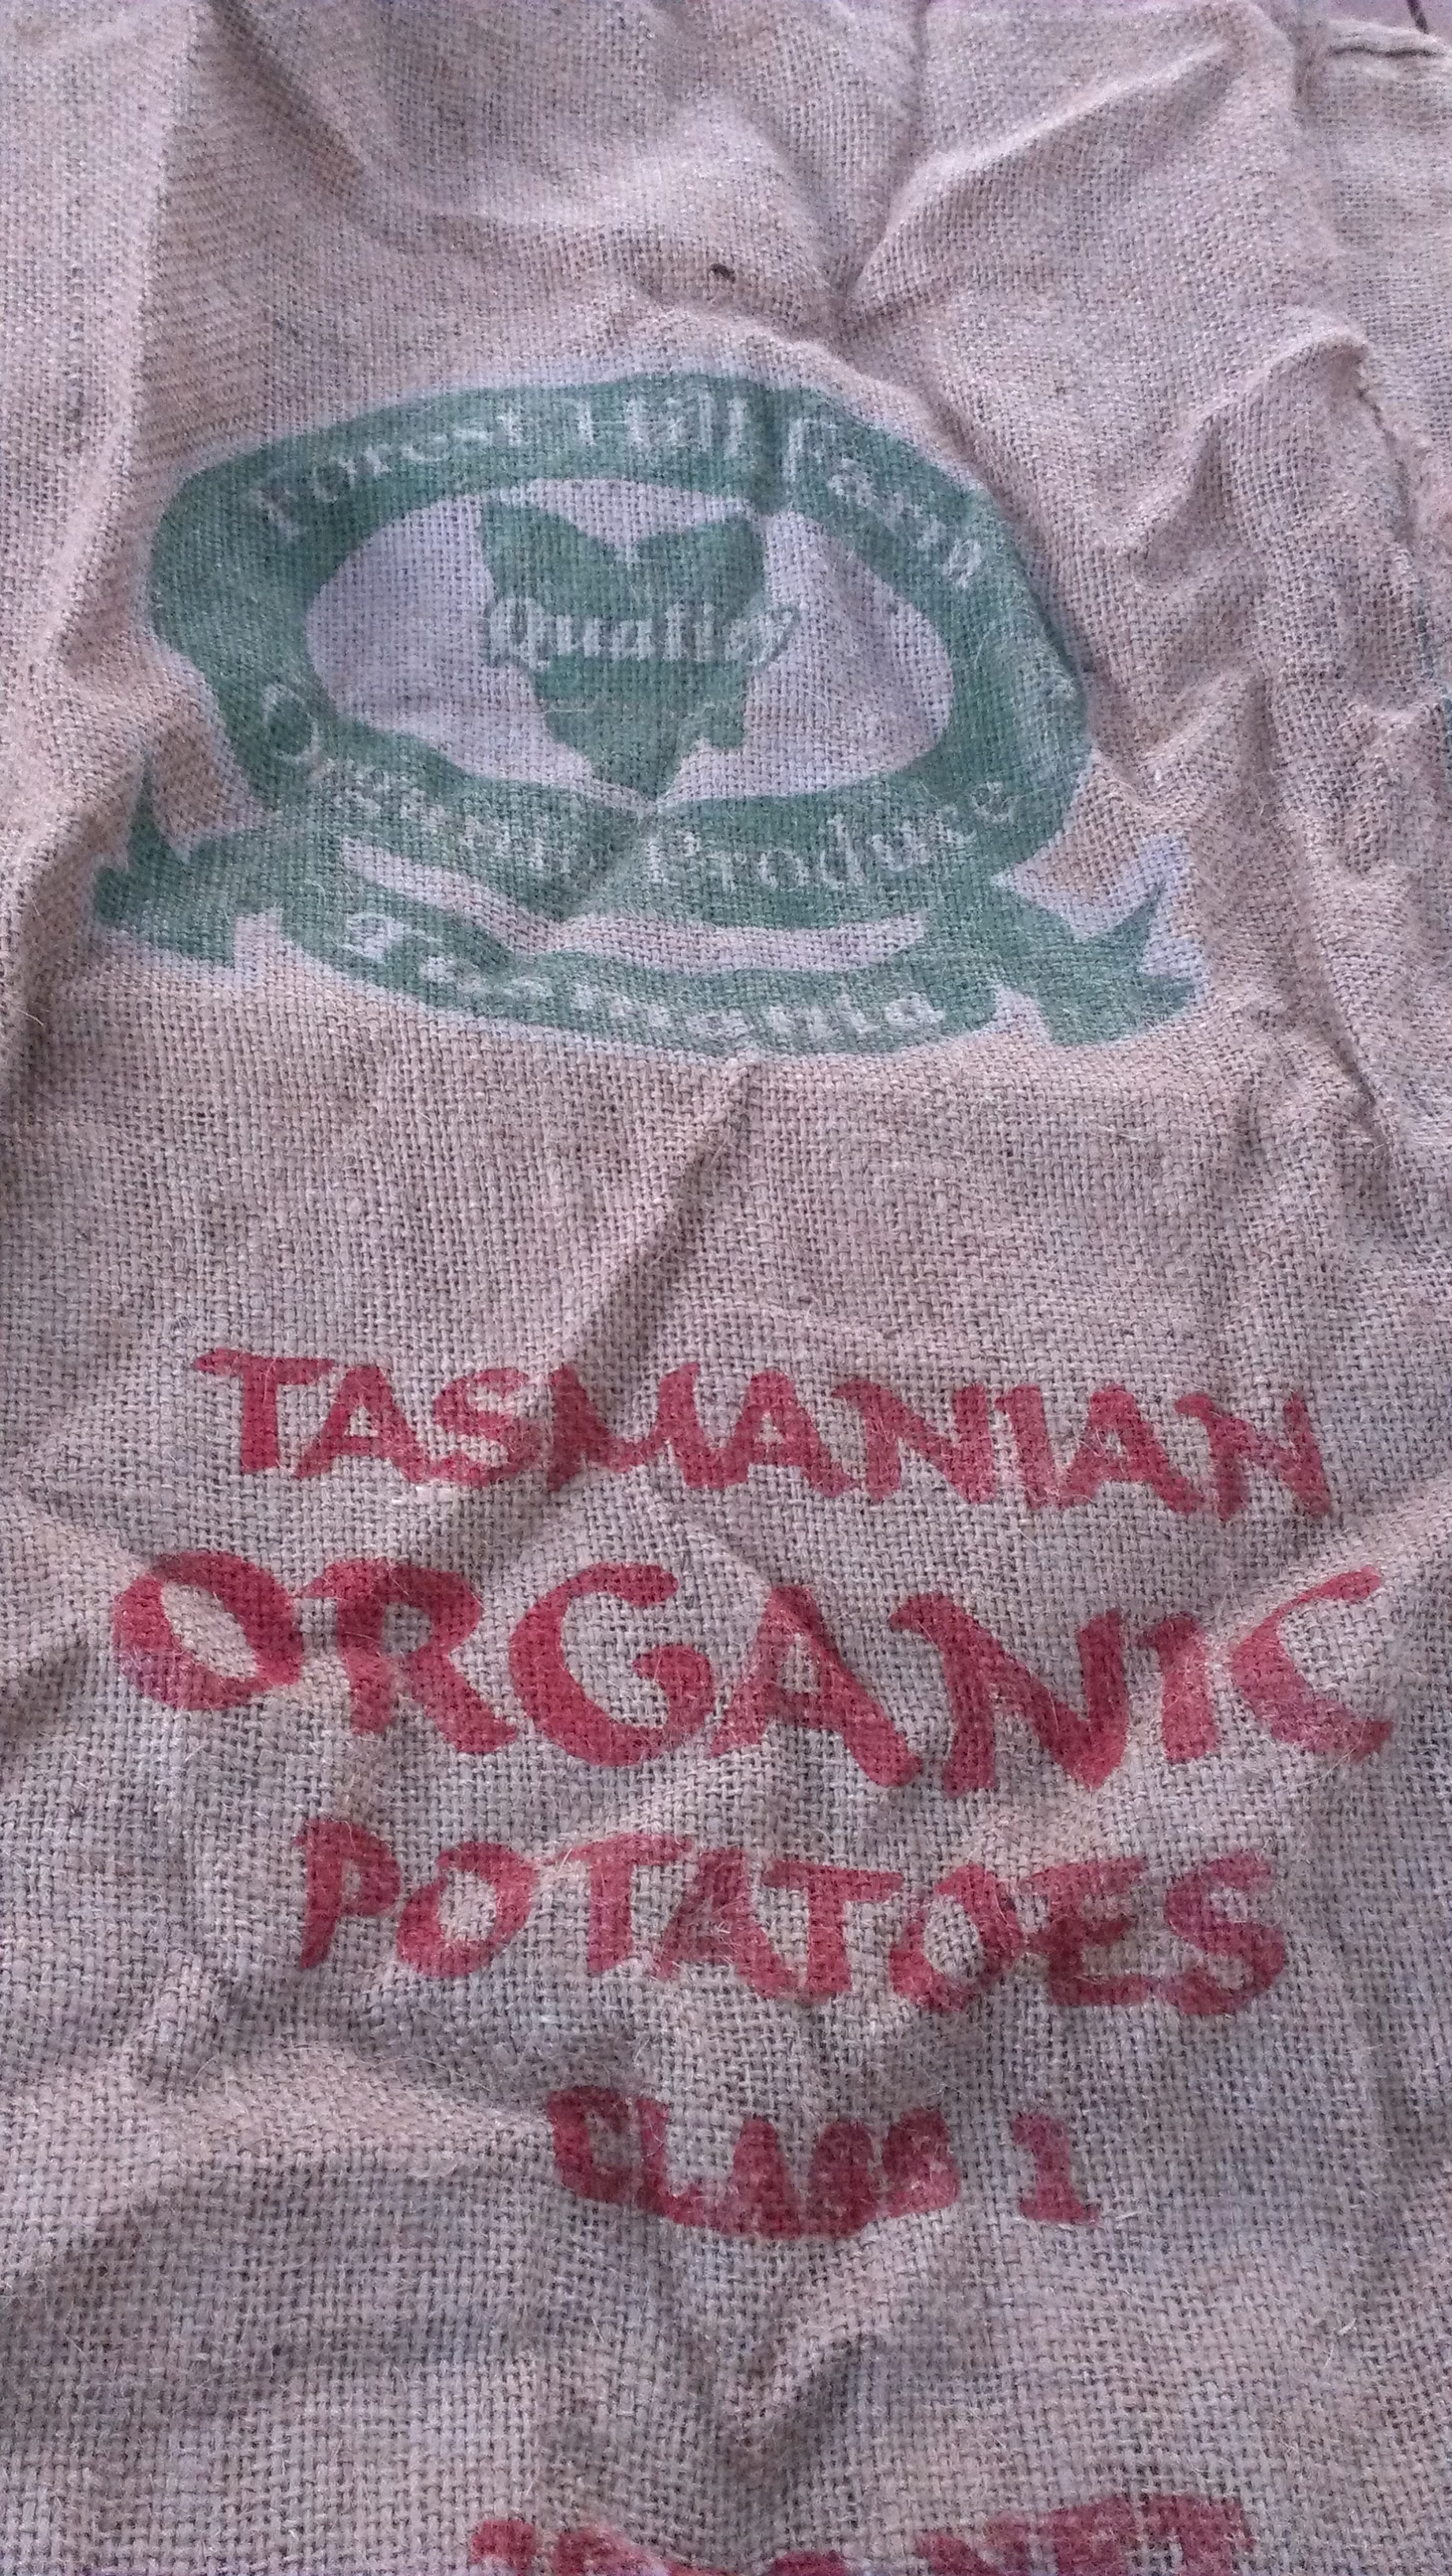
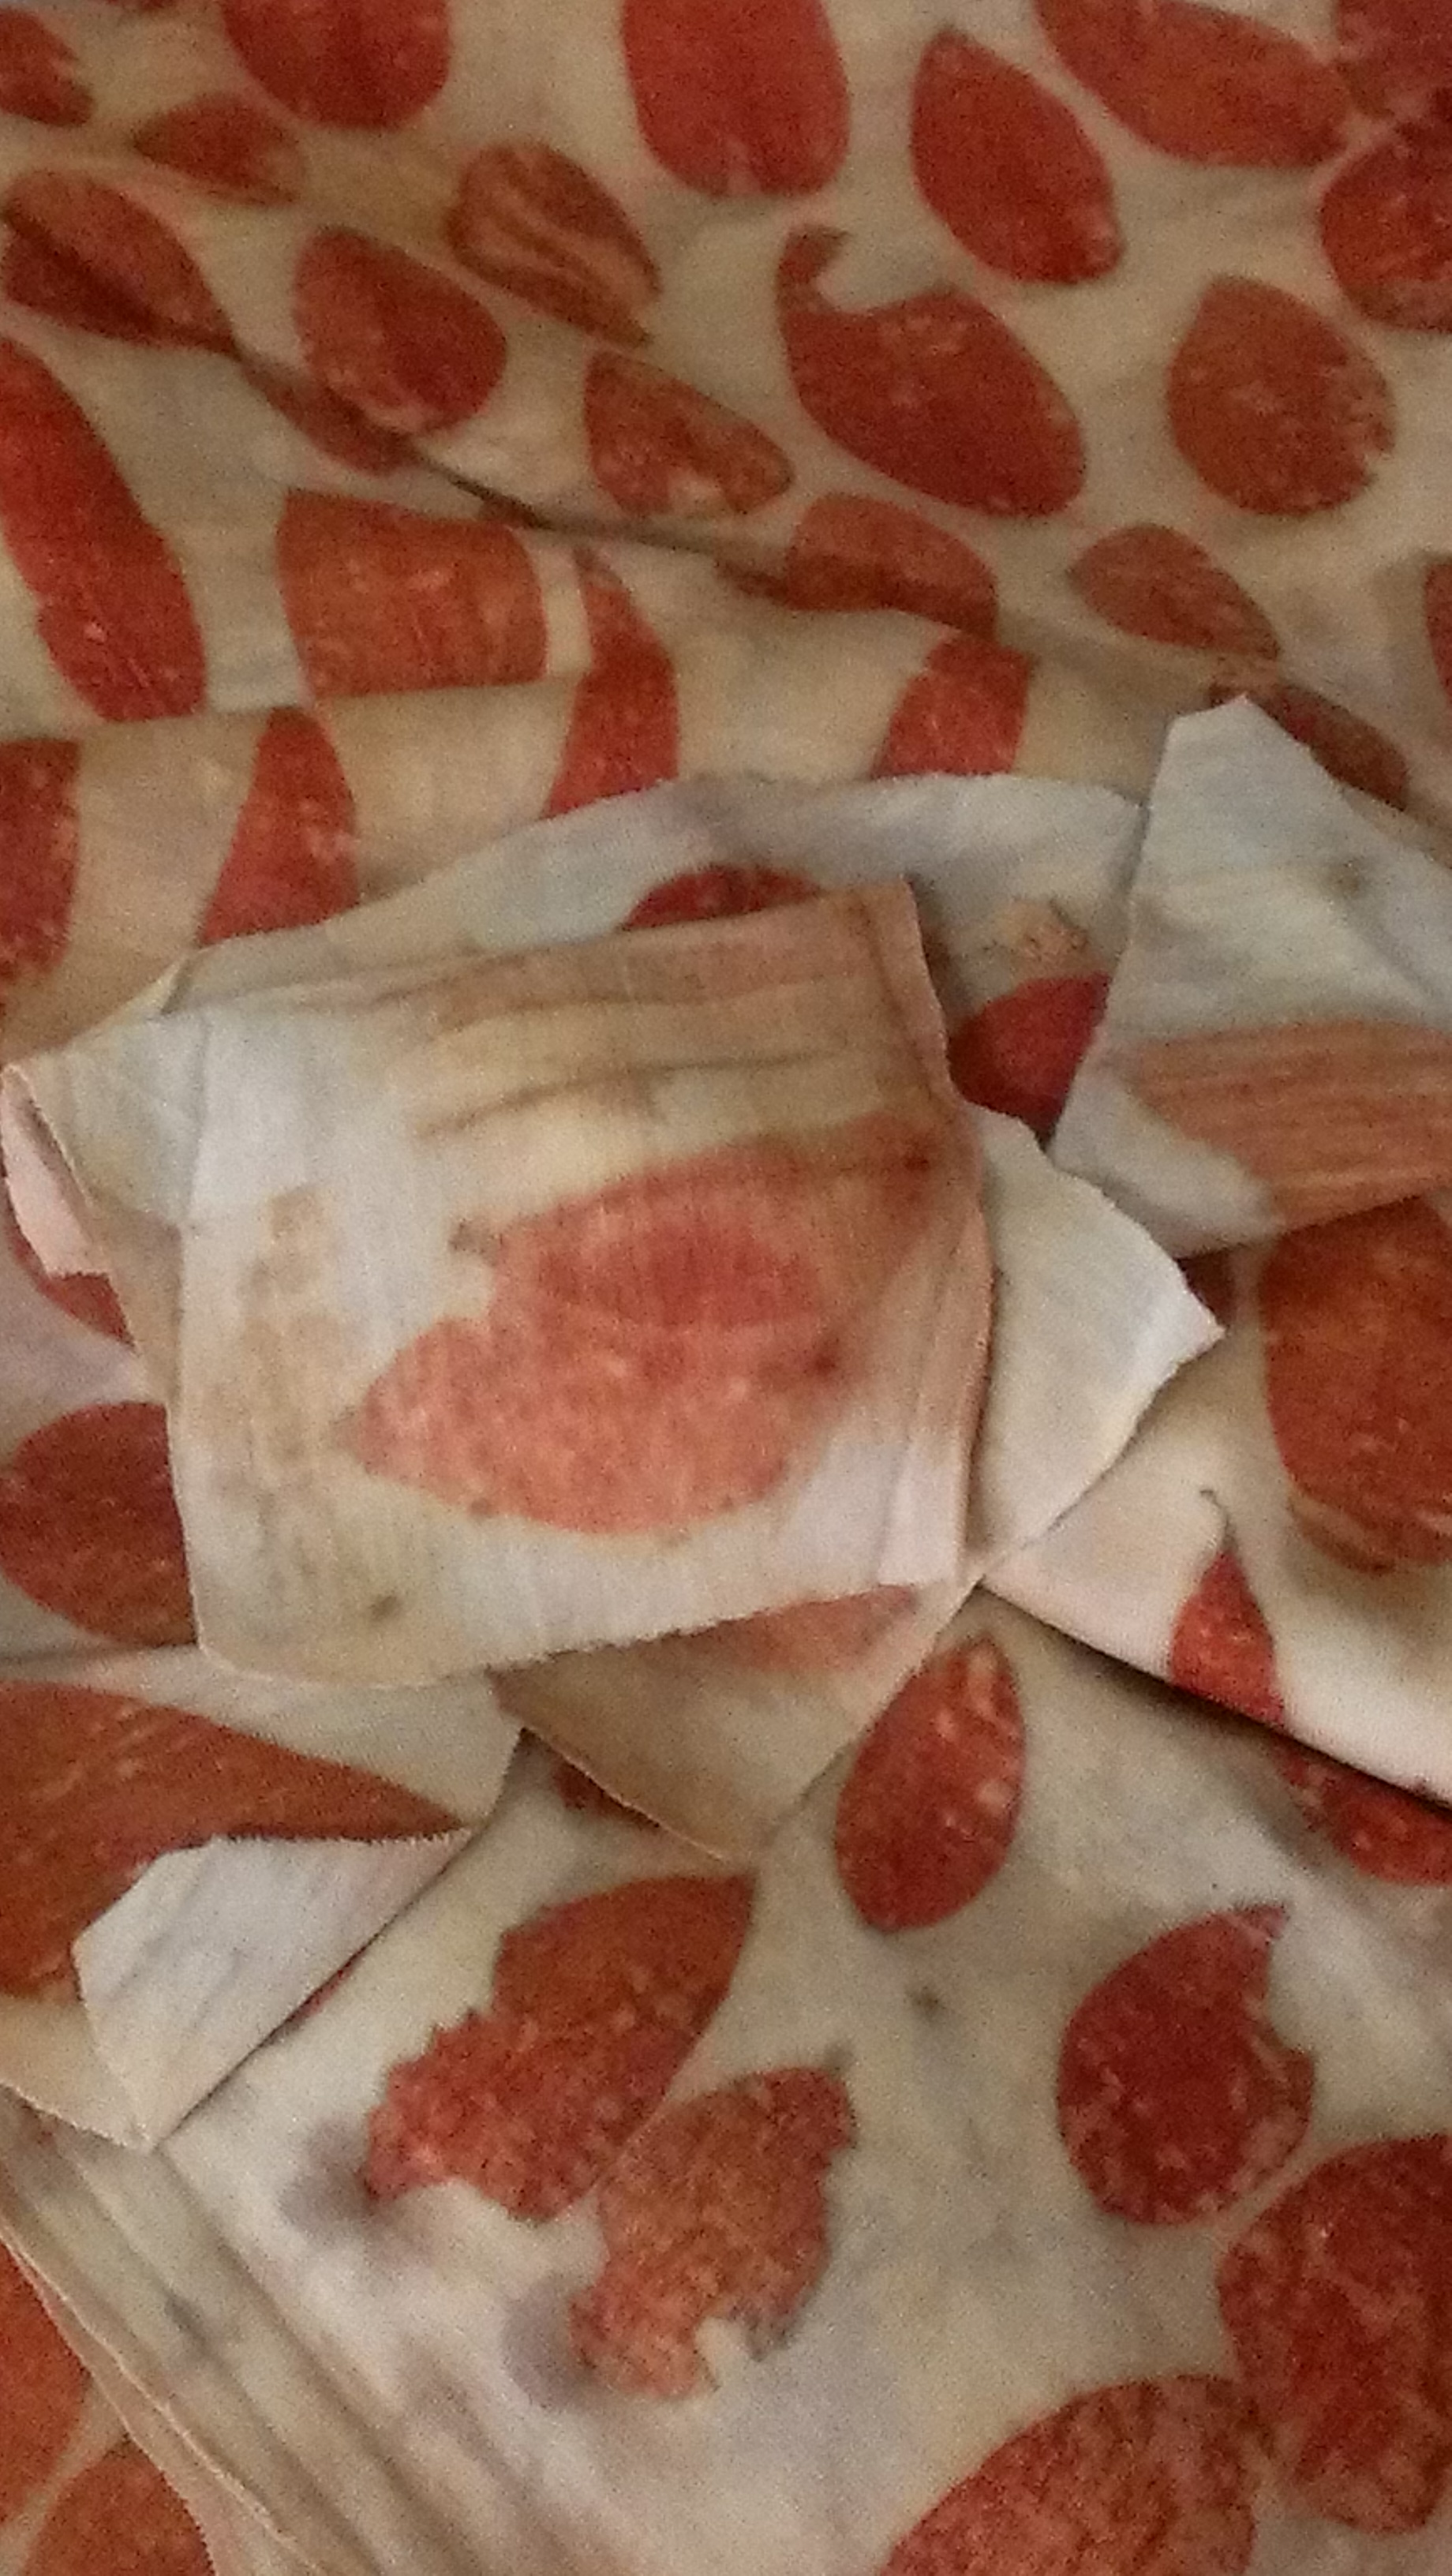
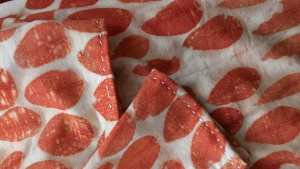
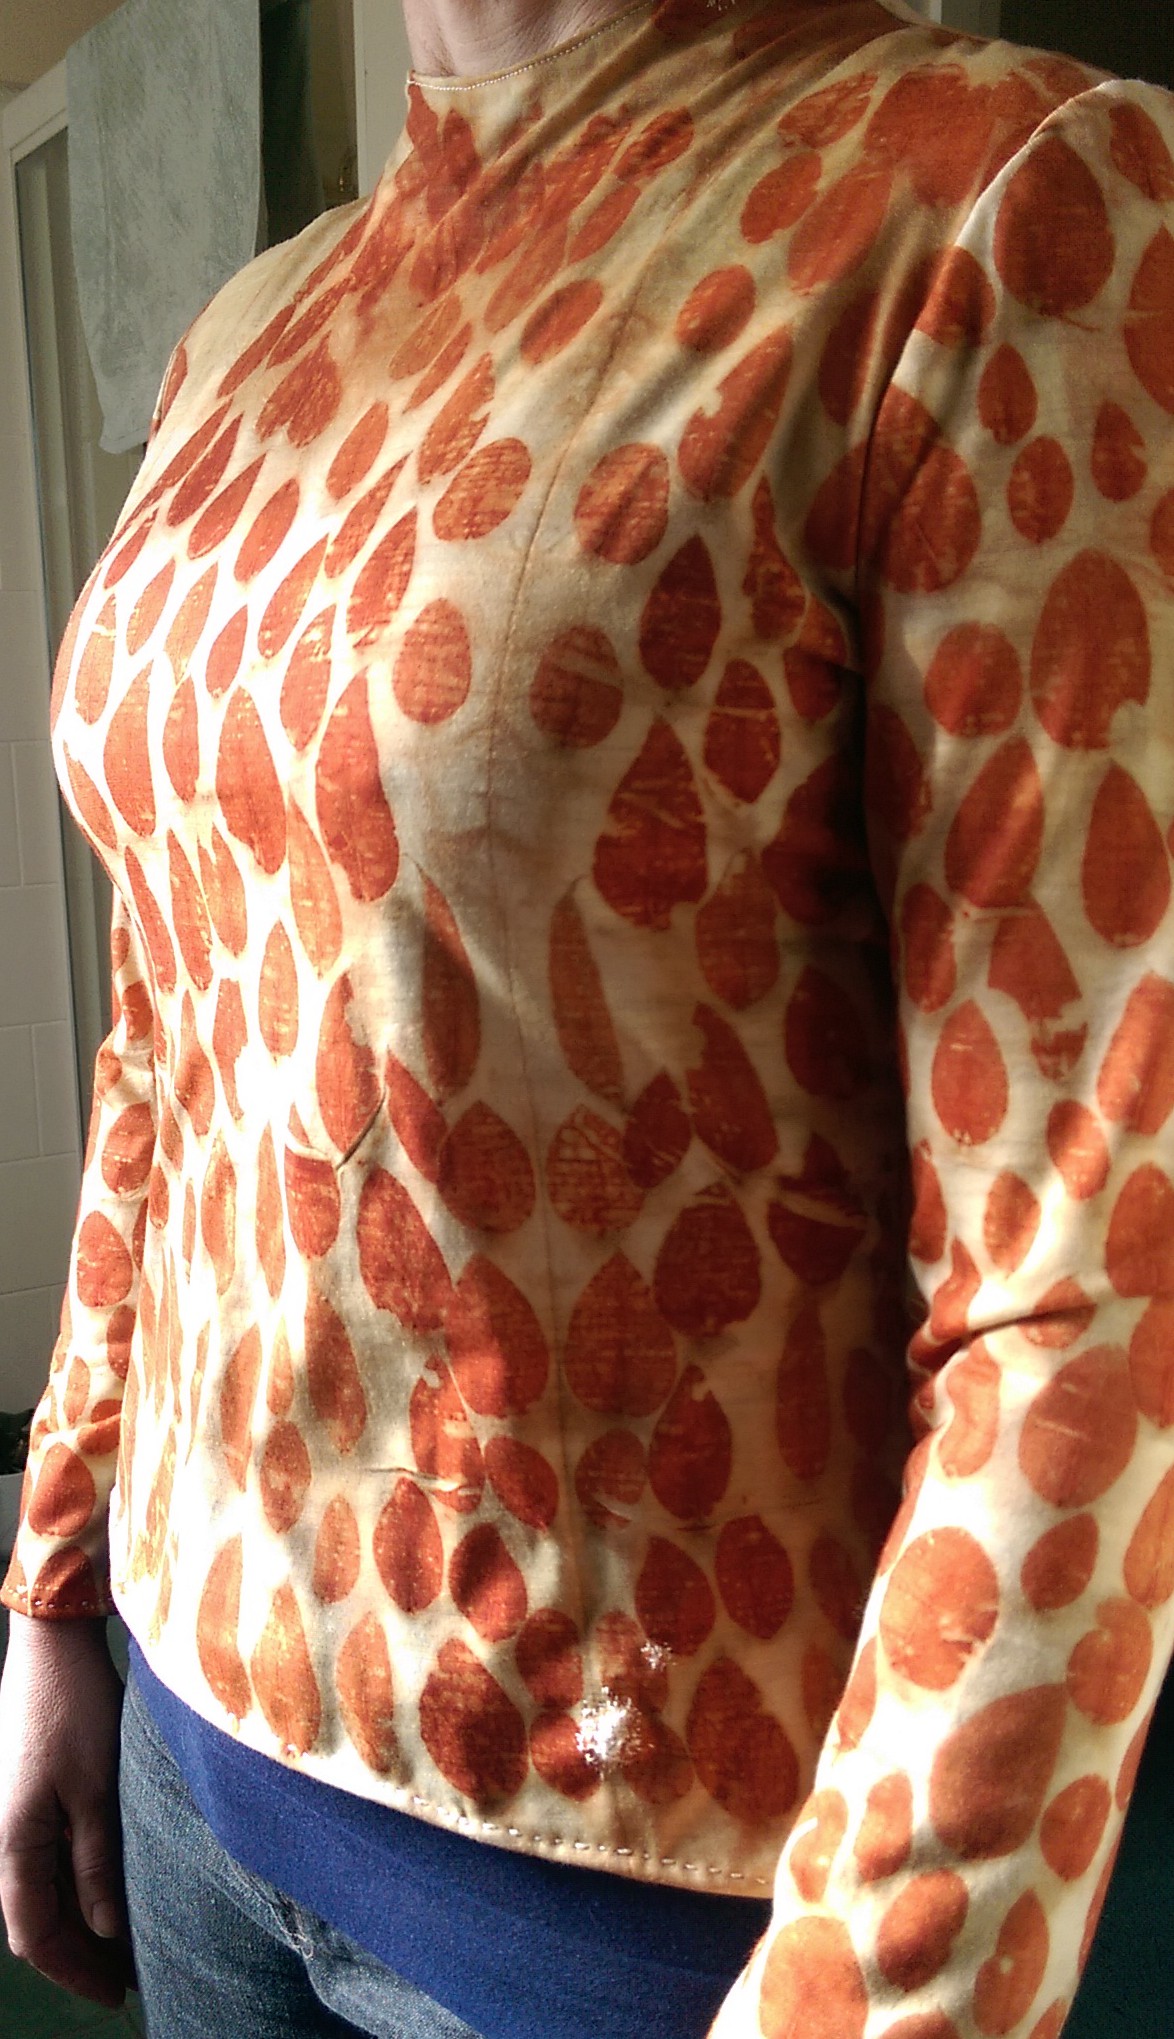
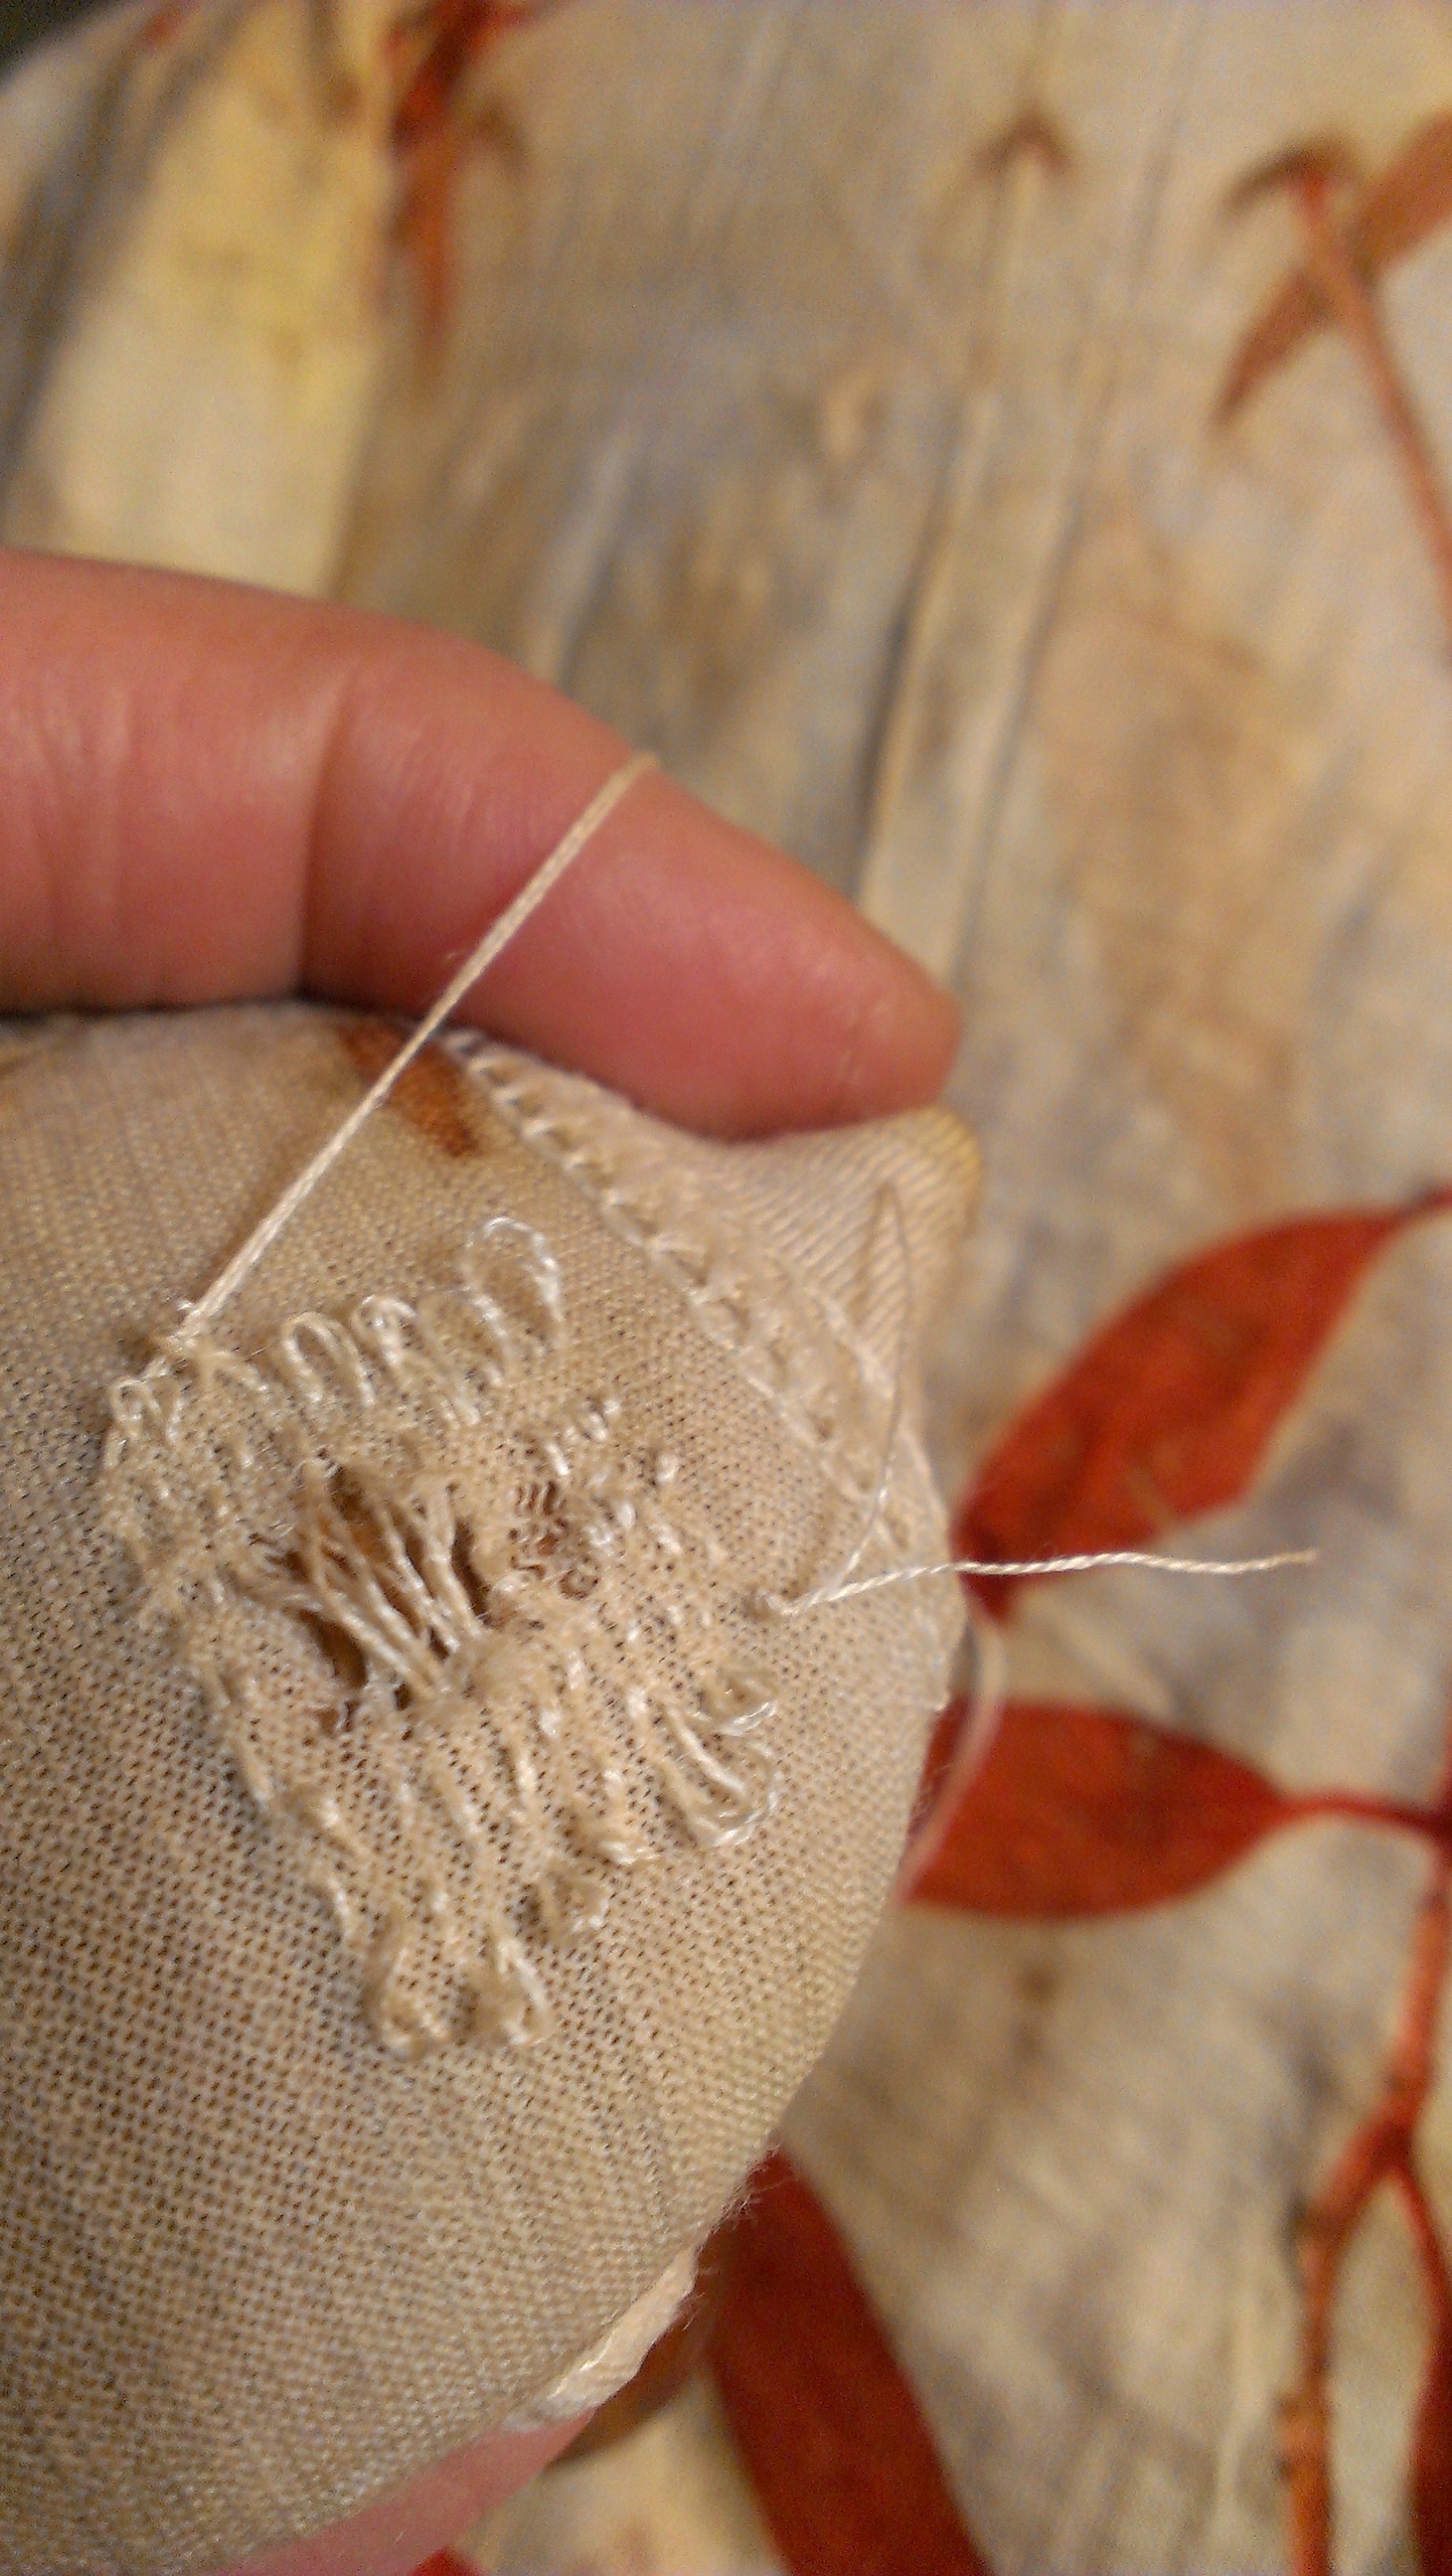
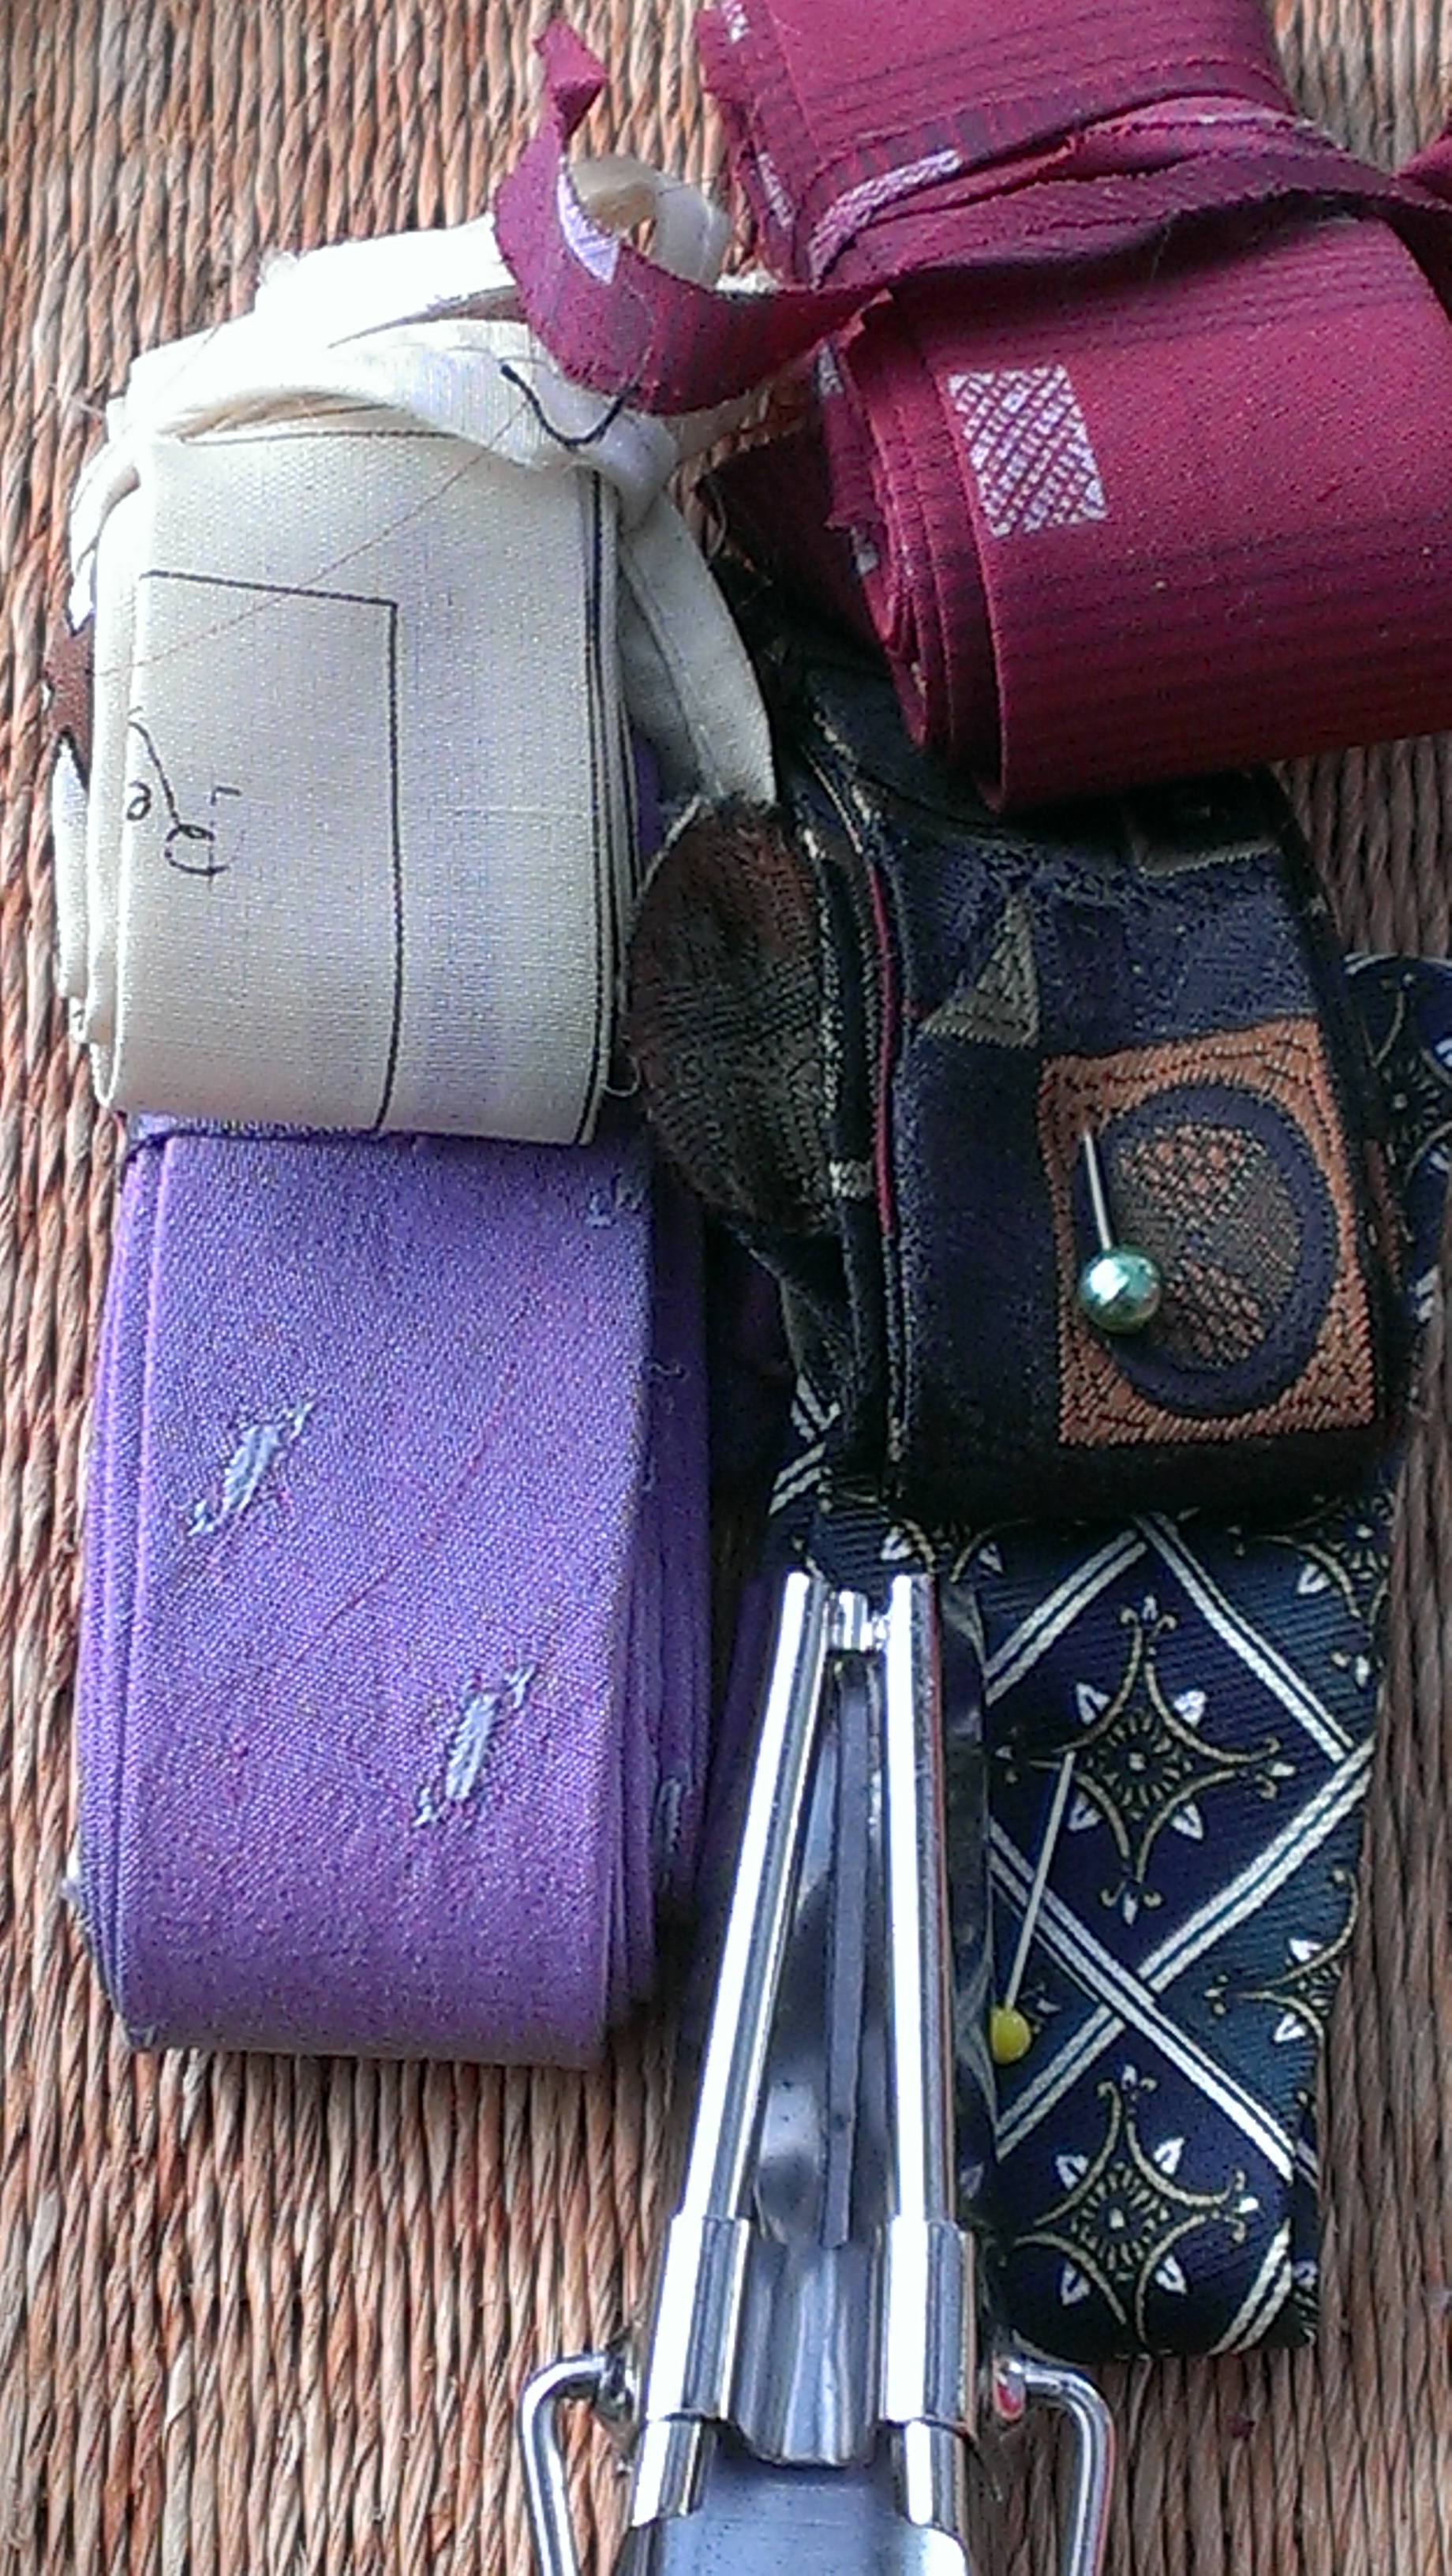
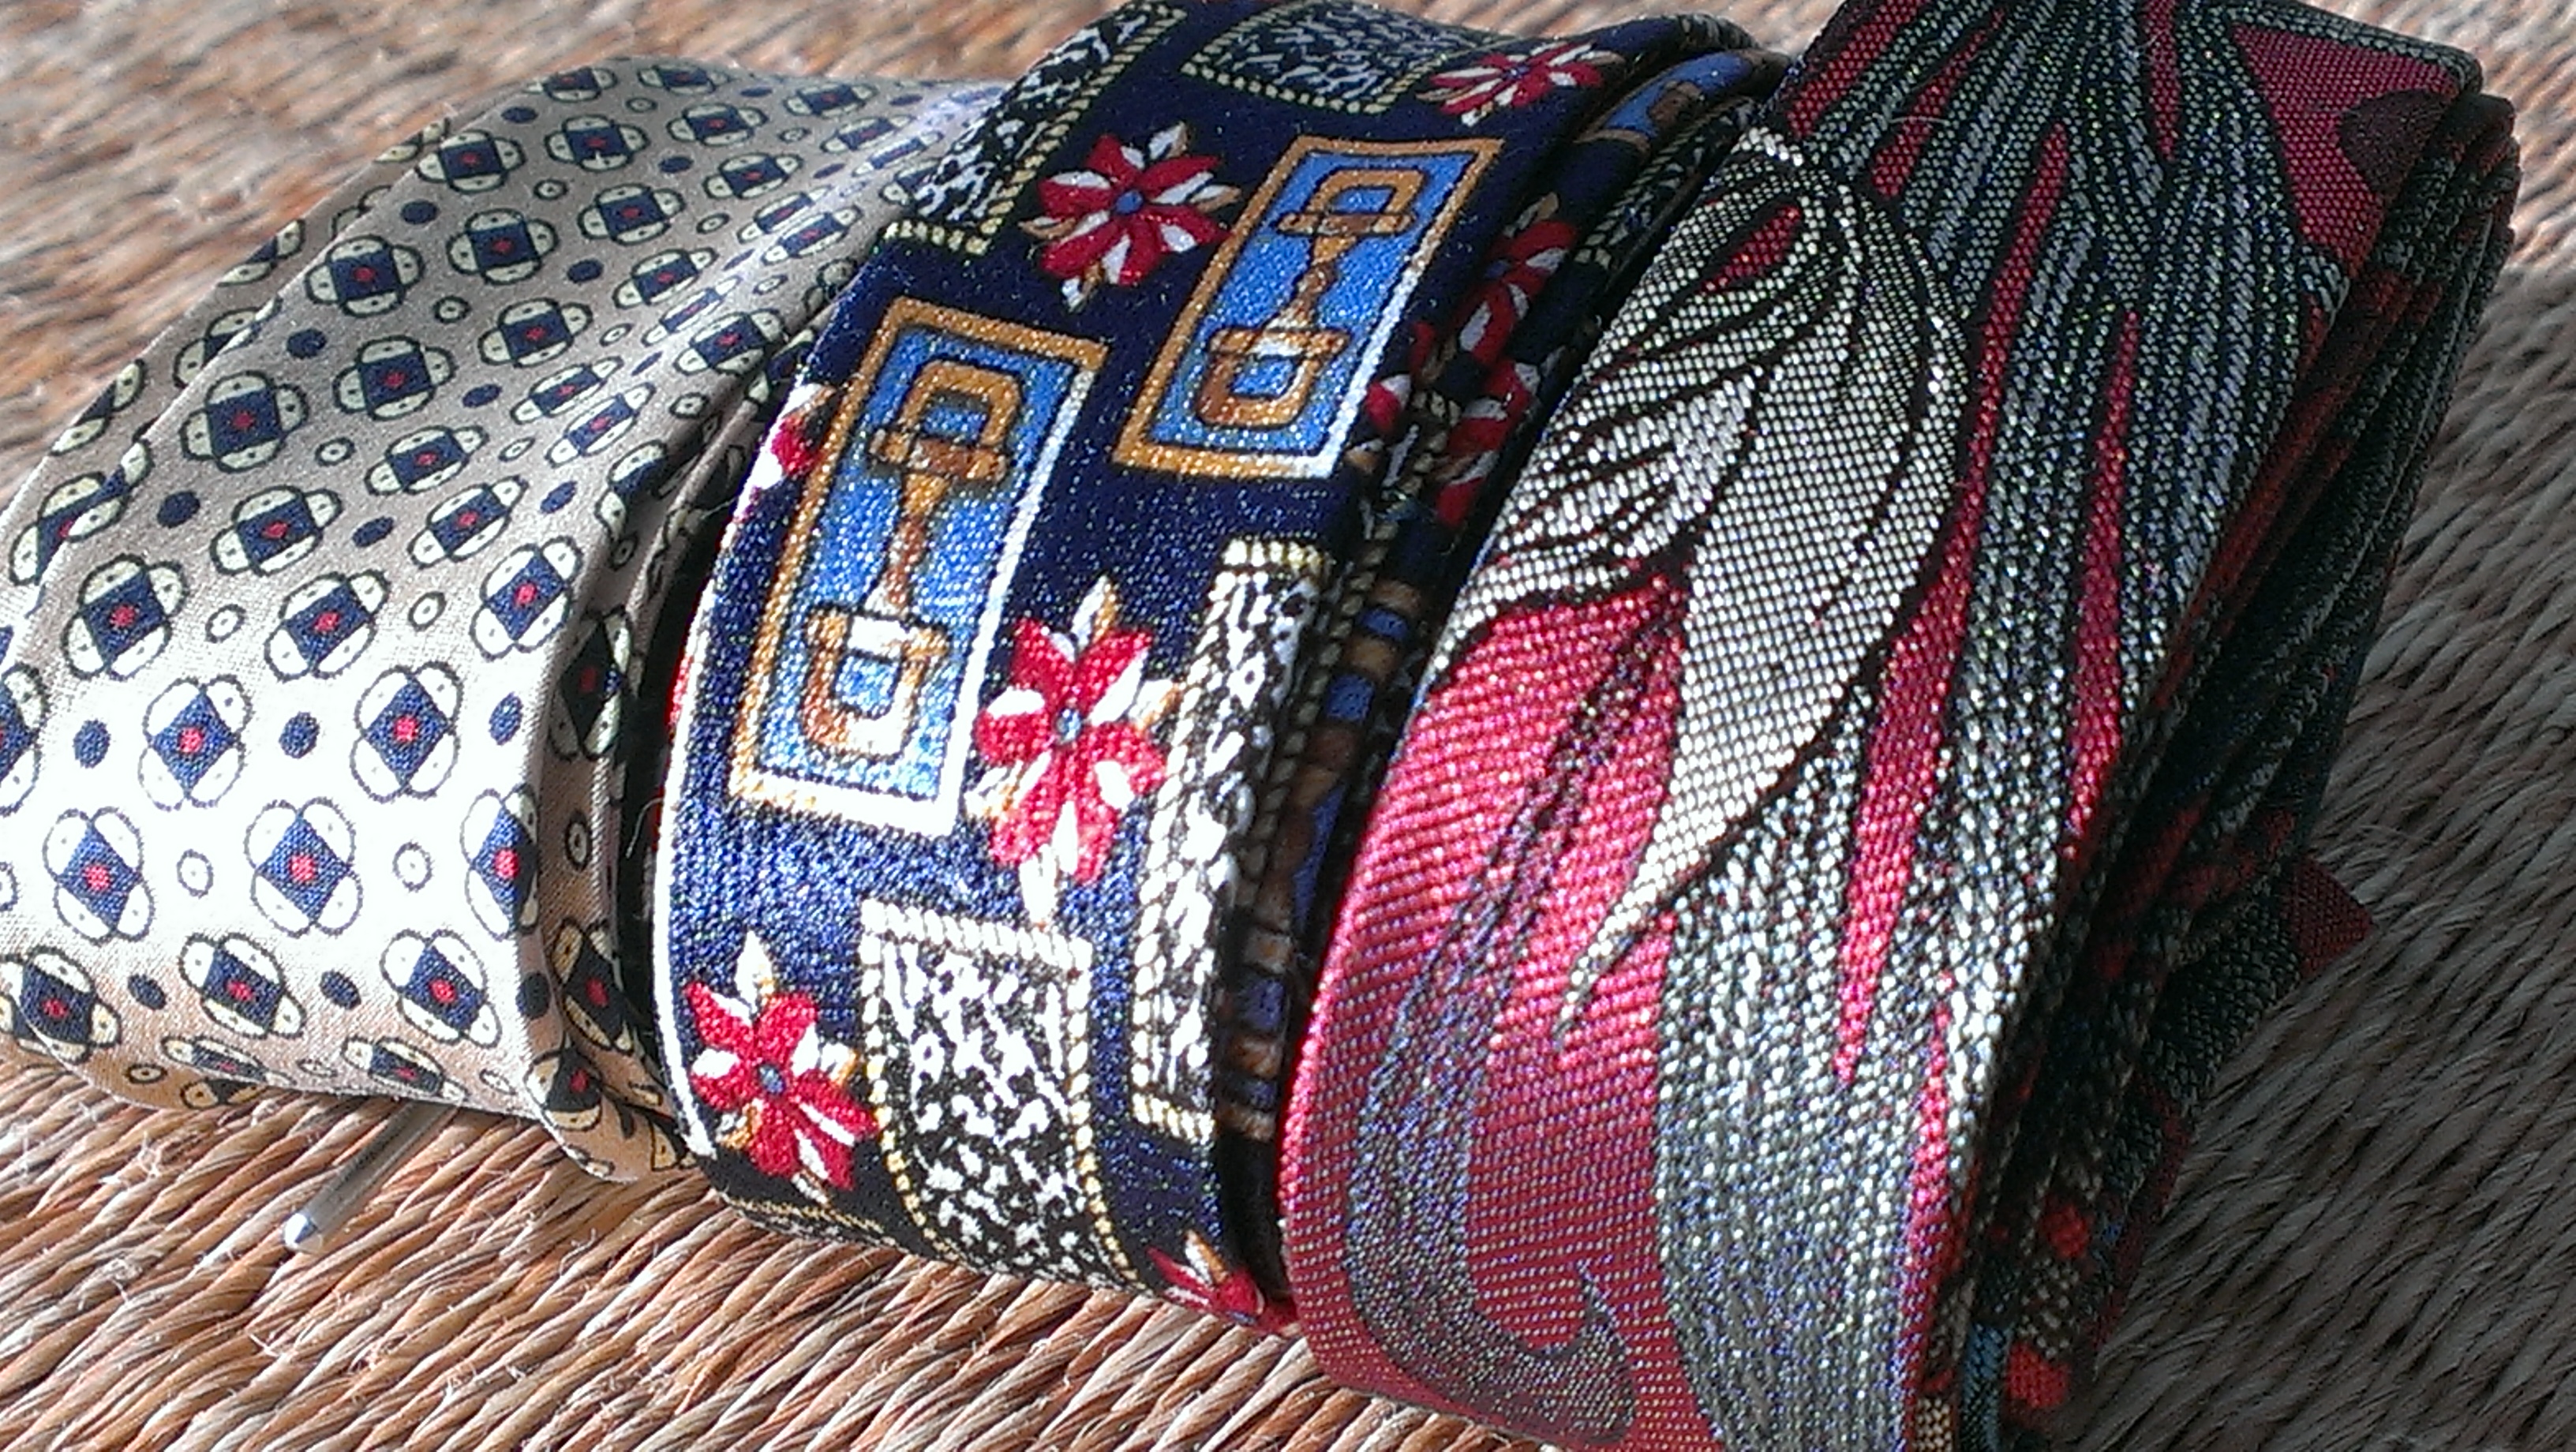
I also find that I like to recycle things… I am interested in using every last scrap of a piece of fabric or yarn, and I enjoy turning fabrics that would otherwise be discarded into something useful.  Sometimes I think this is a recent impulse, but then I look into my wardrobe where there are shirts made from flour sacks and old damask tablecloth… However–I also have a large collection of all manner of fabrics, yarn and threads and have become a collecting place for other women’s fabrics and notions. Happily, I am able to give a lot of things away to people who will use and enjoy them.  This weekend, I am mordanting these fabrics, mostly salvaged from a friend’s mother’s stash.  Most of the prints and plain coloured fabrics have gone to new homes but I kept the offcuts of calico and white sheeting for leaf printing…

IMAG0955

3. Why do I create what I do?

I love to identify something that is wanted or needed, and the raw materials that would bring that thing into existence, and match the two.  Sometimes I make to request or to fill a need I perceive in someone else.  or I just imagine the delight a handmade item might produce.  I look for opportunities to make something special and think about the recipient as I stitch it.  But I also do things as they interest or inspire me and the look for the right home for them to go to.  I make plenty of mistakes and have become adept at turning mistakes into useful items and finding ways to use or refashion things that are not as intended, or seem at first not-too-promising.

2014-08-23 11.57.15

I also create to satisfy my fidgety nature, I think.  To fend off the possibility of wasted time or boredom, and turn what might otherwise be wasted to use.

IMAG0086

4. How does my creative process work?

Gradually.  I have a substantial day job, which means that I don’t need to make a living from my craft, and also that I have limited time for crafting.  I do what I can, when I can, and I am motivated by having an exciting idea, wanting to meet a date for a gift, or seeking to meet a need for some specific item.  I don’t have a spiritual or romantic sense of creative process.  Rather, I see myself as part of a long tradition of thrift, skill and creativity–and this delights me.  So many people in the developed world are now bereft of the skills needed to meet simple, everyday material needs for themselves.  I would feel a great sense of loss at not being able to make or mend.  These activities are sources of pleasure and satisfaction in my life.

IMAG0128

I have chosen to pass the baton to Barbro from Barbro’s Threads–from Australia to Finland! She says she is:

a handspinner who likes to work with many kinds of fibers in all forms. I’m interested in the history and cultural history of sheep and textiles. … Right now I’m spinning and researching for my master spinner title in my guild Björken at Stundars. I’m concentrating on three sheep from Finland (Finnsheep, Kainuu Grey, and Åland sheep), and three from Sweden (Swedish Finull, Gotland sheep, and Värmland sheep).

I am in awe of Barbro’s skills as a spinner and love reading about her textile adventures–learning new skills and visiting museums full of textile traditions quite different to the ones I can see here in Australia.  I am so impressed by her work toward becoming a Master Spinner.  This is something members of my Guild speak about but which my Guild can’t currently support.  Barbro also has a very handsome dog… I hope you’ll visit her blog and enjoy it as much as I do!

9 Comments

Filed under Knitting, Leaf prints, Natural dyeing, Sewing, Spinning

What to do with hessian sacks

In my childhood, hessian sacks (I think these are burlap sacks in North America) were a common feature of life. They were the packaging in which all kinds of supplies for the garden and from the hardware arrived, and they also carried potatoes and large quantities of other eatables.  They were routinely re-used to carry things (mulch or wood) as mats (for example, in the shed or the boat or outdoors) or as linings (for example, in the boot of a car).

2014-08-23 17.46.50

Many things that once came in hessian now arrive in plastic sacks–chook food being the most obvious example in my life.  Happily, the organic fruit and vegetable co-op we belong to still gets potatoes in sacks. Some are particularly cute.  This one features a wombat, in case this is not obvious to those from far away places!  In the past, I used to get spud (potato) sacks with spud man on them, a little animated potato chap.  I a made a lot of bags for co-op members from them.  The cute ones are especially motivating.  I think they make great lined carry bags.

2014-08-23 17.46.41

First wash your sack, inside-out, to remove the mud that is great for growing vegetables but particularly unfortunate if it finds its way into your sewing machine.  Choose shape and size of bag.  Stitch side and bottom seams, fold over a top hem, and then square the corners if you like a flat bottom (I do).  (Not sure what I mean?  scroll down to ‘stitch miter seams’ in this tutorial).

2014-08-24 09.18.49

Next, make a lining of similar size from whatever scraps you have and seam it up the same way.  No shortage of scrap fabrics at my place! If in doubt, make it a fraction smaller than the hessian outer.

2014-08-24 09.30.48

Next, choose fabric for handles, iron hems, fold in half and stitch. Finally, slip the lining into the outer.  Check for fit.  Pin lining to outer, and pin handles into position,  Stitch around the top of your bag, with some reinforcing stitches to keep your handle in good order.  And there you have it!

2014-08-24 17.03.59

I have one more bag in progress.  This one is posing in the potato patch, quite shamelessly… unfortunately, the woolly caterpillars have rampaged through the garden for weeks, munching everything they fancied in the process, and the potato plants themselves are looking less glamorous than they might.

2014-08-28 17.15.44

8 Comments

Filed under Sewing

How not to sew knits

Last winter, I believe… I bundled up this milky merino and dyed it.  Actually, I cut and dyed two different garments, and when I stitched the first one, I found the fabric had shrunk in one direction.  I think this was the appalling realisation that led me to put this garment aside for at least a year.

2014-07-19 16.52.57

One weekend a while back, I had a new sense of the possible.  If it has shrunk, waiting won’t make it grow back and I’ll just have to figure out what to do then, I thought.  I measured it against the pattern pieces.  I has indeed shrunk–but I pressed on.  I sat down to sew and that’s when I realised there was another profound sense of foreboding involved in my reluctance to start stitching this together.  Step 2 of Very Easy Vogue 9904 involves setting in an invisible zipper.  Suggesting Vogue’s idea of ‘very easy’ may have as much in common with mine as ‘the Vogue body’ has with my body shape!  I have applied a lot of zippers, albeit intermittently, but not into a knit fabric.  And not with any real pretence to invisibility.  I won’t catalogue all the things that went wrong.  I’ll just sum up by saying that sometimes a sense of foreboding is your subconscious letting you know–ahem, you don’t have the skills for this to go well!

2014-08-01 15.26.22

I set the zipper in by machine the first time and it was truly appalling.  In the end, I did it again by hand.  Decent!  I won’t bore you with all the missteps–in the end I hand stitched the hems as well, and I like them too.  Perhaps I should have dyed the thread, but I quite like the luminous stitches. I used dyed thread for the zipper after all the chat in the comments and so much practice sewing with embroidery thread.

2014-08-01 15.35.53

Speaking of which, right now… no wool garment story could be complete without darning.  Sigh!  I spoke to another friend who has been doing unprecedented levels of darning at her place this morning at Guild.

2014-08-01 15.36.24

In fact–I needed about six darns on this garment. Without washing or wear.

2014-08-01 15.36.15

Never before have I needed to darn prior to completing a garment!  But… I like the garment.  I would prefer it hadn’t required darning!  I’d make this pattern again, and the fit might be smaller than I intended and snugglier than I prefer… but it’s decent.  Even if it ends up being an underlayer, that’s better than staying on the chair where the moths found, it, not being finished!

IMAG0115

10 Comments

Filed under Leaf prints, Natural dyeing, Sewing

Festival of mending, continued…

I have had plenty of occasions to get out my darning kit this week. Wendi of the Treasure’s comment on the post about moths and mending recently helped me decide to get organised for colour darning. I began by winding some of my silk embroidery threads onto reels.  Oranges from madder, tans from eucalypt and onion skins, purple from logwood, and fuchsia pink from cochineal.  I have other colours but ran out of reels!

2014-07-30 11.24.13

So… now that woollen items are being subjected to rigorous scrutiny before return to the cupboards… I give you indigo darning.

2014-07-31 07.48.19

Onion skin darning.

2014-07-31 07.48.47

And logwood darning. This may well be the place I failed to eradicate a couple of moths last year, as this top already has a series of darns dyed with Plum Pine.  As a washfastness test, those darns have continued to show that I have not found a way to make Plum Pine washfast–it is fading, but that has worked well with the mauve of the top.

2014-07-31 07.48.59

While I was on a roll, I appliqued a patch over this hole where two pieces of recycled fabric in the lining of a bag parted company.

2014-07-30 20.33.29


I don’t rate my applique but I have been practising!

2014-07-30 20.58.44


Then there was the worn through section of my quilt (made of recycled linen garments)…

2014-07-30 20.32.16


Now repaired with a piece of linen collar from a test-dye.

2014-07-30 21.26.00

Well.  My mending queue is getting plenty of attention, but it remains to be seen whether it will just continue to grow as washing exposes where the maws of those moth larvae have been…

21 Comments

Filed under Natural dyeing, Sewing

Many moths and much mending

This week, there has been a rather sad revelation. Followed by a lot of mending.  In fairness to the grubs who ate my woolens–they only made small holes.  It’s just that they made a lot of them.  It began when I found another hole in this garment that I mended only a few weeks back.

2014-07-21 20.10.45

Soon mended.

2014-07-21 20.29.22

Then another wooly item with a few little holes in it.  No sooner did I mend the first hole than I see this one nearby.  That telltale ladder is the sign that ‘a stitch in time saves nine’ is going to be the story of this fabric from this point onward.

2014-07-21 20.40.43

Oh dear.

2014-07-21 20.52.57

Rather more sadly, this newer garment has come to grief too.

2014-07-21 19.16.42

I’m still deploying my mother’s favoured approach to darning: first secure the edges of the hole.  Then stitch across in one direction, creating lines of thread across the hole, leaving a little loop at each end of each line.  This accommodates the fact that this is a woven darn inserted into a far stretchier knit fabric.

2014-07-21 19.25.24

Then, stitch another row of lines in the other direction, weaving with your needle tip when you come to the gap to be filled.  This is an undergarment, so I sometimes just darn on the outside, loops and all, where I can see the finished effect.

2014-07-21 20.01.56

But there were more holes, so I kept going on the inside, first stitching one way across the holes and then changing direction and stitching across the first row and weaving threads across the hole itself and any ladders and weak parts.

2014-07-22 19.40.43

Mum taught me during Busy Bee Week, a fundraiser for the Brownies (so I was about ten).  We were living in a small mining town in the middle of Western Australia: Kambalda, then one of the hubs of the nickel boom.  One neighbour keen to use my talents gave me a white cotton tennis sock to darn and my mother set me to it with cotton machine thread and a needle!  She didn’t own a darning mushroom.  This is a tool I have discovered since, and it is a lot easier to use than Mum’s improvisation, a Vegemite glass (upturn a small drinking glass and insert into sock, proceed to darn).  The handle is the key feature for ease of use. A glass, or even making a circle of your own curled fingers, will do the job.

2014-07-22 19.53.01

Quite neat really.  But.  Nothing can make a darn right smack bang in the middle of the front of your top flattering.  Just as well this one won’t be on public display while on my body!

2014-07-22 20.12.53

A friend who has been similarly afflicted (and is in the Heroine category of Menders) told me about the CSIRO guidelines for managing this kind of problem.  I’ll be making use of her research as well as the sticky pheromone traps that let me know I had a problem last summer.  For now I am considering whether re-bundling these tops might make those silky darns blend in better… or whether I should wear them with pride, as recommended by Tom of Holland and his Visible Mending Programme.  I can recommend this post of his on one major commission, mended with love, thought and skill.

I admit, I’ve been wearing mends with pride for my whole adult life–but there are limits. I have to say that while my darns will do the job, they are not up there in the Tom of Holland category of mending as an artform!

12 Comments

Filed under Sewing

Of shoes, and ships, and sealing-wax. I mean, of silk, and string, and bias binding…

Sometimes you need a lot of Jabberwocky genius to join disparate elements into any kind of intriguing whole.  Or perhaps you just need rhyming couplets. I have neither, but I do have string and bias binding. I blame India Flint for infecting me with her enthusiasm for twining string.  I loved doing it with plant leaves, but it required pre-planning.  String from fabric shreds… you just decide it’s time and get going!

2014-07-04 12.46.48

I have shaggy string from my pyjama-making jag a while back.

2014-07-04 12.49.29

However, Wendi of the Treasure suggested silk string.  And then along came an opportunity to dye silk all kinds of wild colours.  I took up some silk paj that was among my very first Eco-Colour adventures. It took colour then, but not in any really riveting way, and it has been in the cupboard awaiting a new idea for some years.  Wendi’s was the new idea.  When it hit my workshop dye pots, the original onion skin and eucalypt dyed portions created all kinds of interesting effects.

2014-06-15 15.32.37

Thanks to Wendi and India, I now have logwood-dyed string so deep purple it is almost black, madder-dyed orange string, and cochineal pink string.

2014-07-04 12.52.33

But there is more… I have had some ties unpicked, ironed and ready to be made into bias binding for years.  What can I say?  I have been engaged in a task in relation to my day job so mind numbingly dull that I realised the time for bias binding making was upon me, all of a sudden!  The existing collection of tie-bias binding was getting low.

2014-07-04 12.55.23

I now have this…

2014-07-04 12.54.14

And this… so if I am struck by the urge to create garments again soon, I’ll be able to create beguiling interior details in a heartbeat.

2014-07-05 14.51.45

Mercifully, my marking is over, too.

10 Comments

Filed under Natural dyeing, Sewing