In the large quantity of threadbare fabric that came into the house from a friend’s family home in the last year, there were some once-fabulous woollen undergarments. All kinds, but with a generous amount of tops my mother would call “spencers”. Now I have written that down, as often happens I’m wondering why they are called spencers and if it is something to do with Marks and Spencer and… evidently it is not, or it’s just that my research is cursory. But evidently this is an expression for thermal underwear specific to Australia, New Zealand and South Africa–go figure.
The wooliness of these garments, many very much worn–some threadbare–all having been feasted upon by m*th larvae, had me thinking of leaf printing. Eventually they made it into bundles and came out much improved but still holey. In the end I decided on two paths of action. Two of the spencers had a fair amount of integrity, so I patched them generously and they have gone to warm the friend whose family they came from.
I do not know why I persist in dyeing first and sewing later, when it would be so much more sensible to take India Flint’s excellent counsel and sew first, then dye. I can’t figure out whether it is just a failure to plan ahead, or perhaps being a bit excitable… or sometimes just preferring to sew the dyed fabric. But I do it over and over!
Anyway–I like the outcome, and more importantly, so does the recipient. No one else needs to!
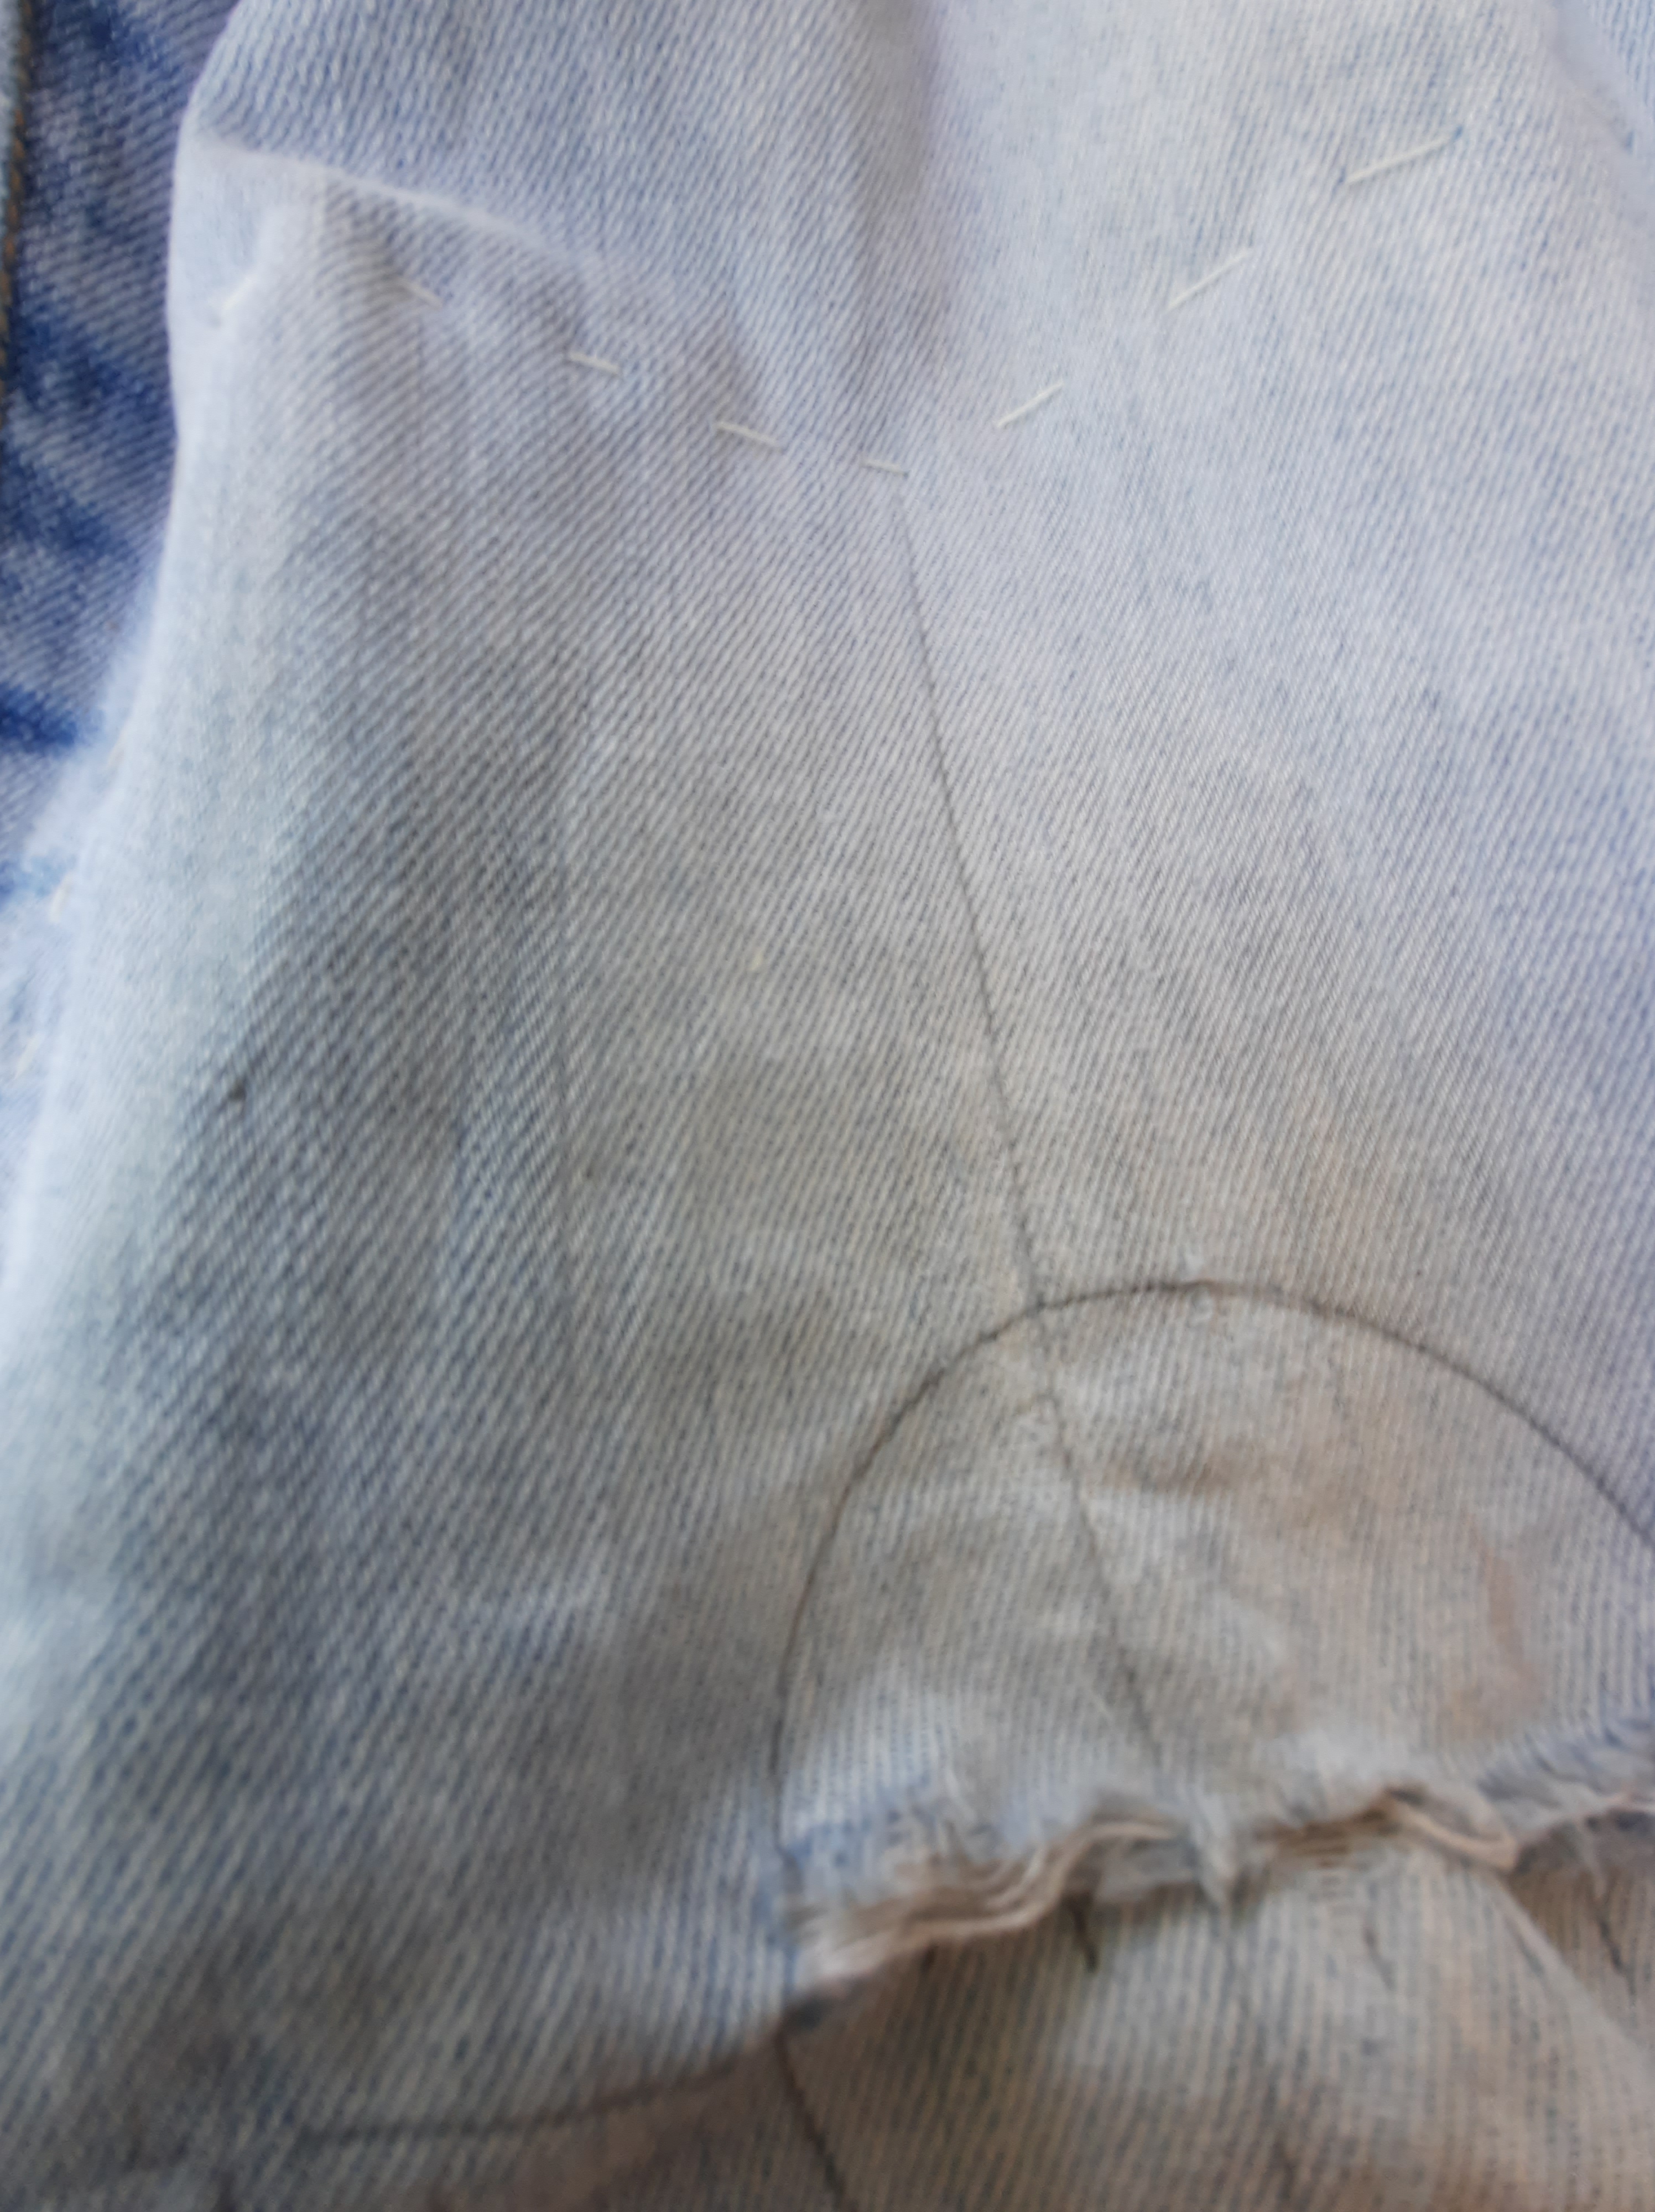
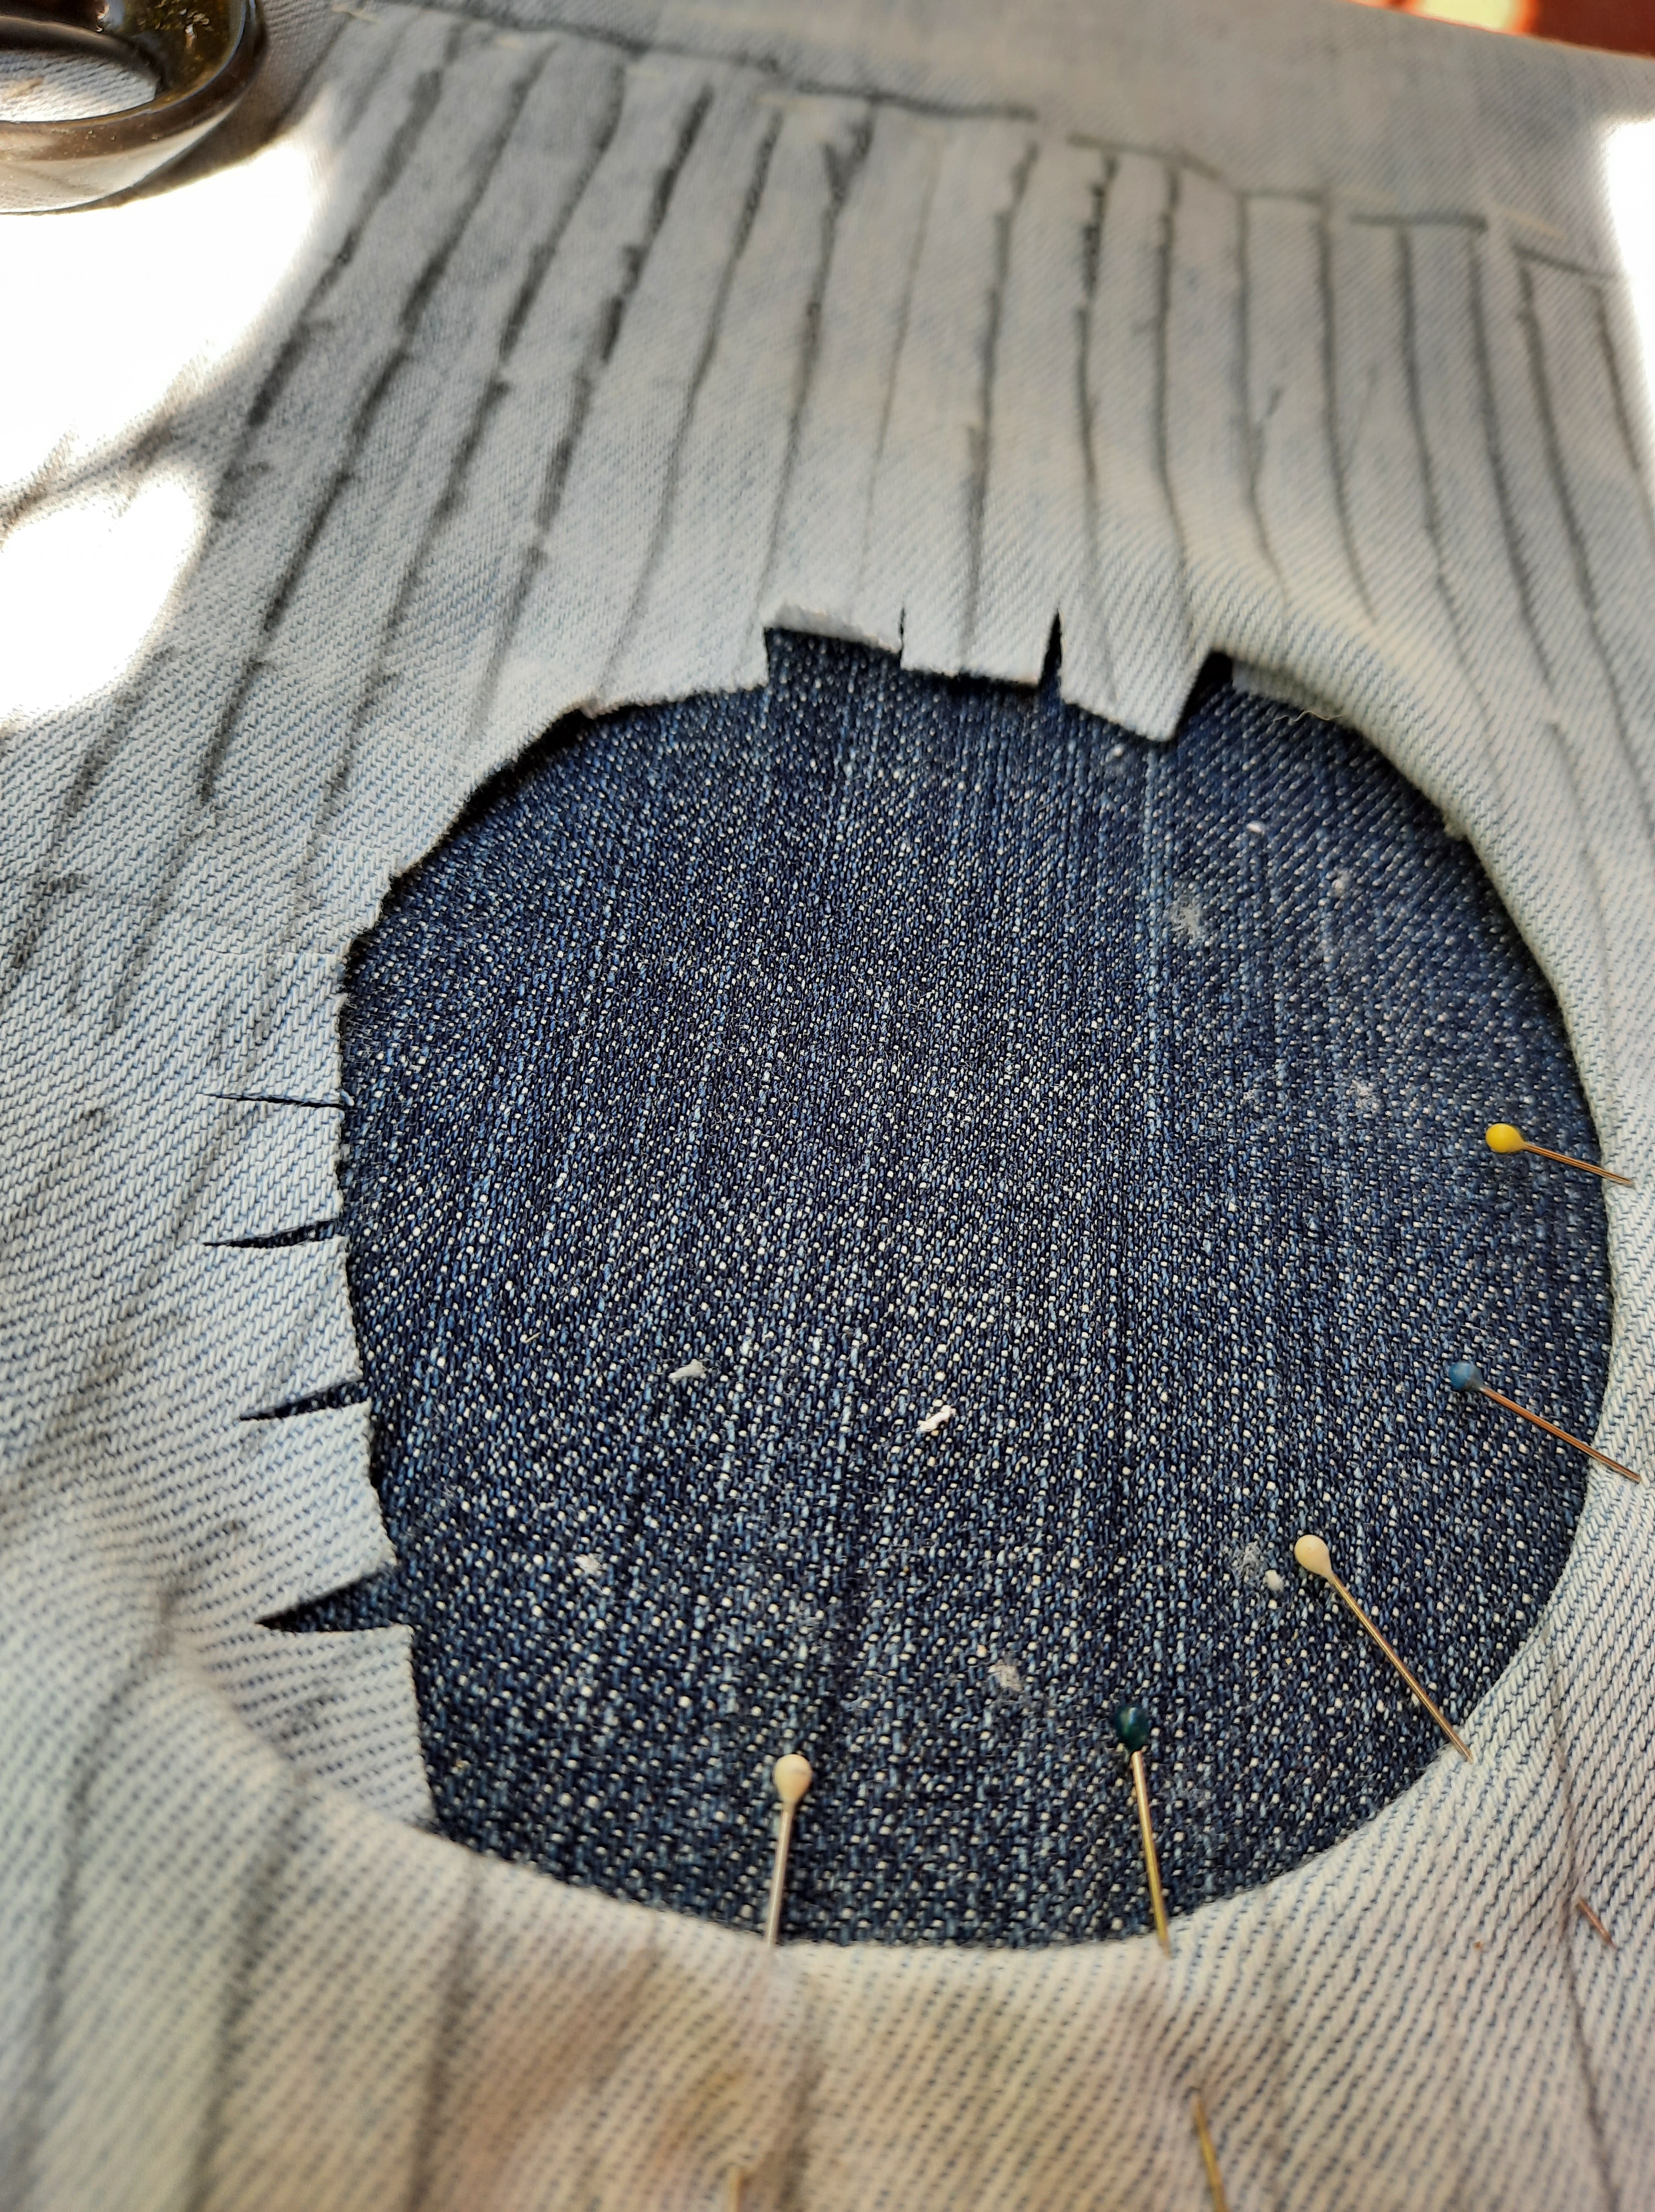
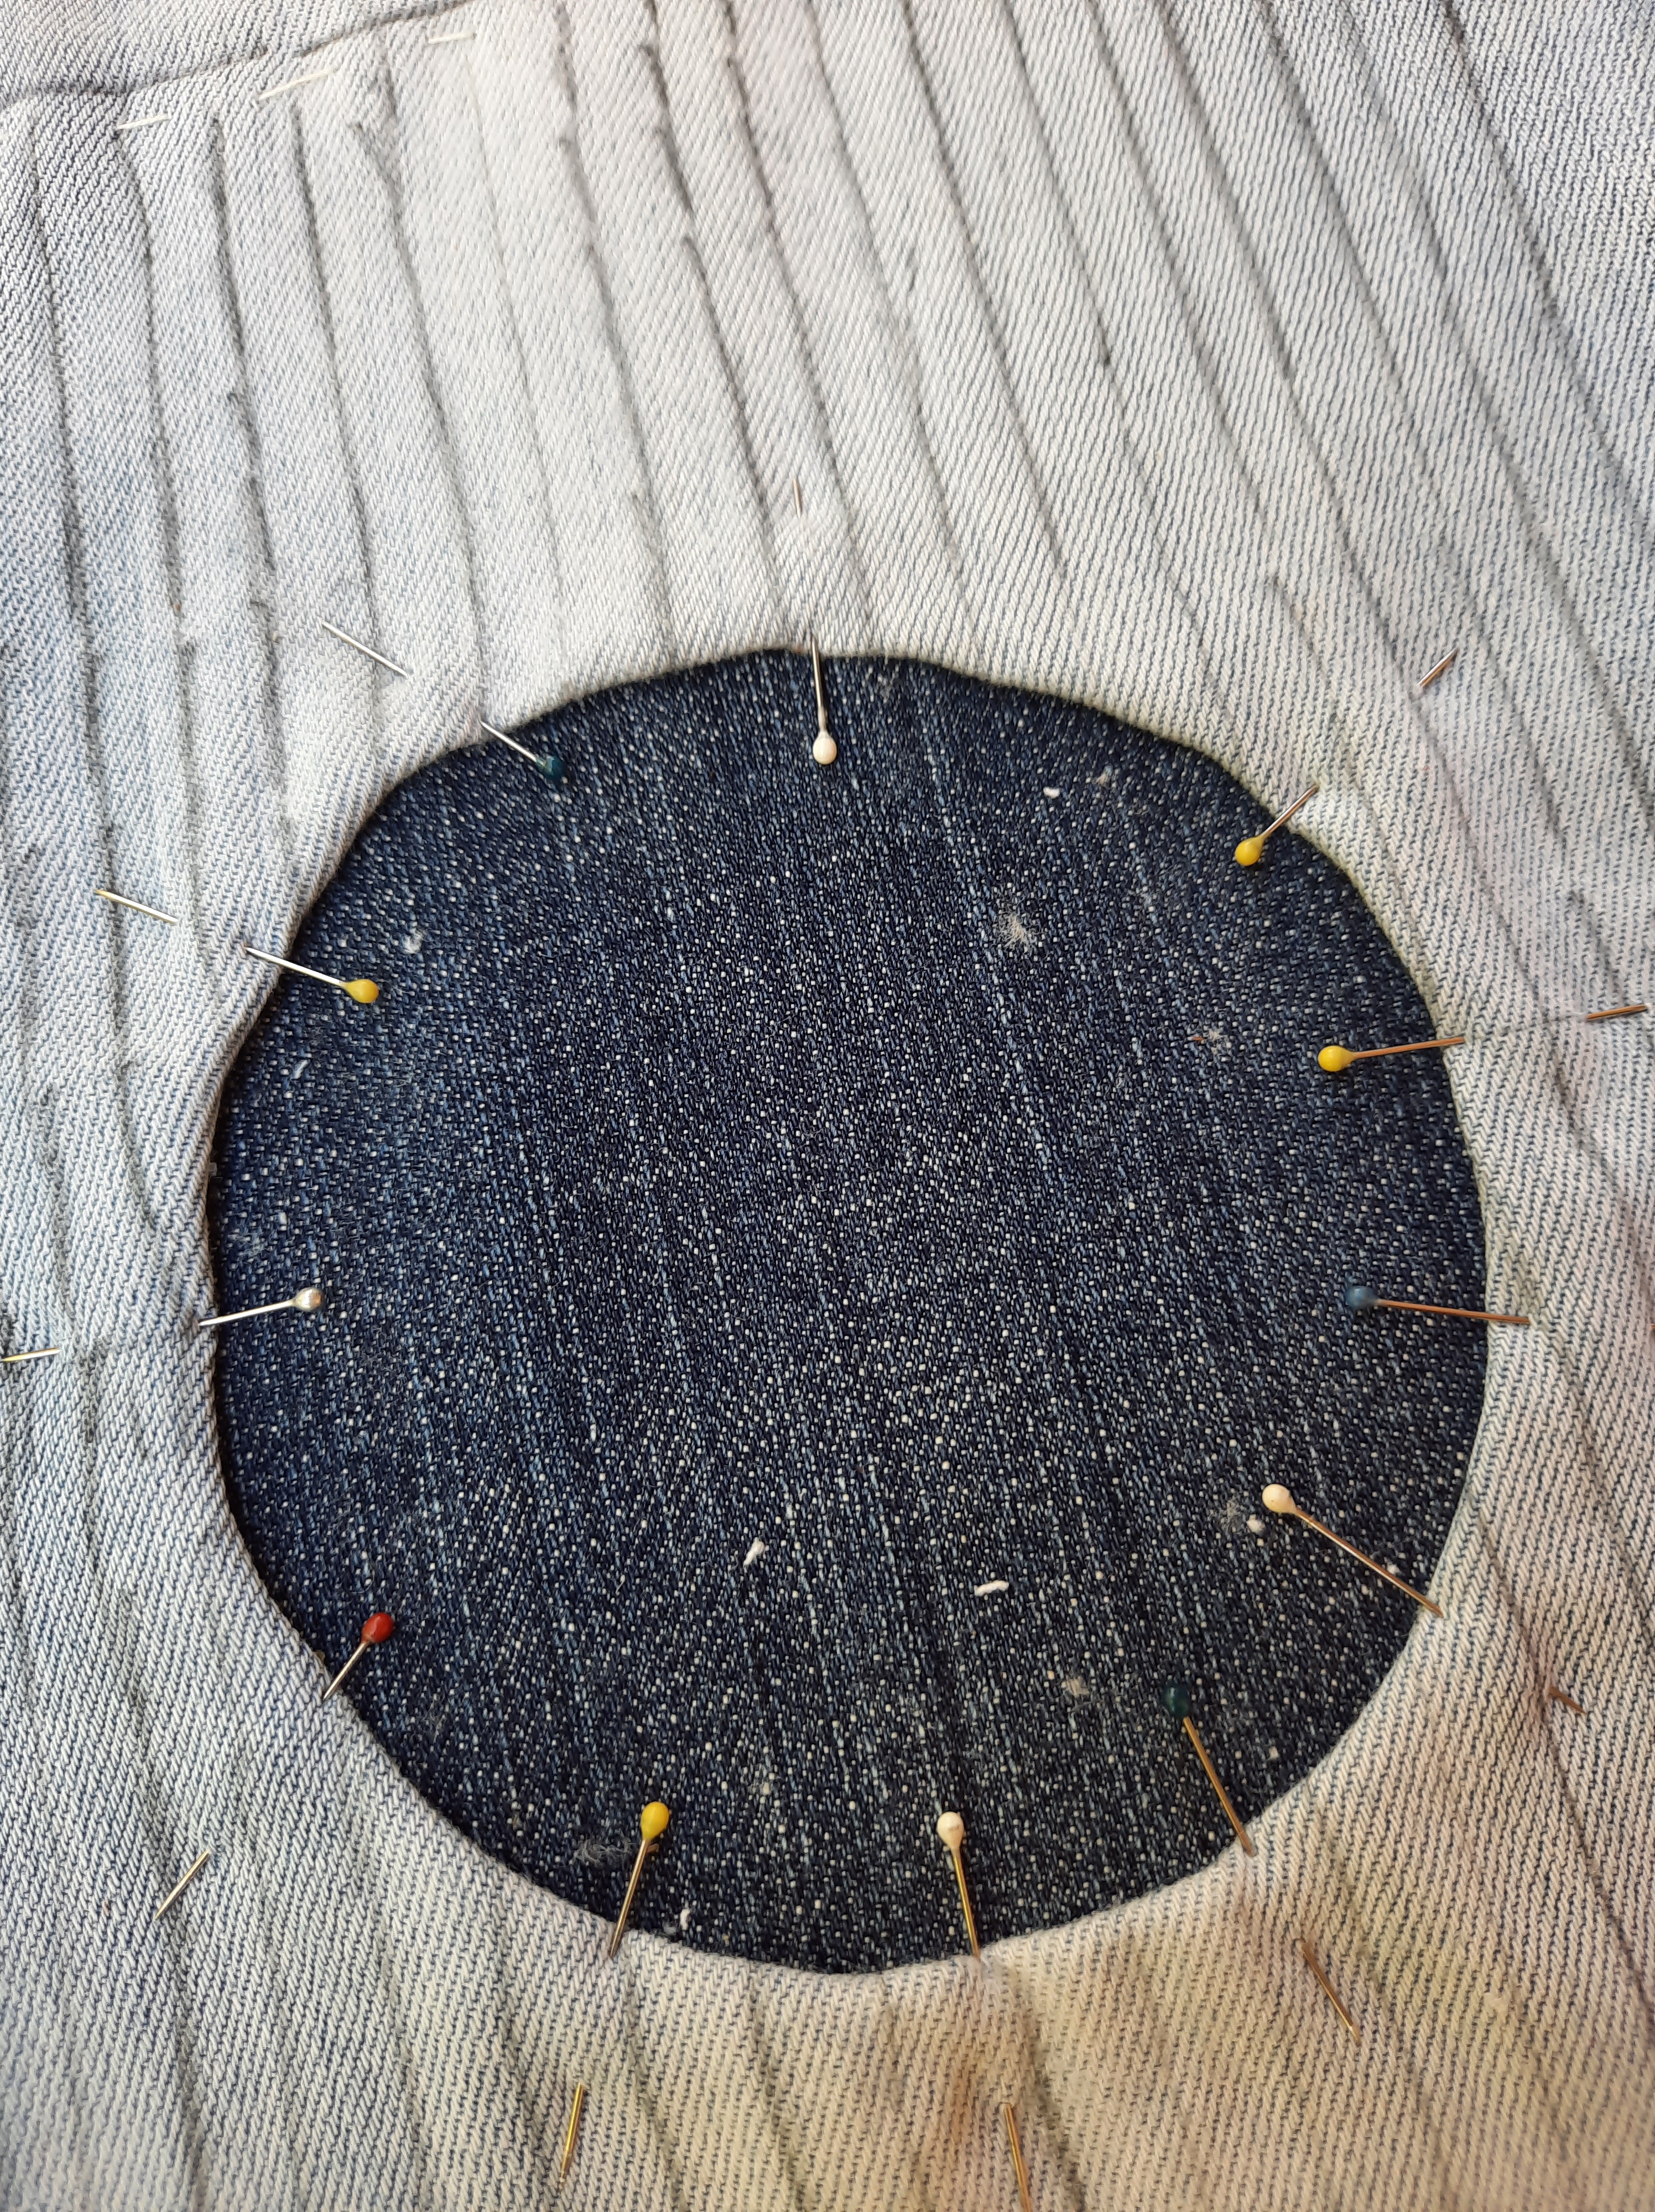
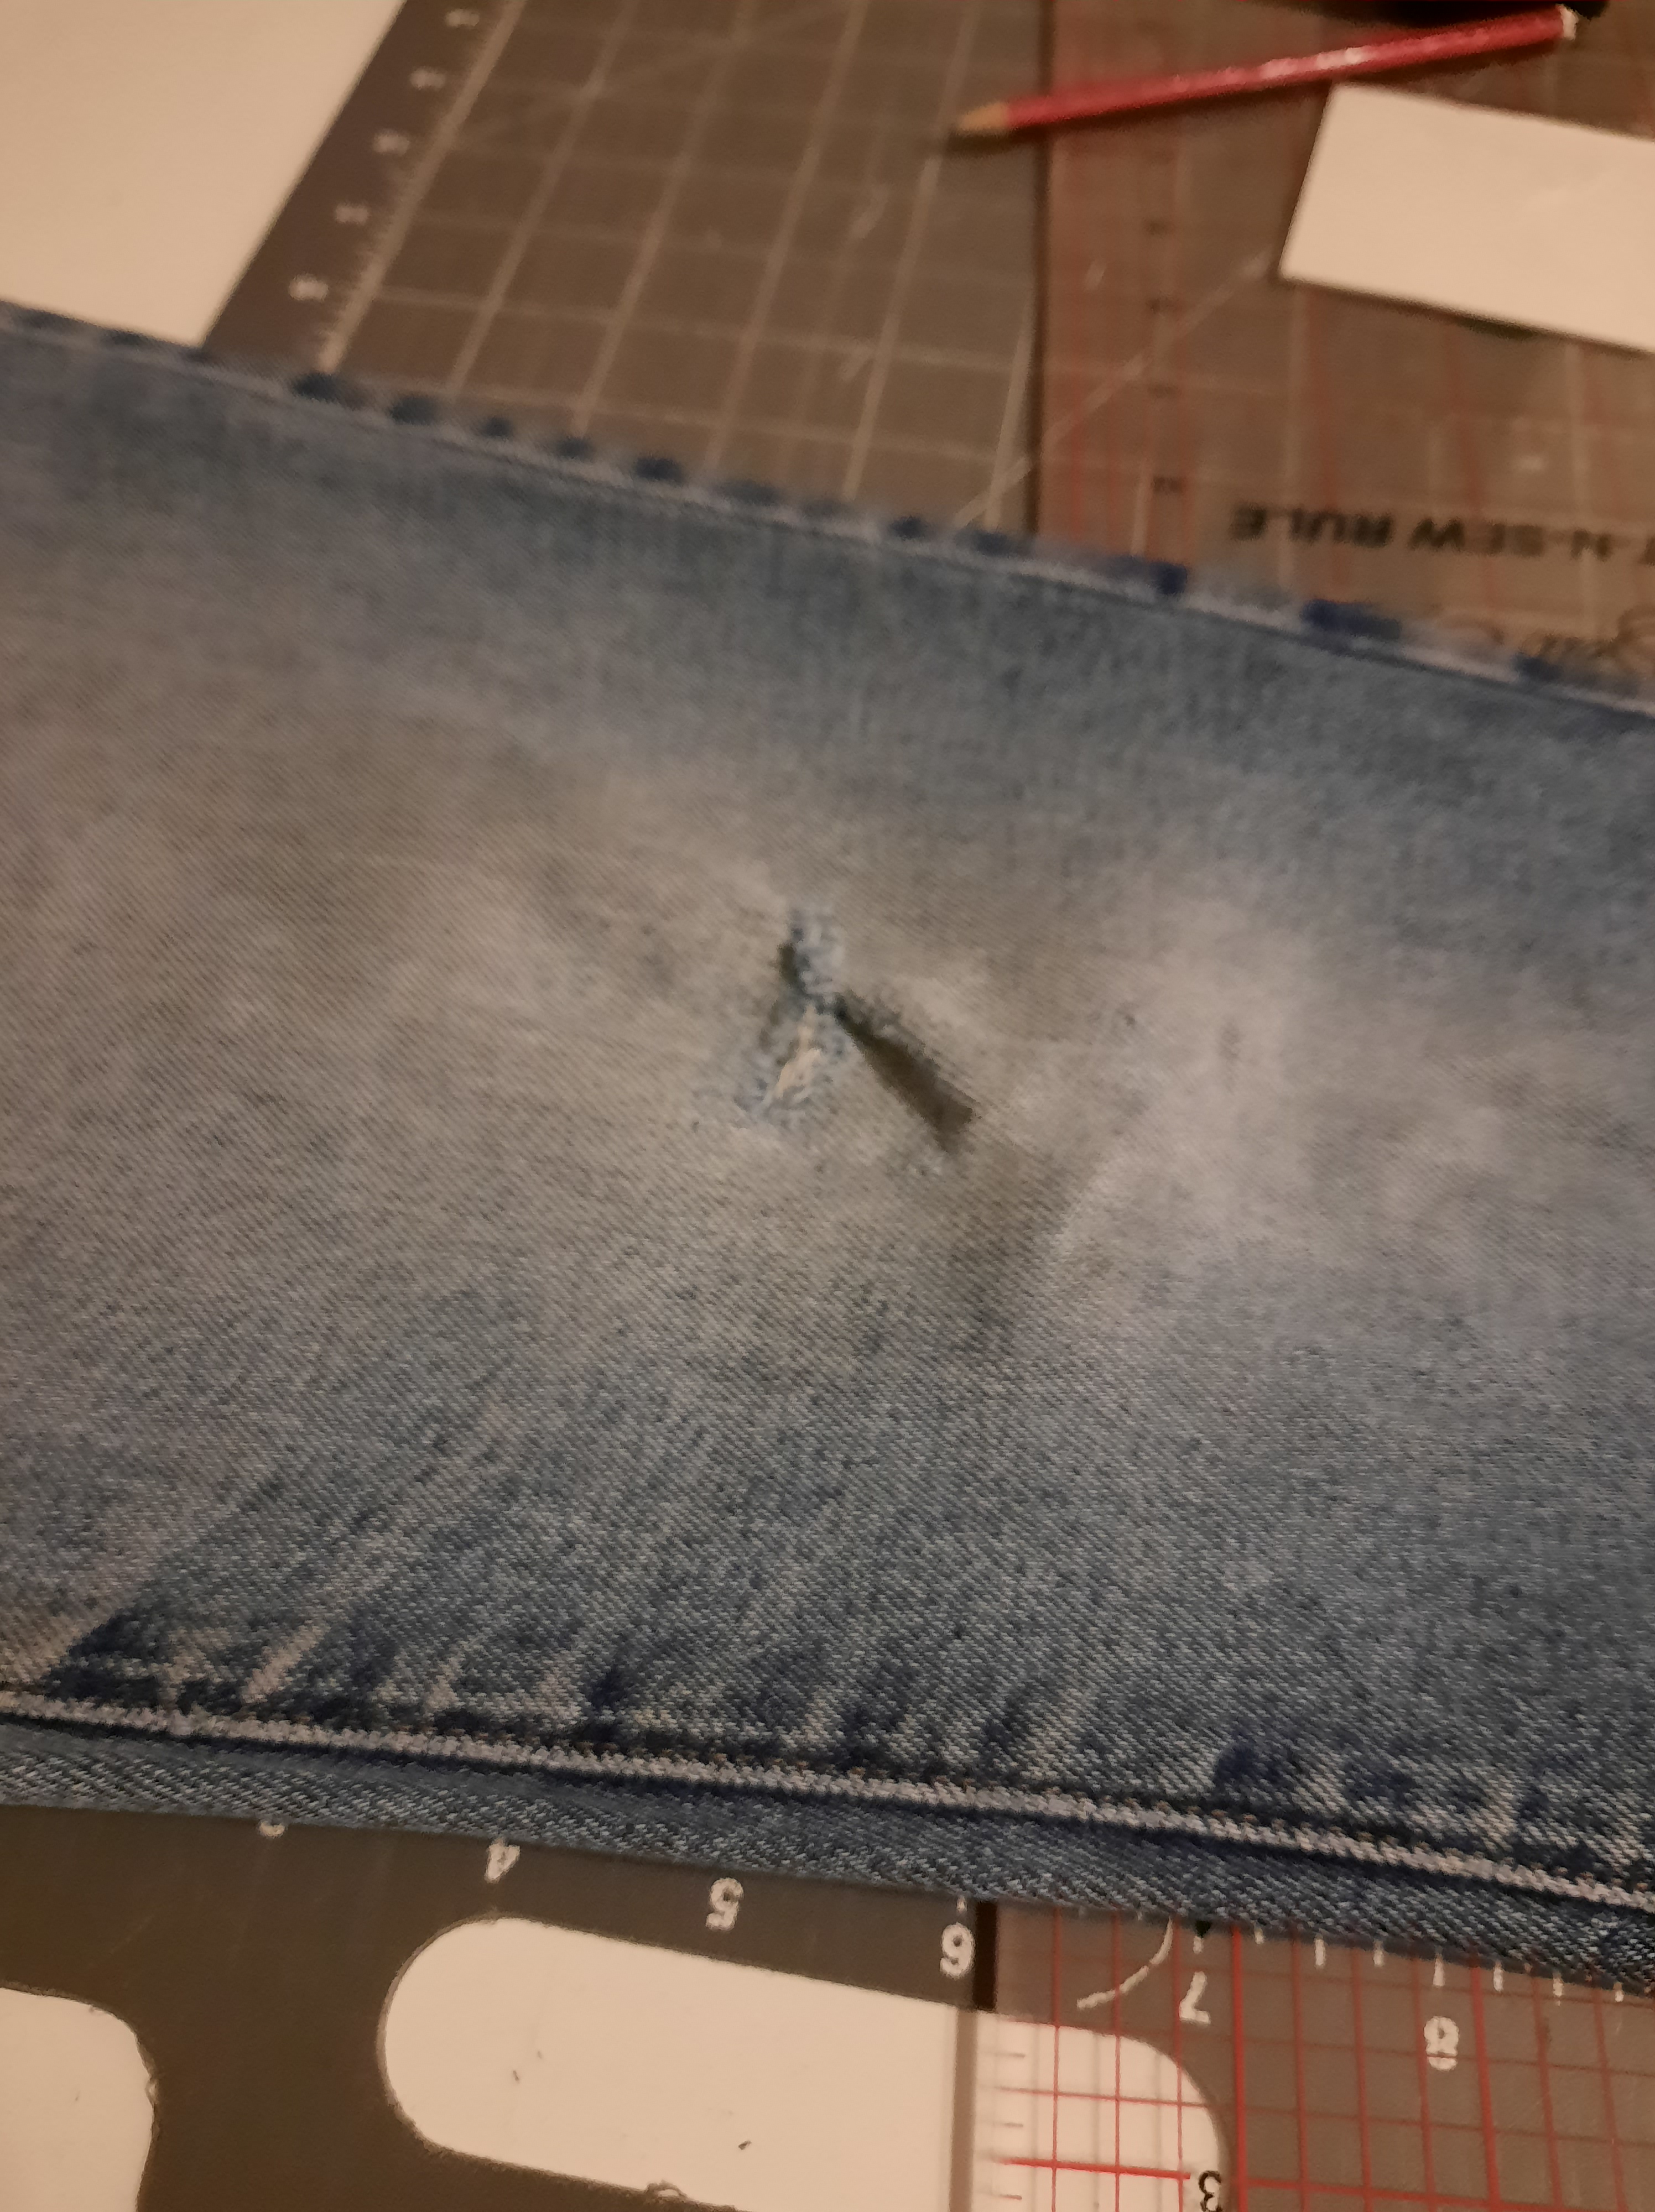
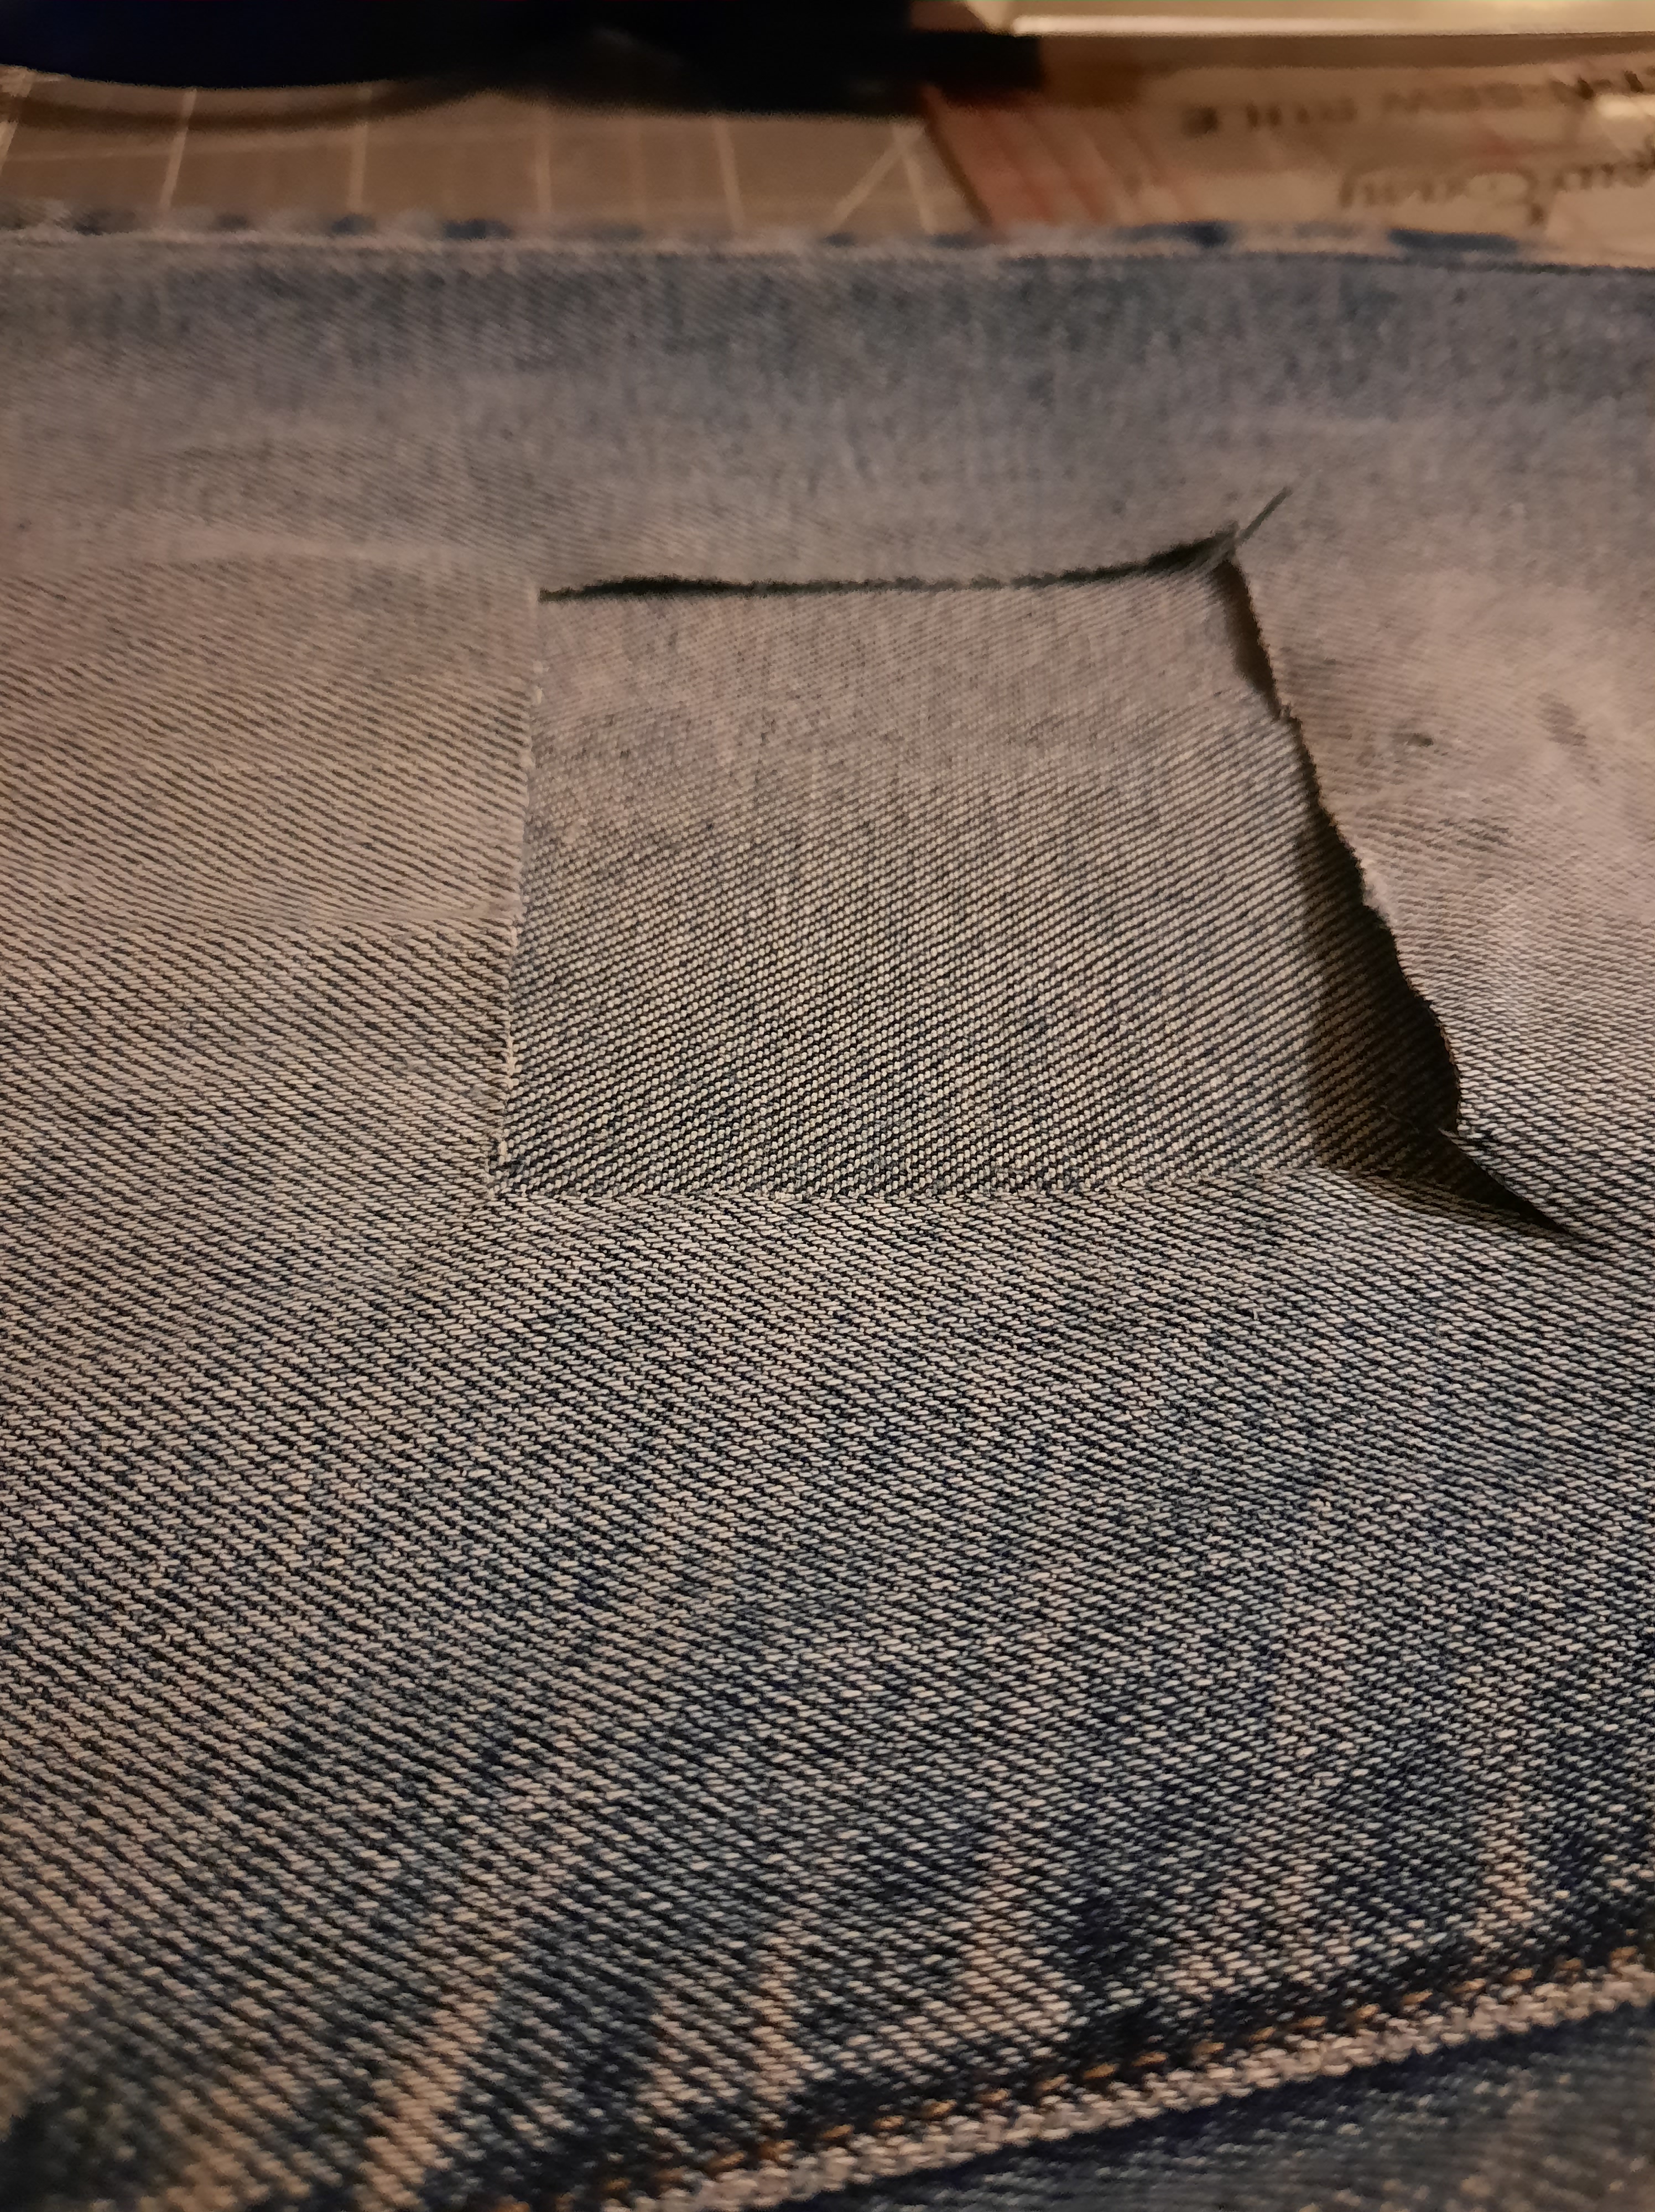
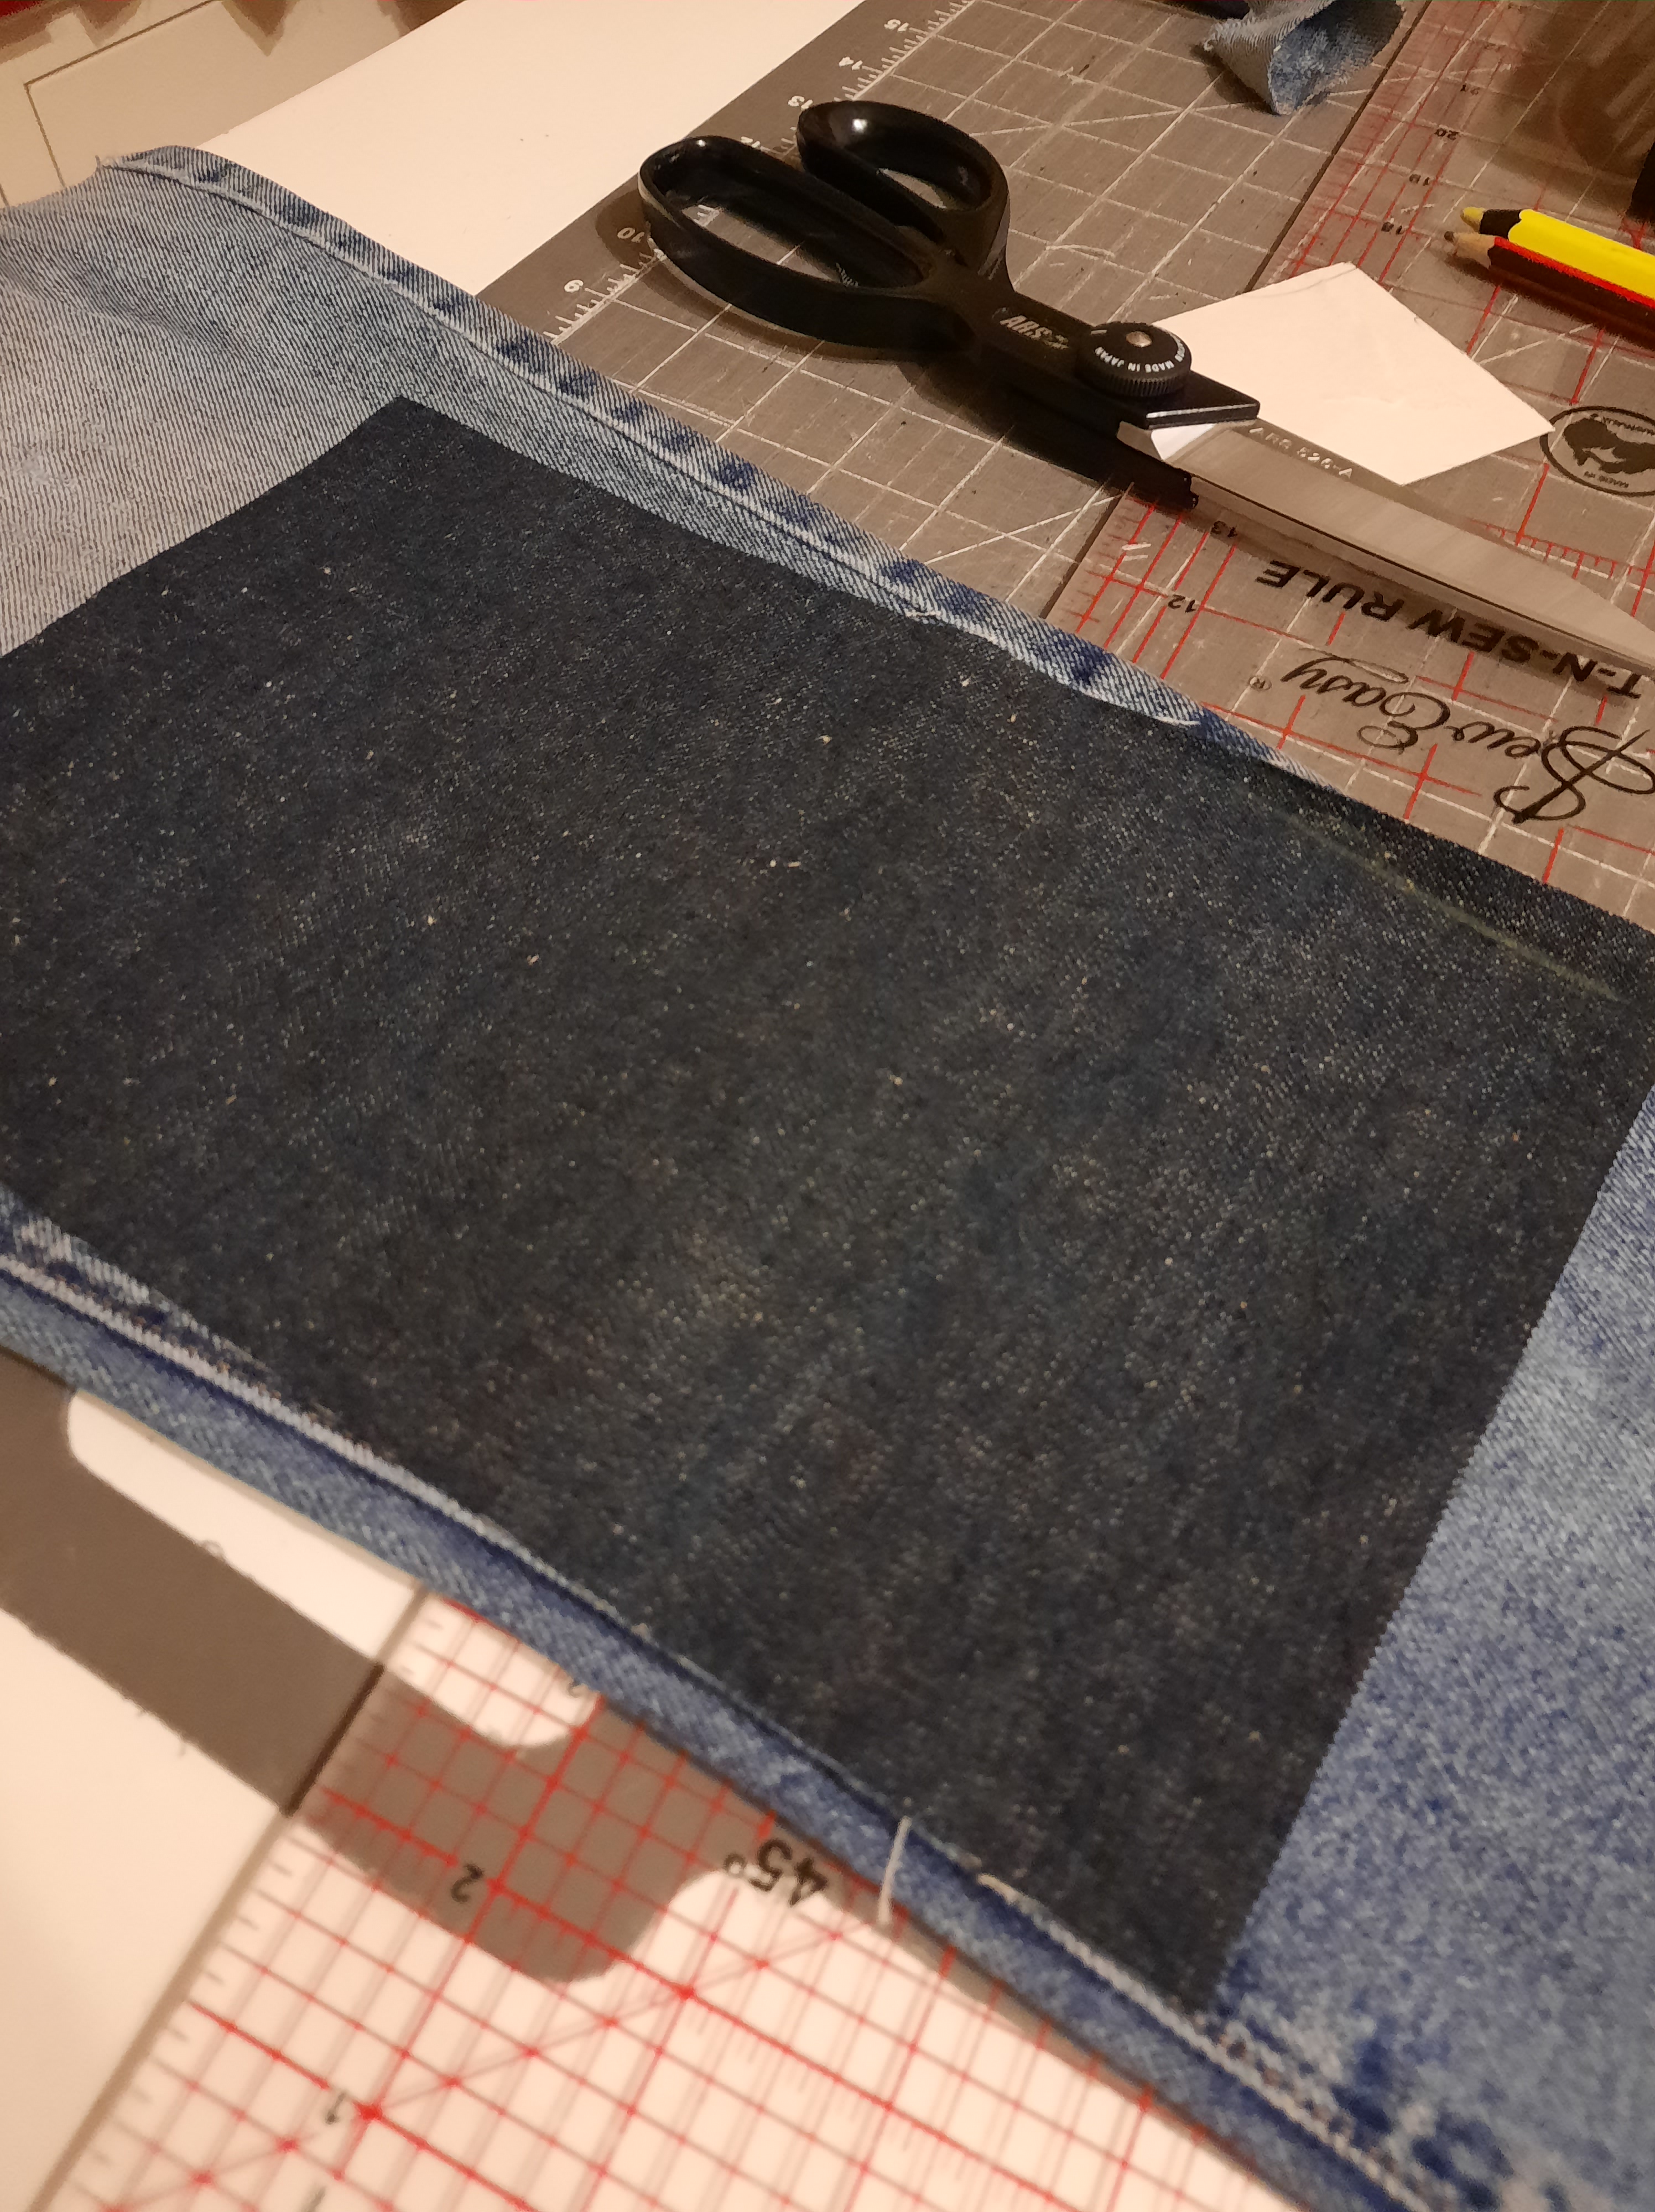
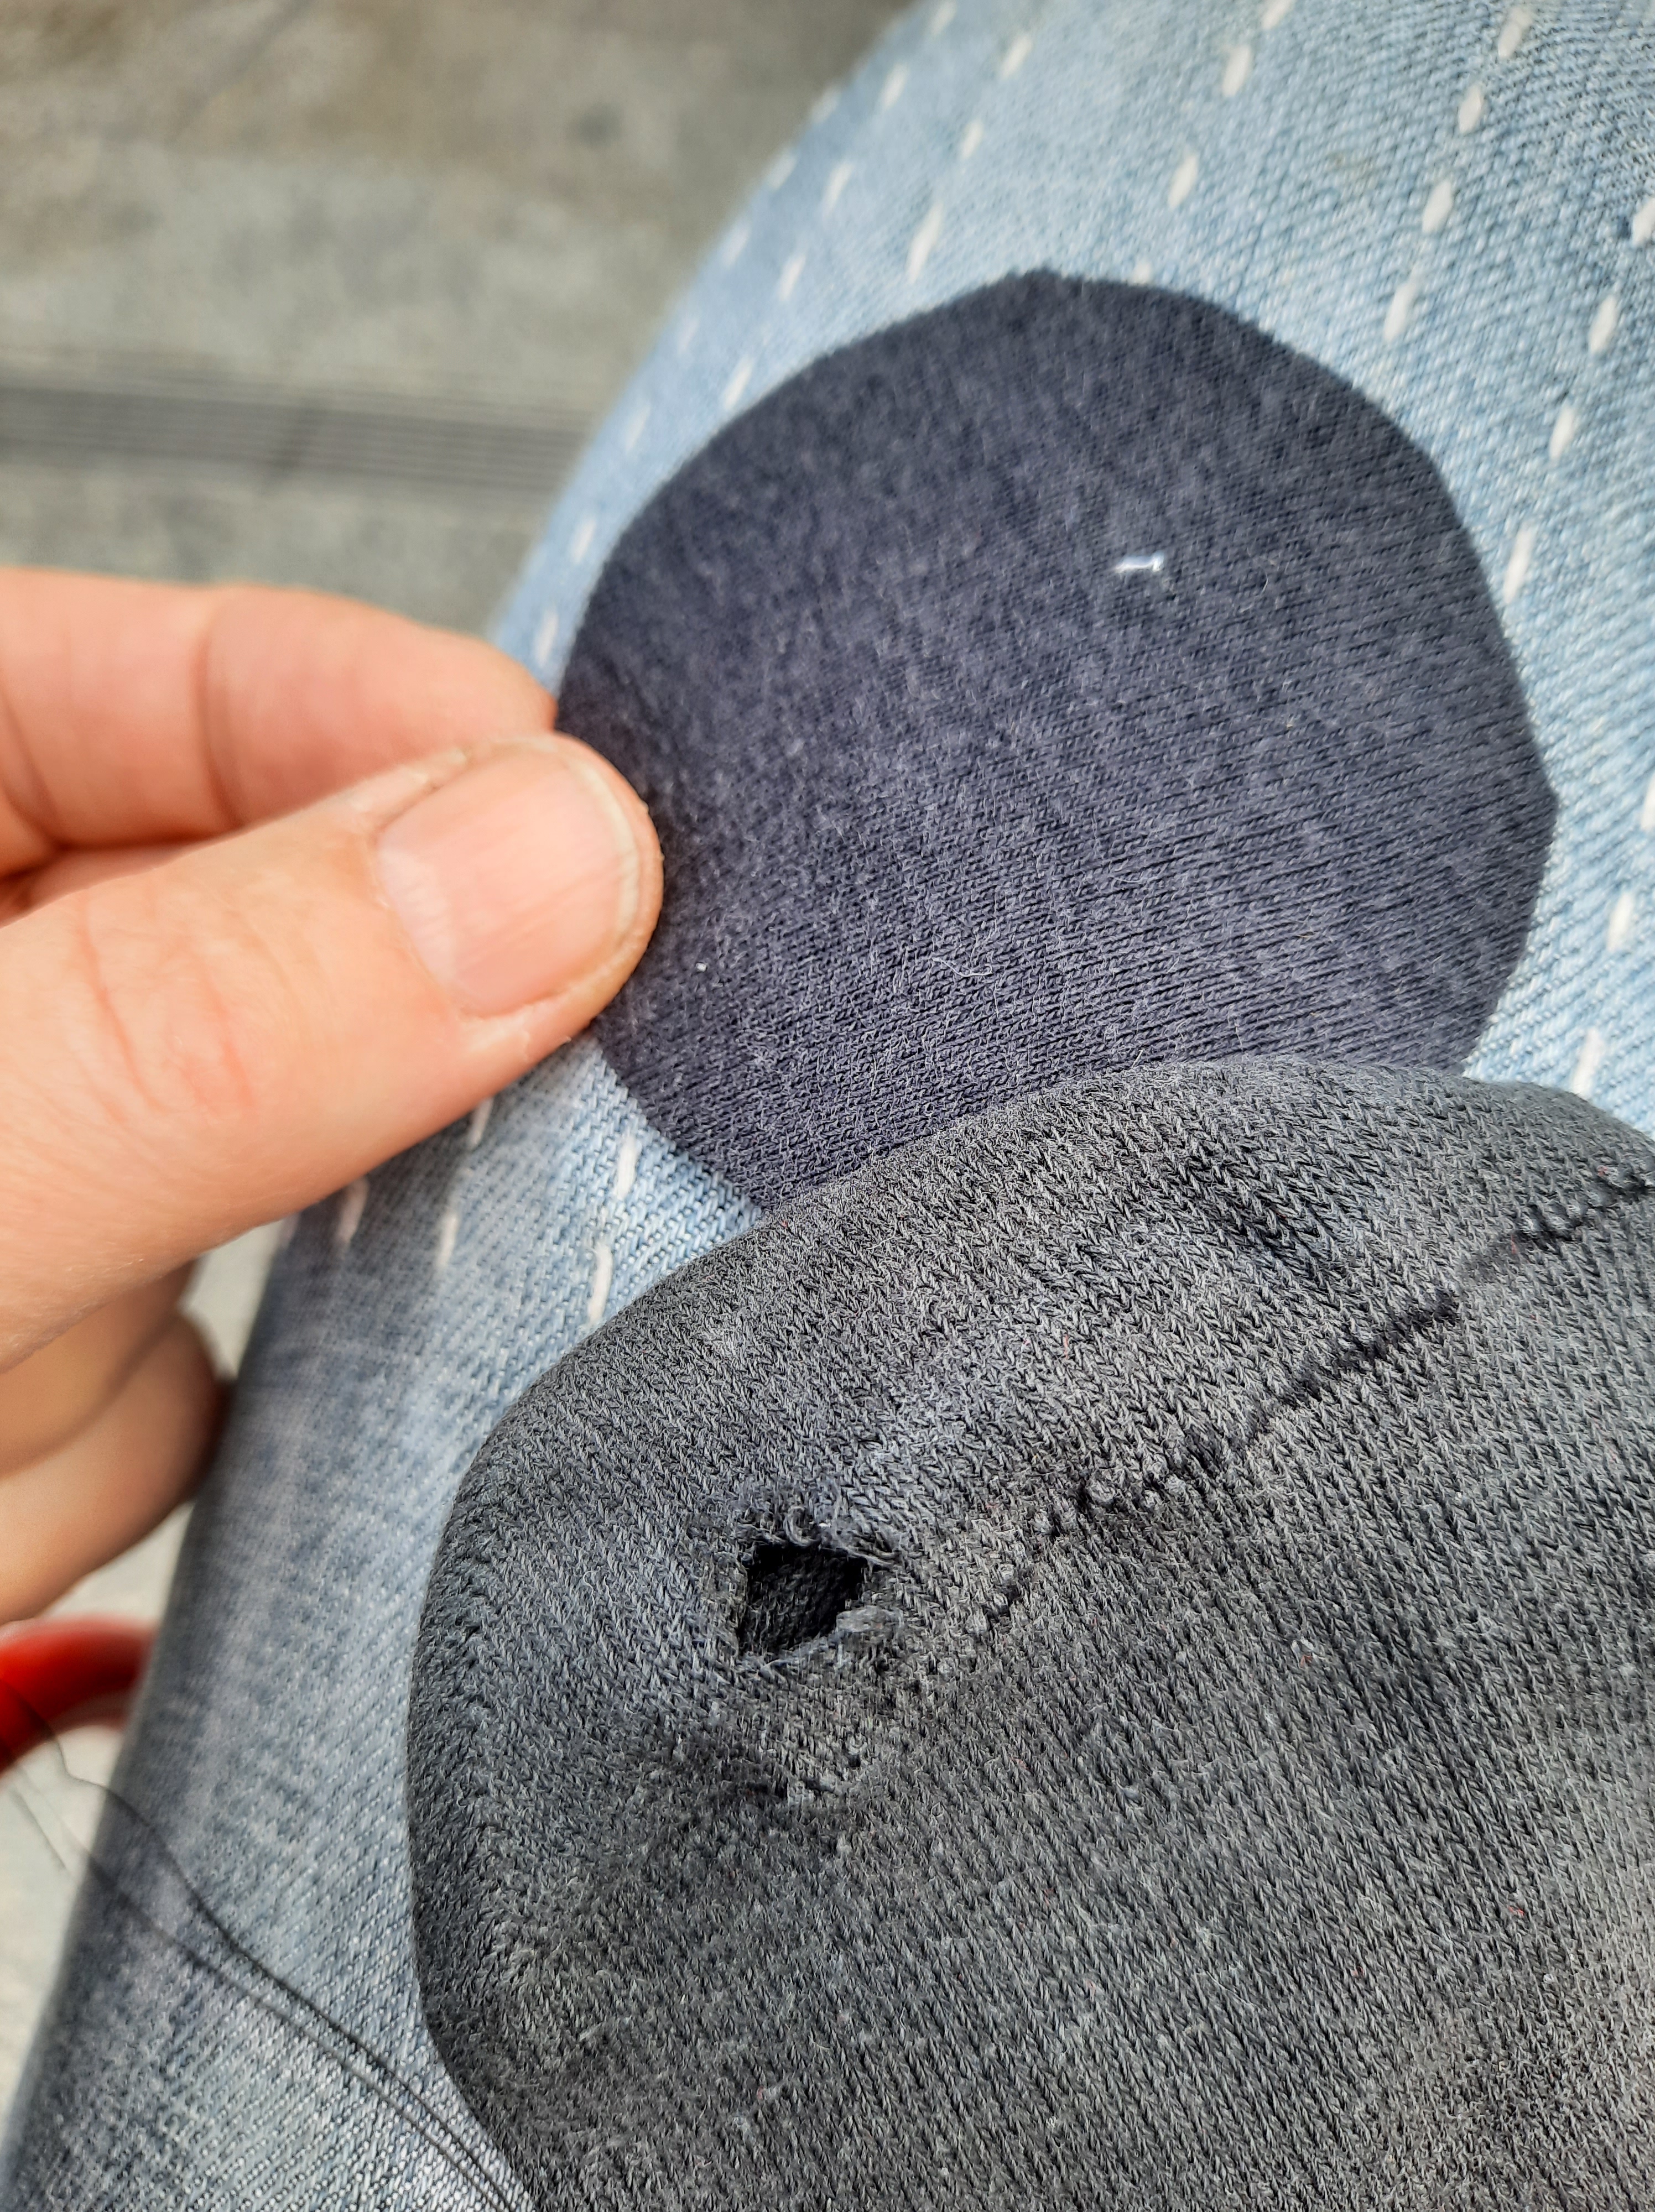
My sweetheart buys stretch jeans. She is her own person and makes her own choices, but let it be said that stretch jeans do not wear or mend as well as those that don’t stretch! This is a step by step though mending one pair.
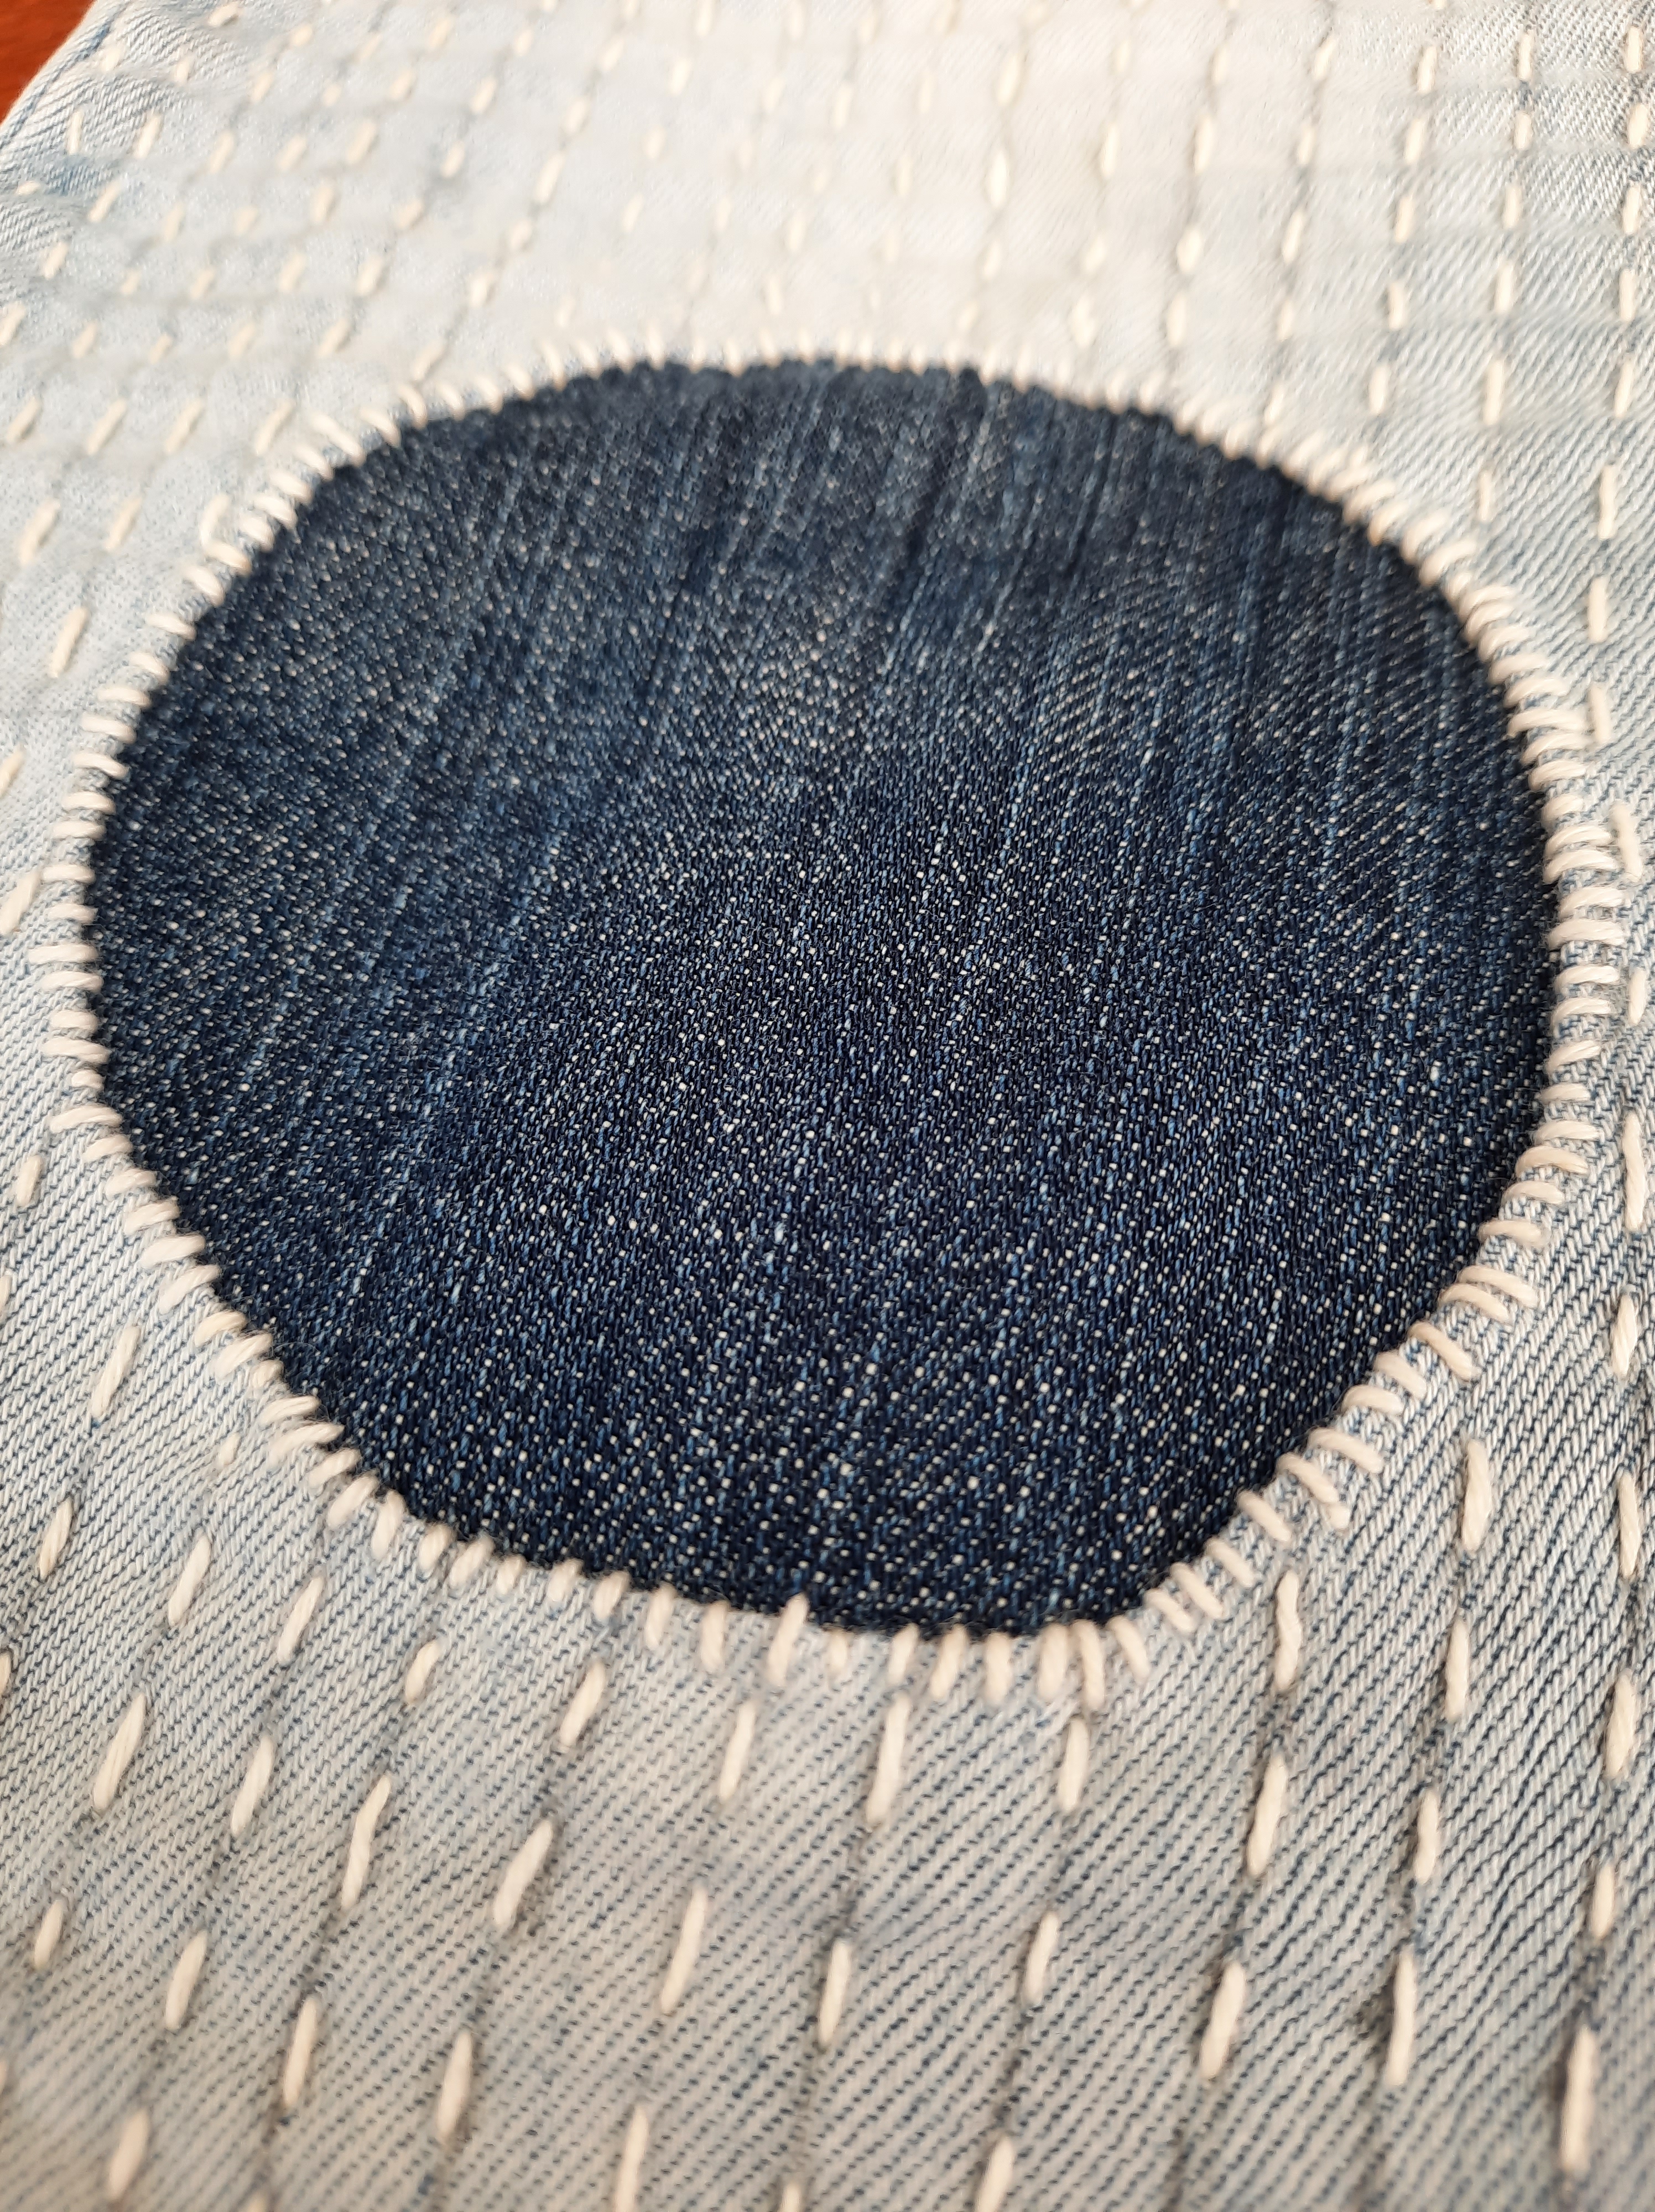
And this is a close up of the finished item. I started the next mend the day she wore these to a job. This mend got so many comments that she thought she might review her request for less visible stitching on the next pair. It was too late! I mended the other pair with a visible patch but most of the stitching holding the bulk of the patch in place is on the inside, and the thread is a linen that blends with the denim so that the little stitches on the outside don’t really show at all. Only those trapping the turned under edge of the jeans around the part of the patch that shows.
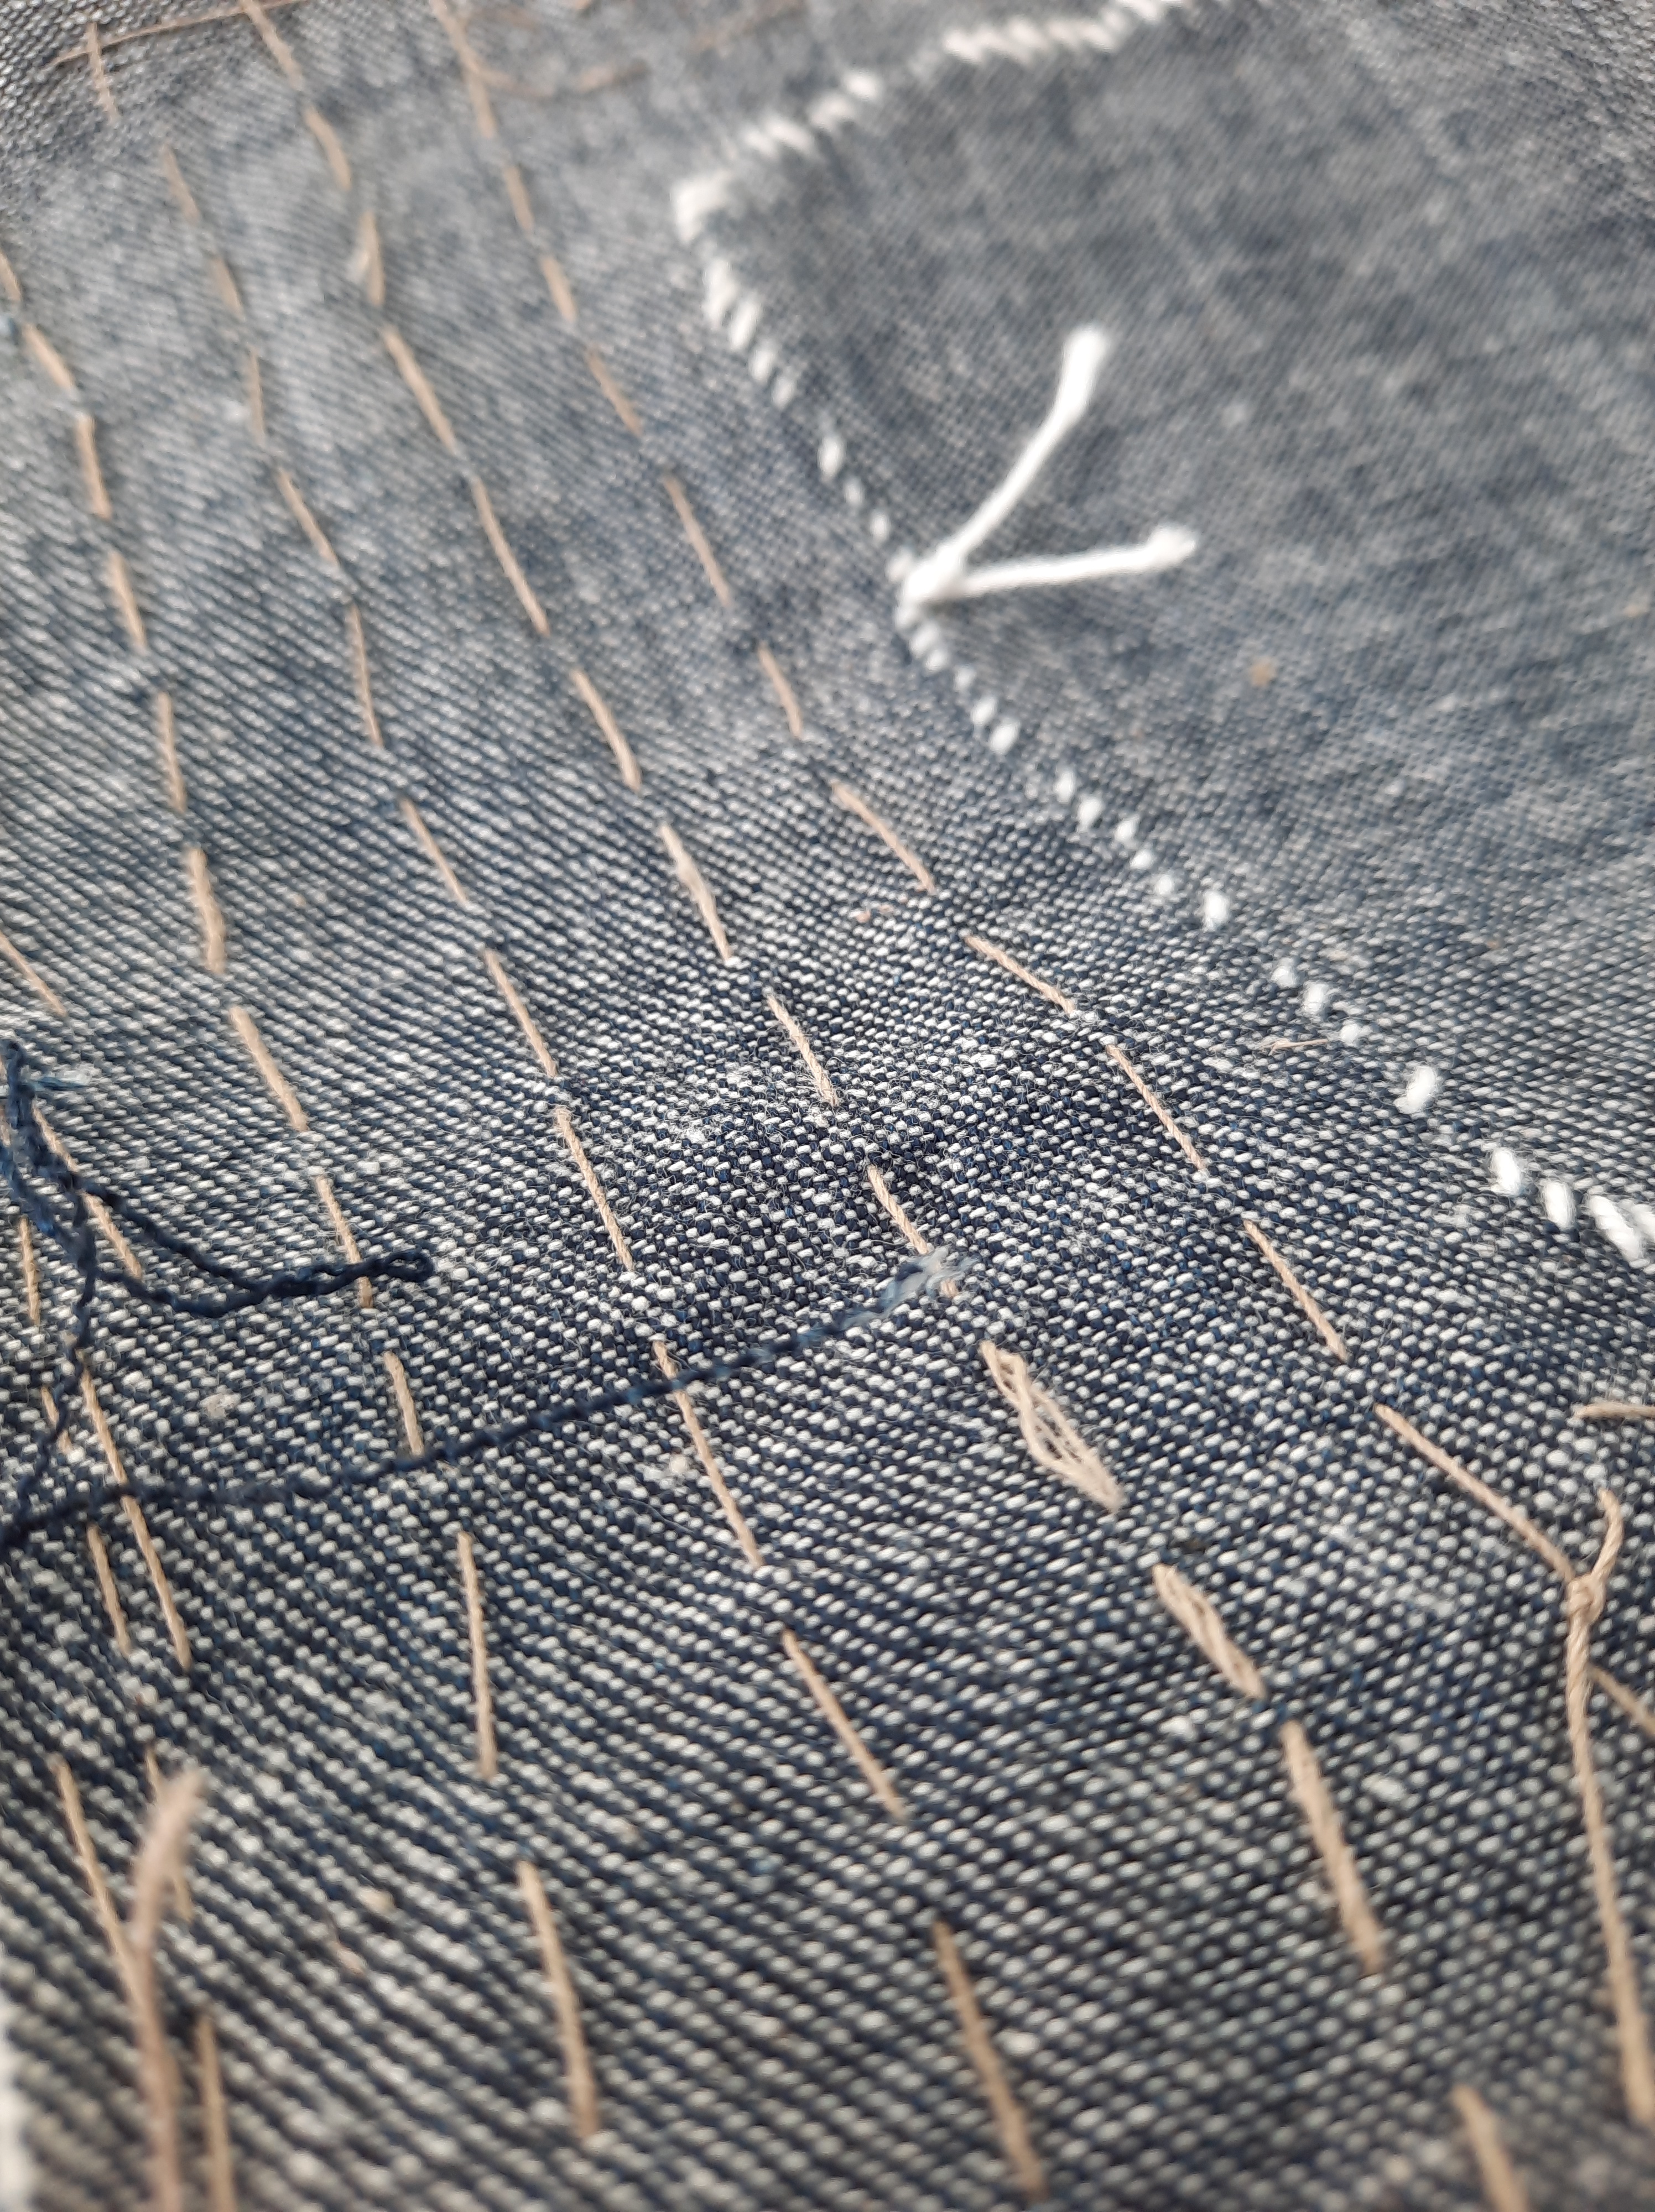
These are the steps… and here is the inside!
And the finished mend.
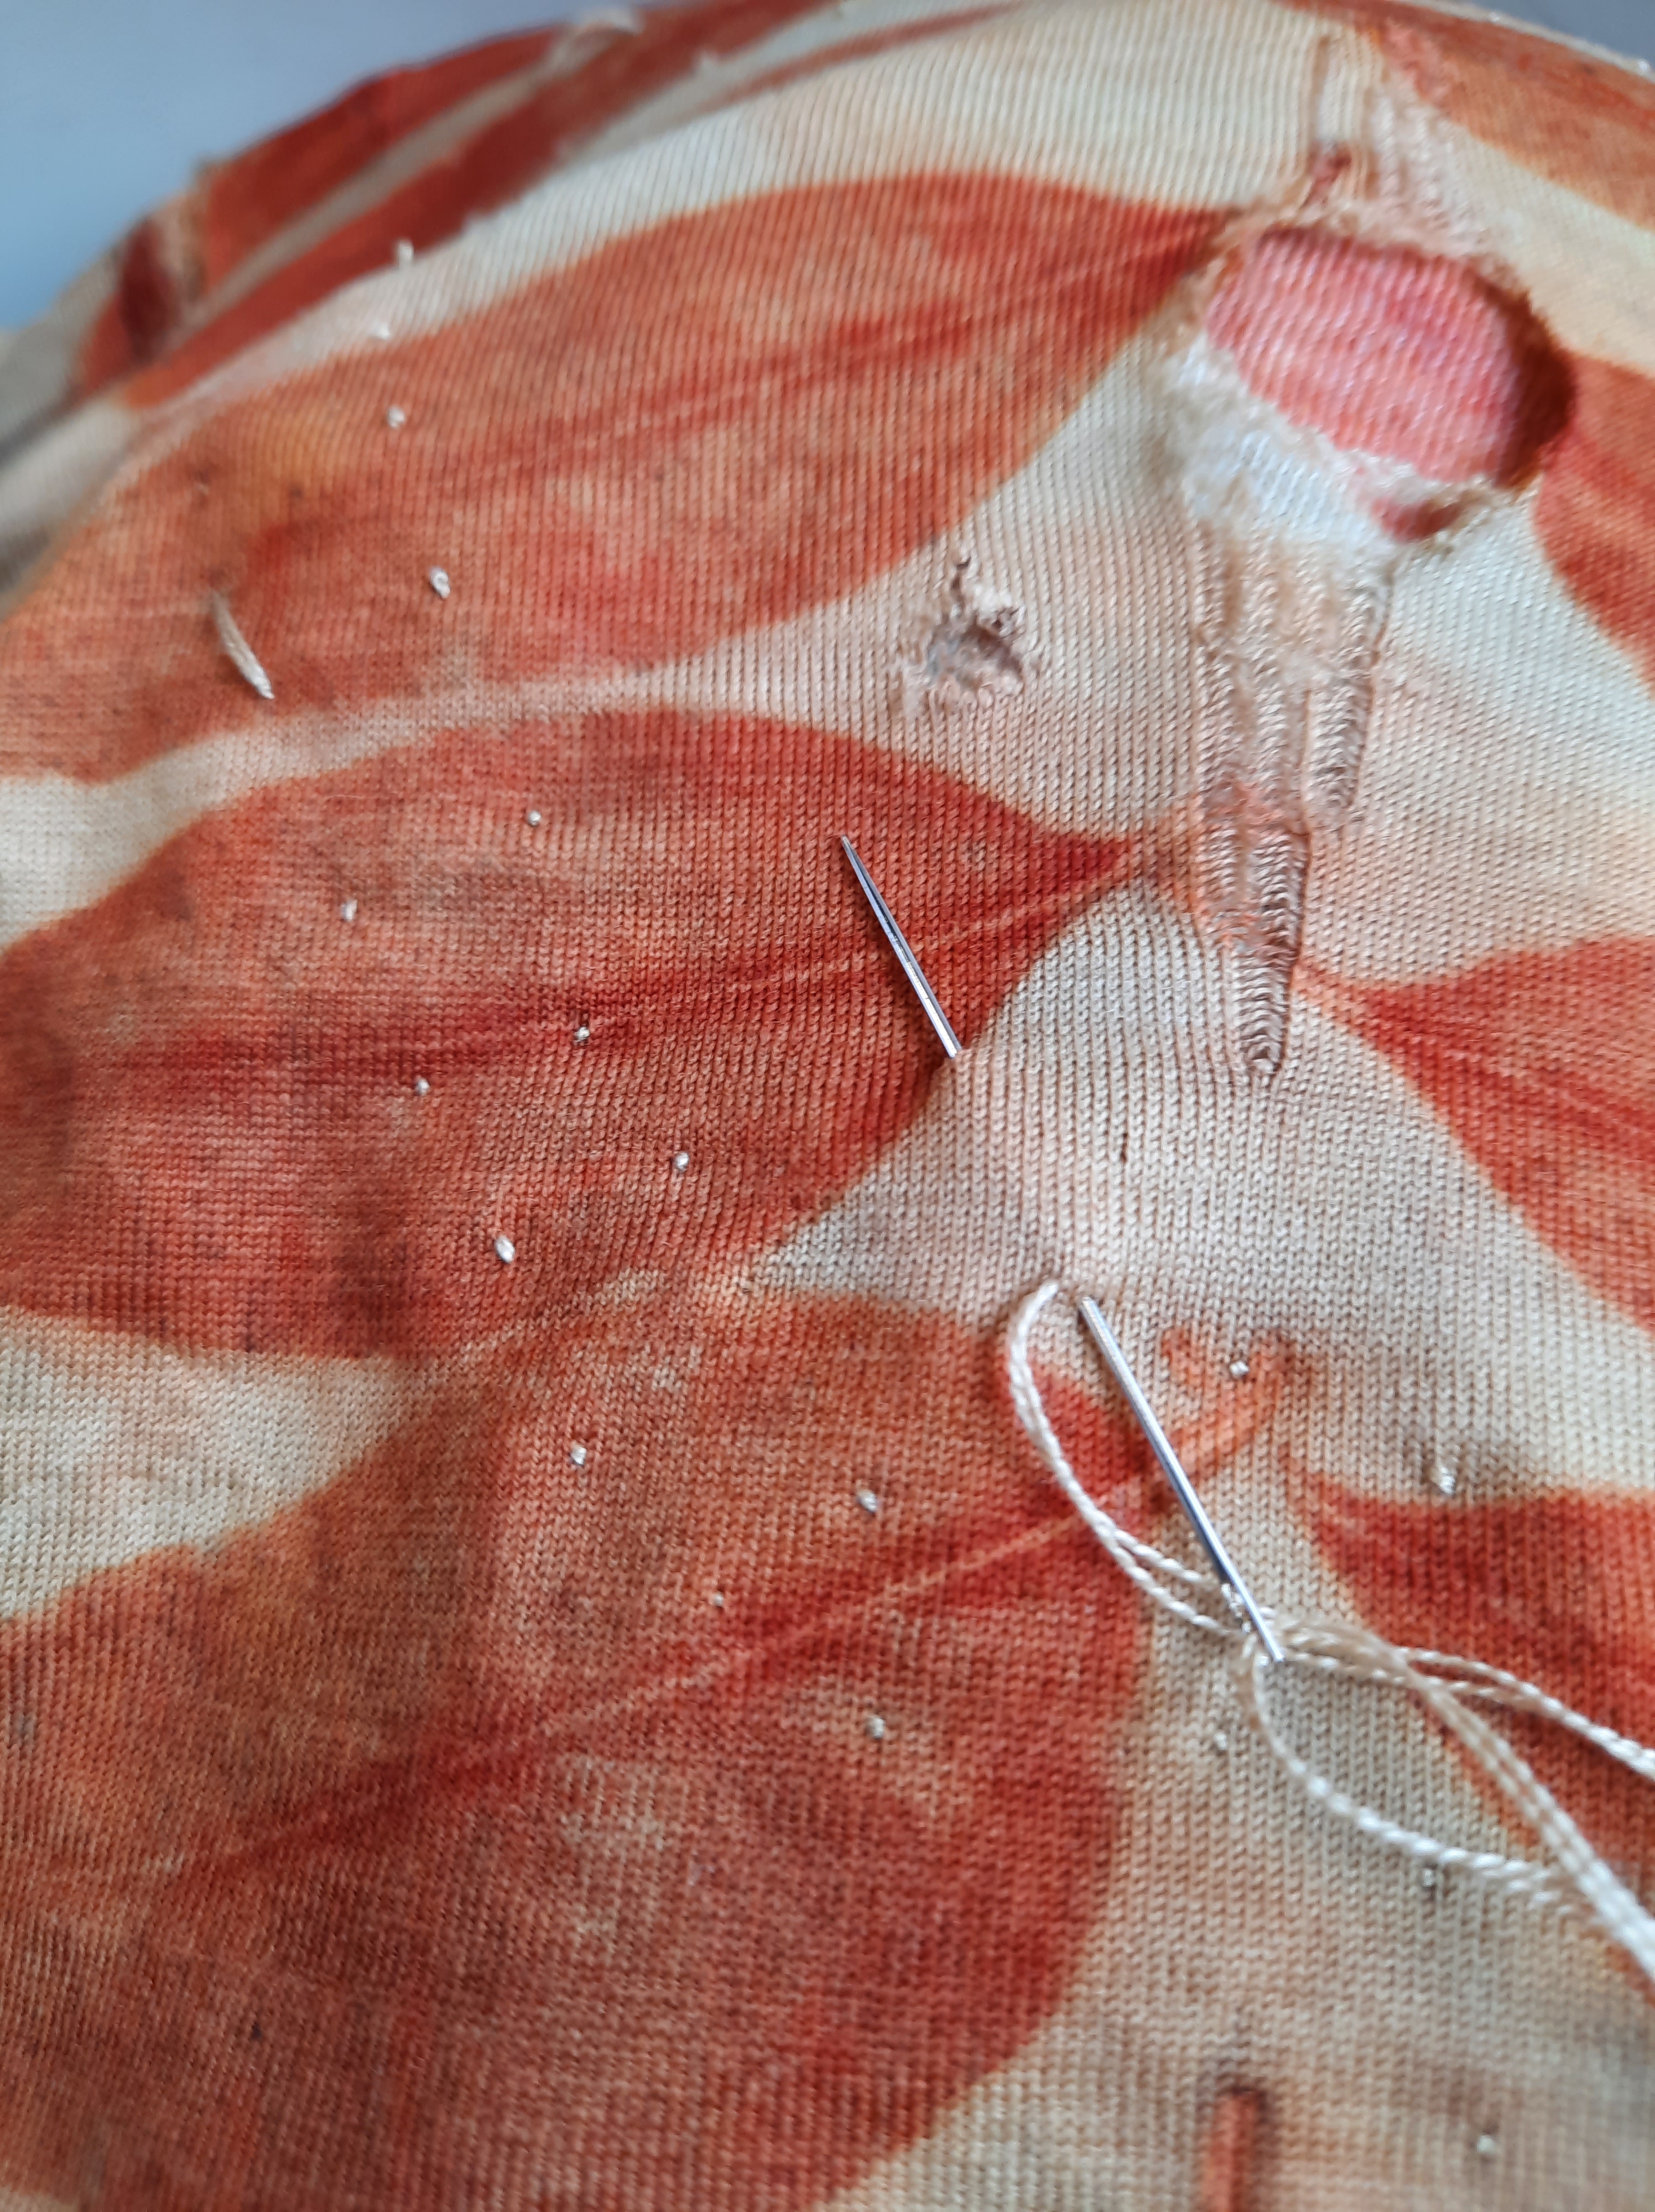
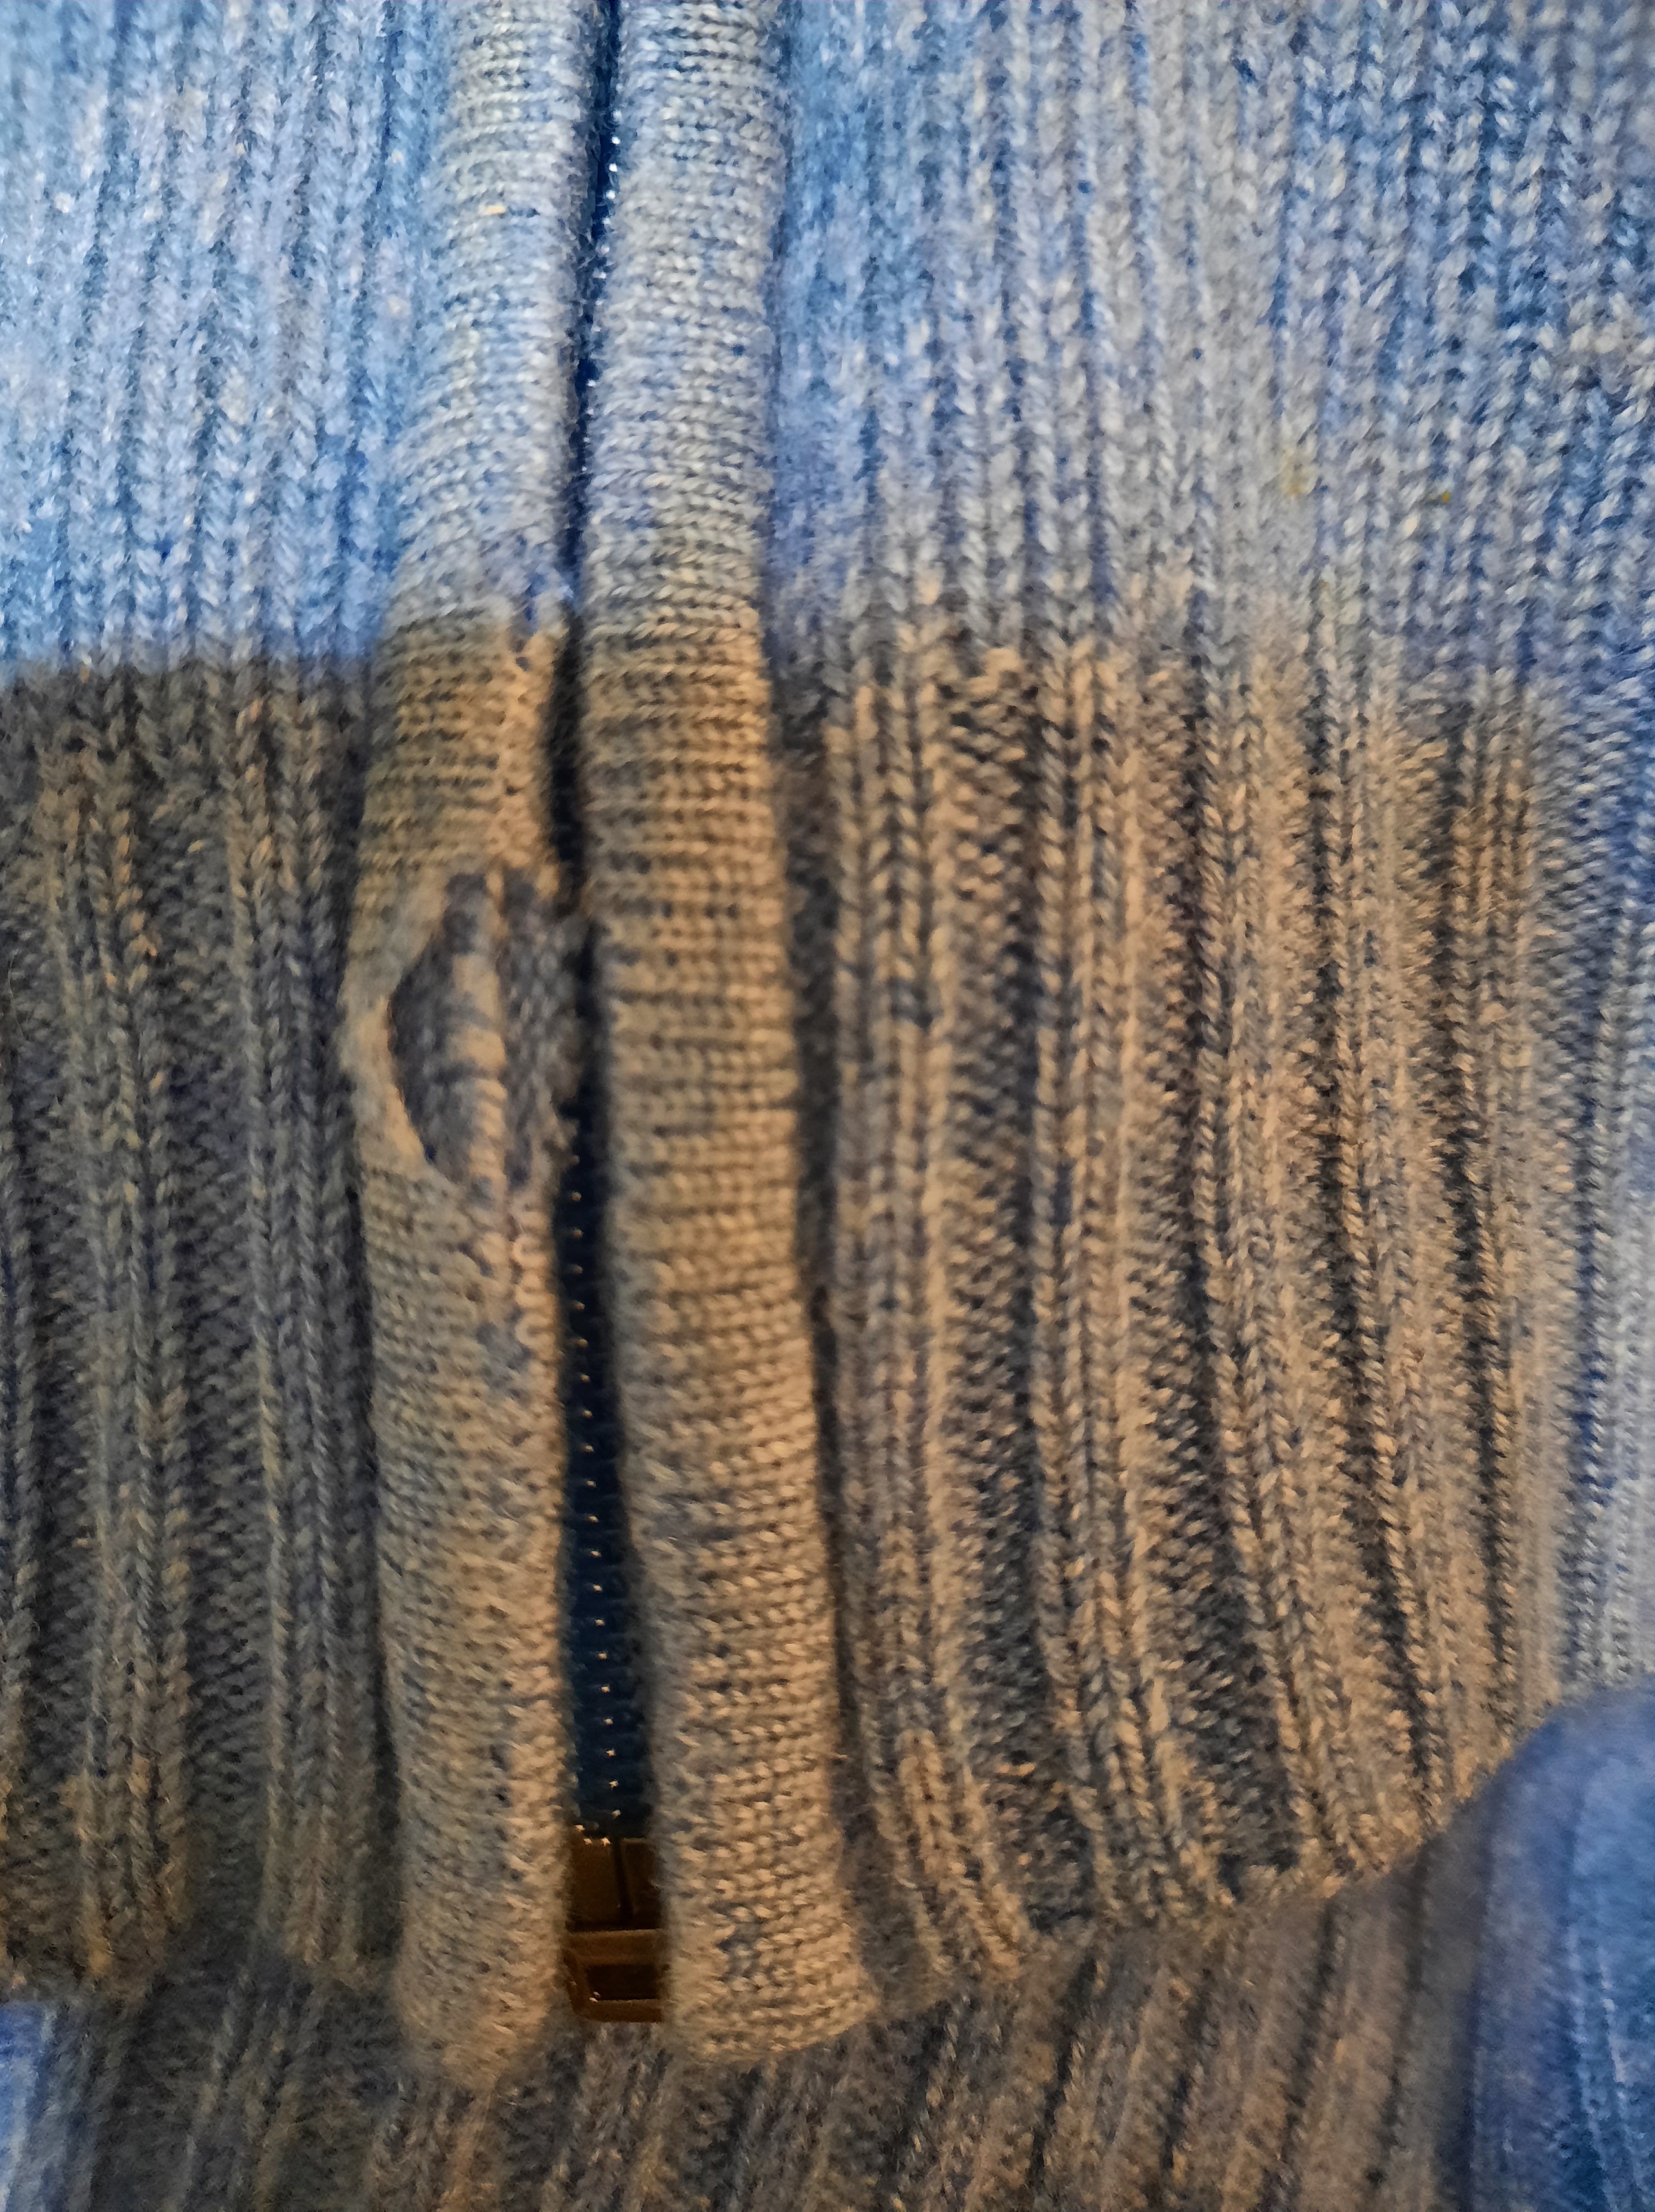
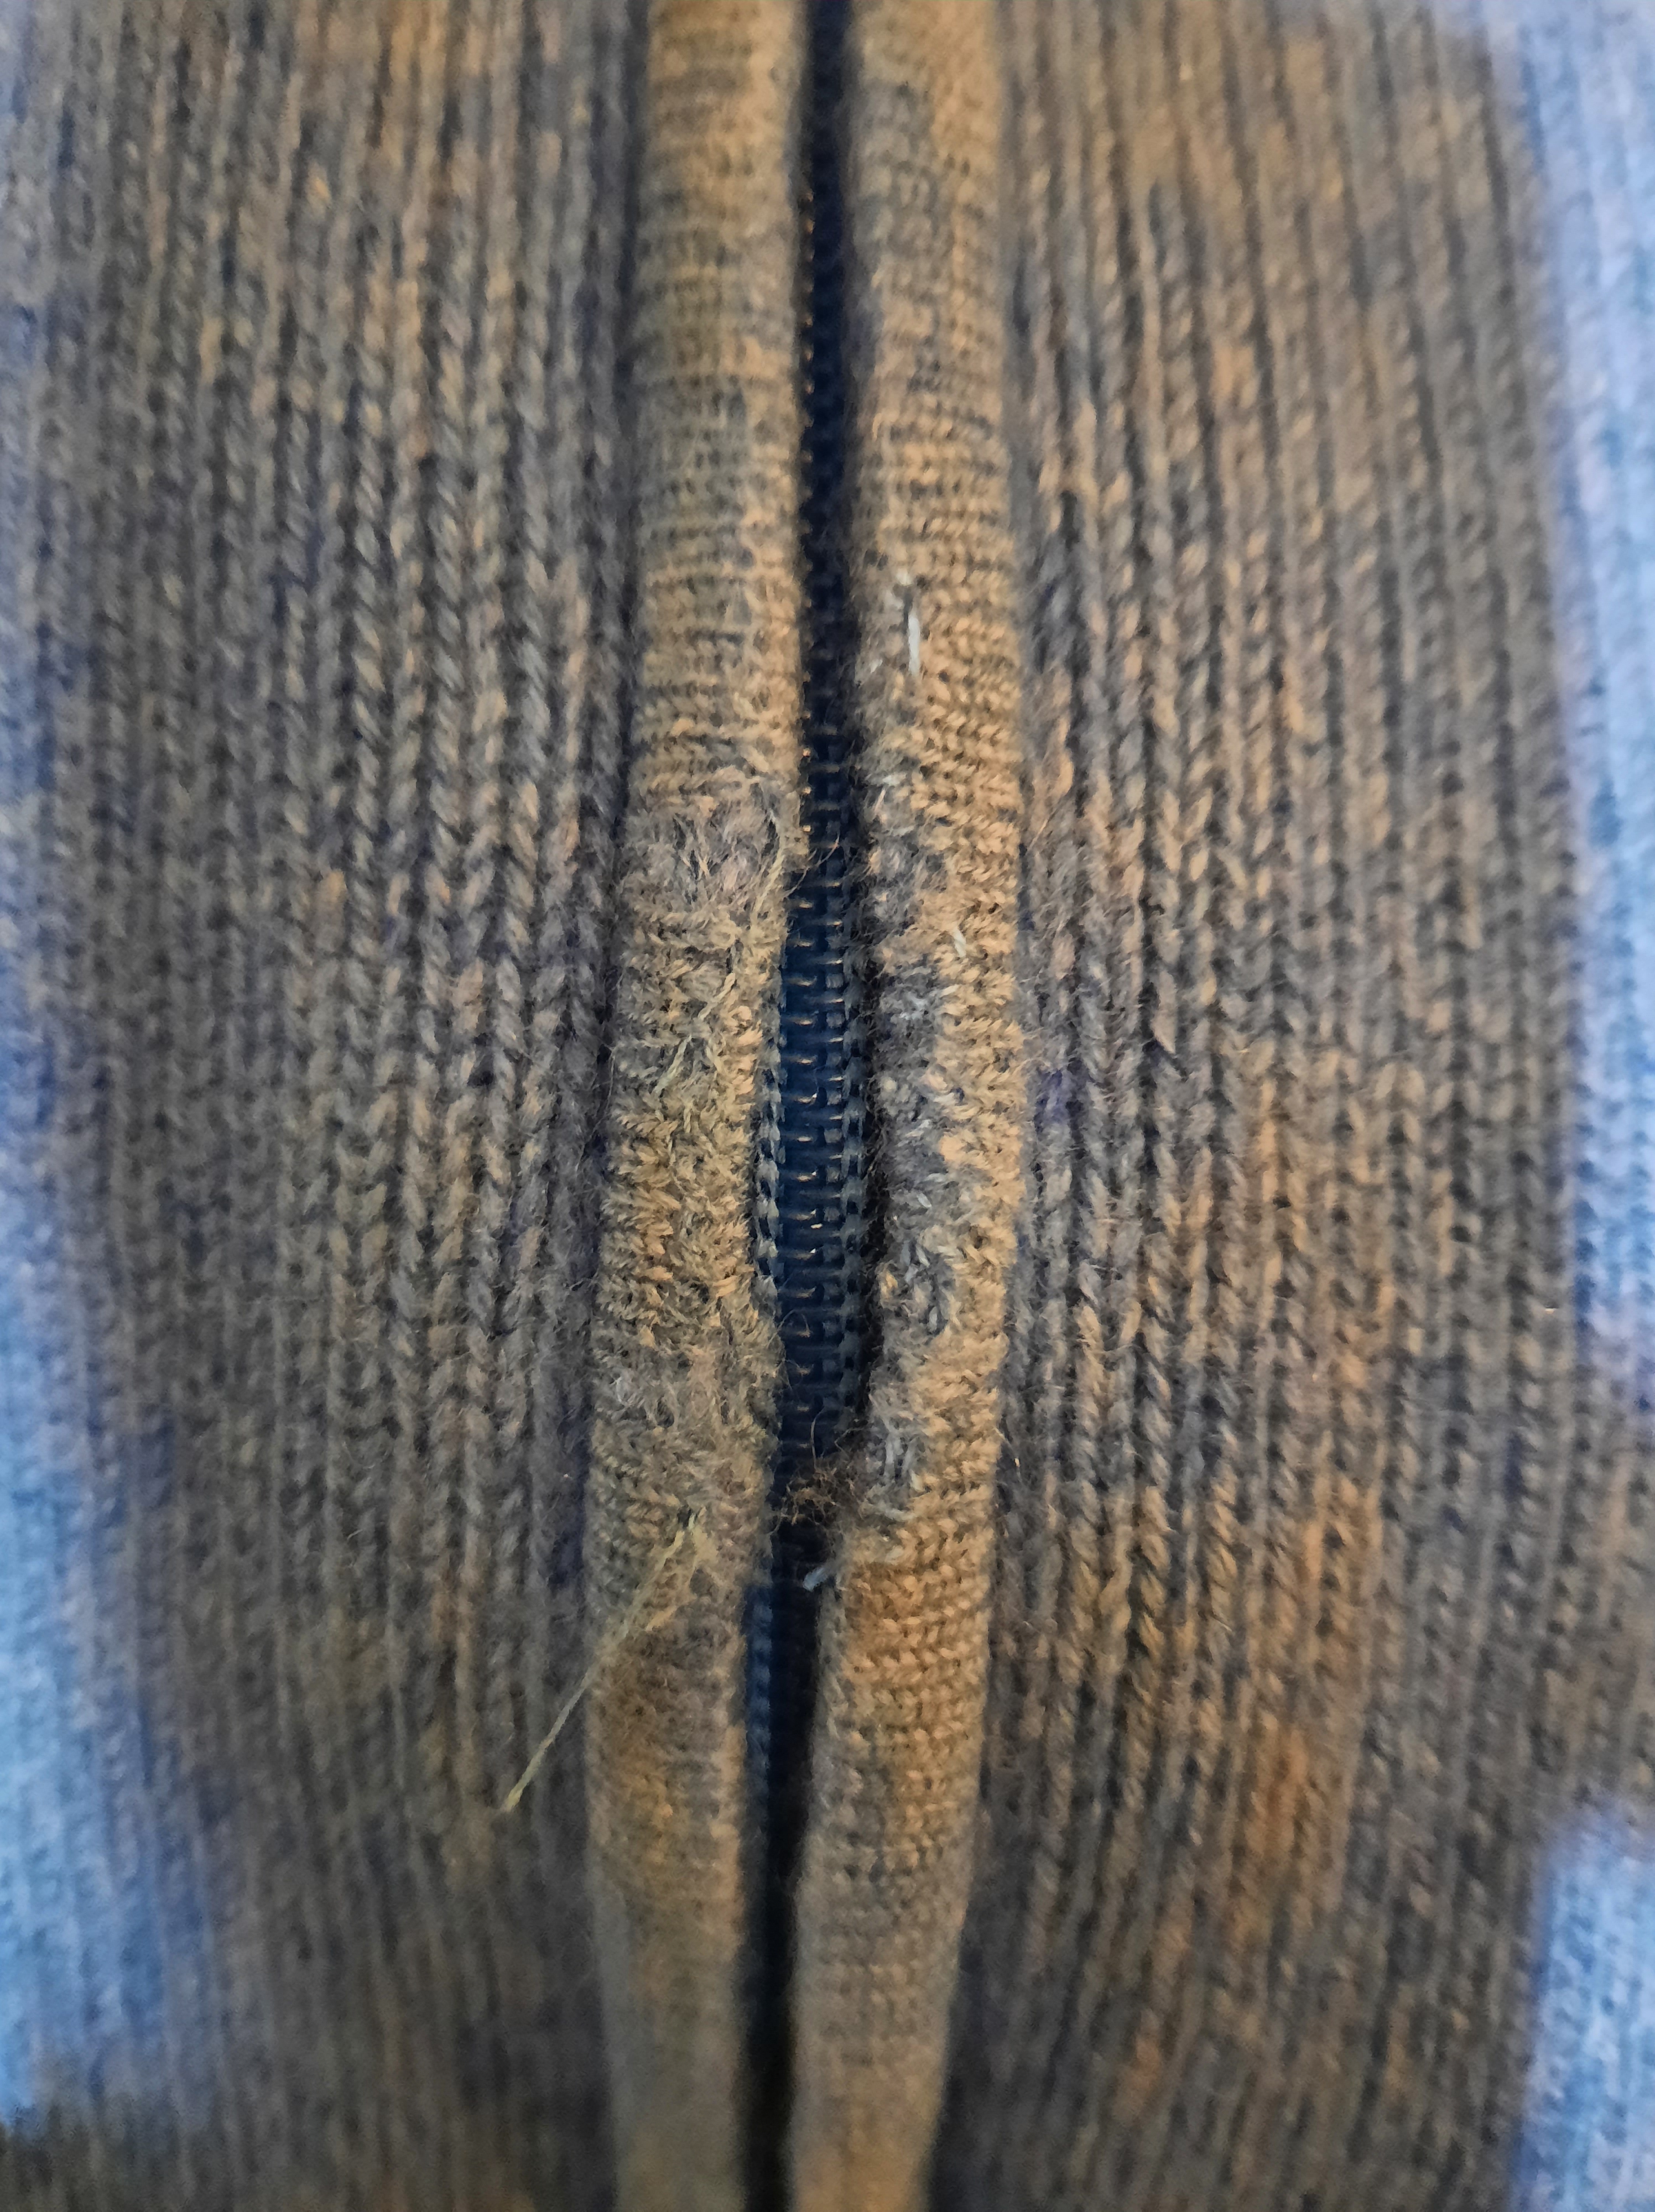
Finally, my beloved’s favourite, lusciously soft cardigan.
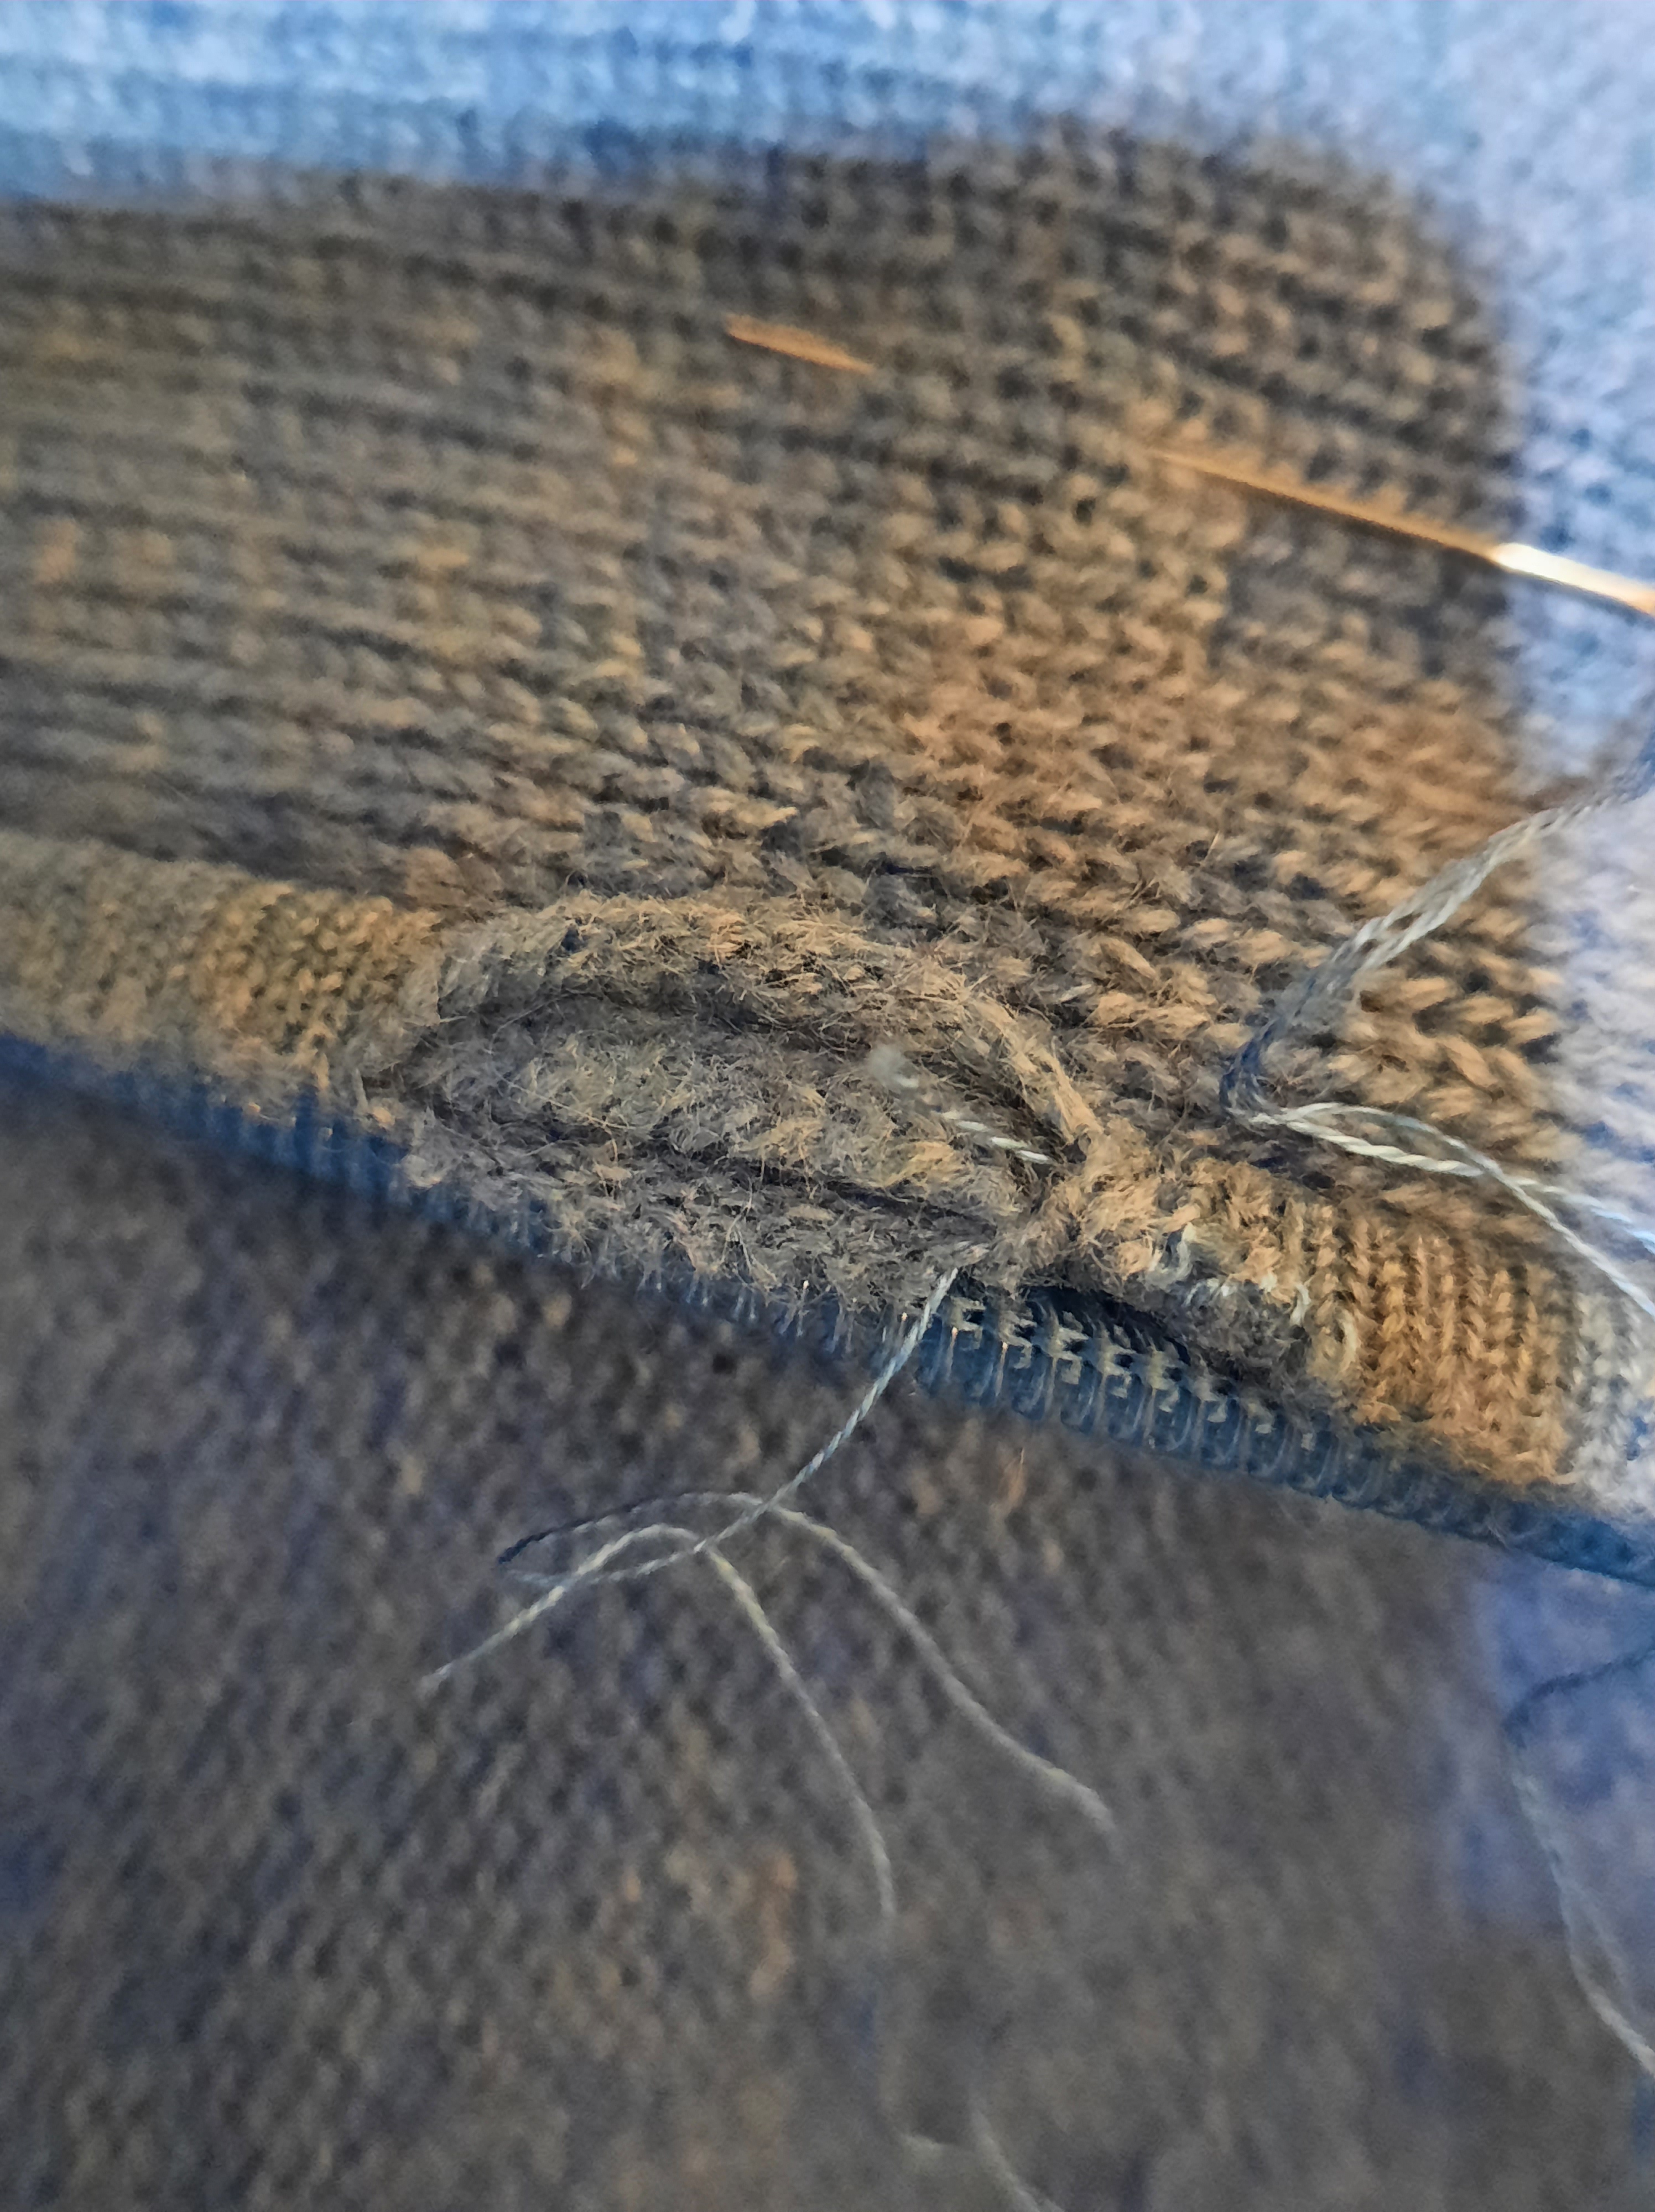
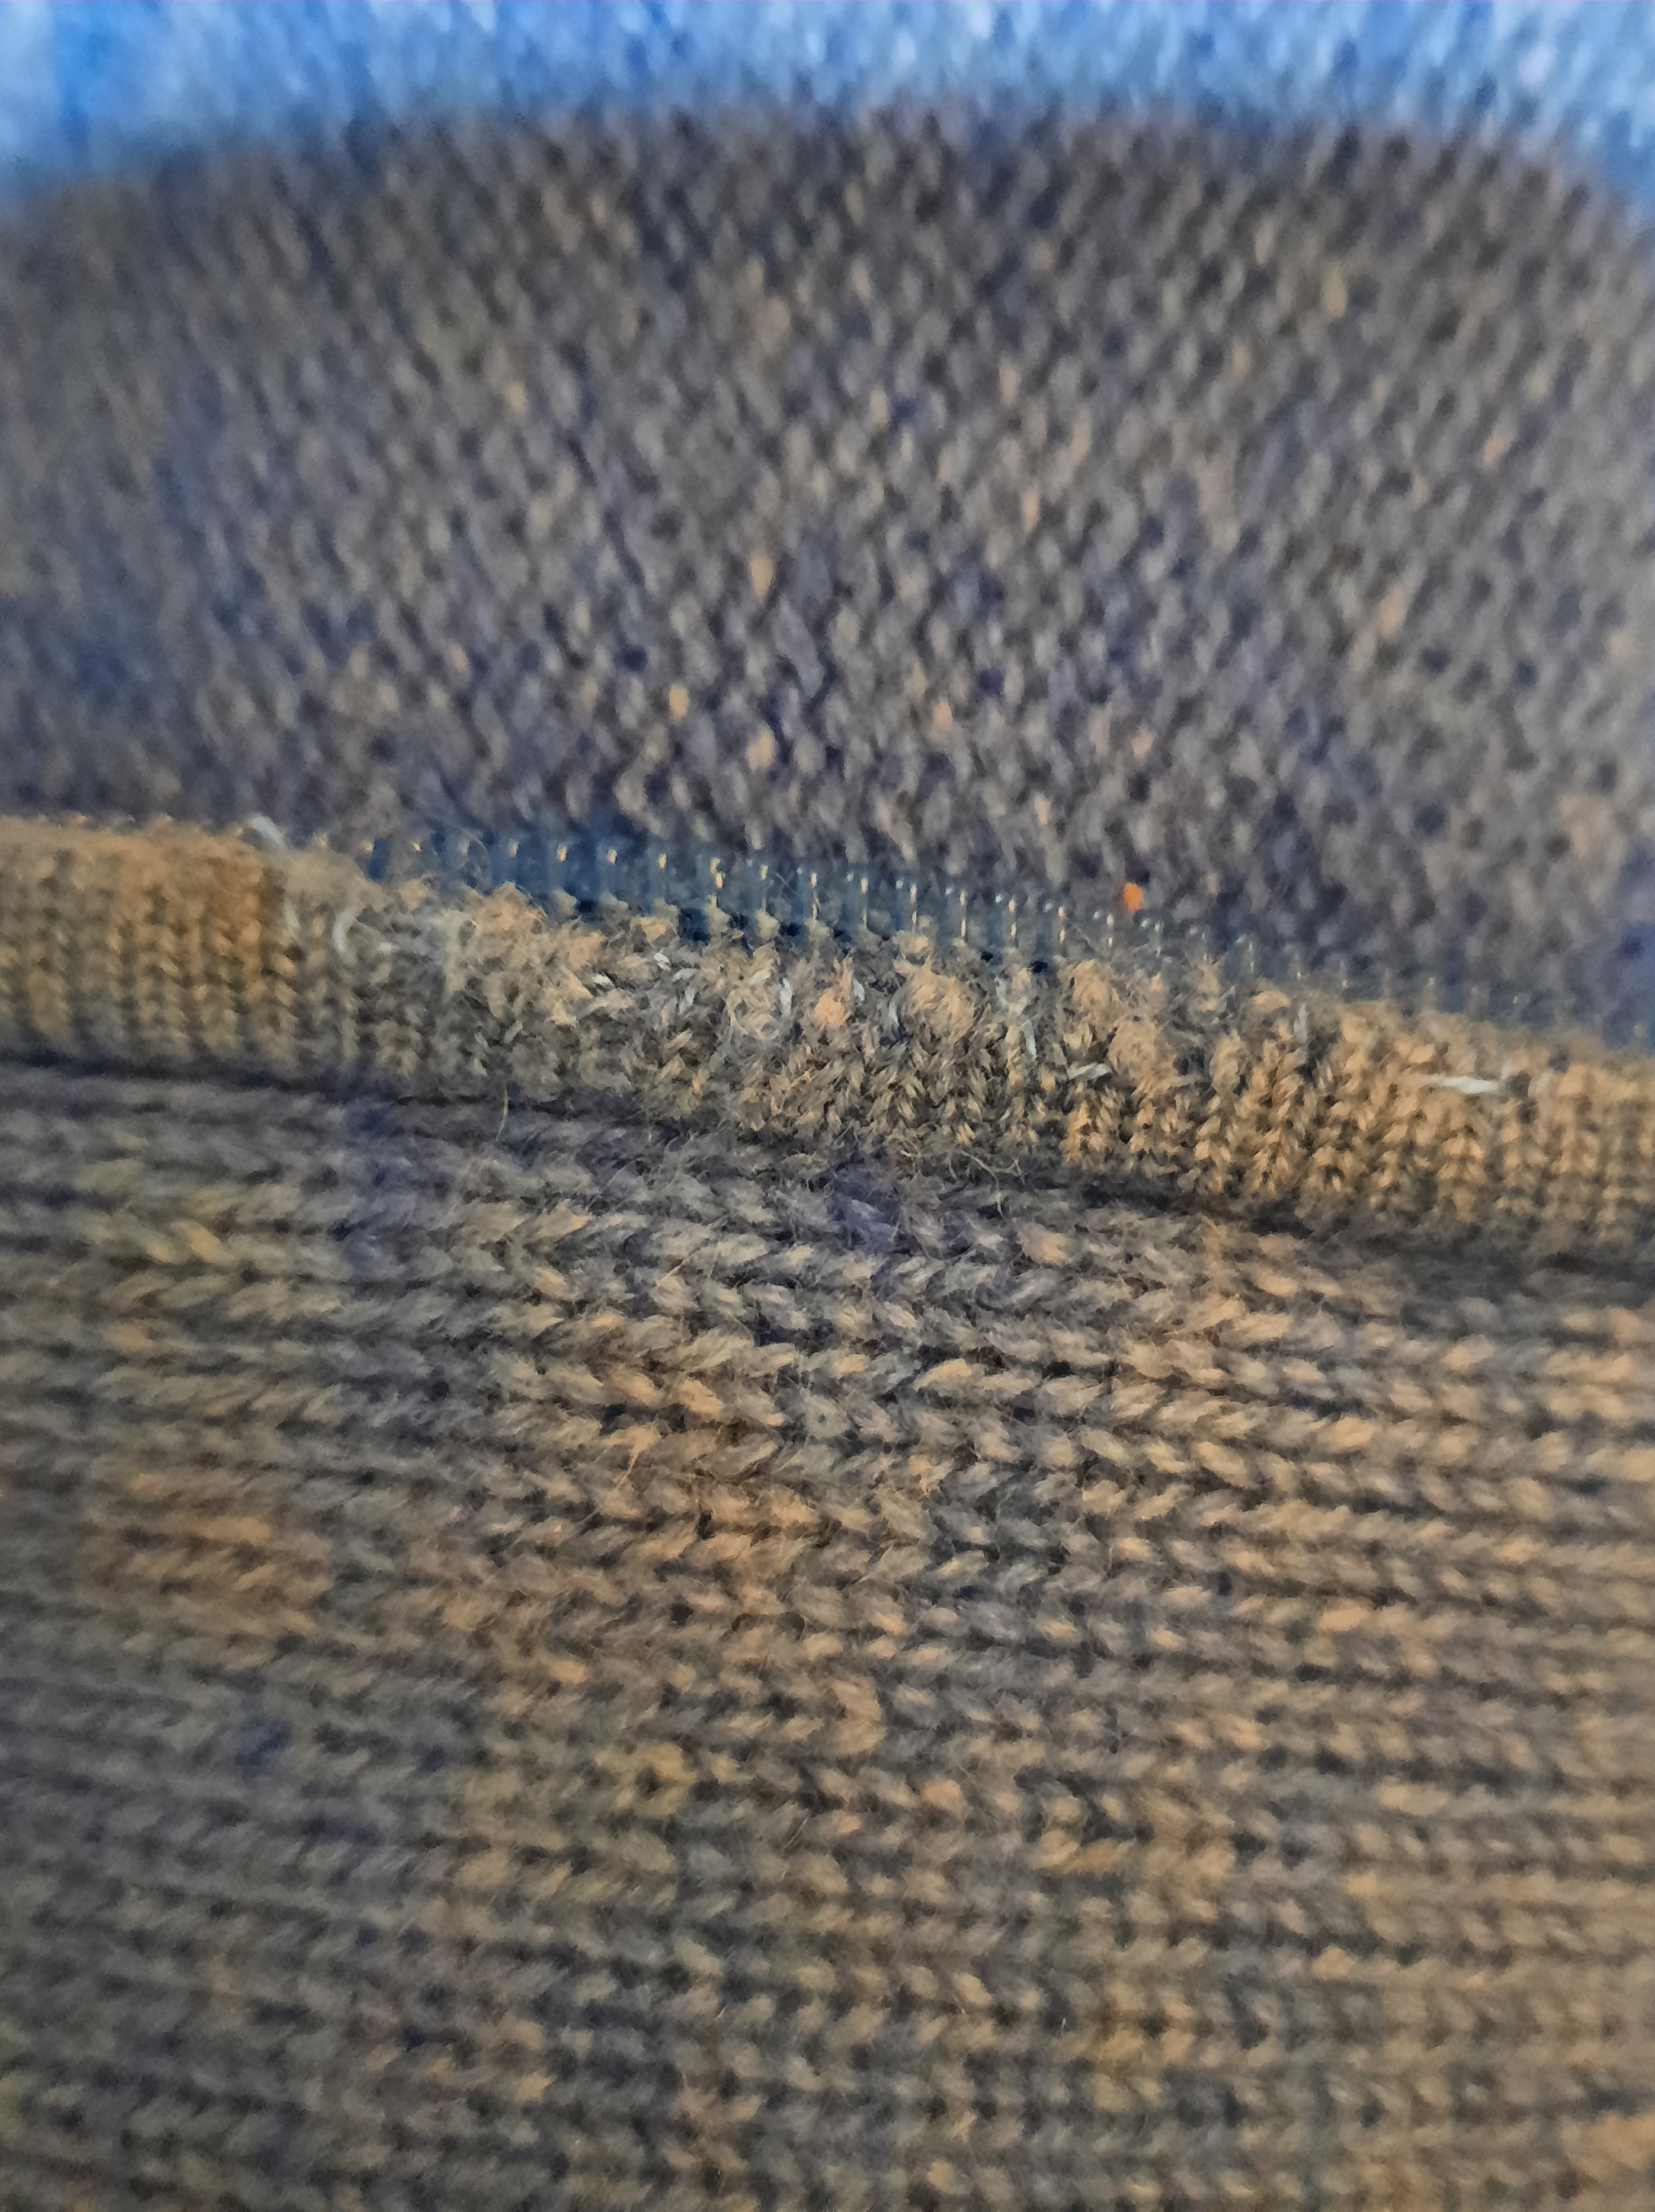
This very much loved cardigan belonging to my beloved is made from a very fine wool/cashmere of some kind. And it has worn right through in a lot of places. This one, I’ve managed to take from unravelling–to holding together in a way that doesn’t shout out as much as the unravelling did. It’s not invisible though! I asked for a review today and she said the repair is “basically invisible”… and these photos are a lot closer up than any casual passerby will ever be.
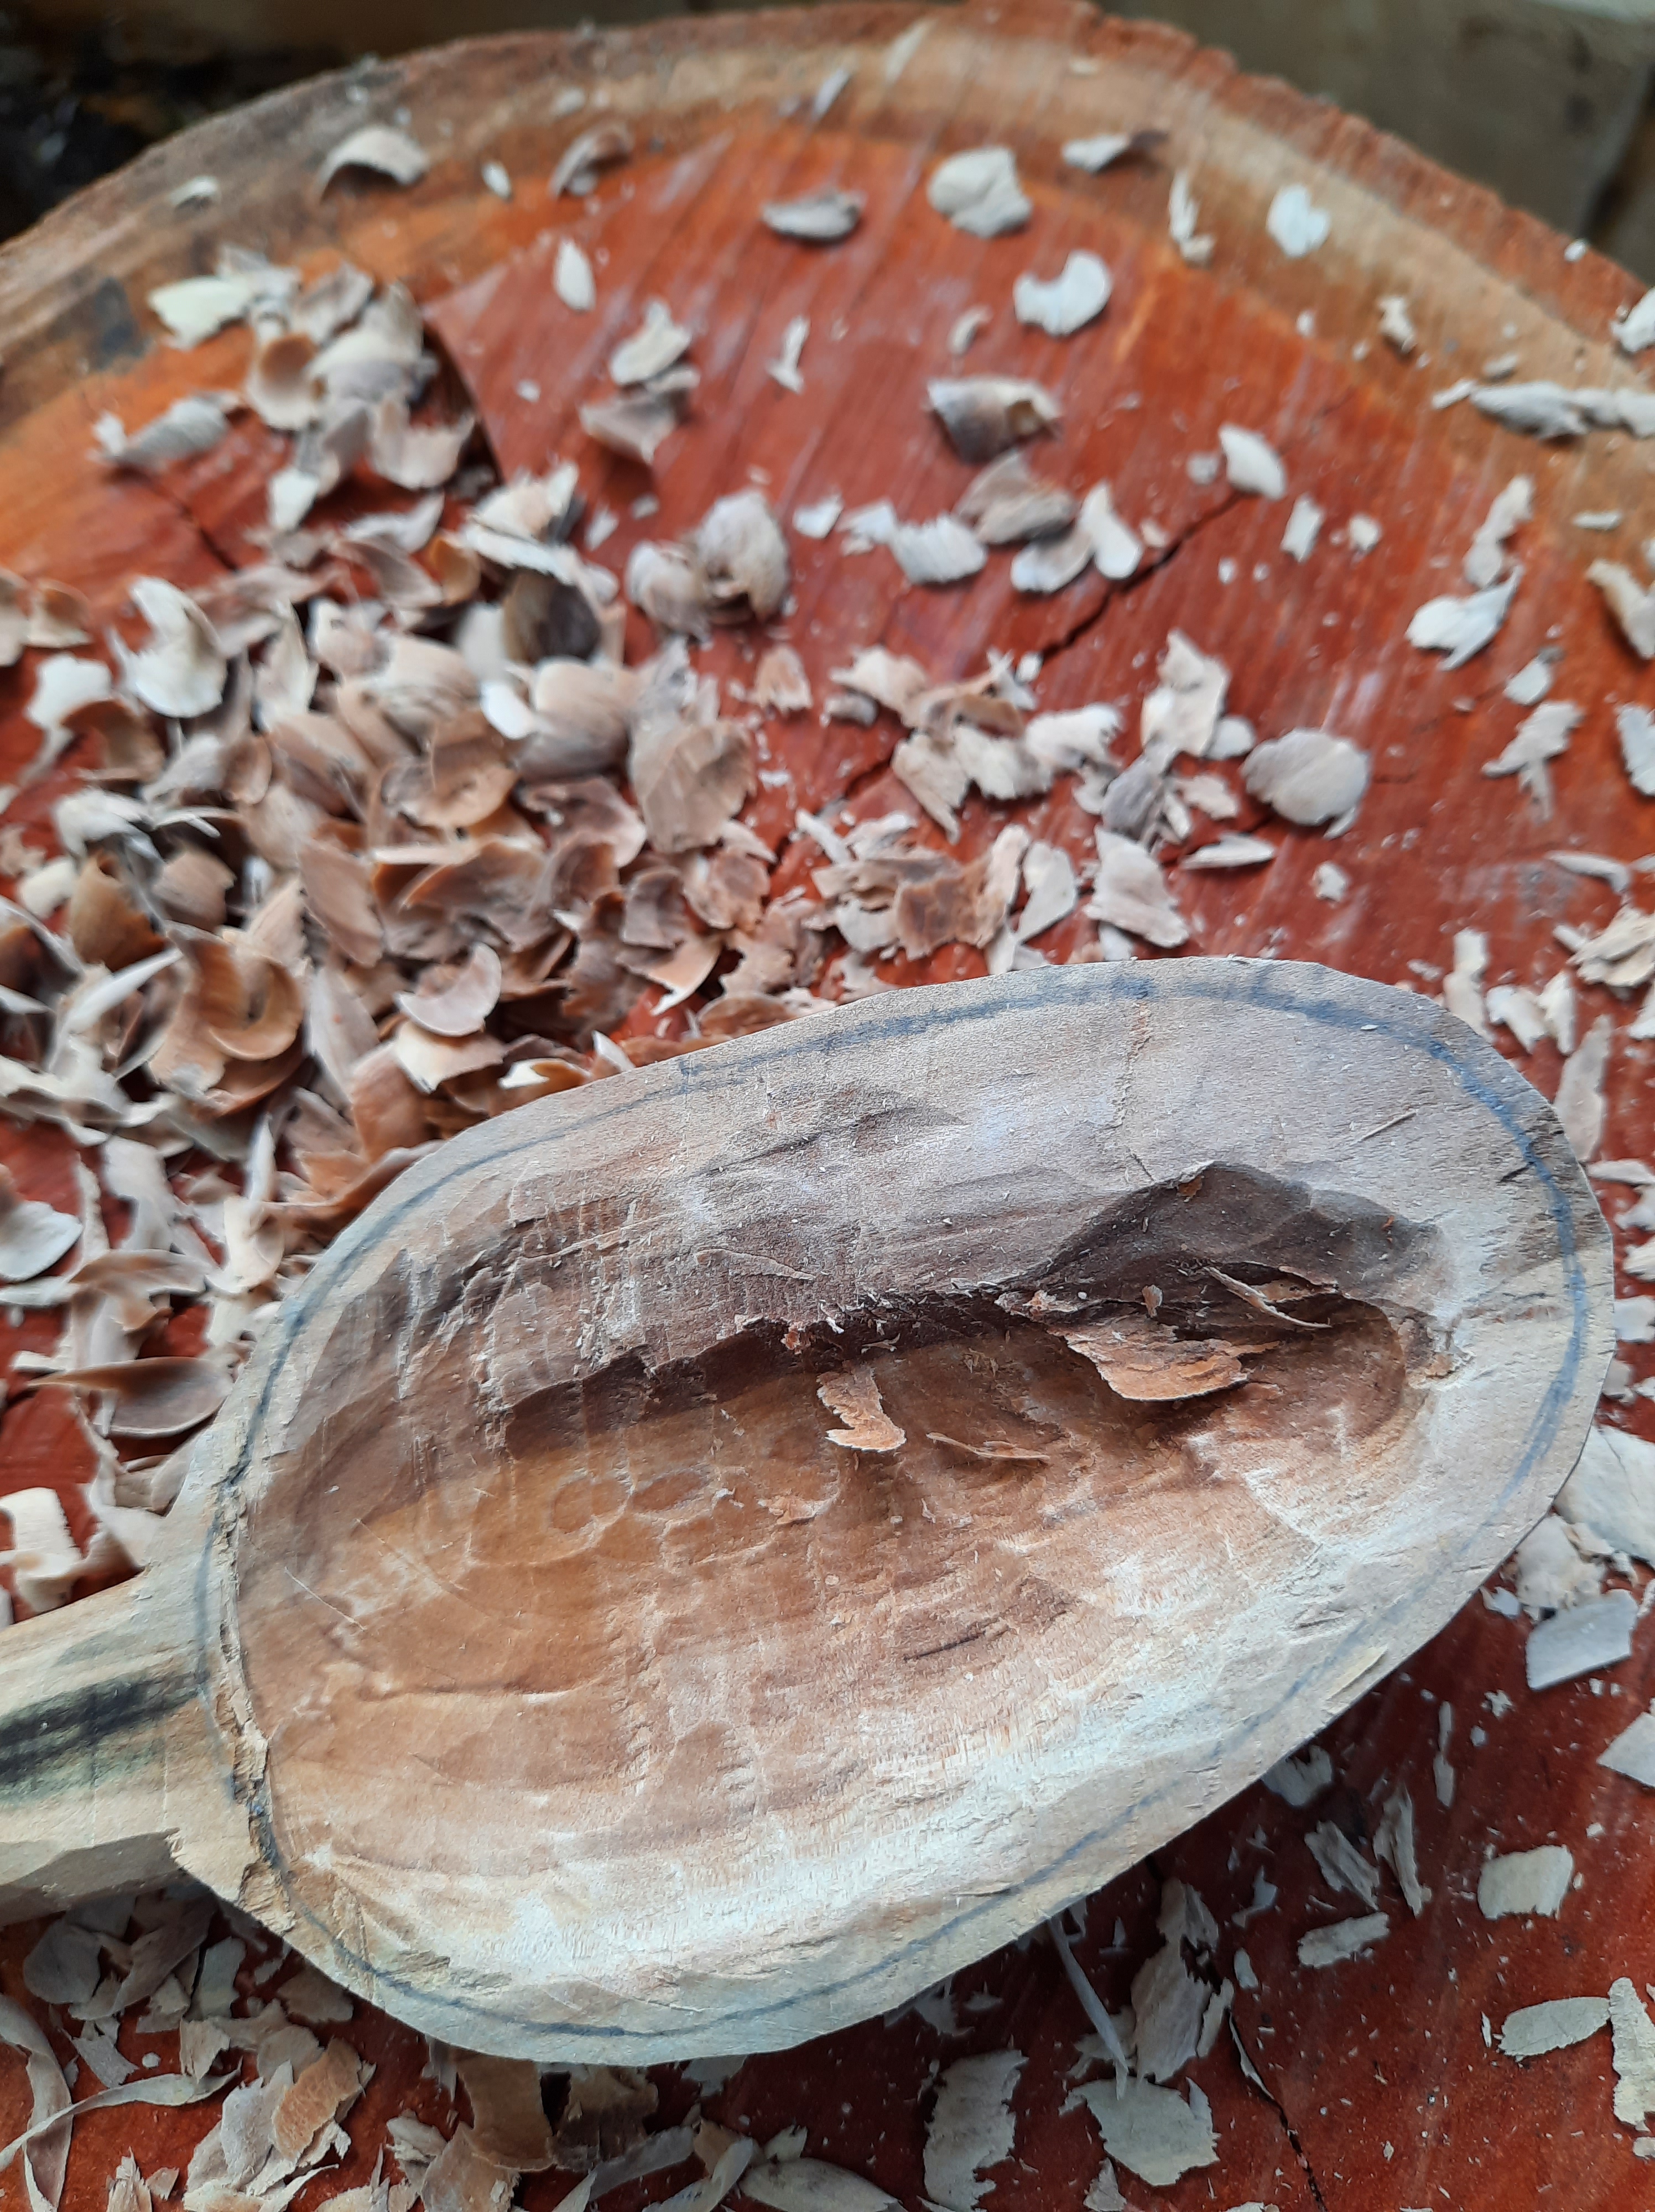
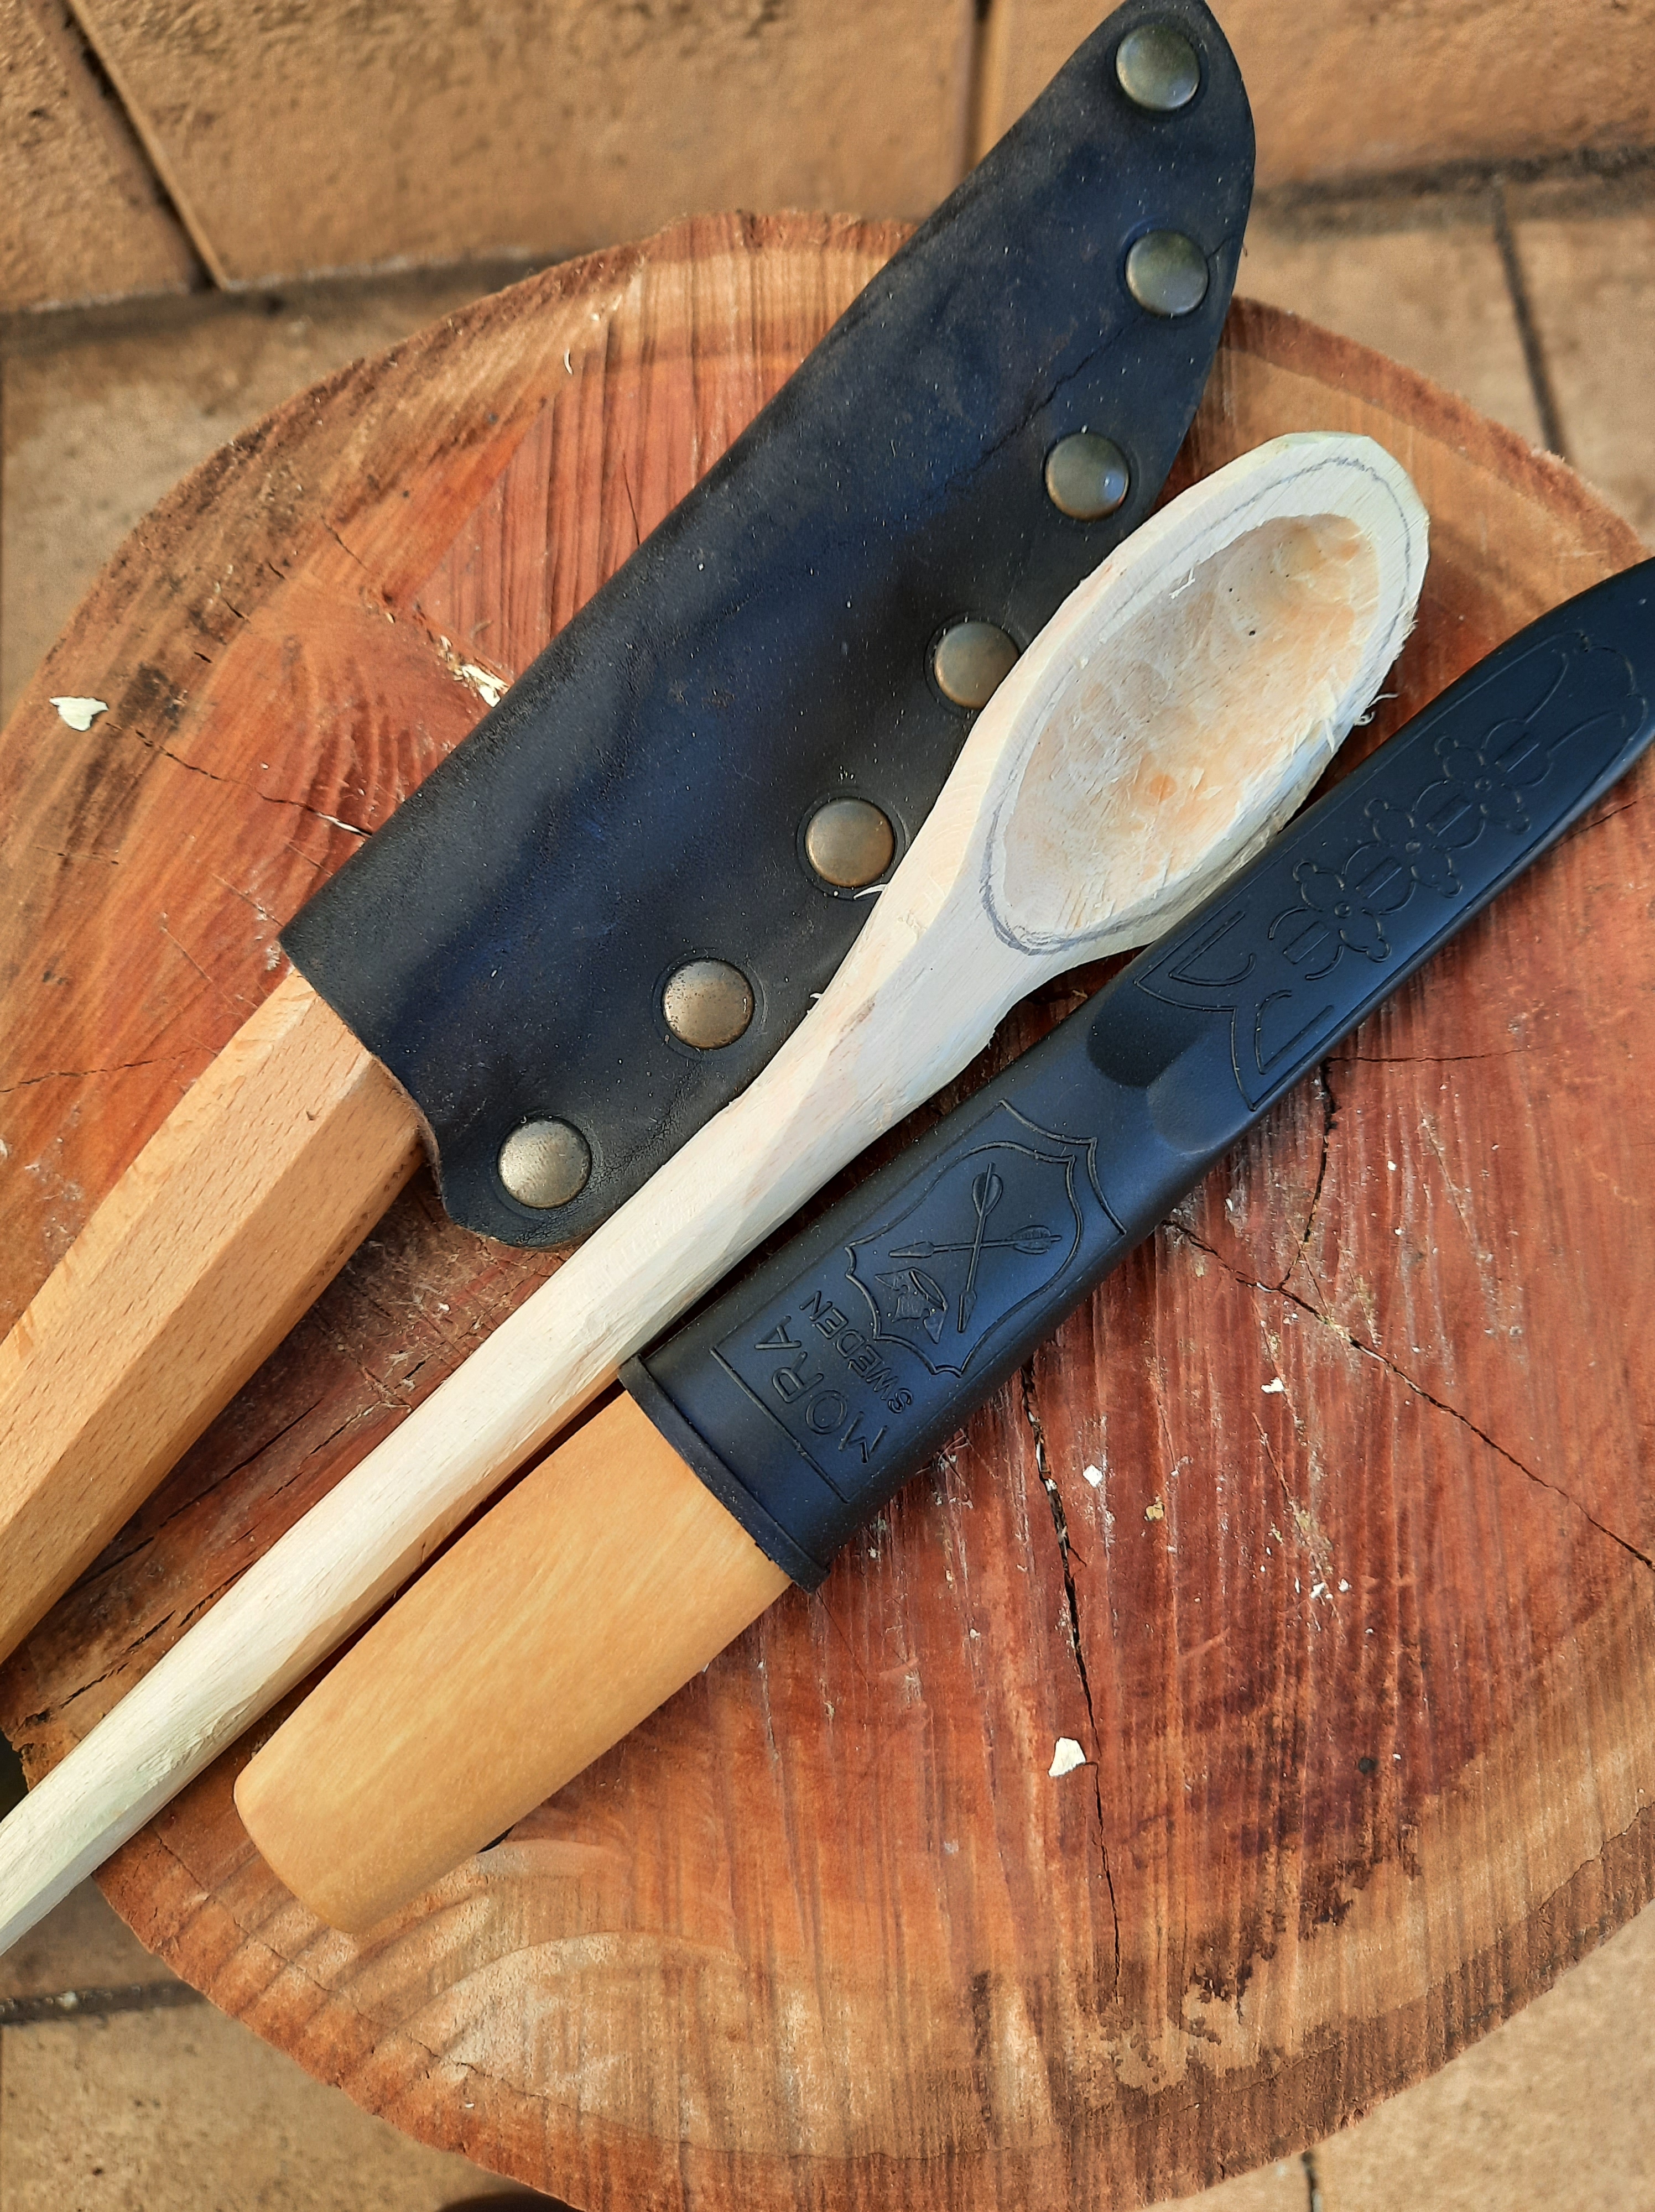
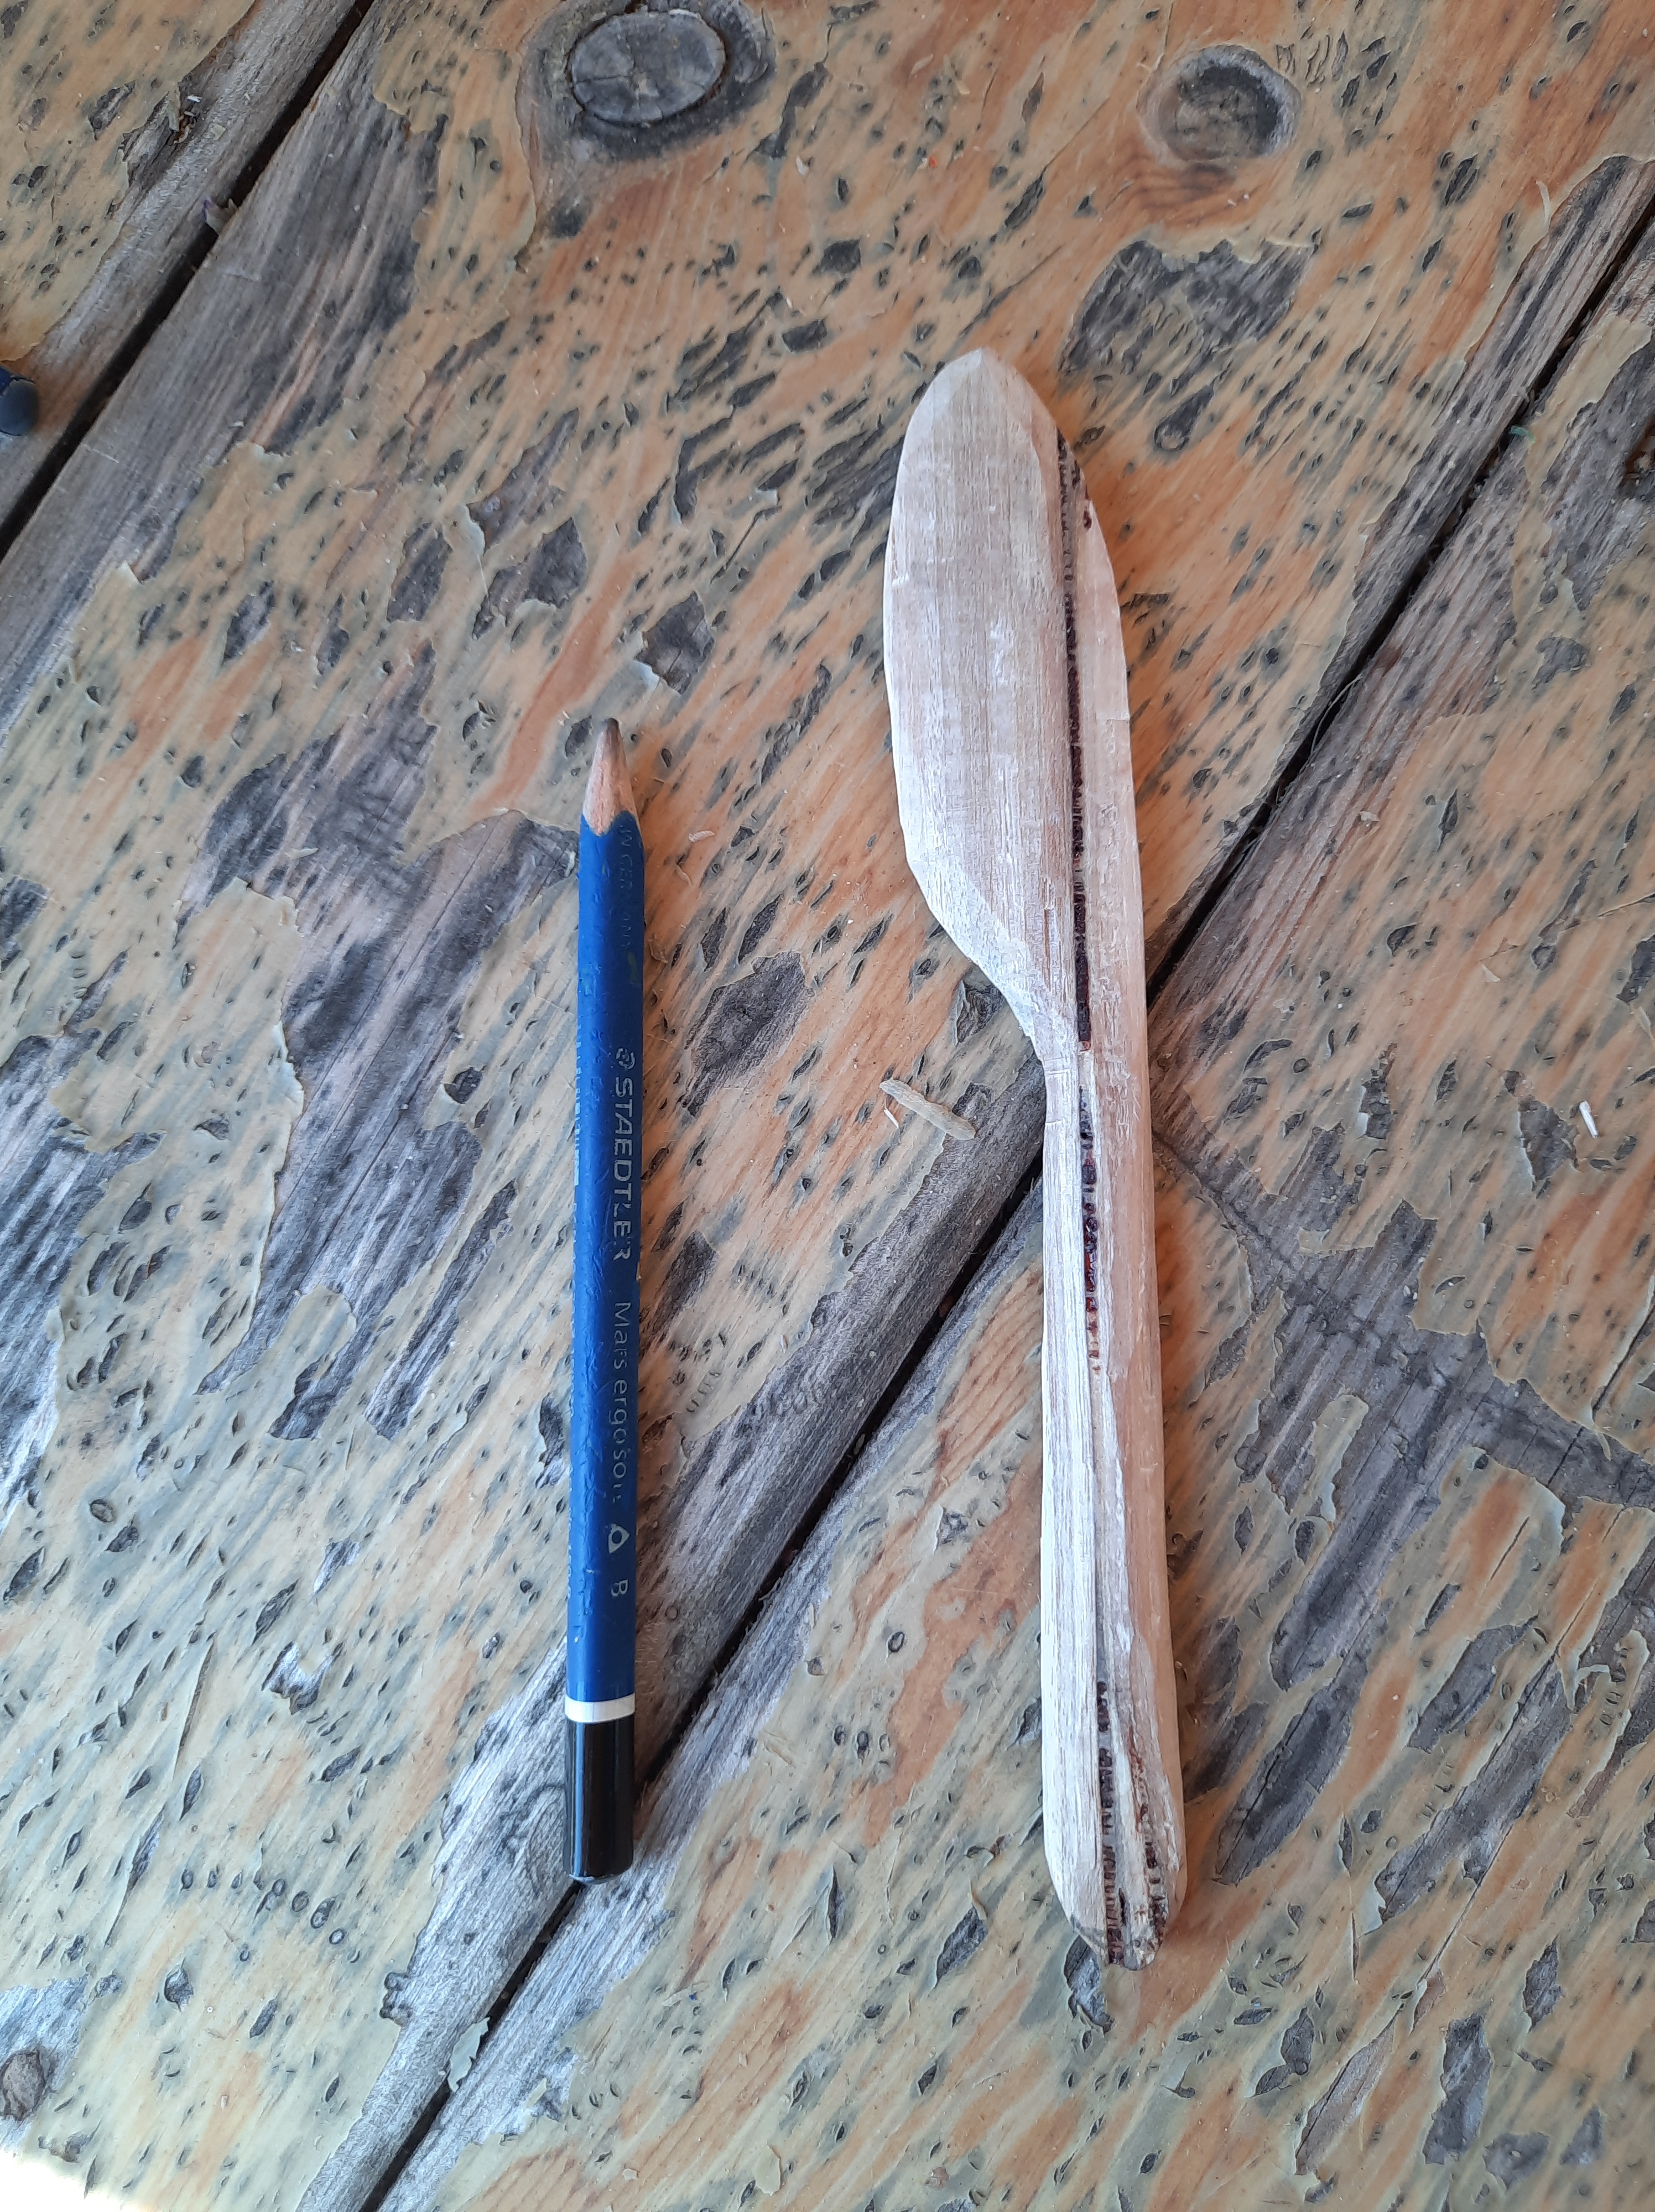
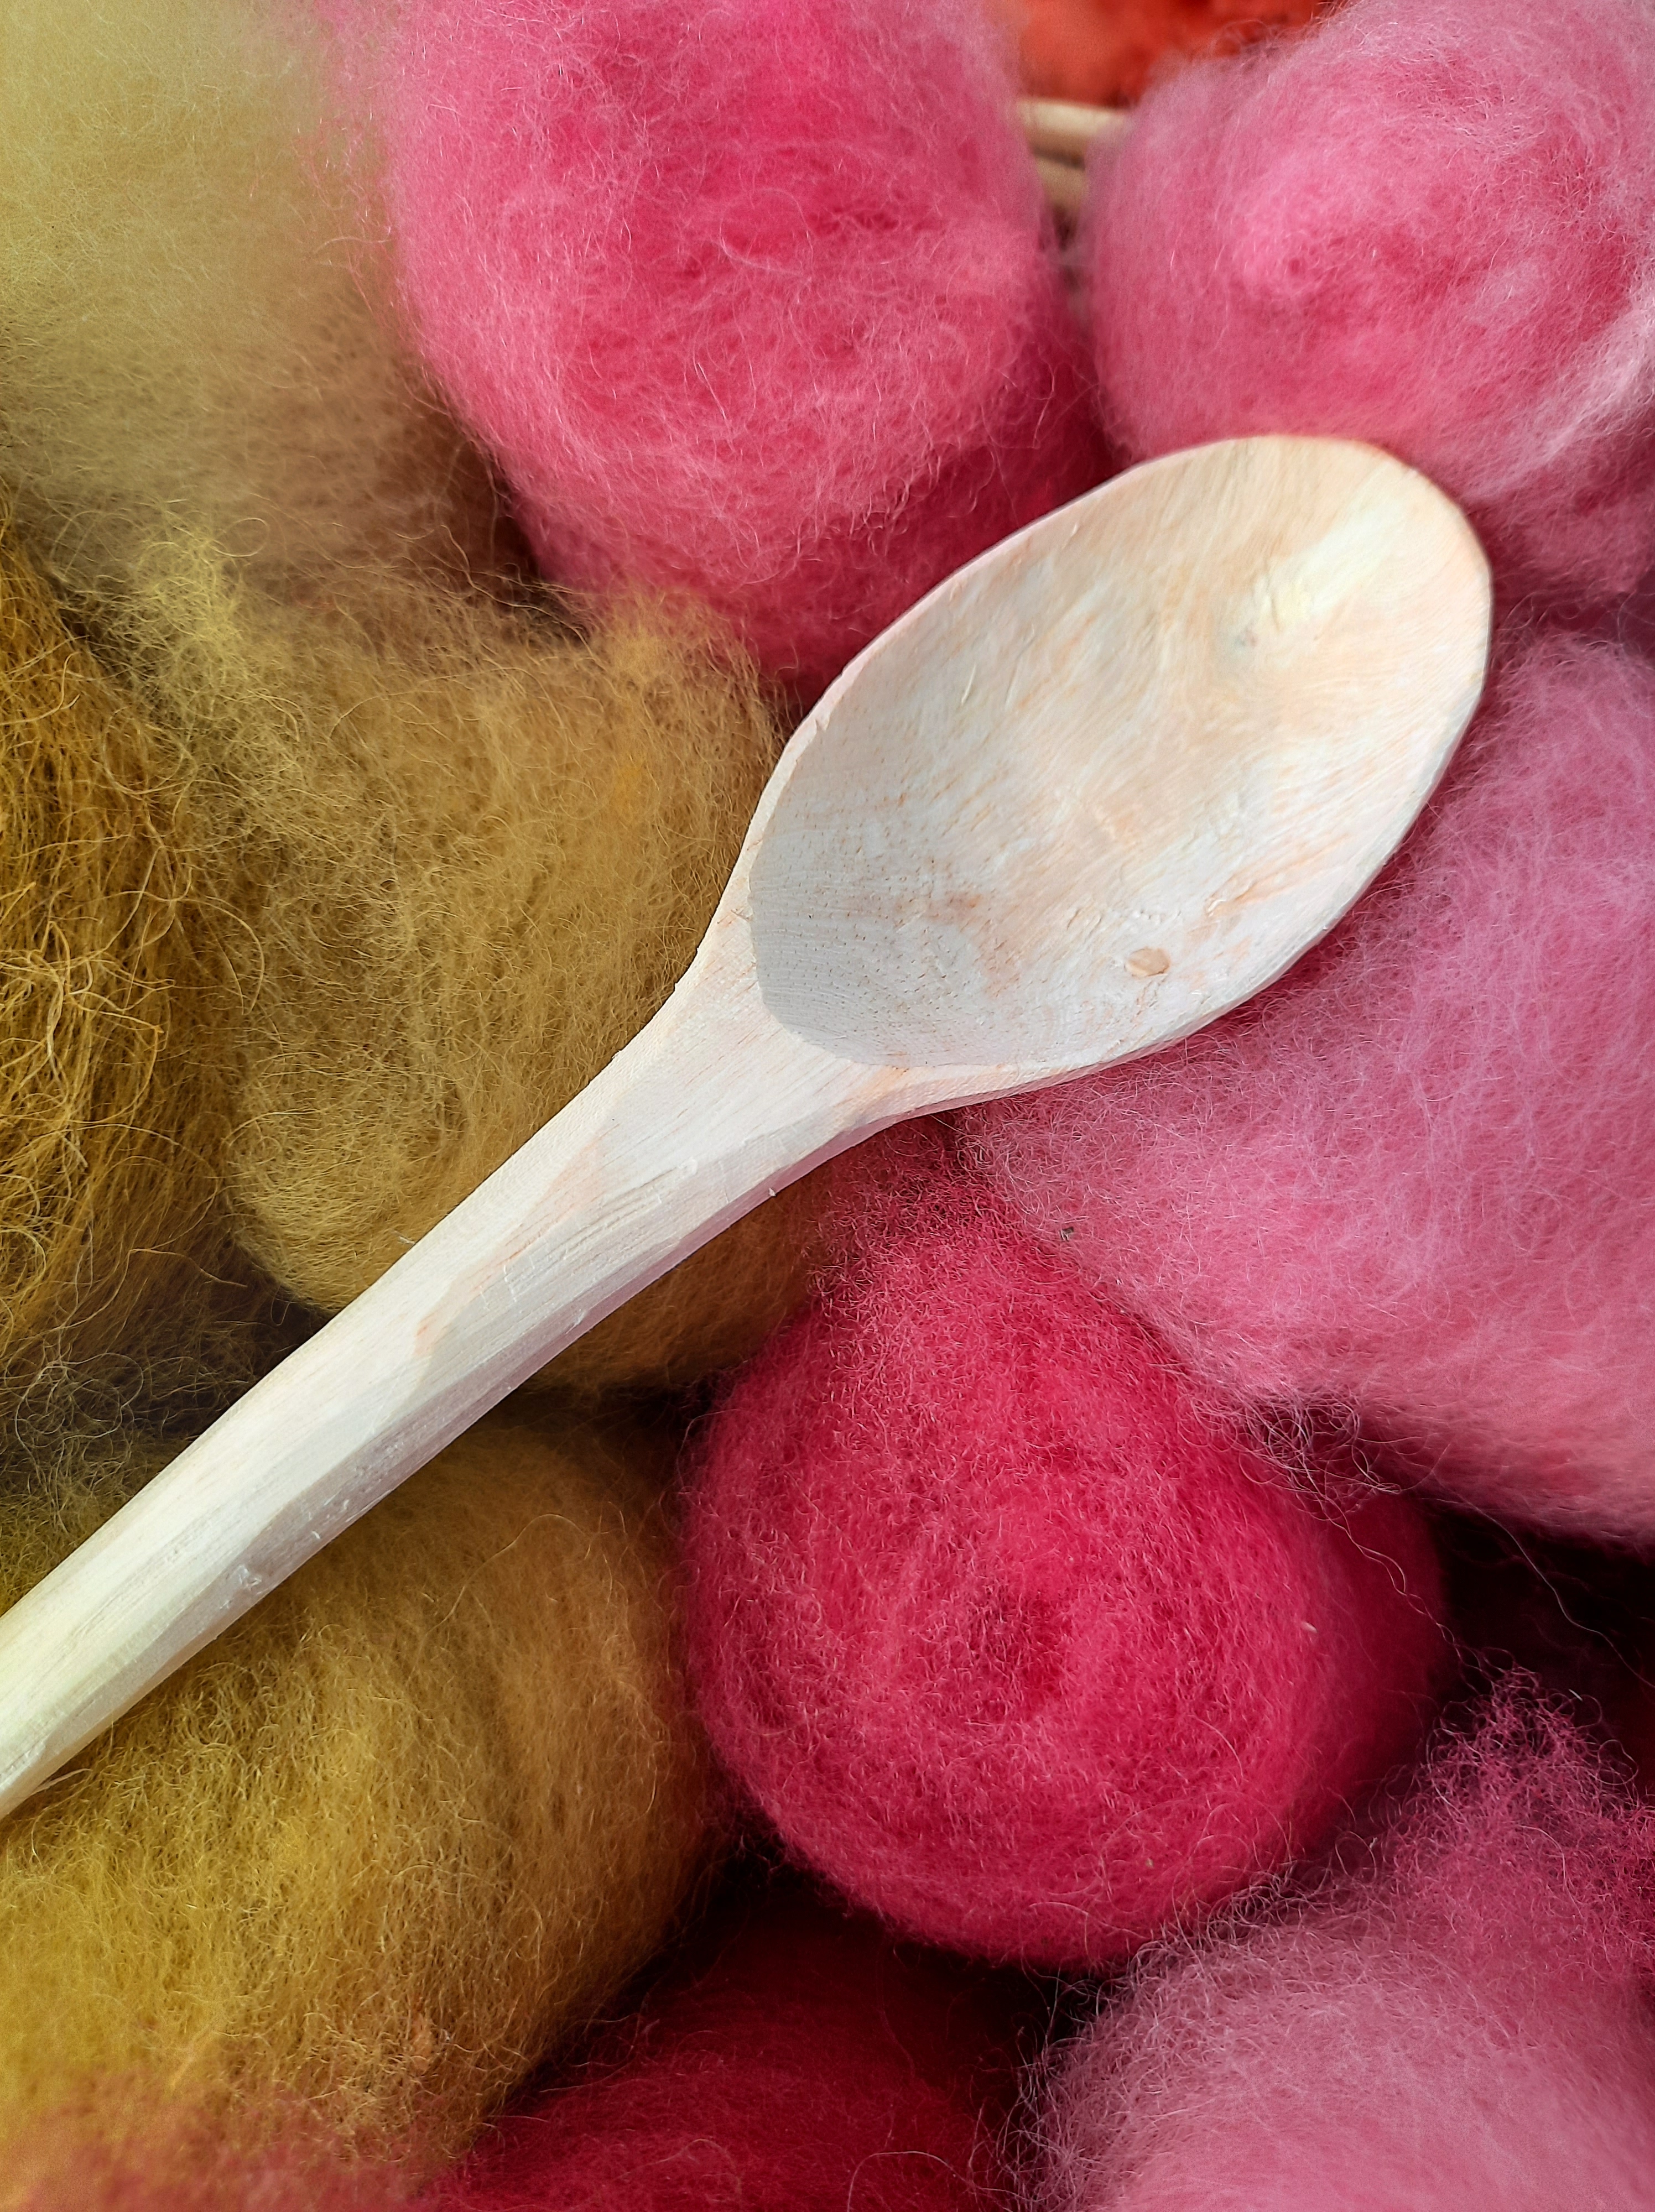
That butter spreader making workshop I did with Sam from Folk of All Trades gave me the confidence to try turning the spoon blank that I bought when I invested in a couple of wood carving knives, into a spoon. I’m afraid I have to skip over the blank I brought home from the workshop because it all went very well until I snapped the bowl off the handle! This is the nature of being a beginner. But still disappointing.
Here I am having made my very first concave cuts! It was slow going but I kept reviewing my notes and reading my book on spoon carving… and I kept going.
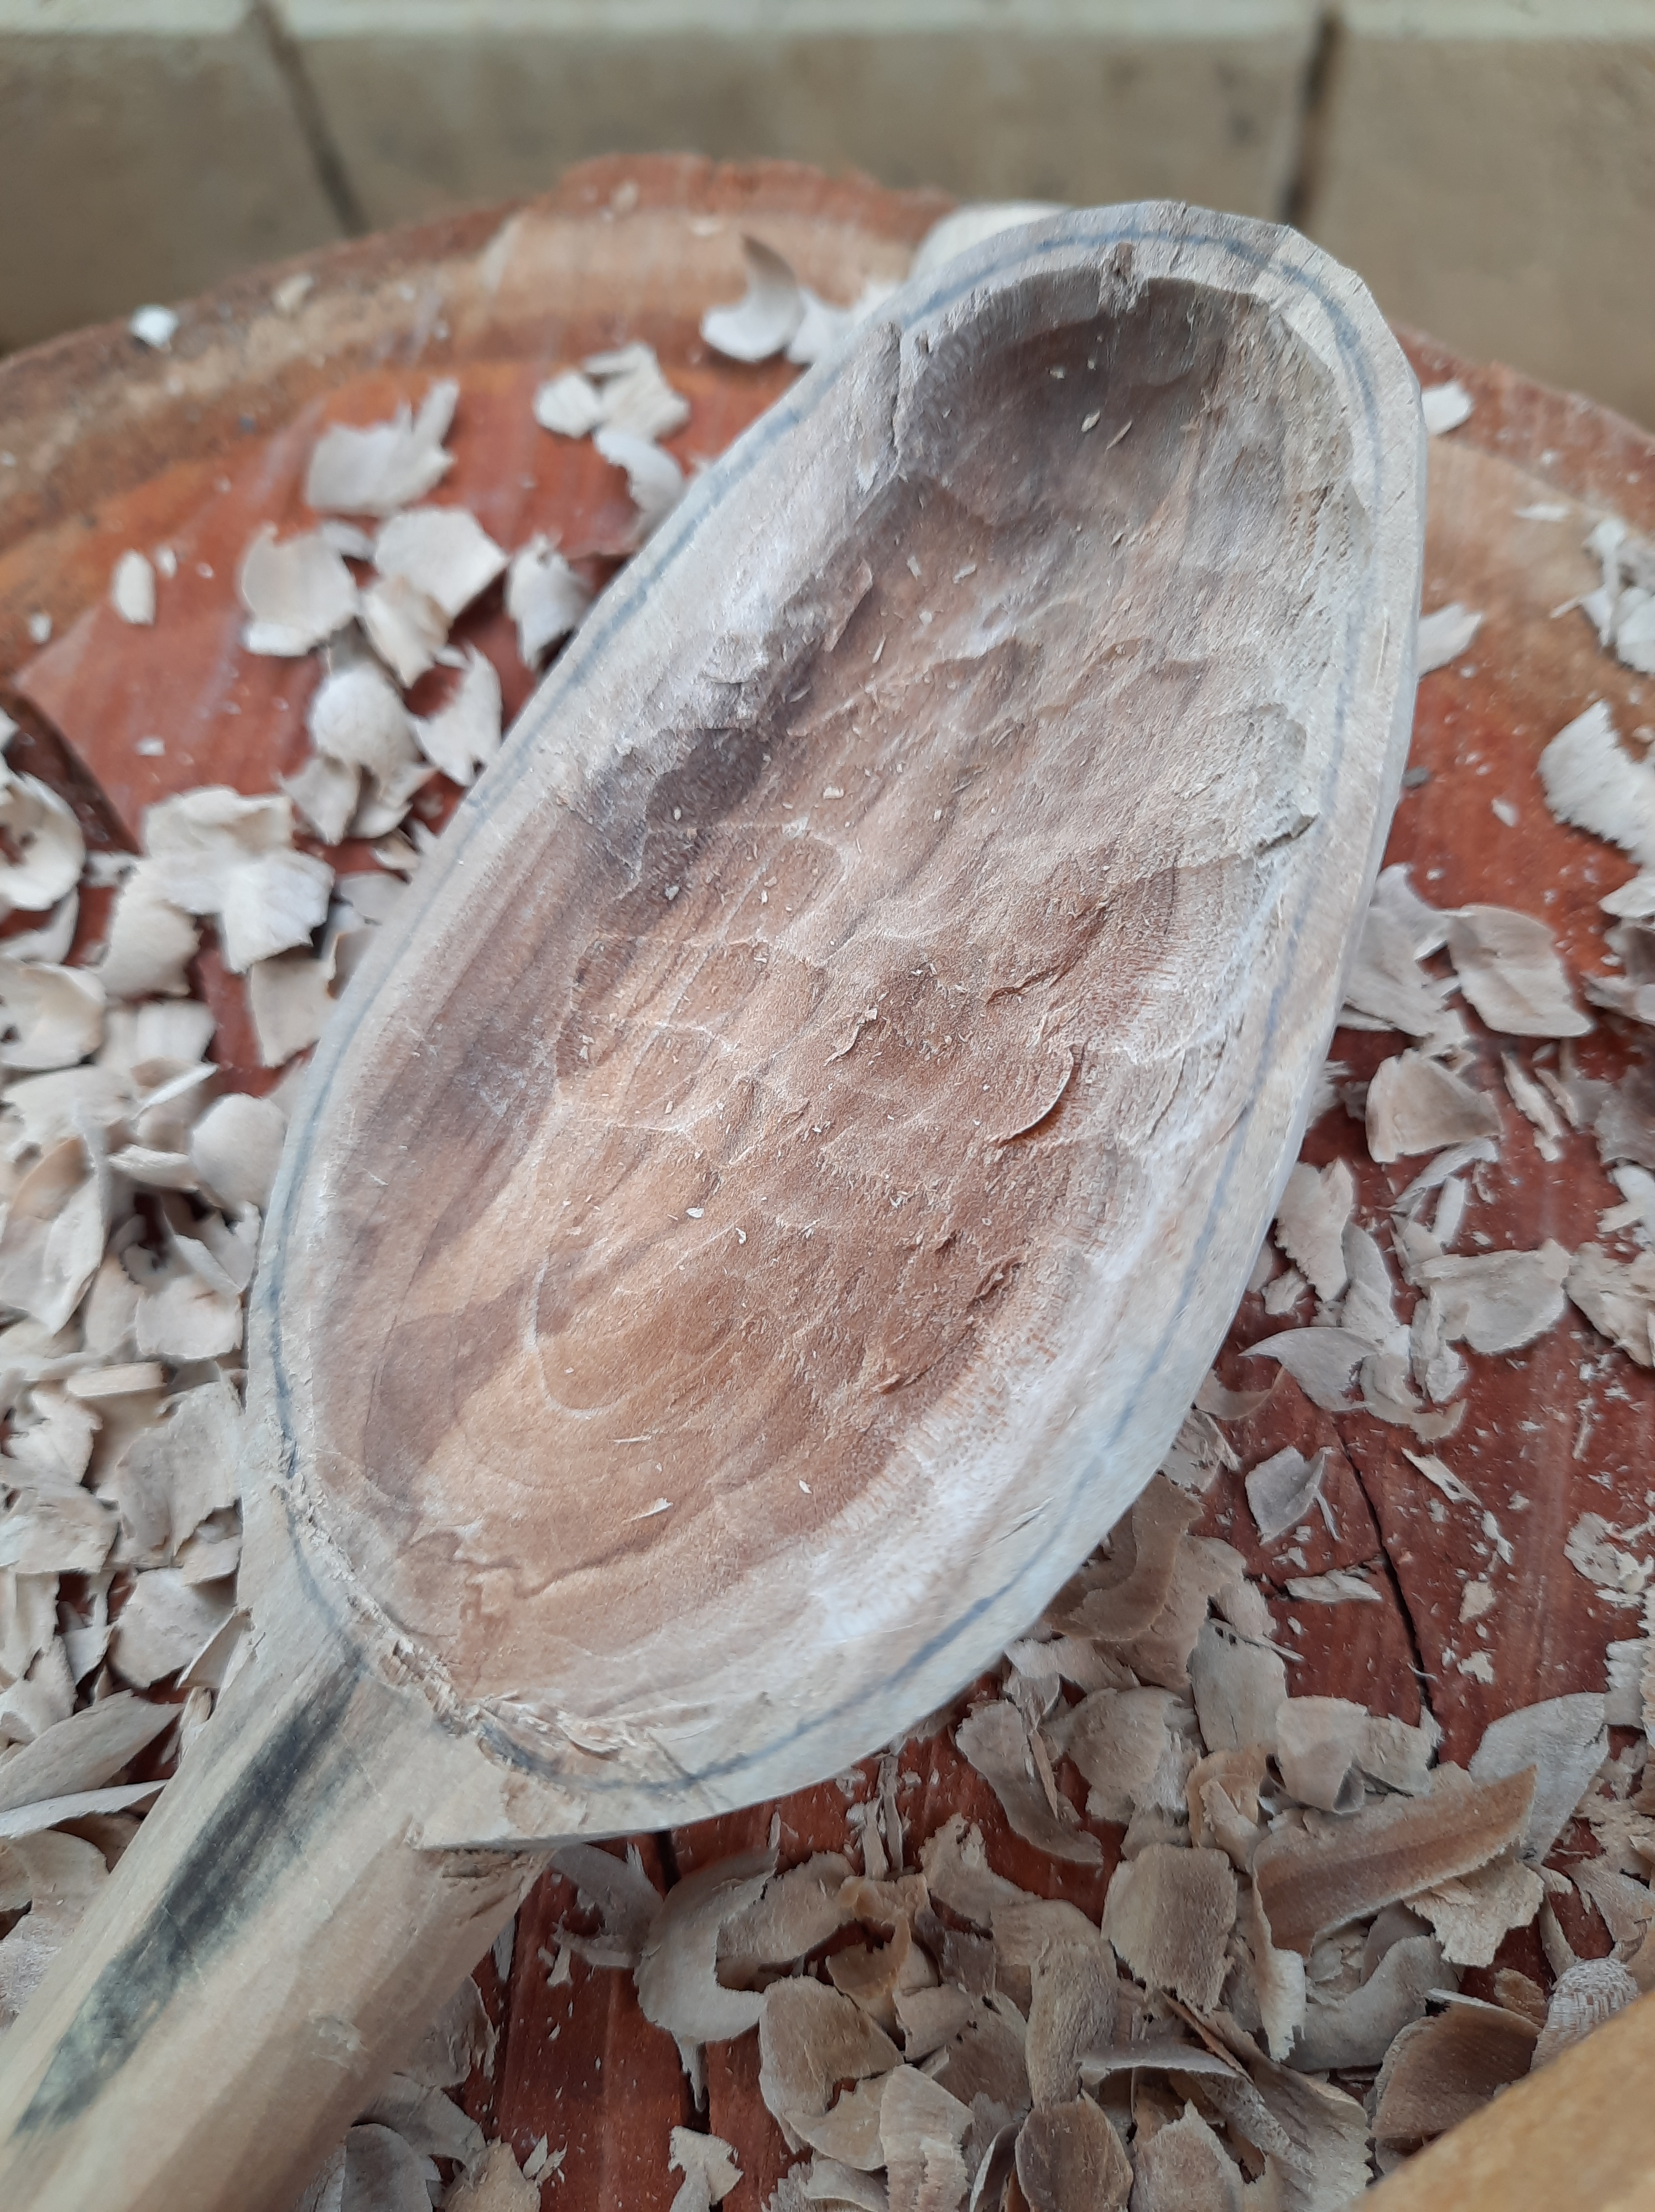
And eventually I ended up with a spoon!
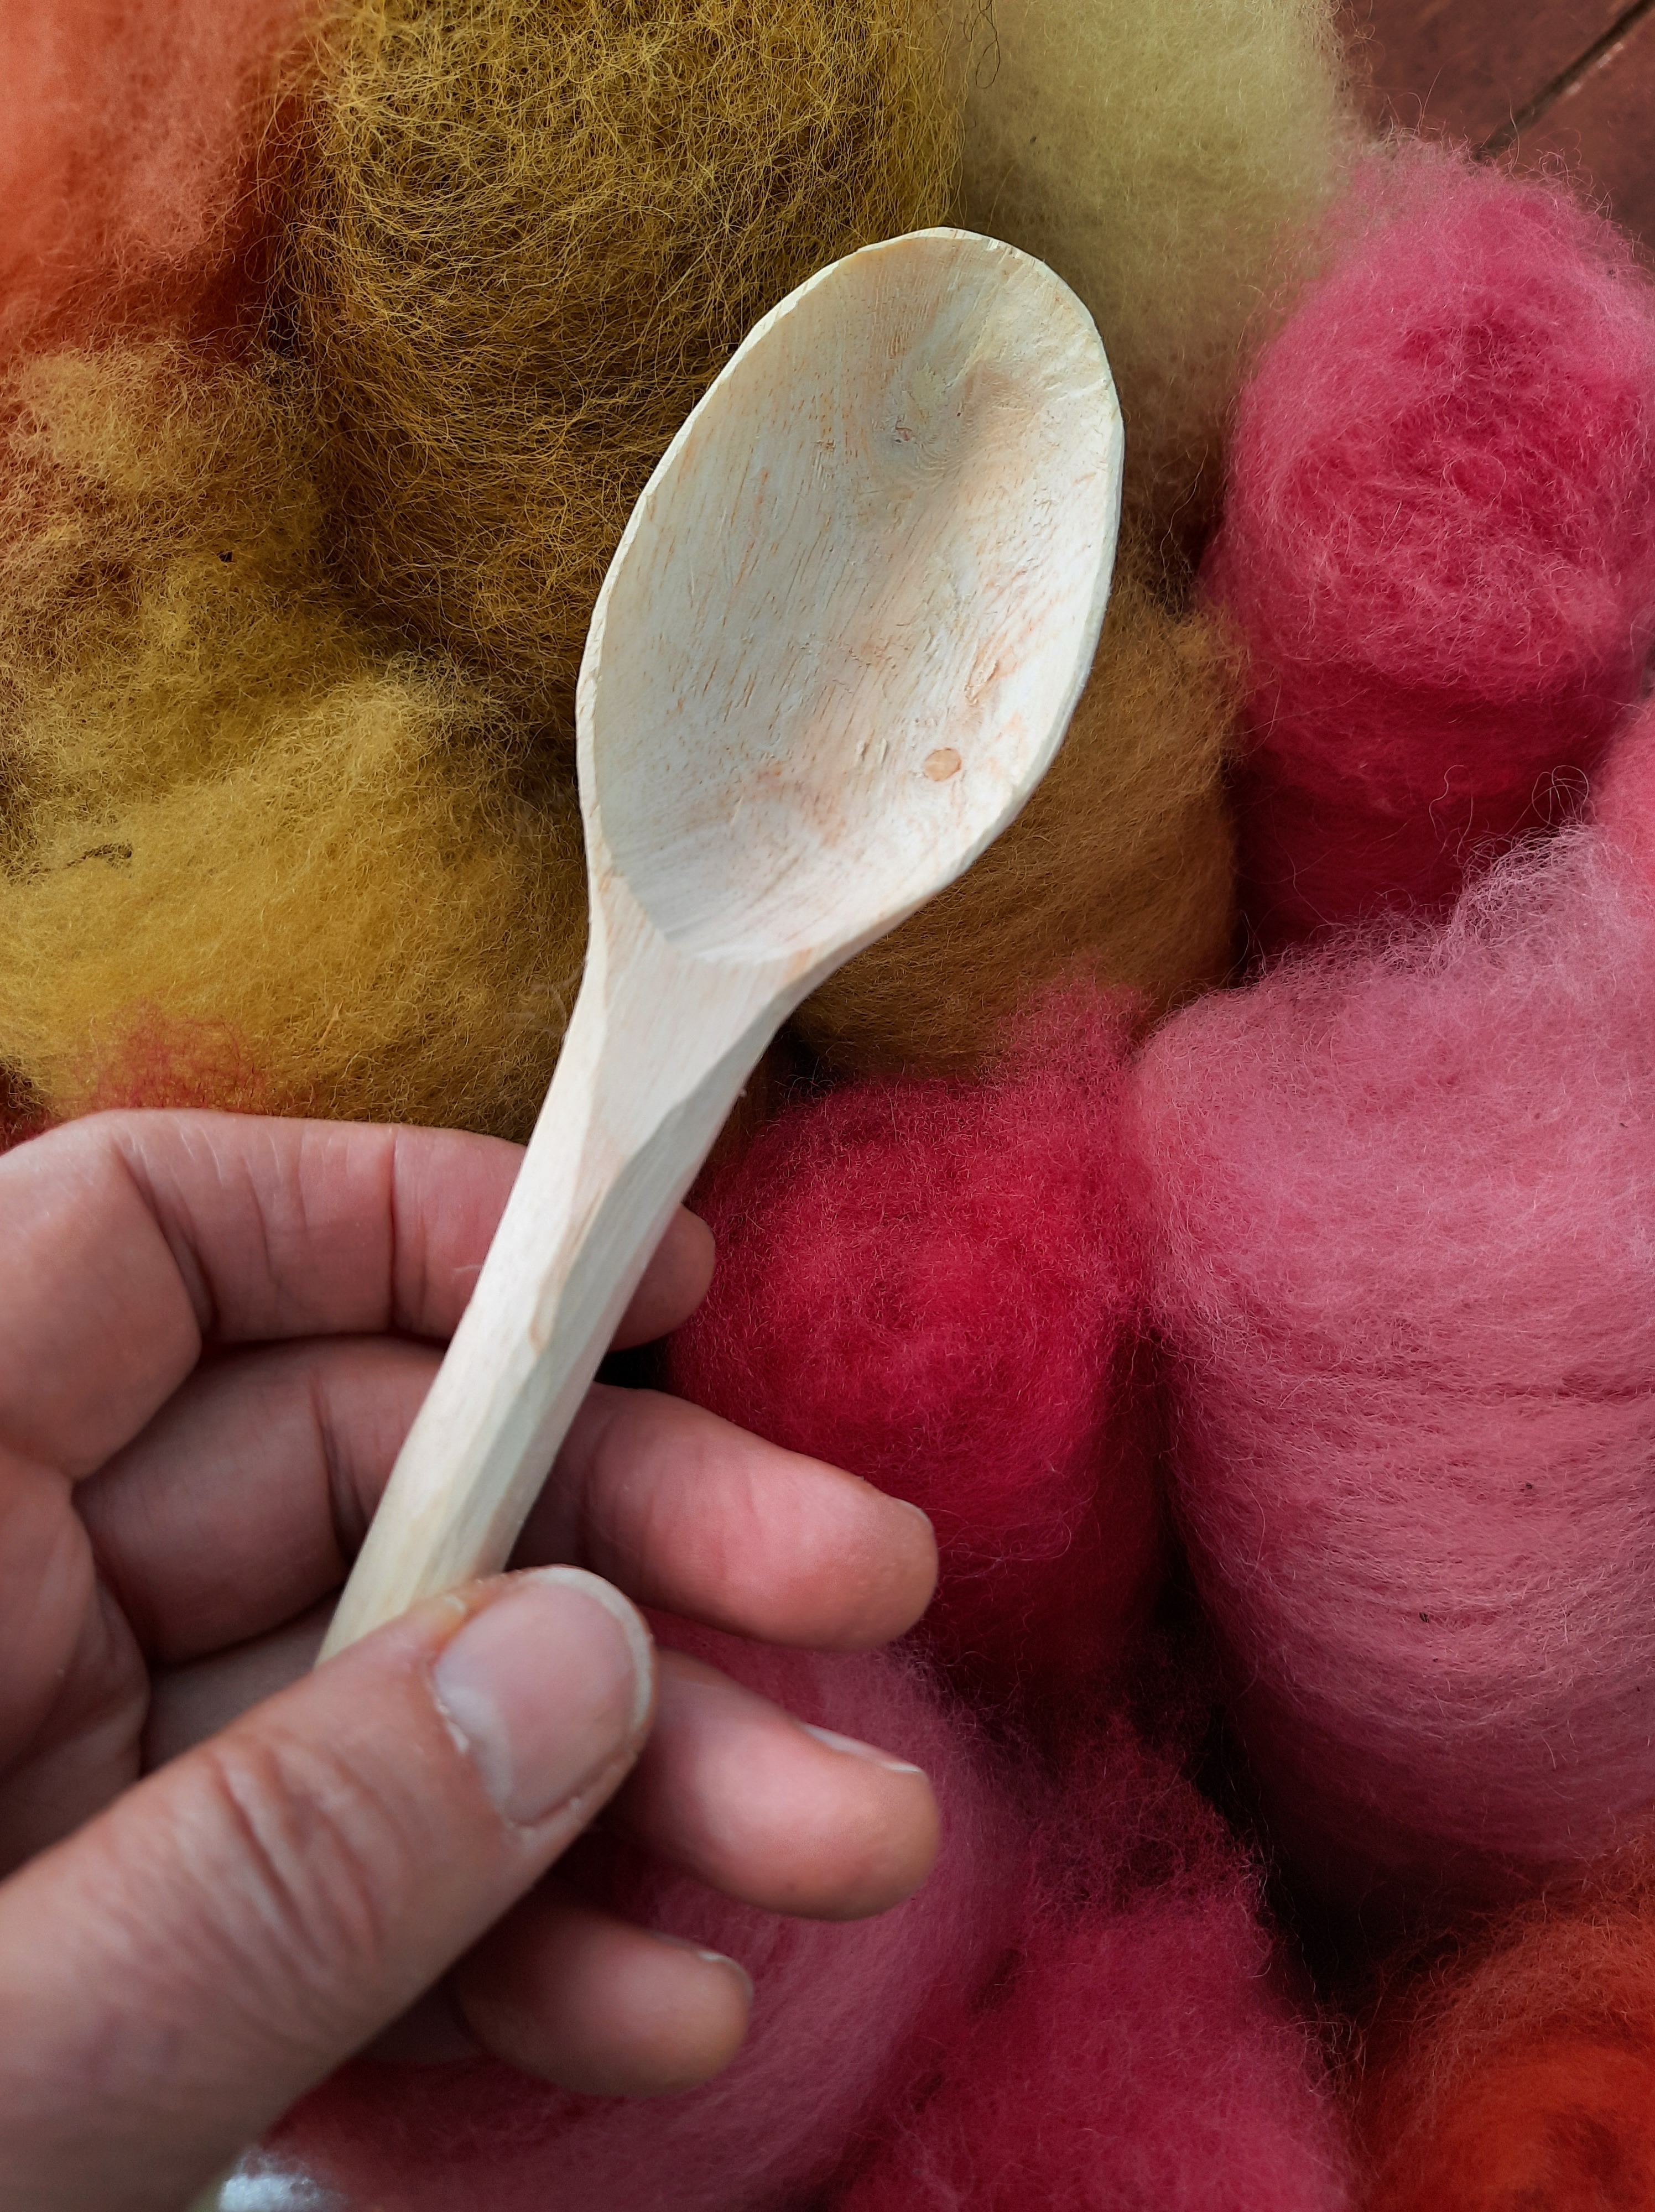
That was exciting but I had no more wood. Then I was walking from the railway station to my parents’ house and there were some gentlemen cutting a lot from a tree–so I asked if I could take a piece that was on the footpath. I thought I could at the very least practice using an axe with it. It was Ficus Benjamina (weeping fig). And it was lovely to work, so I tried another spoon.
And I ended up with another spoon! Learning new skills is so exciting.
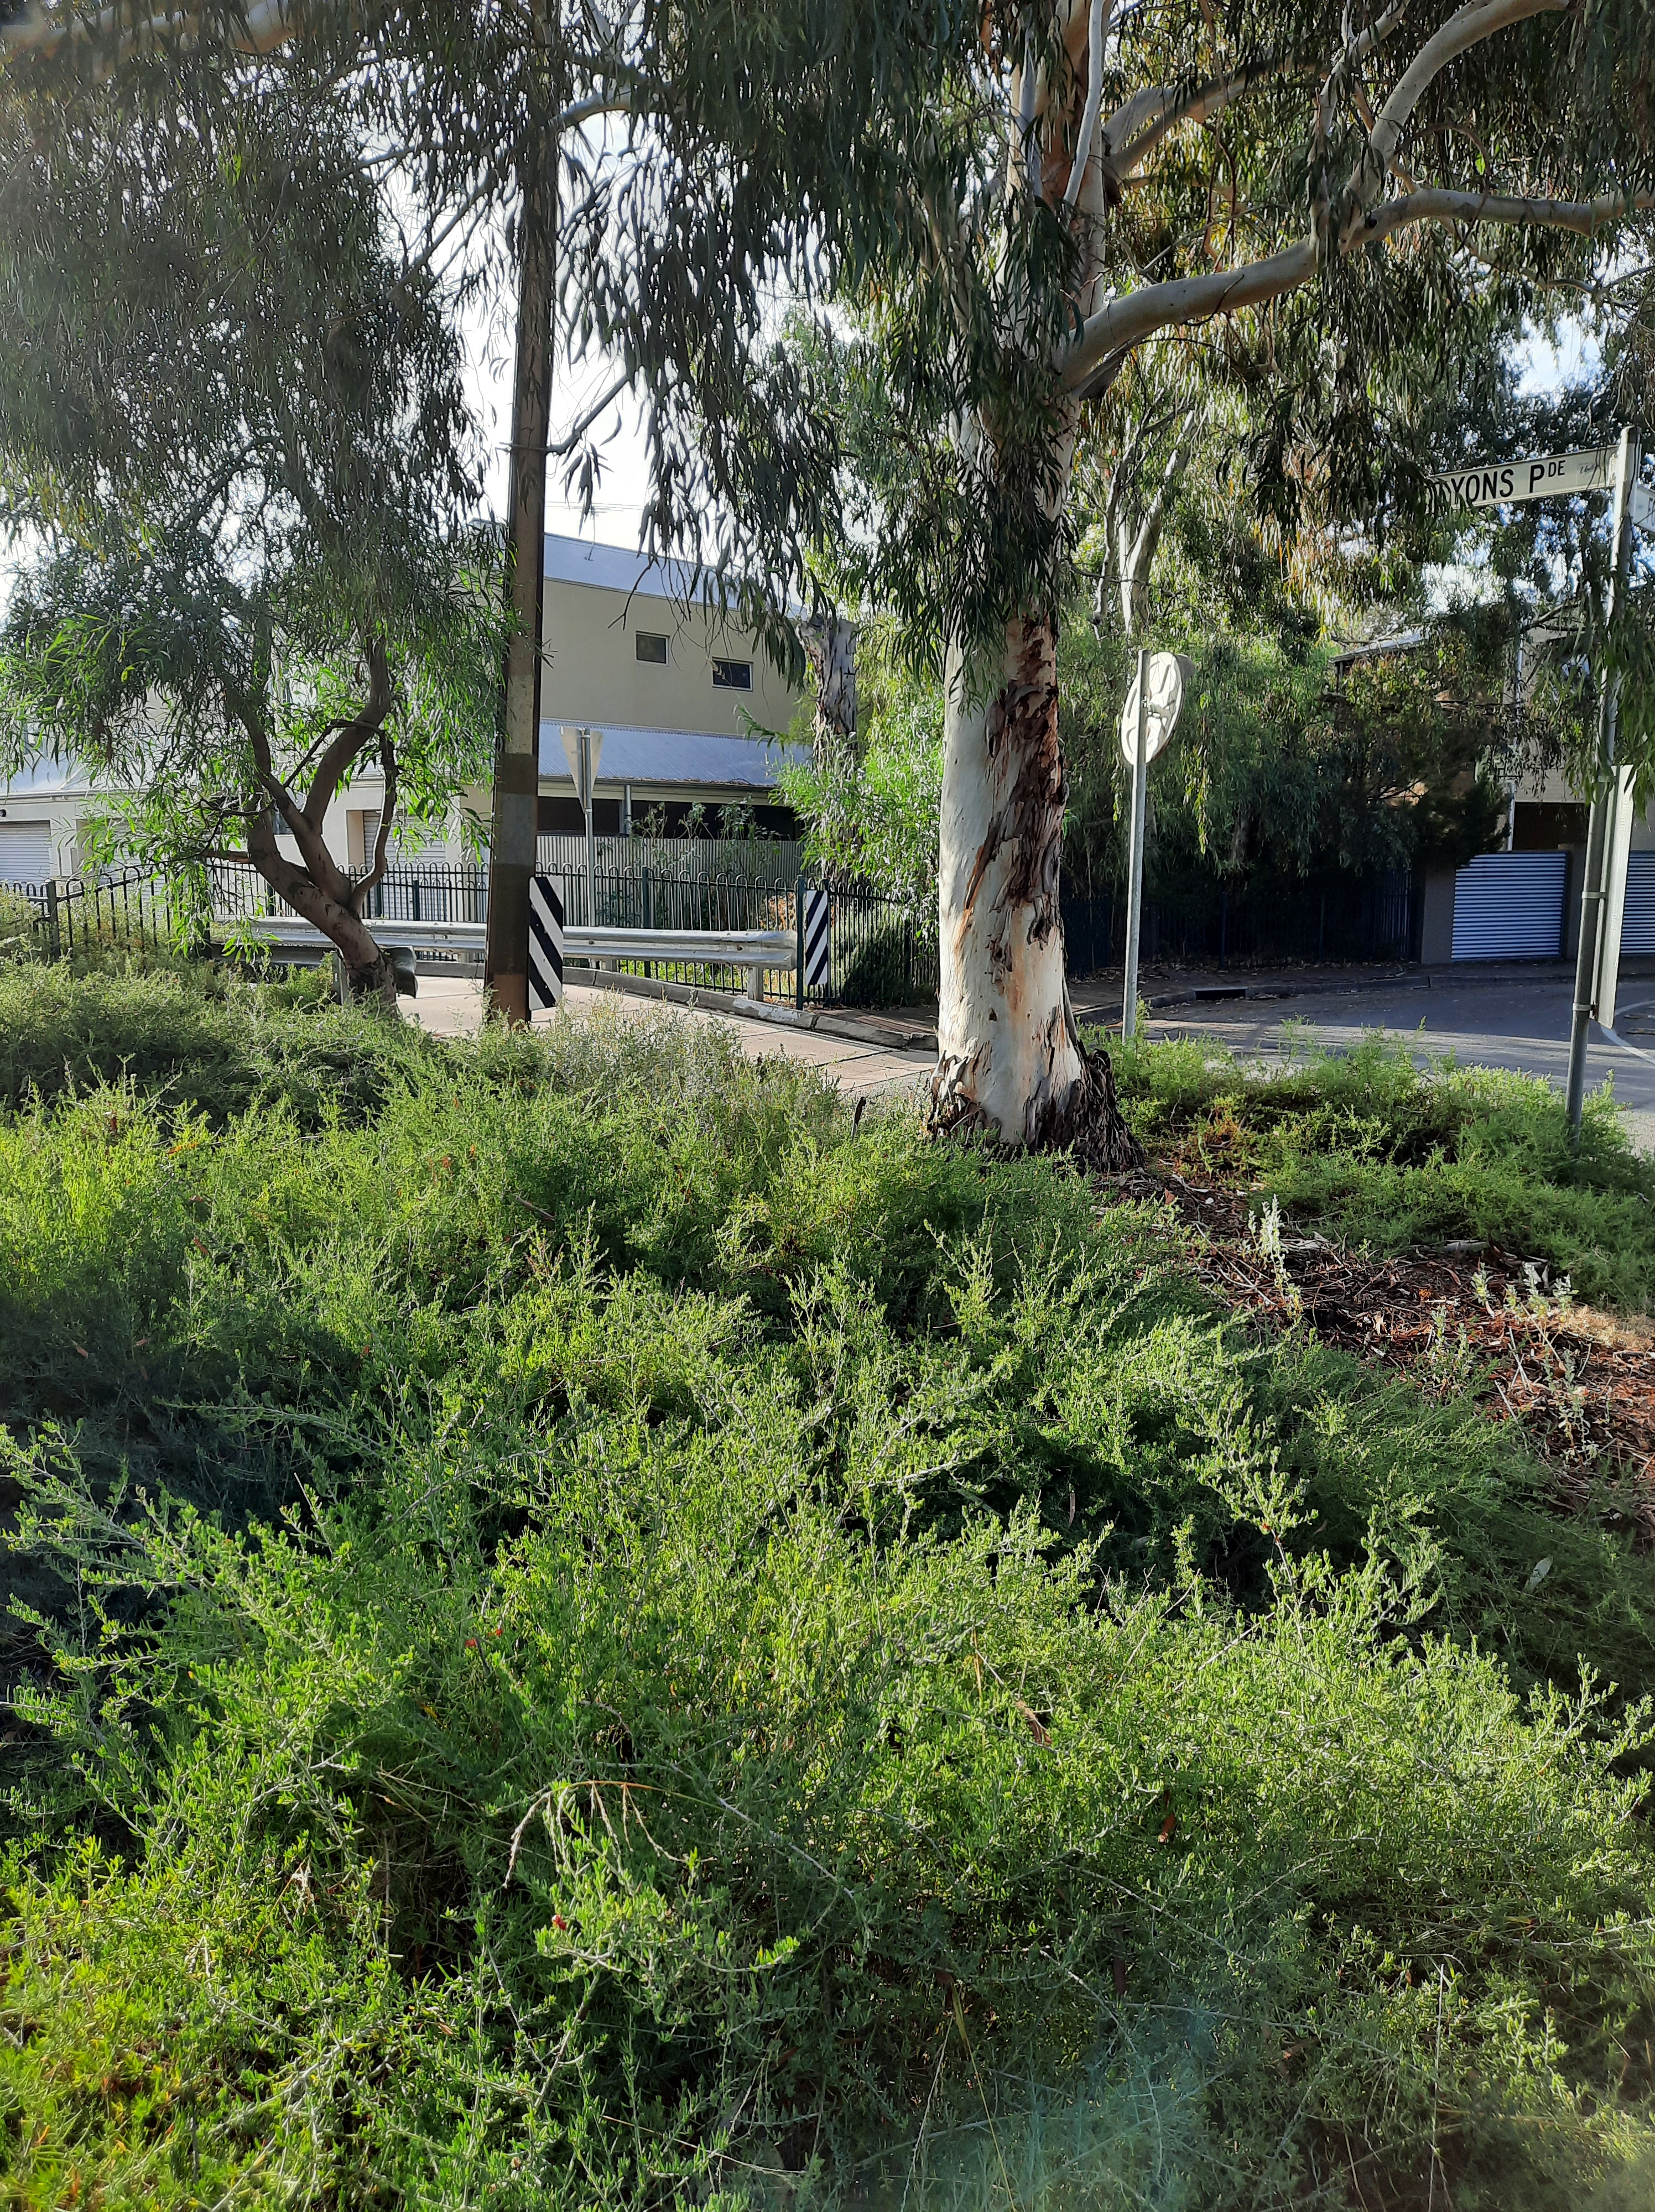
Some months back, friends and neighbours helped weed out and sheet mulch a part of the guerilla garden where veldt grass has been extending its hold. This effort was pretty successful, so this autumn I put in bladder saltbush to give some diversity to what is mostly ruby saltbush with some bluebush and a couple of bladder saltbush at this site.
This is my first guerilla gardening site and it looks so much better than it used to!
There are a couple of spots here, with some rhagodia as well as the ruby saltbush. And all of looking good and green. No more weed spraying and far fewer weeds. No more trampling the root zone of the E Scoparia!
I love that I can now propagate from the first bladder saltbush I ever grew, at this site–they create seeds and I keep planting them!
Someone had cut back the nearby melaleuca and left it on the ground so I added in some gentle mulch. And then, home again, with very little rubbish and just an out of date sign removed to add to my compost pile!
I do seem to run to quite a bit of repetition… and so here are more needlebooks for more mending kits. It’s such a great use of lovely little scraps of dyed blanket.
Back over a month ago now, I went to a class to learn how to carve a butter spreader. This was a way to learn some green wood carving skills, so that I could learn to carve a spoon (in the following class). The class was taught by Sam from the lovely Folk of all Trades. I had a great time and came home feeling empowered to use my tools. So much so, I carved my first spoon before the spoon carving class, where I built my skills and confidence and realised I had some incorrect ideas I was able to sort out–super important in learning new skills! Here is my butter spreader nearing completion.
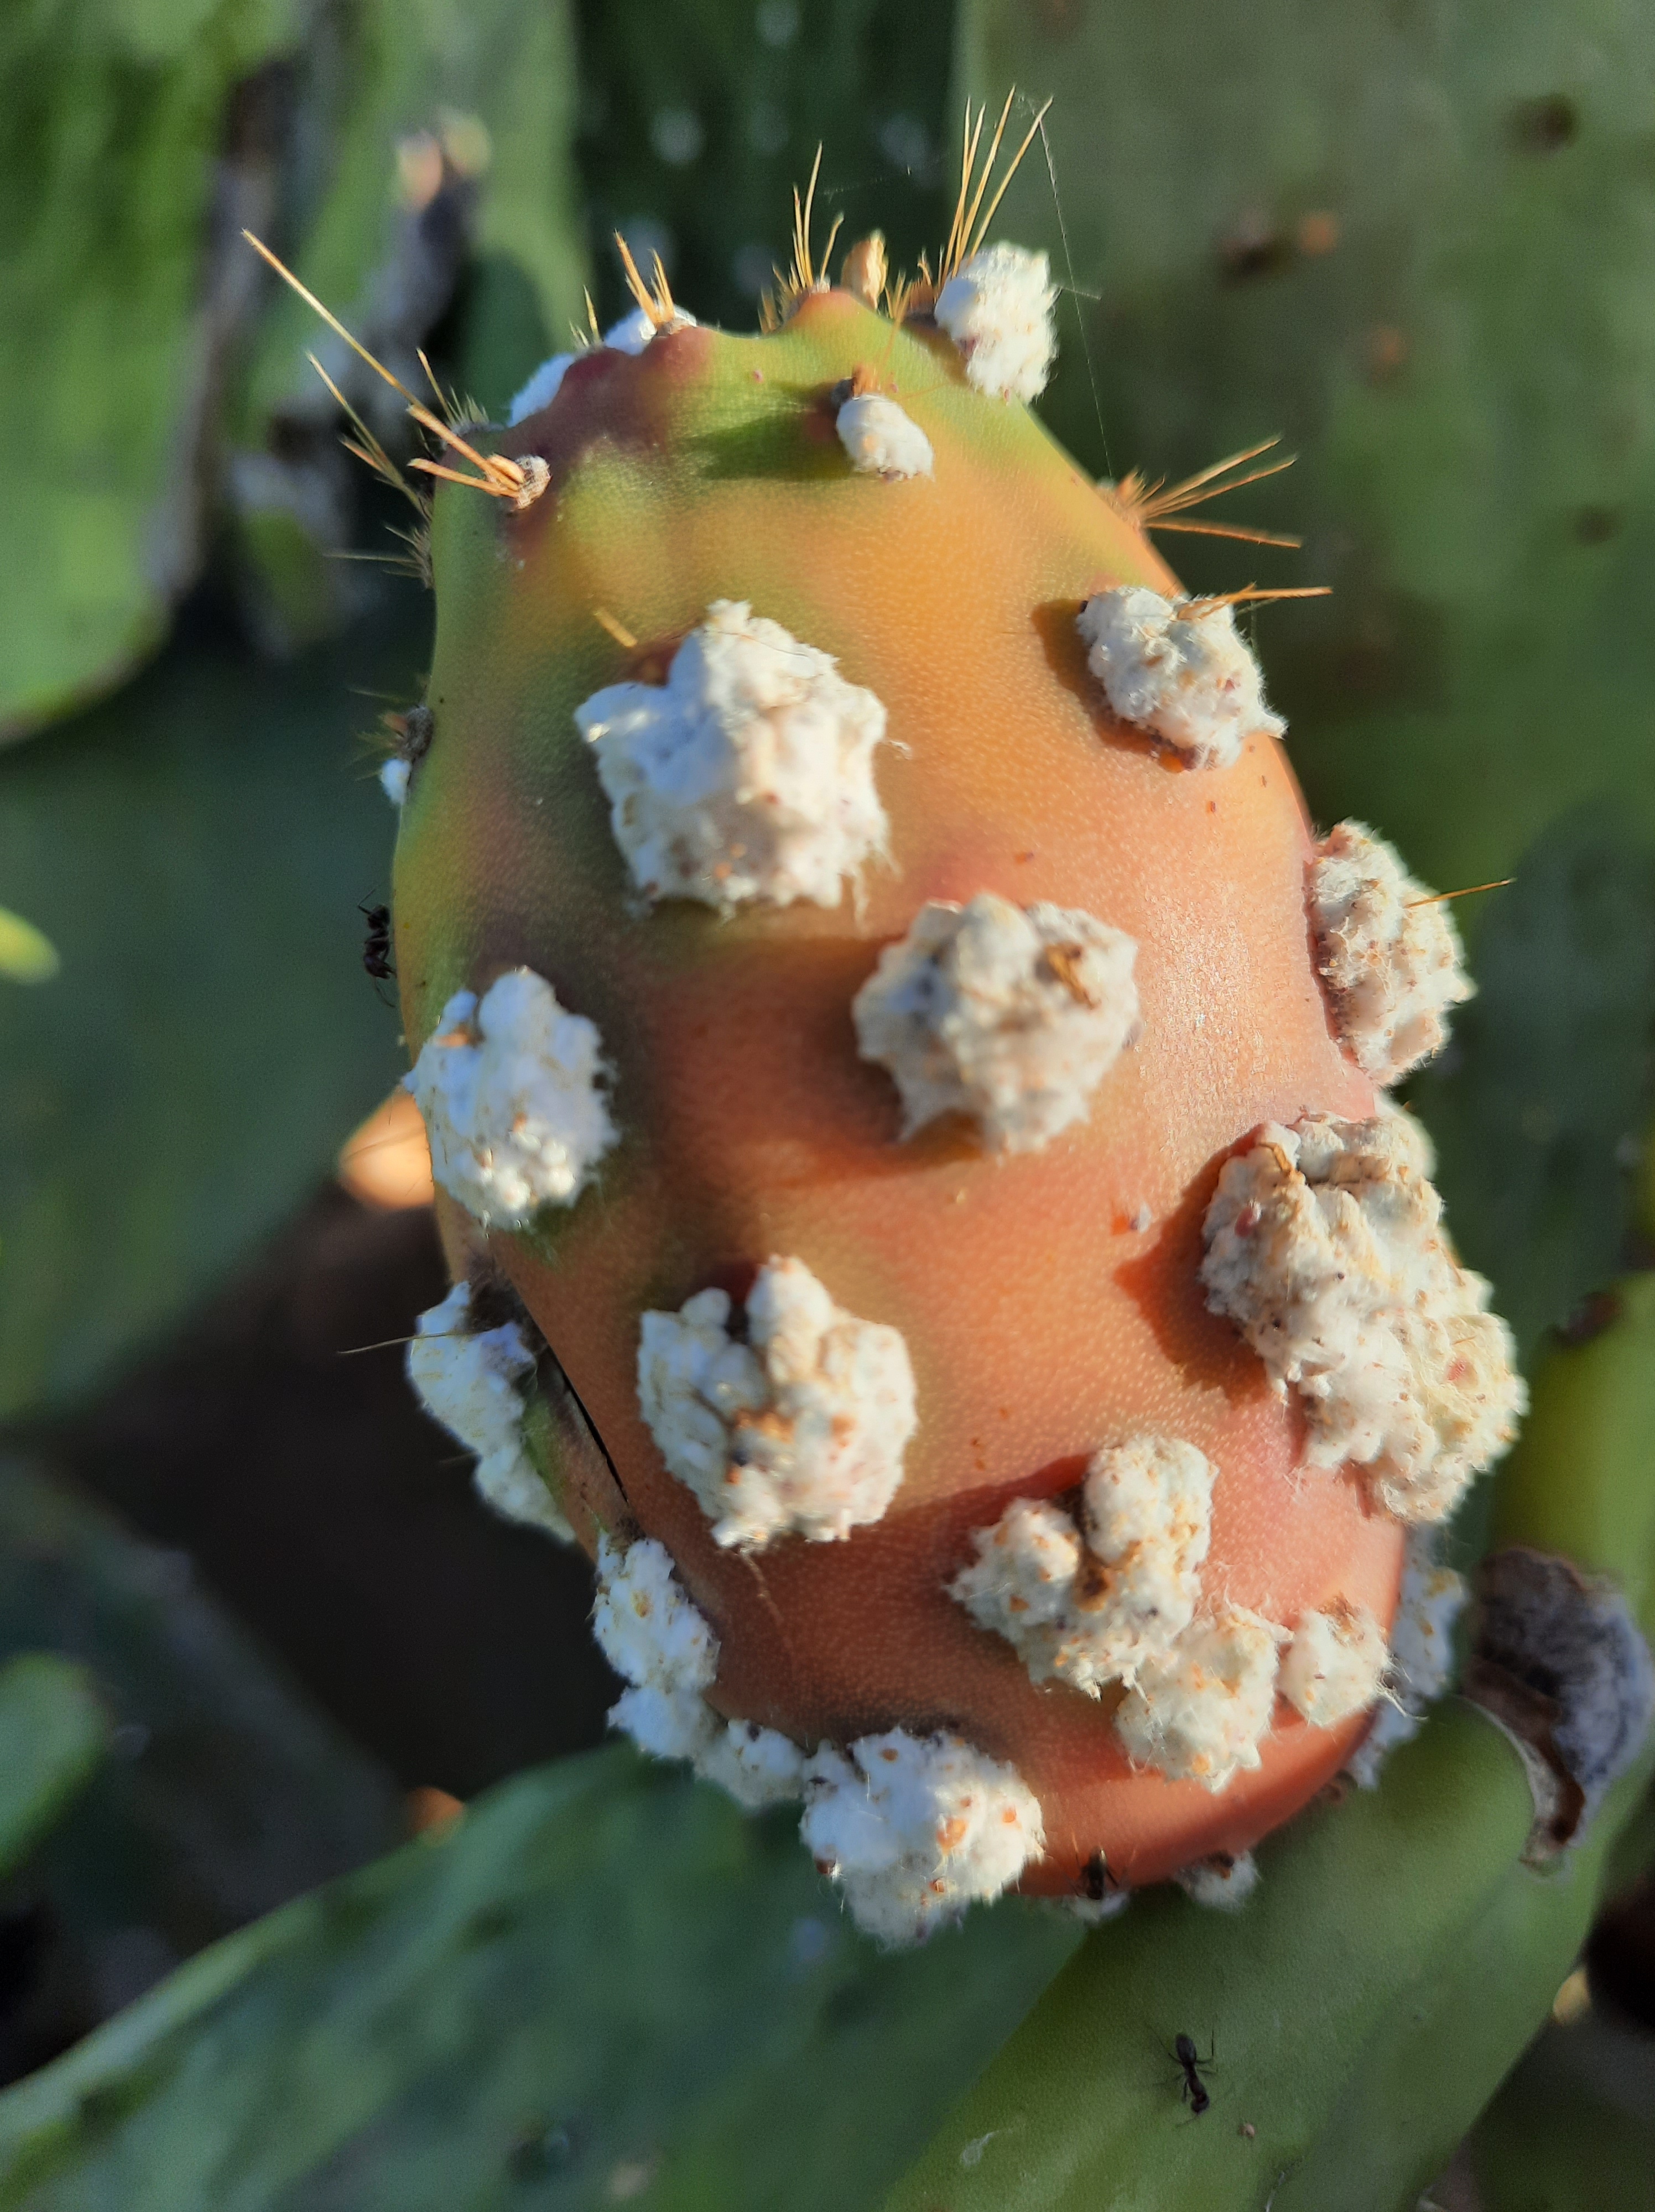
At this stage you may be wondering what this has to do with cochineal. We arrived early for the class and took a detour so we could have a short walk, and what should I see but prickly pear infested with cochineal (a type of scale insect). My beloved kindly agreed to go back after the class so we could harvest some.
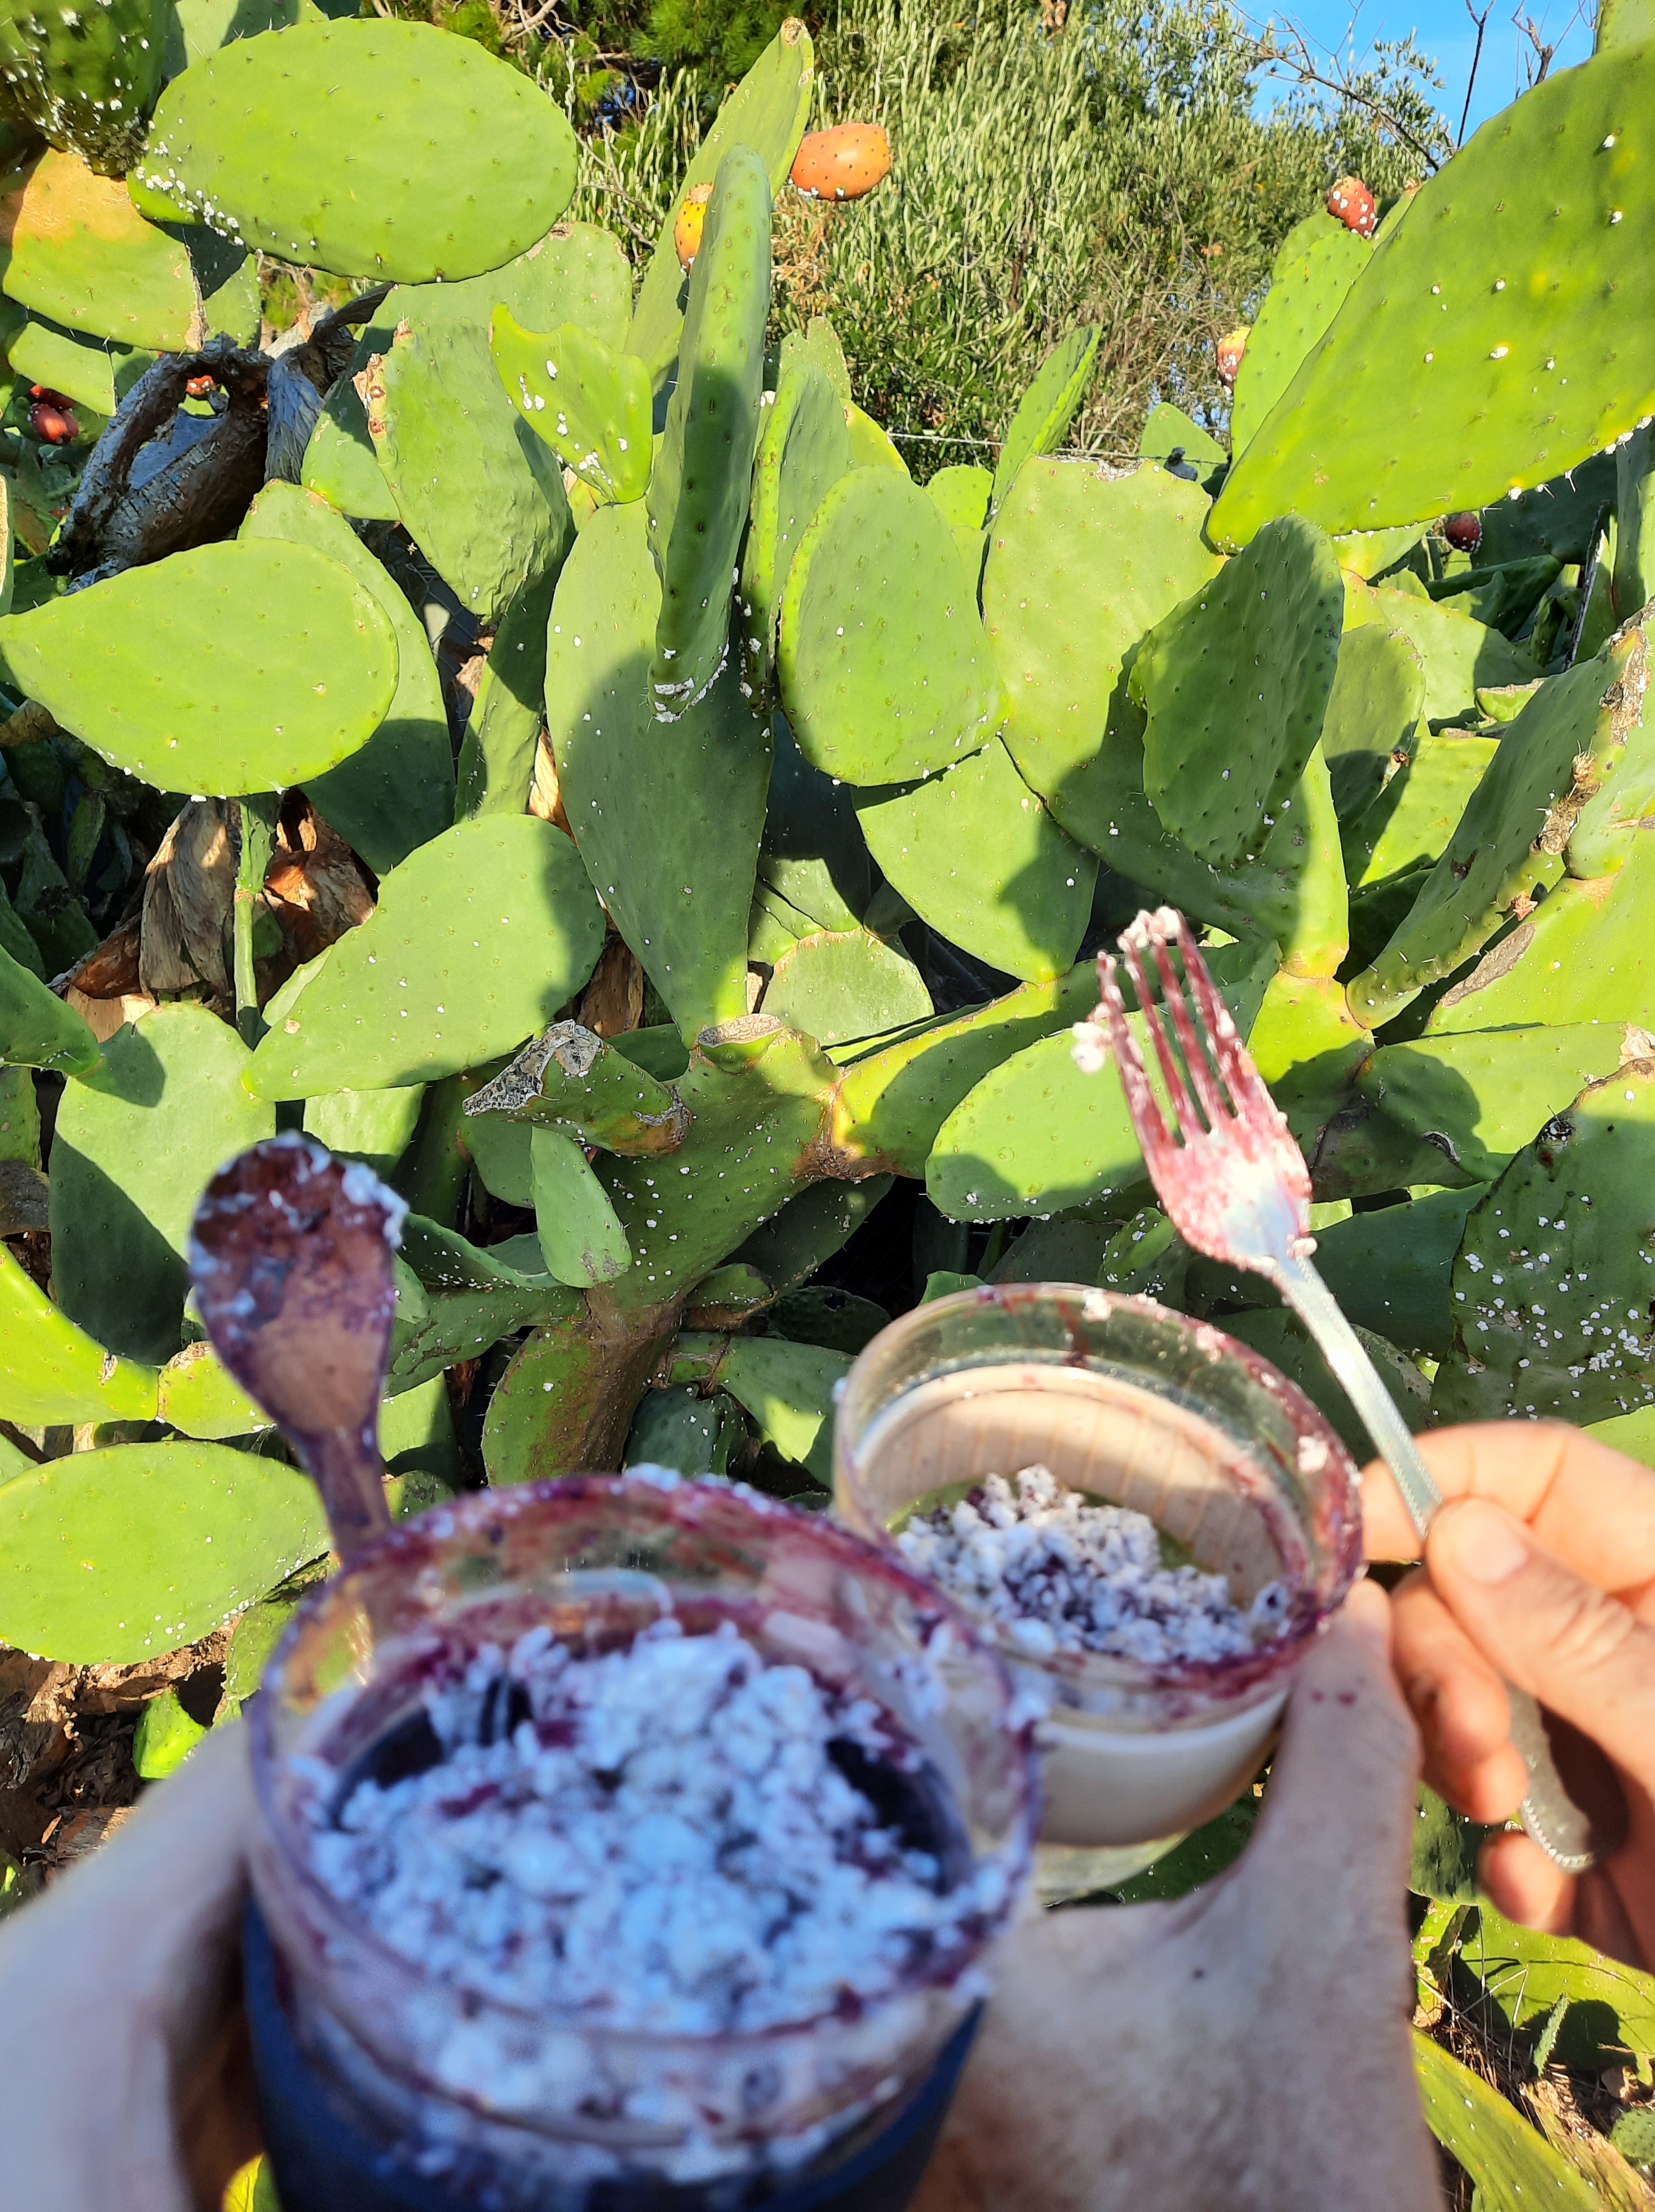
So actually, we have prickly pear because of cochineal, and not the other way around. We have them because of the dye industry and dye trade of the 1700s, and their close connections with imperialism and militarism. And from there, to us harvesting cochineal from an invasive plant in Australia in 2022 with two keep cups, a fork and a teaspoon. Sorry about the poor focus in that photo! But not as sorry as I am about the colonisation of this land and the long term harm it has wrought–of which this is just one small example.
I have become quite prepared to try natural dyes out with little prior knowledge of the process needed. So long as I know enough about the plant or insect to keep it safe from my potential overharvesting (where relevant) and to keep myself and others who may come into contact with it safe–I am prepared to trial and error my way through the process if necessary. For one thing–I have a lot of lawn mower sheep fleece. If I have dye fails I have wasted time and dyestuff but I can overdye or compost the fleece without a lot of regrets. Many of my dyes are weeds, windfalls or on their way to “green waste”. And I always learn something, so even the time is rarely wasted. In this case I knew I had at least one book with a “how to” section (it was focused on dried cochineal though). I also thought I remembered India Flint blogging about fresh cochineal, so I took that as a encouragement (I found her post–enjoy).
I scraped the cochineal into a small, double layered bag I’d made from cotton voile, with french seams. I made a few bags from a scrap a while back for some other dye job with a strong risk of little tiny bits escaping into fleece, never to be removed–it might have been dried cochineal! Having a pre made dye bag on hand was perfect. I dug into my book collection for guidance and decided to modify with acid, as our lime tree is in full fruit and some of the limes are not ideal for eating but much too good for wasting–and lime would be traditional in Mexico.
From there I guessed just about everything from information about dried cochineal. In general, when guessing, I put in a little mordanted wool (if mordant is required), heat for as long as suggested, and then add some more wool, and then some more wool if colour is still coming, and so on. Dried cochineal is incredible stuff that gives and gives and seems impossible to exhaust, though it gives paler and paler colours. The fresh cochineal behaved the same way.
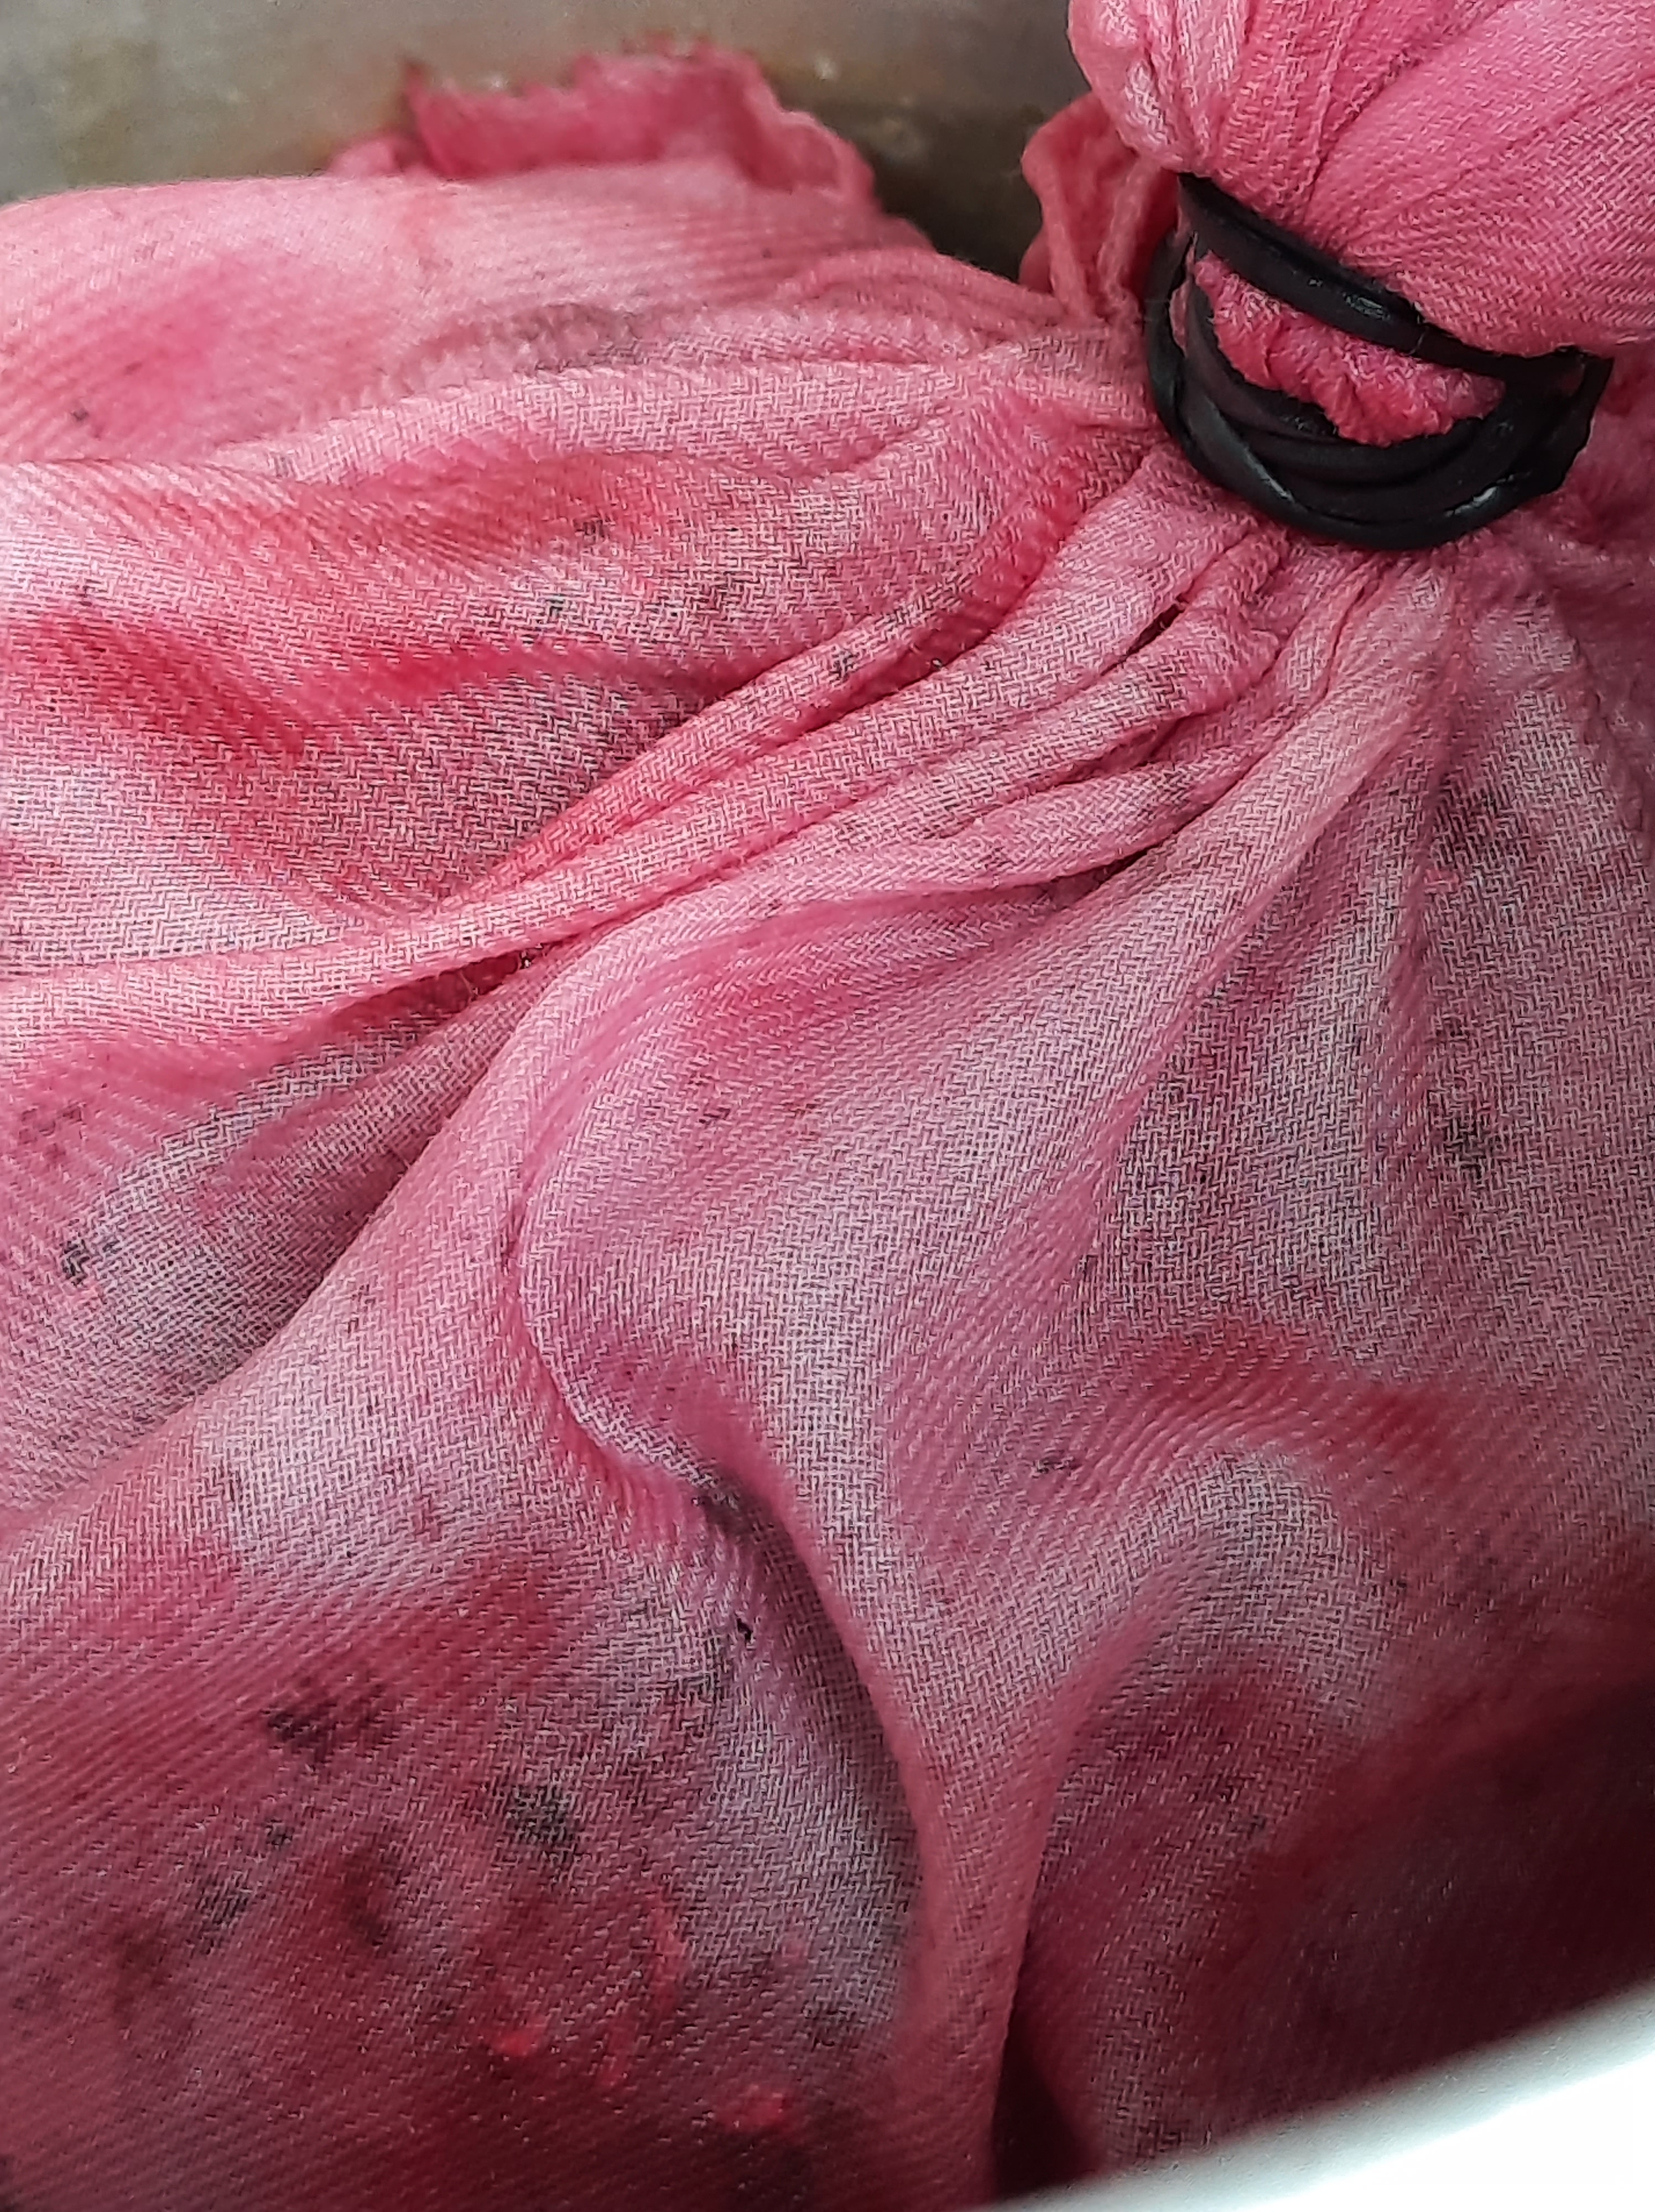
The first round of fleece was almost tomato soup level red. I don’t know if the change to purpler colours might mean I should have added more lime juice– but from there it went to watermelon and then to coconut ice and fairy floss shades of pink. I did laugh out loud when I remembered that when I was making coconut ice with my mother as a child–we were colouring it with cochineal extract!
After a LOT of dyeing, this is all that remained of the dye. And here is the wool ready to spin!
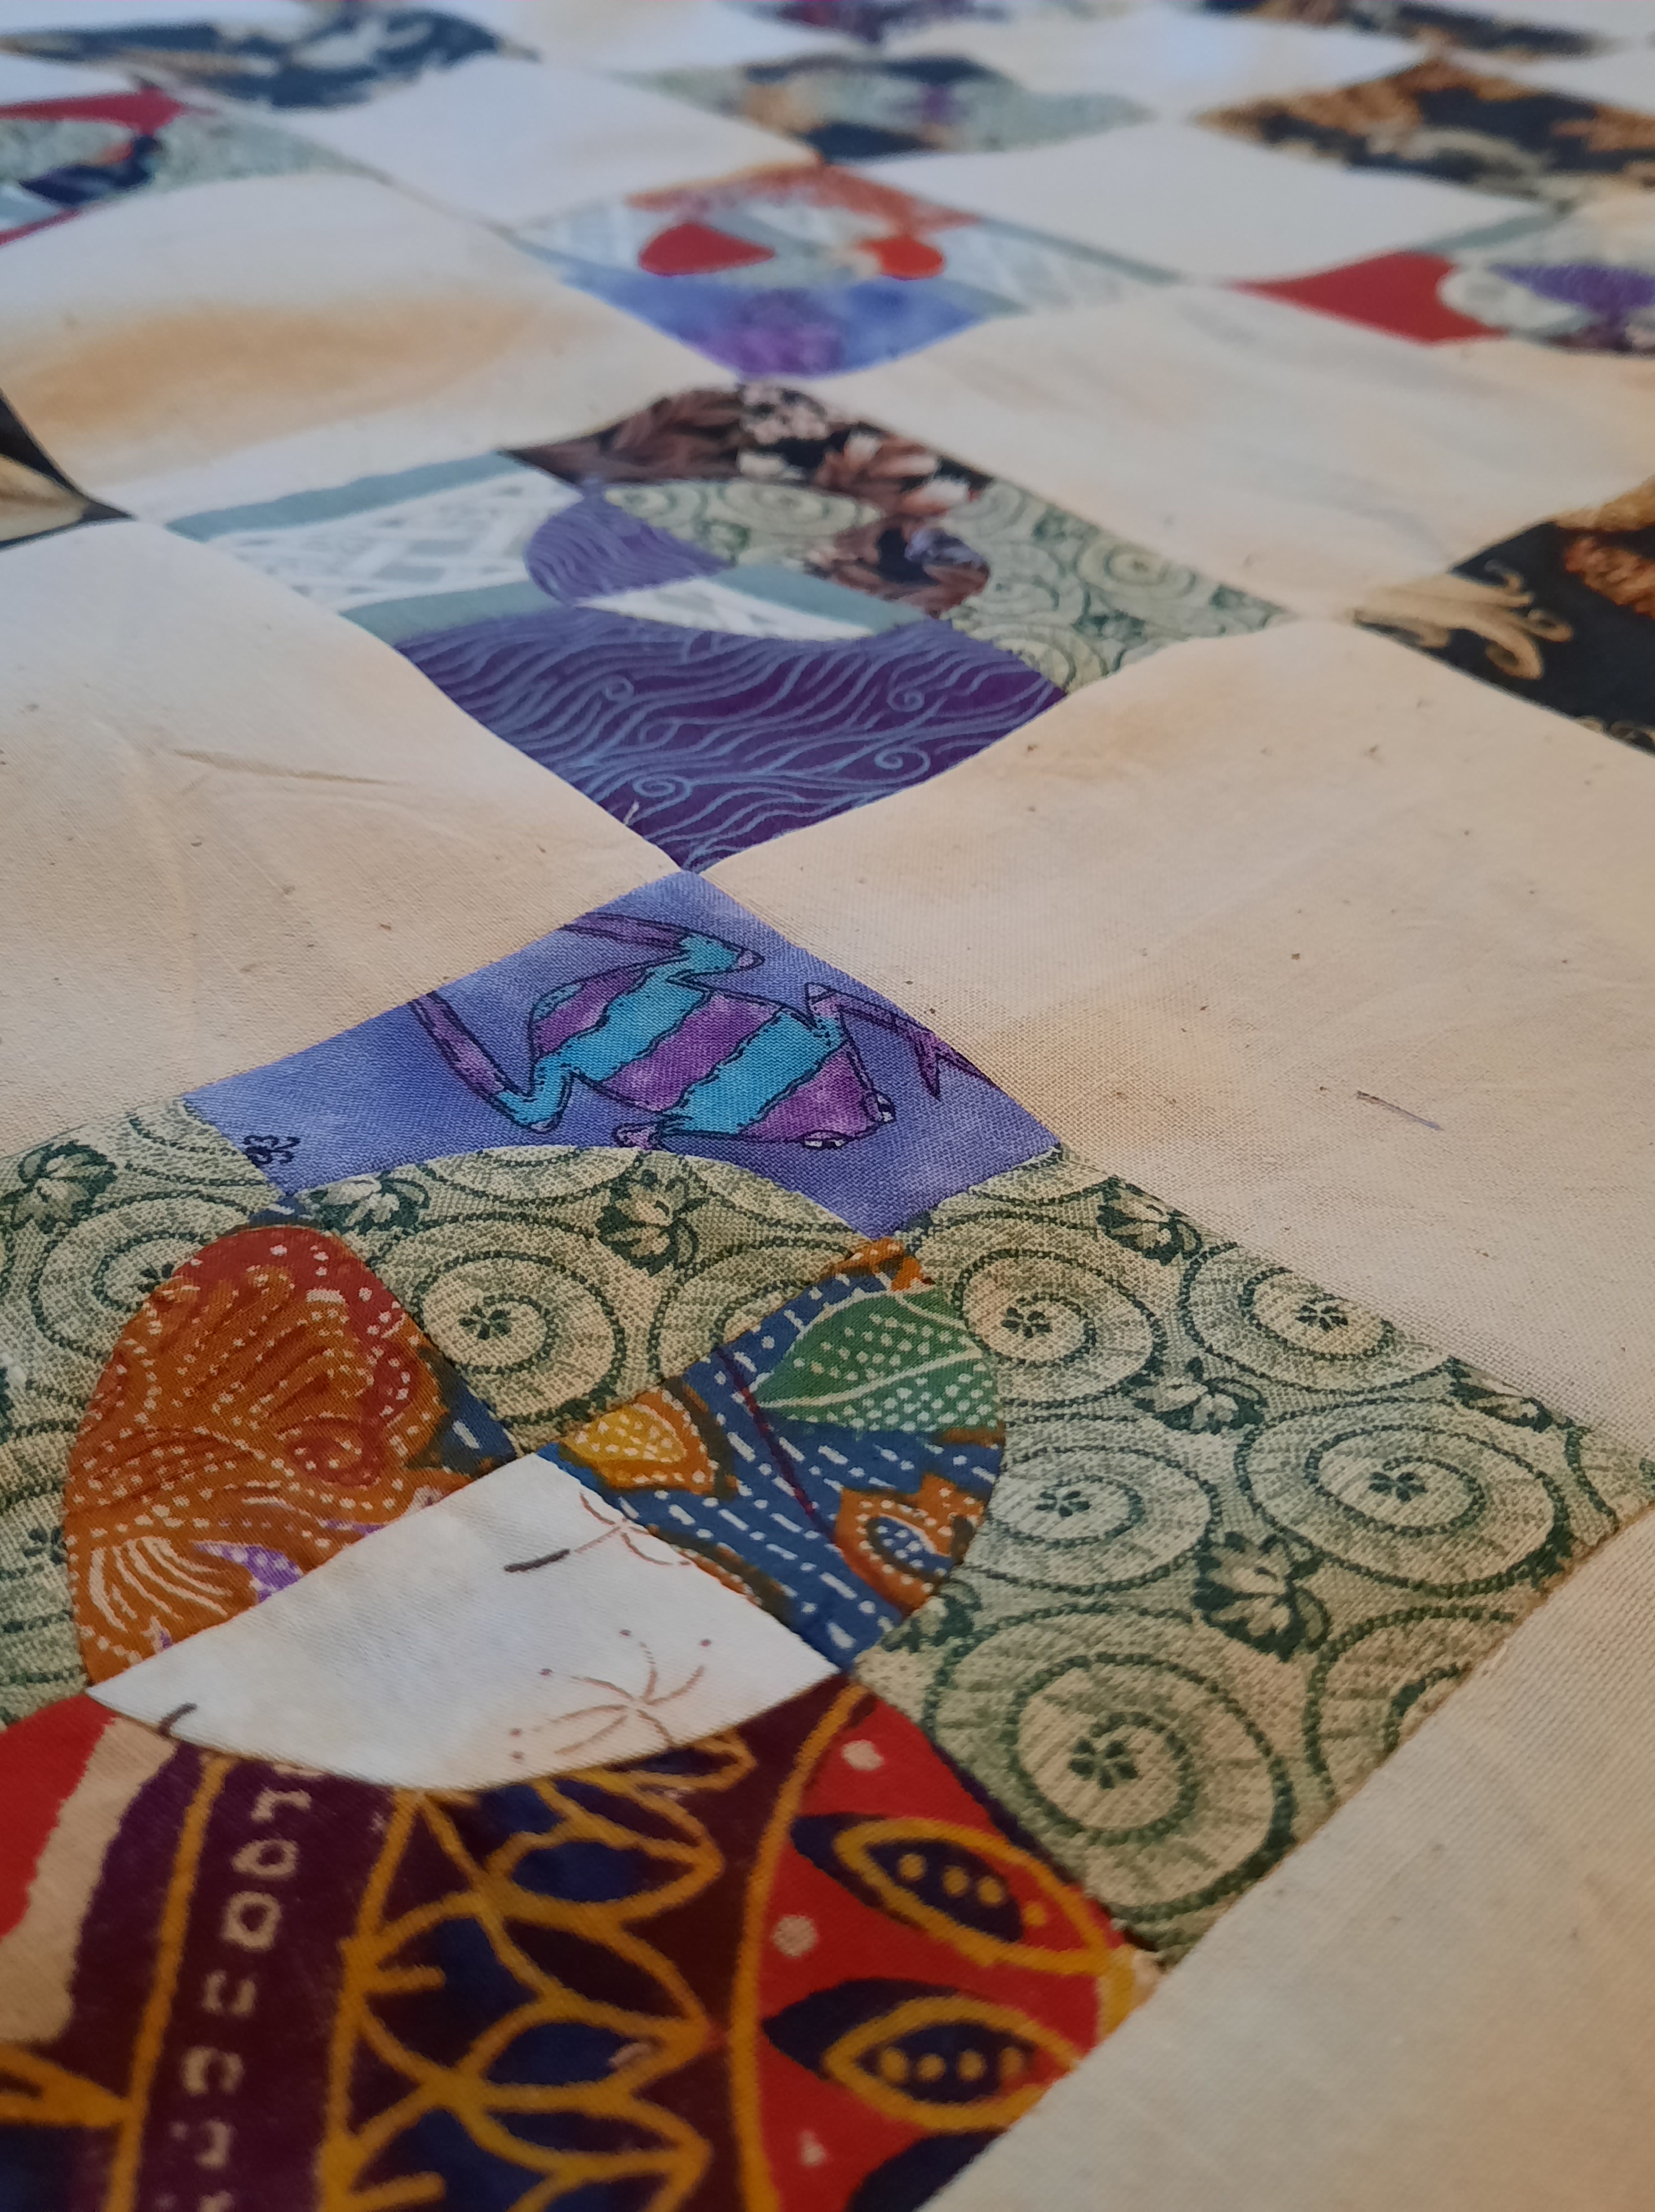
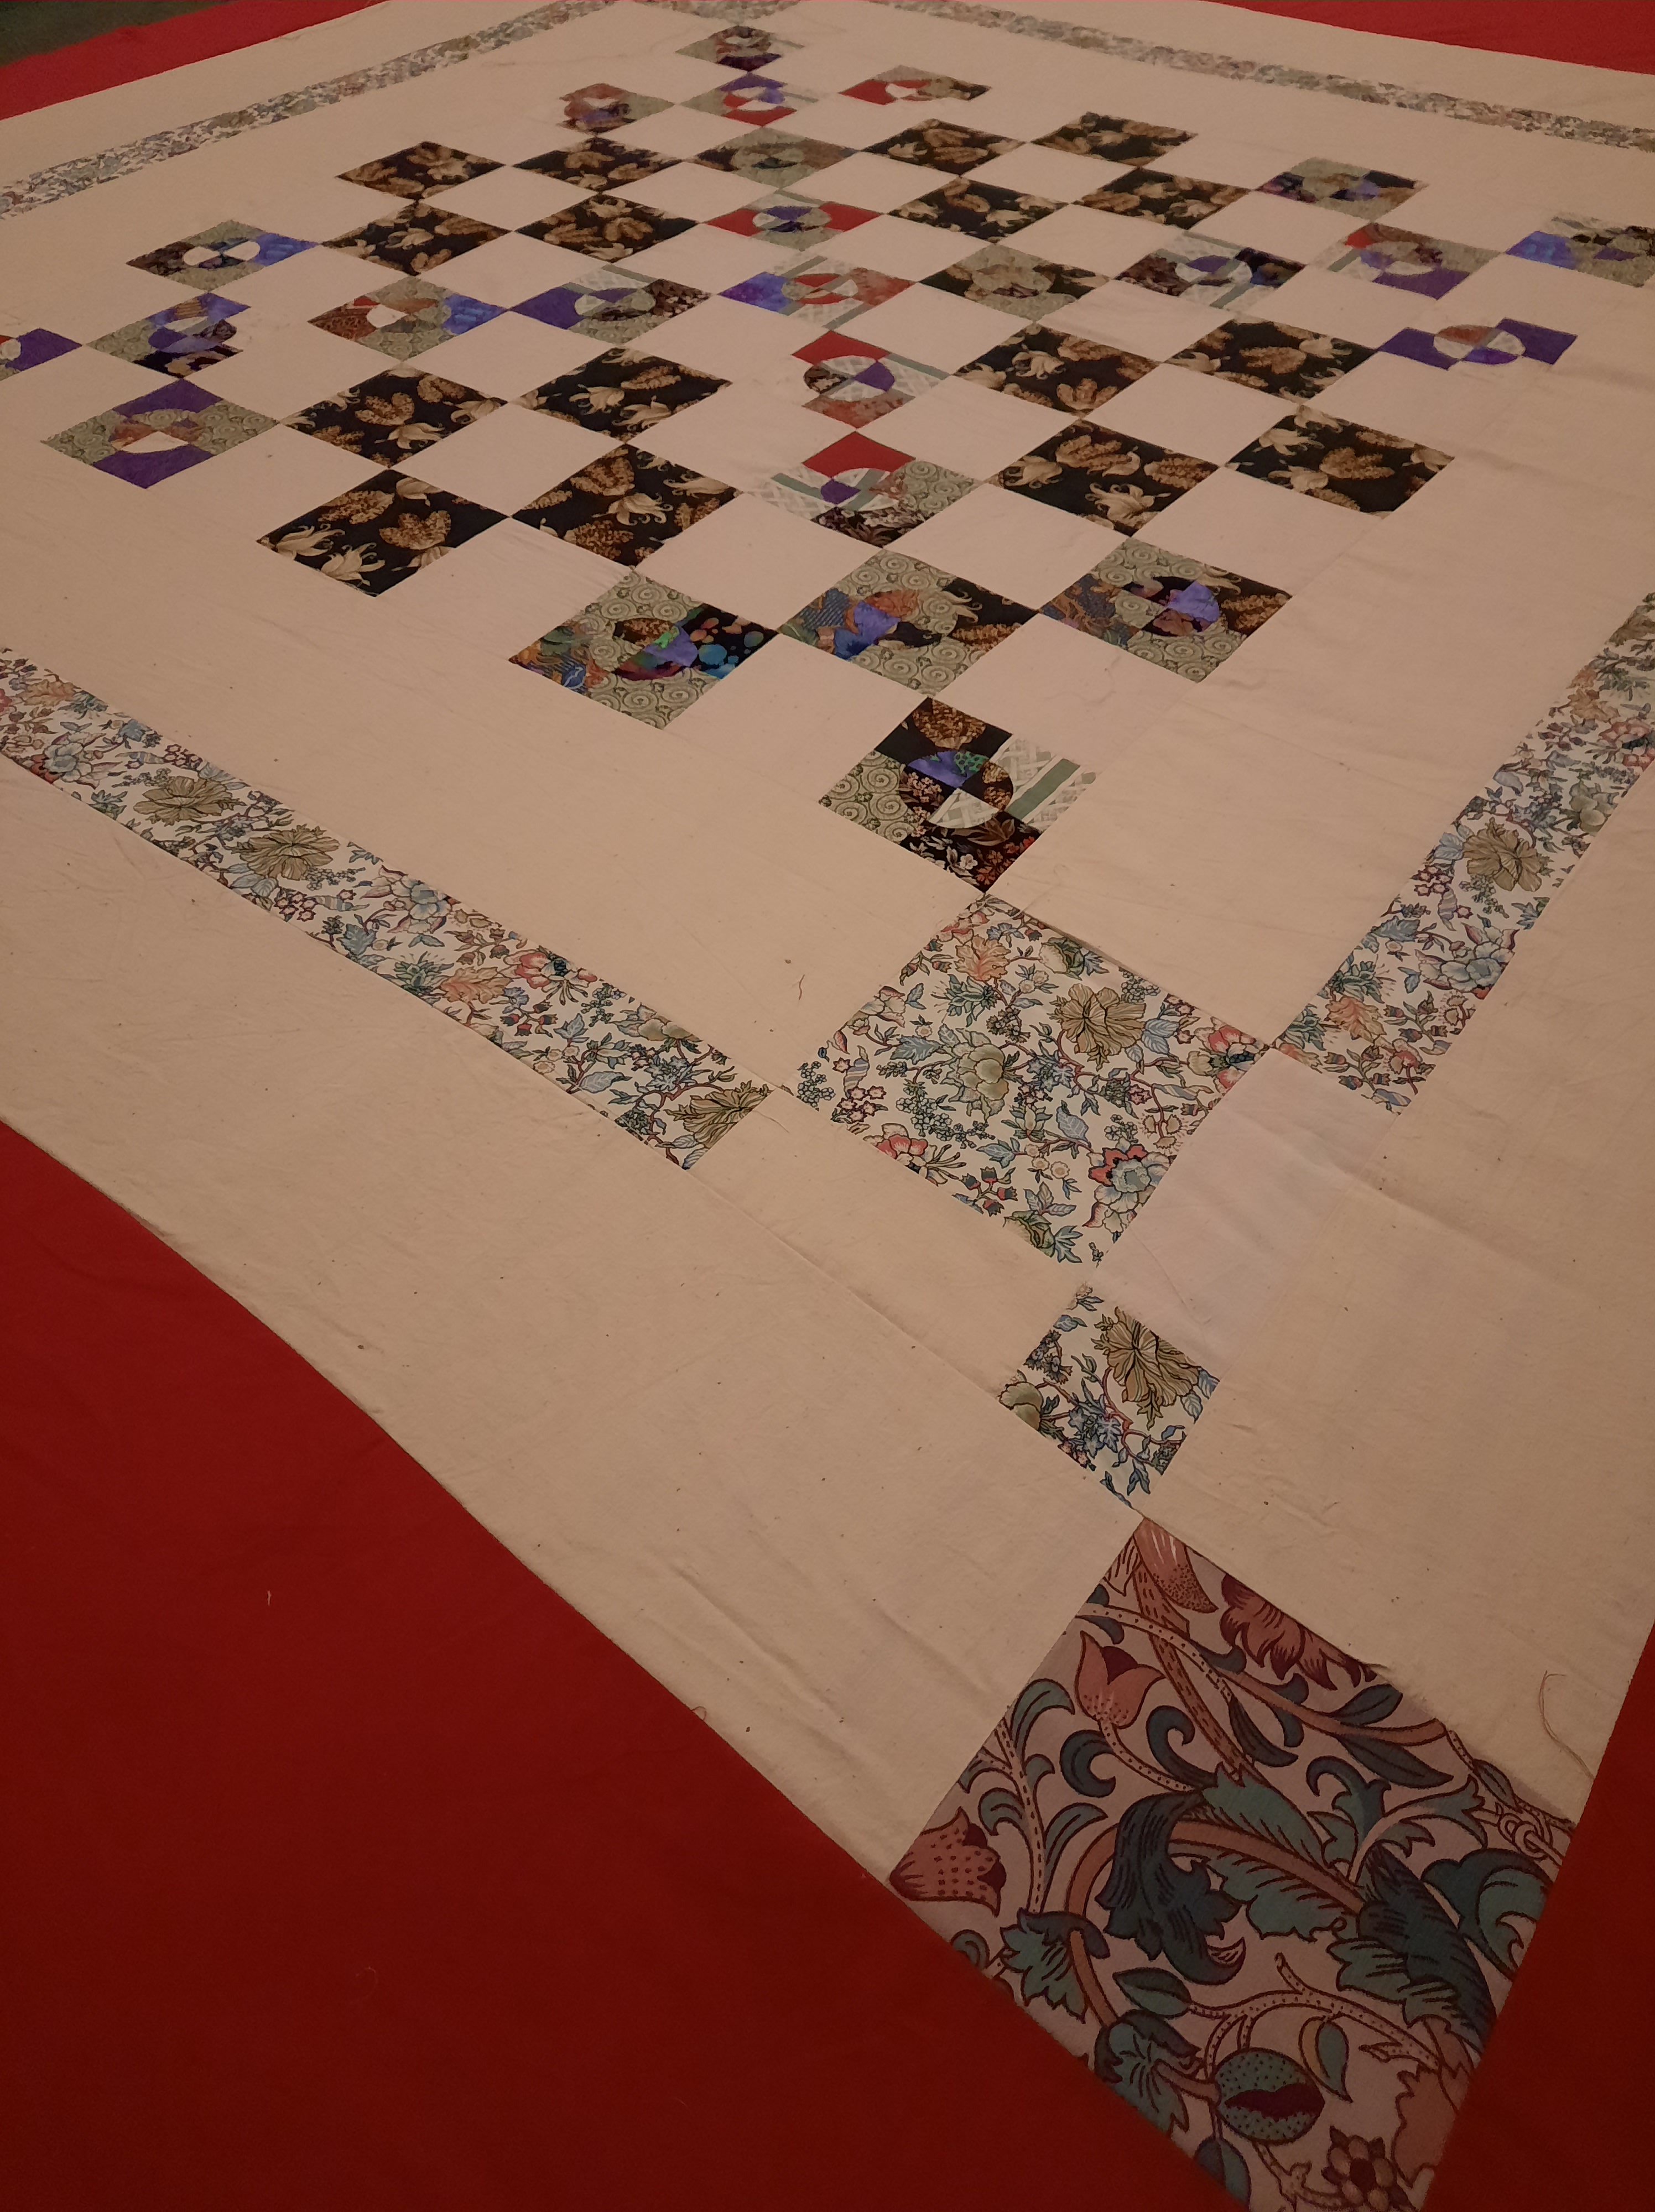
Recently, a dear friend sold me her industrial sewing machine. It is fast and it sews through many layers with ease, and it is set into a fair sized table. Once I got past being very scared using it, it made me think of quilts, and when I made an assessment I thought I had at least 5 “in progress”. Which is a lot, although to be honest, most have not progressed very far! Classically, I had an idea about how to use up little scraps and I made some blocks, and then I stopped. I decided that the time had come to move some on. I had a lot of trouble photographing this quilt, with no genius ideas about how to get it laid out flat and also in decent light. In fact, no idea how to keep it from getting more and more crumpled waiting for its photo to be taken!
This one began with some blocks I’d pieced in the 1990s. With curved seams! Then there were squares cut for a quilt that I decided not to complete (because my colour and fabric choices were just not good enough for it to look good). Its other component parts have long since been turned into other things.
I had quite a bit of calico, and that seemed a plausible foil for all those prints. So I began to create the quilt with lashings of calico of several different weights and shades of cream. Most of it has come from op shops, but some from friends and some has arrived at my place already made into things. Some arrived washed and some did not.
Then when I had a central panel, on with figuring out how to frame it.
More calico, a dead red sheet, and some scraps from my Mother-out-law. A few squares of a scrap I picked up at an op shop years ago. More calico!
The batting–is an old flannelette sheet, mostly. It had already had the edges turned to the middle (a common strategy for extending the life of sheets in generations before mine). So there was a seam down the middle. Some of it was so threadbare even so that I patched it with a nightie, and then sewed on an ancient pair of pyjamas and something that might once have been a sling (for a broken arm), since they were all made from flannelette. And so, to the back.
A feature panel with a great deal of calico and other random roughly cream fabrics, and some more red sheet. I am not much of a quilter, so there are some straight lines of stitching holding all the layers together. I made the binding out of what was left of all these fabrics, and there you have it. A quilt that will warm the lovely friend whose family linen press yielded all that flannelette and some of the calico.
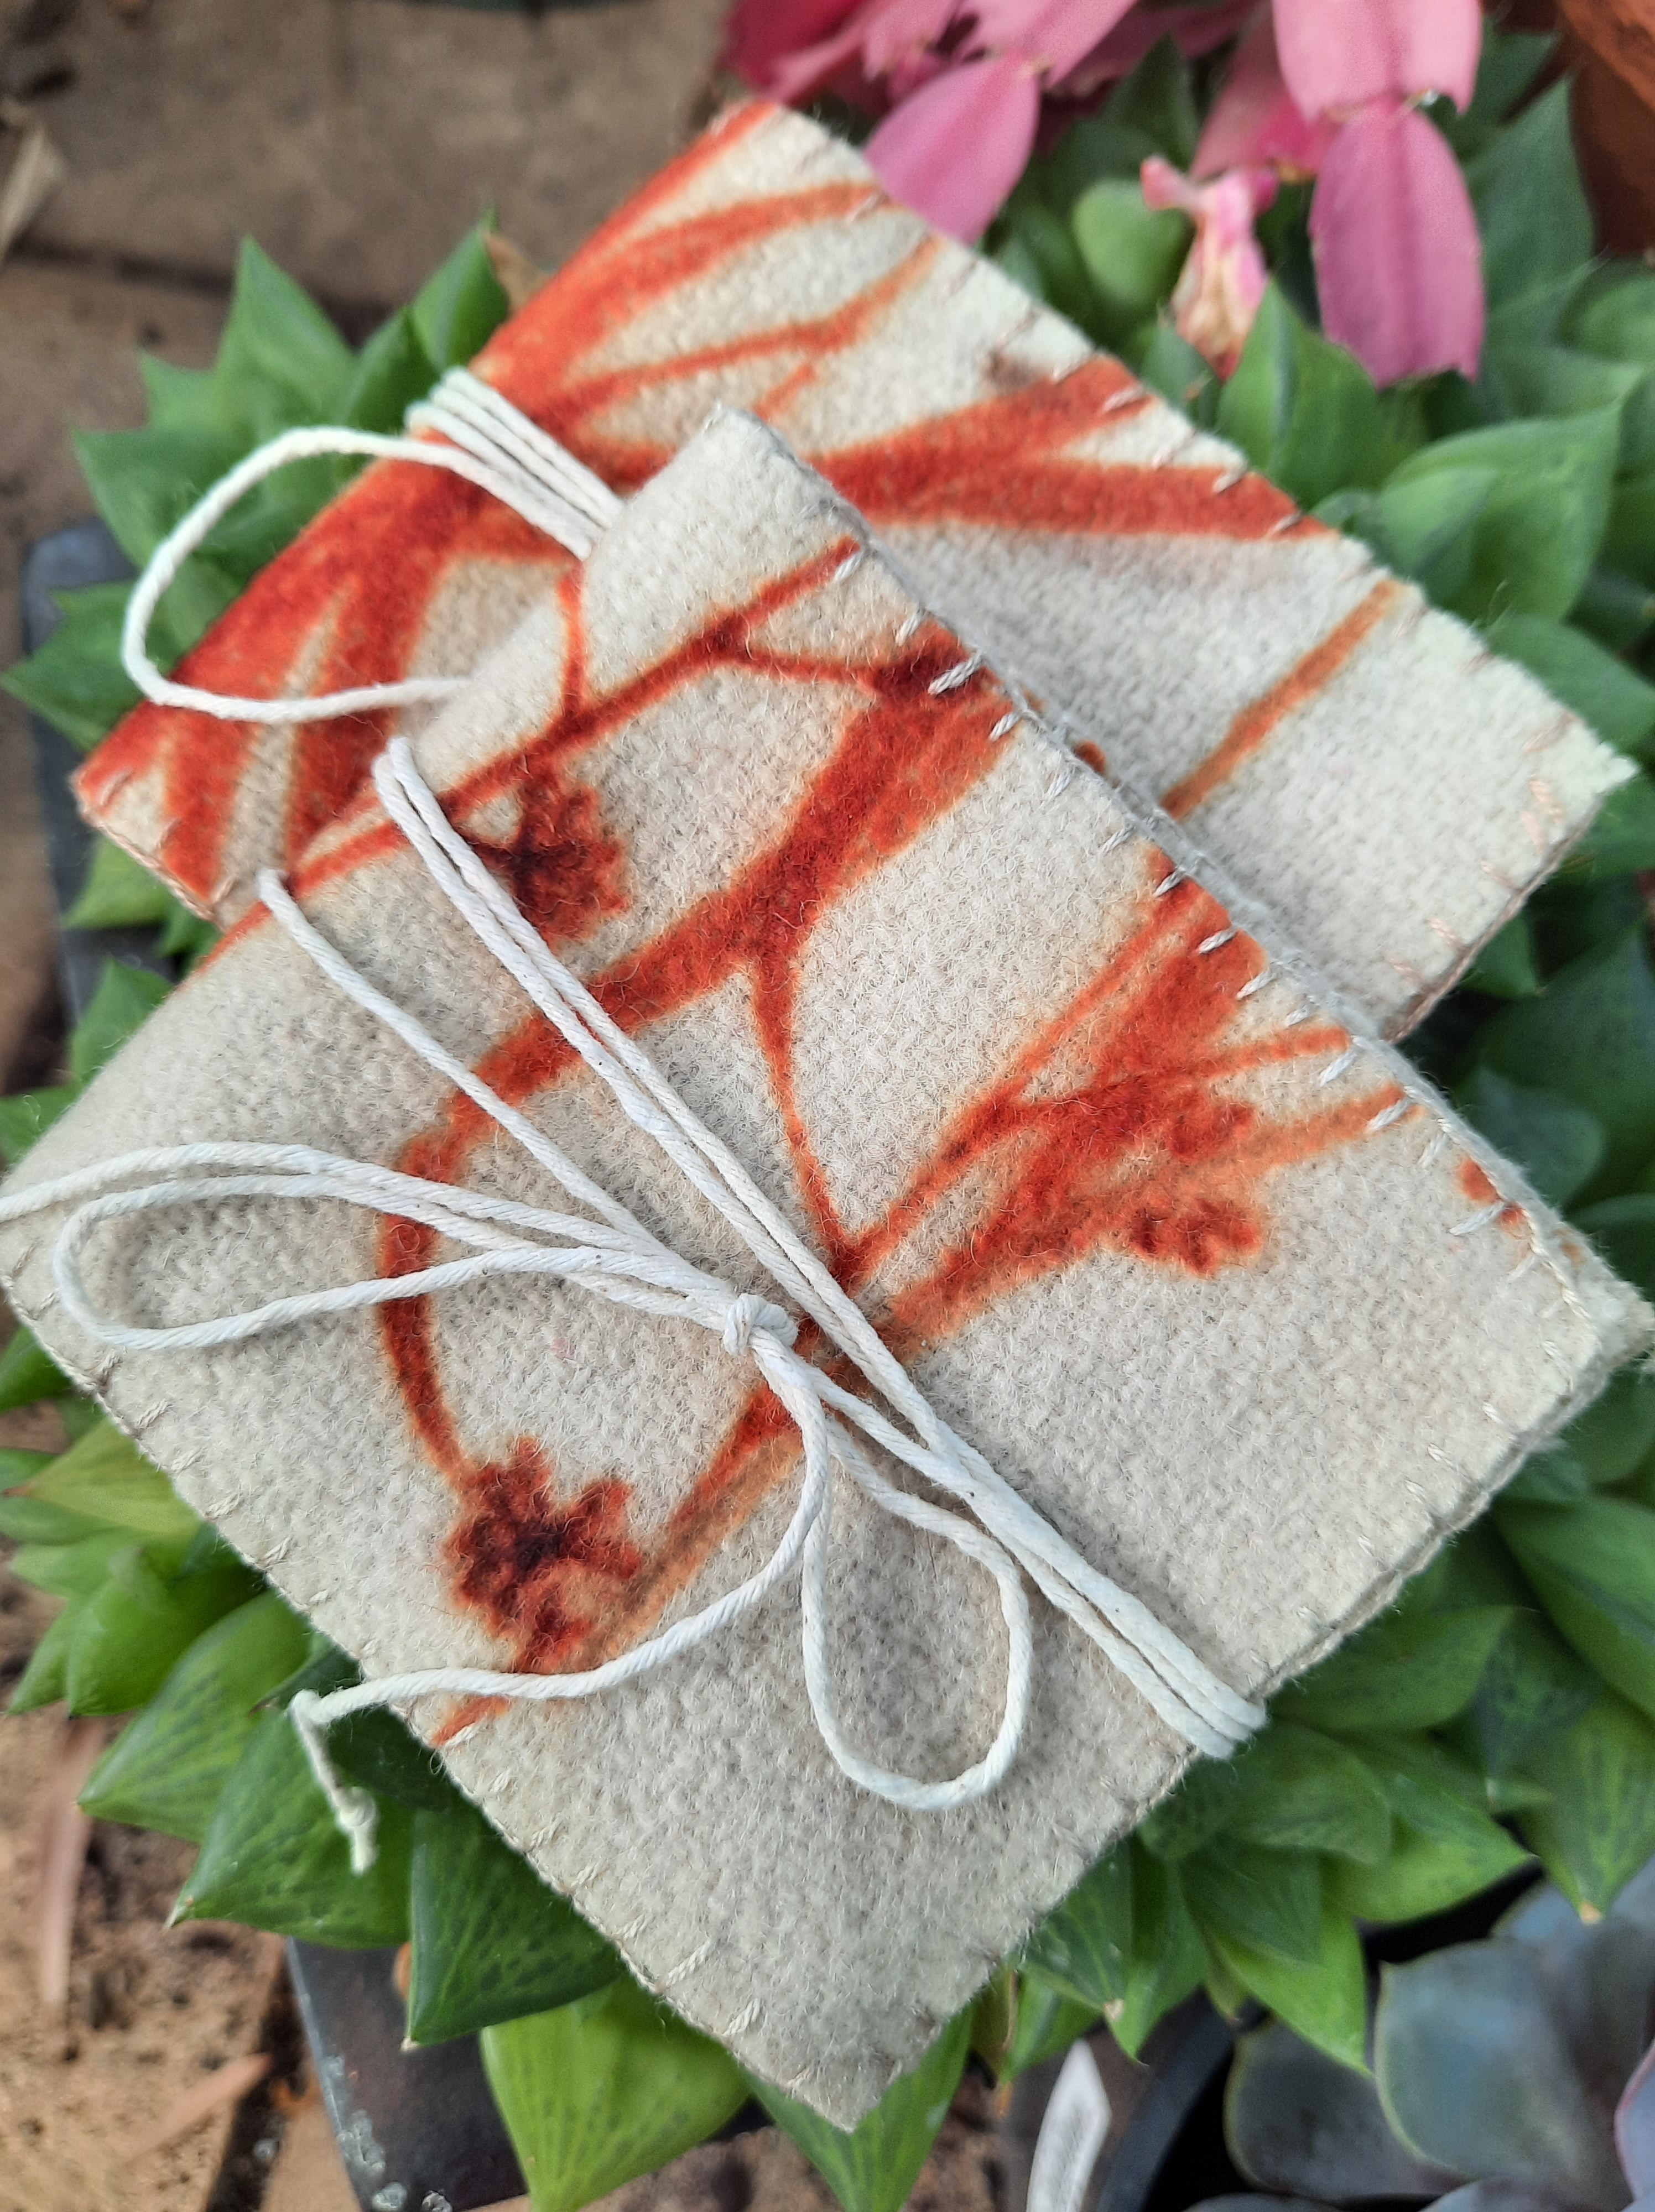
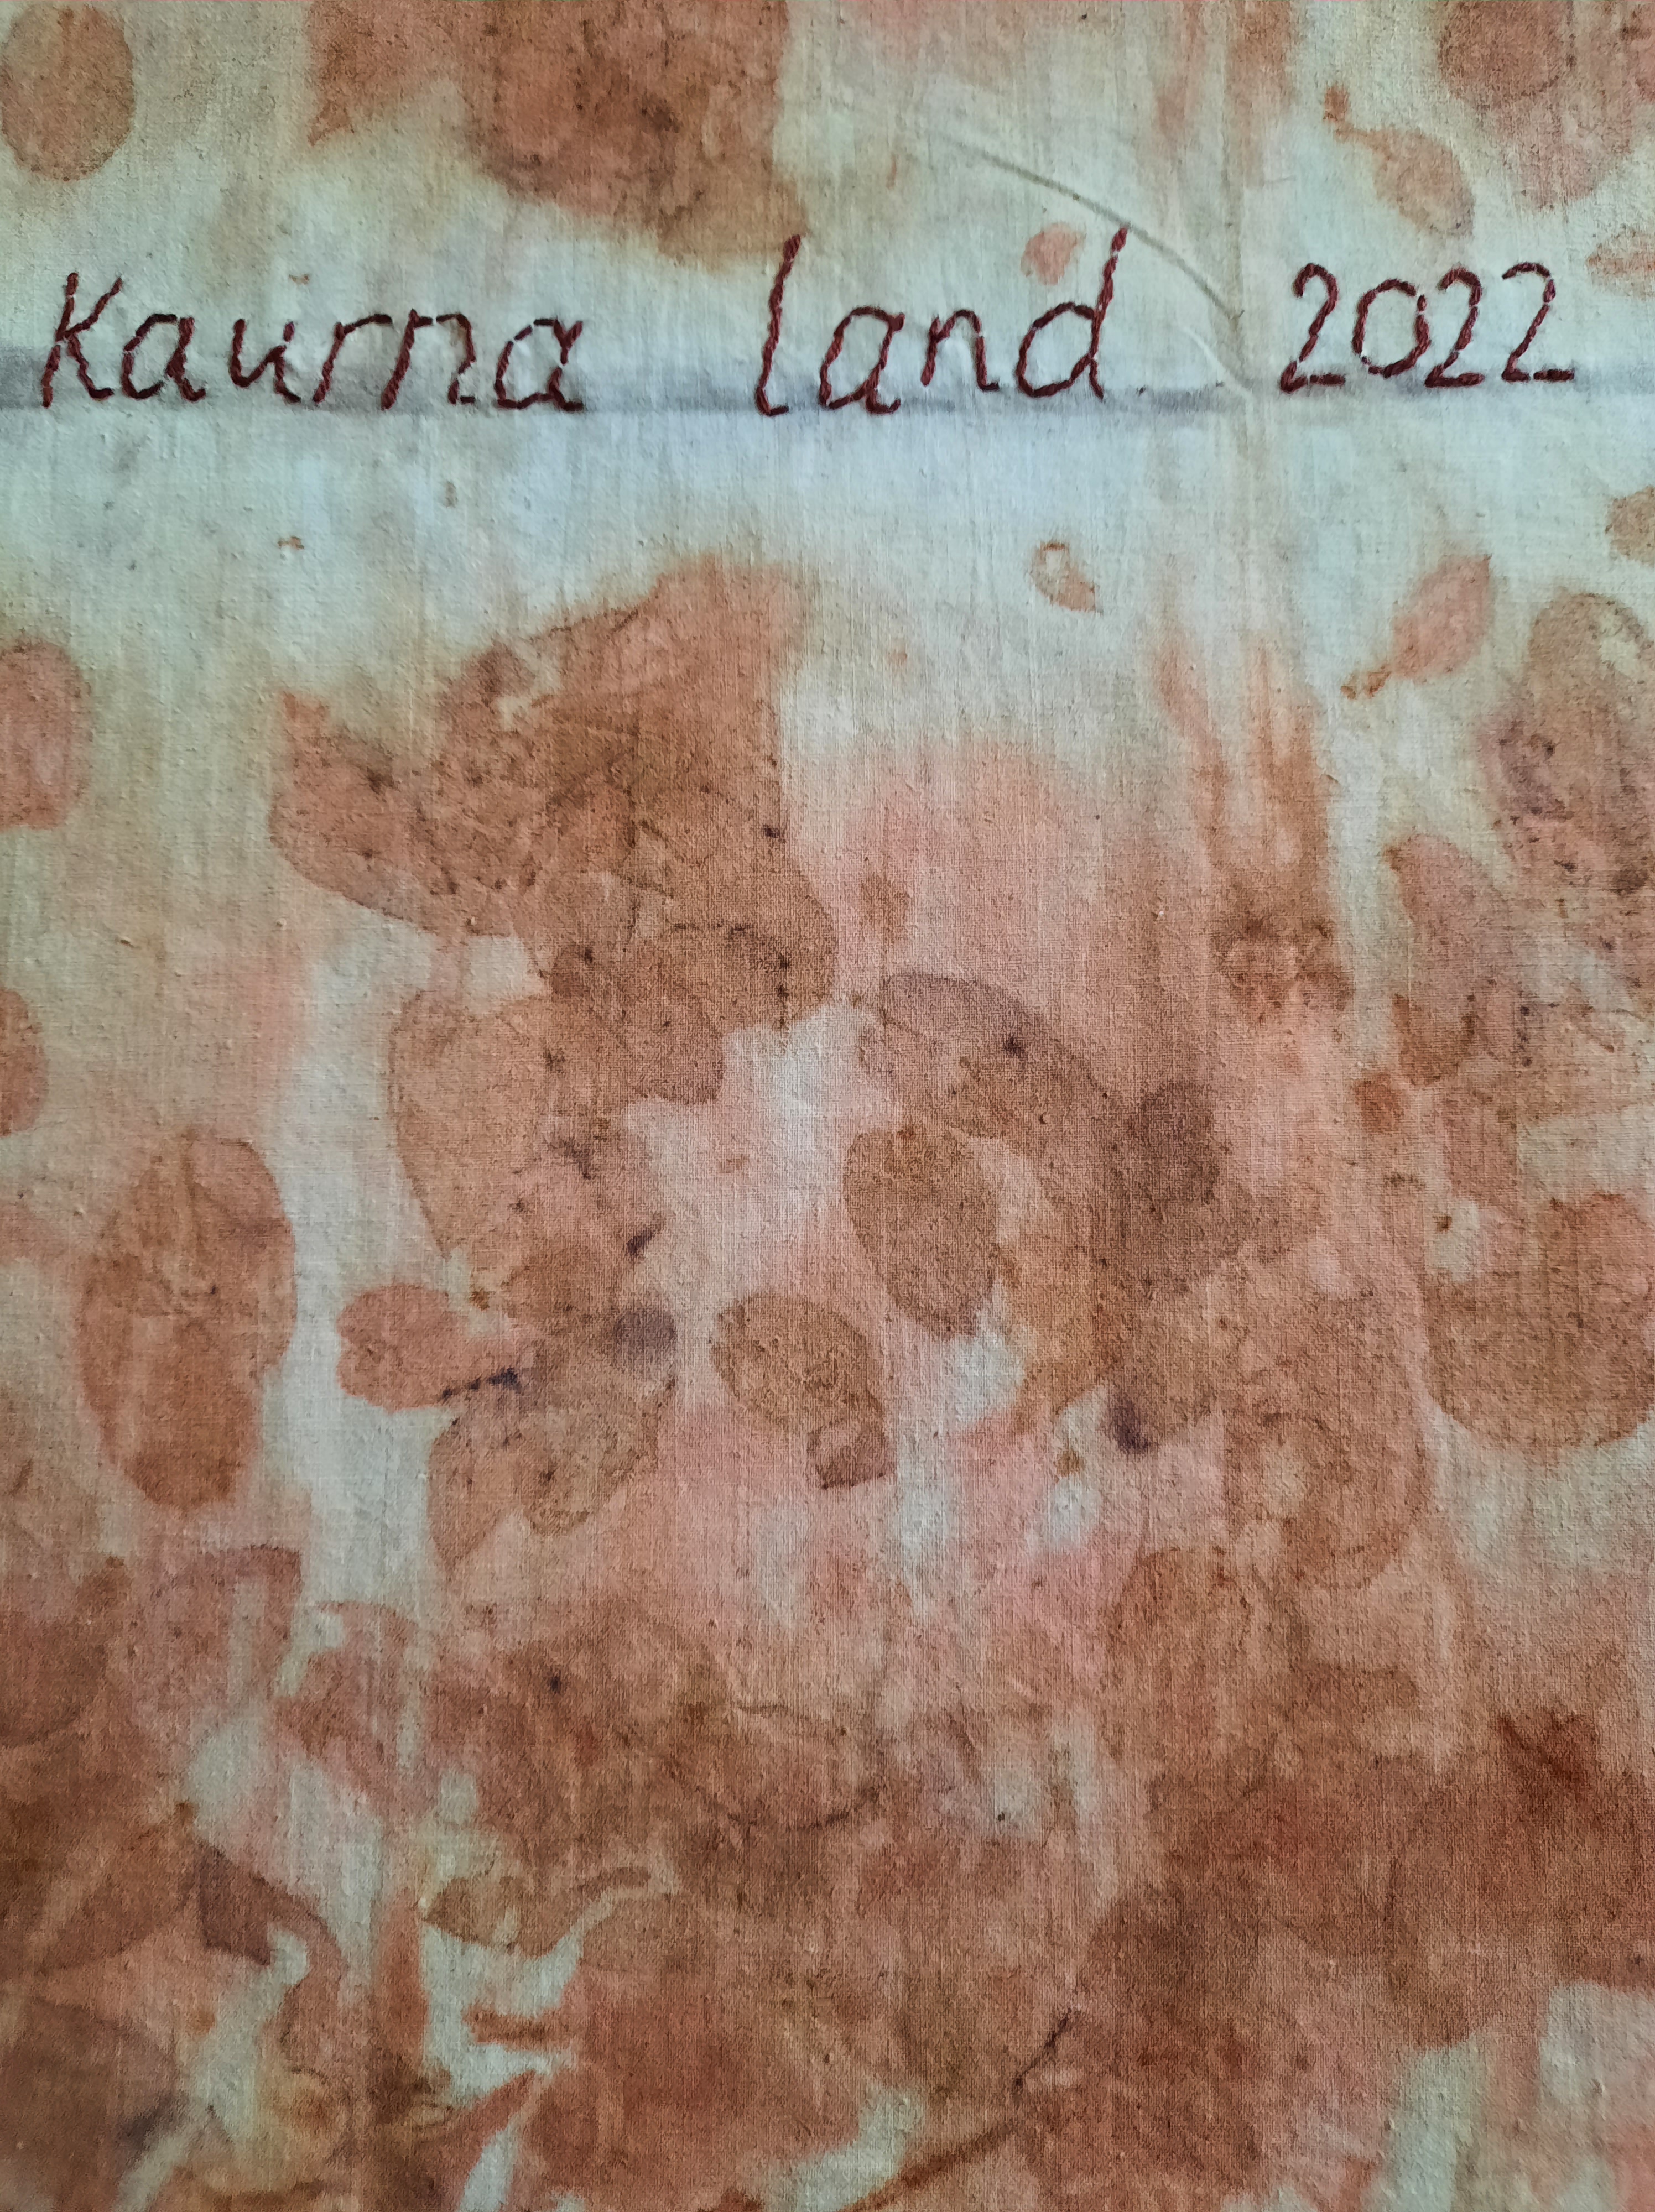
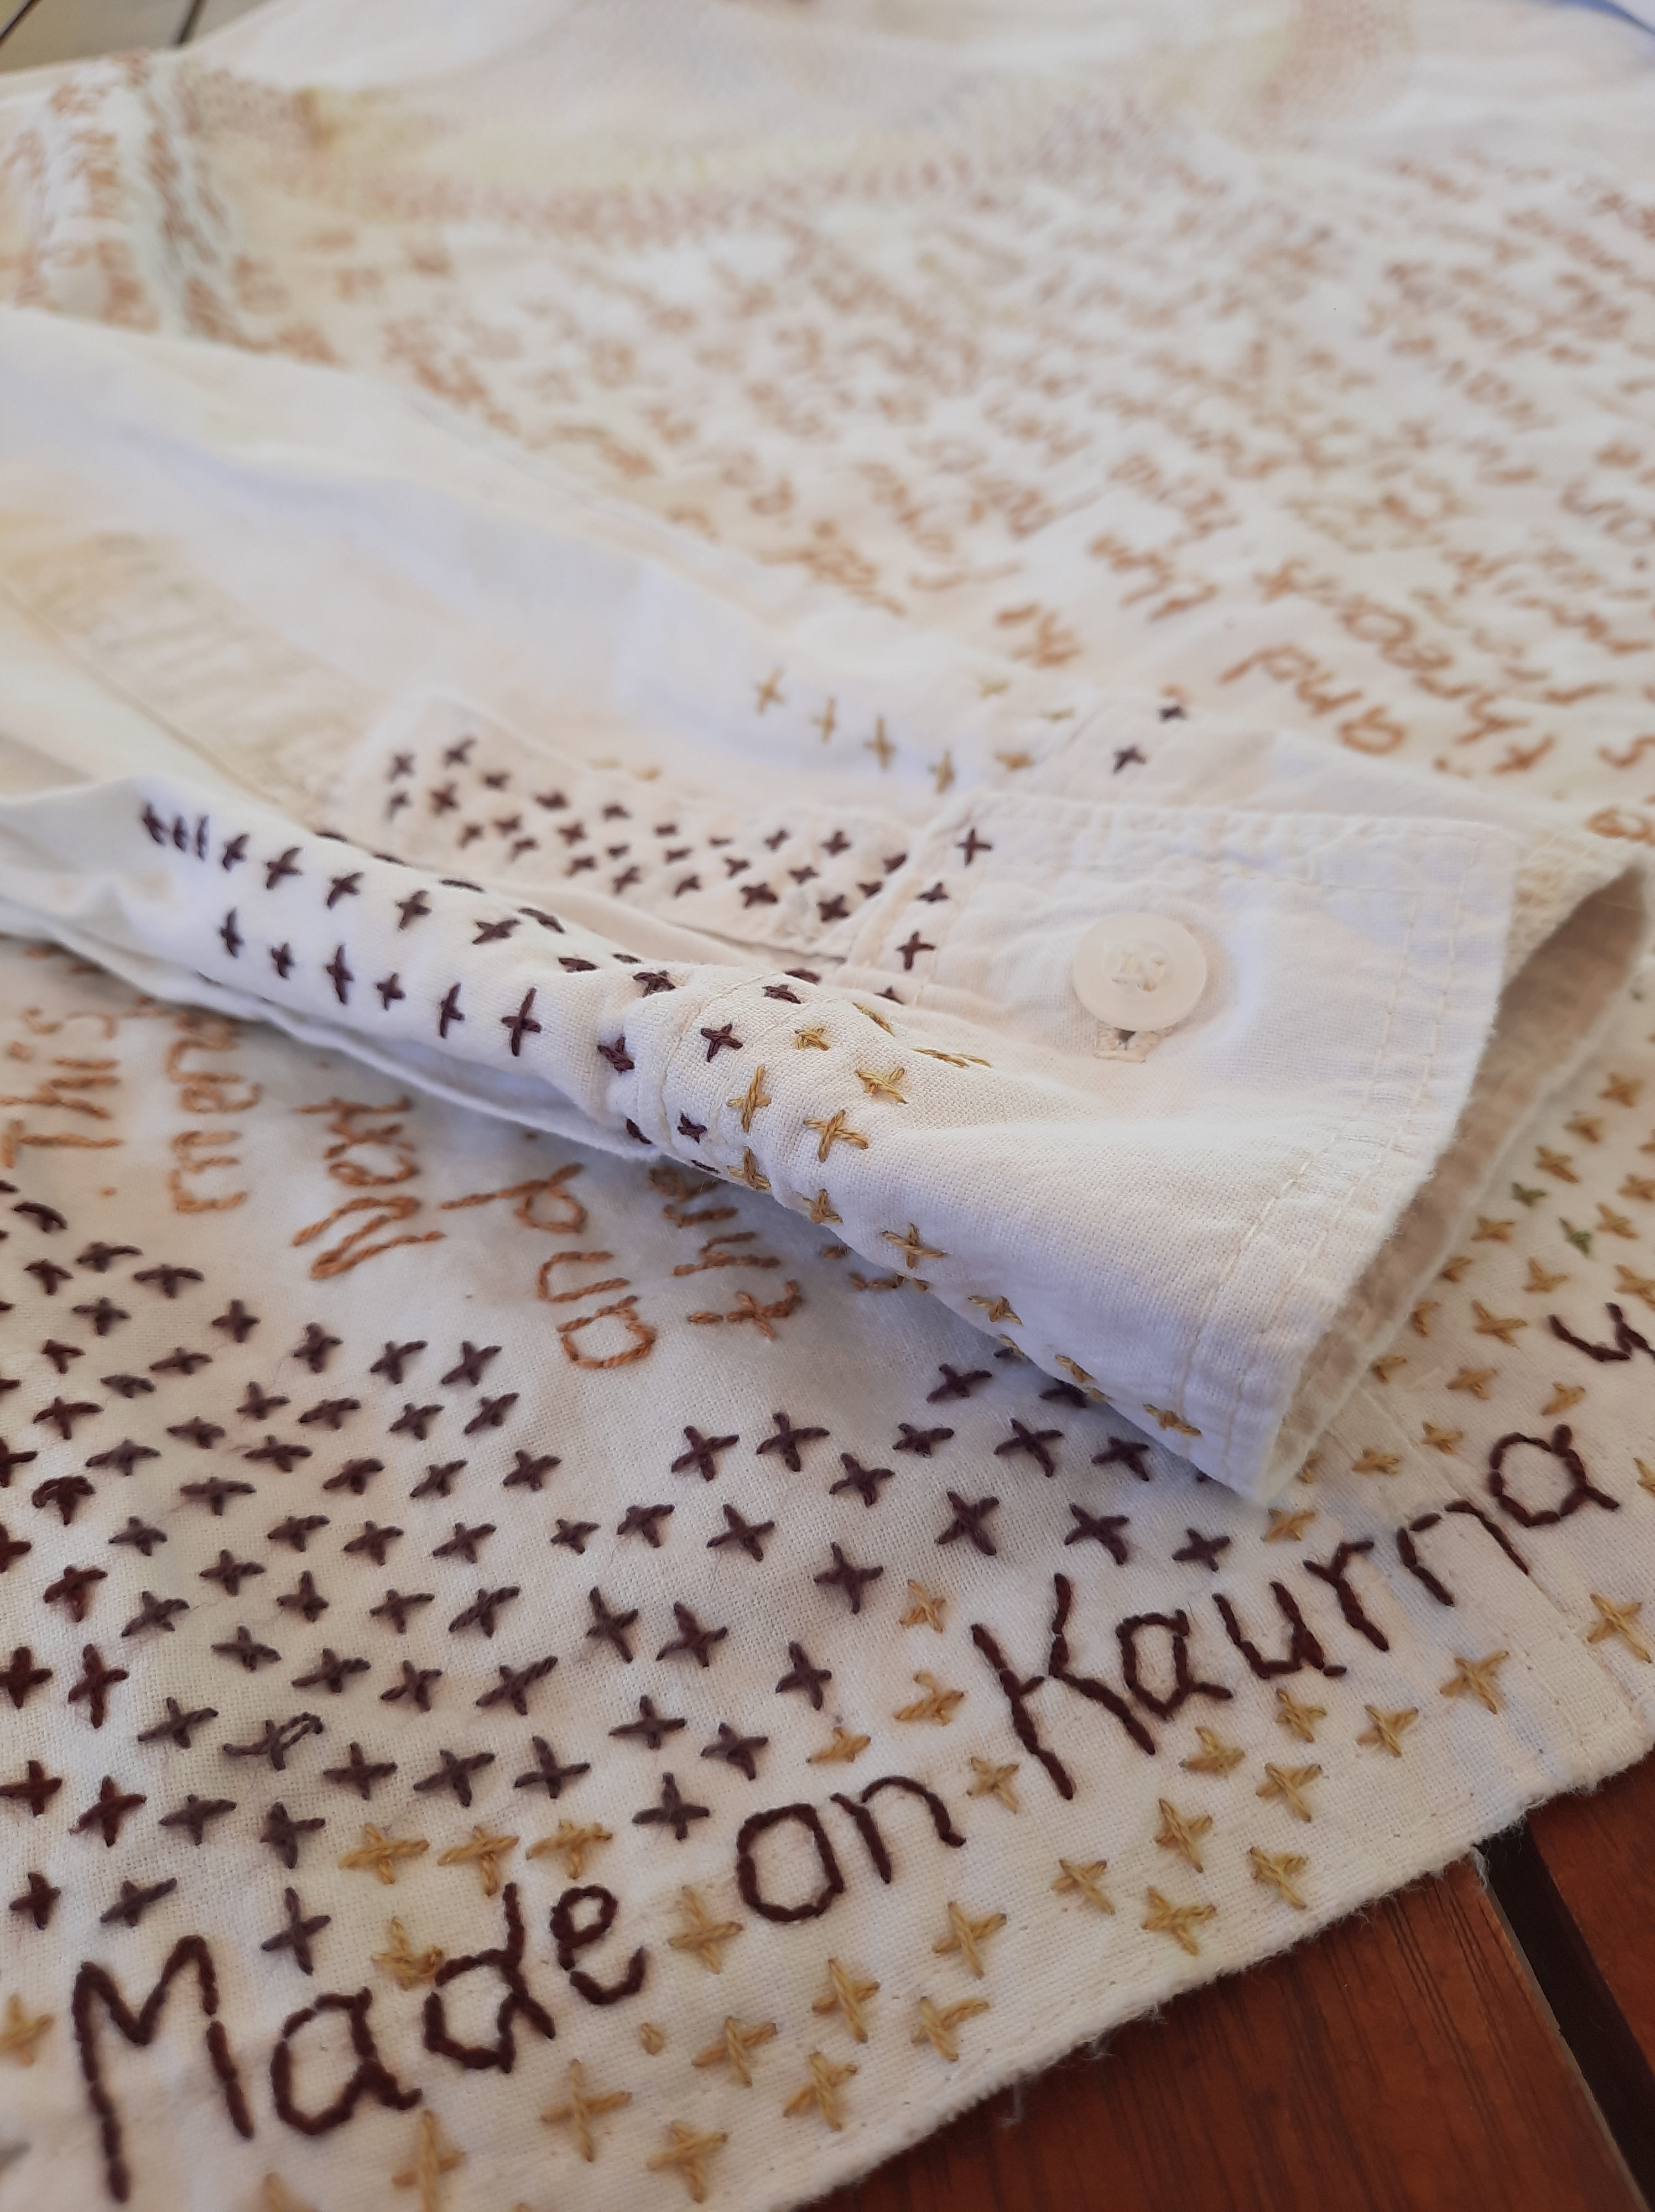
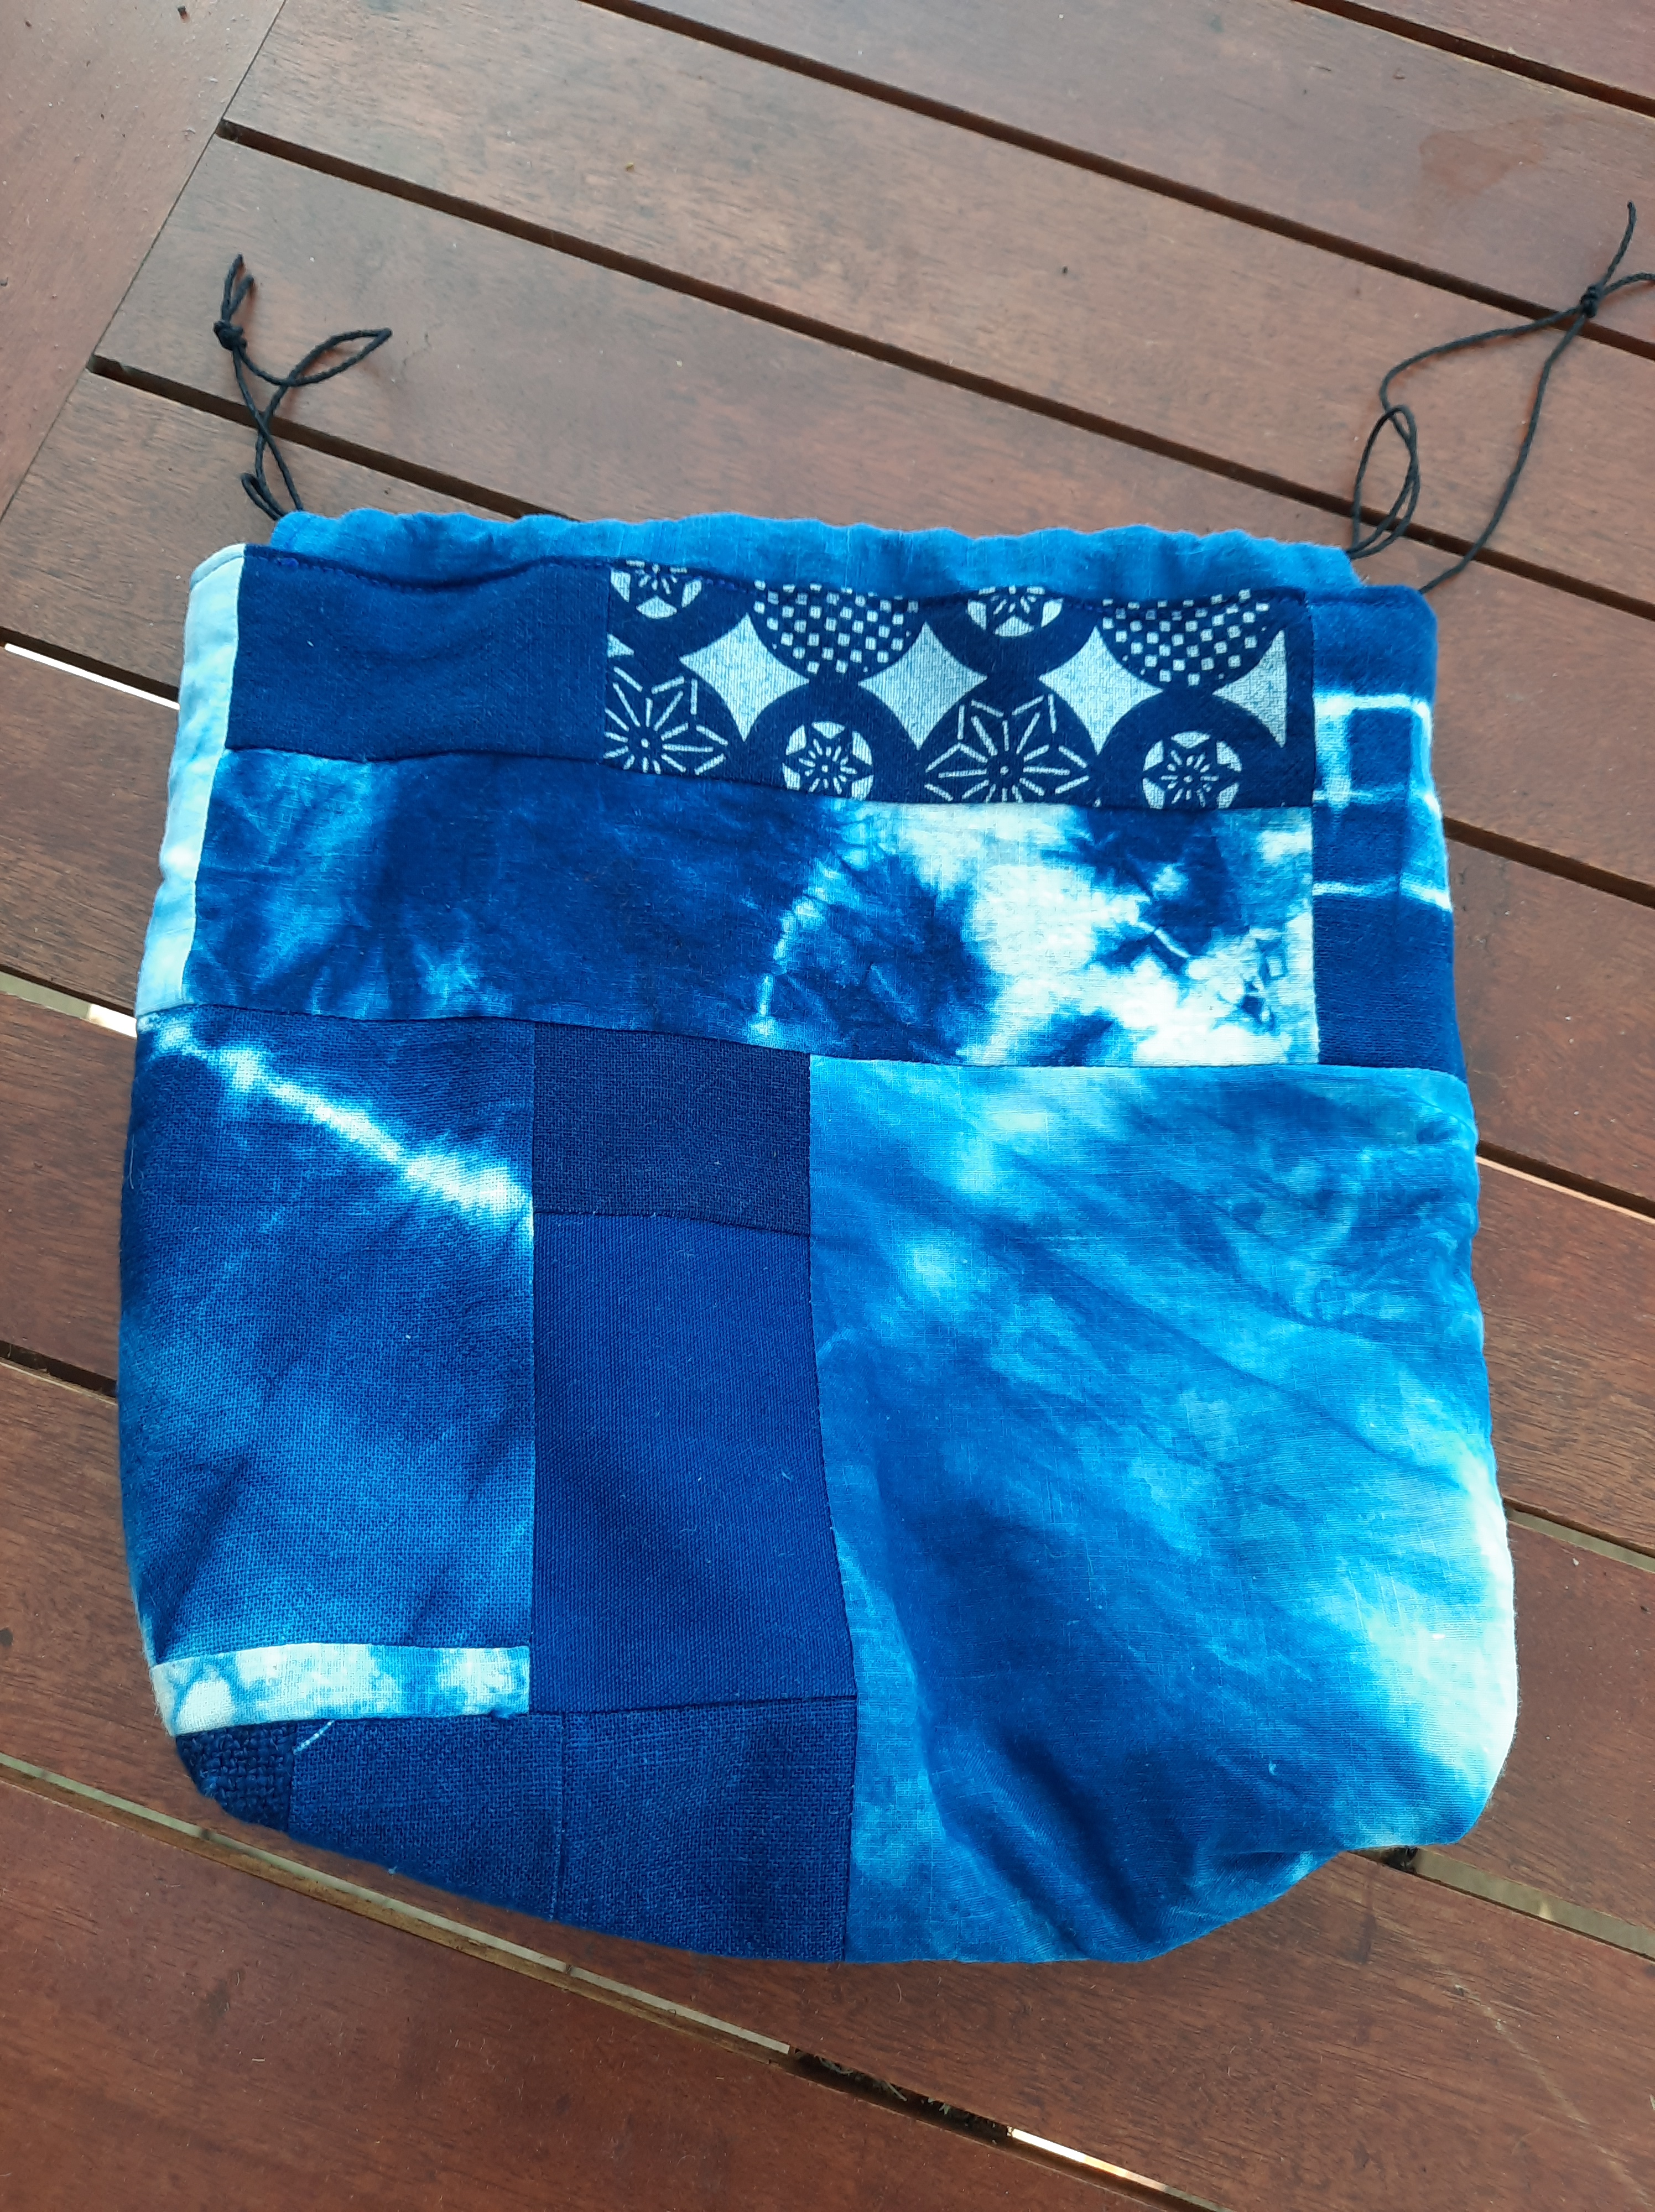
Long, long ago, a friend travelled to Japan. When she came back, she brought a small pack of indigo dyed scraps that she gave me as a gift. They look like the work of a contemporary dyer. I thought they were absolutely lovely, but I couldn’t figure out what to do with them. Years passed. When I signed up for Soul Craft Online, it turned out there was a lovely project included in the event. It was a drawstring bag. One night I realised this was what those scraps could become!
Apparently I am quite incapable of making a project just the way that the designer proposes… and so this one is not exactly as designed . But I am just delighted with it, and with having found a way to enjoy those beautiful fabrics from my cherished friend.
Thinking about the climate emergency and climate activism a lot has had me thinking more about the interconnectedness of everything that makes life possible–the air we all share; the water cycle in which water circulates constantly but it is all the same water forever and for all; the stolen earth on which I live; the way that even as it dies and decays everything that was once alive creates the circumstances in which new life can grow. It is on my mind a lot and it appears in conversations and images so that others show me what I’ve missed, add richness to my thoughts, and share their thought with me.
I love that tiny scrap with the leaf print on it! On the inside, a small but lovely (to me) leaf print on cotton. It looks like E Crenulata to me, so perhaps it was a print made away from home.
And also inside, on the lining, I’ve recorded one of the best compliments ever. Tucked away where occasionally I’ll find it and be reminded of it, and strengthened by it.
I had a lovely time teaching mending at the Unley Repair Cafe this morning, and there were some completely new menders and even some new sewers present. Welcome, friends! I was way too busy answering questions and explaining things and generally enjoying the company of fine humans and the sharing of skills to take a photo of anything–but I thought I might take this opportunity to provide links to some content on this blog, and some other collections of mending resources online. There are also links to upcoming mending workshops I will be running.
There is a Tutorials tab at the top of this blog where you might be able to find what you are looking for. But here are some specifics.
How to mend threadbare clothing (the example in this post is a shirt that now has a lot more mending and embroidery on it–seen in the picture below). The linked post was written when it first began to wear very thin.
Patching threadbare machine knits–like fine merino clothing that moths have nibbled at–with hand sewing and running stitch. Here is another, detailed explanation with lots of pictures, on a cotton knit. This is the way I mend leggings, t shirts, and even machine knit cotton socks (you can see a t shirt and a sock example in this post–and the picture above is a patch cut from an old t shirt that is about to be sewn into that holey sock).
There are fabulous resources available at Repair What You Wear and there are so many keen sewers and menders on the internet you can find a video, blog post or image of just about any mending technique you want to try! So–go forth and mend your favourites, your treasures, your gardening jeans, or your underwear–whatever needs a bit of love and care to keep it functional.
If you would like to do a mending workshop with me, there are workshops coming up with the lovely folk at The Adelaide Remakery (book here) and at Fabrik in Lobethal. It would be a delight to see you there.
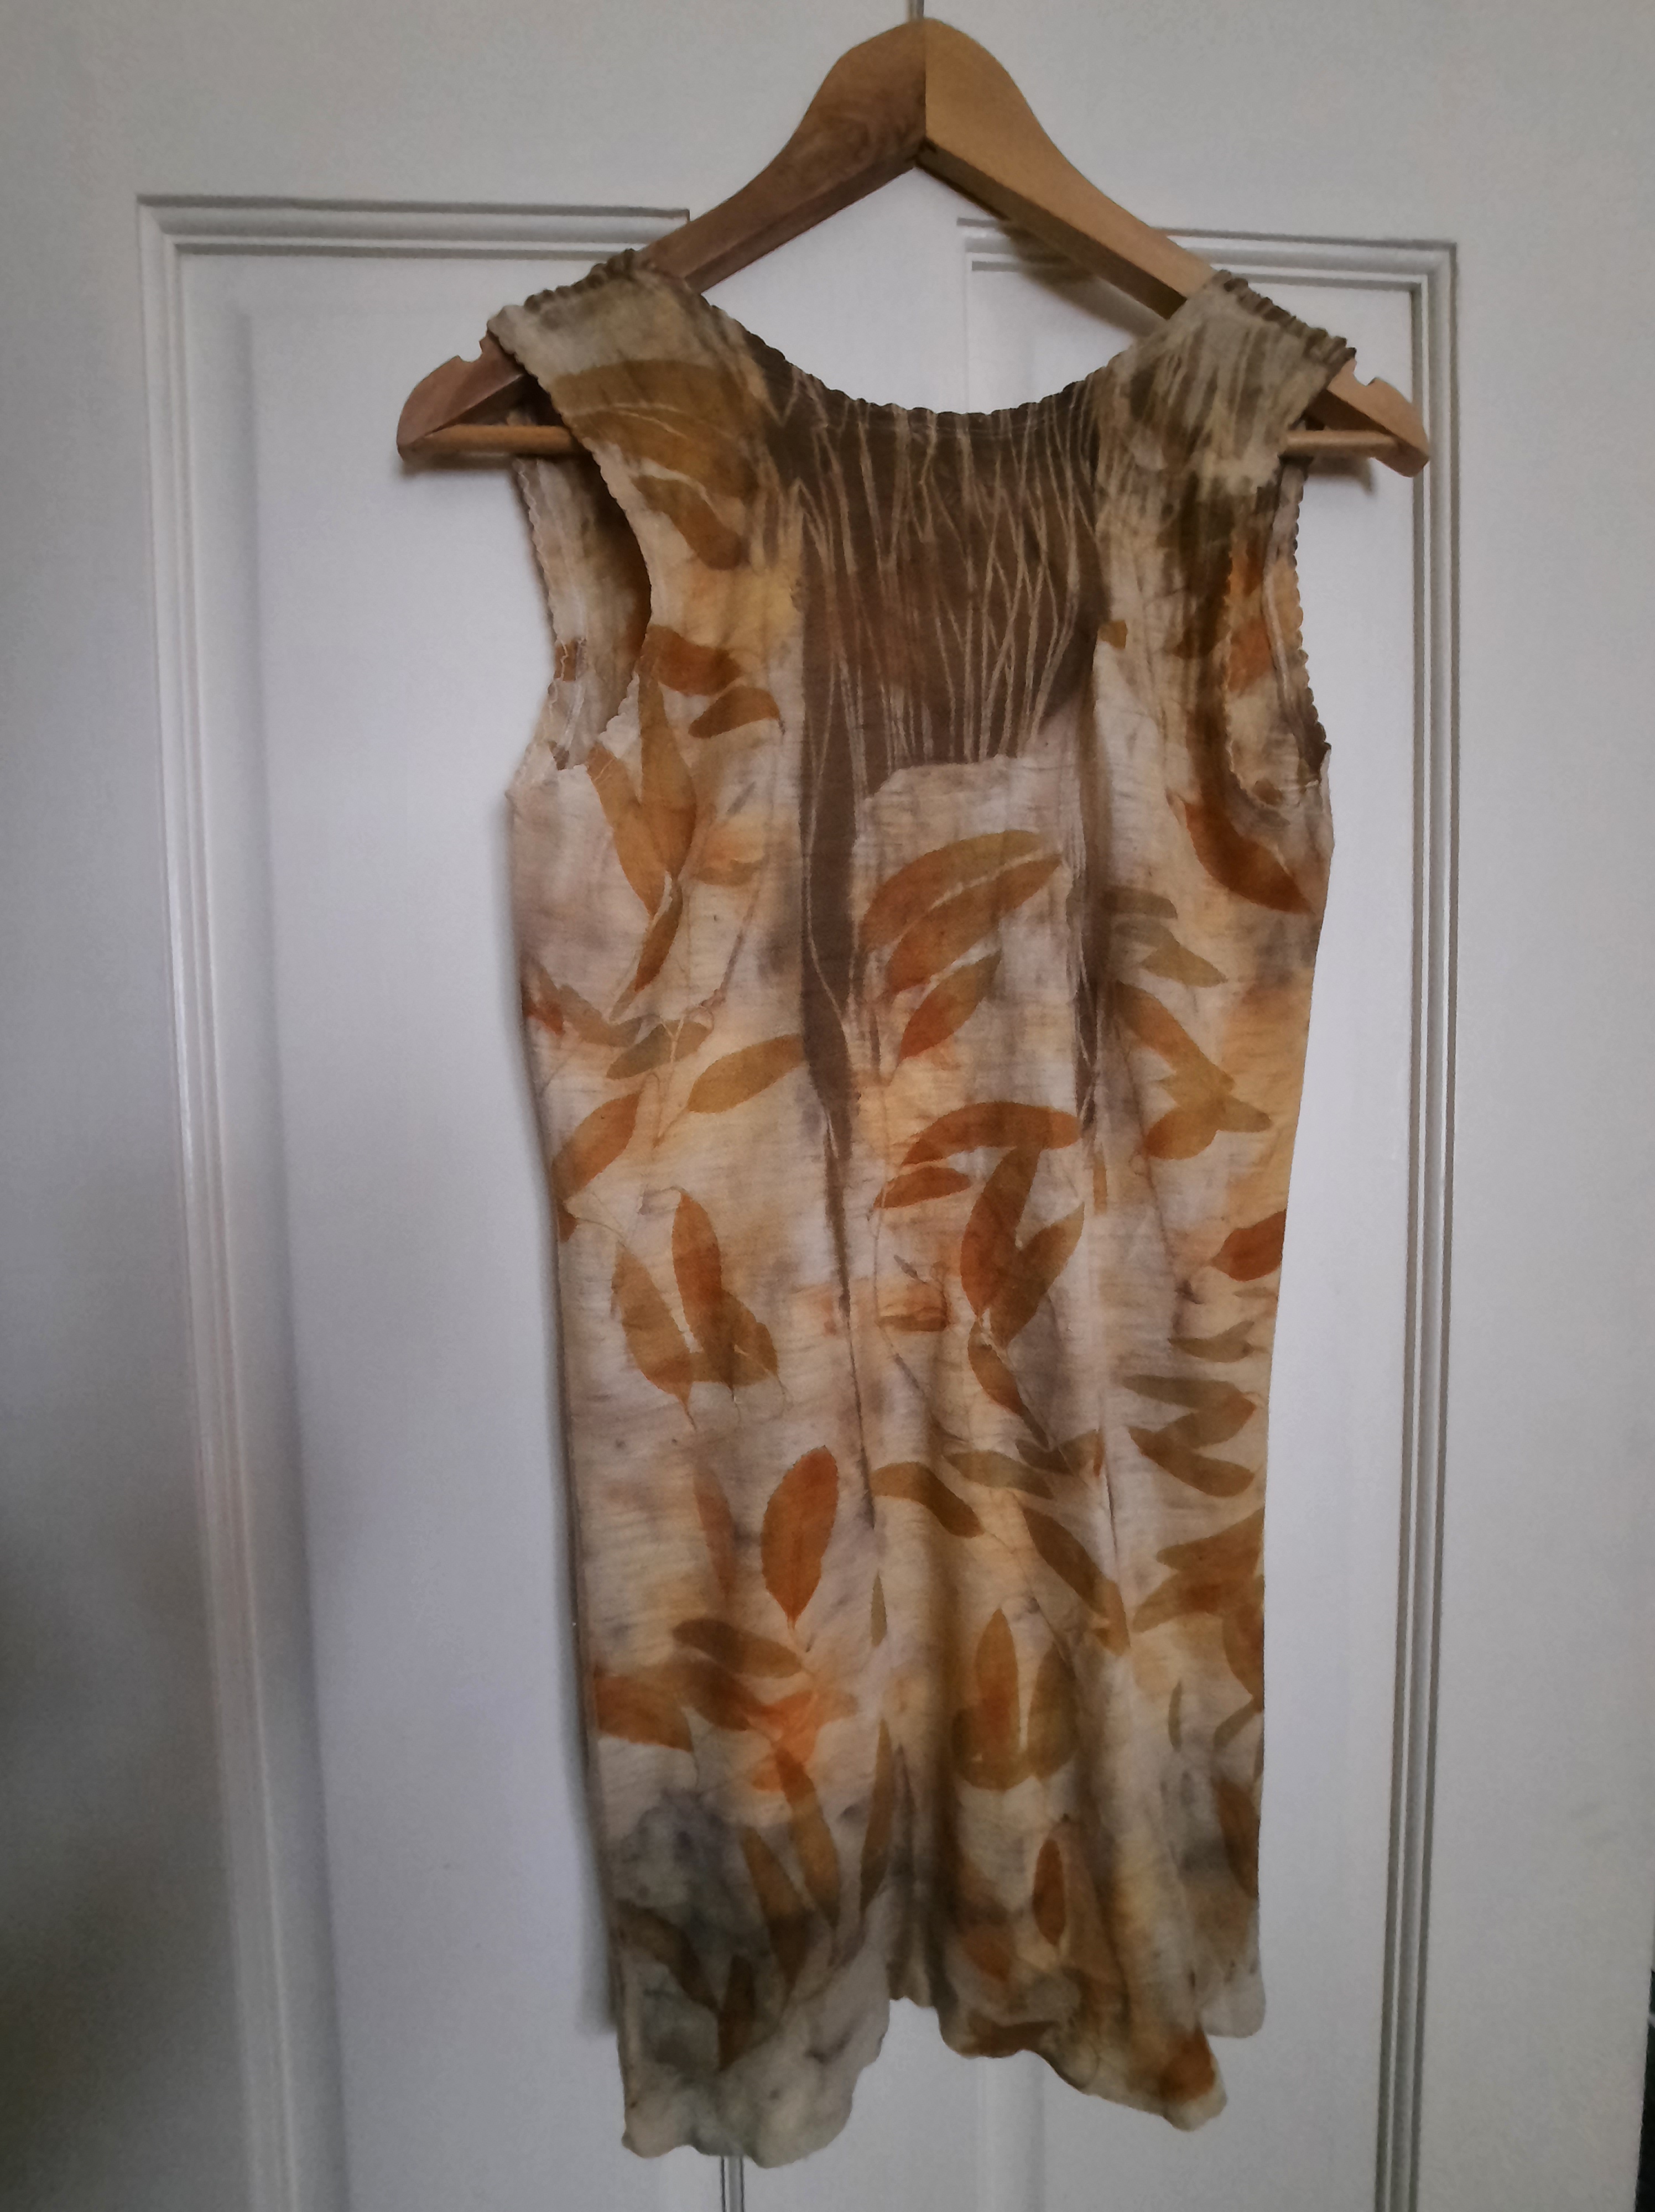
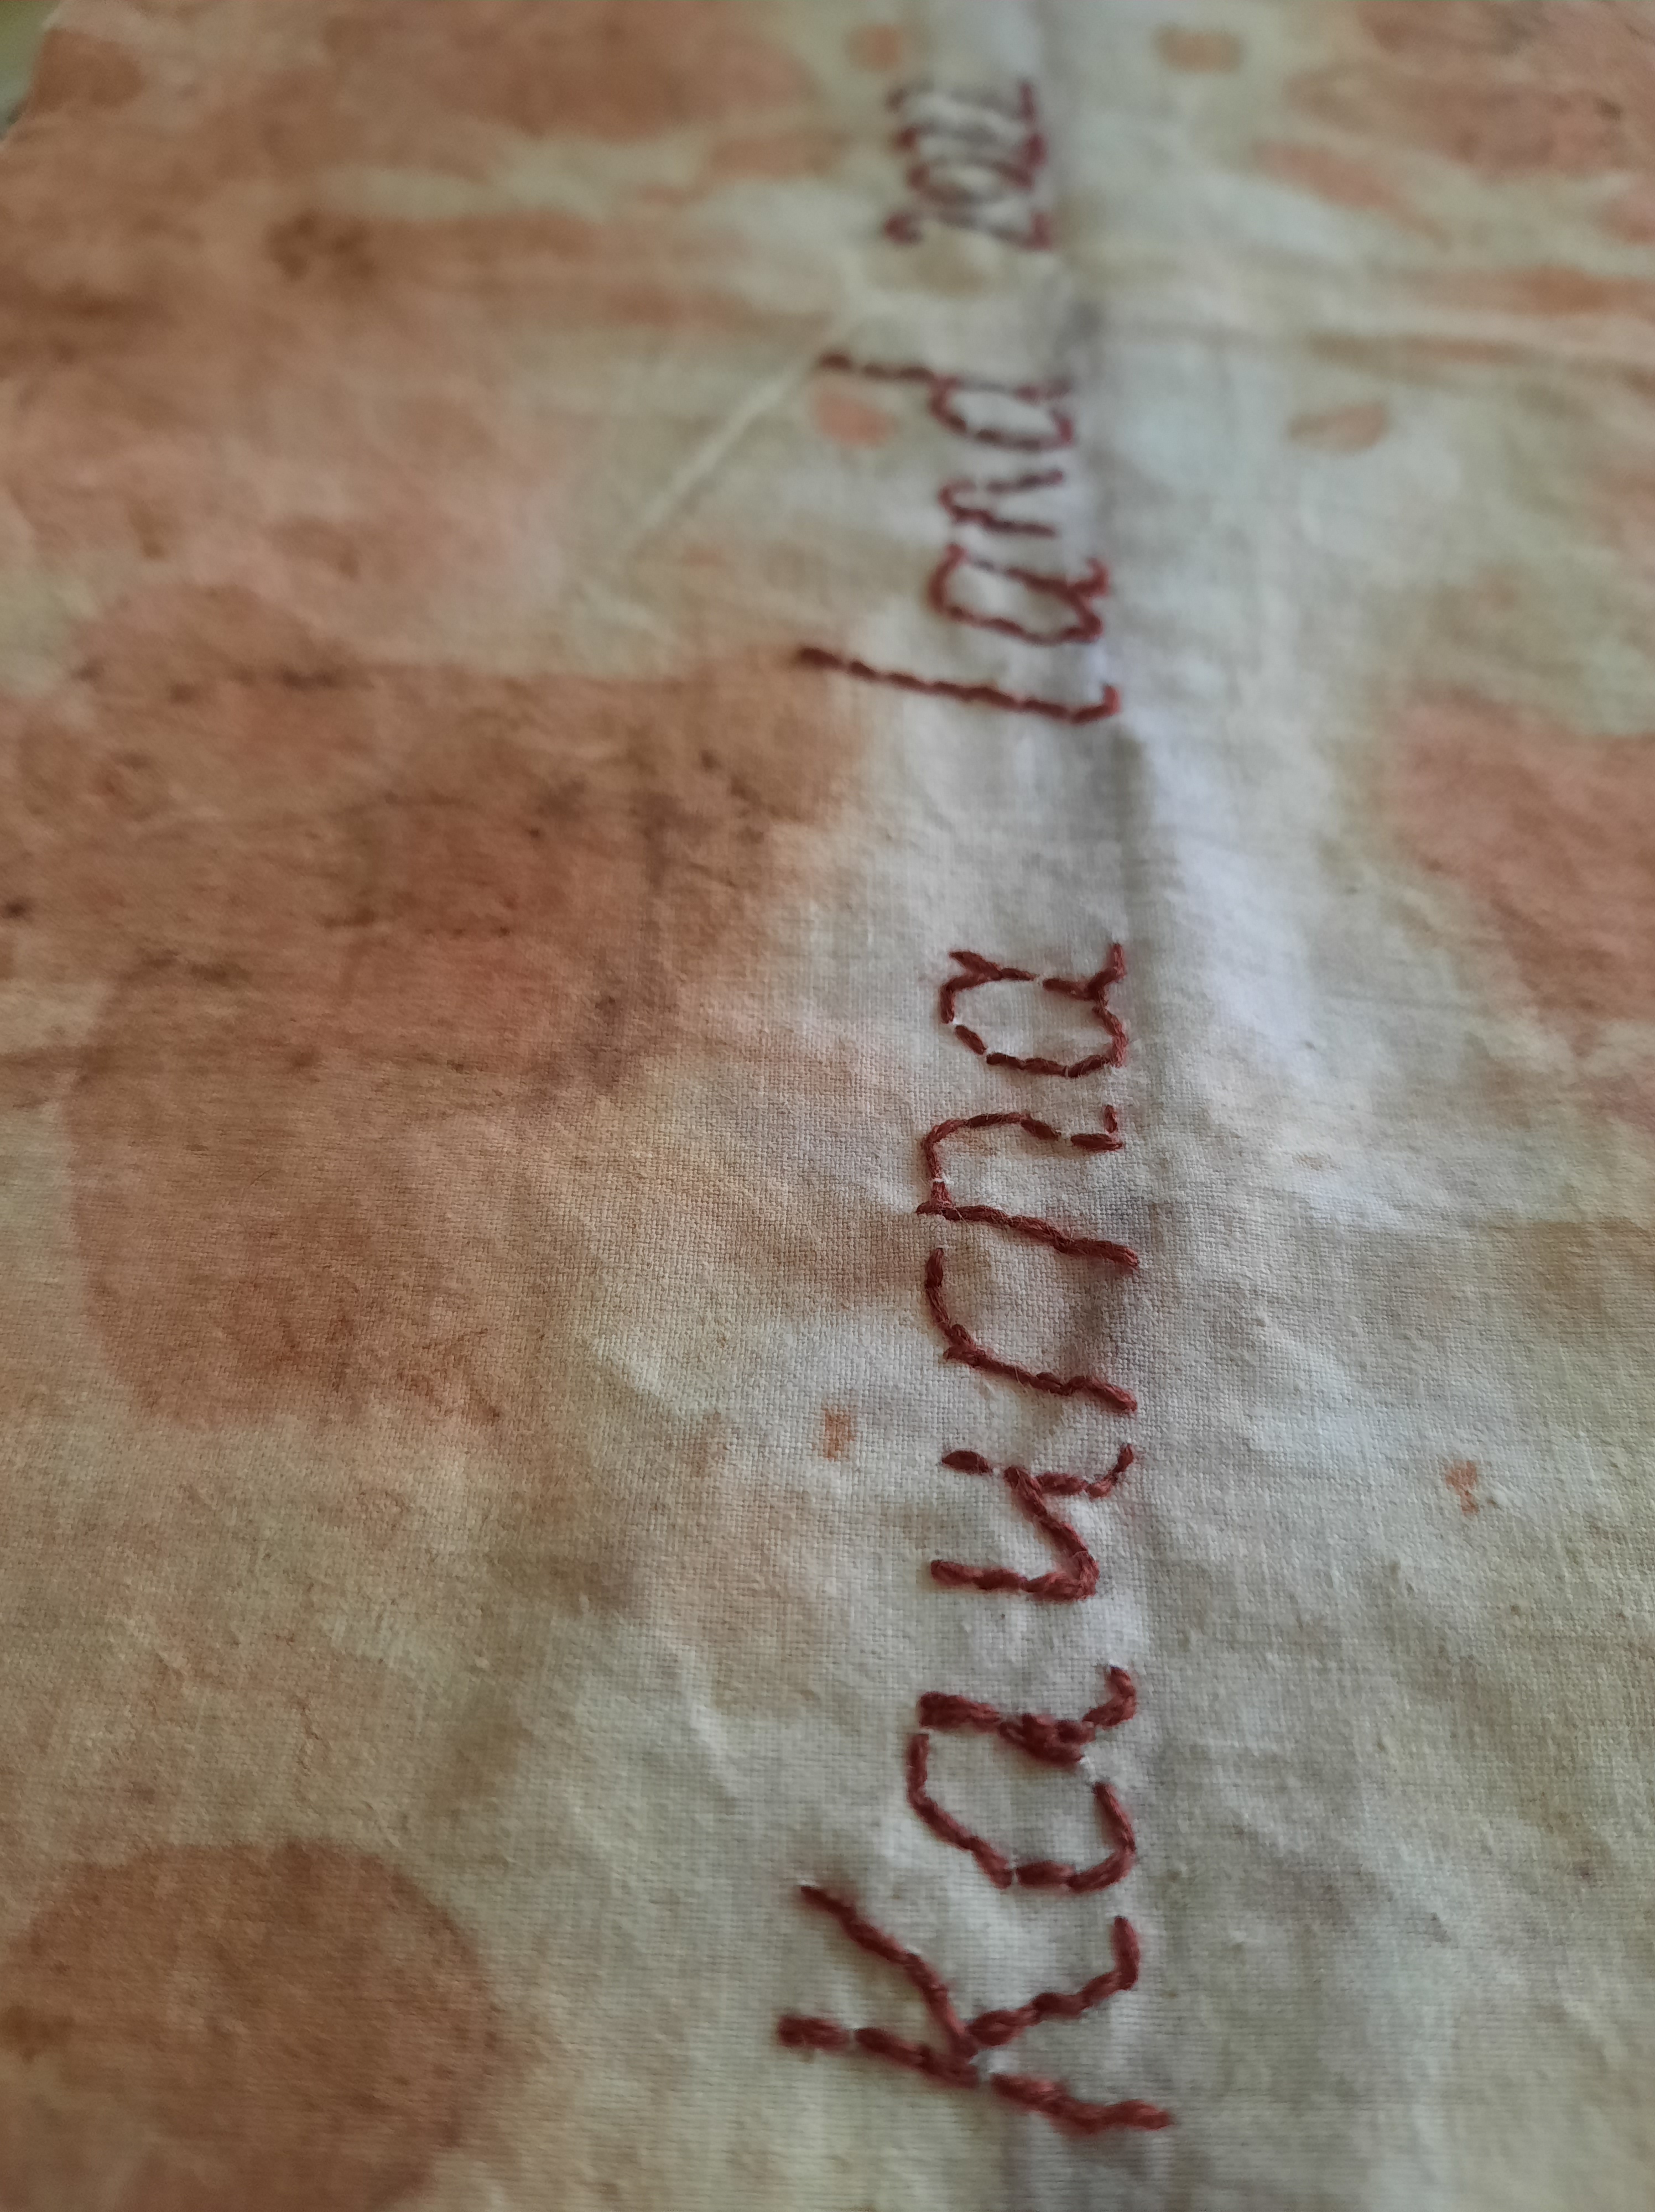
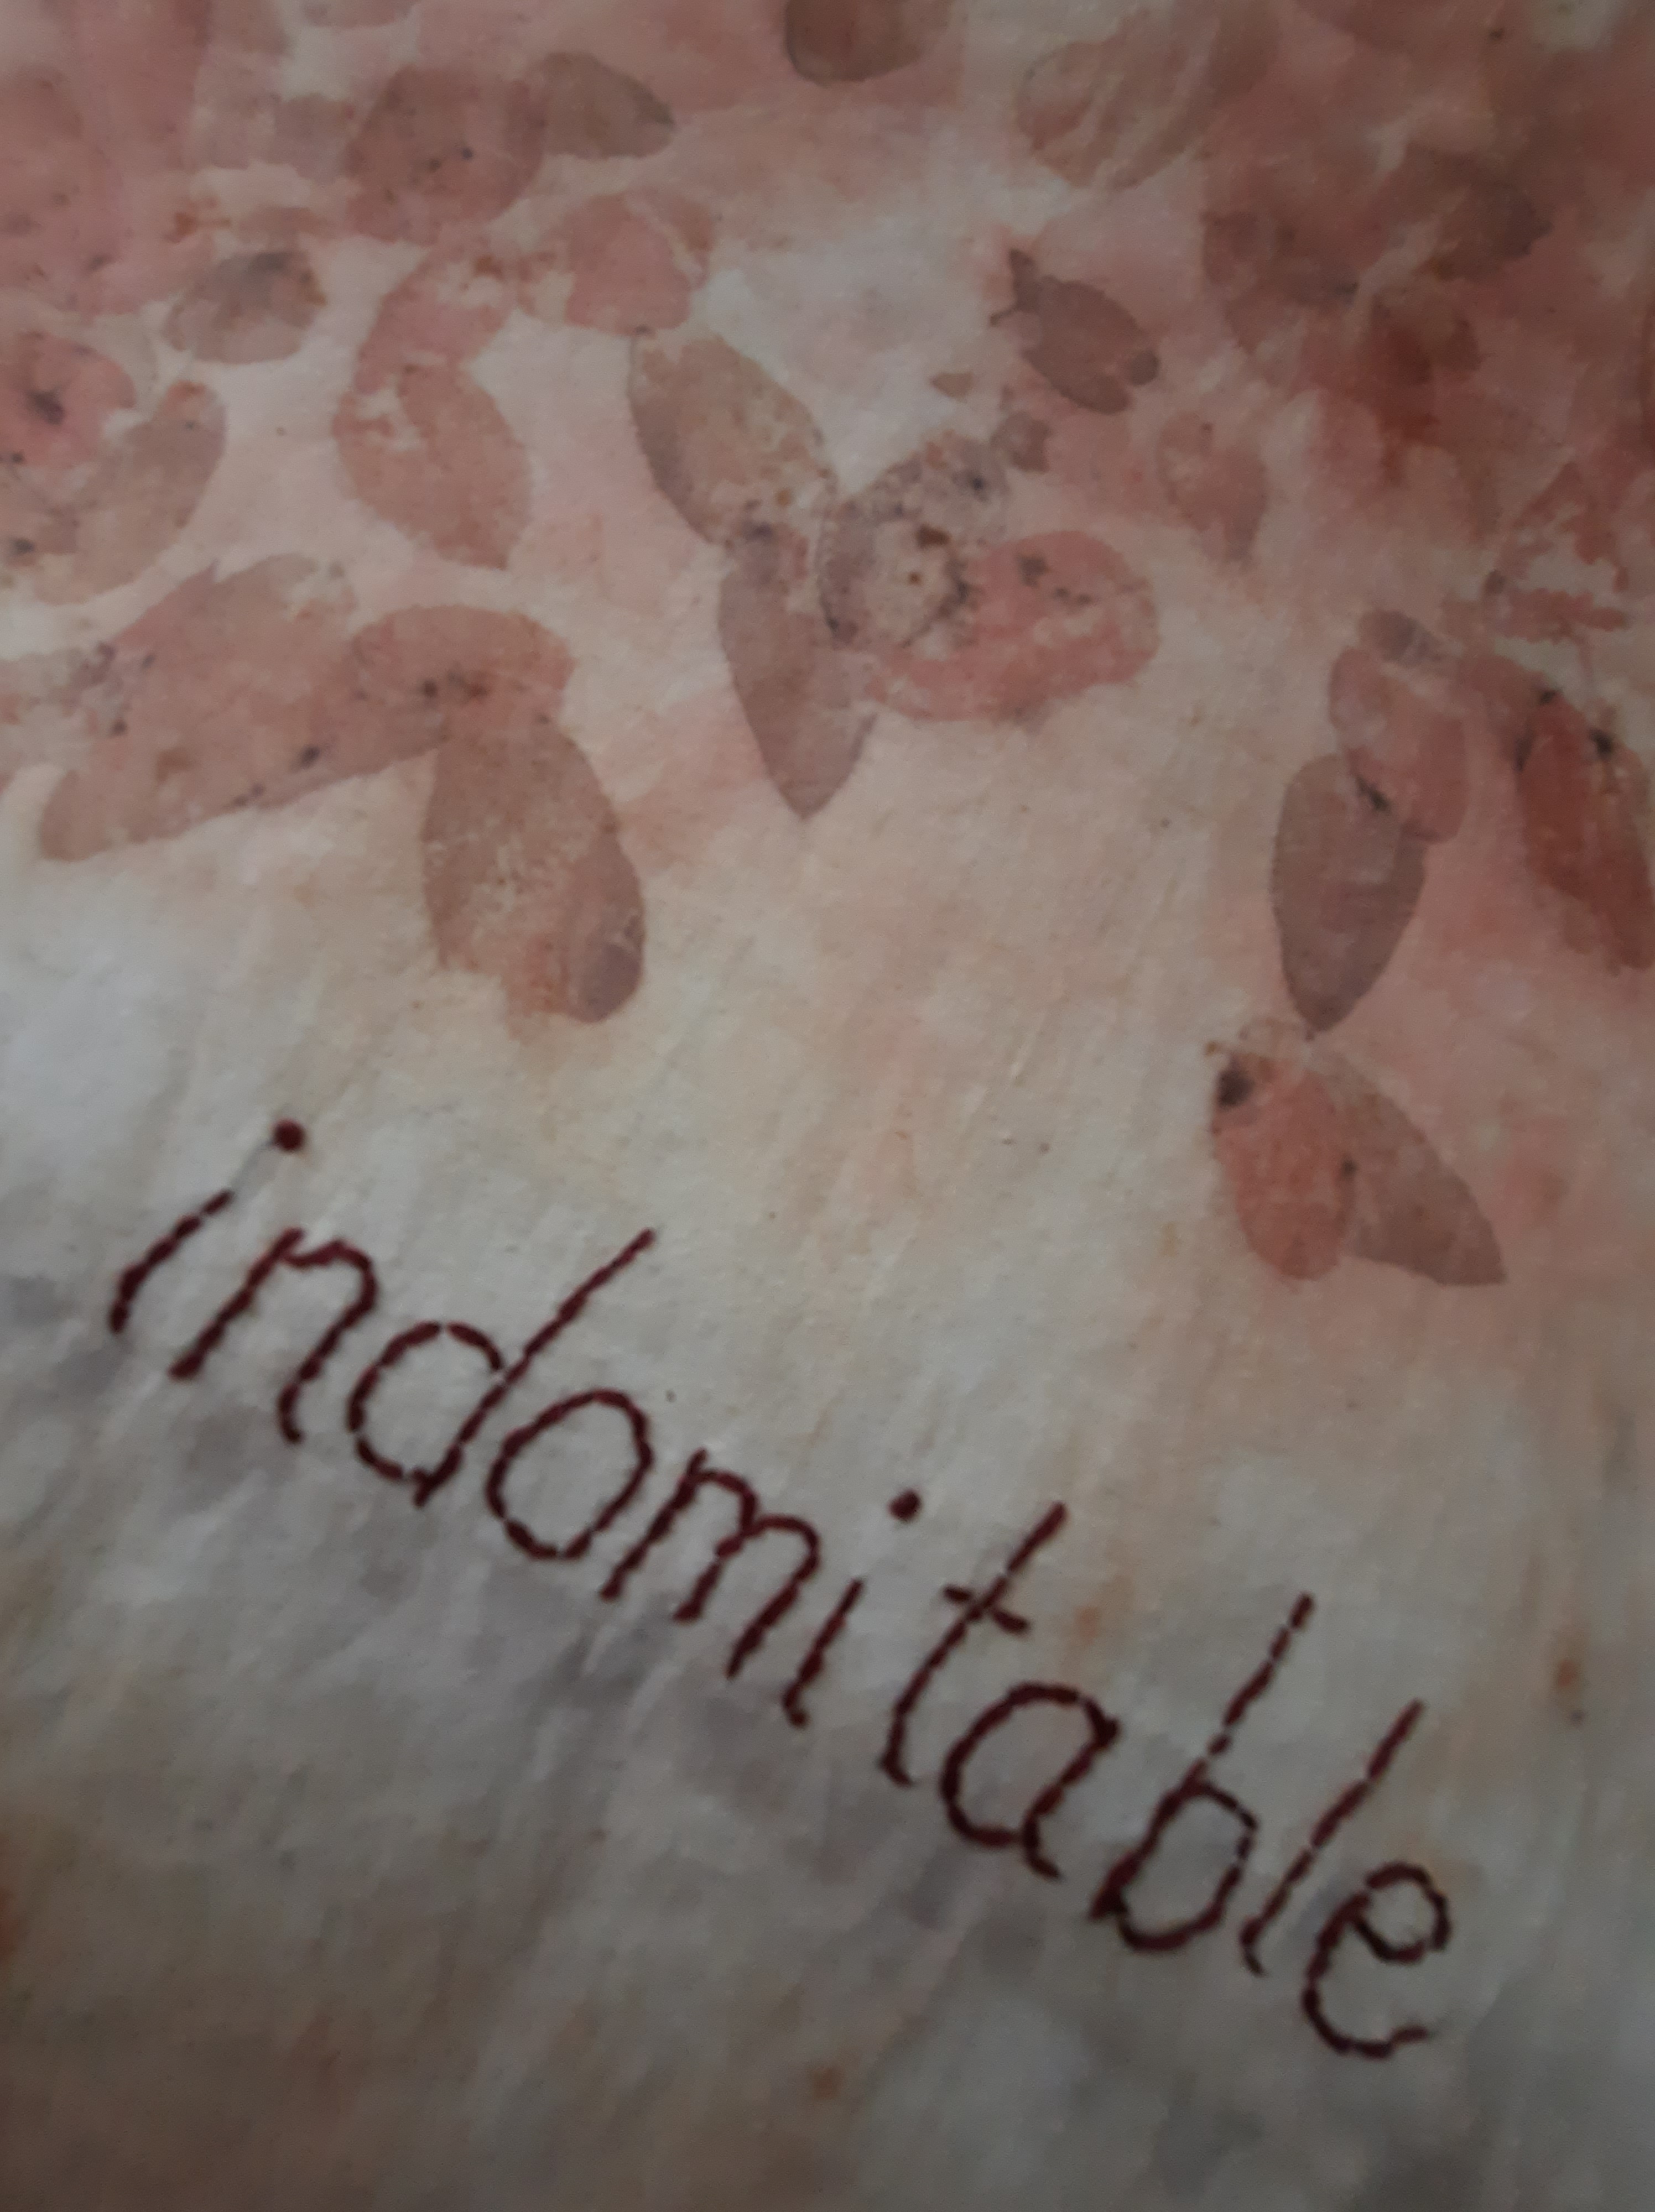
Last year, I participated in the online Craft Sessions. So interesting. There was a project as part of the event, and just recently I finished mine. I was committed to using what I had to make this, and eventually I settled on this piece of cotton dyed with Euclayptus crenulata.
While I was making this, a lovely friend paid me one of the best compliments ever. You know that feeling when someone else says something about you that you would like to be true?
So I’ve tucked it inside this bag to remind me in times of doubt. The outside is patched together from a package of indigo dyed scraps a friend brought home from a trip to Japan. I had been waiting for exactly the right thing for it!
So, a little bag with lots of loveliness to carry with me. Not quite what the author of the project envisioned–but I reckon she saw improvisation coming!