Tag Archives: cotton

Mellow blueness

2016-11-26-12-27-18

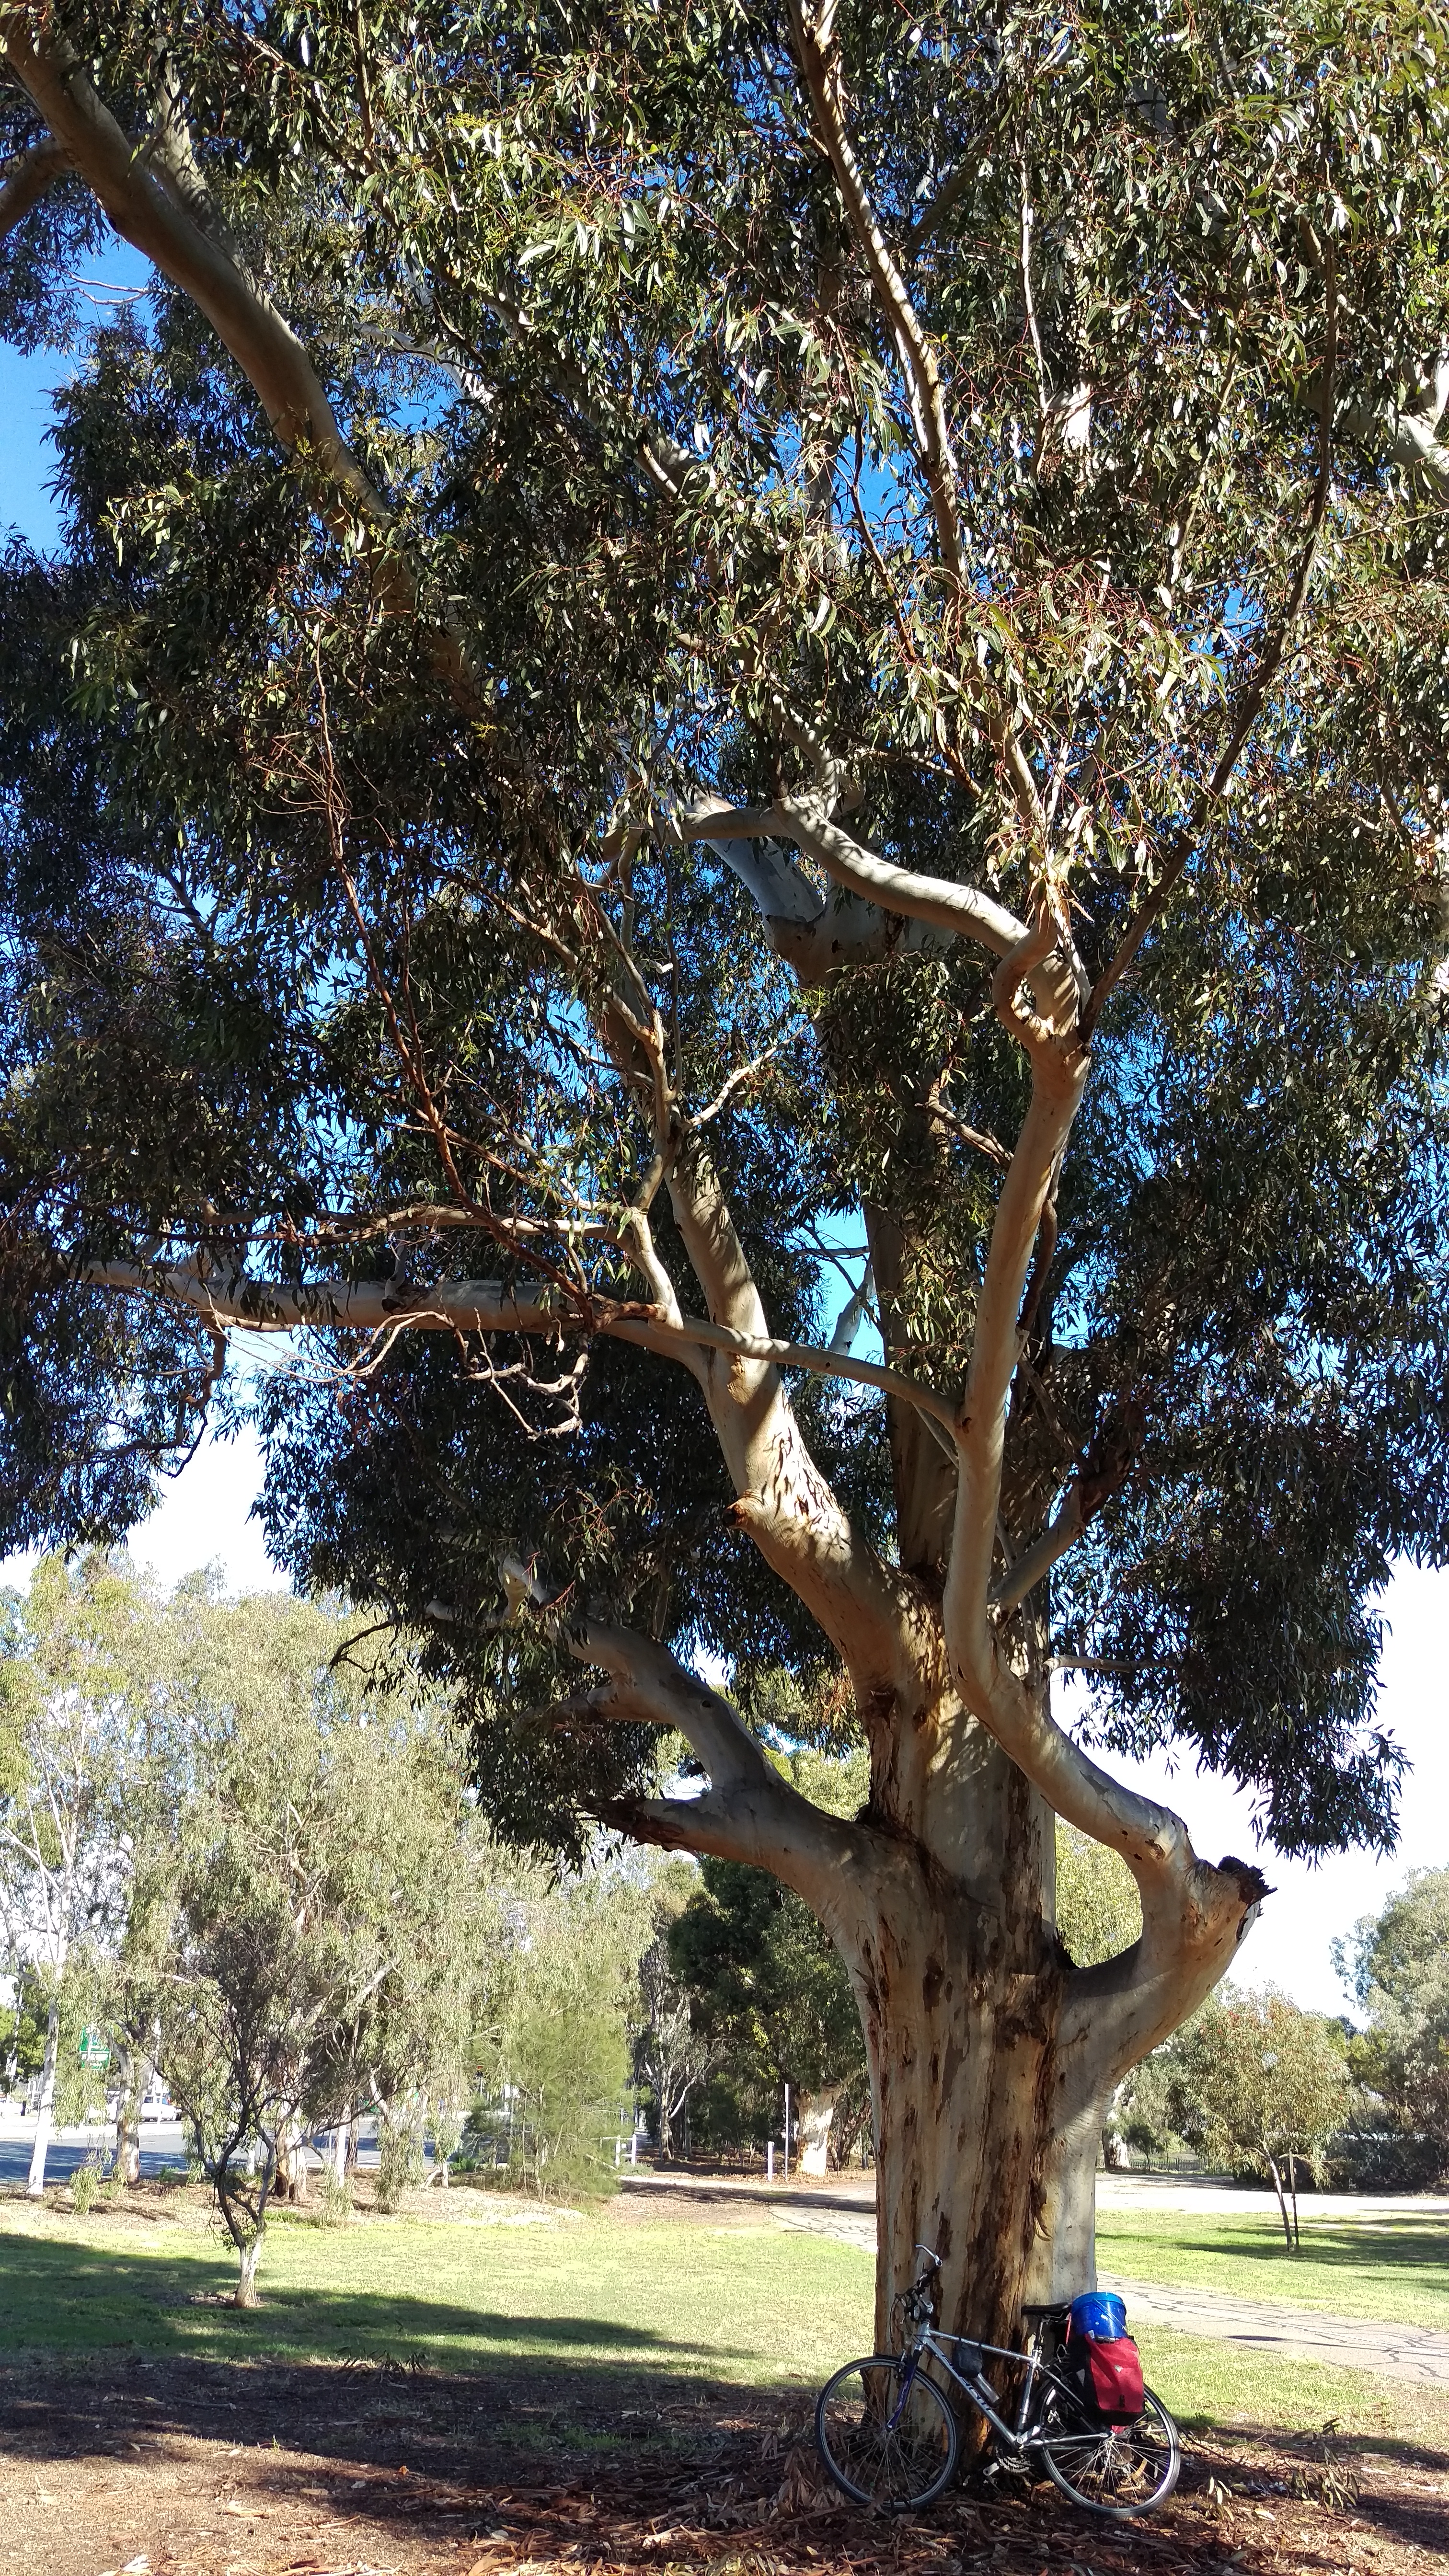
The woad has been thriving in this time of rain followed by warmth.  (The potatoes aren’t doing badly either, as you can see). And that can only mean one thing, when free time opens up!

2016-11-26-15-06-35

I managed to obtain Jill Goodman’s A Dyer’s Manual recently, and had the benefit of others helping me to grasp the chemistry of fresh woad and how it differs from using indigo that has already been prepared from fresh plants by someone else. I came by the book at the annual spinner’s retreat where there were folk with interest and knowledge–perfect, and very helpful indeed.  So this time I felt I knew why I was adding air in the early stages of the process, only to then remove it in the de-oygenation process required to have the dye become fully soluble and able to attach to fibres.  Previously this has been a total mystery or had me feeling I had done something wrong, or both.

2016-11-27-14-09-18

I still had part of one package of hydrosulphite left.  I am pretty keen to have it be the last.  Hydrosulphite is a substance the earth could do without. But equally, since I have it, better to use it rather than let it become stale and unusable for this process.  So I tried two vats: one with hydrosulphite and one with fructose.  The picture above is grey merino fleece descending through the ‘flower’ on the surface of the hydrosulphite vat and into the yellowy depths below.

2016-11-26-17-45-56

This image is the fructose vat, which involved some guesswork on my part (no way to measure how much woad pigment there was in my solution). I am not experienced enough to have great judgment or to trust my own judgement.  I can measure temperature and I can measure Ph.  The complex part is judging the reduction (de-oxygenation) of the vat. This looked very promising to me!  That said, there were moments when I had realisations that gave me pause.  Jill Goodman, for example, seems to live in England and I suspect her conditions and mine are not the same. She goes from scalding leaves with boiling water through various processes to heating the vat to raise it to 50C (there was a lot of conversion to metric involved for me)… I did the processes concerned and still had a vat at 70C and decided in the end to put the vat in a sink of cold water and ice!

2016-11-26-16-57-16

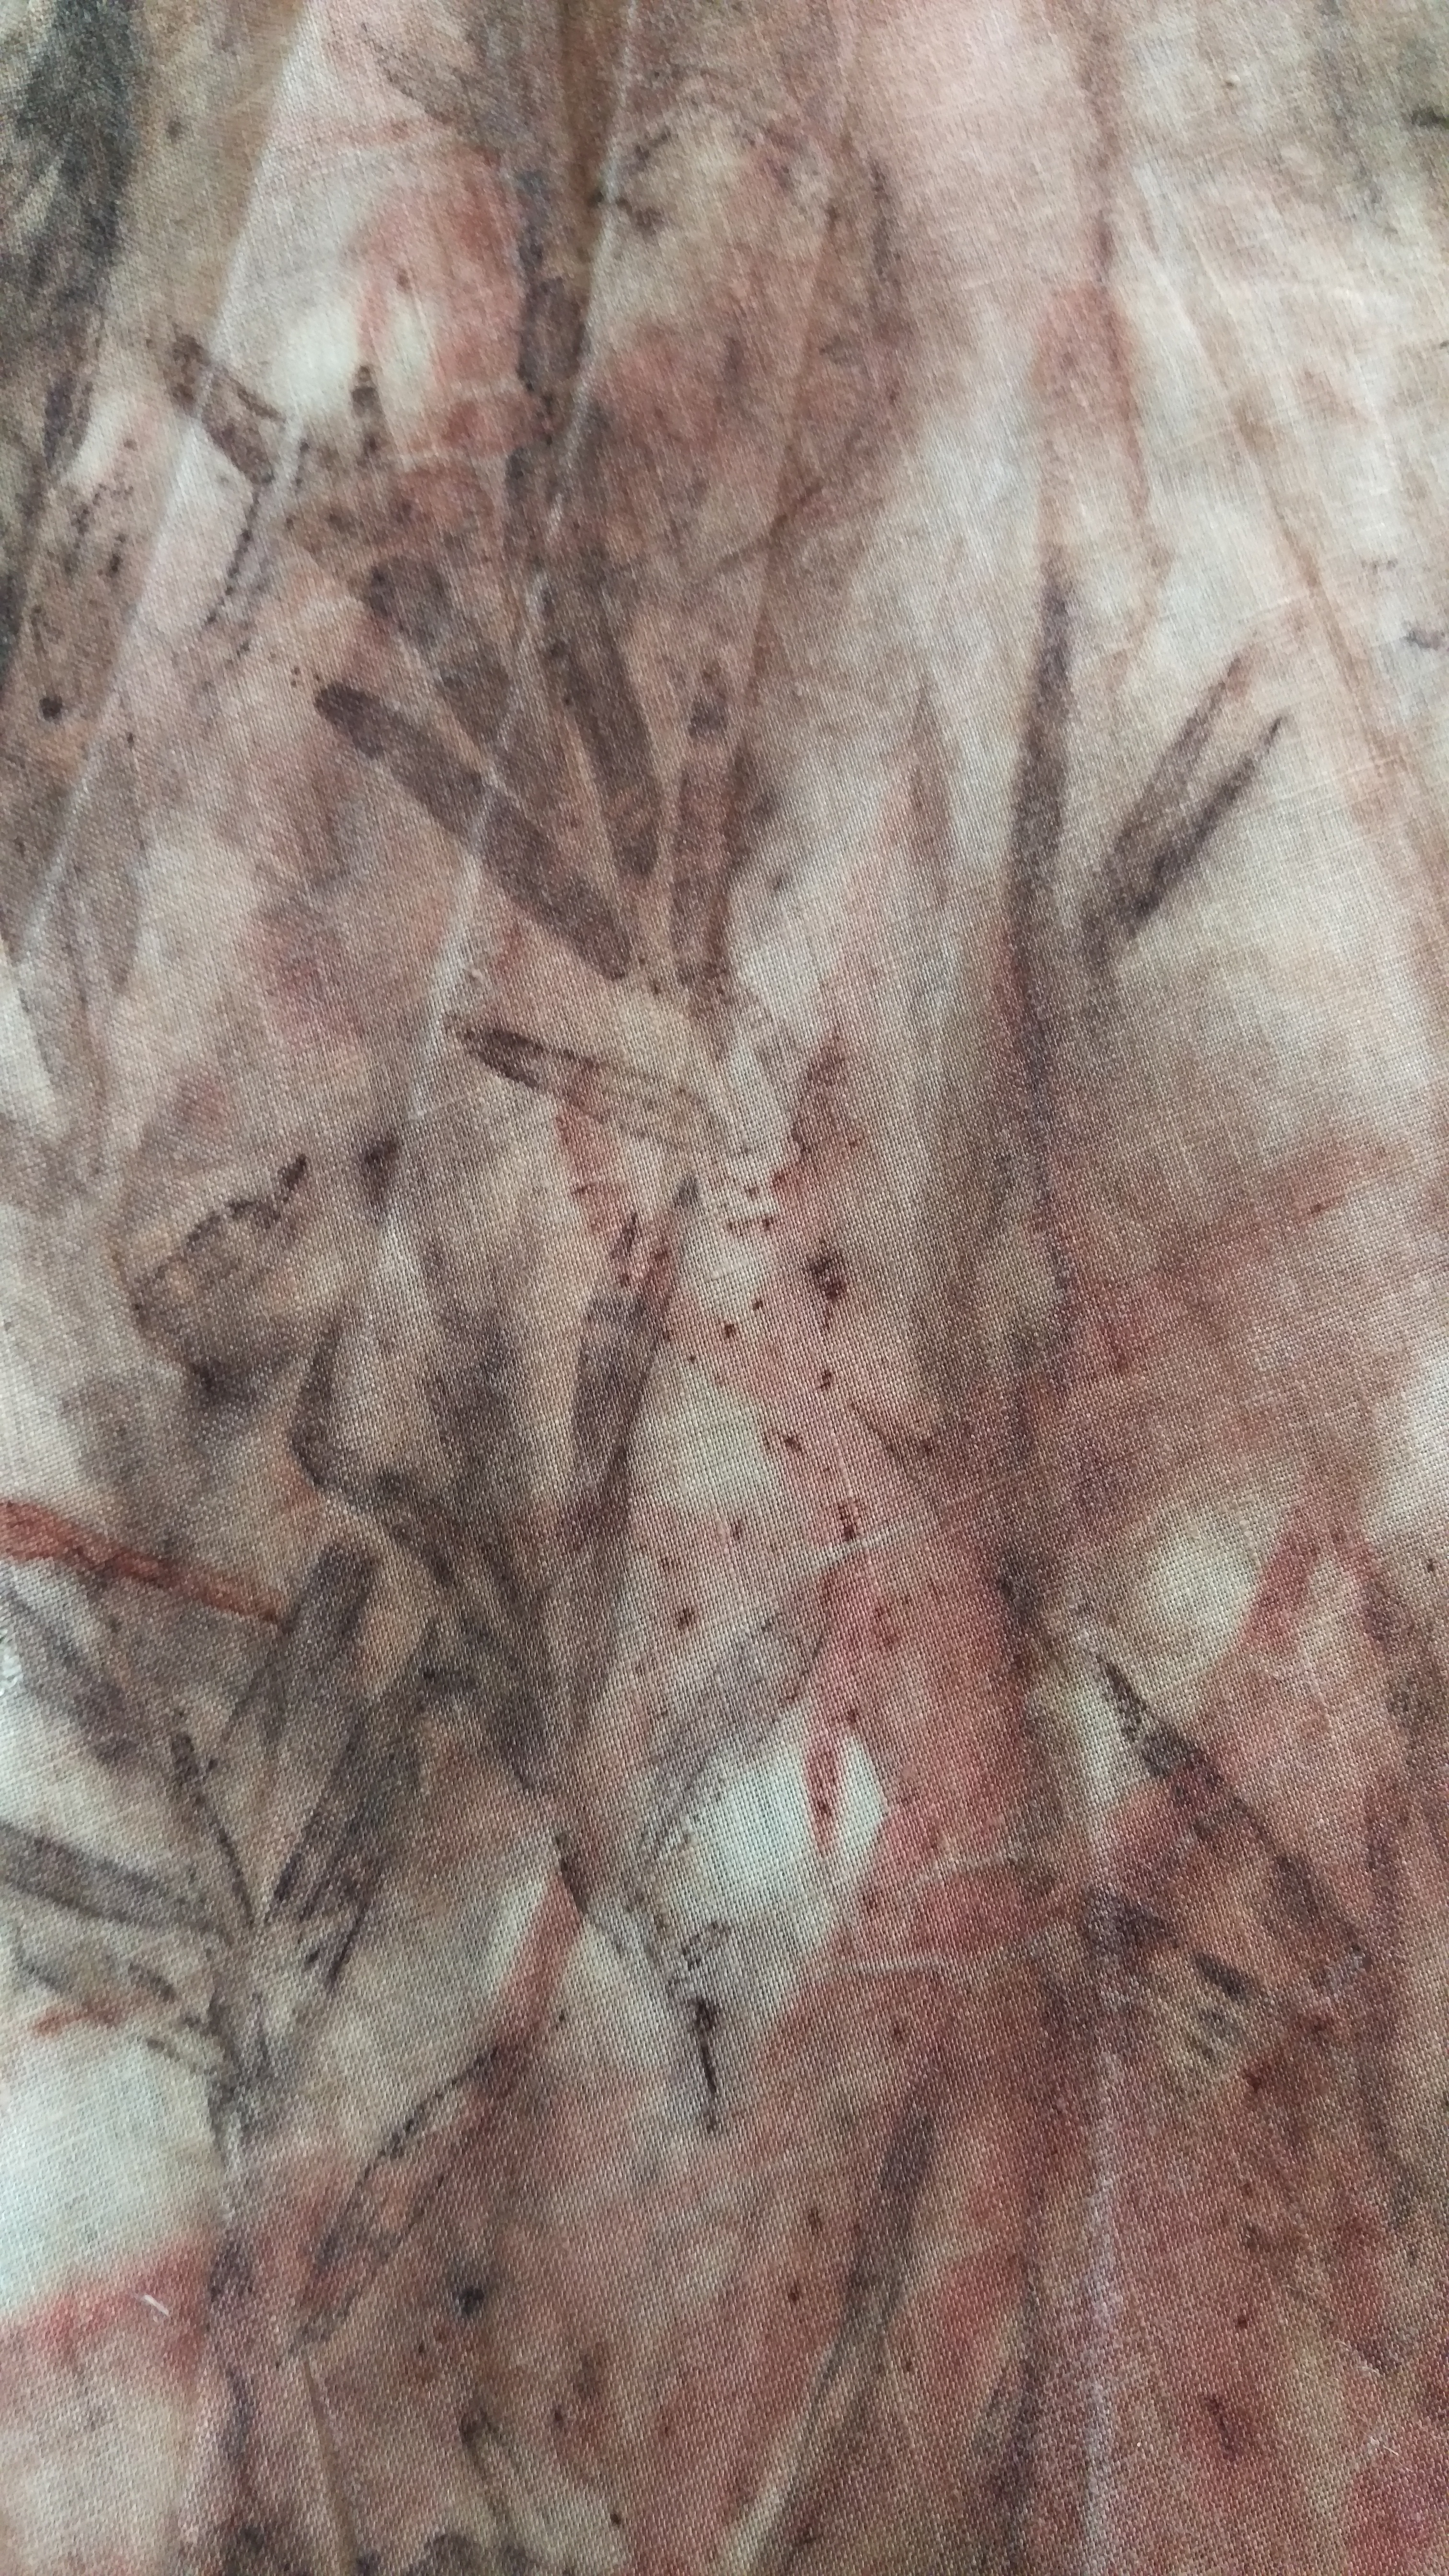
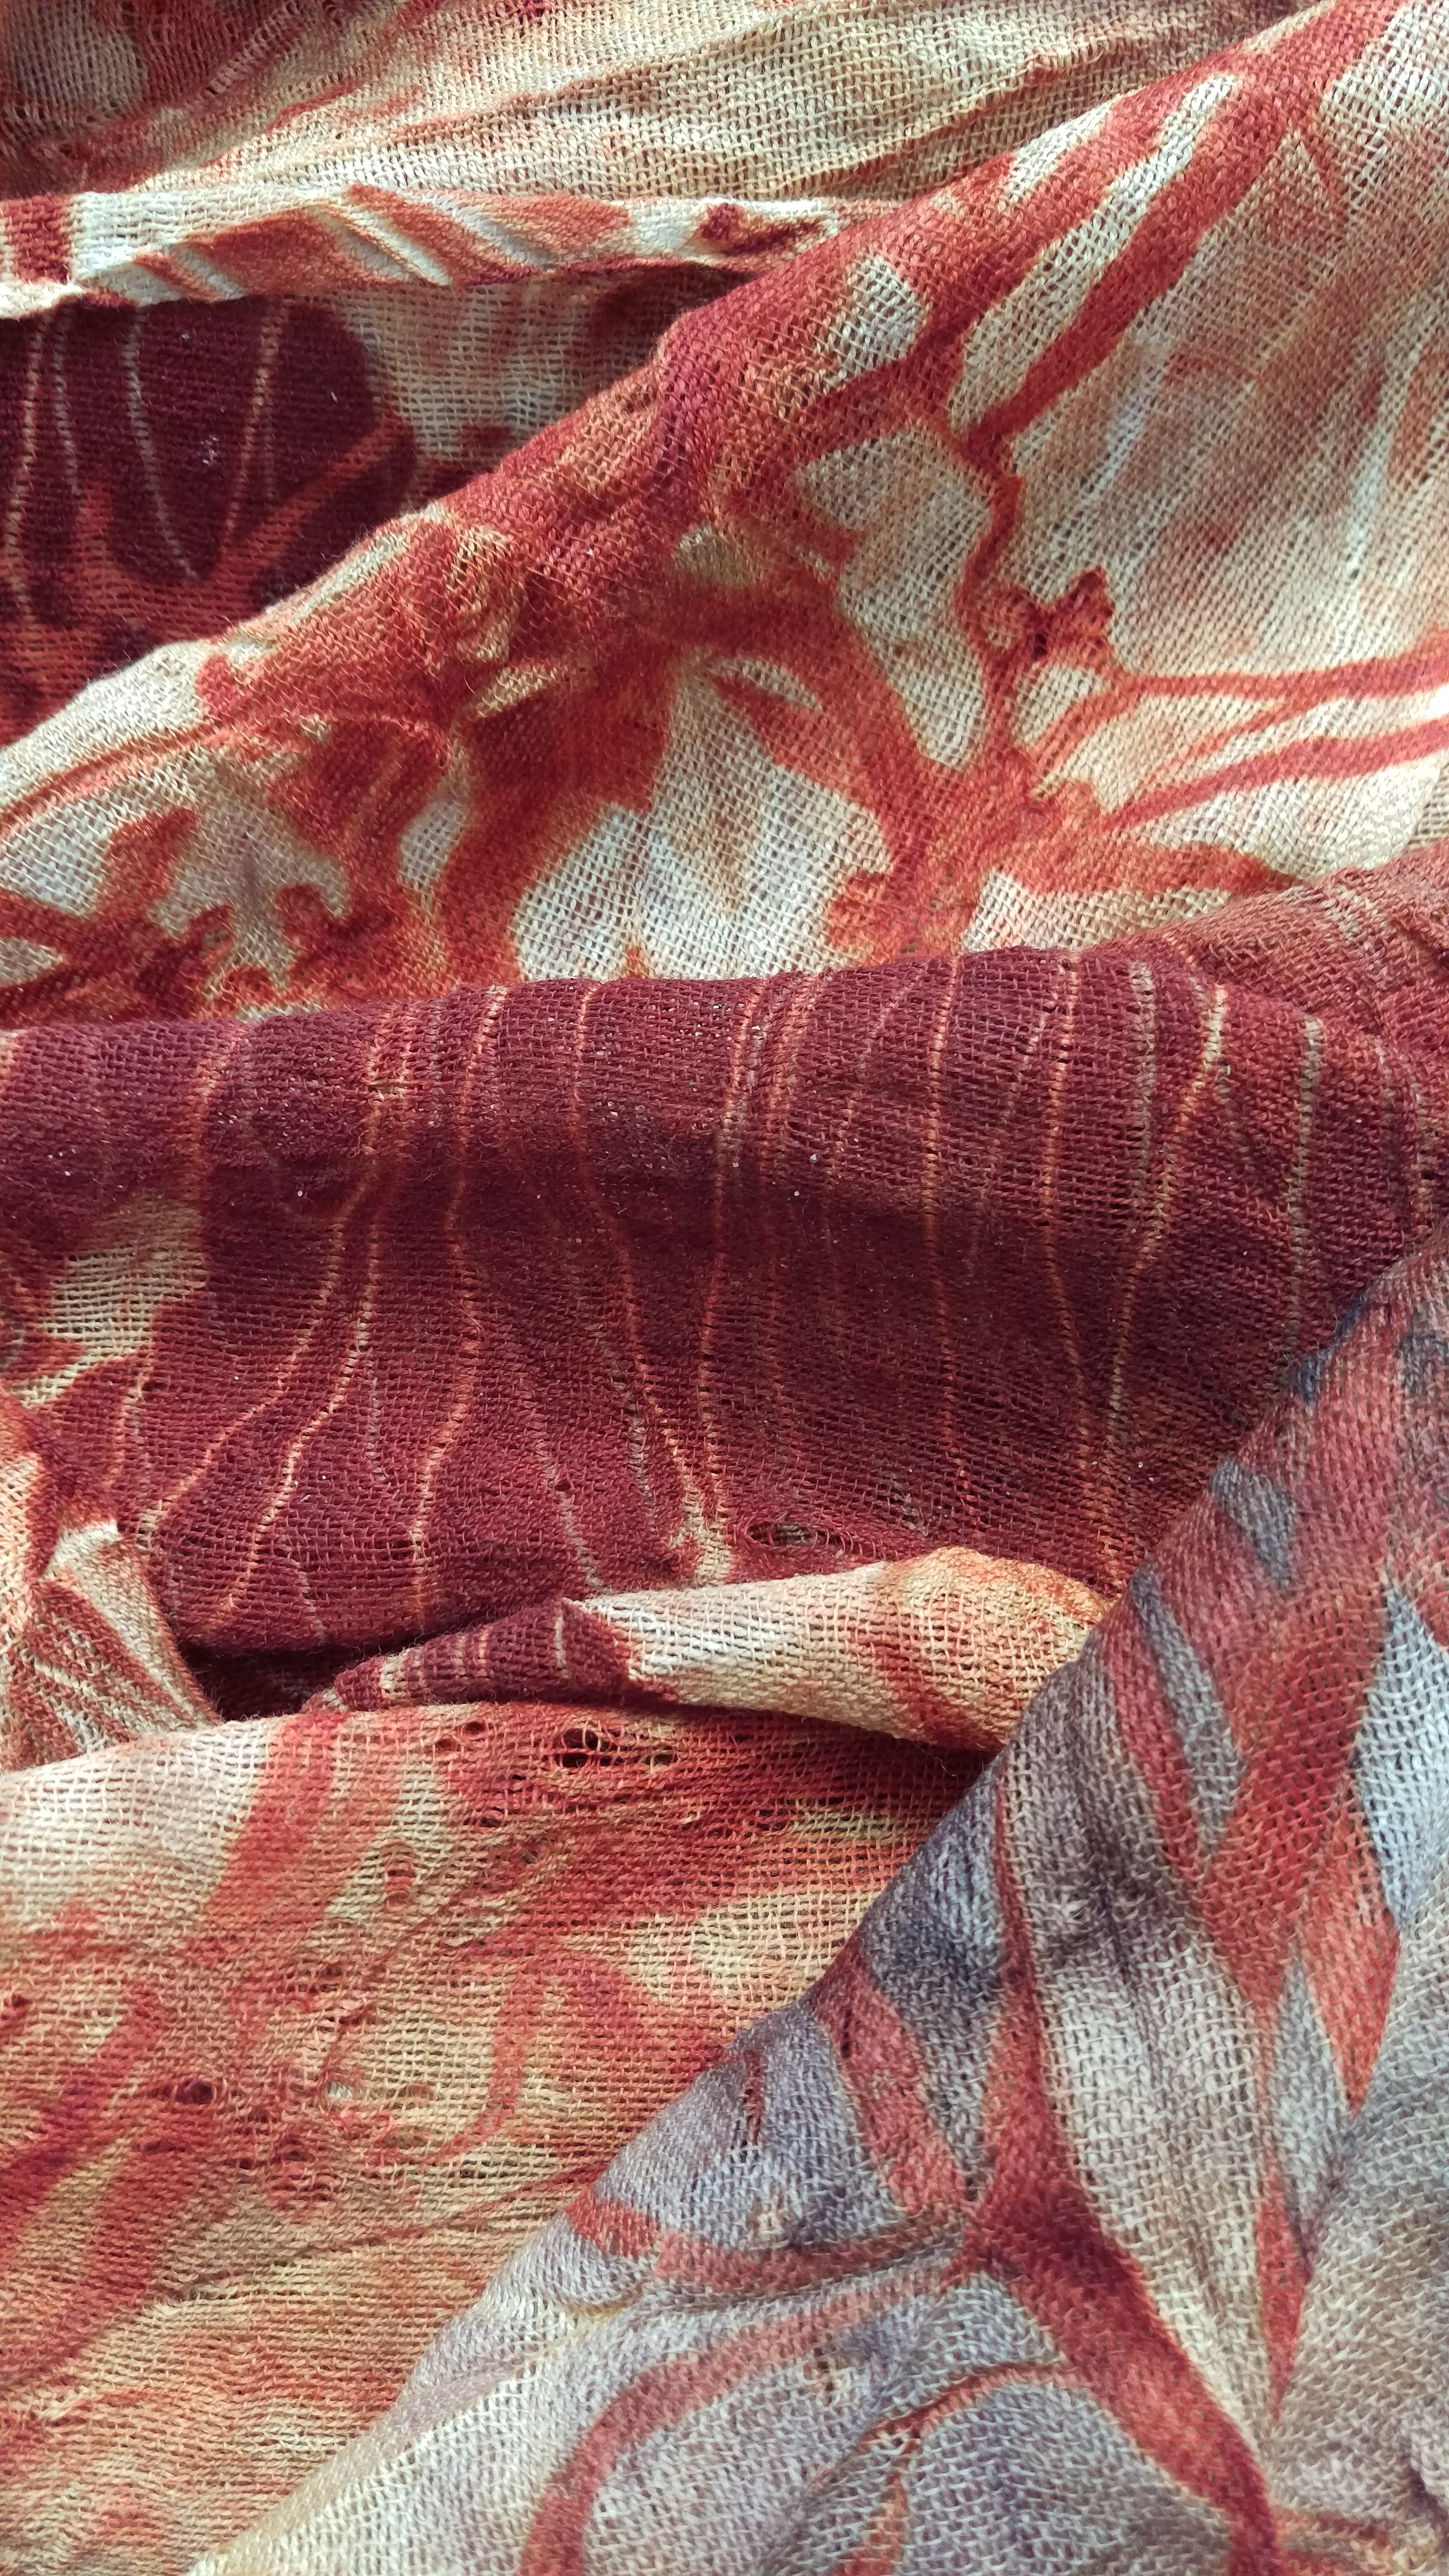
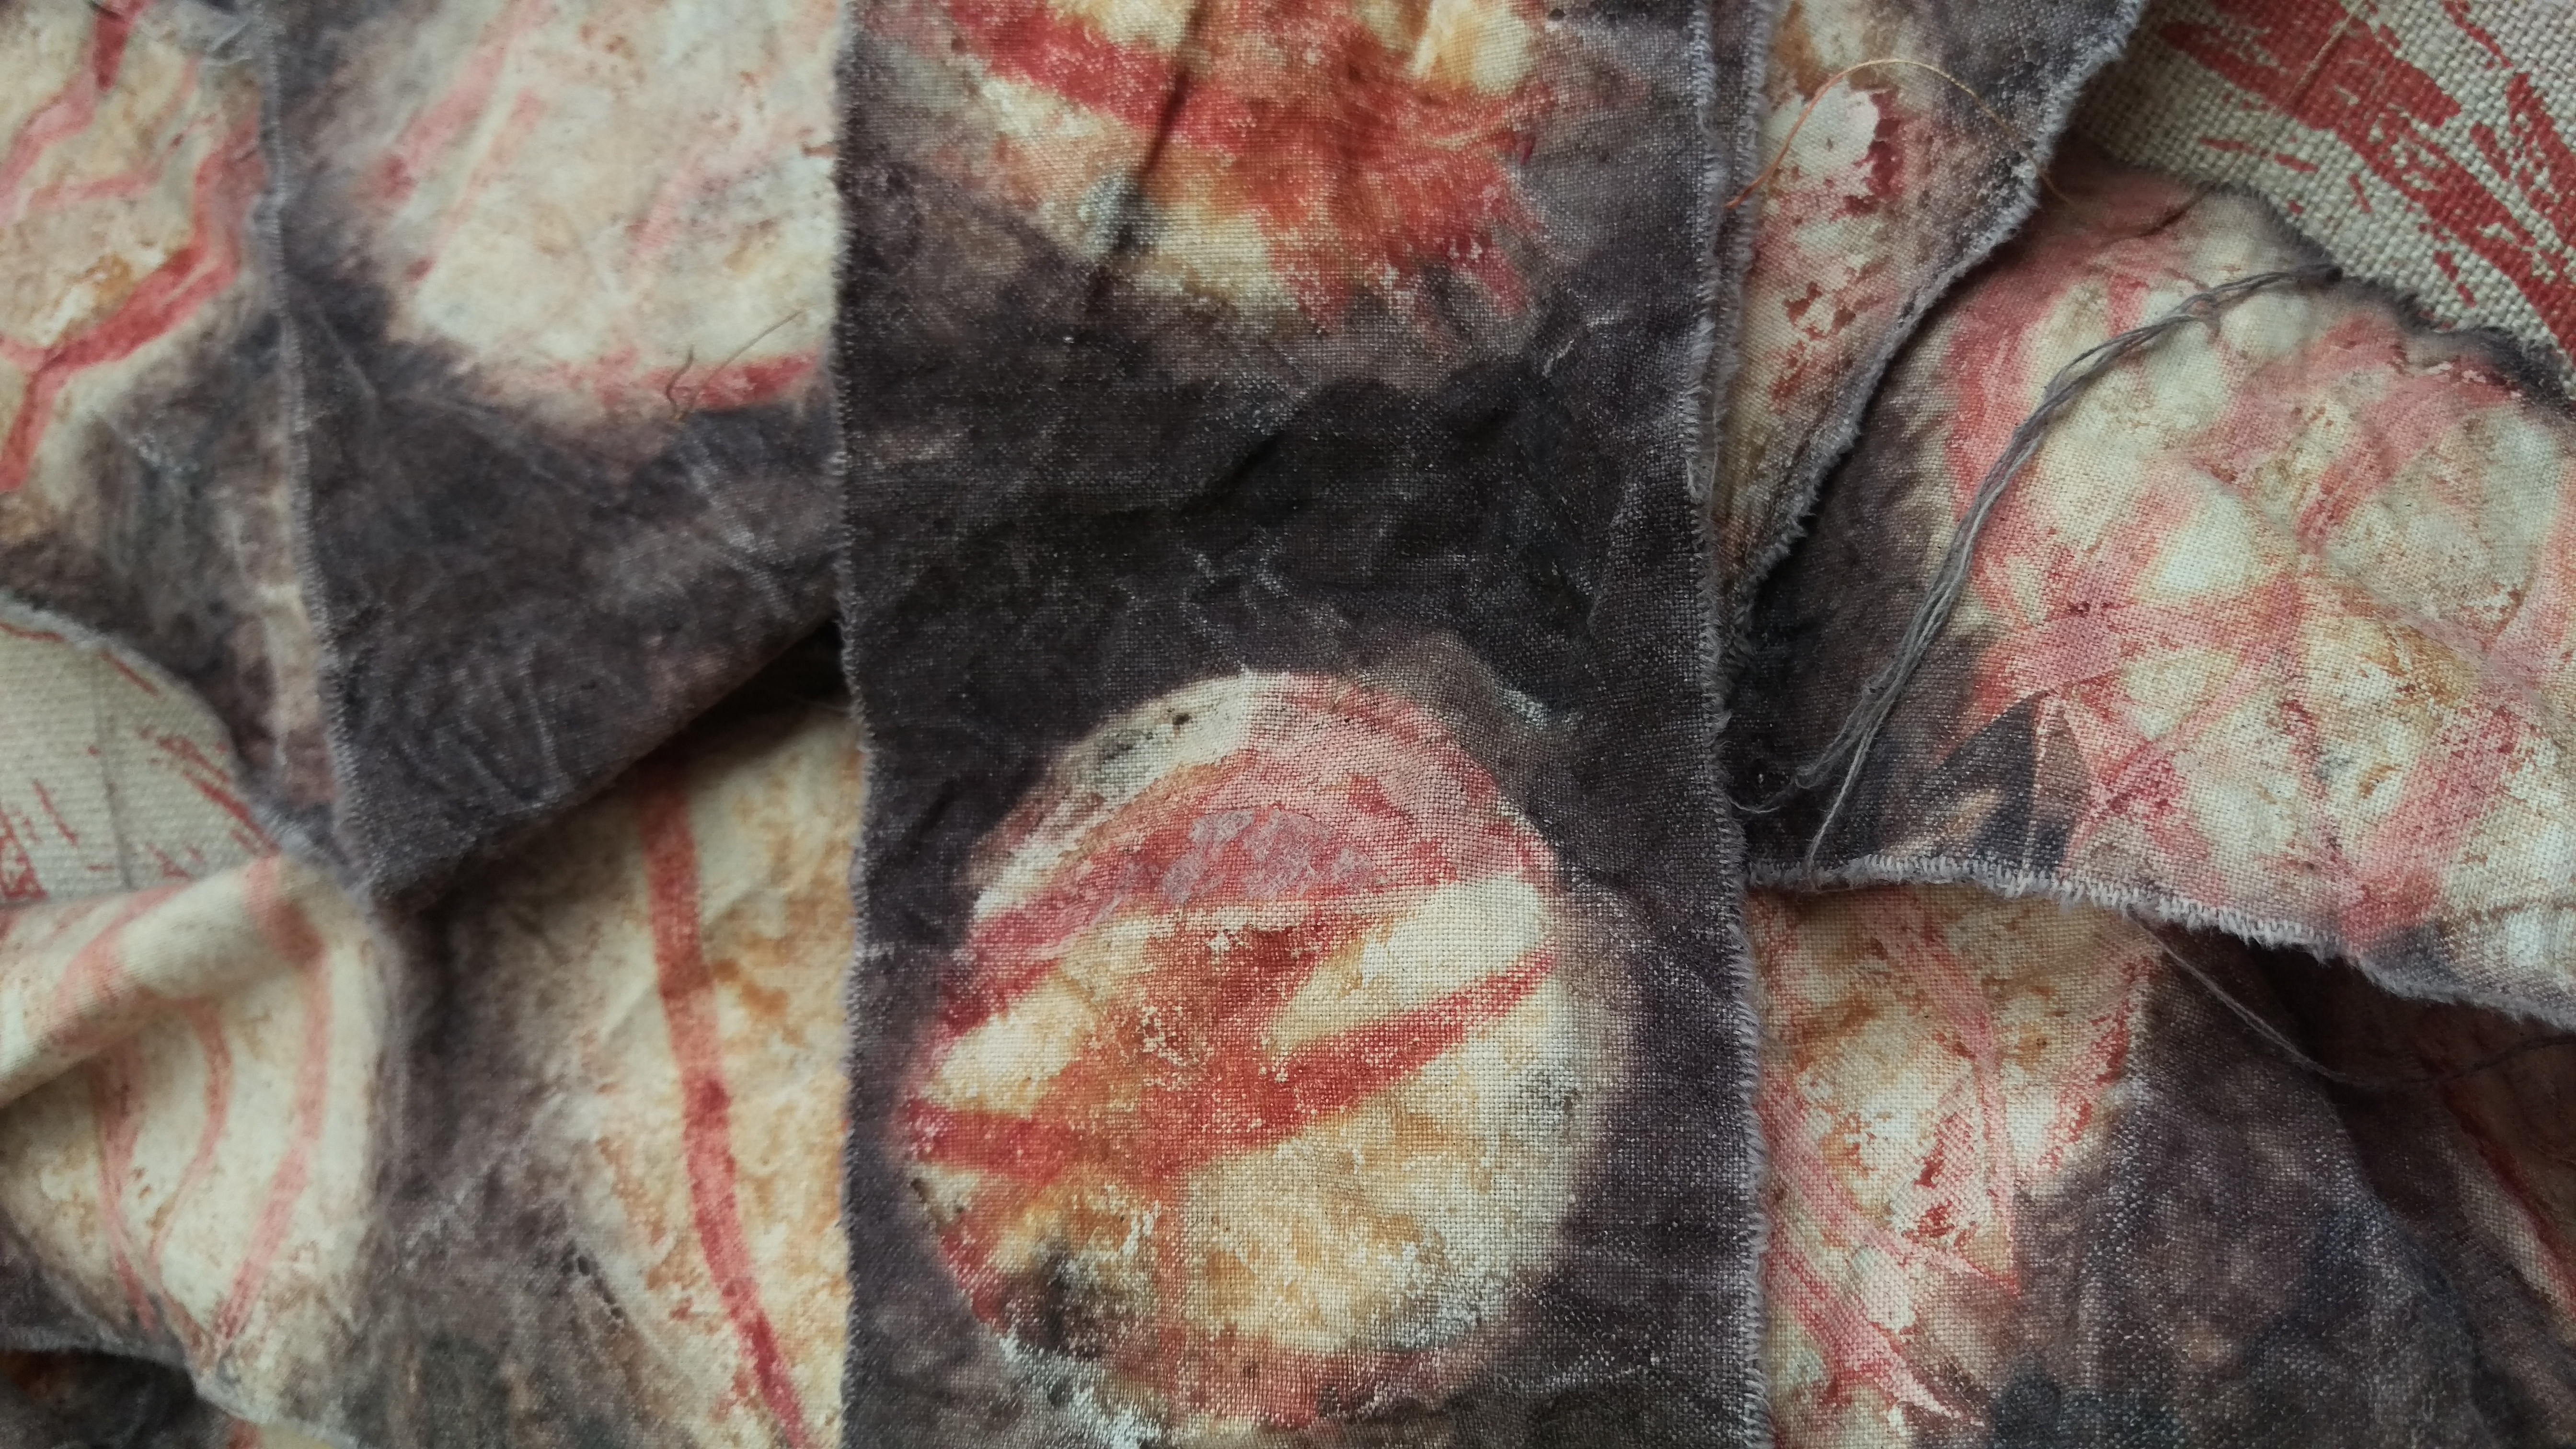
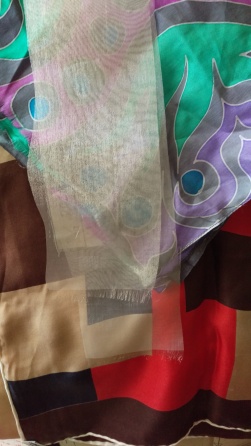
This linen scarf did the amazing woad magic of going from yellow to green to blue when put out into the air.

2016-11-26-17-13-35

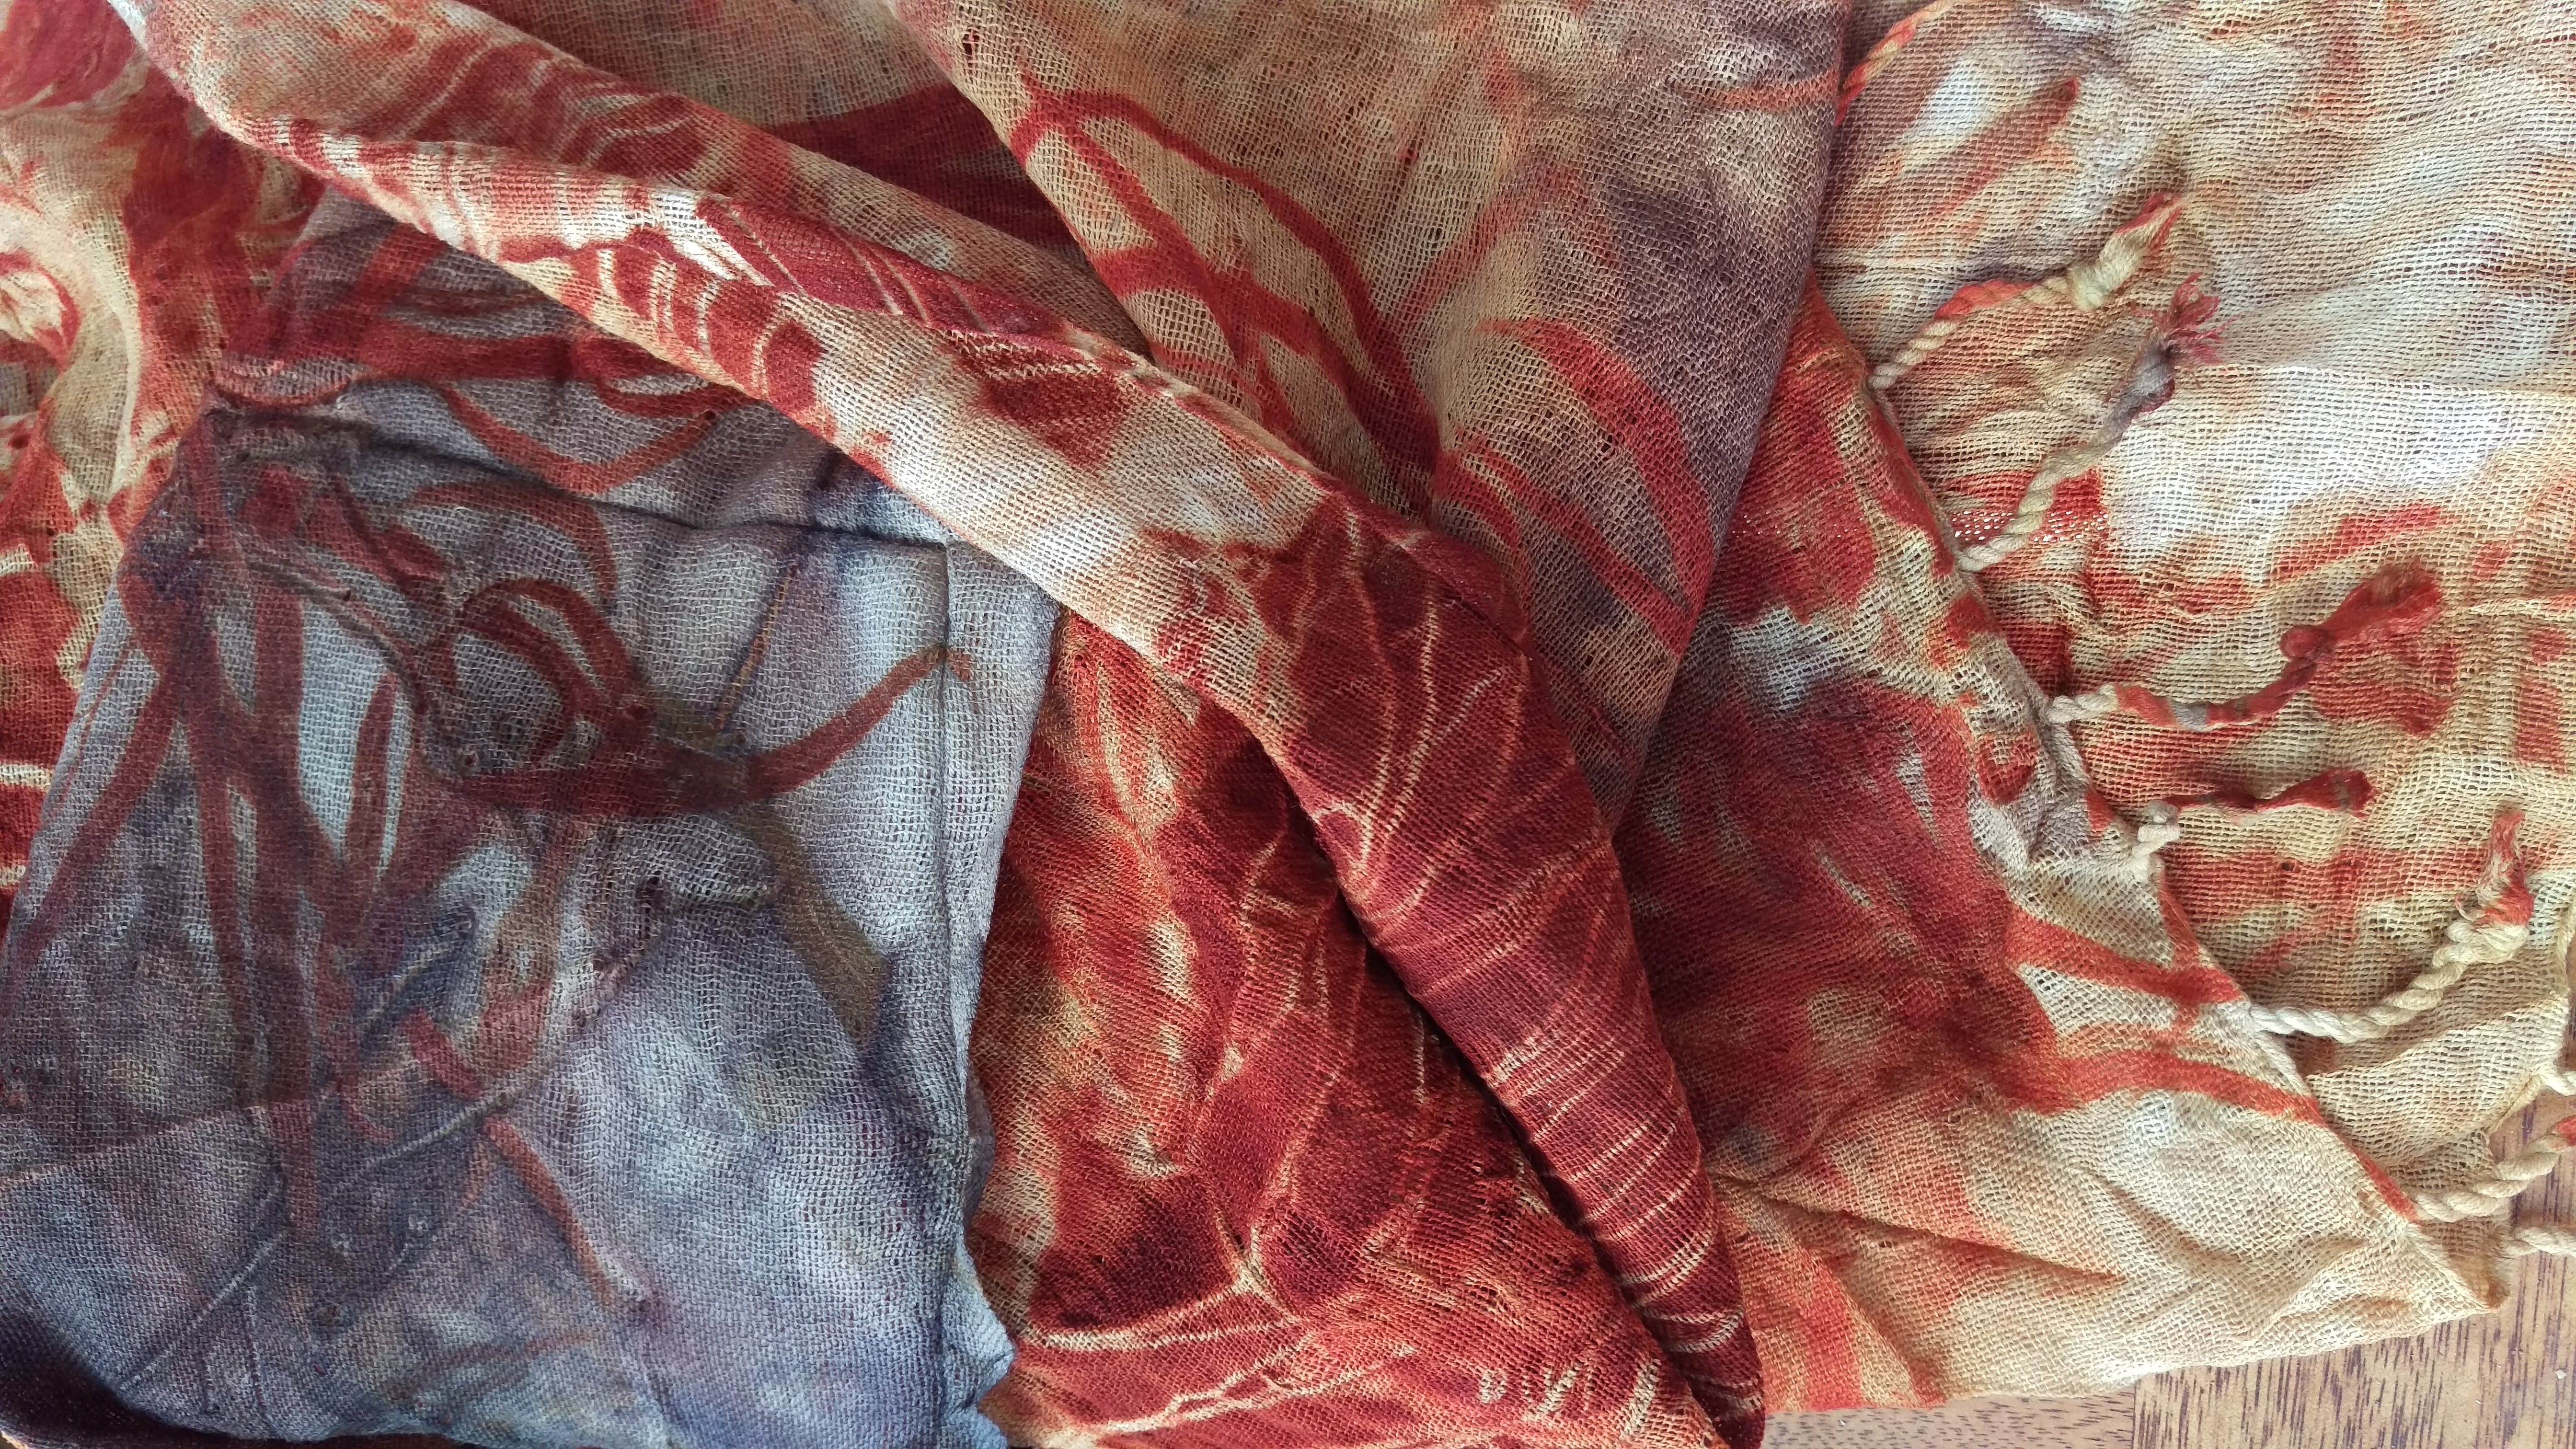
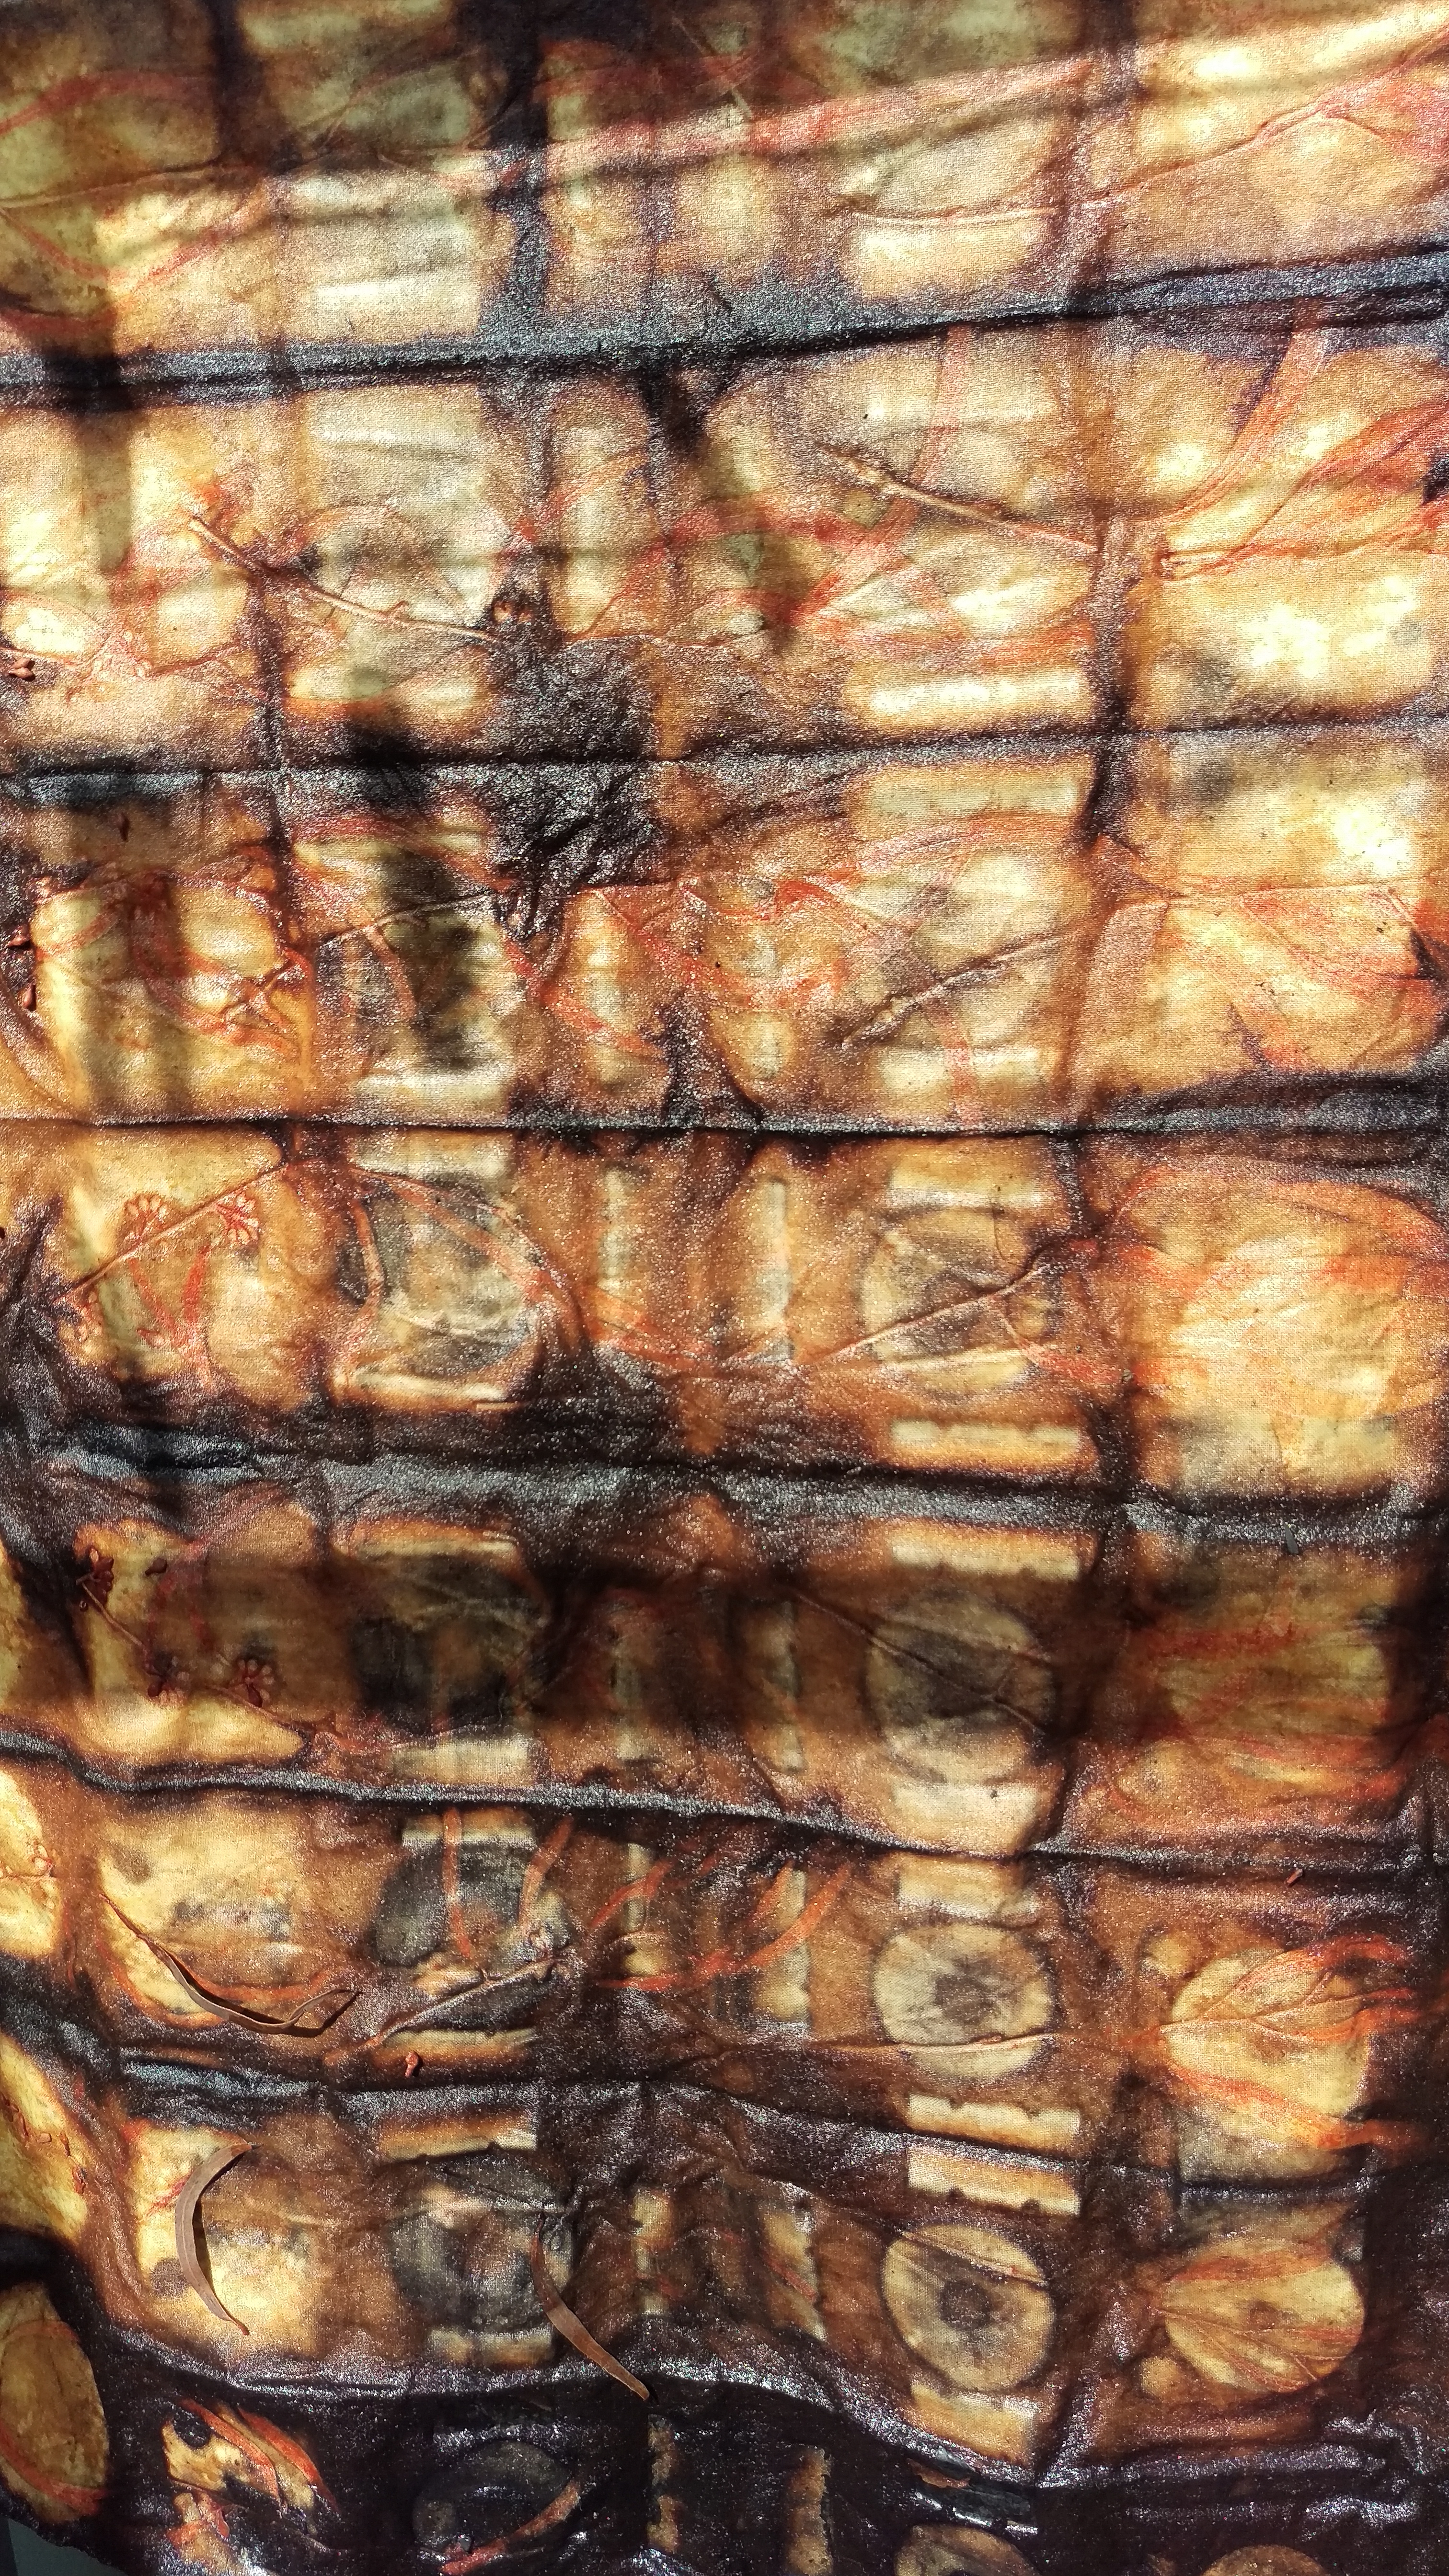
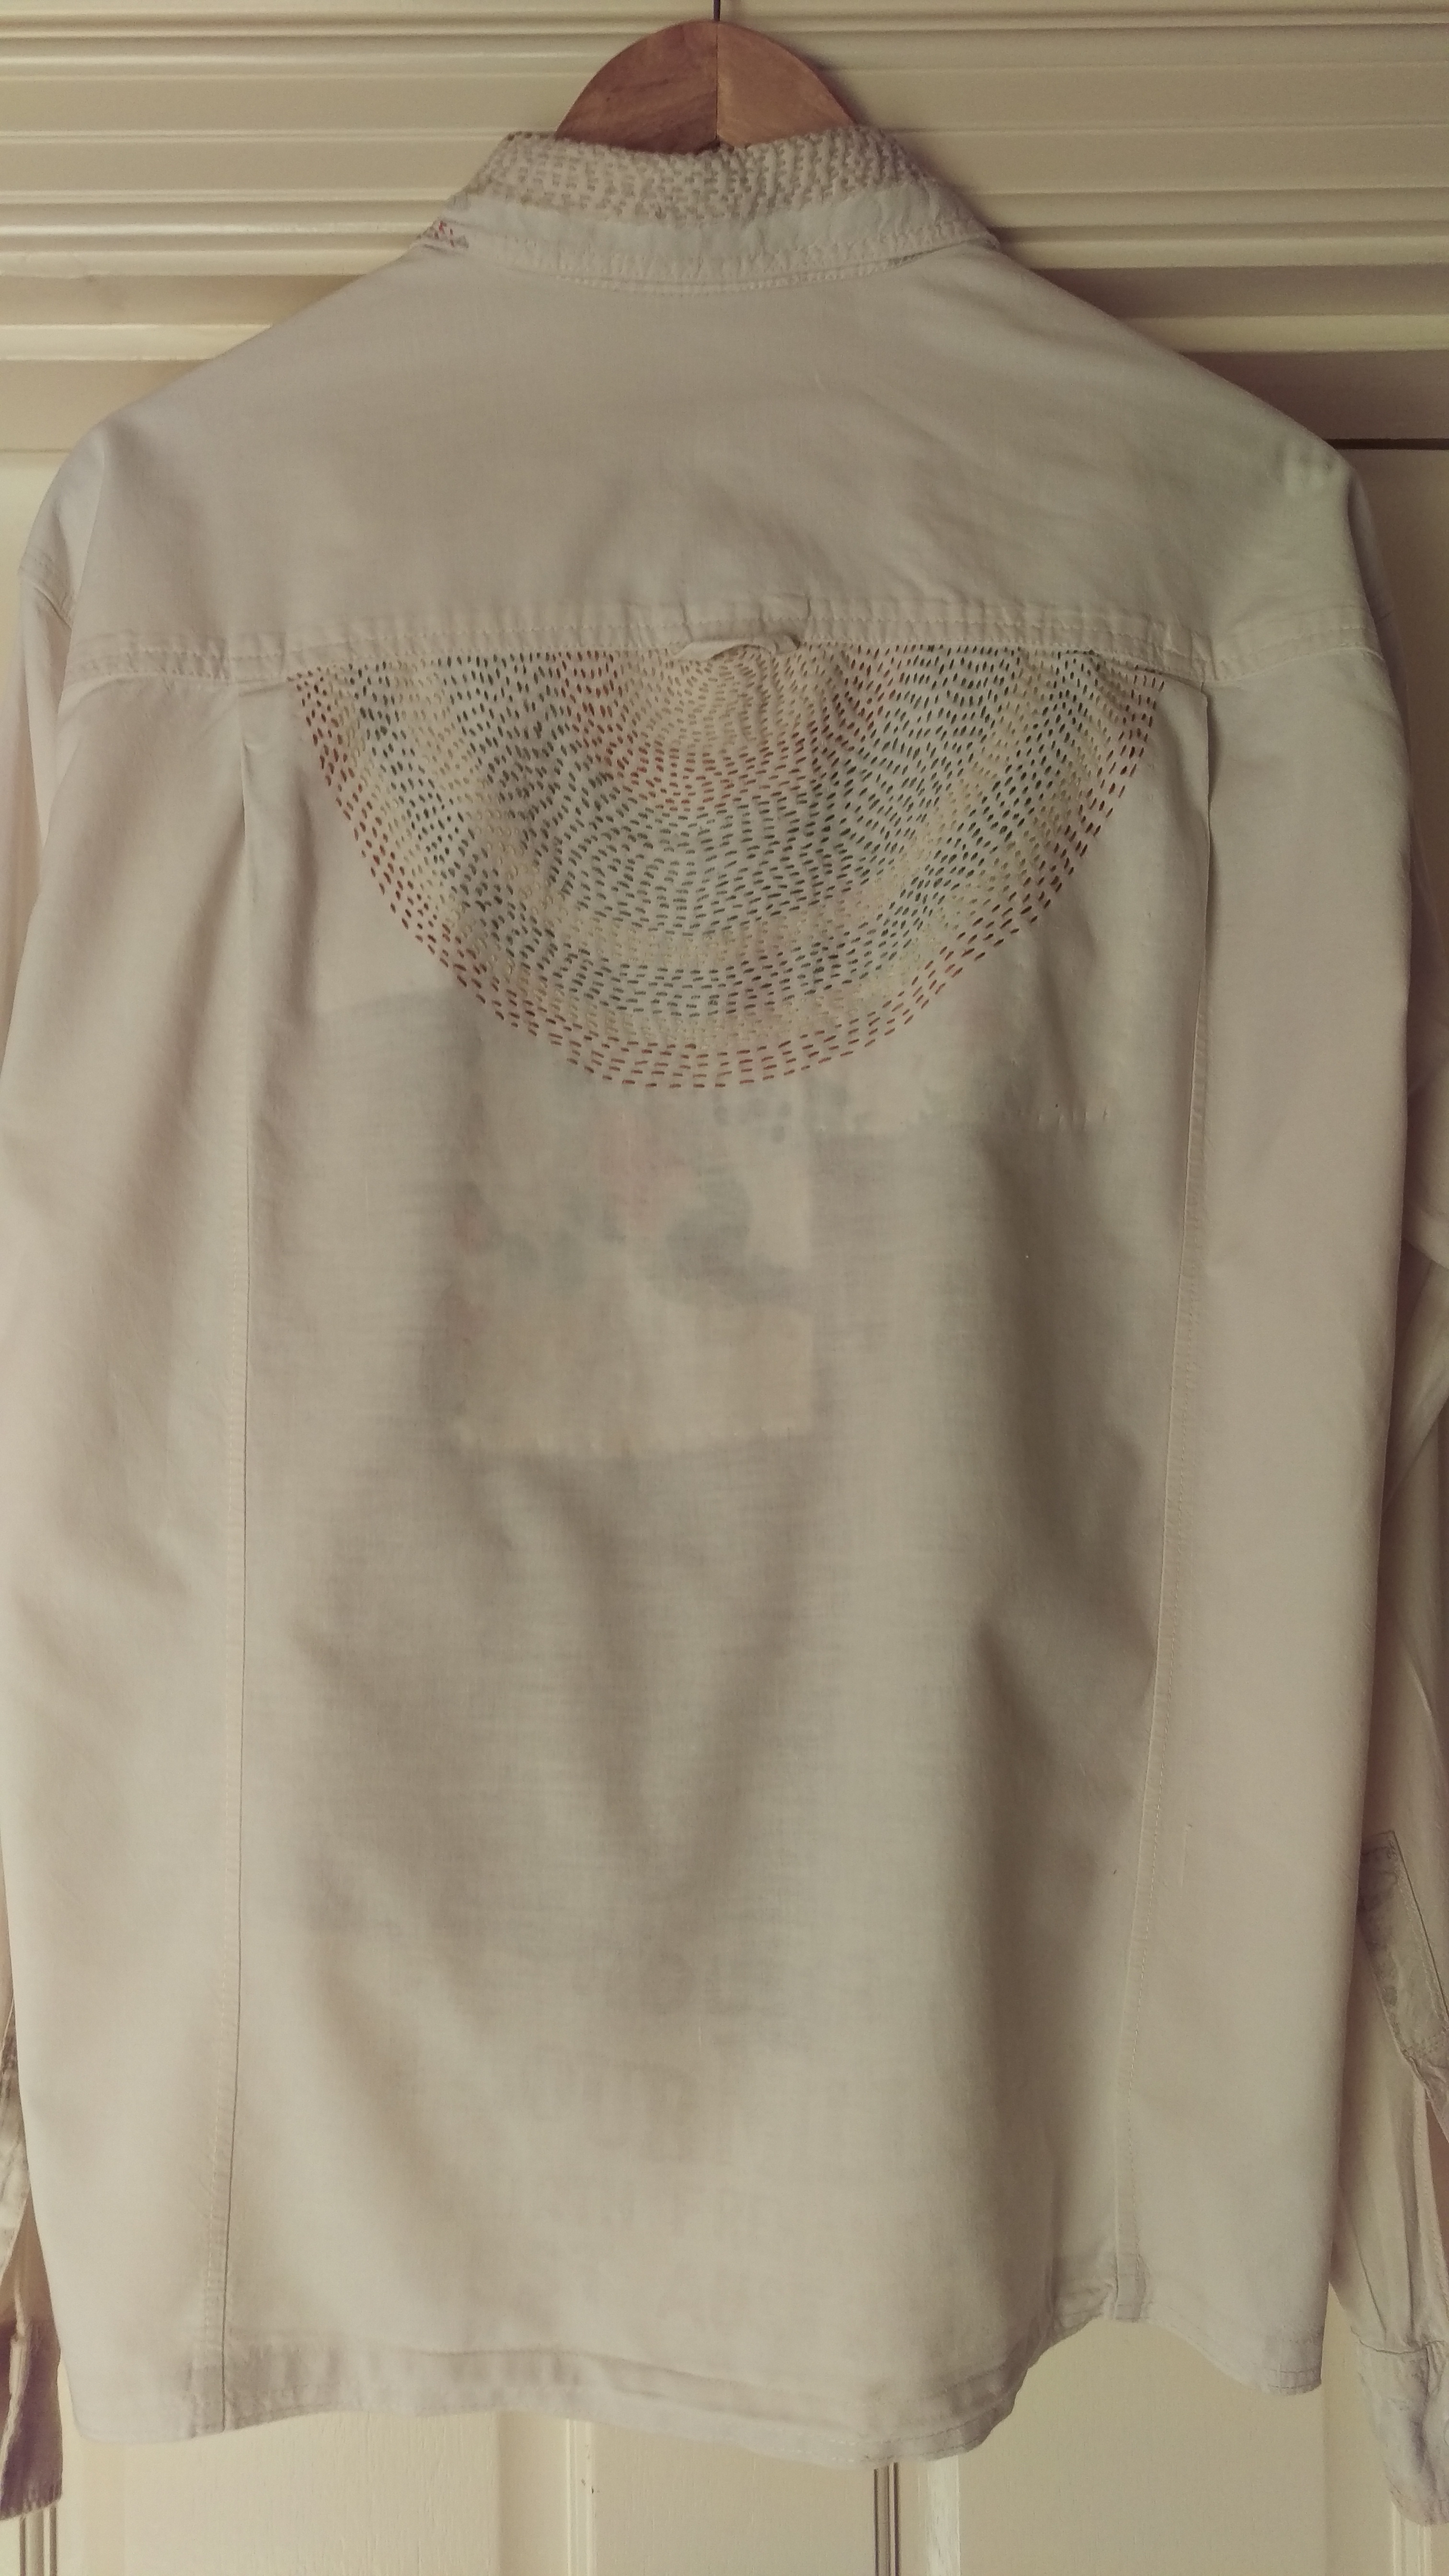
Both of my tied textiles dyed only on the outside and therefore were re-tied and re-dipped. The greeny-blue of the image above converted to blue very quickly on rinsing (you can see an image further down).

2016-11-27-15-37-27

Soon I had dyed my planned fabrics and imagined that the vat would be exhausted, because previous vats have yielded so little.  The next day it was clear that the hydros vat was not exhausted, so I adjusted Ph and temperature and set about continuing to dye. The fructose vat was still not reduced, so far as I could tell with a test dip, though again it looked promising and eventually looked much like the hydros vat.  However, it still had not reduced, and thus, was unable to dye.  In the late afternoon I decided it probably didn’t have any dye in it. Do not read on if you have a weak constitution–but one of the reasons for my belief was that I had accidentally boiled the fructose vat early in the process. Eeek! I had a very little hydros left, so added some to the fructose vat.  Then half an hour later, a little more.  30 minutes later, it came into order and began to dye, and I dyed using both vats until bed time using the only clean fleece I seem to have. The fructose-hydros vat dyed over two more days, as it turned out!

2016-11-27-18-18-18

I threw in more cloth and went to bed, feeling extremely pleased.  On the down side, I used hydros.  On the up side, it can only have been a matter of time before that fructose vat would have reduced.  I just needed to hold my nerve and be patient.  Maybe add more fructose. Admittedly, time is one of my biggest issues because I do have a day job and other commitments.  However, this is by far the most successful woad effort to date.  I now understand that I need to use a vat rather than direct dyeing for the woad to be wash-fast.  I think I now have a sense of how to tell whether there is dye in the vat (at all) as I process the solution.  The low concentrations of colour claimed for woad are not so low as to make it useless, and I have quite a bit of leaf.  One vat with 1.6 kg leaves and one with 900g leaves from one part of the garden where other things have struggled to grow well–and this is my second harvest from them.  I also have the happy sense that my understanding is sufficient to reach success with a fermentation/fructose vat given time.  The pigment from my previous crop of woad is in a different vat which has not shown promise even though I have been waiting for weeks.  But it still may!  And I am confident now that reduction is the main issue and not one of the other possibilities.  Very encouraging mellow blues–and more pictures to come when everything is clean and dry.

9 Comments

Filed under Dye Plants, Natural dyeing

A little dyeing

2016-09-18-14-18-47

The winter seemed to go slowly to me.  I was sick a lot and had weeks of weariness that meant I wasn’t able to put my itchy fingers to use the way I’d like to. So one particular week of wind and spring rain, I decided on a very small project.  The cotton bag a purchase from Beautiful Silks arrived in met the remains of some soy milk that was in the fridge at work for too long.  Then it joined a shirt front previously prepared for dyeing.

2016-09-18-14-20-31

I’ve been trying to walk more, so windblown eucalyptus leaves and opportunistic scores of leaves were added to the mix, and pretty soon I had a bundle.

2016-09-18-14-23-41

I think the bag is much improved.  The way these prints turned out is so interesting–almost like an out-of-focus photograph.

2016-10-11-14-46-09

And the shirt front stands ready for its next incarnation.

2016-10-11-14-47-49

Finally,  since plastic troubles me more and more all the time, I took a leaf from Beautiful Silks‘ book and stitched parcels for these supplies, being returned to another city after use on national divestment (from fossil fuels) day rather than buying new plastic prepaid satchels.   And now to discover what the post office think about parcels that come stitched up in ancient flannelette sheet. [Update: the woman on the counter made a joke about me sending pillows through the post, asked how she was supposed to get stamps to stick to that, then answered her own question by saying that was her problem not mine]!

2016-10-11-13-56-13

12 Comments

Filed under Leaf prints, Natural dyeing

Uh oh… bags…

For those who have followed this blog for a while, this story will sound familiar.  Those who have started reading more recently (welcome!) may find my capacity to start with one bag and then somehow end up with dozens quite a few, a little puzzling,  Never mind.  I feel puzzled myself.  But this is how it unfolded this time.

2016-09-23-16-32-55

It always starts like this: I think I’ll make one bag.  Often it just seems like a piece of fabric is calling out to become a bag.  In this case, some plant dyed calico (Eucalyptus Cladocalyx bark vat with Eucalyptus Scoparia prints and some clamping…).  Then I think I’ll make another one.

2016-09-23-16-33-51

I believe I bought this hand printed fabric at a garage sale run by an artist.  To me, this design seems to have a vine and some Indigenous fish traps on it.

2016-09-23-16-33-57

Somehow once I have made one, it seems logical to make another.

2016-09-23-16-34-02

And another…

2016-09-23-16-34-10

Until I’ve used the whole piece of fabric and used most of a pair of jeans so worn out and tired they can no longer be mended and cannot be made into anything else, to interface bag openings and handles.

2016-09-23-16-34-21

In the end I took the bags to the Seed Freedom festival along with bunches of parsley and other goodness from the garden and left them at the festival food swap (I picked up some grapefruit).  Here’s a seed mandala in progress at the festival…

2016-09-24-11-06-03

But… the bags did not end there! A curtain was transformed into four more bags (one got given away before I took a picture)… and now I had better sit on my hands for a while.

2016-10-02-18-33-21


6 Comments

Filed under Leaf prints, Natural dyeing, Sewing

Eucalyptus dyeing

In not-so-recent dye baths, I included a wool scarf for a friend.

IMAG2094

I love the way it turned out.  I hope she will too.  I bundled up E Scoparia leaves and some windfalls from a tree I think might be E Nicholii.  It branches (what I mean is it that it has been brutally pruned) very high so these windfalls gave me leaves to try that I otherwise could never reach.

IMAG2093

Love the string resist marks…

IMAG2091

Then I returned to the E Cladocalyx bark I harvested weeks back which has been steeping.

IMAG2089

Calico mordanted in soy and lots of clamping was the choice of the day.

IMAG2090

The wet fabric next day (I know, patience is the dyer’s friend, but my friend was out for the day).

2016-07-18 11.25.28

I do especially love the buds!

2016-07-18 11.25.18

The overall effect… suggesting my fold-and-clamp technique may require more practice!

2016-07-18 11.25.36


5 Comments

Filed under Leaf prints, Natural dyeing

Dupion silk

Oh. My. Goodness.  Dupion silk isn’t really my cup of tea.  I made my beloved a beautiful shirt from it for a big event once, but my one venture into wearing it myself was a brightly striped waistcoat made from a minimum amount.  But recently I went to the Guild and there were leftover dupion lengths on the trading table.  I walked away with the palest pieces for $3.  They were a lot bigger than I expected but with some sun damage.  The Guild was full of cheery folk eating cake and chatting on and admiring all manner of knitting and felting and spinning exploits.  There were conversations about mordants in which I broke the news about how toxic many of them are and turned down offers to give me some toxic variations on the theme.  I explained about the toxic waste dump where my Guild has been disposing of such chemicals for years now. I accepted a gift of some alum and cochineal extract (the kind my mother used to use for icing).  Then there was quite a conversation about woad, cultivation and uses, which was good fun–and I gave the person concerned (who was new to the Guild) the alum!   Anyway… I rode away feeling all activated and cheerful, and on my way home picked up a bucket from a skip, and from there the world was my oyster. Here’s the bucket on the back of my bike.

IMAG1669

I rode through the lovely park lands and sampled all kinds of likely looking eucalypts as well as a sheoak. This one, with interesting bark and at least three different kinds of leaves.

IMAG1681

This one I think is E Platypus.  I have heard of others getting colour from it: me, not so much, so far.

IMAG1678

And some lovely silver-leaved varieties too.

IMAG1675

Finally I collected E Cladocalyx bark and filled my bucket to capacity.  Here is the tree up close-ish.

IMAG1689

Here it is from further away with the bike still there for size and a lot of the tree still not in the picture.

IMAG1690

As I rode along the corellas were out grazing on one of the playing fields in the parklands (they are the white spots on the grass), with the city centre sprouting up in the near distance.

IMAG1670

I arrived home and bundled up…

IMAG1697

So pretty!

IMAG1703

And then into the pot.

IMAG1715

The various eucalypt samples from the parklands gave little colour (left), but my dependable friend E Scoparia dyed the silks a treat (right).

IMAG1712

I soaked the bark and saved it for later. The prints are lovely and detailed…

IMAG1771

I put the not so successful silk in for another bundling…

IMAG1772

And remembered that my last experiments with clamping went better with less than maximum pressure… after the results were in!

IMAG1773


9 Comments

Filed under Leaf prints, Natural dyeing

#MenditMay Mending sewing machines and more

2016-05-14 15.28.54

This sewing machine was found in a shed.  It was unwanted by the new resident, so it came to me for cleaning, oiling and a look over.  You see it here with some of the upper casing removed to allow lubrication. It is now on its way to new users in the Anangu Pitjantjatjara Yangkunytjatjara lands. Meanwhile at our place, the threadbare flourbag shirt got some more patches added.  Here, the glue stitching I mentioned in my last post holding them in position.

2016-05-14 11.26.19

Here, the inside view.

2016-05-14 11.32.17

And here, the finished–for now–view of the back.

IMAG1604

Threads dyed with pansy, dyer’s chamomile and eucalyptus.

IMAG1605

I took up my friend’s jeans.  I feel like I have almost got top stitching denim sorted!

2016-05-14 17.41.39

Top tips: use a jeans needle.  If using top stitching thread, thread the needle by hand (should you have any other options, don’t use them); and leave ordinary thread in the bobbin. Use a 4mm stitch at least.

2016-05-12 11.27.07

Buttons replaced in position and stitched down so they don’t get away. I had to laugh when one button fell off at work the day of the second mending workshop!

2016-04-26 19.46.29

And another sewing machine cleaned, oiled, tested and ready to go to its new owners.  My grandmother lived in a country town where getting your machine serviced was not easy to arrange (cost may have been an issue too).  She was a fearless tender to her own machine and those of all her friends and told me many times that cleaning and oiling fixed most troubles.  So I am in her footsteps here, but in this case with a manual to guide me.  I took this machine apart and oiled all. the. places.  It really whirs along! It is now headed to asylum seekers who have been released from increasingly notorious conditions in detention on Nauru, who were tailors in their country of origin and will make great use of this well maintained machine.  It came to me because I was working on the mending kits and a lovely volunteer in an op shop asked if I could re-home a machine she knew needed to find a new home. I feel sure its new use would please the original owner very much.

8 Comments

Filed under Natural dyeing, Sewing

#MenditMay: Mending fine machine knit clothing

More and more contemporary clothing is knit in a very fine gauge by a machine. It is entirely possible to darn it by hand as you might a hand knit, but it is very difficult to match the gauge of the original fabric. I sometimes darn with embroidery thread, using a single strand.  Sometimes I darn with machine sewing thread. In each case, the garment might be made of one fibre while the thread is made of another–but at least the darn will be less obtrusive if that is your goal, and the hole will not continue to grow larger as the knit fabric unravels.

2016-05-12 20.39.30

I recently snagged this fine cotton cardigan on a protruding nail.  Ouch!  I decided against darning it and chose to patch my torn sleeve.  This is a method I have been using a lot for threadbare sections or places where holes are small (and sometimes where there is more than one).  It will also work for larger holes and you can choose a matching patch or a decorative contrast as you see fit.  I like to make a patch that is larger than the hole.  There will be no puckers around the damaged section and any stresses placed on the mend will be distributed more widely. So here is the hole and the patch I selected (cut from a t shirt in the rag bag at our local Sustainability Centre). This method will make the patched area stretch less (or become incapable of stretching), and this has to be considered when deciding whether to use it.

2016-05-12 20.41.08
I begin by tacking the patch into position on the inside of the garment, checking carefully each time I change direction to make sure that I am not pulling the patch so it cannot lie flat.  I use a running stitch, taking a tiny stitch on the outside and a longer stitch on the inside.  I learned this approach from Jude Hill, a textile artist who uses it to hold layers of quilt fabric together.  She calls it the glue stitch: and has a tutorial you might enjoy here.  I have just adapted it to mending. Jude Hill’s work revealed to me that I had not been able to escape learning running stitch as involving stitches which are all of equal length.  As soon as I had that thought (with her help), so many things opened up! It’s important to make sure all the edges of the tear are stabilised, and that the edges of the patch are stabilised too.  I tend to then create a network of stitching so that the patch is stitched on to the outer fabric all over its surface.

2016-05-12 21.17.37

Pretty soon, there is your hole, mended.  If all the cloth is still there, you can stitch the torn section down over the patch, as I have here, and have almost none of the patch fabric on show.  I am sure this is visible mending, but it isn’t mending that draws the eye.  Perfect for this garment.  Happy mending!

3 Comments

Filed under Sewing

#MenditMay: Replacing a jeans zipper

2016-05-05 13.16.37

So I have this pair of jeans.  I made them myself.  They have some fine features, such as flour bag pocket interiors and contrast pocket inserts (with leaves on them!) and a beautiful button.  They have their flaws, one of which is that even though I pre-shrunk the fabric, they shrank more after I made them.  But currently the defect that means they do not get worn is the fact that the zipper will not stay up.

2016-05-05 13.23.43

It only took ten minutes to rip the zipper out.  My mother used to call her seam ripper a ‘quickunpick’.  I think it might have been a brand reference that no longer has currency.  But it’s accurate!  All seams involving the zipper ripped out, top stitching out to release the fly facing, bar tacks out, the waistband ripped out to release the zipper and create some room for manoevre when the new one goes in.  I selected a zipper from the stash, a vintage blue zipper much longer than the one I removed.  It doesn’t matter, because you can just stitch to create a new zipper stop and then cut the unwanted zipper tape and teeth off (provided they are plastic and not metal–ouch). Next step: put a stout needle into your machine, preferably a jeans needle.  I forgot, and snapped the needle I had been using for finer fabrics part way through this process. A zipper foot will make this easier but is not essential.

2016-05-05 14.42.05

The first step is to stitch the zipper face down onto the fly facing but not the jeans front.  The fly facing is attached to the front opening.  You need to stitch the zipper to the facing and NOT to the jeans front.  Here you can see I have pinned the zipper in position: tacking first is another option.  I have chosen my stitching line using the marks left from the previous stitches.

2016-05-05 14.52.16

Here, you see that seam and the new zipper stop stitched across the end of the zipper!

2016-05-05 14.57.08

The next step is to sew the zipper to the other side of the pants opening, with the fly shield (a whole separate piece of fabric that sits between the zipper and your body) pinned out of the way.  Check that everything lies flat before you stitch.  A zipper foot is your friend, if you are equipped with one!

2016-05-05 15.19.09

Once that’s done, you can align the fly shield, pin or tack it in position and stitch over that seam again with the fly shield included in the seam.  In the picture above, both steps are complete, and you can see the fly shield extending past the left half of the zipper towards centre front and the zipper stitched to the fly facing on the right.  I have tucked the ends of the zipper and the raw edges of the jeans fronts up into the waistband and re stitched them too.

2016-05-05 15.23.49

Now it is time to get that fly shield out of the way and top stitch that line you can see to the right of the foot in the image above.  I followed the previous stitching line this time, but usually I draw the curve on a sticker, cut it out and stick it in position, then top stitch with the zipper foot just outside the edge, a trick from a pattern or book I have used at some stage.  Finally, flip the fly shield into the position it would be in when the jeans are in use, and bar tack at the base of the zipper near the mid seam and then over on the right to hold the fly shield in place in its intended final position.  If in doubt, consult a commercial pair of jeans and decide where to bar tack. When I say ‘bar tack’, I do what I’d do if I was sewing on a button with the machine,  zig zag on the spot a few stitches.

2016-05-05 16.10.55

Yeah, I know.  They look just the same.  But now the zip will stay up, and both of us know this is a big difference! What are you doing in #MenditMay?


10 Comments

Filed under Sewing

Crafting time: How to make trousers

The question I hear more often than anything other, about this blog or my life in general, is ‘how do you fit it all in?’  There are a lot of ways I could answer, but one of the big ones is: slowly, in many small steps.  I started this post as a way of demonstrating the point, but quite early on decided this post might be much too long, even though I left out all the days when nothing happened on this project!  This is the story of how I made enough time to make a pair of trousers.

Day 1: drop in at the public library and find David Page Coffin has written a book on making trousers.  Borrow it. In Week 1, read this book in various states of understanding and misunderstanding and failing to follow.  Feel my confidence in attempting double welt pockets begin to rise. This has been the barrier to the creation of some new summer work pants for some years now.  So this is progress!

Day 2: Iron fabric from the stash.

Day 3: Cut out.  Mostly remembering adjustments (I think) and deciding to try cutting on the fly facing.  I am surprised to find a zipper in the pattern envelope. Clearly I have had good intentions before, so long ago I can’t figure out what they were.  Black pants, I assume!

2016-03-31 08.55.19

Day 4: Choose one of my grandma’s scarves for the pocket bags.  Silk pockets!! I have looked up Clifford Bond online and found him listed alongside vintage silk scarves.  This one is vintage, certainly.  It is also stained and well loved.  To my surprise, when I ironed it, a faint waft of my beloved, stylish grandmother’s cosmetic choices wafted up, even after so many years.  The silk is beautiful quality to my way of thinking, and the hand rolled hem is exquisitely stitched.  The tiny tag says it was made in Japan.  I do not know how Merle would have come to have this scarf.  She had many, and they were a style statement of hers so well recognised she received many as gifts.

2016-04-21 08.13.10

Day 5: Read two more ways of creating  welt pockets, beginning with a lovely illustrated tutorial on Male Pattern Boldness.  The lead post was on welt pockets when I happened past his blog.  At this stage, I am beginning to feel the universe telling me to make those pants.  Well, I confess, I don’t think the universe troubles itself about me personally very much.  Really, I am experiencing recognition that I am scared of making the welt pockets, and that this is irrational.  Perhaps I should get over it and get on with it.  The blog post makes me think of an article in Threads magazine which I copied years ago and had used to create two sets of pockets with success and (relative) ease.  I dig that out and consider.  I pull out the two pairs of wool pants I made using this approach.  The pocket openings look great.  Much better than those I made using the method in the pattern–albeit in a fabric better suited to the pocket style.

Day 6: carry out an extensive search for organza, required by the Threads article method. This inspires plans for about seven other projects.  I find some organza that probably isn’t silk (silk is proposed by the authors in question).  I also find an op shopped silk scarf that leads to reconsideration of the pocket bags.  Ahem.

2016-04-03 08.41.27

Day 7: It is a weekend.  I have at least two hours.  I could sew the pockets.  Nerve fails me.  I make a soothing patchwork square.

2016-04-03 08.40.48

One turns out not to be enough (the cupboard-by-cupboard search for organza has uncovered yet more scraps, needless to say).  Well.  There’s the end of the time that could have been used to create the dreaded pockets, but some of the scraps from this pair of pants have been used up! I have also given up the chance to go to the Farmer’s Market, for good or ill.

2016-04-03 09.16.26

Day 8.  Return book on sewing trousers to the library. This should be a clue that considerable time has passed between some of the days listed here.

Day 9.  After much deferring, stitch the organza to the trouser fronts.

2016-04-16 19.15.43

Next, baste the welts together and iron ready for insertion.  Done!  Having deferred so long, it is now time to have dinner.  So, you know, a day of high trouser sewing achievement.

2016-04-16 19.15.51

Day 10: turn the facings, create the pocket mouths, pin the welts in place.

2016-04-20 09.16.02

Smoking speed, I’d say!

2016-04-20 09.19.13

I did all that before work, and then took the trouser fronts to my spinning group at Guild and stab stitched them into position while supporting a new spinner (or at least trying to be friendly–she is lovely); listening to several conversations; debriefing someone about a recent difficult situation; fielding jokes about how I would spin this when I was finished and responding to queries about my embroidery (yes, stitching the pocket welts in).  These pictures are a bit watching-paint-dry, I think.  Apologies.  And here ends the first ten days, with the pockets almost finished…

2016-04-21 14.26.09-1

Day 11: Day 11 was, for once, the next day after day 10.  Not spaced out by a week or so as some have been.  I machine stitched the welts into position and problem solved my pocket bags, the part of this method that seems to me a bit problematic.  Because I’ve done it before and washed and worn many times, I understand that nothing catastrophic happens despite my worries.  Finally, the part that has been really putting me off, the welt pockets, is done.  The pockets are imperfect but this is to be expected (I made them) they are pockets (hooray, pants without pockets are not for me) and they will not attract attention from passersby (imperfect but not astonishingly awful).  Now I only have to manage the fly and much of the rest will be plain sailing, sewing wise.  I hope.  I make a start on the fly facing.

Day 12: The next day.  I decide against going out in the evening for no really good reason and instead have a lovely chat with friends who give me eggs and cake as well as the pleasure of their company, and insert most of the fly for good measure before bed.

Day 13: I am on a roll!  Finish zipper insertion before work.  Come across some bias binding I made from ties and select some I might use on the hems for fun.

2016-04-22 11.53.16

Day 14: it’s a long weekend.  Stitch the darts, stitch the main seams, figure out what to do about interfacing (cut pieces from a recycled black linen shirt sleeve.  Stitch to pattern pieces. Realise later that this would mean lots of stitching showing on the main pattern pieces. Decide I can live with it).  Decide to finish the waist facing with more recycled tie bias binding.  Stitch one side on with the machine, then hand stitch the inside edge into position in front of the TV.  This looks really neat and lovely, so it’s a shame about my interfacing stitching being so random. As you can see.

2016-04-25 16.09.43

Day 15: Stitch on the waist facing.  Tack some seams so I can find my way through making the front edges look good.  Machine a buttonhole into the fly facing so there can be a button on the inside top edge–thank you to Page Coffin’s book.  Hand stitch on a small button for it.  Hand stitch on a hook and slide.  Create the belt loops.  Fail to find the loop turner.  I love that thing.  Room to room search.  No joy. Much time passes, I clean some drawers out, eventually turn belt loops without the loop turner.

2016-04-25 16.08.56

Day 16: Stitch belt loops in place; try on (they are roomy and will require a belt!  Better than being too small which was my concern)…

2016-04-25 16.08.34

Take up hems with tie bias binding and use a quilt binding trick to do this in the neatest way I have ever managed.  Feel so proud I have learned something. Rip out the tacking holding the welts together so Merle’s scarf can peep out.  DONE!

2016-04-25 16.10.09

I love the hem finish on these.  I have done this before and enjoyed looking at this tiny, loving detail at odd moments while wearing them, for years.  Here’s hoping this pair will have a long and cheerful life in my work wardrobe.


27 Comments

Filed under Sewing

Just mend it: Getting started

In preparation for the upcoming mending workshops, I’ve created a directory of mending tutorials.  I’ve also been beetling away creating mending kits. Friends have been handing over their spare unwanted haberdashery and tins.  I have raided local op shops.  At one of them I was offered a motherlode of  unwanted notions that were seeking a new home. Here’s a partial view.

2016-04-13 14.49.05

Such treasures.  Including a lifetime’s collection of travelling mending kits from hotels and airlines the like of which I have never seen.  Now, it is going to new homes. I’ve even sewed little covers for thread snips from lino samples I seem to somehow have acquired.

2016-04-16 10.26.28

There are pincushions and measuring tapes, thimbles and safety pins and many reels of thread.  Amazing collections of needles, pins and such.

2016-04-16 10.27.08

The creation of the needle case gallery has been ongoing. Scraps of fabric with a lovely button and all manner of little bits of ribbon, string and cord I have saved for a special occasion (or just a use) have been converted into needle books.

2016-04-16 07.08.38

Lovely little bits of hand embroidery on fabric that has gone well past original use, now adorn a few.  Beautiful Australian print remnants have been  turned to use too.  Some have buttonholes and some have loop closures. Some are plant dyed and some are tied with cord too short to form a drawstring on a bag.

2016-04-16 07.09.22

I am very fond of my own needle case, so eventually I made some just like it.  Well, sort of like it. We started here (mine on the left, and pieces of dyed blanket on the right).

2016-04-16 12.36.40

Eventually, there were about eight.  I stitched at triathlons and in front of the TV and on the train.  I finished some with fancy buttons, beads or little bells saved from Easter bunnies.  I tied some with cotton string that has also seen the dye bath, and others with some hand twined silk string, with a thankyou to India Flint for allowing me to see this was possible and that string was not only to be made from plants.  I was thinking about the fact that I had saved all these improbable things, while others had been handed on to me by relatives and friends with similar habits–

2016-04-19 22.20.55

It brought to mind my mother’s parents, two people who lived in poverty their entire lives, scaling up to indoor plumbing and heated water during my lifetime.  My grandfather left countless pieces of recycled string, pre-loved screws and straightened out nails when he died. My grandmother had a drawer where special treasures lived that I was allowed to admire as a child.   There was a special safety pin in there she used to pierce a hole in the filter of her rare cigarettes for some supposed health reason.  There was also a little black cat made of plastic.  I knew it had come from a box of Black Magic chocolates.  I had seen the boxes for sale but never had any.  Like her, I thought this little creature was a treasure worth saving when the cardboard box and the rather amazing papers surrounding each chocolate might have passed on.

2016-04-19 21.29.37

My life is utterly unlike Millie’s.  But it is good to have things in common with her. It warms me to carry these memories of her along and hold them in my mind as I craft these little books for future menders who will share some fraction of the skills she had.

15 Comments

Filed under Leaf prints, Sewing