Tag Archives: think globally

Green grow the rushes…

IMAG2013

Remember my tiny sedge plants? They have more than doubled in size now.  So at last, out they go into the wintry weather.

IMAG2016

My first attempt to propagate correas from cuttings seems to have mostly succeeded (that is a correa with the almost round leaves).

IMAG2014

Here are some more in with saltbush, hop bush and boobialla plants.

IMAG2015

I have even had some success with dianellas this time!  I think it must be time to get some of these plants out into the ground…


2 Comments

Filed under Neighbourhood pleasures

The winter festival of mending continues!

I am in a little band, or perhaps it is an ensemble. It’s modest, and it is unlikely to ever achieve fame.  But we do rehearse.  At one rehearsal the drummer asked me if she could bring me in some knitted things that needed mending to look at.  Maybe it was my knitting in periods of waiting that made her ask.  The long backstage wait before our one significant gig to date, fro example.  I had my sock along, as you might well expect if you have been to this blog before!

IMAG1732

It’s my usual practice to offer to teach people to mend rather than mending things for them without debate.  But she is just so charming.  She brought her two garments in the following week and I took them home.  The first is a cardigan which looks to me like a hand spun and hand knit treasure made of relatively coarse wool by contemporary Australian standards.  It had already had some mending (above) in a couple of places, and had those signs of long wear–a cuff and hem where the entire edge is on the verge of giving way.  I wonder if the drummer knows the knitter and/or spinner? [When I returned the mended item she told me her grandmother had made it but she wasn’t sure whether her grandmother had spun the wool].

IMAG1740

The biggest holes were in the elbows.  Generously sized and sporting some long ladders in both directions.  Happily, the ladders are easy to fix with a crochet hook, so I picked them up, stabilised the edges of the holes and set about knitting up some patches.

IMAG1742

Remarkably, I had some matching wool–same colours, handspun and marled.  But not the same gauge.  She had said she was up for a visible mend, so I just went ahead and knit some patches in.

IMAG1741

She will now be able to wear her cardigan again, just as she said she wanted.  Next, a merino jumper.  It’s a style that is readily recognisable but a little bit complicated to match.  The complex nature of the machine knit had limited the size of the holes, so I tried for a woven mend in something pale enough not to yell out.

IMAG1730

Two more mends..

IMAG1736

And we’re done.

IMAG1734

And lest you think I’m only mending away from home, followed up the next week by darns to the elbows of one of my beloved’s possum wool jackets.

IMAG1765

These darns show a bit, but not nearly as much as her shirts were showing underneath through what remained of the elbows!

IMAG1774


9 Comments

Filed under Sewing

Slippers old and new

Warning.  This post contains many images created in poor lighting conditions! Apologies in advance.

Oh dear.  A much loved and well worn pair of slippers came back to me from a friend for examination. I thought I would have matching yarn but I really didn’t.  In the end I went for visible mending of this pair and also decided to knit her a new pair. #Menditmay I thought!

2016-04-26 20.45.22

Here they are about to be returned to their owner over breakfast (in May), with big mends in the heels.  The inside sole is black so these darns will be less visible when they are being worn, perhaps!  I cast on the new pair…

2016-04-30 08.40.39

The next step was knitting a new pair.  Two pairs for different people, in the end, and two dinners with associated felting (no end to the thrills when you visit us!)  With appalling photographs to match.  This pair are a rich purple and they are on a blue background, not that it shows.

IMAG1705

They went to a new home with a cherished friend who has been feeling the cold terribly.  She also scored these hand warmers, knit from the remainder of a ball of Noro sock yarn some time ago and awaiting the right moment.  They look better on!

IMAG1706

Then, my beloved negotiated handover of a small pile of pre-loved and partially felted socks that will fit my friend better than my beloved at this stage.  Some required running repairs.

IMAG1710

Some were too felted for anything other than brutal patching.  No way to knit a patch in.  Can’t find any stitches to pick up! Some of these socks were knit before I really understood the kind of yarn that was suitable.  But pairs like this, made from Bendigo Woollen Mills 8 ply alpaca, were such a hit among my friends I made a lot of them anyway.

IMAG1704

I’ve since had an email about blue socks being worn at Pilates class and a photo of my friend’s ankle as she heads out to dinner in handspun, handknit socks!  Too good.  These are the people for whom hand knits should, indeed, be made.  And finally, the friend whose slippers I was darning at the top of the post came over and I felted her new slippers to size.  She arrived wearing hand knit socks… perfect!

IMAG1718


7 Comments

Filed under Knitting, Sewing

#MenditMay: Beyond darning

I have a dear friend whose entire family are facing some very tough times.  I’d been wondering what I could do that might bring some comfort to her, and then I had an idea.  I knew she had a cardigan that had belonged to someone she treasured, and that it was showing signs of long wear and lots of love.  So I offered to mend it for her.  She chose some yarn and on some quiet nights last week I set to work.

IMAG1584

Darning is always possible, but sometimes it seems barely adequate to the task, and the result is unlikely to be pleasing.  I have darned holes bigger than this, but I did cover some of them with leather elbow patches afterward!

IMAG1586

In the end I decided knitting in patches was a better idea.  I used needle and yarn to stabilise runaway live stitches.  Then I picked up some stitches, as you can see above.

IMAG1590

In a couple of spots I darned first and then picked up stitches.  See the woven section above the knitting needle?  Then it is really a process of knitting along and purling back, knitting two together at each side with a patch-stitch and a picked up strand from the garment.  There were some places where I added extra stitches or cast some off as I passed.

IMAG1588

One sleeve got several patches.  I tried different ways of casting off (binding off) and decided hand sewing the stitches down was the smoothest finish.

IMAG1602

There were smaller places where I did small darns or just trapped live stitches so that ladders could not spread further.

IMAG1592

On the cuffs, I considered a few options before settling on using some of the silk thread I dyed with Japanese indigo.  The grey was pretty much perfect here and I was able to use a fine enough needle to stop the stitches that are unravelling going further.

IMAG1594

There were four buttonholes but one button.  I couldn’t match it, so I sewed on four that have come off some other garment.

IMAG1598

Because a cardigan can be worn open, I concealed the ends of the stitching, with the initial knot and the tie off under the button rather than on the ‘wrong’ side, where I would happily tie them off on a shirt.

IMAG1599

And here it is.  Visibly mended but in a way I hope will mean this treasured cardigan will have an extended life providing comfort and warmth to my friend through times good and bad.

IMAG1601

I know my friend is surrounded by the love and care of many friends and her family too.  I’m lucky to be among them.

IMAG1600


18 Comments

Filed under Knitting, Sewing

#MenditMay Mending sewing machines and more

2016-05-14 15.28.54

This sewing machine was found in a shed.  It was unwanted by the new resident, so it came to me for cleaning, oiling and a look over.  You see it here with some of the upper casing removed to allow lubrication. It is now on its way to new users in the Anangu Pitjantjatjara Yangkunytjatjara lands. Meanwhile at our place, the threadbare flourbag shirt got some more patches added.  Here, the glue stitching I mentioned in my last post holding them in position.

2016-05-14 11.26.19

Here, the inside view.

2016-05-14 11.32.17

And here, the finished–for now–view of the back.

IMAG1604

Threads dyed with pansy, dyer’s chamomile and eucalyptus.

IMAG1605

I took up my friend’s jeans.  I feel like I have almost got top stitching denim sorted!

2016-05-14 17.41.39

Top tips: use a jeans needle.  If using top stitching thread, thread the needle by hand (should you have any other options, don’t use them); and leave ordinary thread in the bobbin. Use a 4mm stitch at least.

2016-05-12 11.27.07

Buttons replaced in position and stitched down so they don’t get away. I had to laugh when one button fell off at work the day of the second mending workshop!

2016-04-26 19.46.29

And another sewing machine cleaned, oiled, tested and ready to go to its new owners.  My grandmother lived in a country town where getting your machine serviced was not easy to arrange (cost may have been an issue too).  She was a fearless tender to her own machine and those of all her friends and told me many times that cleaning and oiling fixed most troubles.  So I am in her footsteps here, but in this case with a manual to guide me.  I took this machine apart and oiled all. the. places.  It really whirs along! It is now headed to asylum seekers who have been released from increasingly notorious conditions in detention on Nauru, who were tailors in their country of origin and will make great use of this well maintained machine.  It came to me because I was working on the mending kits and a lovely volunteer in an op shop asked if I could re-home a machine she knew needed to find a new home. I feel sure its new use would please the original owner very much.

8 Comments

Filed under Natural dyeing, Sewing

#MenditMay: Mending fine machine knit clothing

More and more contemporary clothing is knit in a very fine gauge by a machine. It is entirely possible to darn it by hand as you might a hand knit, but it is very difficult to match the gauge of the original fabric. I sometimes darn with embroidery thread, using a single strand.  Sometimes I darn with machine sewing thread. In each case, the garment might be made of one fibre while the thread is made of another–but at least the darn will be less obtrusive if that is your goal, and the hole will not continue to grow larger as the knit fabric unravels.

2016-05-12 20.39.30

I recently snagged this fine cotton cardigan on a protruding nail.  Ouch!  I decided against darning it and chose to patch my torn sleeve.  This is a method I have been using a lot for threadbare sections or places where holes are small (and sometimes where there is more than one).  It will also work for larger holes and you can choose a matching patch or a decorative contrast as you see fit.  I like to make a patch that is larger than the hole.  There will be no puckers around the damaged section and any stresses placed on the mend will be distributed more widely. So here is the hole and the patch I selected (cut from a t shirt in the rag bag at our local Sustainability Centre). This method will make the patched area stretch less (or become incapable of stretching), and this has to be considered when deciding whether to use it.

2016-05-12 20.41.08
I begin by tacking the patch into position on the inside of the garment, checking carefully each time I change direction to make sure that I am not pulling the patch so it cannot lie flat.  I use a running stitch, taking a tiny stitch on the outside and a longer stitch on the inside.  I learned this approach from Jude Hill, a textile artist who uses it to hold layers of quilt fabric together.  She calls it the glue stitch: and has a tutorial you might enjoy here.  I have just adapted it to mending. Jude Hill’s work revealed to me that I had not been able to escape learning running stitch as involving stitches which are all of equal length.  As soon as I had that thought (with her help), so many things opened up! It’s important to make sure all the edges of the tear are stabilised, and that the edges of the patch are stabilised too.  I tend to then create a network of stitching so that the patch is stitched on to the outer fabric all over its surface.

2016-05-12 21.17.37

Pretty soon, there is your hole, mended.  If all the cloth is still there, you can stitch the torn section down over the patch, as I have here, and have almost none of the patch fabric on show.  I am sure this is visible mending, but it isn’t mending that draws the eye.  Perfect for this garment.  Happy mending!

3 Comments

Filed under Sewing

#MenditMay Mending workshop

Just Mend It - jpeg

Last night the second mending workshop went off at our local hub, The Joinery, supported by the Adelaide and Mount Lofty ranges Natural Resources Management Board. Diane from the Adelaide Sustainability Centre did a wonderful job of organising.  She has more events coming up!

2016-05-11 19.39.16

The first workshop was a cosy, small affair with two mother/daughter teams who worked on learning to darn, mending torn jeans and hemming some pants.  It was just delightful to watch their mutual support and love for each other as well as their mending skills.

2016-05-11 19.18.44

The second workshop brought in quite a crowd of lovely people and loads of garments in need of buttons, hems, patching, darning, seam repairs, zippers, and repairs on rips. There was a lovely warm atmosphere as we set to work repairing the efforts of moth larvae and the impact of hard work and long wear on clothes that are practical, treasured or simply available to be practiced on.

2016-05-11 19.43.15

The mending kits went to happy new homes.  It was wonderful to see those needle cases opened out and people figuring out which needle to use for which job.  I got to share the joy of ‘magic eye’ or ‘self threading’ needles with people whose eyesight isn’t up to needle threading for the moment. Several people worked on their jeans and one generous reader was working on her daughter’s partner’s jeans.

2016-05-11 19.44.36

There were patches plain and fancy (this one has a decorative silky top layer and some denim patching underneath doing the heavy work). Some people were working on their very first mends but several had aspirations to make their own clothes.

2016-05-11 19.49.41

One lucky person had been to a workshop with India Flint and was wearing some beautiful plant dyed clothes she had made, while she had others well-worn and ready for repair.

2016-05-11 19.48.35

There were some much-loved garments in for mending.  It was a real pleasure to be in the company of other people who like to make things last!  There were some strategy conversations about how to make special things go further.

2016-05-11 19.53.02

There was fancy mending too.  Here, a patch from a worn out black t shirt has gone on the inside of a merino top, with some decorative stitching holding the layers together.  No one will ever recognise this as mending… and I think there will be more spirals to address other places where wear and moth larvae have done their work.

2016-05-11 19.53.20

Here, some great pants from the op shop are being taken up by a new wearer who is not the same height as the previous owner.

2016-05-11 19.55.27

People learned darning, decorative patching, patching that won’t show so much and how to wax thread.  It turns out I know a simpler way to replace a button than some folk had figured out for themselves, and there were people sewing buttons onto leather as well as people sewing statement contrast buttons on with alacrity.  Some of my friends came along.  And, I got to meet some lovely blog readers for the first time! Thanks so much to everyone who came and made it a great night.  If you’re looking for guidance, please do go to my directory of mending tutorials.  Happy mending!

10 Comments

Filed under Craftivism, Sewing

#MenditMay: Replacing a jeans zipper

2016-05-05 13.16.37

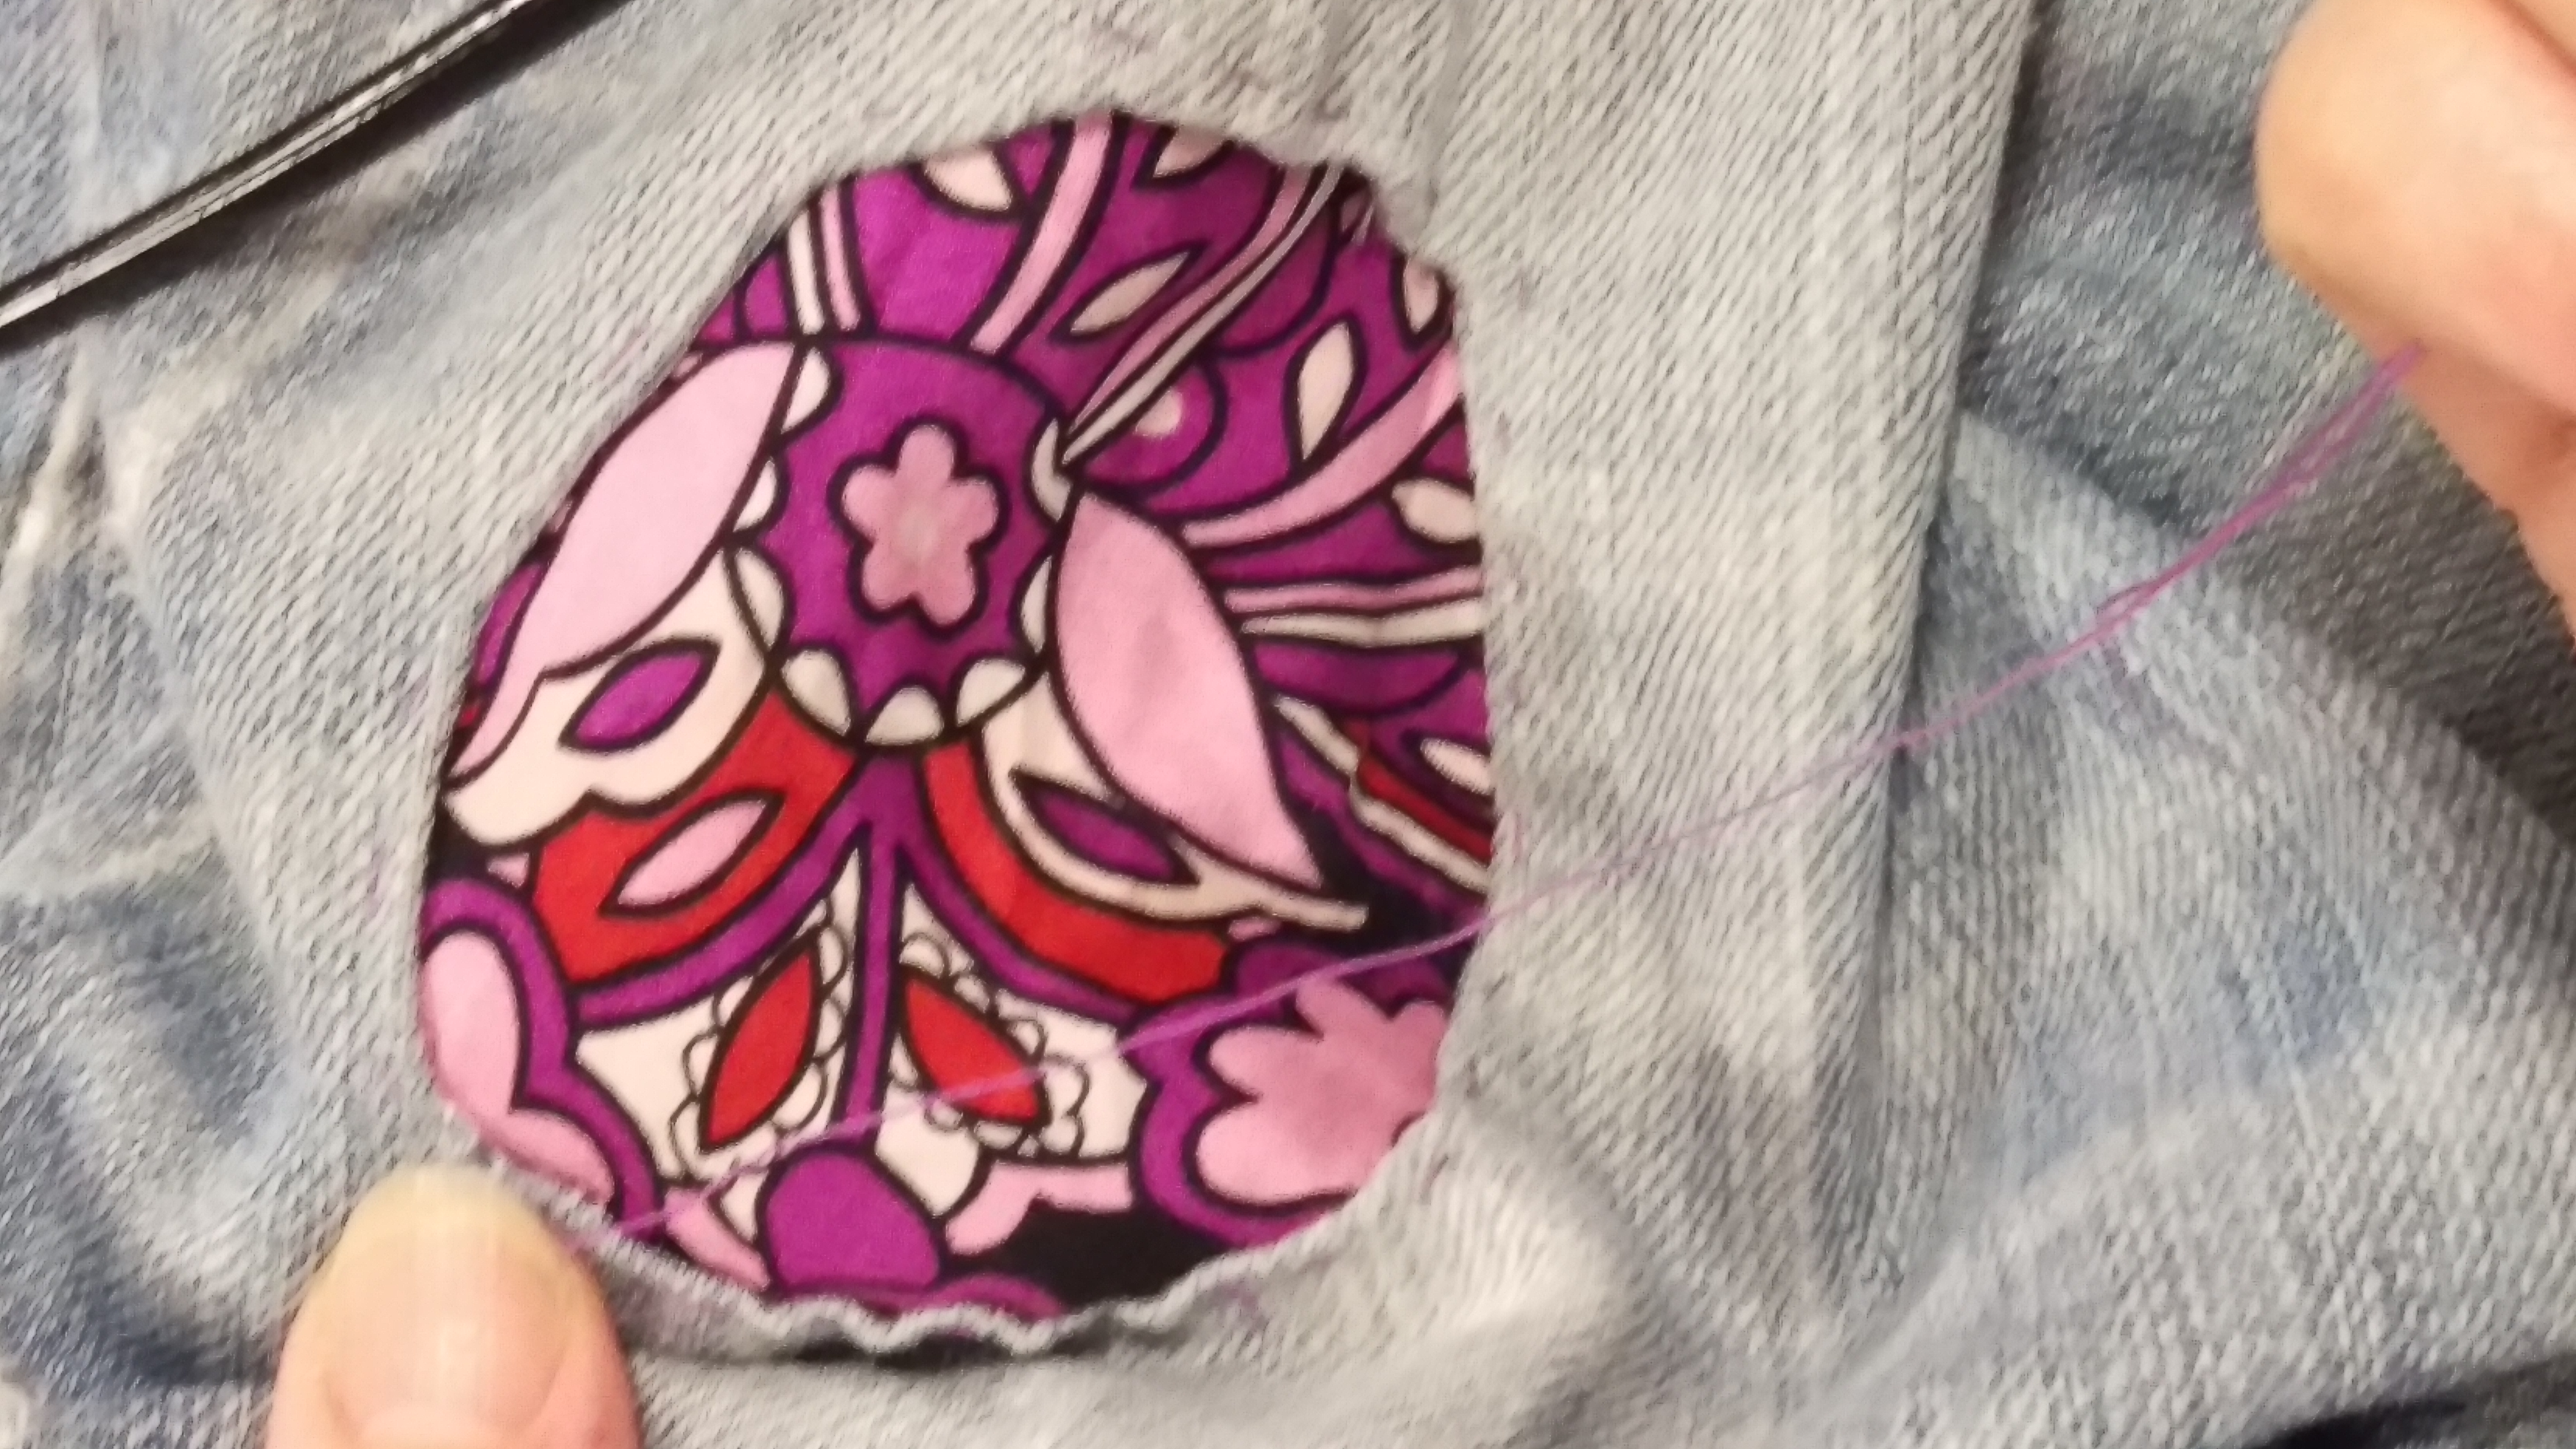
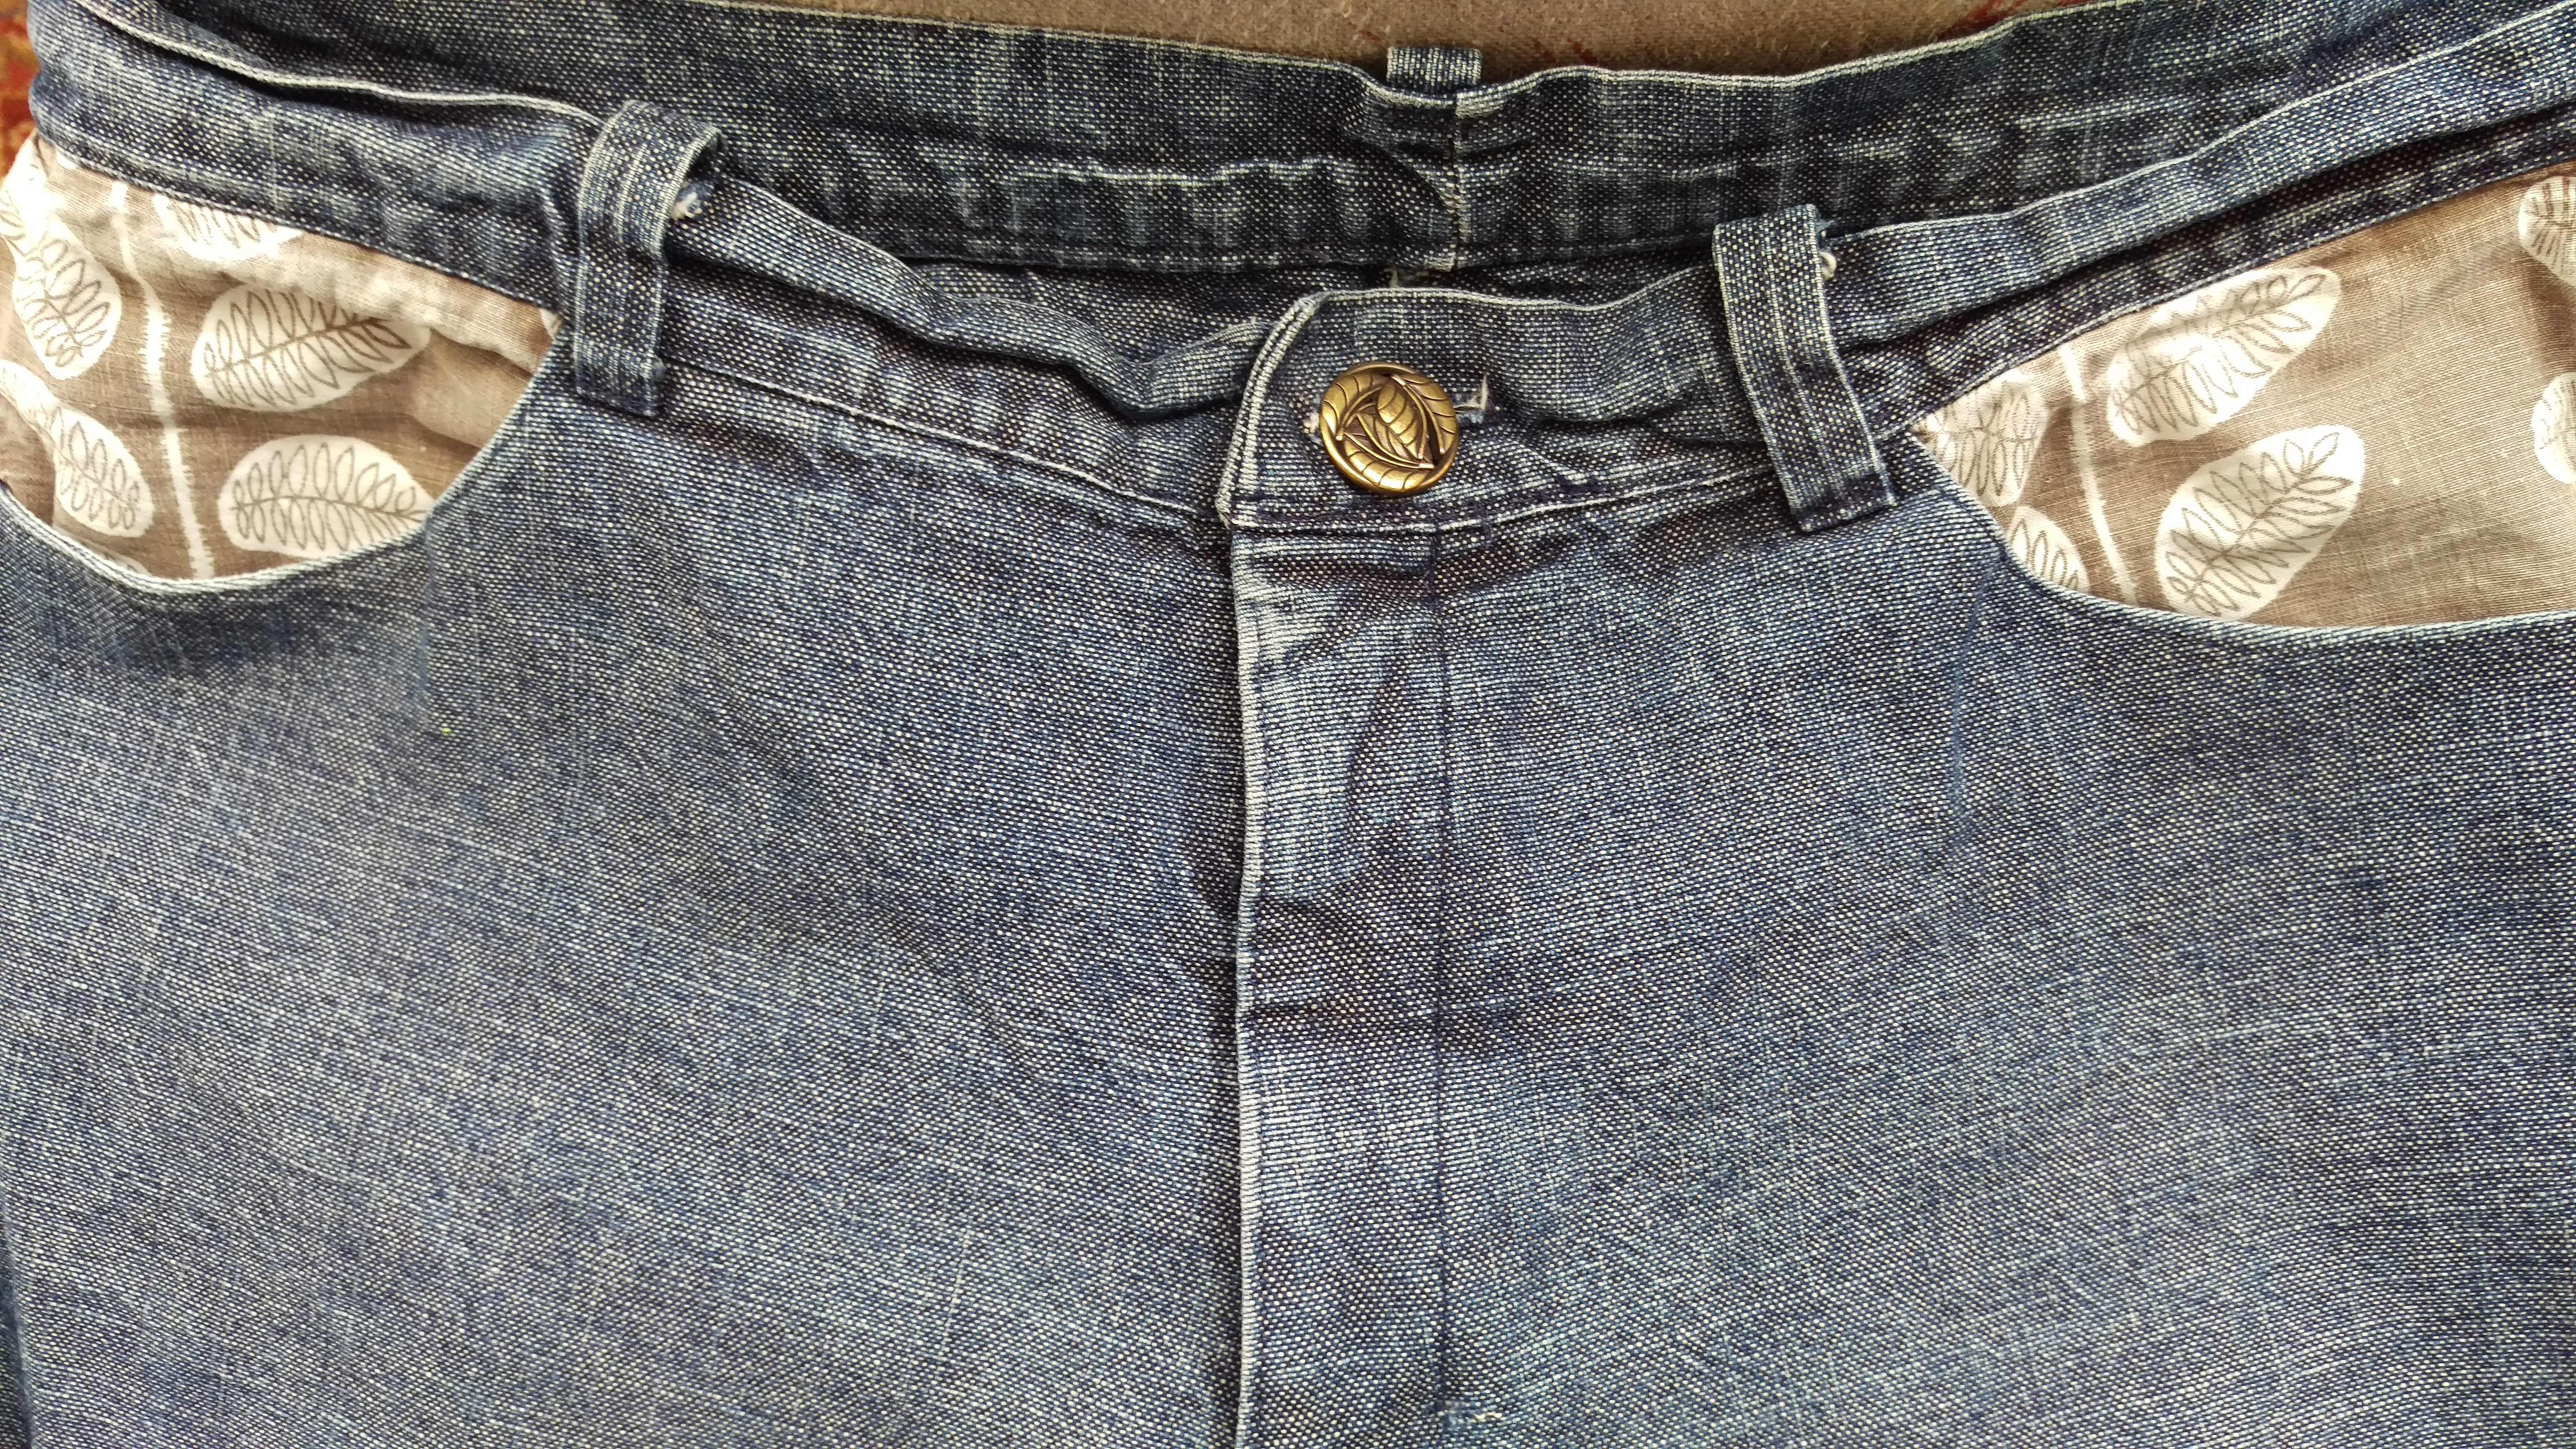
So I have this pair of jeans.  I made them myself.  They have some fine features, such as flour bag pocket interiors and contrast pocket inserts (with leaves on them!) and a beautiful button.  They have their flaws, one of which is that even though I pre-shrunk the fabric, they shrank more after I made them.  But currently the defect that means they do not get worn is the fact that the zipper will not stay up.

2016-05-05 13.23.43

It only took ten minutes to rip the zipper out.  My mother used to call her seam ripper a ‘quickunpick’.  I think it might have been a brand reference that no longer has currency.  But it’s accurate!  All seams involving the zipper ripped out, top stitching out to release the fly facing, bar tacks out, the waistband ripped out to release the zipper and create some room for manoevre when the new one goes in.  I selected a zipper from the stash, a vintage blue zipper much longer than the one I removed.  It doesn’t matter, because you can just stitch to create a new zipper stop and then cut the unwanted zipper tape and teeth off (provided they are plastic and not metal–ouch). Next step: put a stout needle into your machine, preferably a jeans needle.  I forgot, and snapped the needle I had been using for finer fabrics part way through this process. A zipper foot will make this easier but is not essential.

2016-05-05 14.42.05

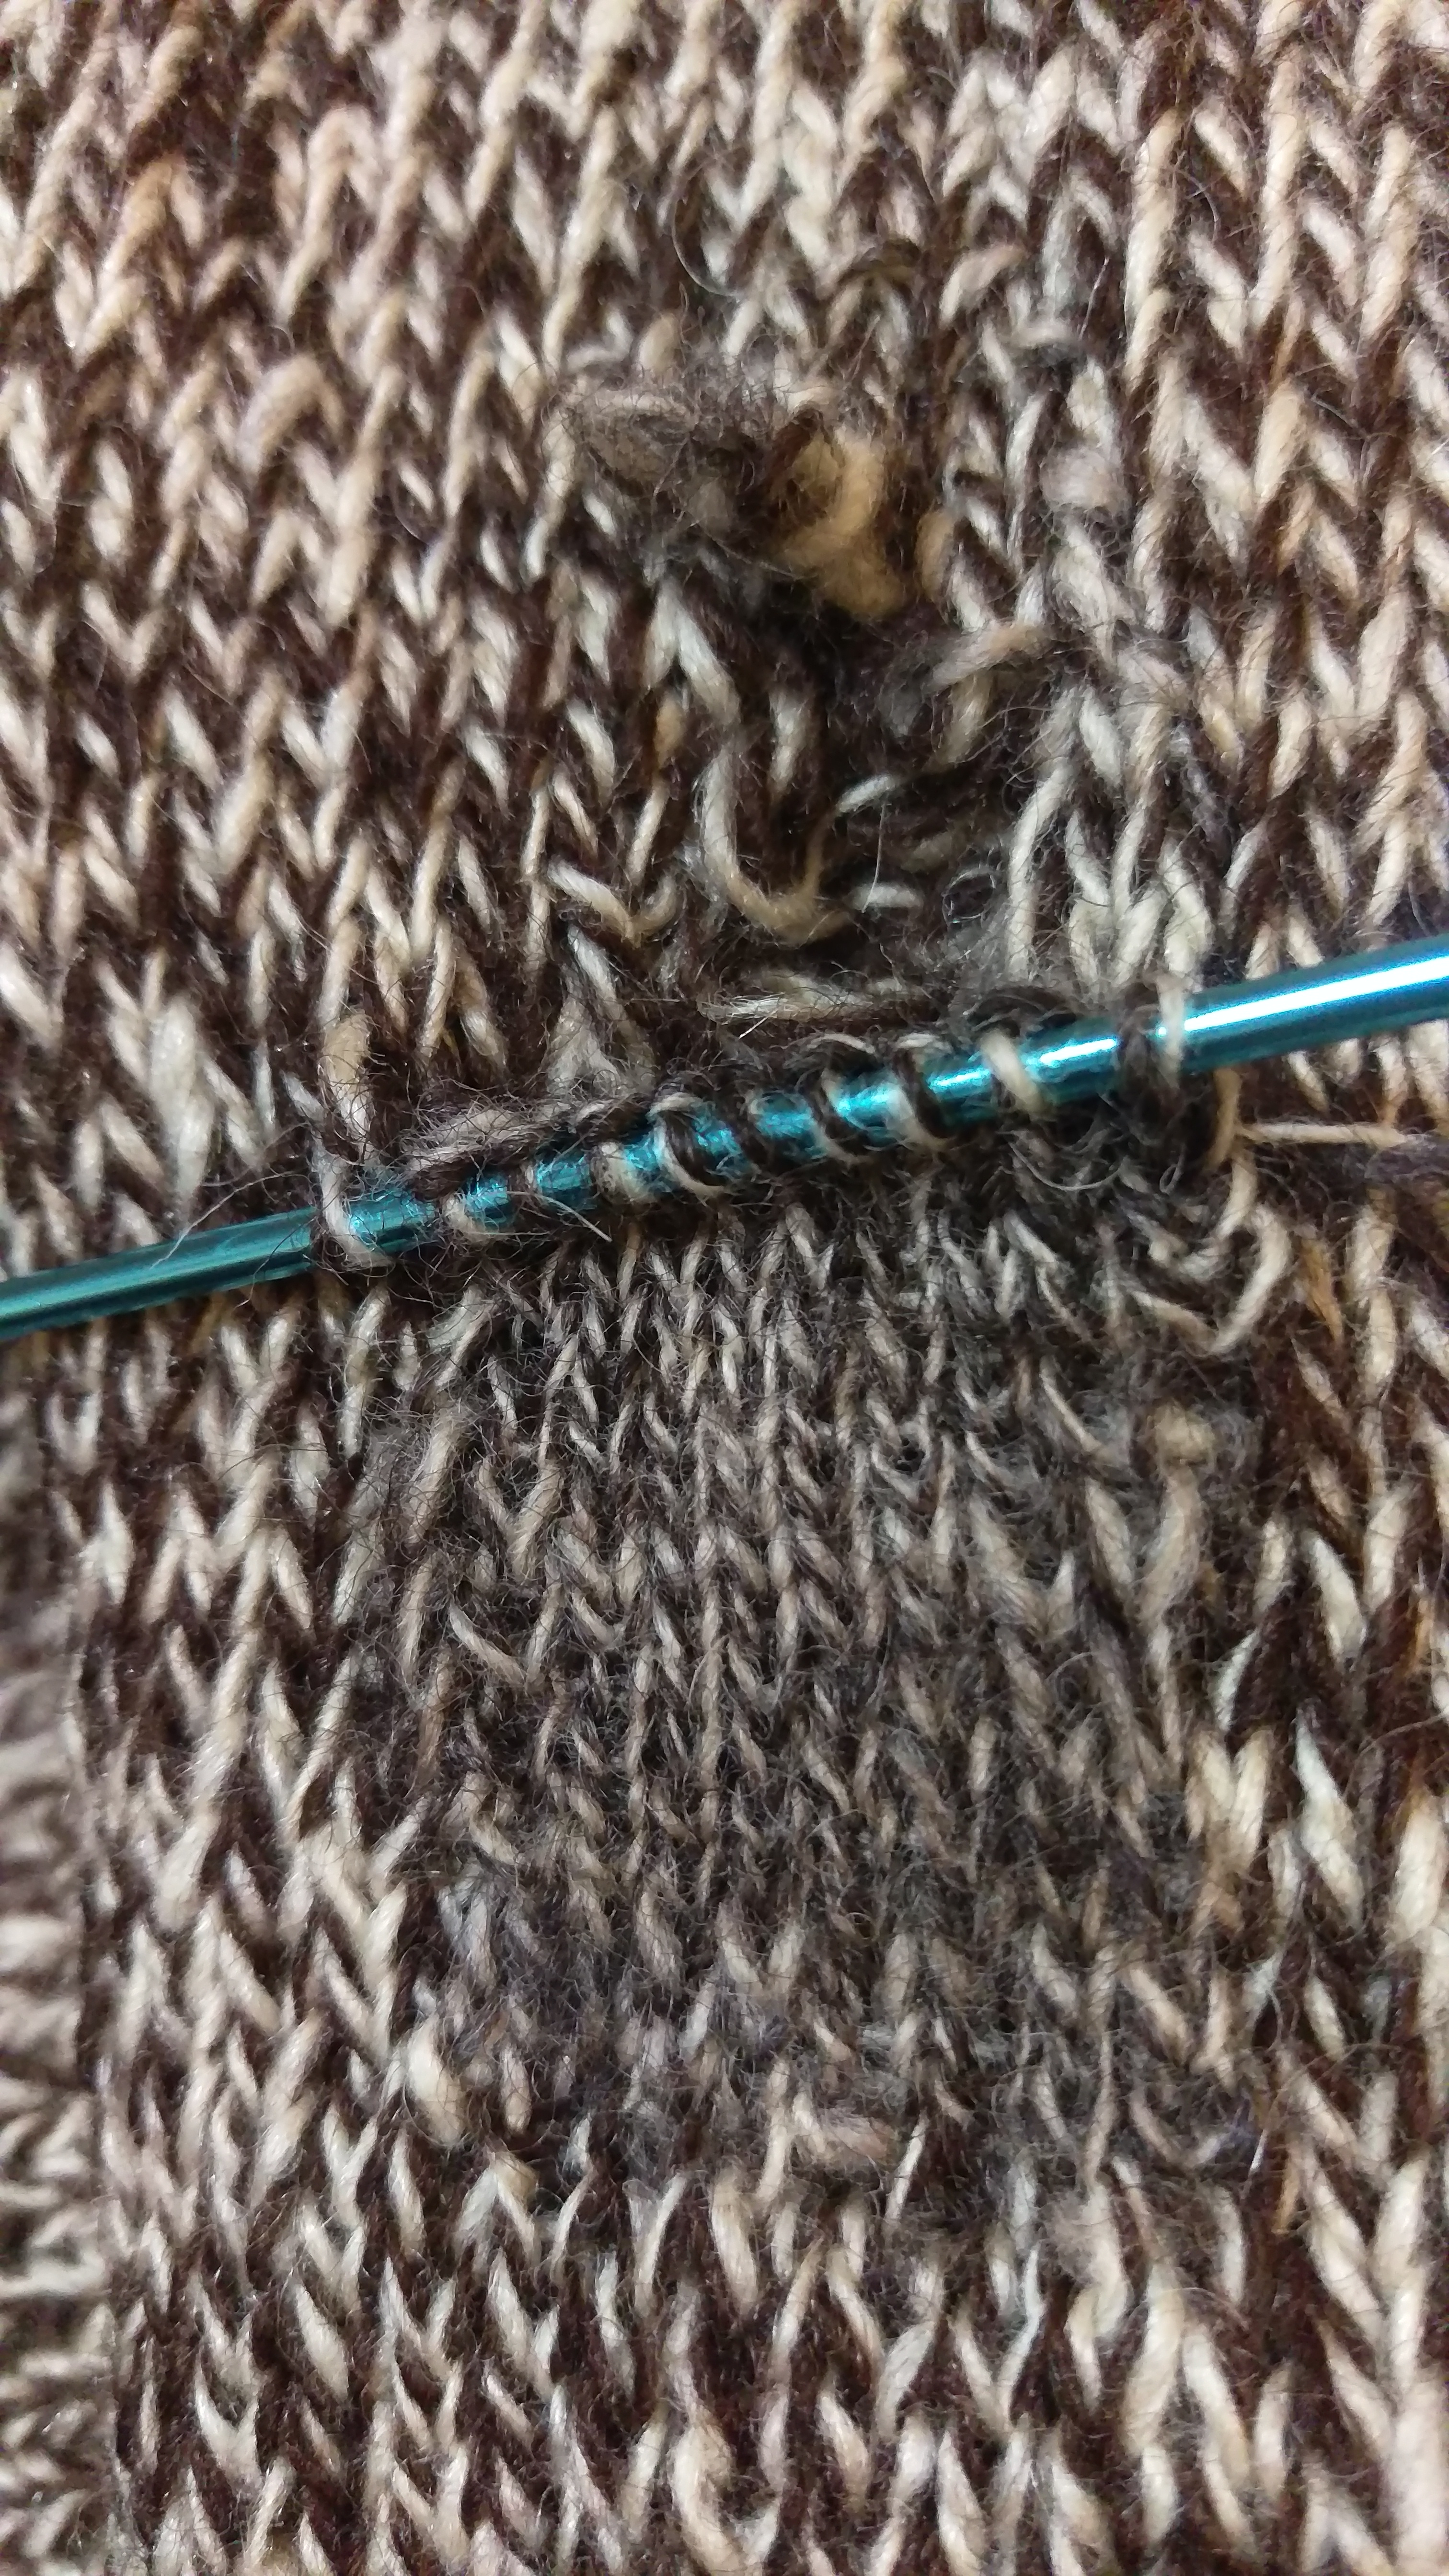
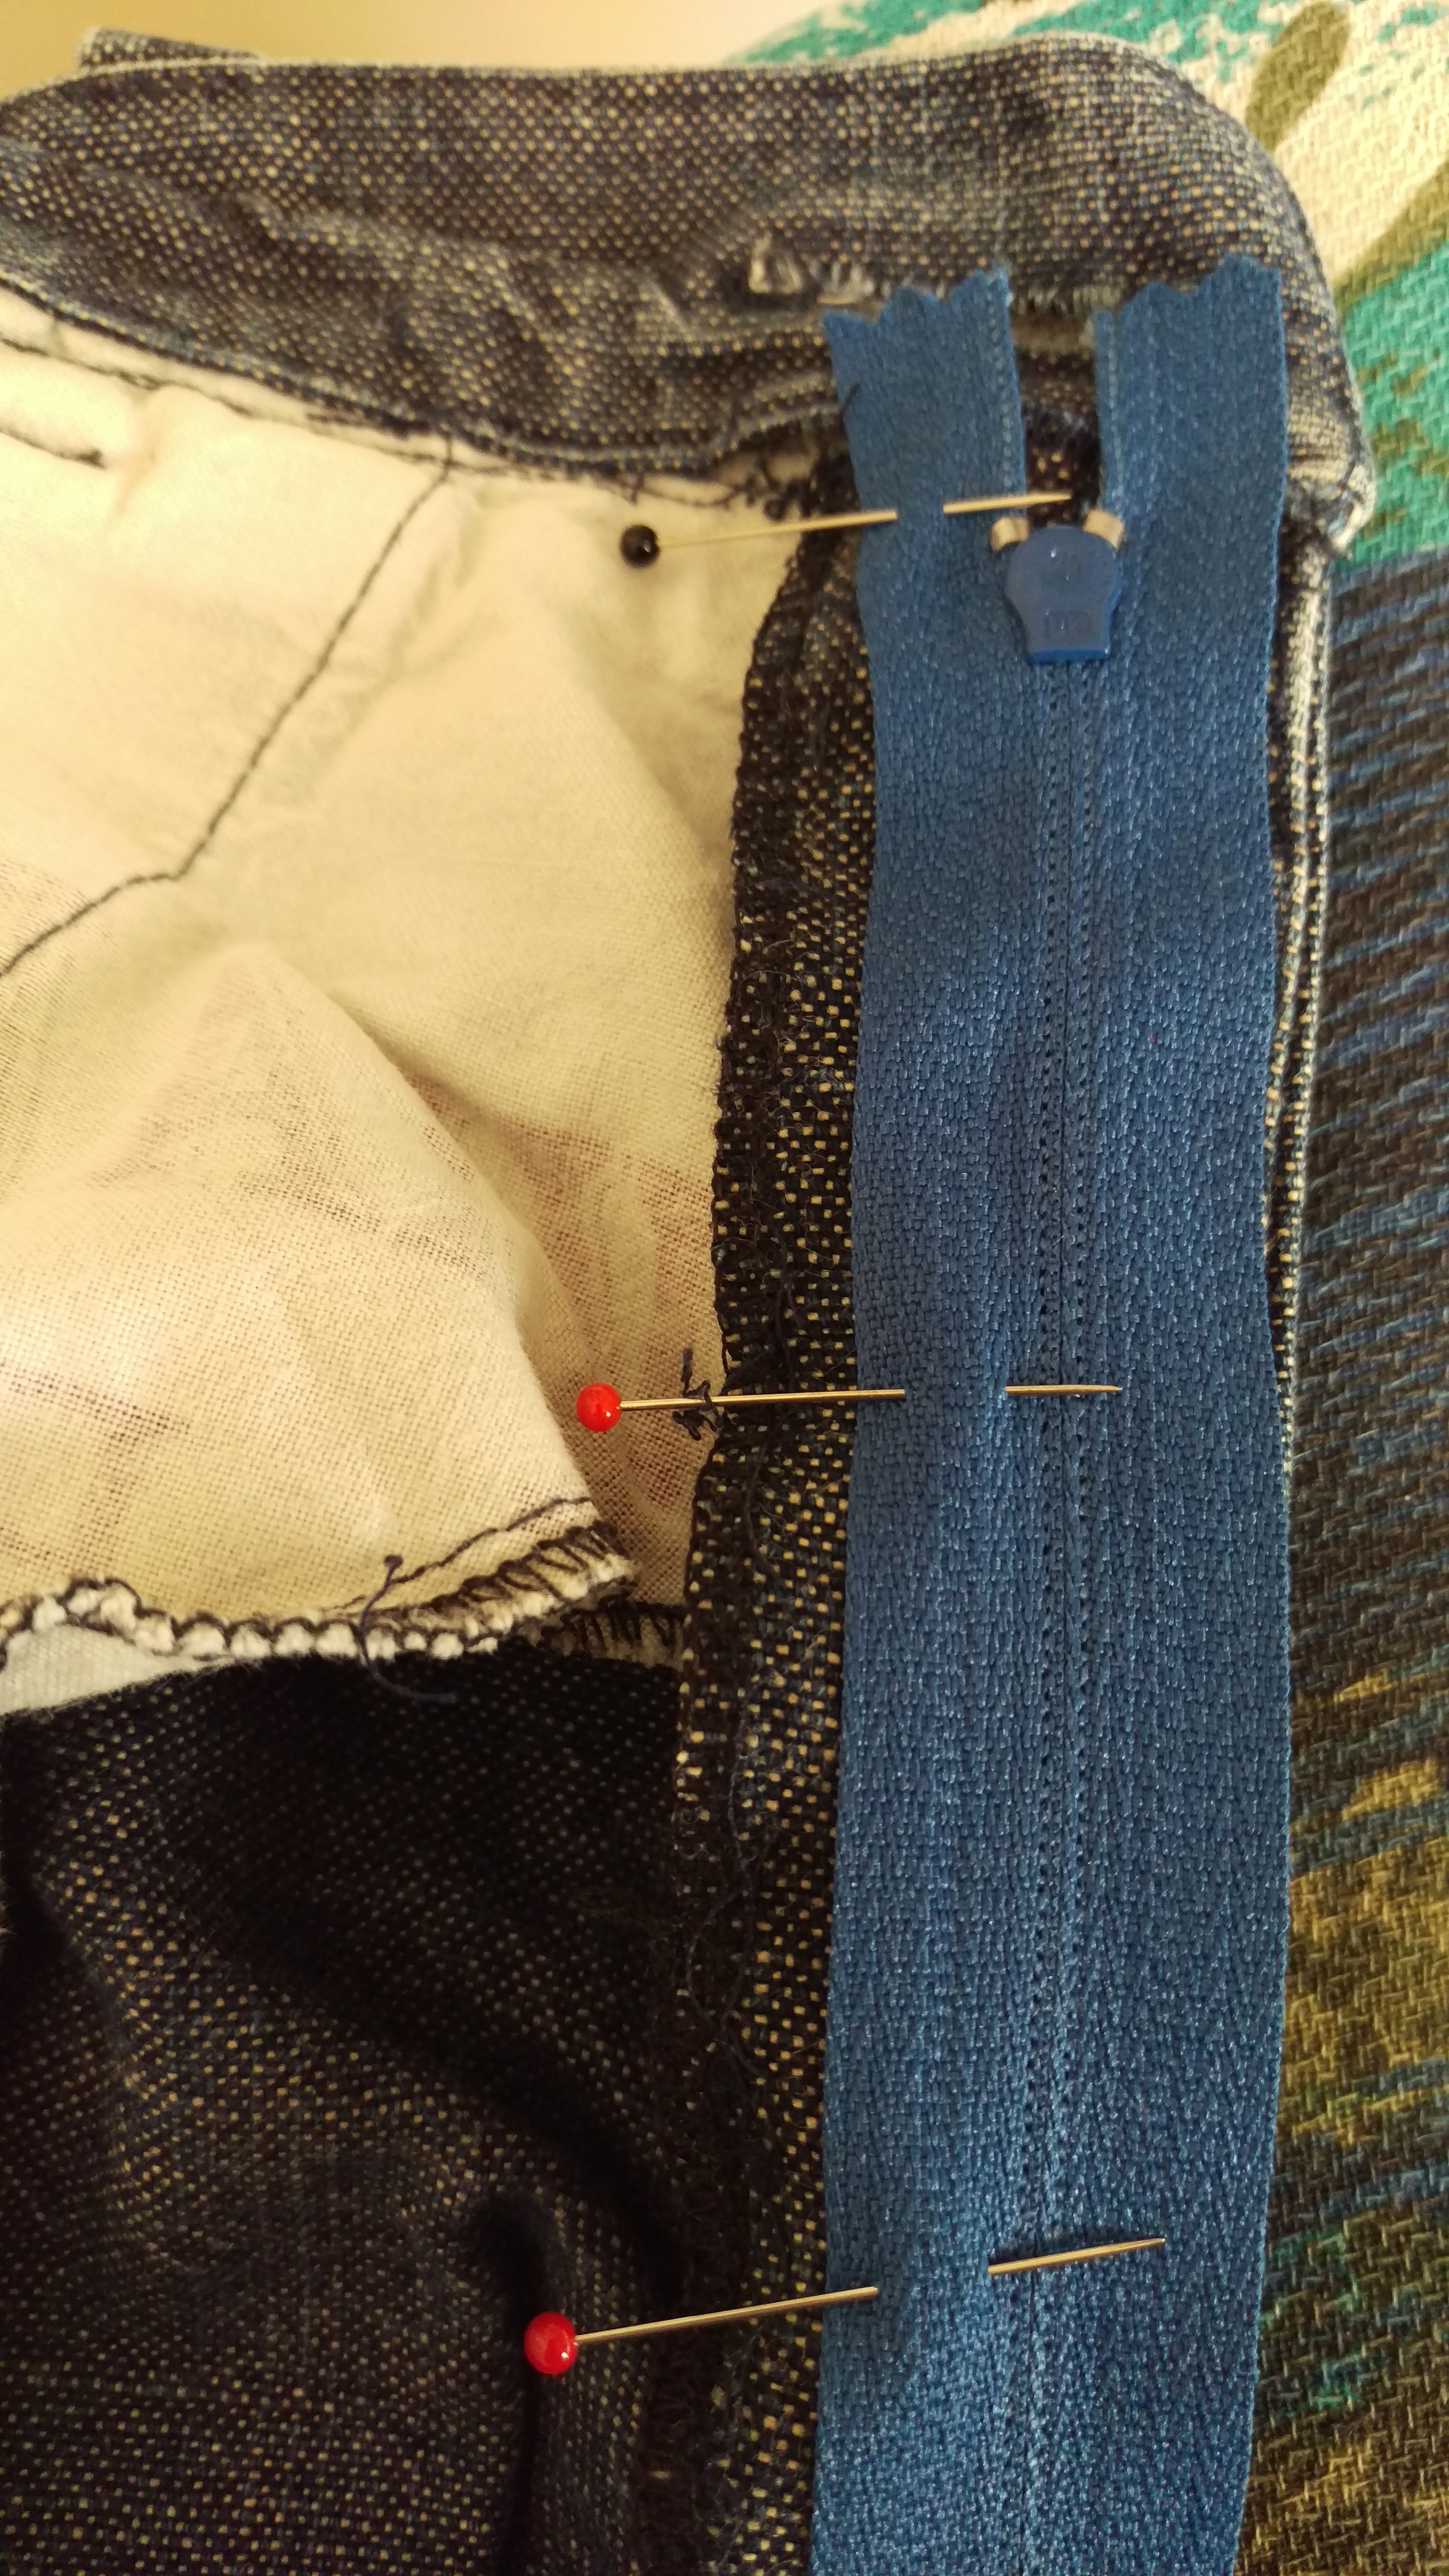
The first step is to stitch the zipper face down onto the fly facing but not the jeans front.  The fly facing is attached to the front opening.  You need to stitch the zipper to the facing and NOT to the jeans front.  Here you can see I have pinned the zipper in position: tacking first is another option.  I have chosen my stitching line using the marks left from the previous stitches.

2016-05-05 14.52.16

Here, you see that seam and the new zipper stop stitched across the end of the zipper!

2016-05-05 14.57.08

The next step is to sew the zipper to the other side of the pants opening, with the fly shield (a whole separate piece of fabric that sits between the zipper and your body) pinned out of the way.  Check that everything lies flat before you stitch.  A zipper foot is your friend, if you are equipped with one!

2016-05-05 15.19.09

Once that’s done, you can align the fly shield, pin or tack it in position and stitch over that seam again with the fly shield included in the seam.  In the picture above, both steps are complete, and you can see the fly shield extending past the left half of the zipper towards centre front and the zipper stitched to the fly facing on the right.  I have tucked the ends of the zipper and the raw edges of the jeans fronts up into the waistband and re stitched them too.

2016-05-05 15.23.49

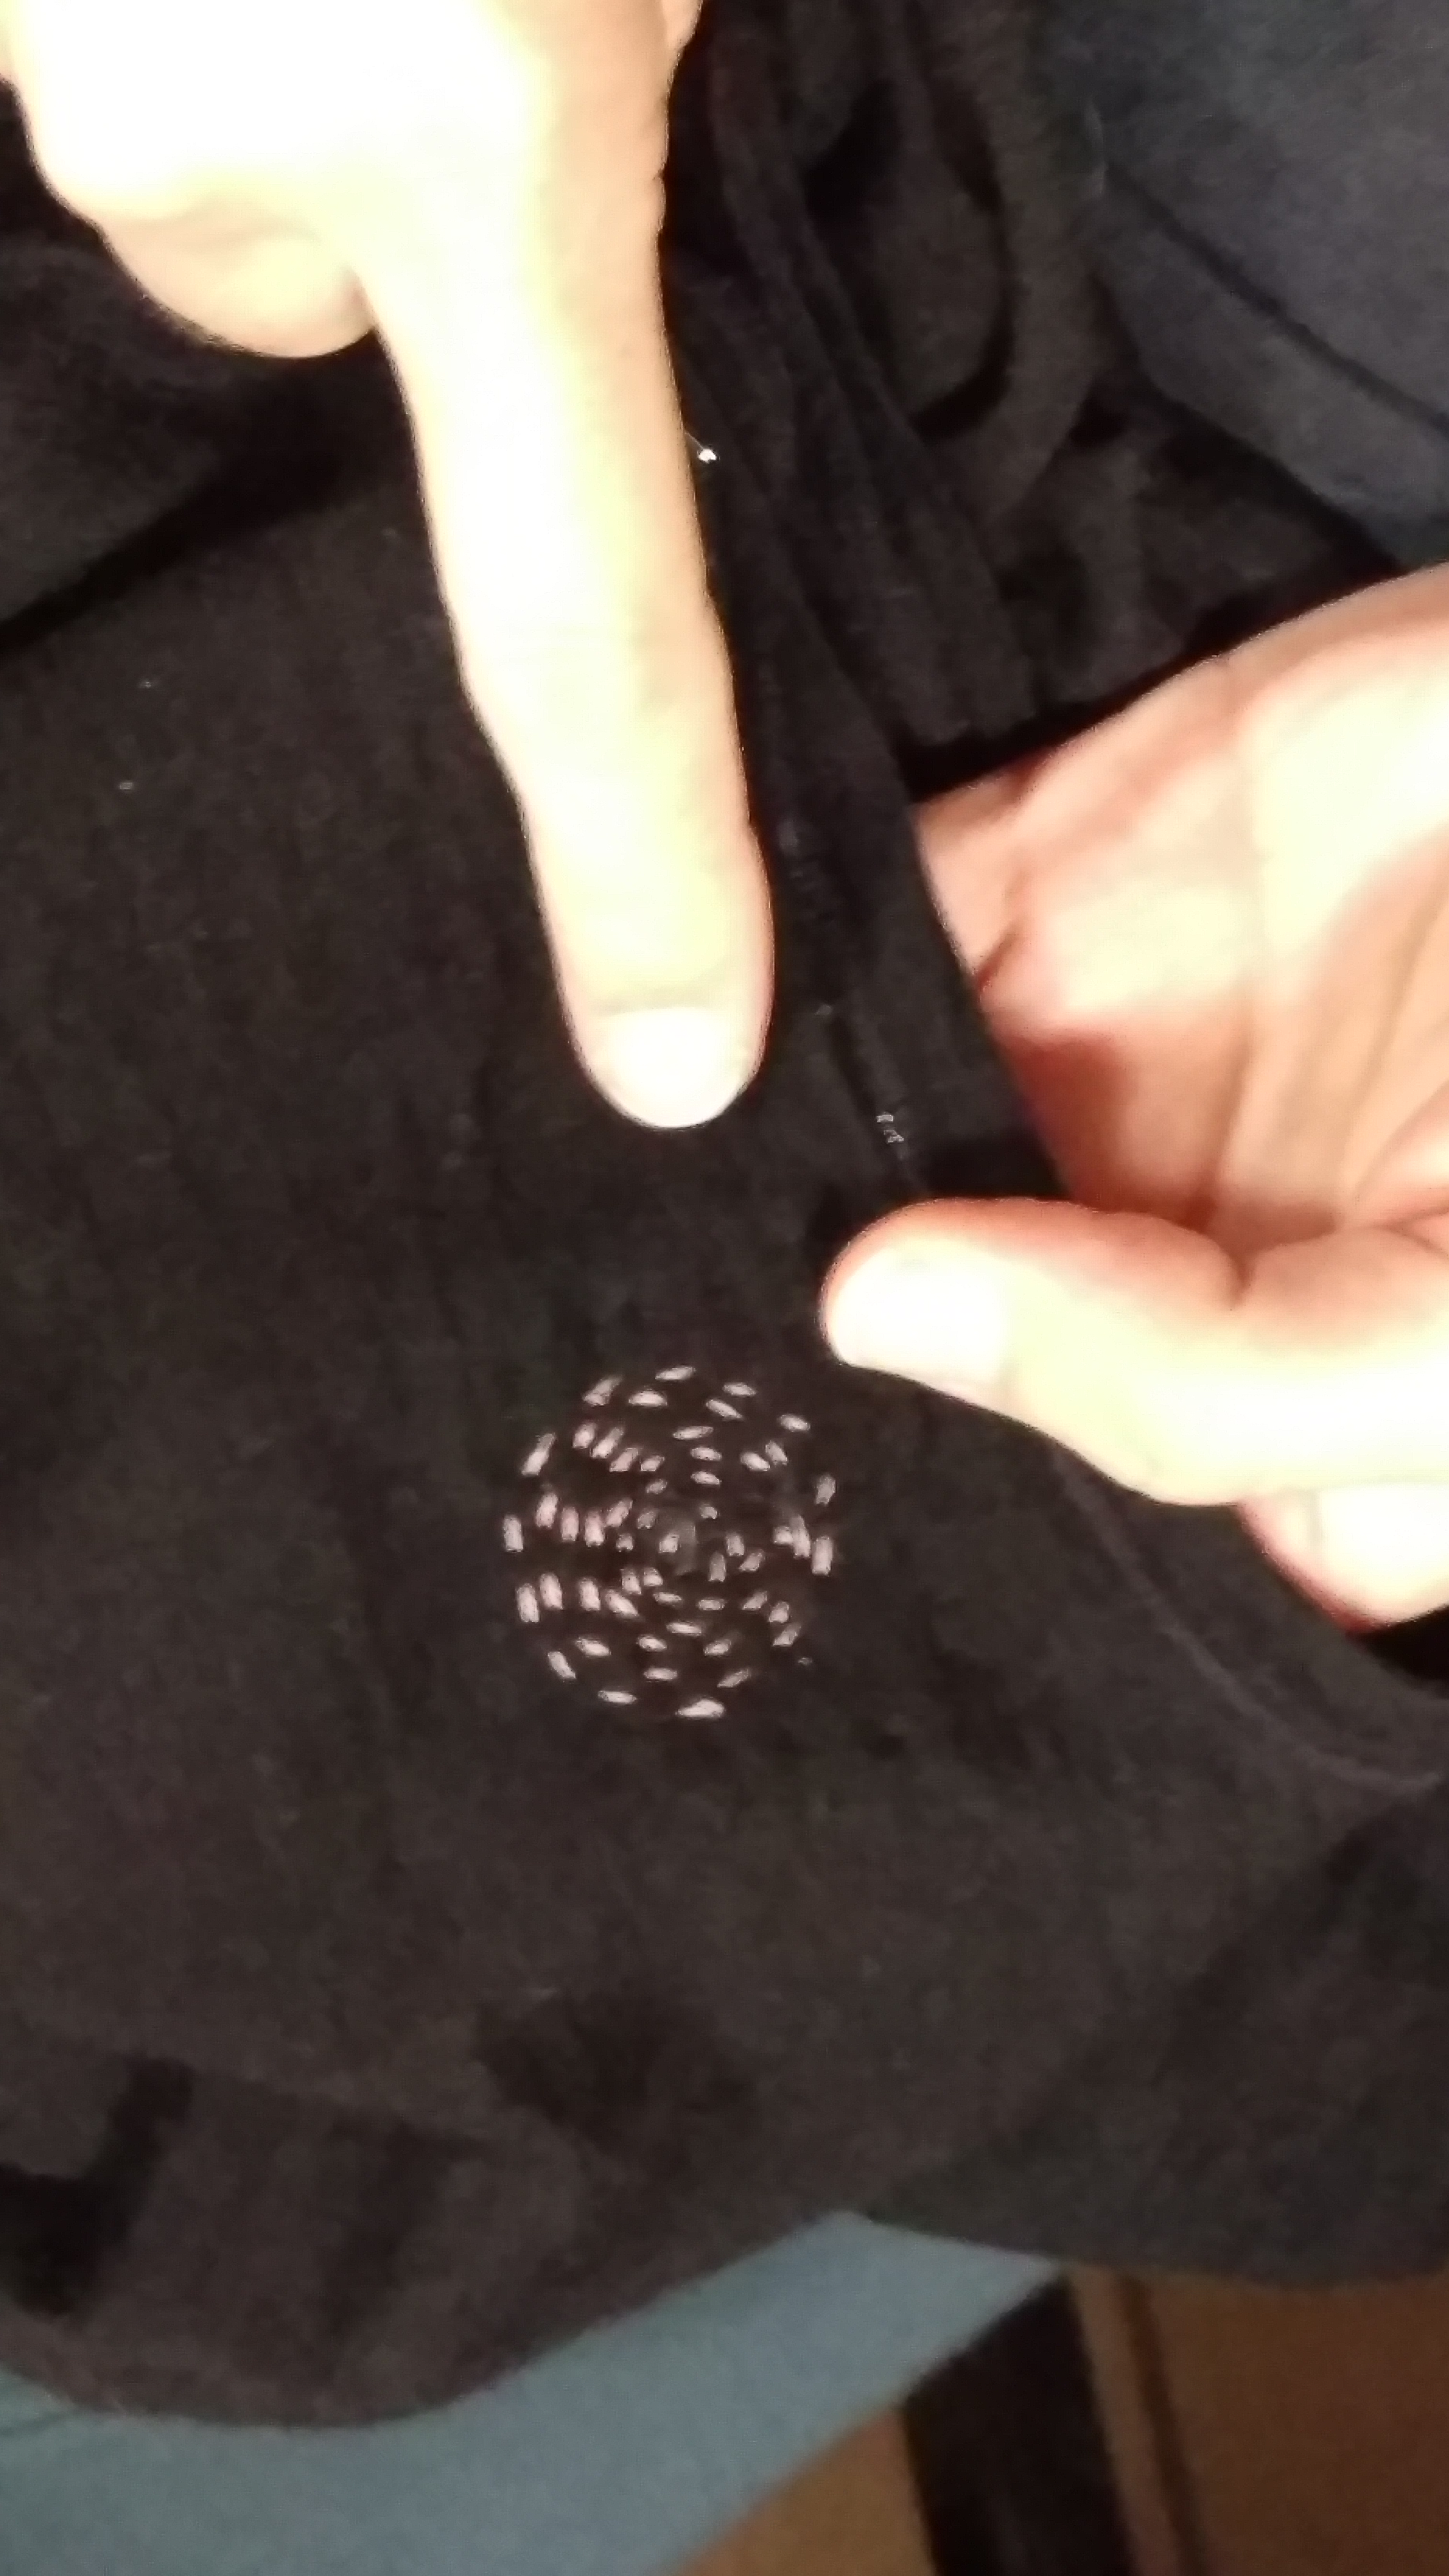
Now it is time to get that fly shield out of the way and top stitch that line you can see to the right of the foot in the image above.  I followed the previous stitching line this time, but usually I draw the curve on a sticker, cut it out and stick it in position, then top stitch with the zipper foot just outside the edge, a trick from a pattern or book I have used at some stage.  Finally, flip the fly shield into the position it would be in when the jeans are in use, and bar tack at the base of the zipper near the mid seam and then over on the right to hold the fly shield in place in its intended final position.  If in doubt, consult a commercial pair of jeans and decide where to bar tack. When I say ‘bar tack’, I do what I’d do if I was sewing on a button with the machine,  zig zag on the spot a few stitches.

2016-05-05 16.10.55

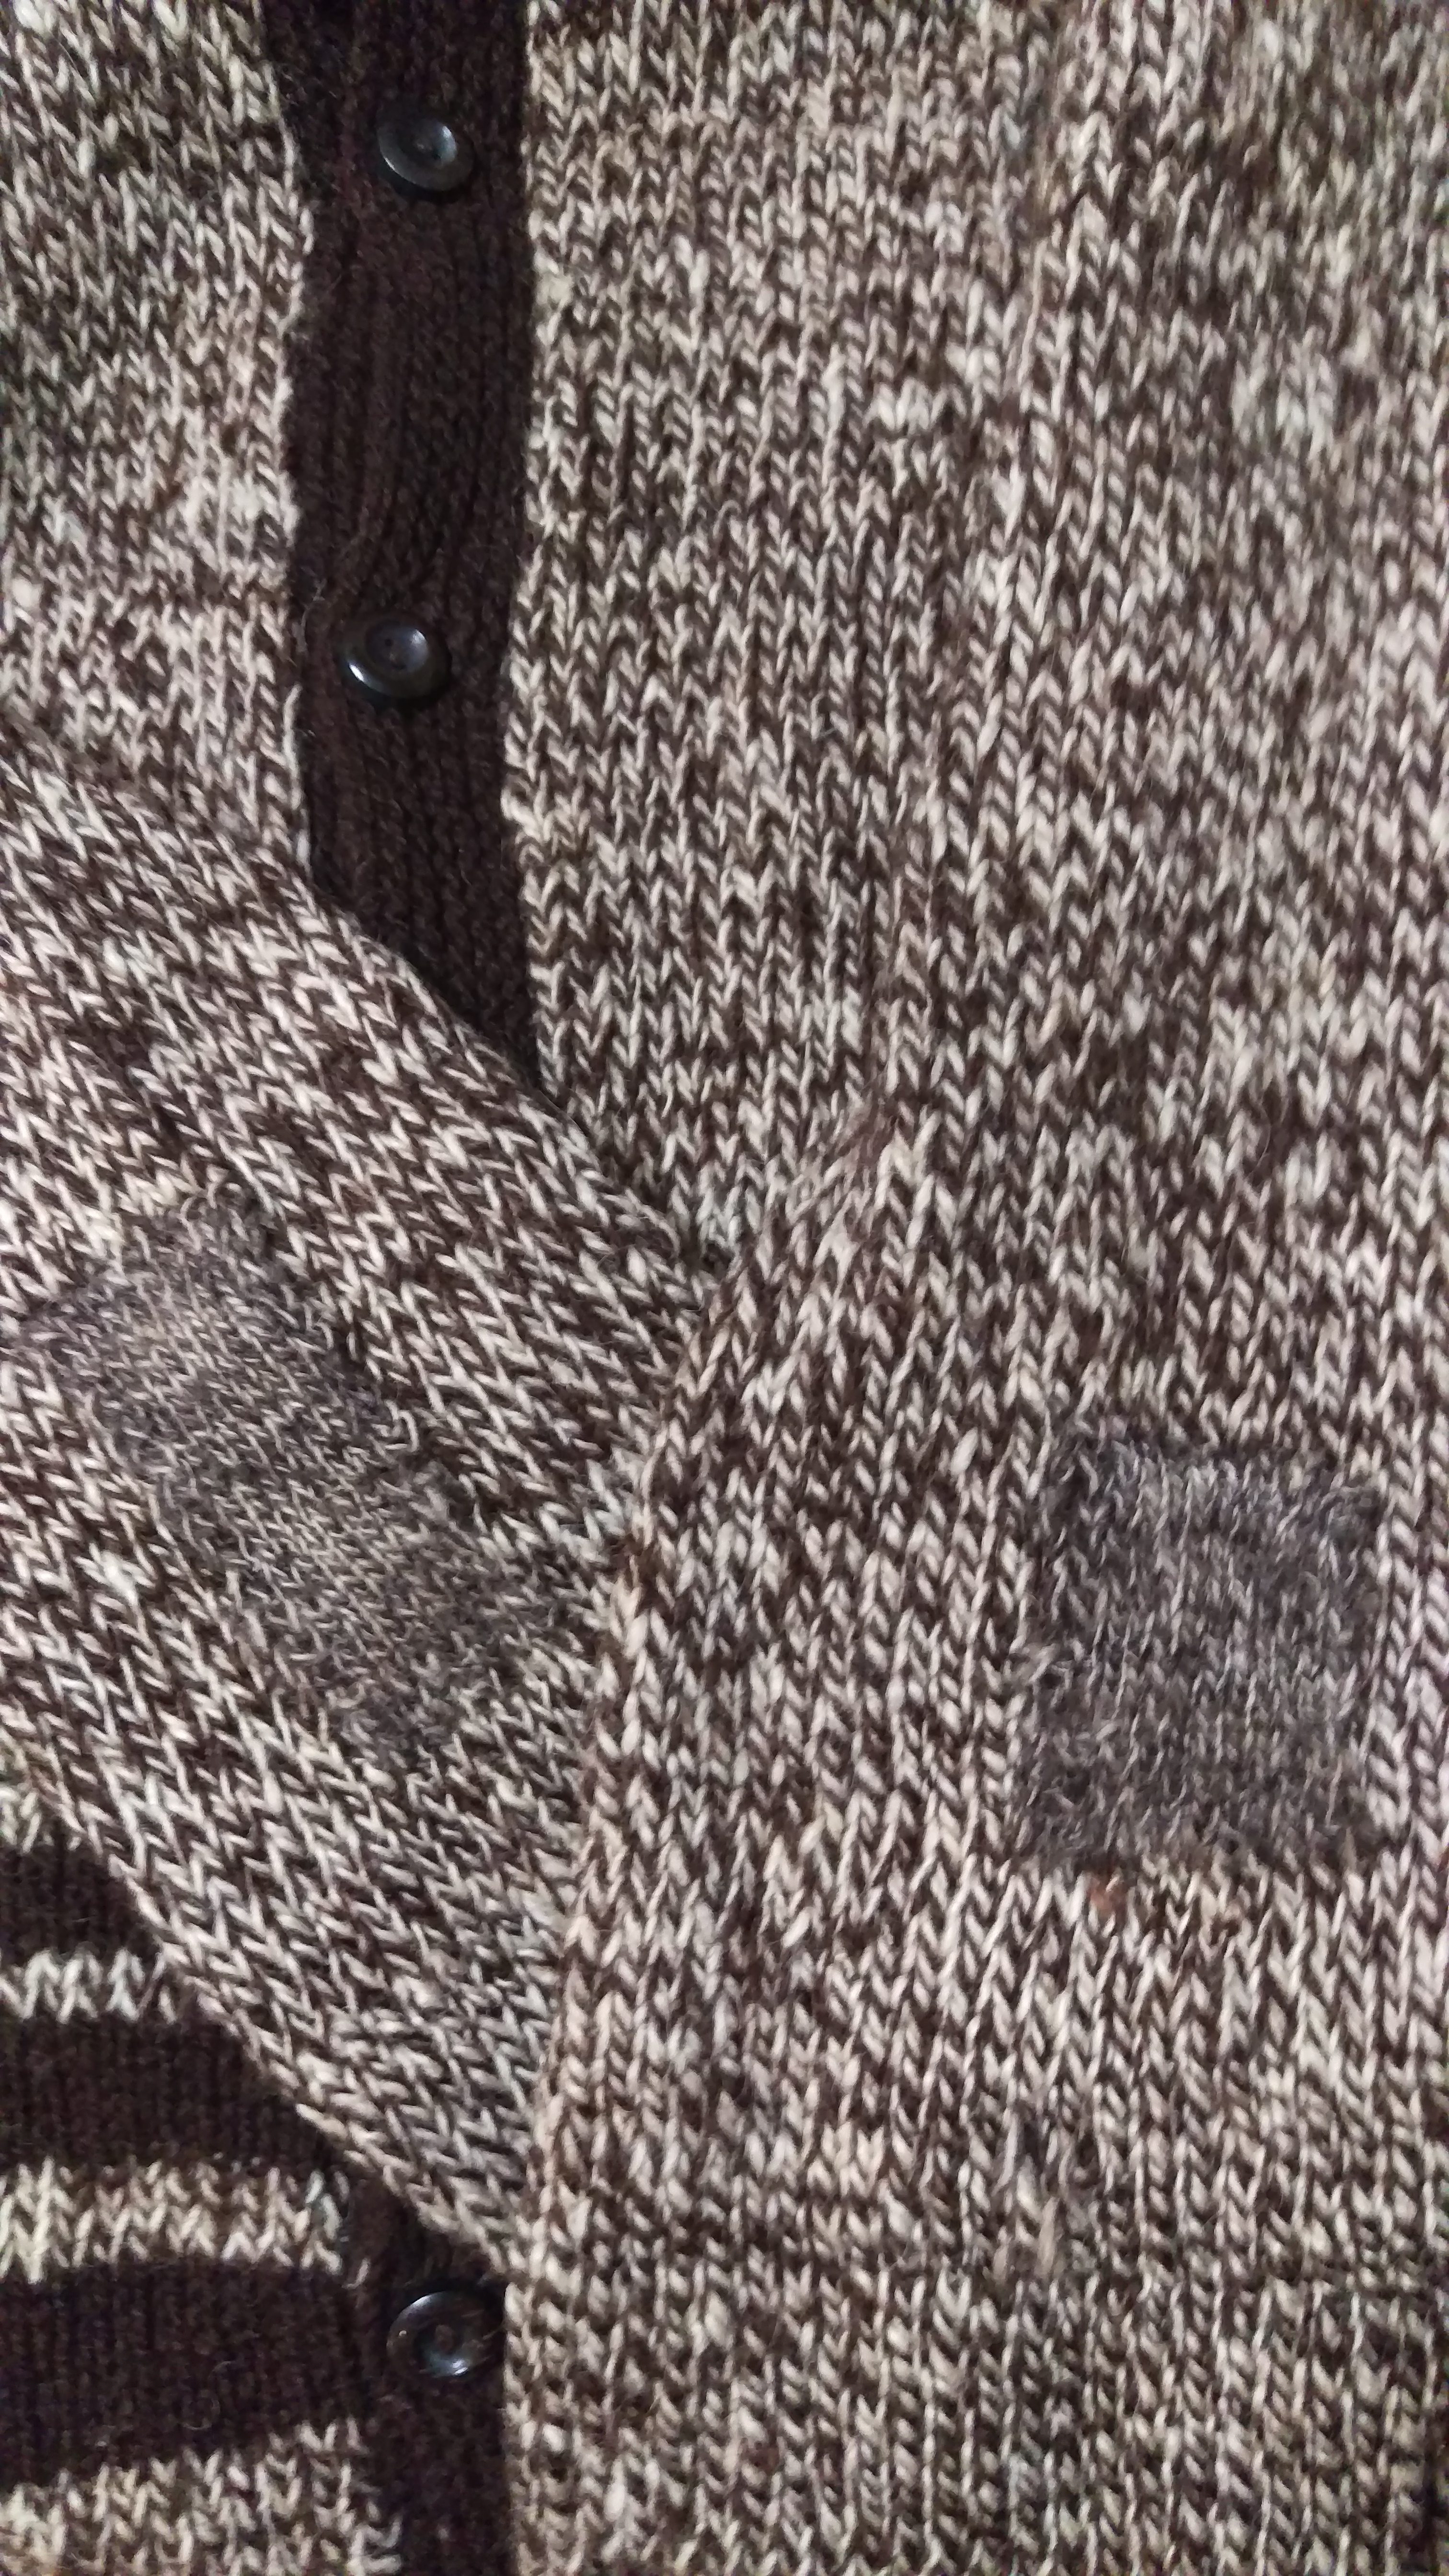
Yeah, I know.  They look just the same.  But now the zip will stay up, and both of us know this is a big difference! What are you doing in #MenditMay?


10 Comments

Filed under Sewing

Mending the earth

Some days seem more surreal than others.  It’s #Menditmay, and part of me is considering ripping out the zipper on that pair of jeans with the zipper that won’t stay up this evening.  Or perhaps re-stitching the lining of a lovely winter jacket that is a treasured gift.

2016-04-09 15.45.40

In my day job today, though, I am thinking about the appalling toll that sexual assault and other forms of violence take on people and what, if anything, the law can do about that.  This has been a project of some decades for me.  And tonight I will be packing for Newcastle to go and participate in Break Free, an international set of peaceful nonviolent protests directed at the major sources of the emissions that cause climate change. I will be one of the people attempting to close the world’s biggest coal port, however briefly, because Australian coal is fueling global warming both here and in the other parts of the world where it is burned.  For this world to survive in any recognisable form, that needs to stop, and stop quickly.

2016-04-09 15.43.53

This morning I read one man’s account of participating in a protest at a lignite mine in Germany in 2015.   While I was reading, I had Bob Marley’s song Three Little Birds playing, because I’ll be singing it as part of a global sing along with other local climate activists.  But I didn’t feel like ‘every little thing’s going to be all right’ today.  I’ve been a bit too focused on coral bleaching, abuse, and the wildfire in Alberta’s tar sands region that is devastating the region already laid waste by fossil fuel extraction.  First Nations have been resisting this damage, and the damage in the country where I live, for generations.  So, I was listening to Bob Marley’s reassuring song, reading about people’s efforts to bring a halt to fossil fuels and weeping.

2016-04-09 15.57.12

Mending garments and other belongings is appropriate and meaningful, and I am committed to sharing these necessary skills.  The first mending workshop was wonderful, and I am looking forward to the second, next week. But in addition, I am trying to work out how to participate in ending the massive damage being done to our beloved planet and every ecosystem and species that depends on it.  I am certainly also trying to work out how to limit my own personal contribution to that damage, including by mending and planting out my neighbourhood with native plants as a gesture of care. But that will never be enough, and here is a sensational 11 minute video that explains why.

2016-04-09 16.14.15

To quote Bill McKibben, ‘The time has come to take action commensurate with the scale of the problem.’  So this weekend I will be doing less stitching and more civil disobedience in the name of earth mending, with many others.  Because I think every mender knows that when something is coming apart at the seams, the first thing you do is stop the damage getting worse.  This is a crucial step if mending is to be possible at all.

If you wish you could be at one of the Break Free protests but you are not able to, you might consider being a digital witness.

2016-04-09 16.13.10


6 Comments

Filed under Activism, Sewing

Propagating

2016-04-12 08.15.12

It is time to get cuttings in or miss the season completely… so I was out again before work looking for likely prospects.  As I mentioned last time I was writing about guerilla gardening, there is some severe pruning when plants try to take over roads in my neighbourhood, and here is myoporum parvifolium trimmed back off the kerb to prove the point.

2016-04-12 08.09.22

I collected seed while I was out.  This bluebush is still fruiting but not ripe.  I collected from one near the tram where the seeds have turned black (indicating ripeness), much to the interest of one commuter.  The rest seemed blessedly uninterested and one was sleeping while almost upright.

2016-04-12 08.19.12

I collected seed from the bladder saltbush.

2016-04-12 08.07.56

I admired the spread of some myoporum I planted at least a year ago.

2016-04-12 08.04.37

This one was so big I took cuttings from it! So far, it has been overlooked in the pruning regime and is happily out onto the road.

2016-04-12 08.01.48

So, now I have all manner of cuttings hopefully sending out roots as I write…

2016-04-16 10.03.21

As well as seedlings still waiting their turn to go out into the big wide world now it has started to rain.  Ah, blessed rain.

2016-04-16 10.03.10

9 Comments

Filed under Neighbourhood pleasures